For 1990-2009 cars only
Removal Procedure
- Remove the liftgate latch assembly from the liftgate.
- Place the latch assembly on a clean, prepared surface.
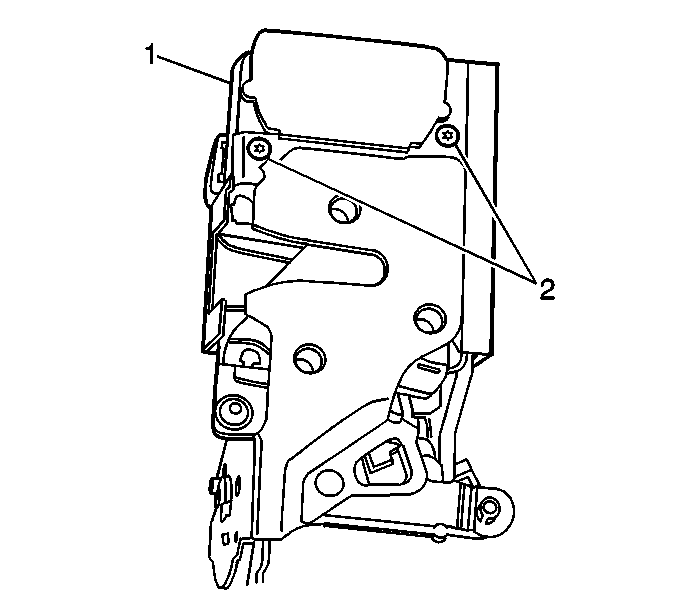
- Remove the 2 screws (2) that retain the lock actuator (1) to the latch assembly.
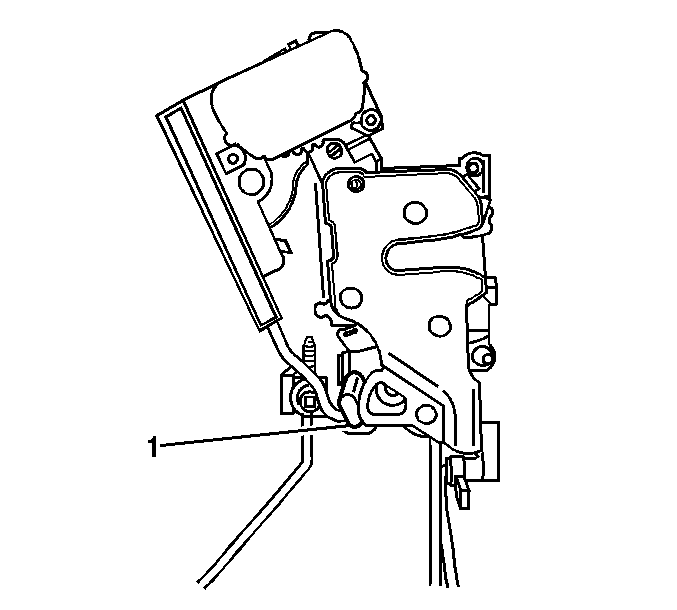
- Simultaneously lift up on and rotate the actuator away from the latch in order to disengage the rubber bumper (1) from the latch.


Installation Procedure
- Install the rubber bumper (1) to the latch.
- Rotate the actuator toward the latch in order to fully engage the rubber bumper into the latch.
- Install the actuator to the top of the latch.
- Install the 2 screws (2) that retain the lock actuator (1) to the latch assembly and tighten to 0.75 N·m (6 lb in).
- Install the latch assembly to the liftgate.

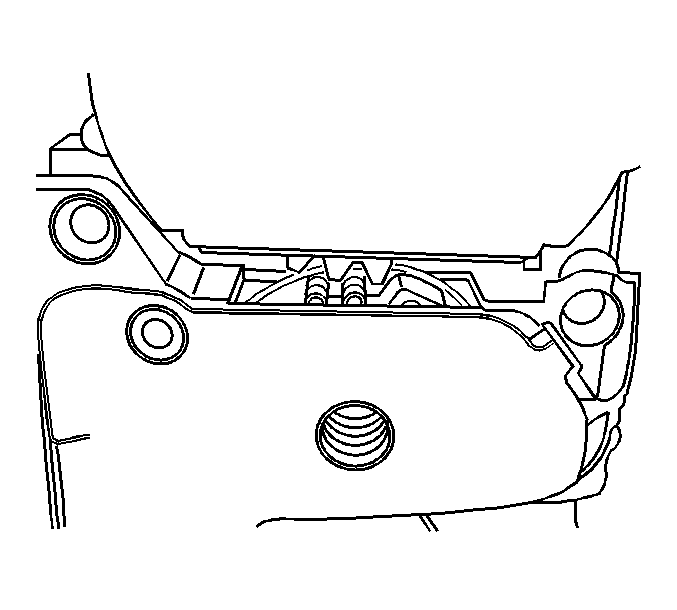
Note: Ensure that the first tooth of the gear on the actuator and the first tooth of the gear on the latch align and interlock properly.

Caution: Refer to Fastener Caution in the Preface section.

