For 1990-2009 cars only
Sunroof Window Seal Replacement C3Y
Removal Procedure
- Open the sunshade.
- Remove the sunroof window from the front. Refer to Sunroof Window Replacement - Front .
- Remove the sunroof window from the rear. Refer to Sunroof Window Replacement - Rear .
- Cycle the sunroof to the full open position.
- Locate the seam of the current seal and it's location, with tape or a grease pencil mark the roof.
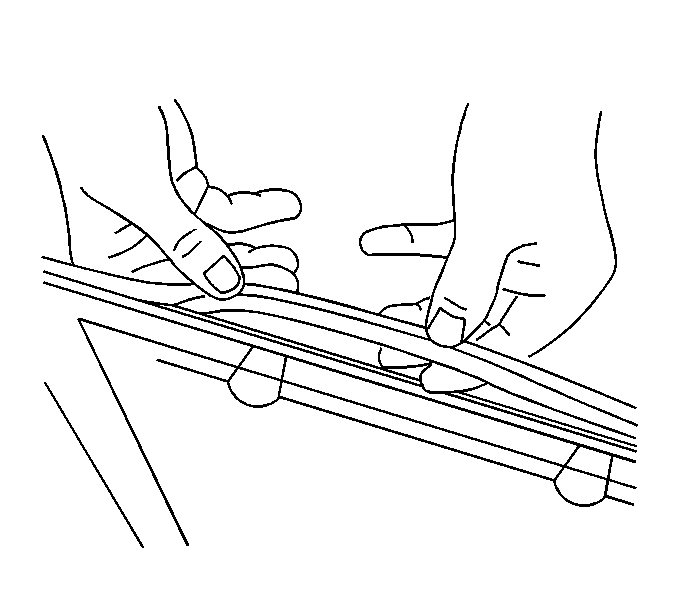
- Remove the seal from the sunroof module frame by pulling the seal away at one point and continuing around the perimeter of the frame.
- Wipe the perimeter of the frame area with a clean, dampened cloth using window cleaner GM P/N 1050427 (Canadian P/N 992727) or equivalent in order to clean the surface of the perimeter.

Important: Do this from outside the vehicle, locate the seam of the weatherstrip bonded edges approximately 2 in rearward of where the third and fourth window panel meet. THIS POSITION IS IMPORTANT TO ENSURE THAT THE SEAL PUCKERING RELIEF HOLES WORK CORRECTLY.
Allow to air dry.
Installation Procedure
- If reusing the old sunroof window seal, use a clean dampened cloth, wipe the seal with a small amount window cleaner GM P/N 1050427 (Canadian P/N 992727) or equivalent to installation.
- Cycle the sunroof to closed position.
- Position the seam of the new seal into the channel previously marked in (step#5).
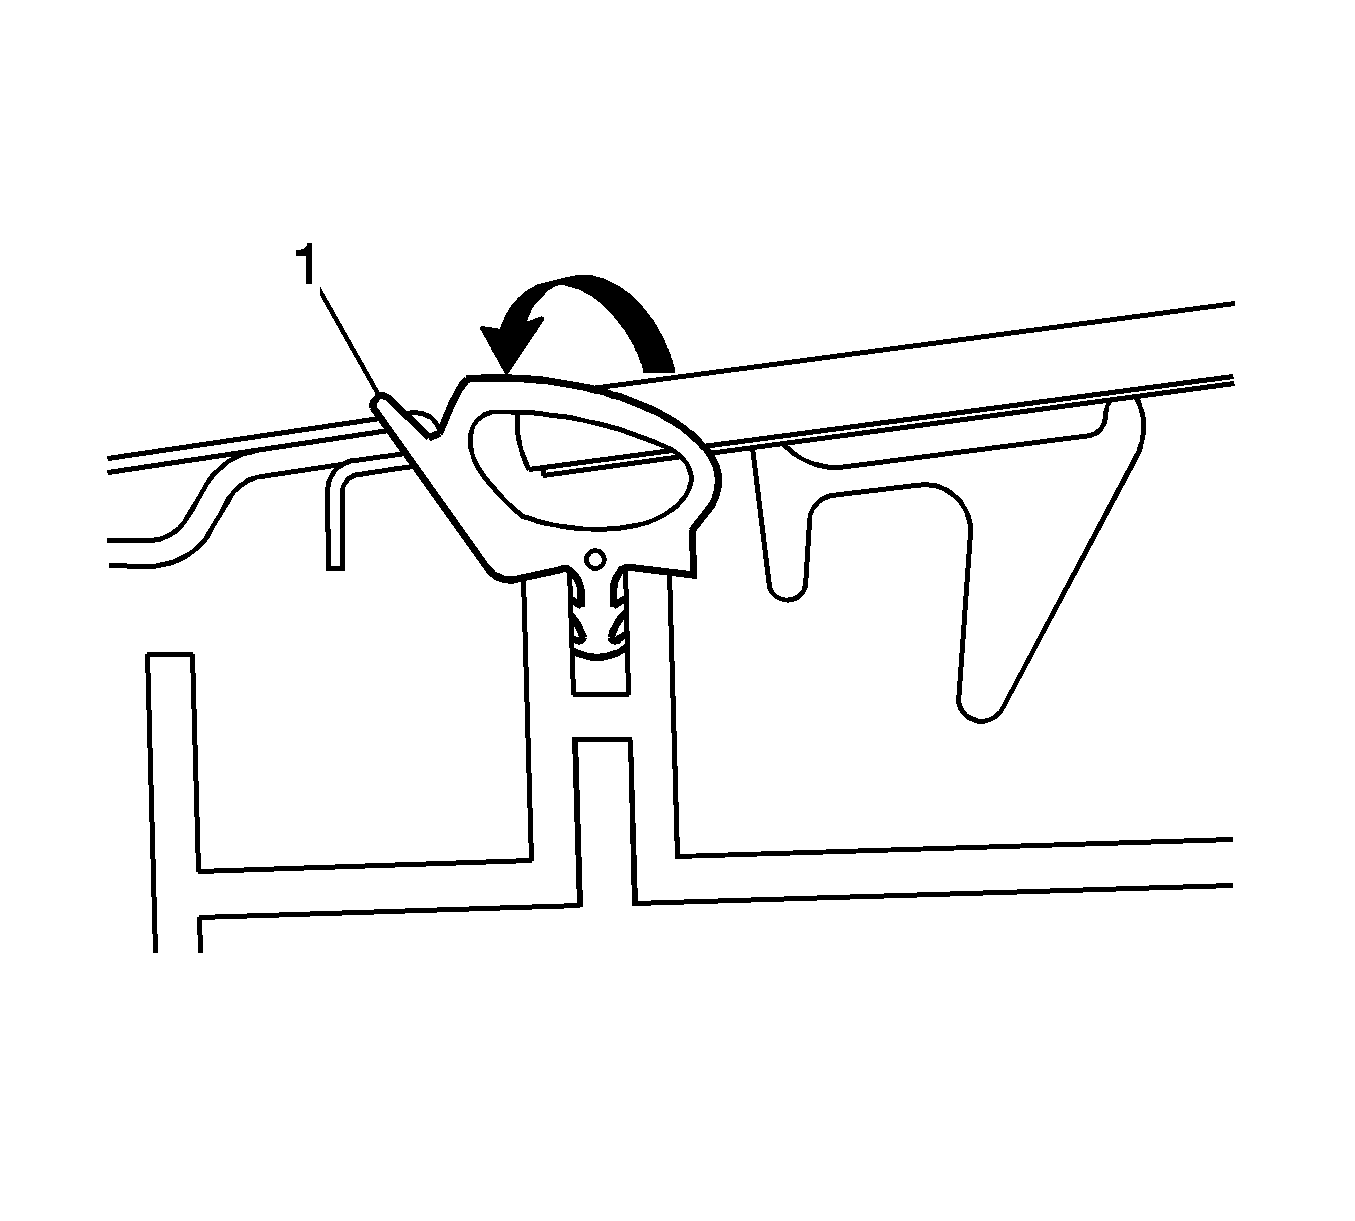
- Starting in the rear corners of the seal channel, firmly press the window seal (1) into place, working any excess seal length toward the center, seating the remainder of the seal across the rear of the sunroof opening.
- Cycle the sunroof to the full open position.
- Firmly press the seal into the front corners of the channel, and then work any excess length toward the center across the front and sides of the opening
- Inspect the sunroof seal for rolling condition along the edges of the roof. Repair the rolling seal by spooning the edge of the seal into position to the frame, using a suitable tool.
- Install the sunroof window to the rear. Refer to Sunroof Window Replacement - Rear .
- Install the sunroof window to the front. Refer to Sunroof Window Replacement - Front .
- Adjust the window panel . Refer to Sunroof Window Height and Opening Fit Adjustment .
- Inspect sunroof for proper operation.

Press the seal firmly into the channel until fully seated.

Important: Ensure that the seal is properly seated around the entire perimeter of the frame.
| • | Open the sunroof and inspect the four corners of the seal for puckers or dimples. |
| • | Repair the corners by pulling the seal tight and refitting to the frame. |
| • | If the sunroof window seal is above the roof line it must be refitted into the frame and seated. |
Sunroof Window Seal Replacement CF5
Removal Procedure
- Remove the sunroof window panel. Refer to Sunroof Window Replacement .
- Remove the seal from the window panel frame by pulling the seal away at one point and continuing around the perimeter of the frame.
- Wipe the perimeter of the frame area with a clean, dampened cloth using window cleaner GM P/N 1050427 (Canadian P/N 992727) or equivalent in order to clean the surface of the perimeter.

Allow to air dry.
Installation Procedure
- Using a clean dampened cloth wipe the seal with a small amount of the same window cleaner in order to ease installation.
- Position the sunroof window panel seal onto the window frame, locating the starting end of the seal at the relief notch in the center of the passenger side of the frame.
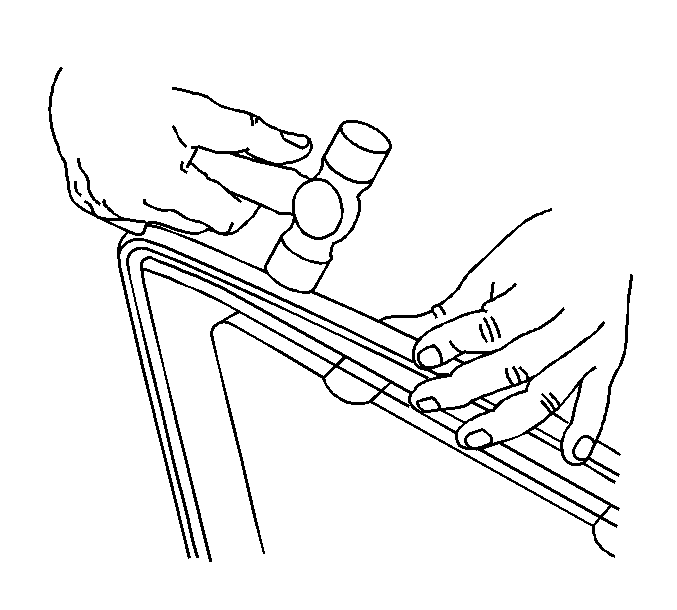
- Firmly press the window seal into place. A small rubber hammer will help in the installation.
- Install the sunroof window panel. Refer to Sunroof Window Replacement .
- Adjust the window panel height. Refer to Sunroof Window Height and Opening Fit Adjustment .
- Inspect sunroof for proper operation.

Important: Ensure that the seal is properly seated around the entire perimeter of the window frame.
