IP/Dash Trim Misalignment (Loosen and Realign)

| Subject: | IP/Dash Trim Misalignment (Loosen and Realign) |
| Models: | 2007 Saturn Aura |
Condition
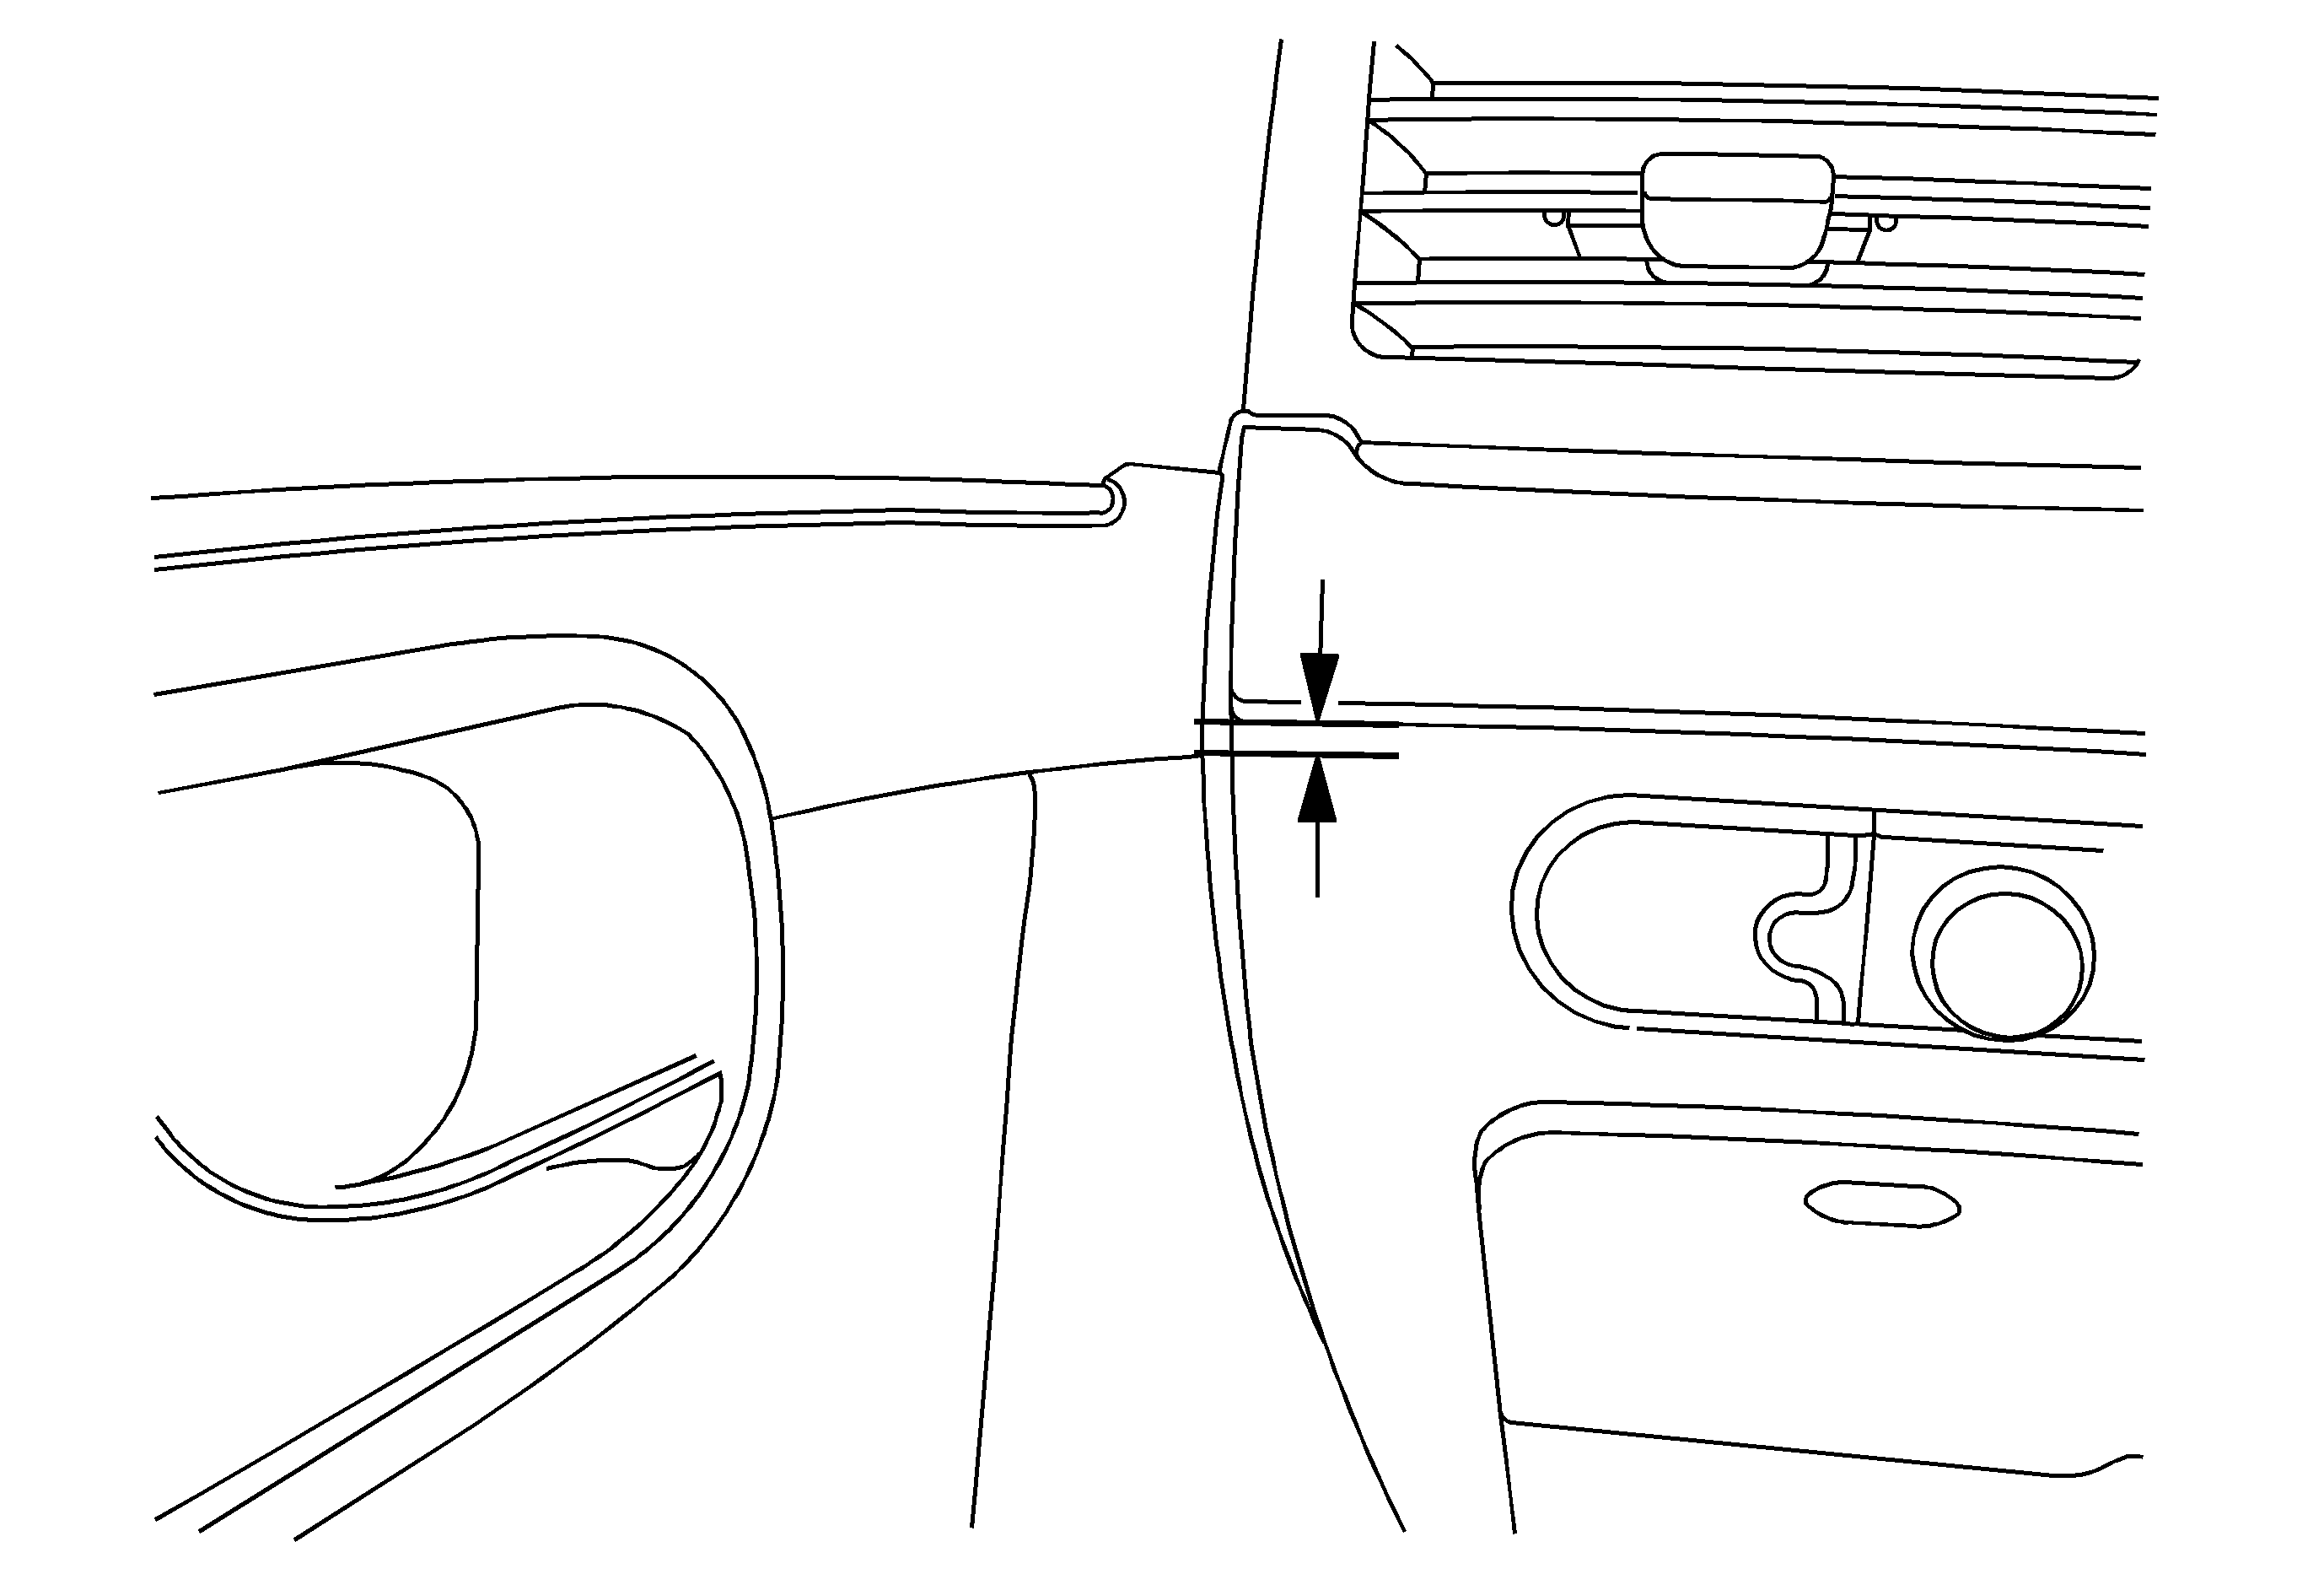
Some customers may comment that the I/P trim does not align with the front door trim panel.
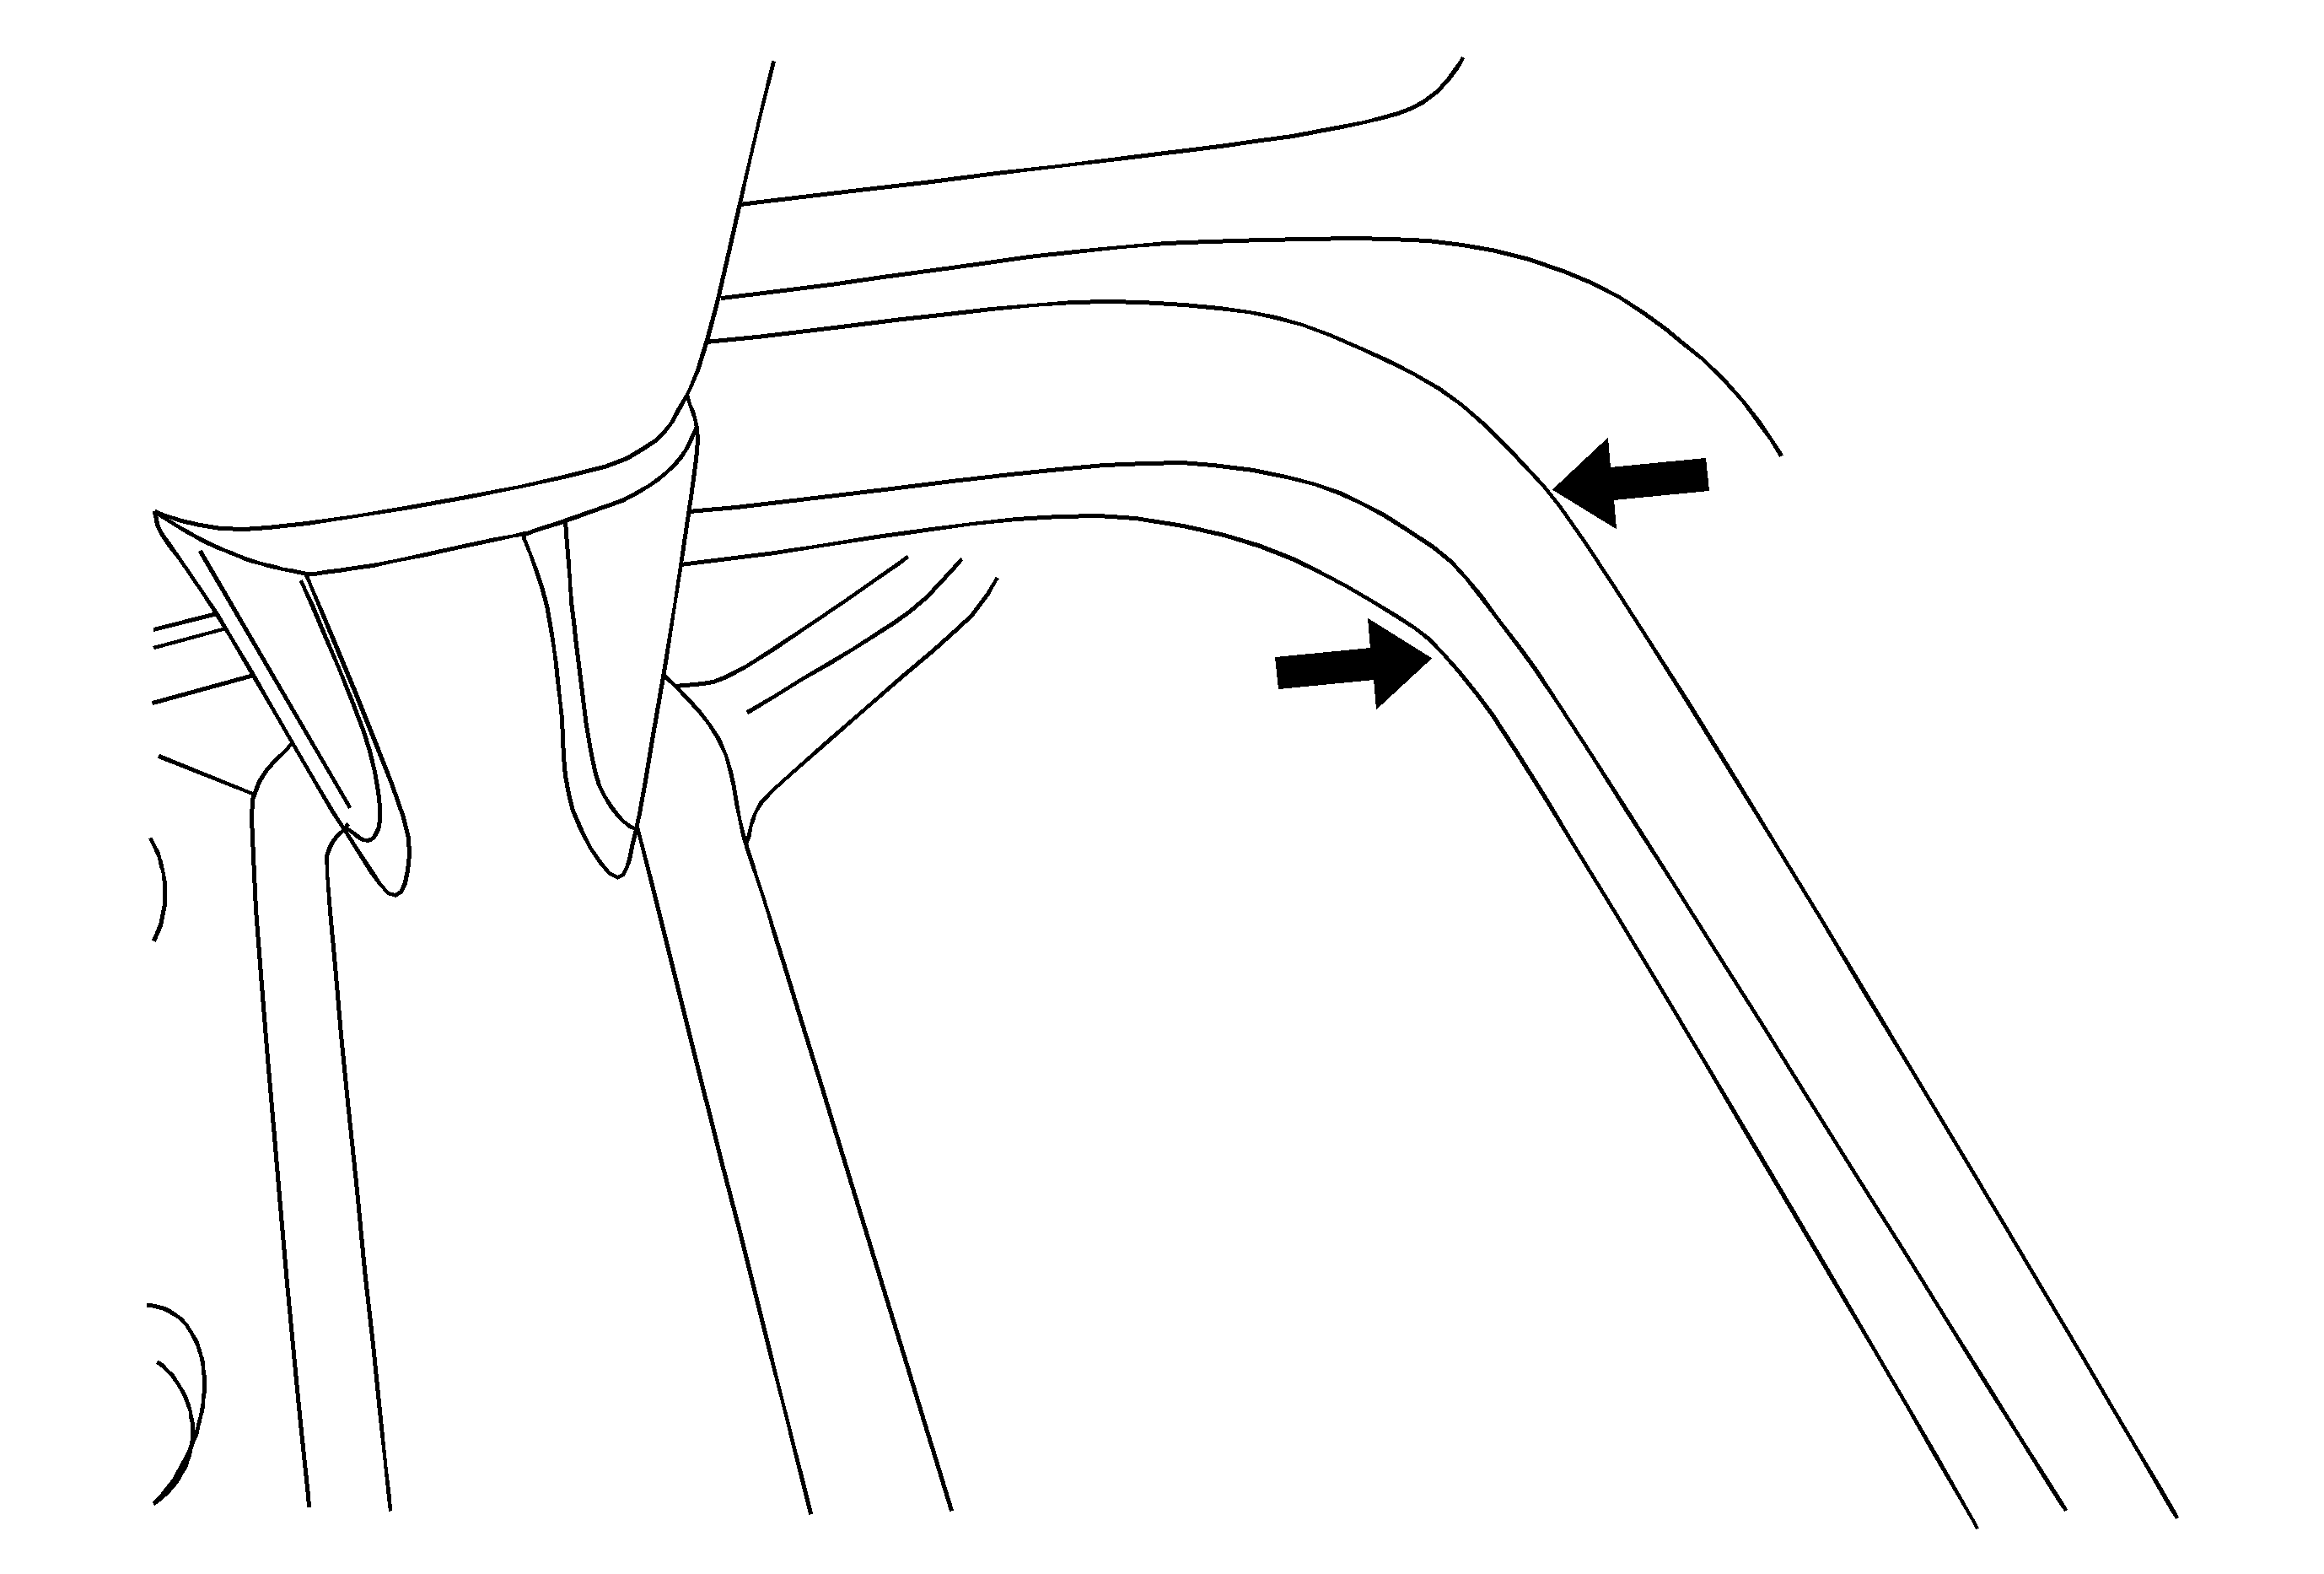
They may also comment on the fit of the shifter bezel to the console.
Cause
During the installation of the dash assembly, the bolts that attach the I/P to the vehicle were installed in an order that secured the fore aft position prior to the vertical position.
Correction
This procedure may be effective for both left hand and right hand misalignments. Use the following procedure to loosen the I/P securing bolts in order to reposition the dash and then secure the retaining bolts in the order specified.
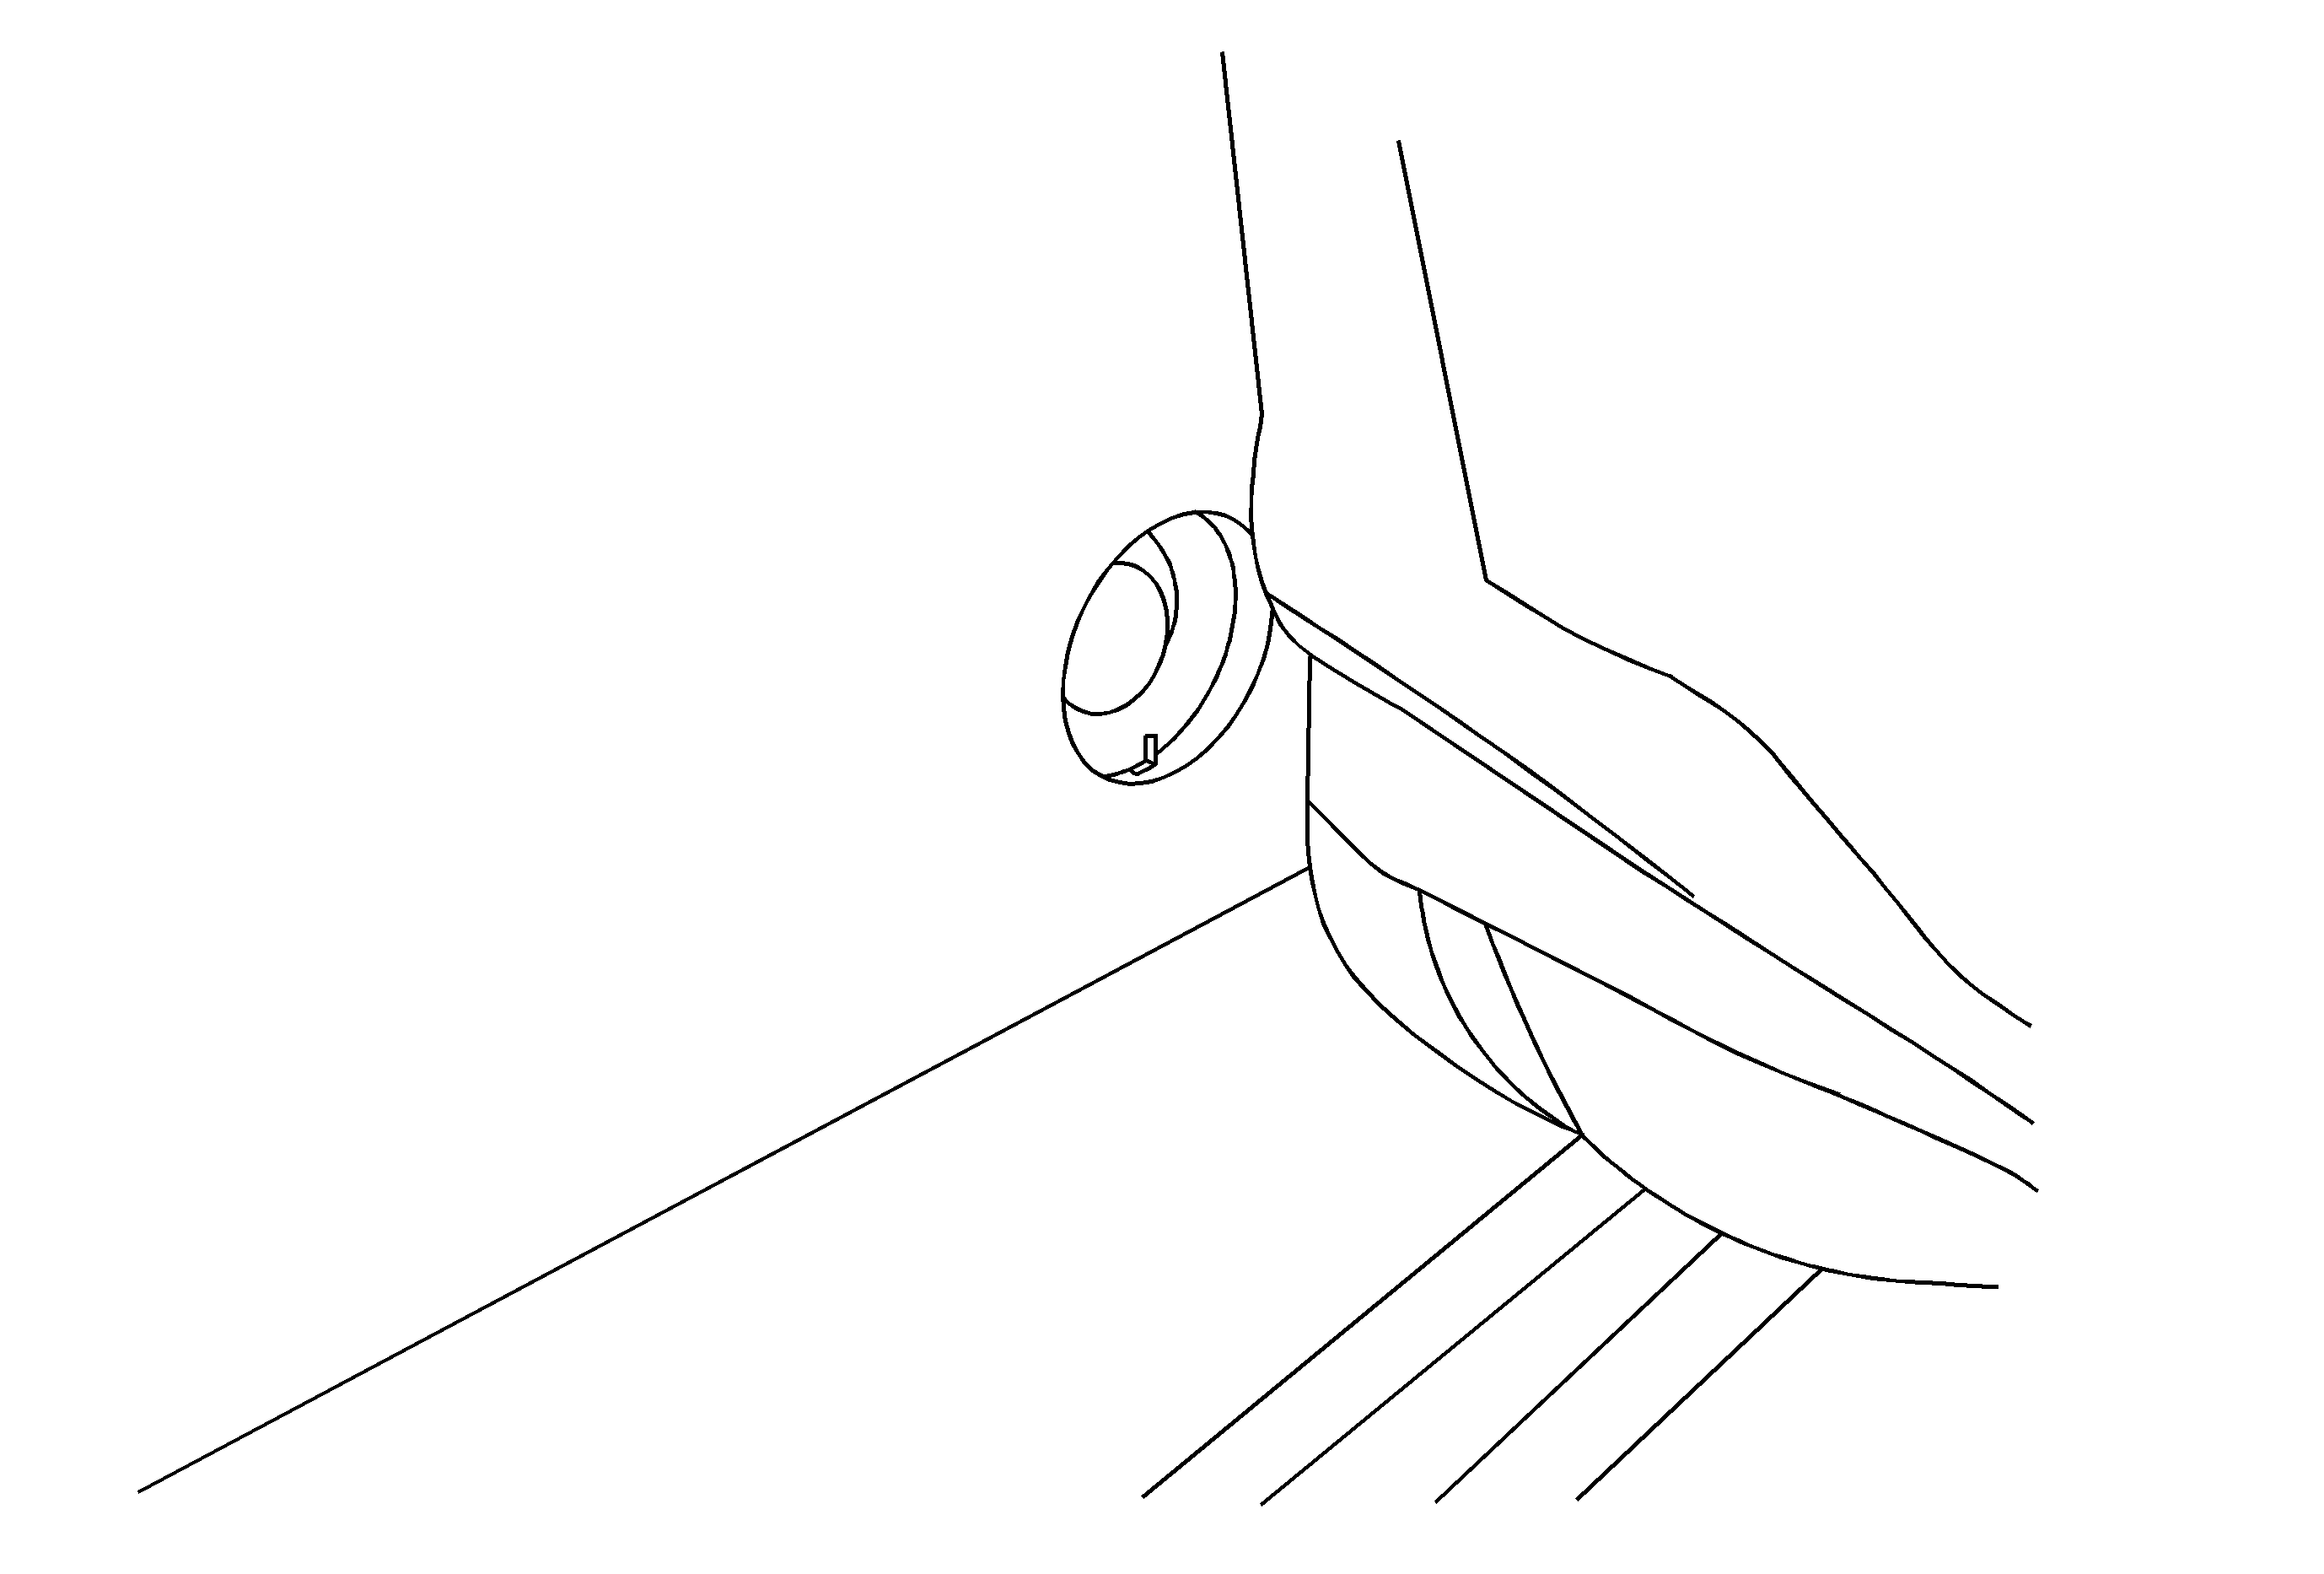
- Remove the I/P end caps. Refer to Instrument Panel Outer Trim Cover Replacement.
- Loosen the four I/P retaining screws on each side.
- Remove the A pillar garnish moldings. Refer to Windshield Pillar Garnish Molding Replacement.
- Remove the I/P upper trim panel. Refer to Instrument Panel Upper Trim Panel Replacement.
- Remove the console side covers. Refer to Front Floor Console Side Trim Panel Replacement - Right Side and Front Floor Console Side Trim Panel Replacement - Left Side.
- Remove the caps and console secure bolts (one per side) behind the front seats. You do not need to remove seats - just slide it forward.
- Remove the shifter plate bezel and shifter surround trim in order to access the console secure screws. Refer to Front Floor Upper Console Trim Plate Replacement.
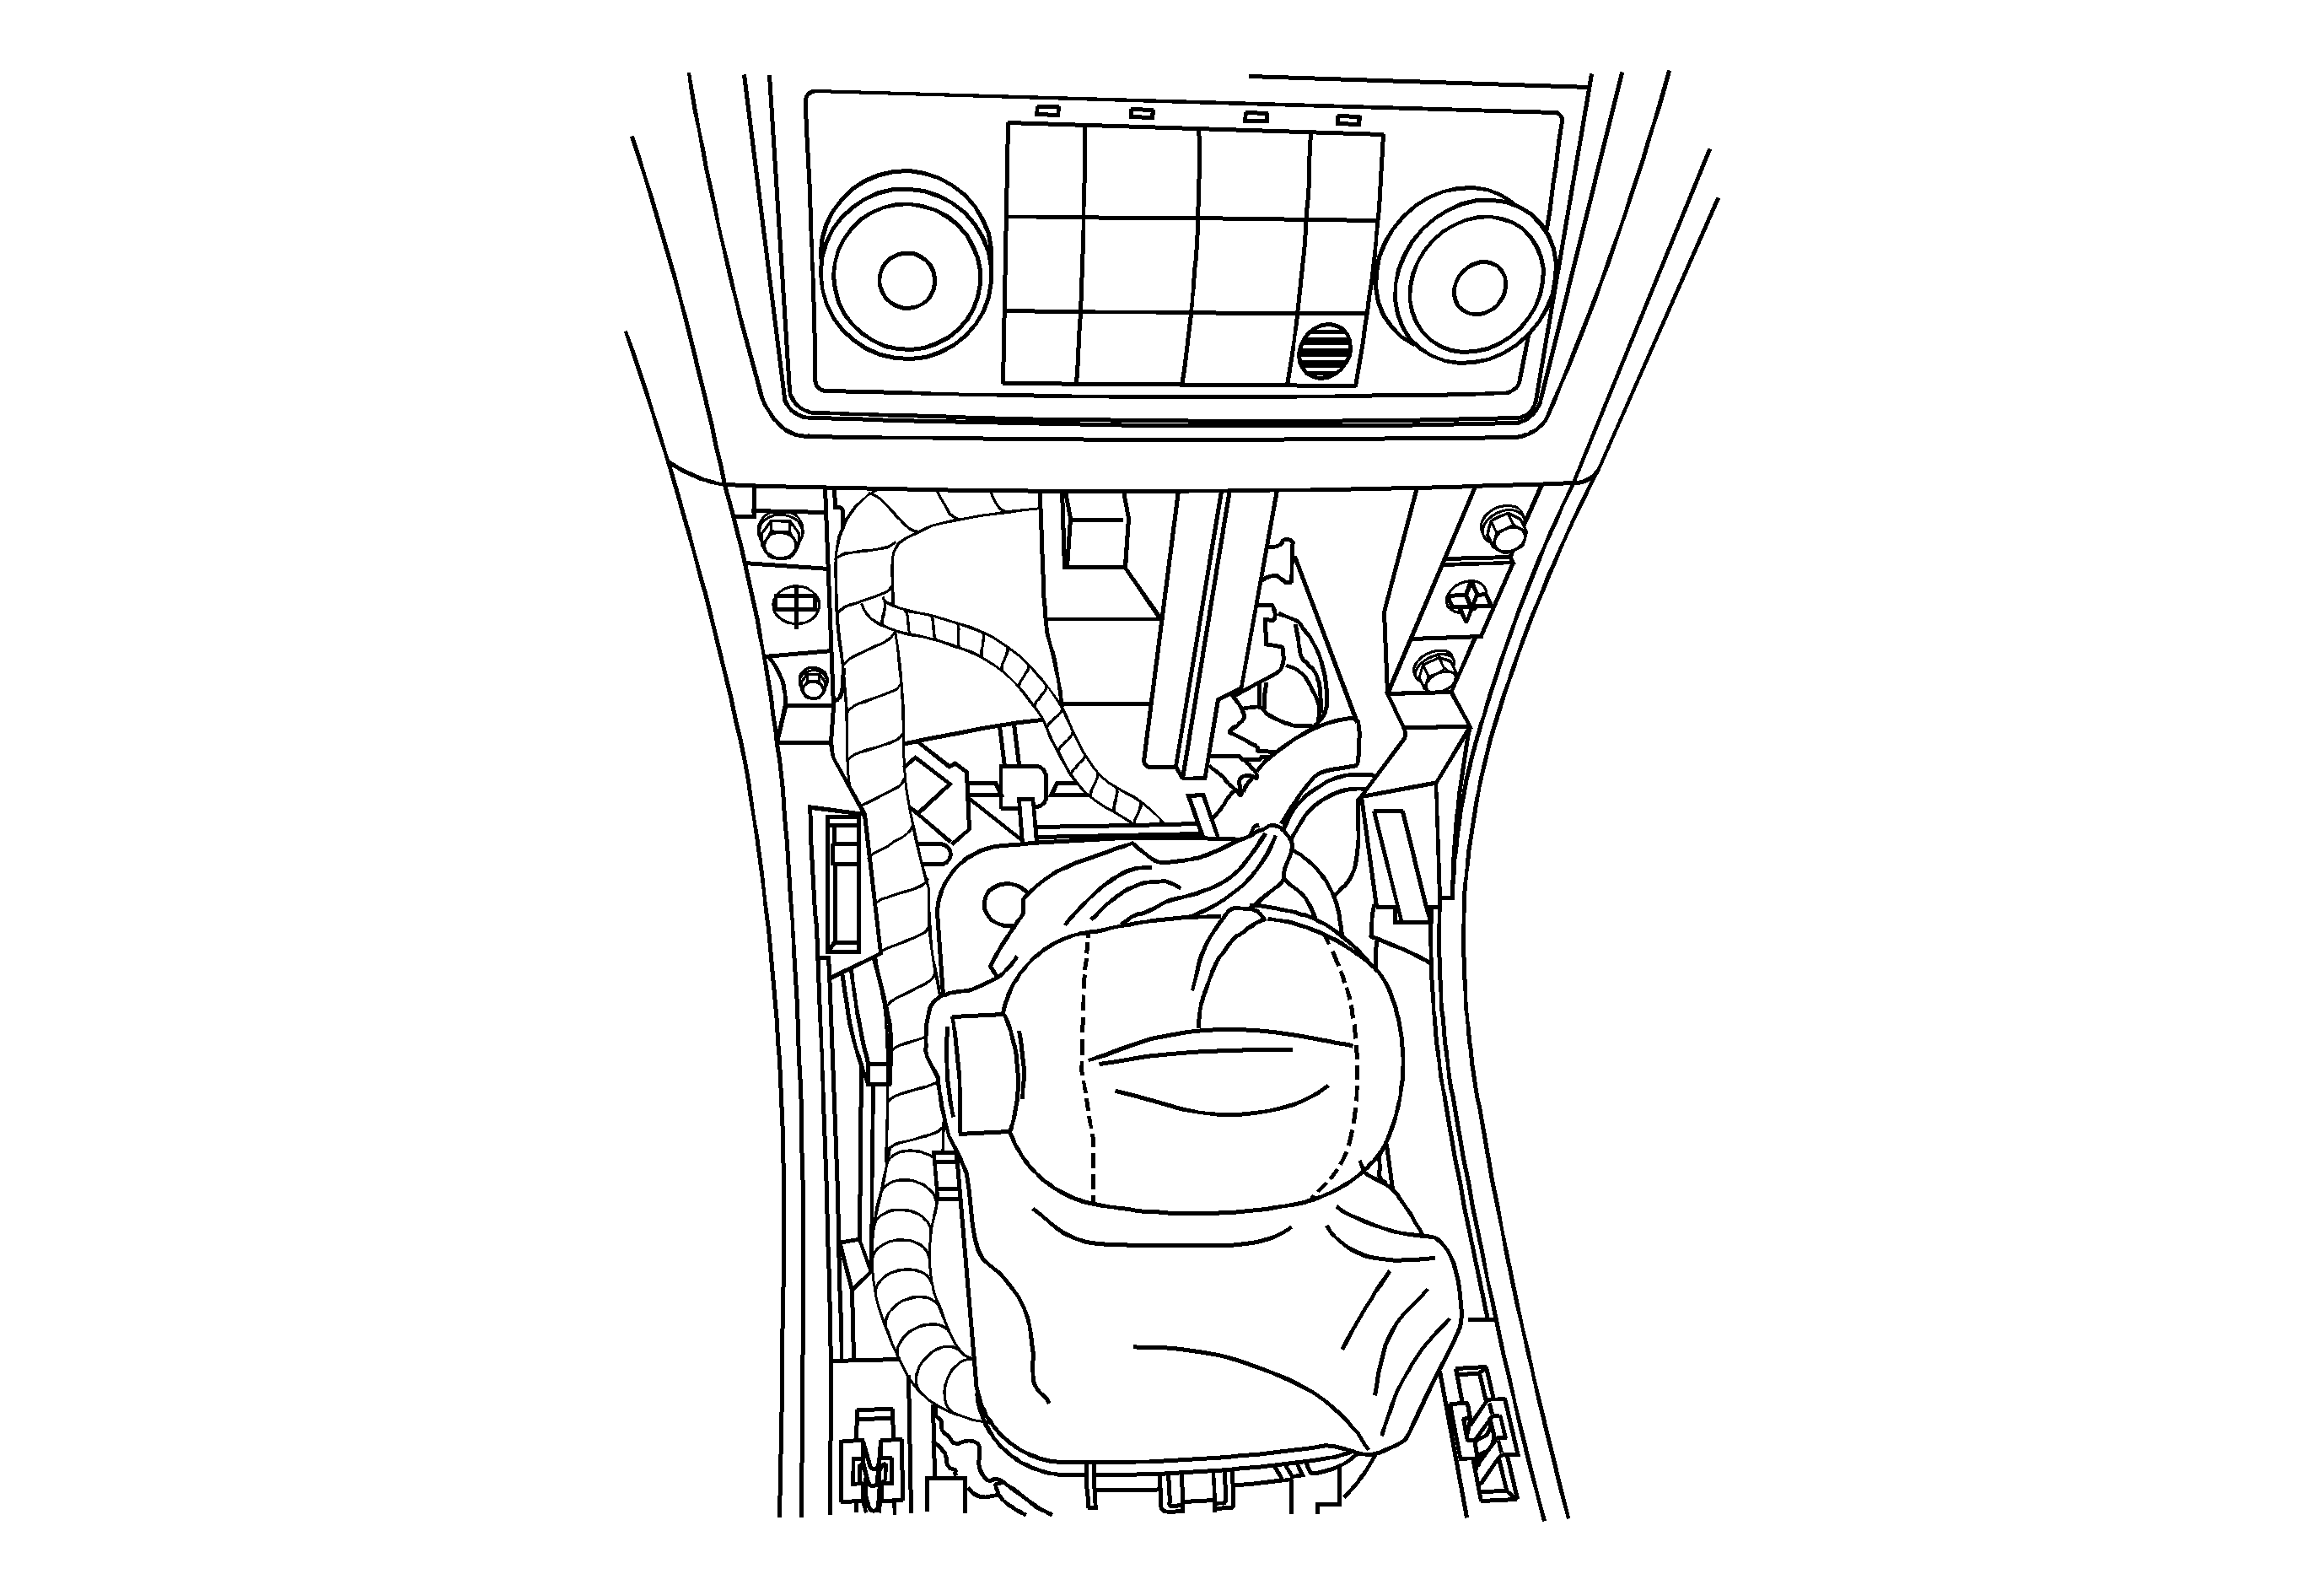
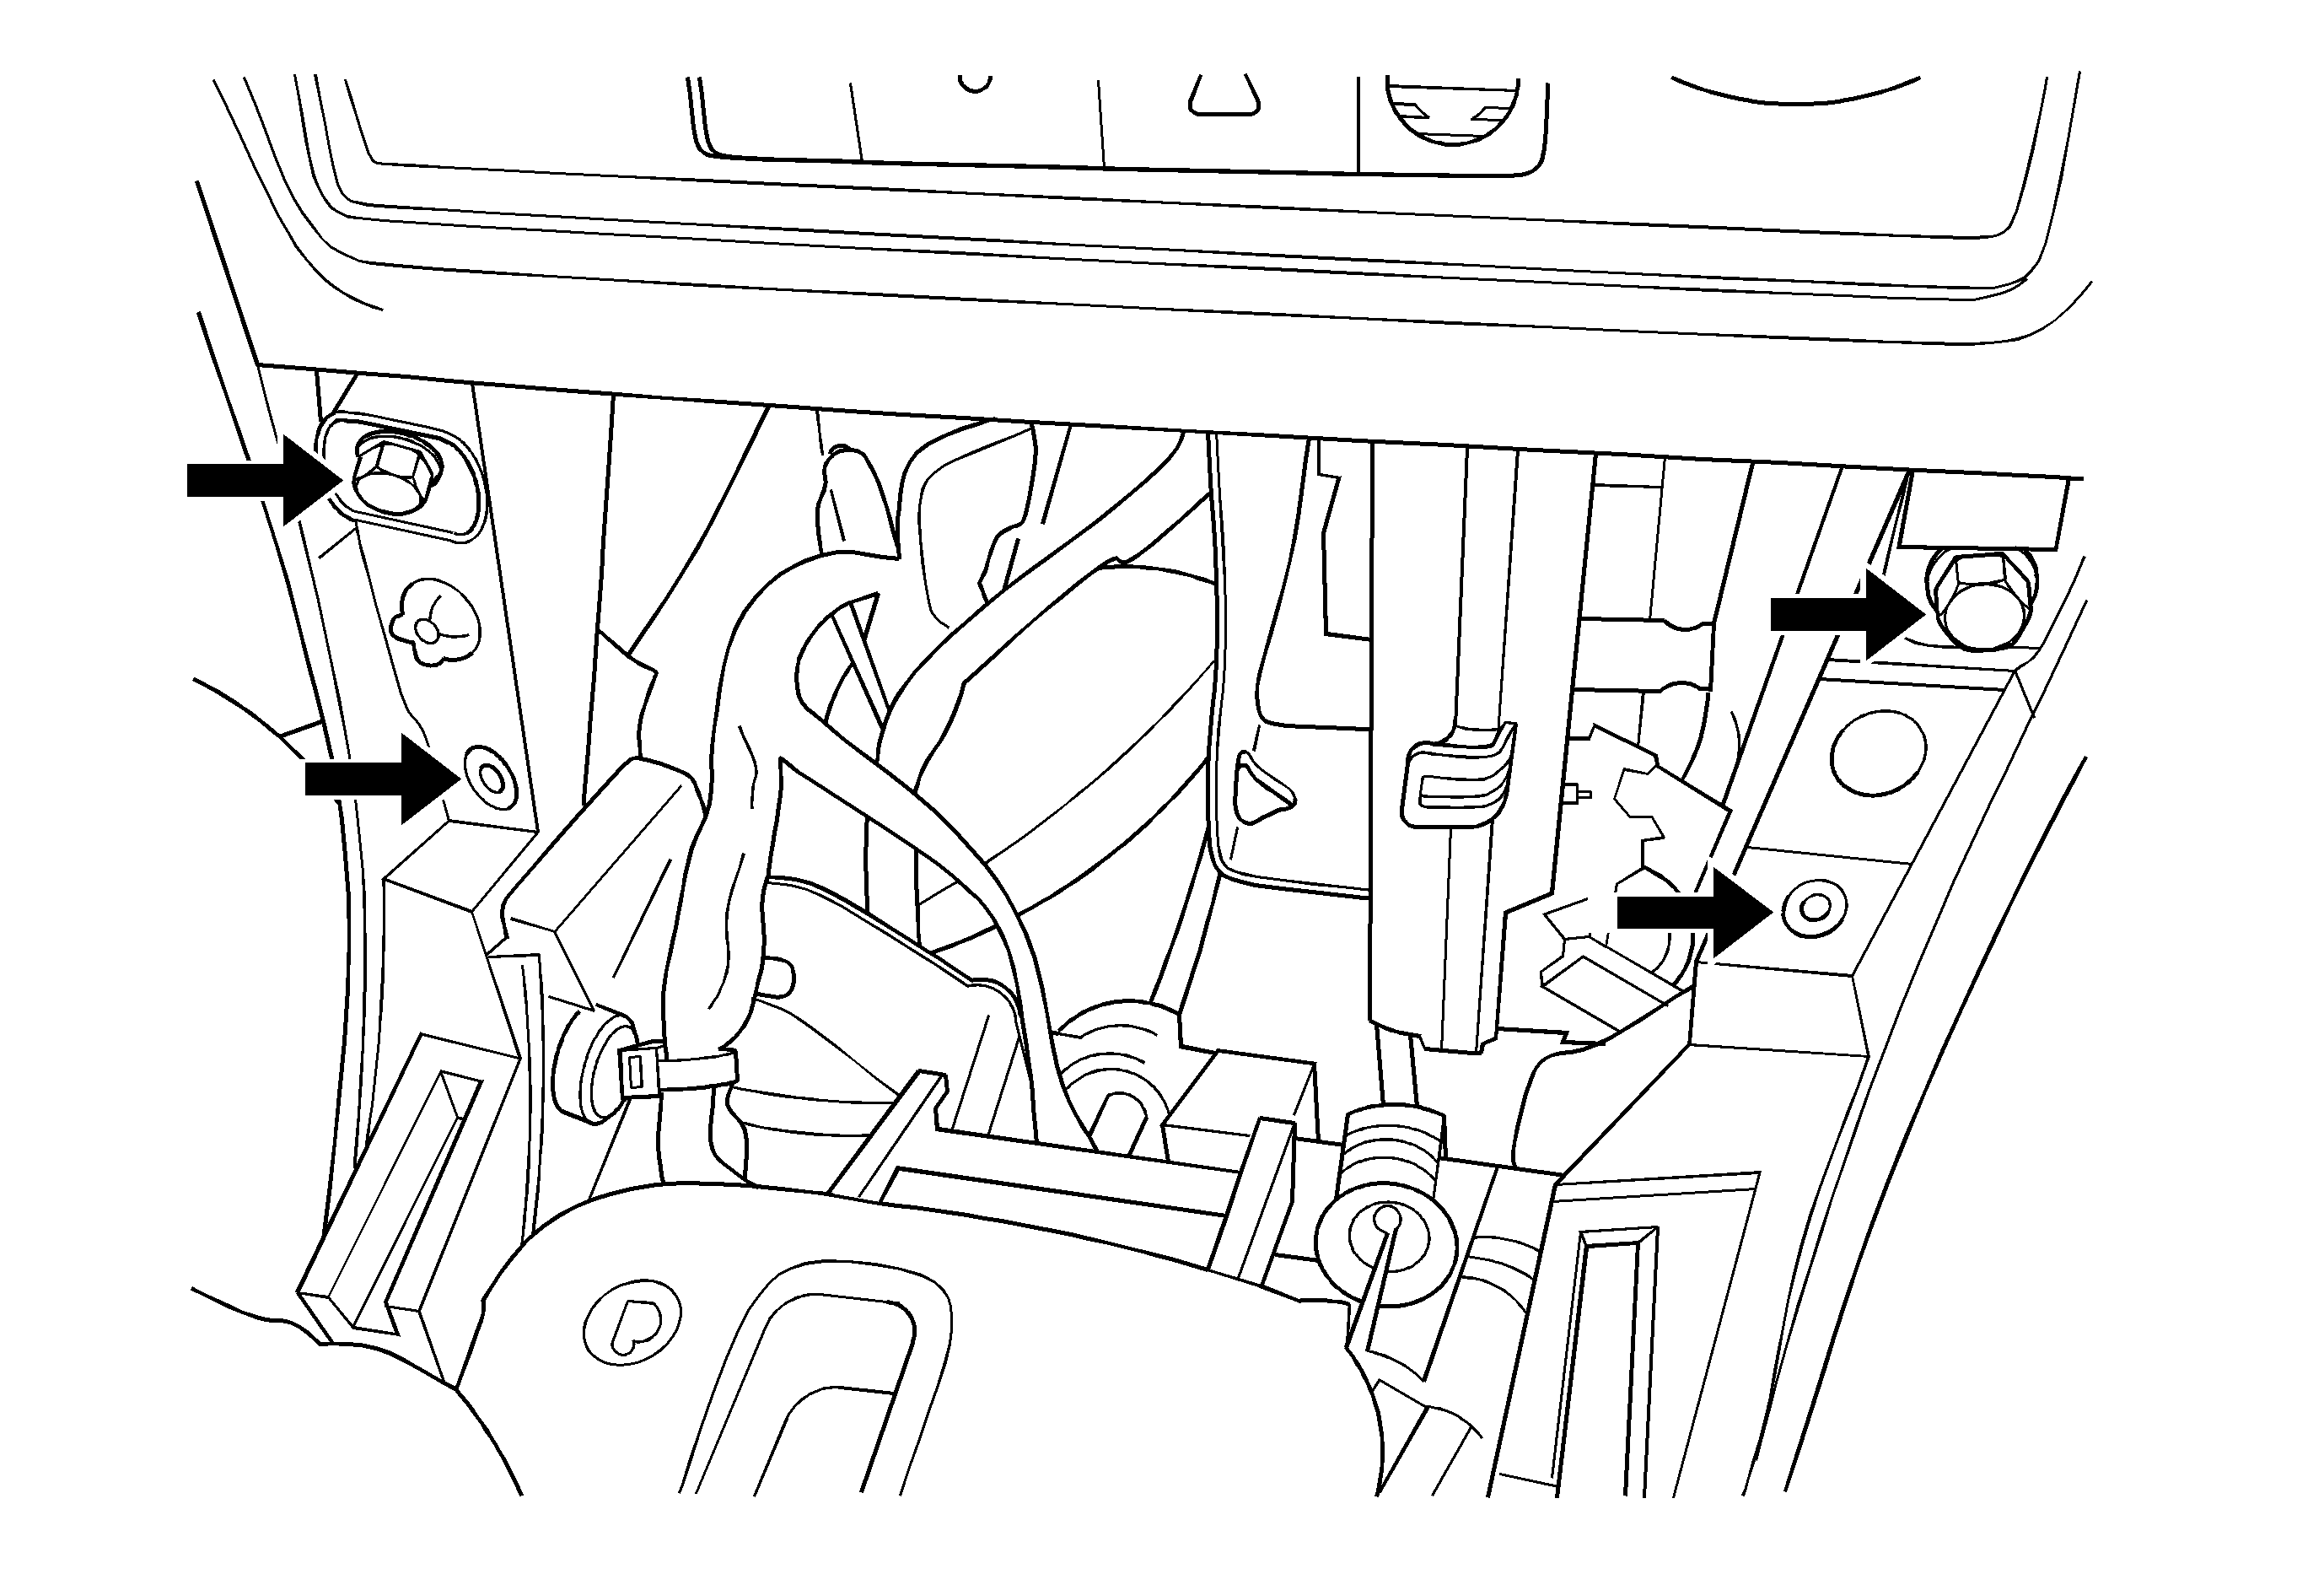
- Remove the console screws under the shifter plate in the four locations shown above.
- Remove the console secure screws under the side covers (two per side). Disconnect the cigarette lighter wire and pull the console back a few inches/millimeters.
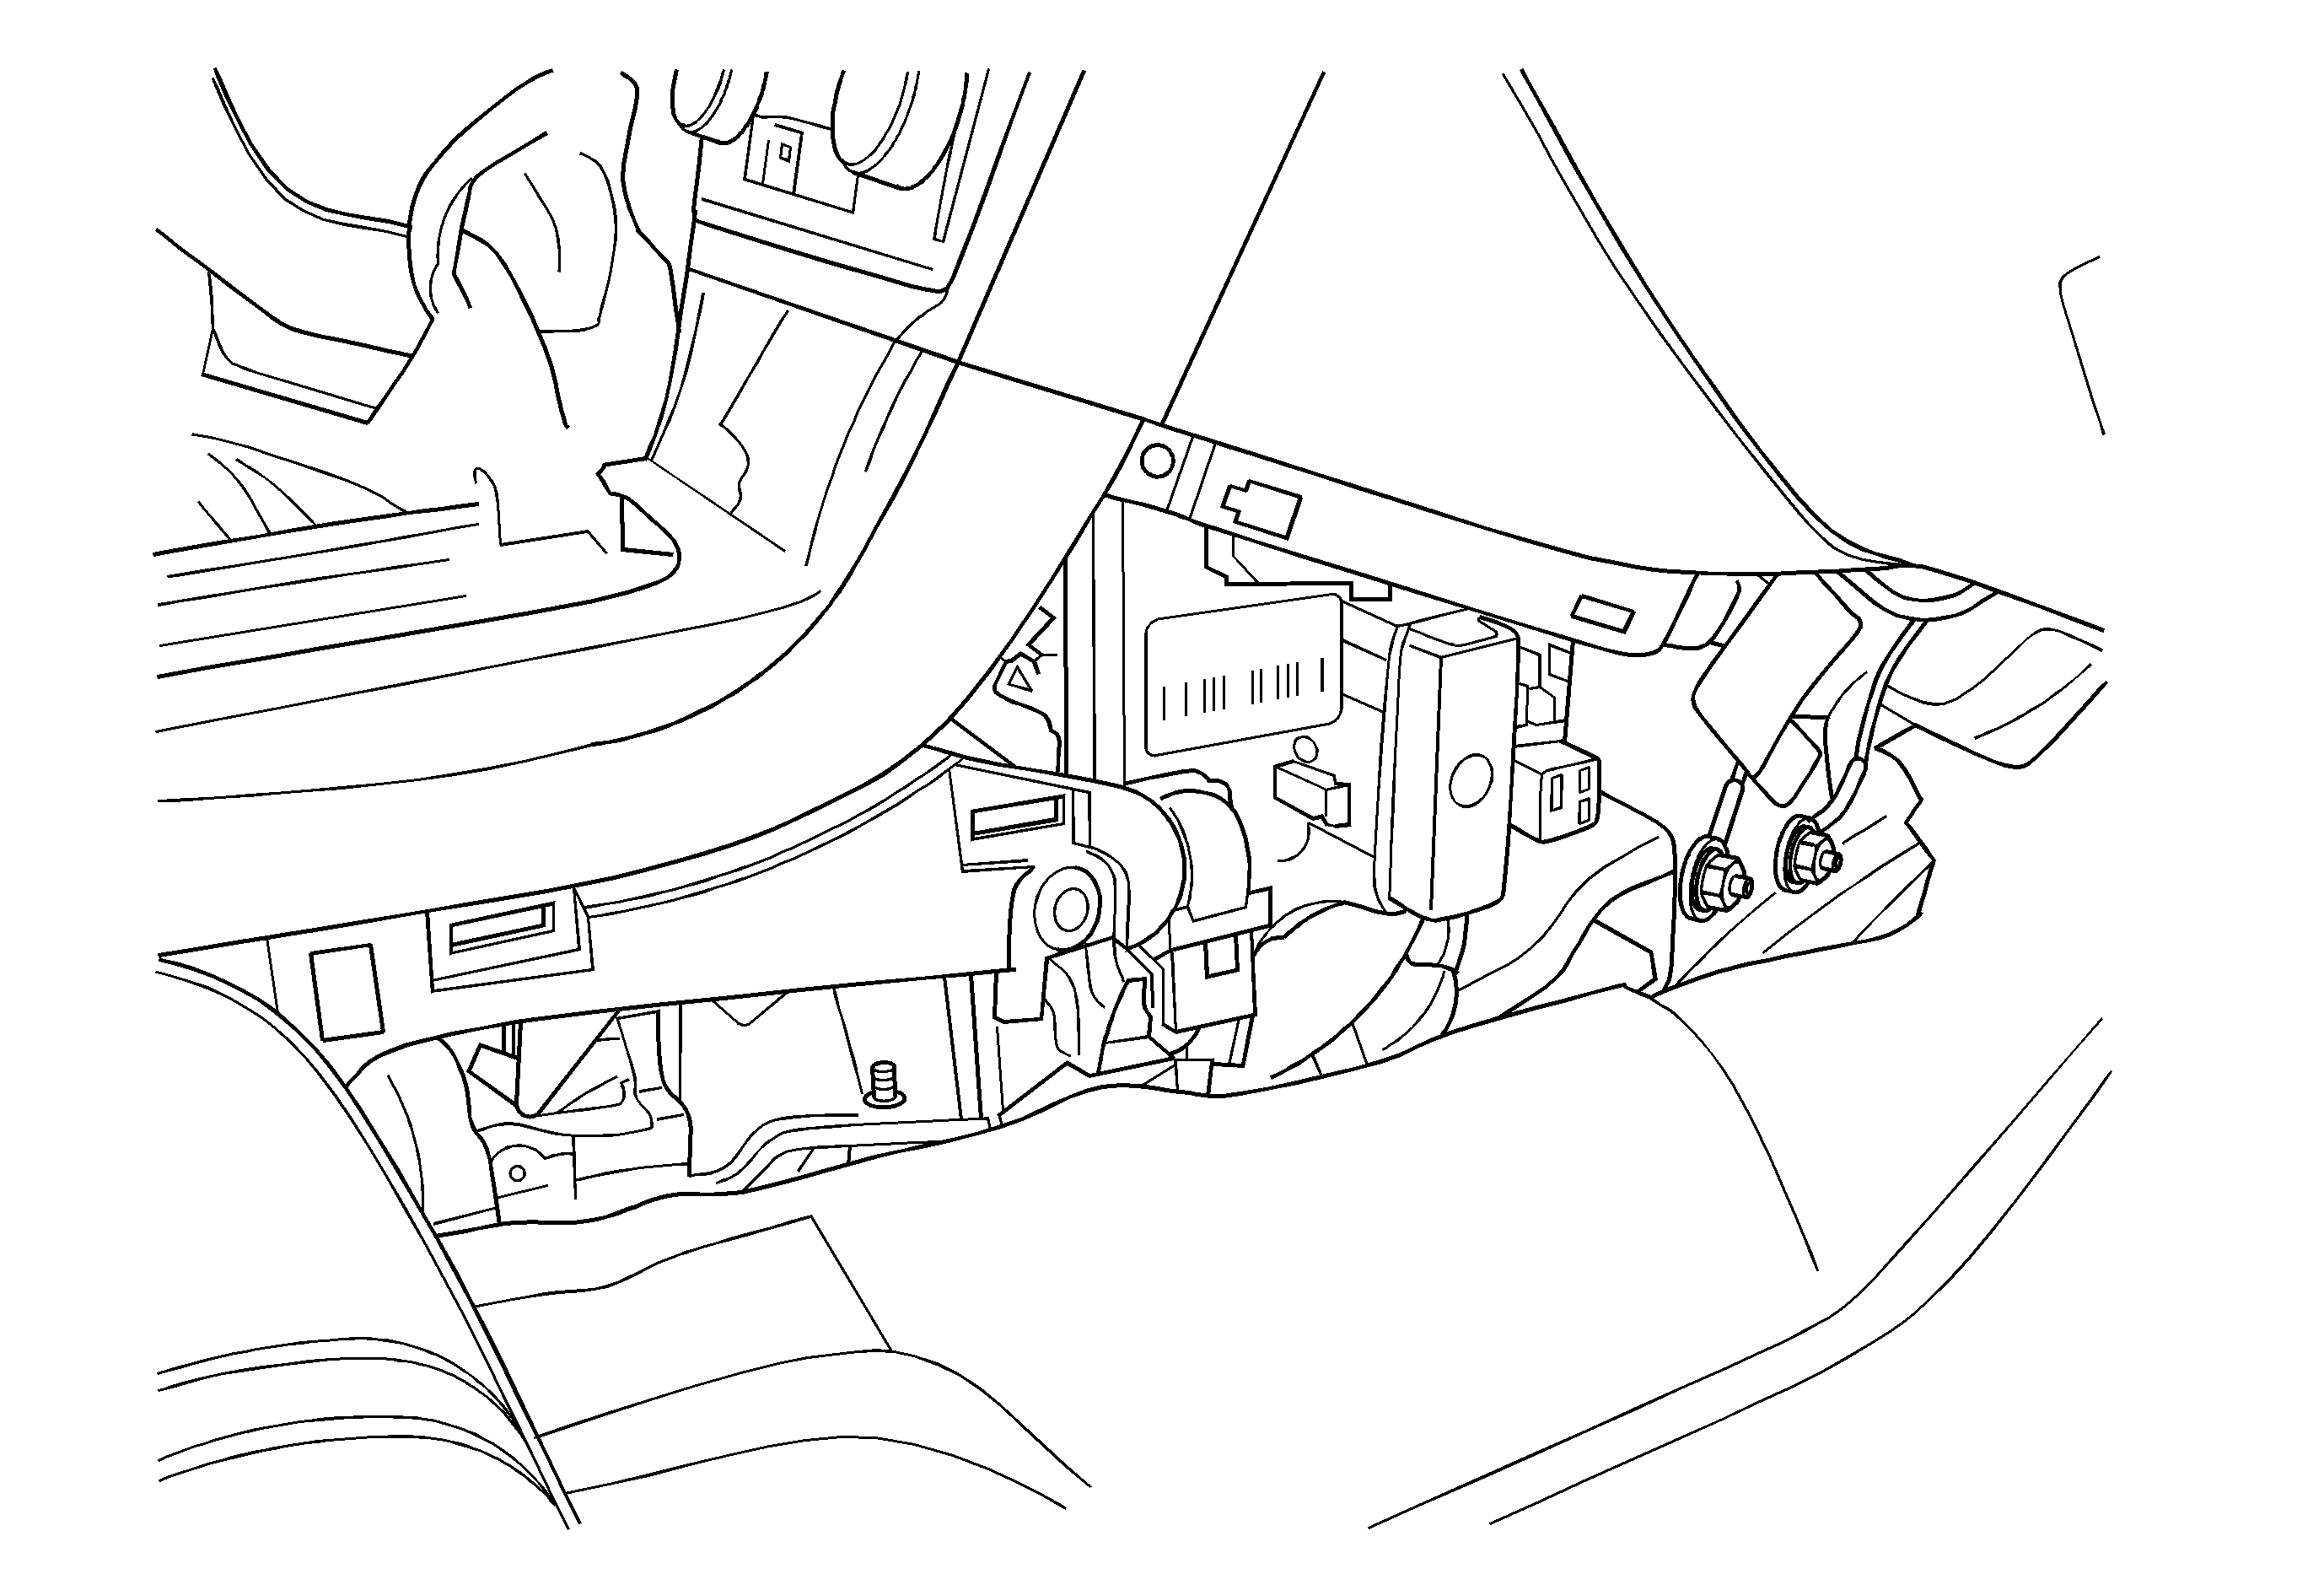
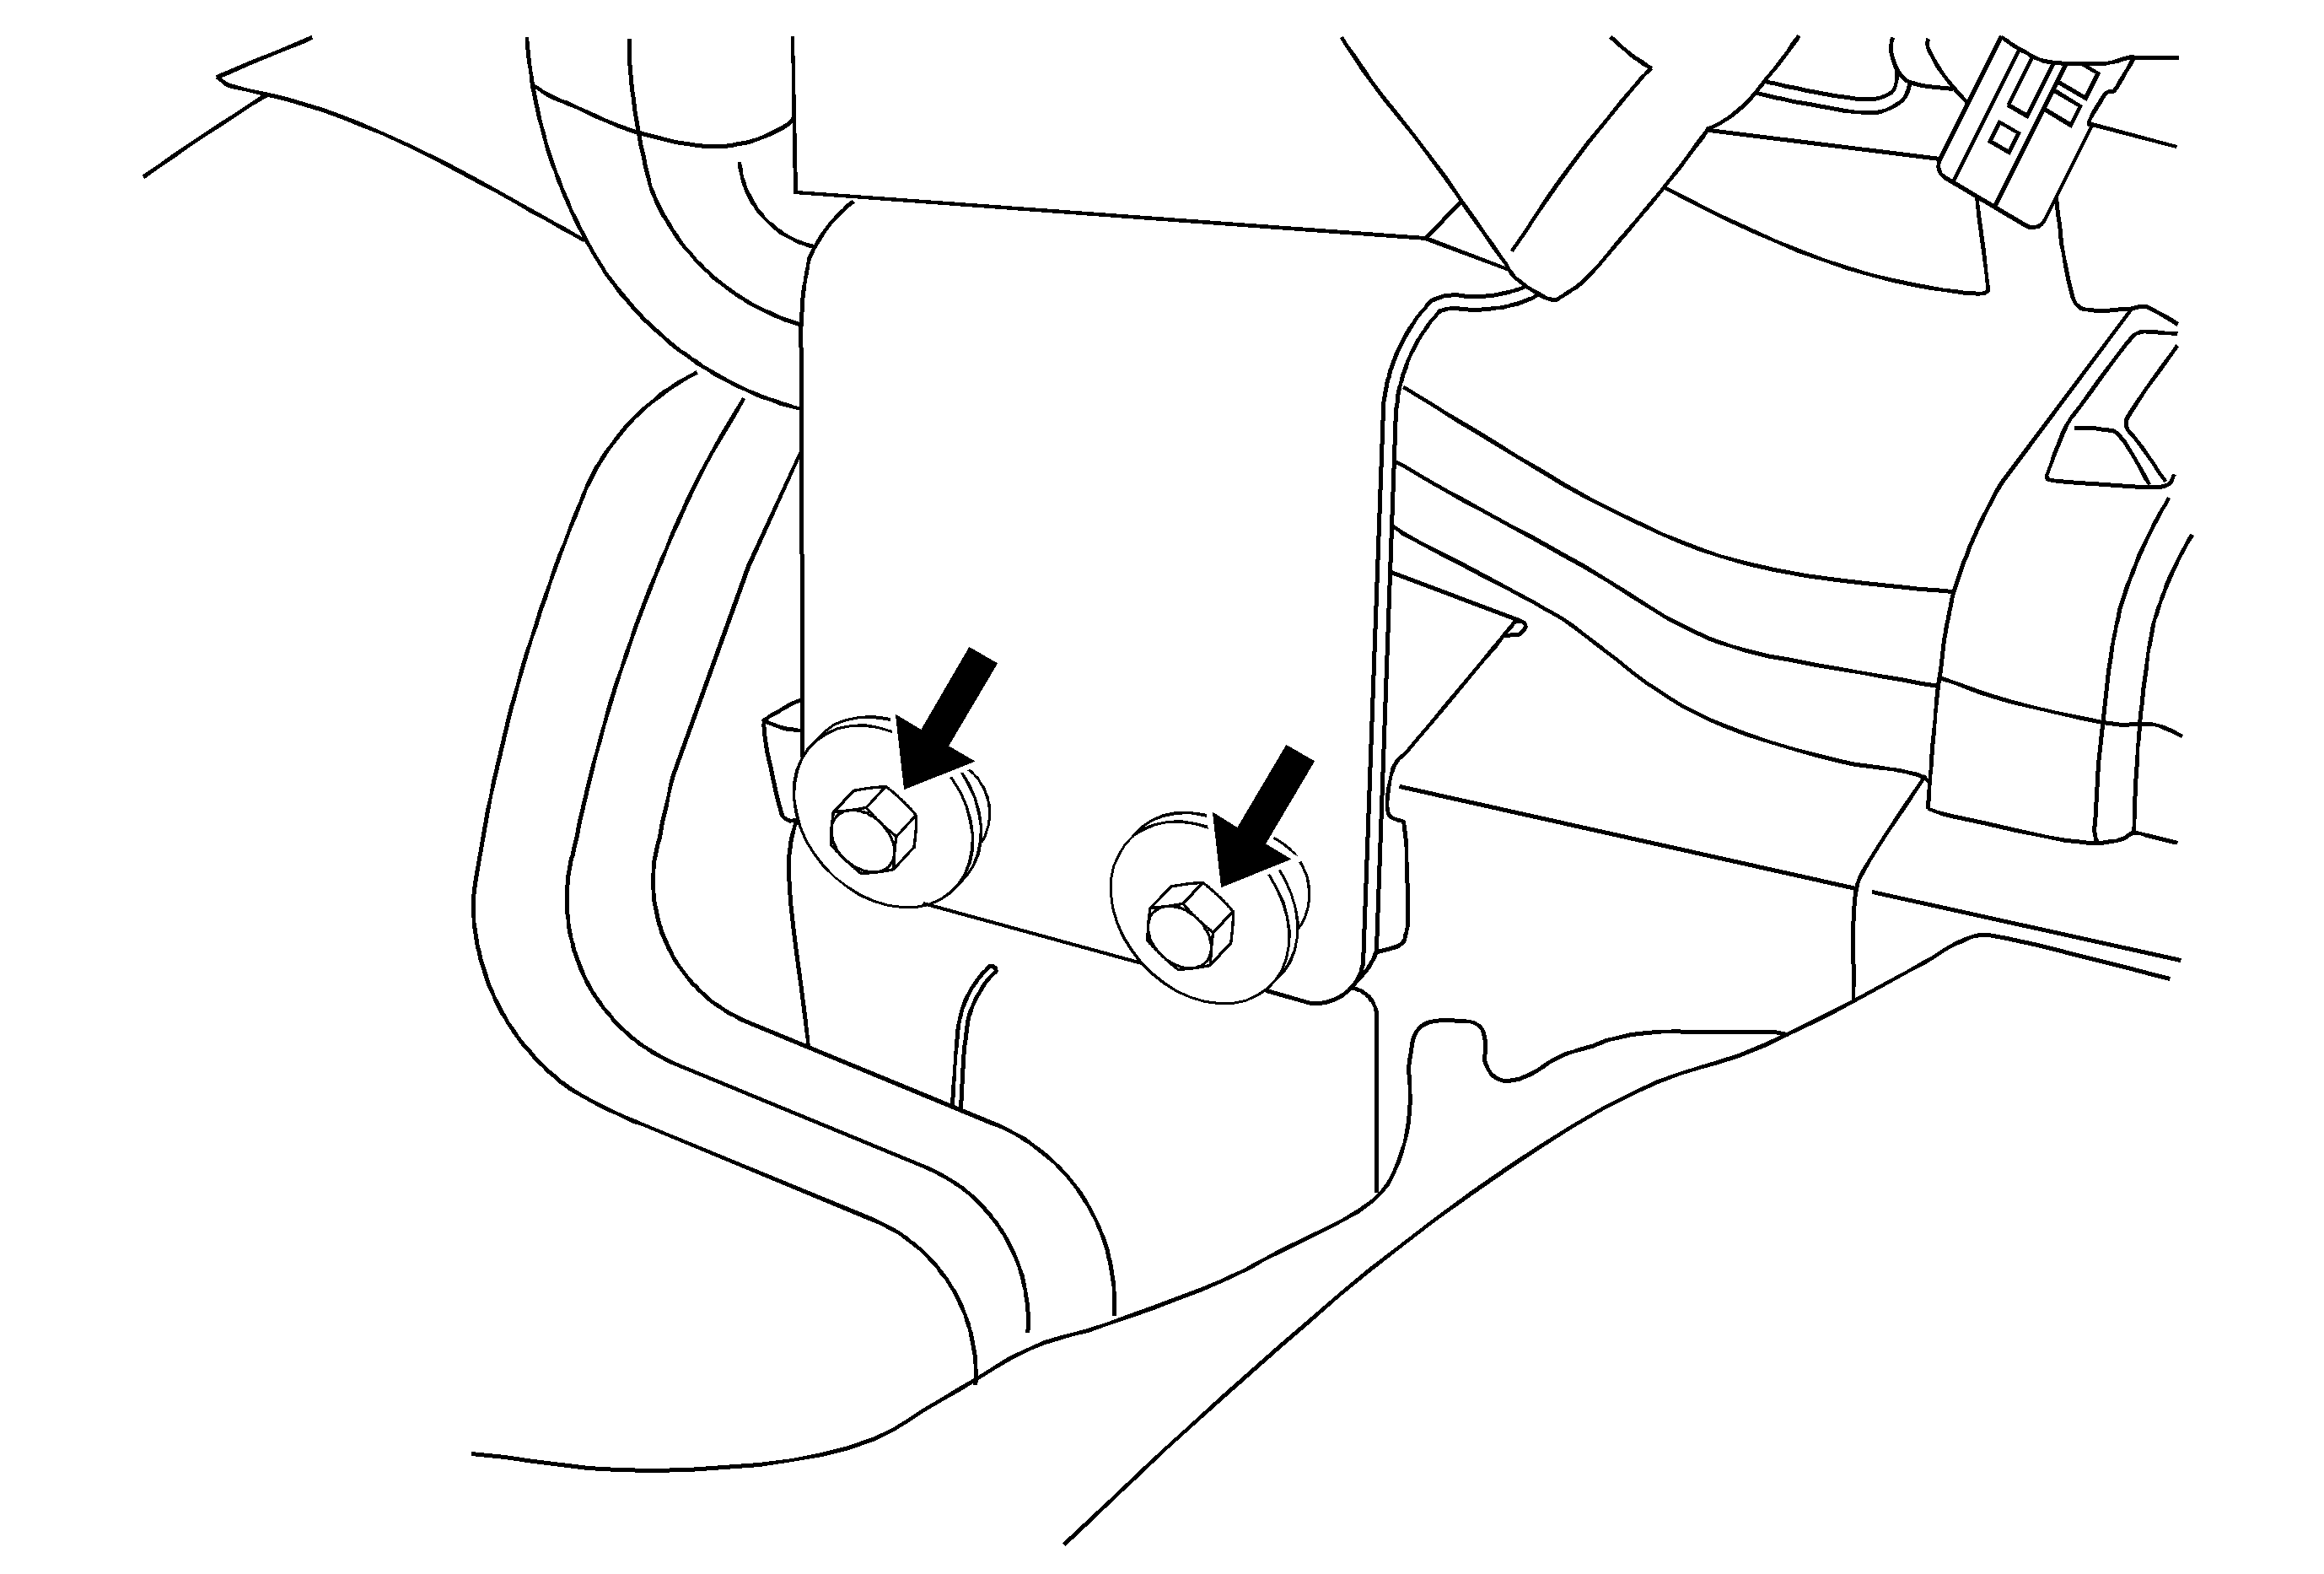
- Loosen, but do not remove, the bolts at the I/P to floor bracket (three on the passenger side, two on the driver side).
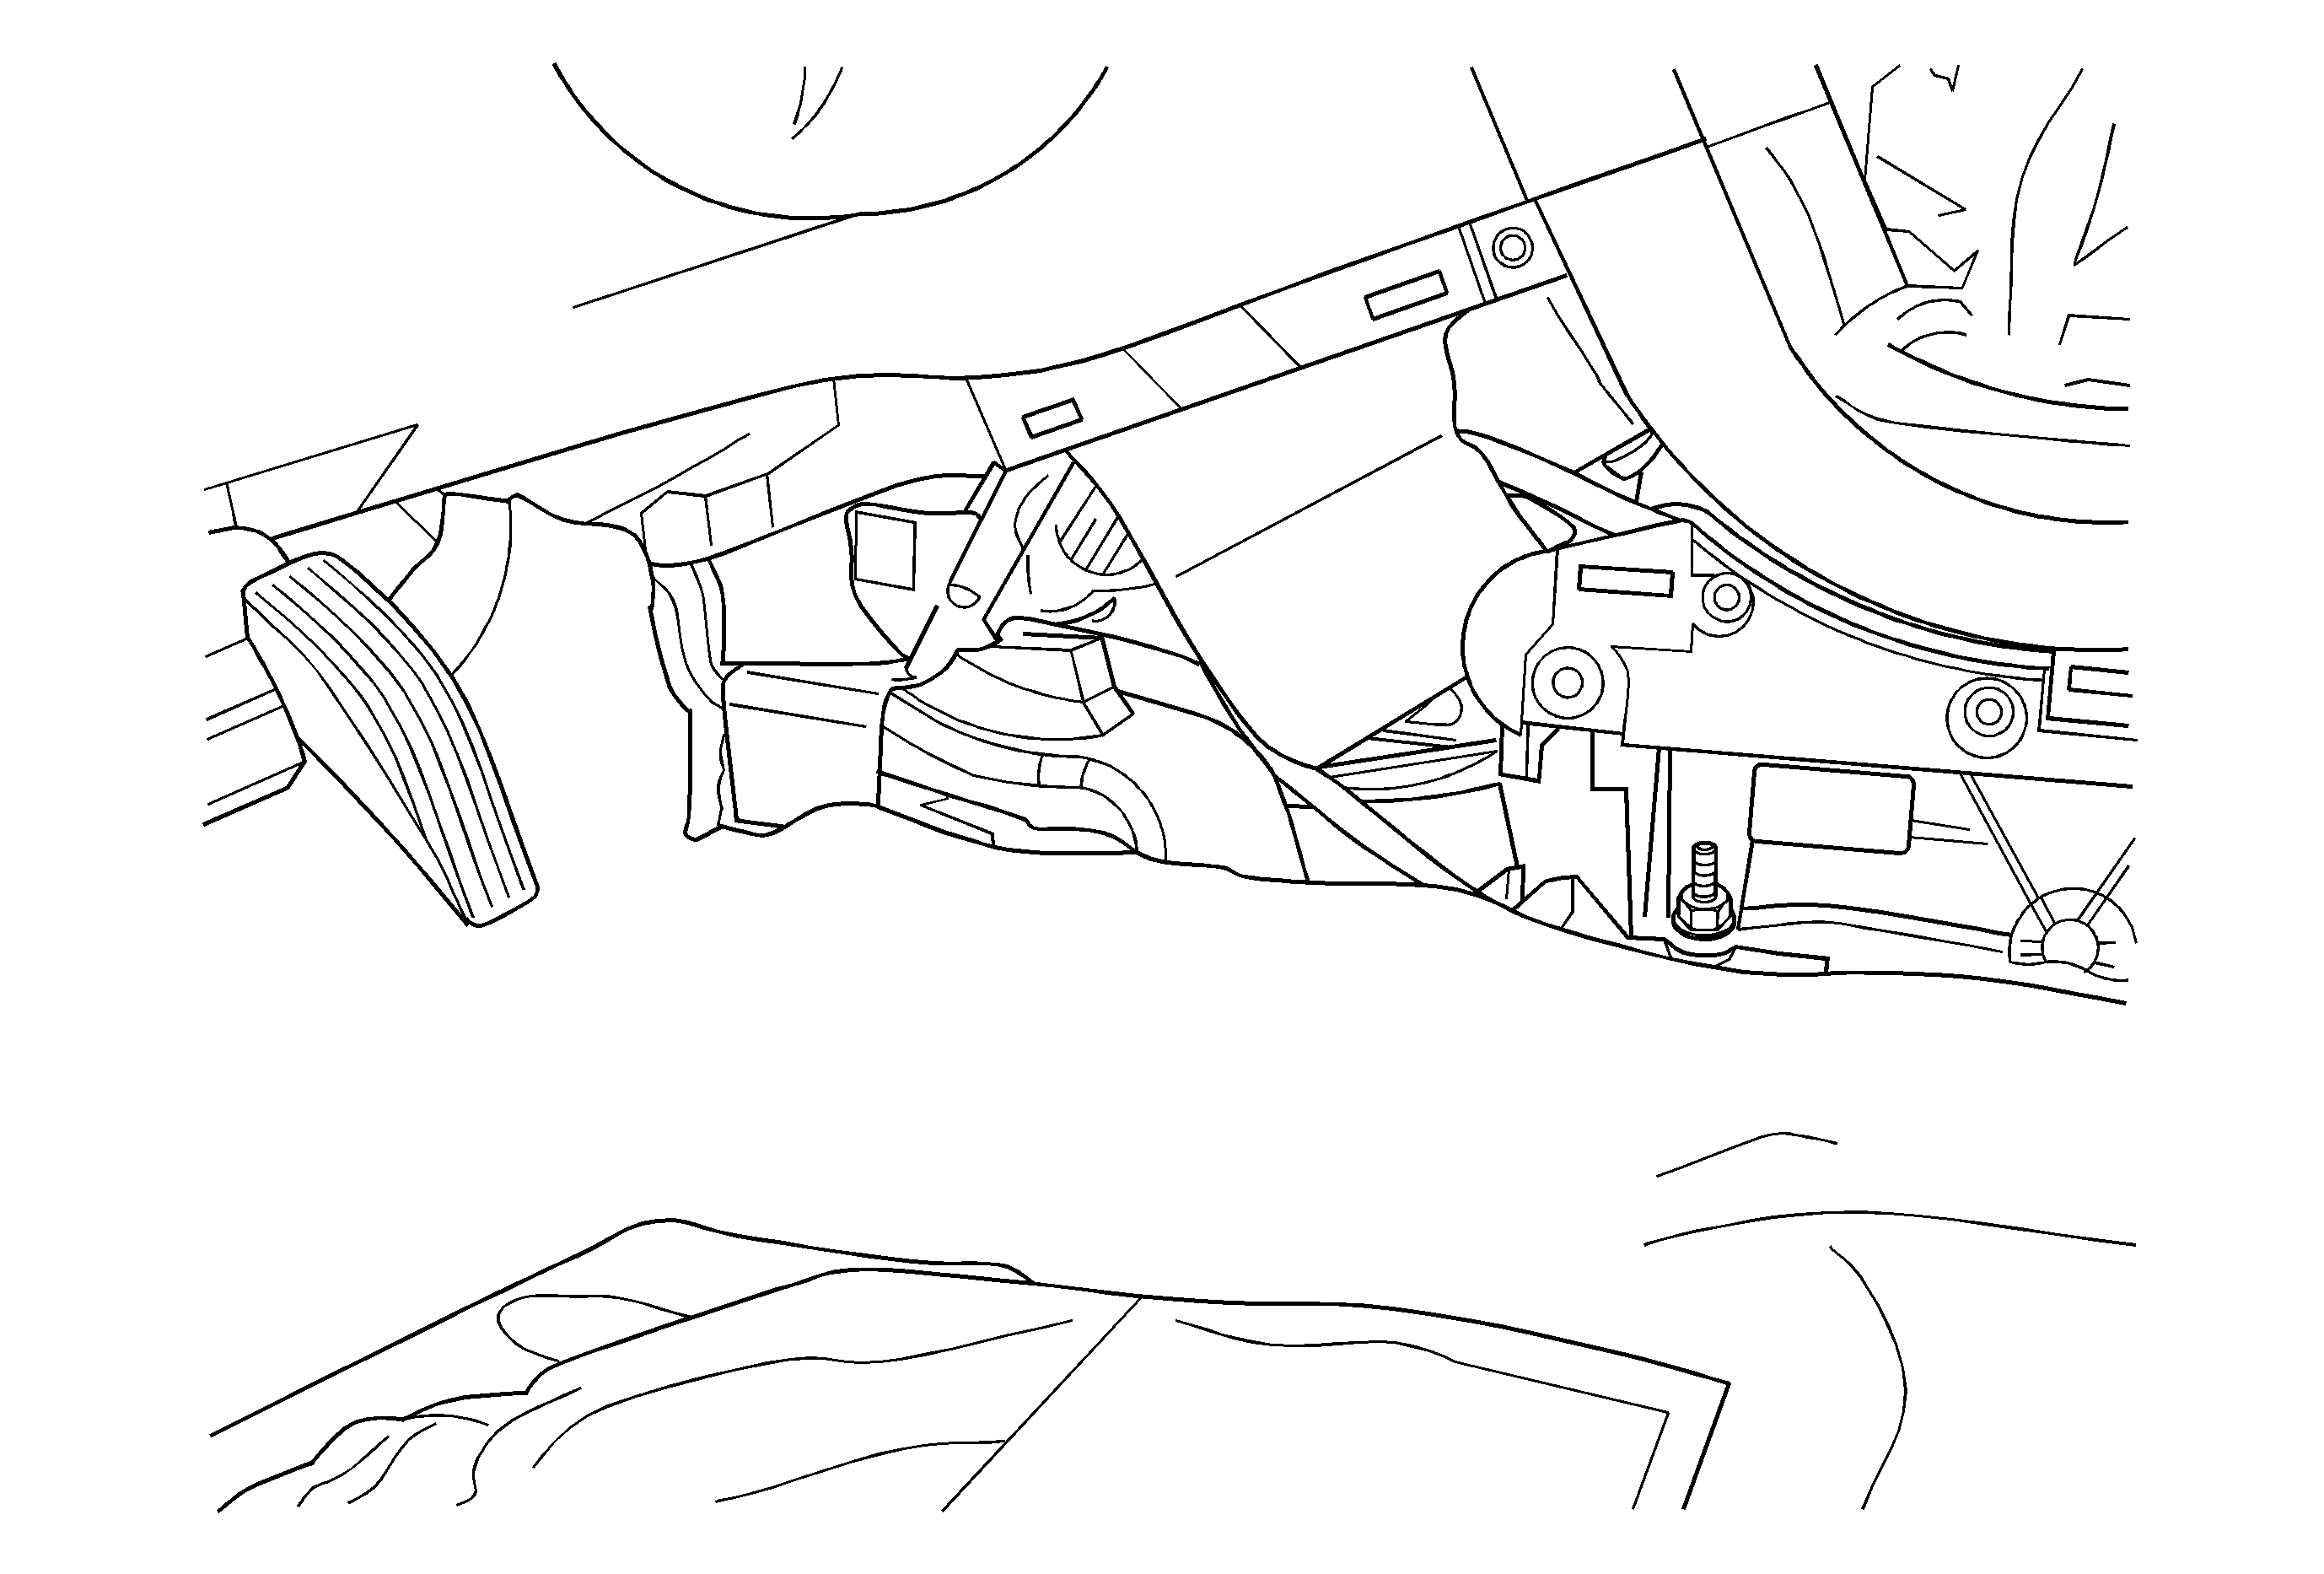
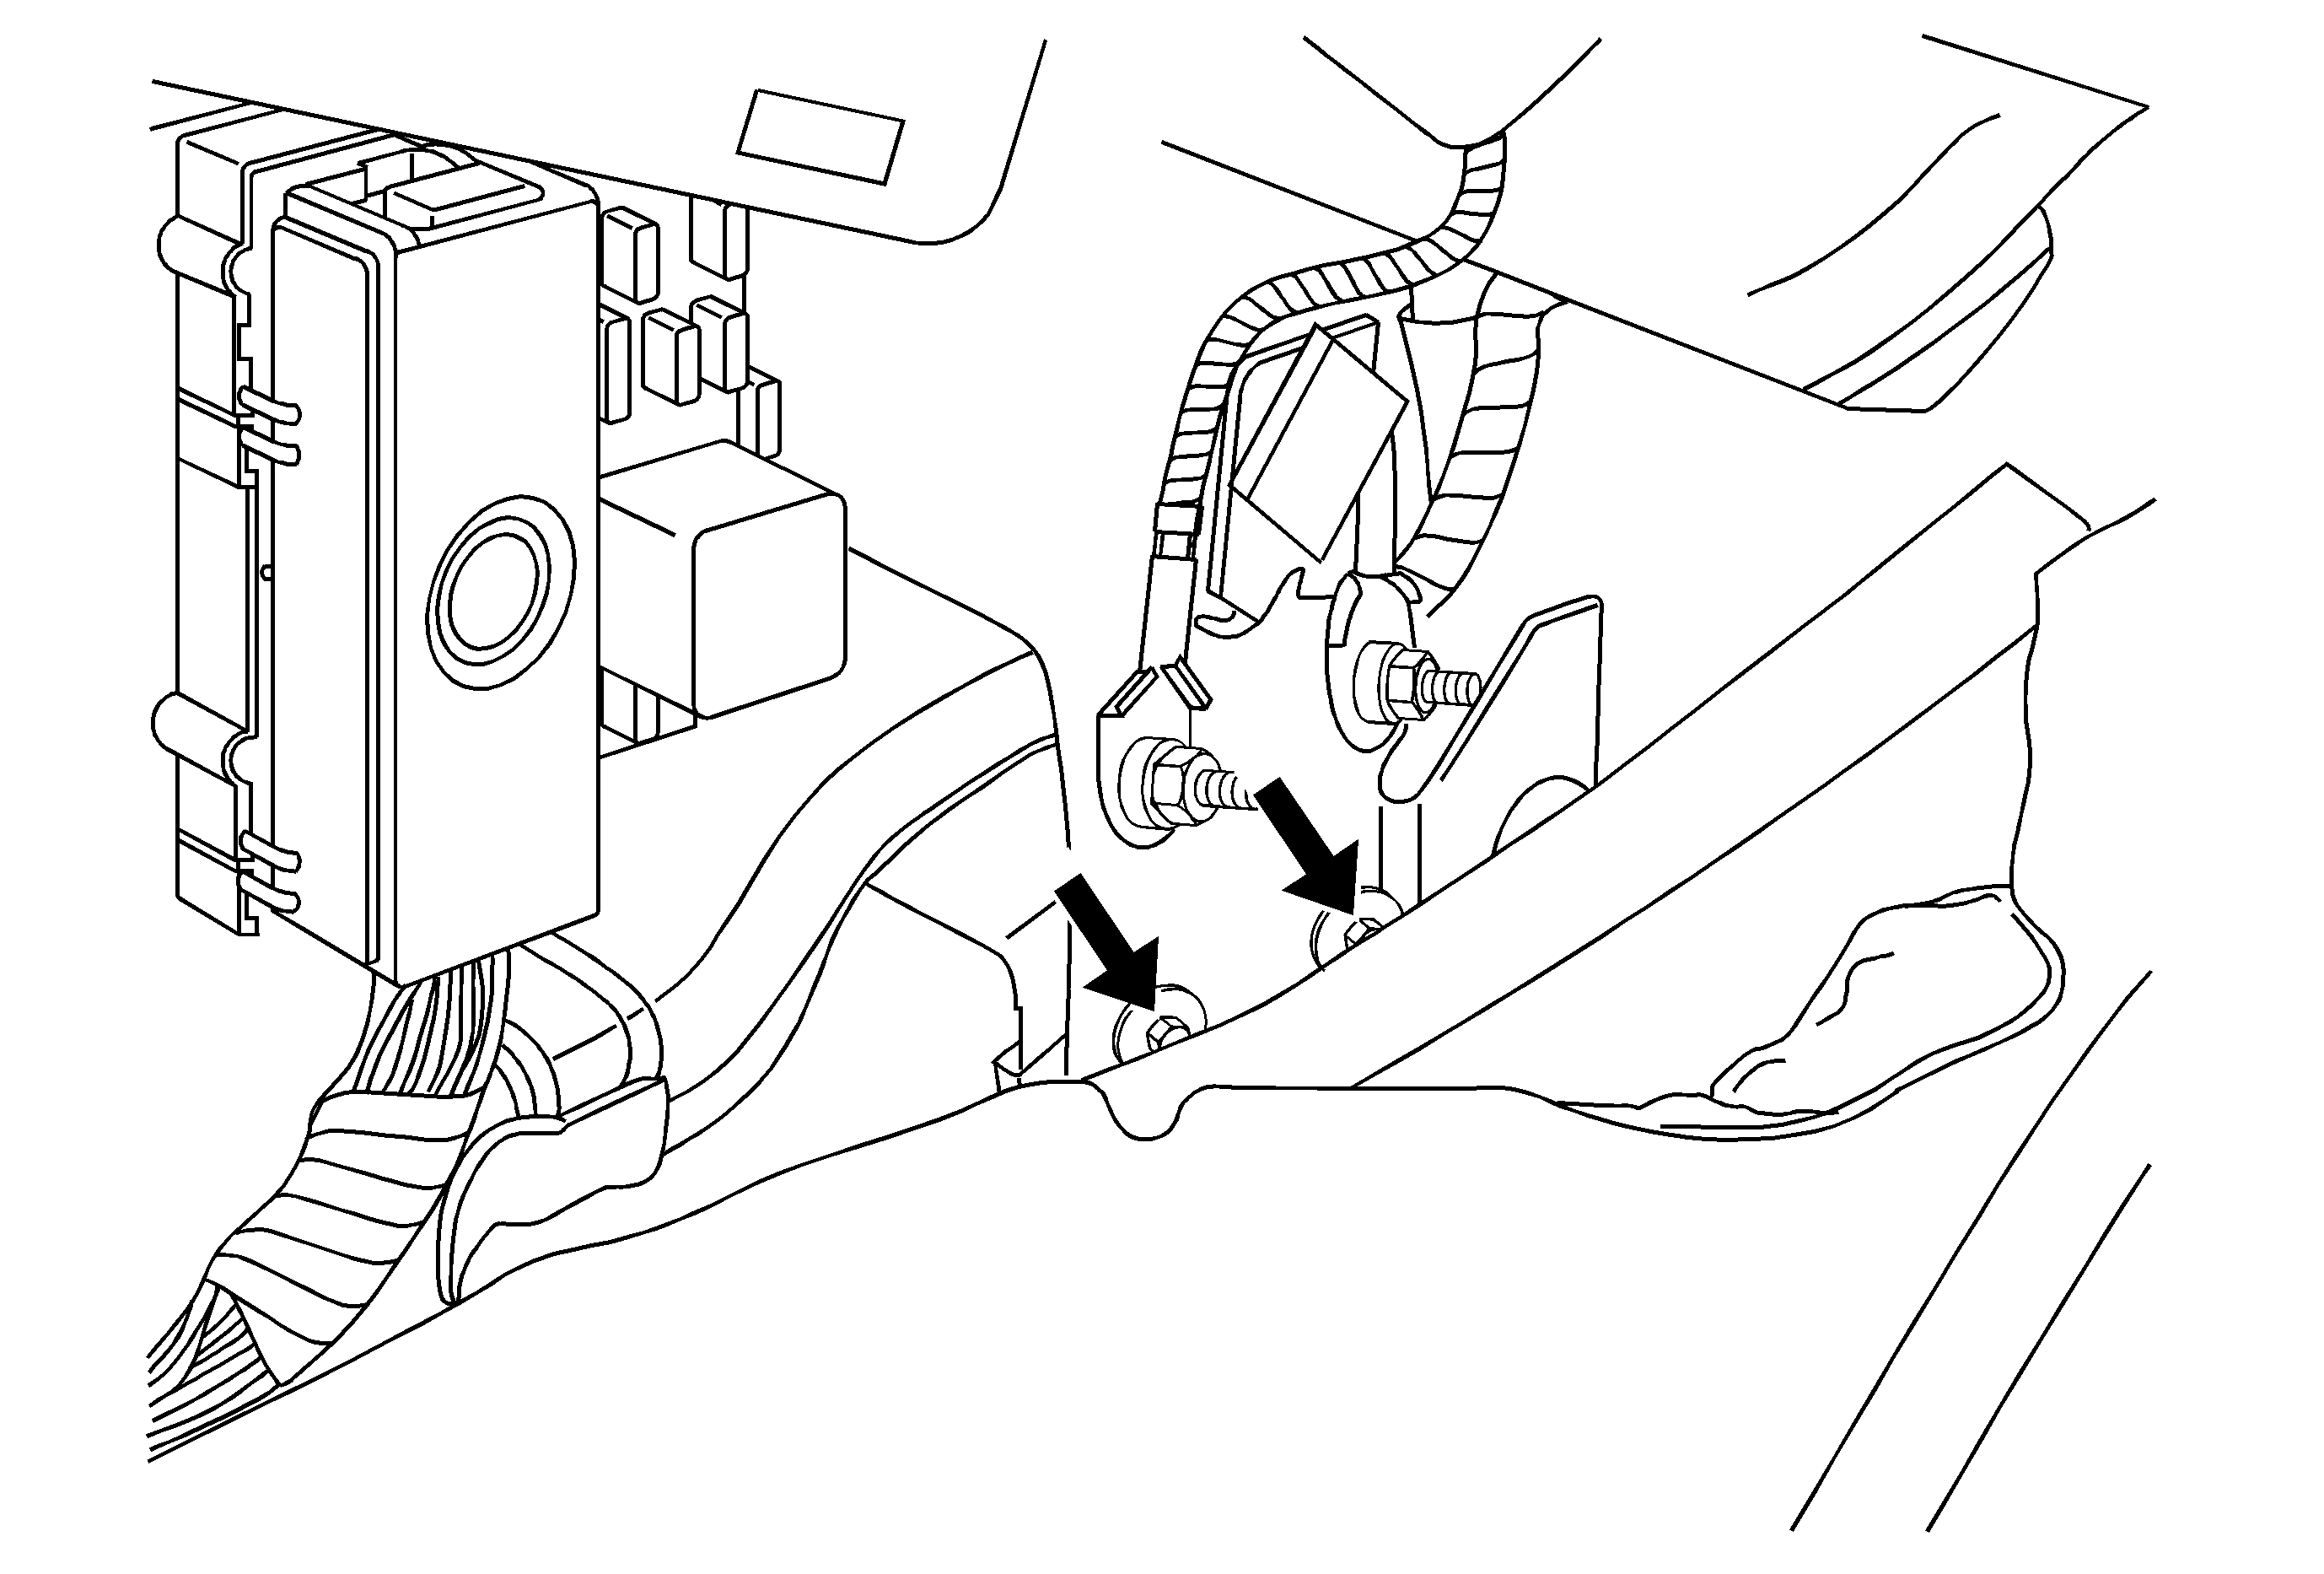
- Loosen, but do not completely remove (as shown in graphic), the six I/P secure bolts to body brackets (three per side) at the ends of the I/P. Four of the bolts run horizontally, securing the I/P in a fore/aft direction. Two of the bolts run vertically, securing the I/P in an up/down direction. All six bolts need to be loosened enough to allow the I/P to seat downward.
- Loosen the top five dash screws.
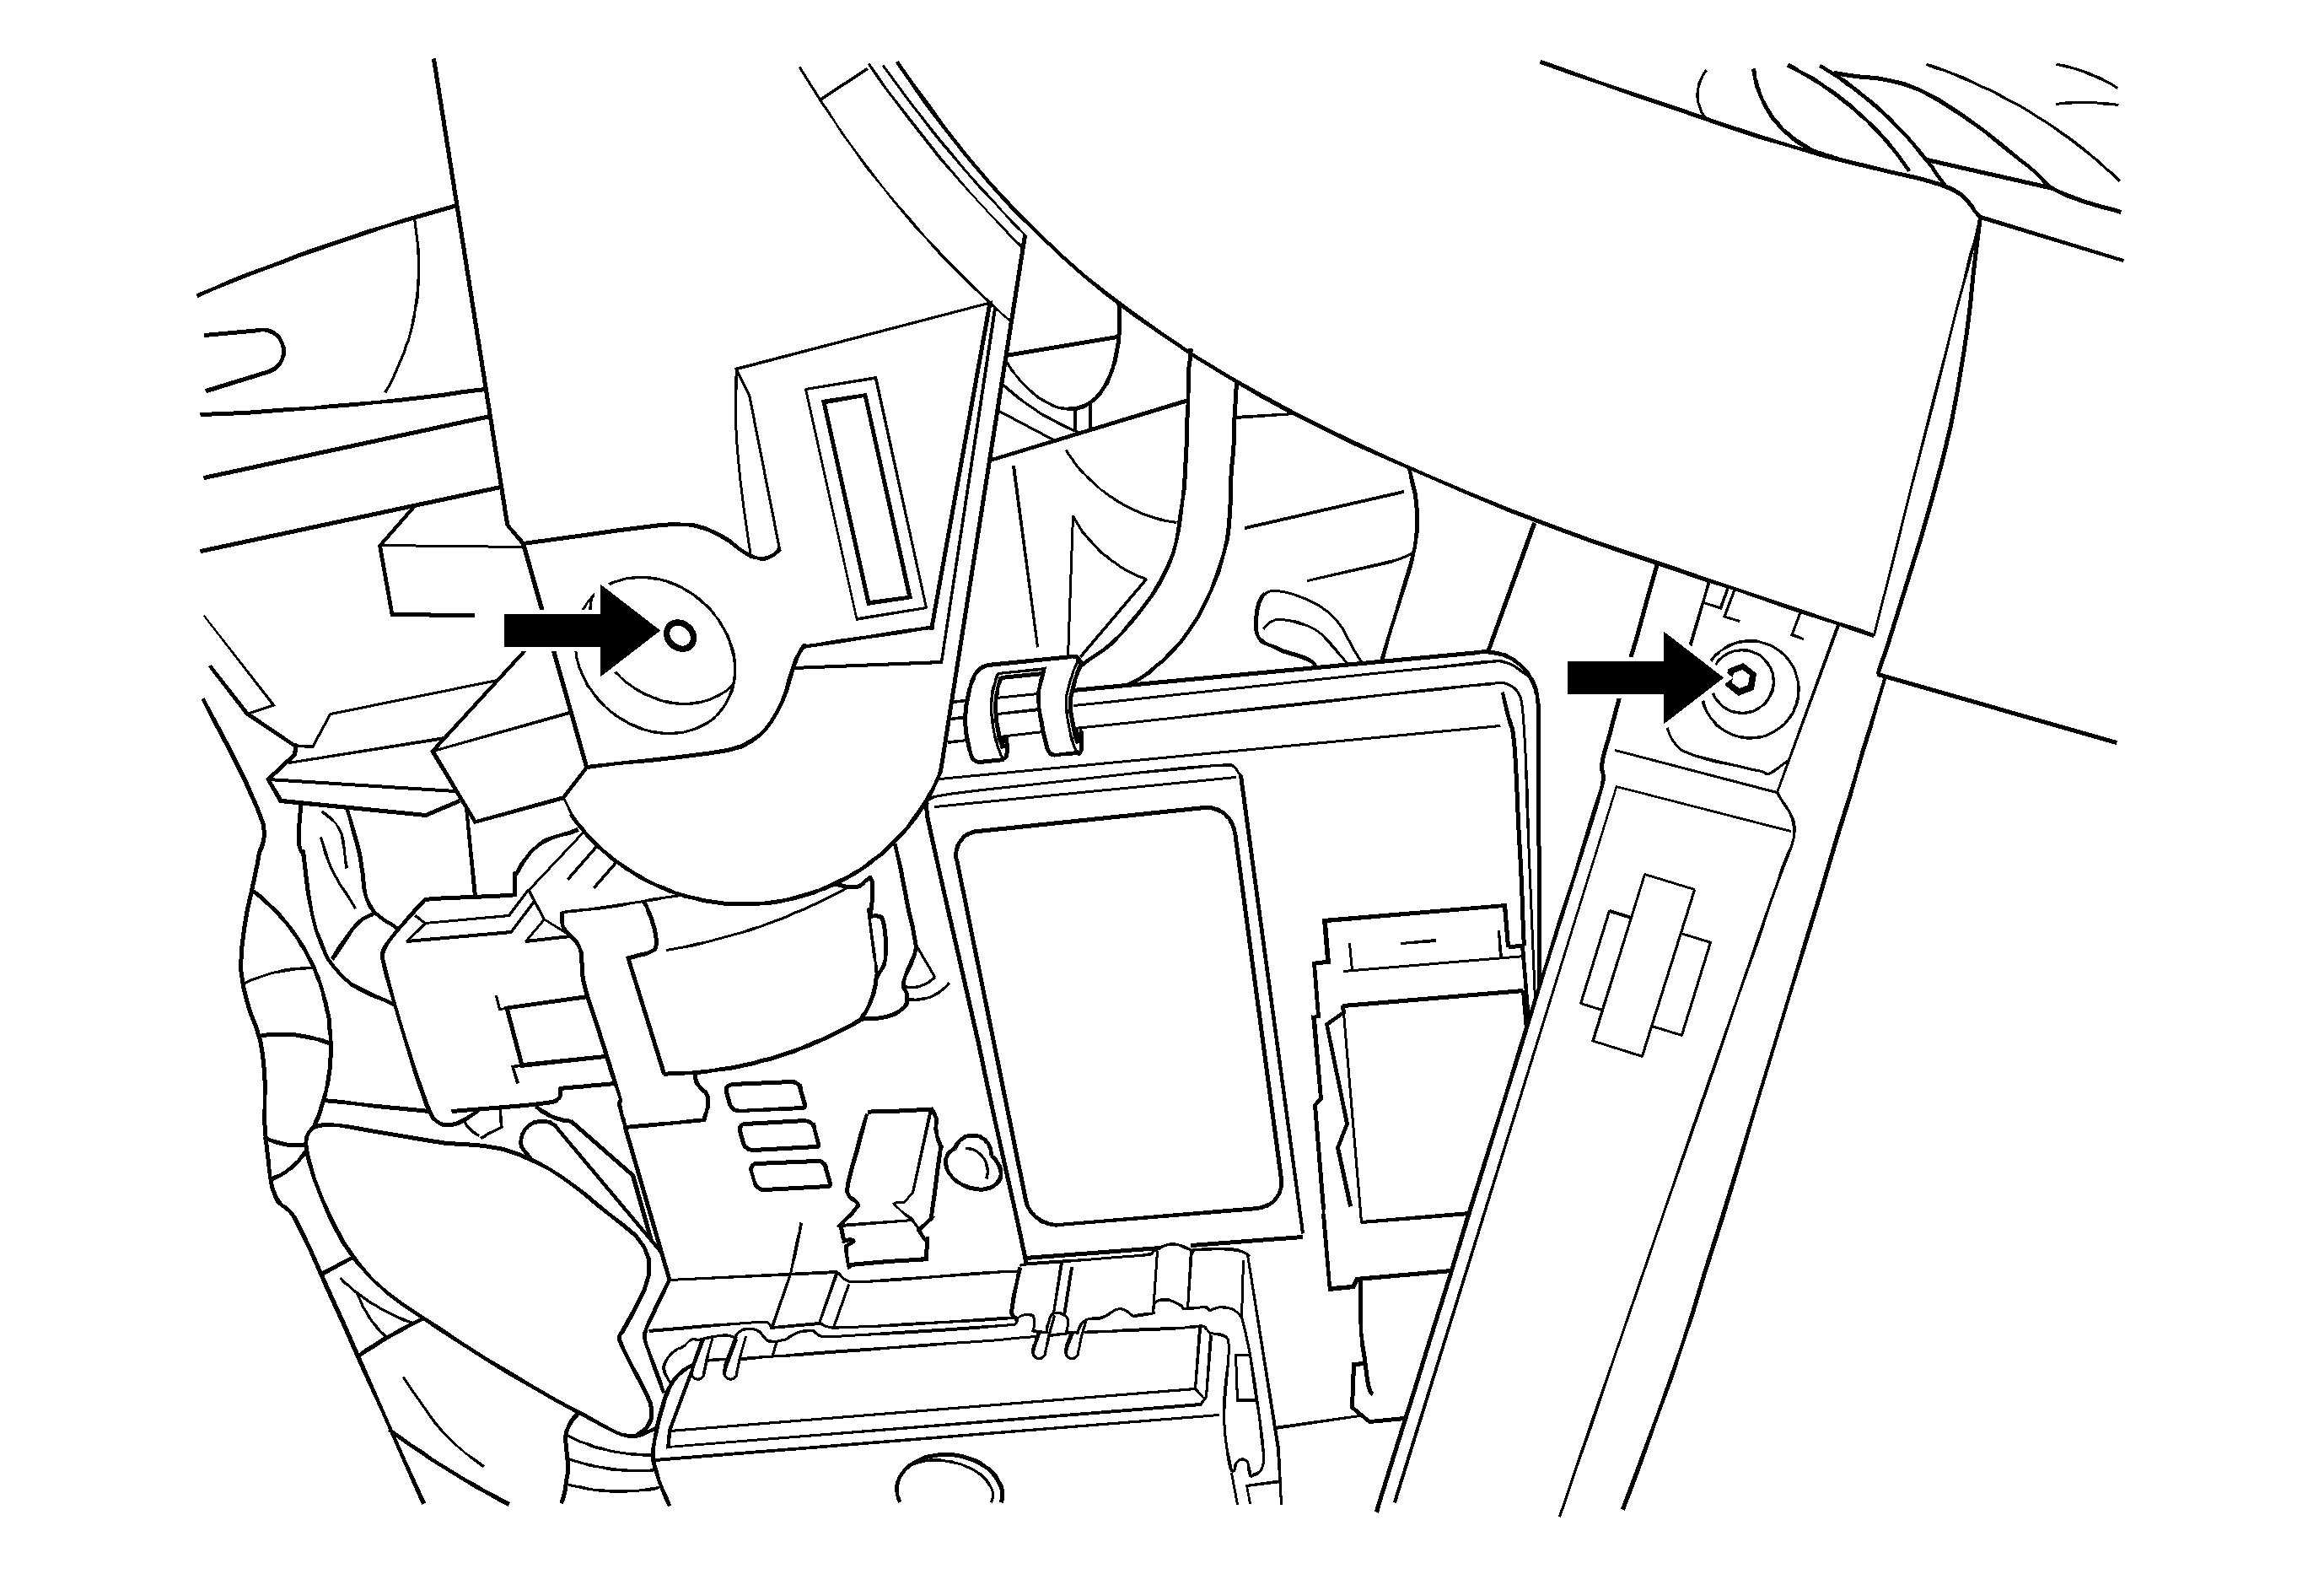
- Loosen the top bolt, as shown in the graphic, through the windshield.
- Push down on the I/P at each end to fully seat the cockpit down on the body brackets. You may need to grab the entire I/P and try to wiggle it up/down or it may just seat downward by applying pressure to the top pad.
- With an assistant, apply downward pressure on the I/P while completely securing the top vertical bolt to the proper torque. Do this on both sides to the top bolts, as shown, through the windshield.
- Fasten the four I/P to body bracket horizontal bolts to the proper torque. These bolts do not need to be tightened in any particular order. Proceed to Step 20.
- Push up on the I/P at each end to align the I/P trim to the door trim. You may need to grab the entire I/P and try to wiggle it up/down.
- While holding the I/P in position, fasten the four I/P to body bracket horizontal bolts to the proper torque. Tighten two bolts on one side and then the other side.
- Secure the top vertical bolt to the proper torque. Do this on both sides.
- When the dash is at the correct height, tighten the four I/P retaining screws on each side in the order called out in the illustration.
- Tighten the top five dash screws.
- Tighten the five bolts at the I/P to floor bracket.
- Position the center console and install the four console to I/P screws.
- Install the console screws under the shifter plate in the four locations shown above.
- Install the shifter plate bezel and shifter surround trim in order to access the console secure screws. Refer to Front Floor Upper Console Trim Plate Replacement.
- Install the four screws to the side of the center console at the I/P (two per side).
- Install the console side covers. Refer to Front Floor Console Side Trim Panel Replacement - Right Side and Front Floor Console Side Trim Panel Replacement - Left Side.
- Install the I/P upper trim panel. Refer to Instrument Panel Upper Trim Panel Replacement.
- Install the A pillar garnish moldings. Refer to Windshield Pillar Garnish Molding Replacement.
- Install the I/P end caps. Refer to Instrument Panel Outer Trim Cover Replacement.
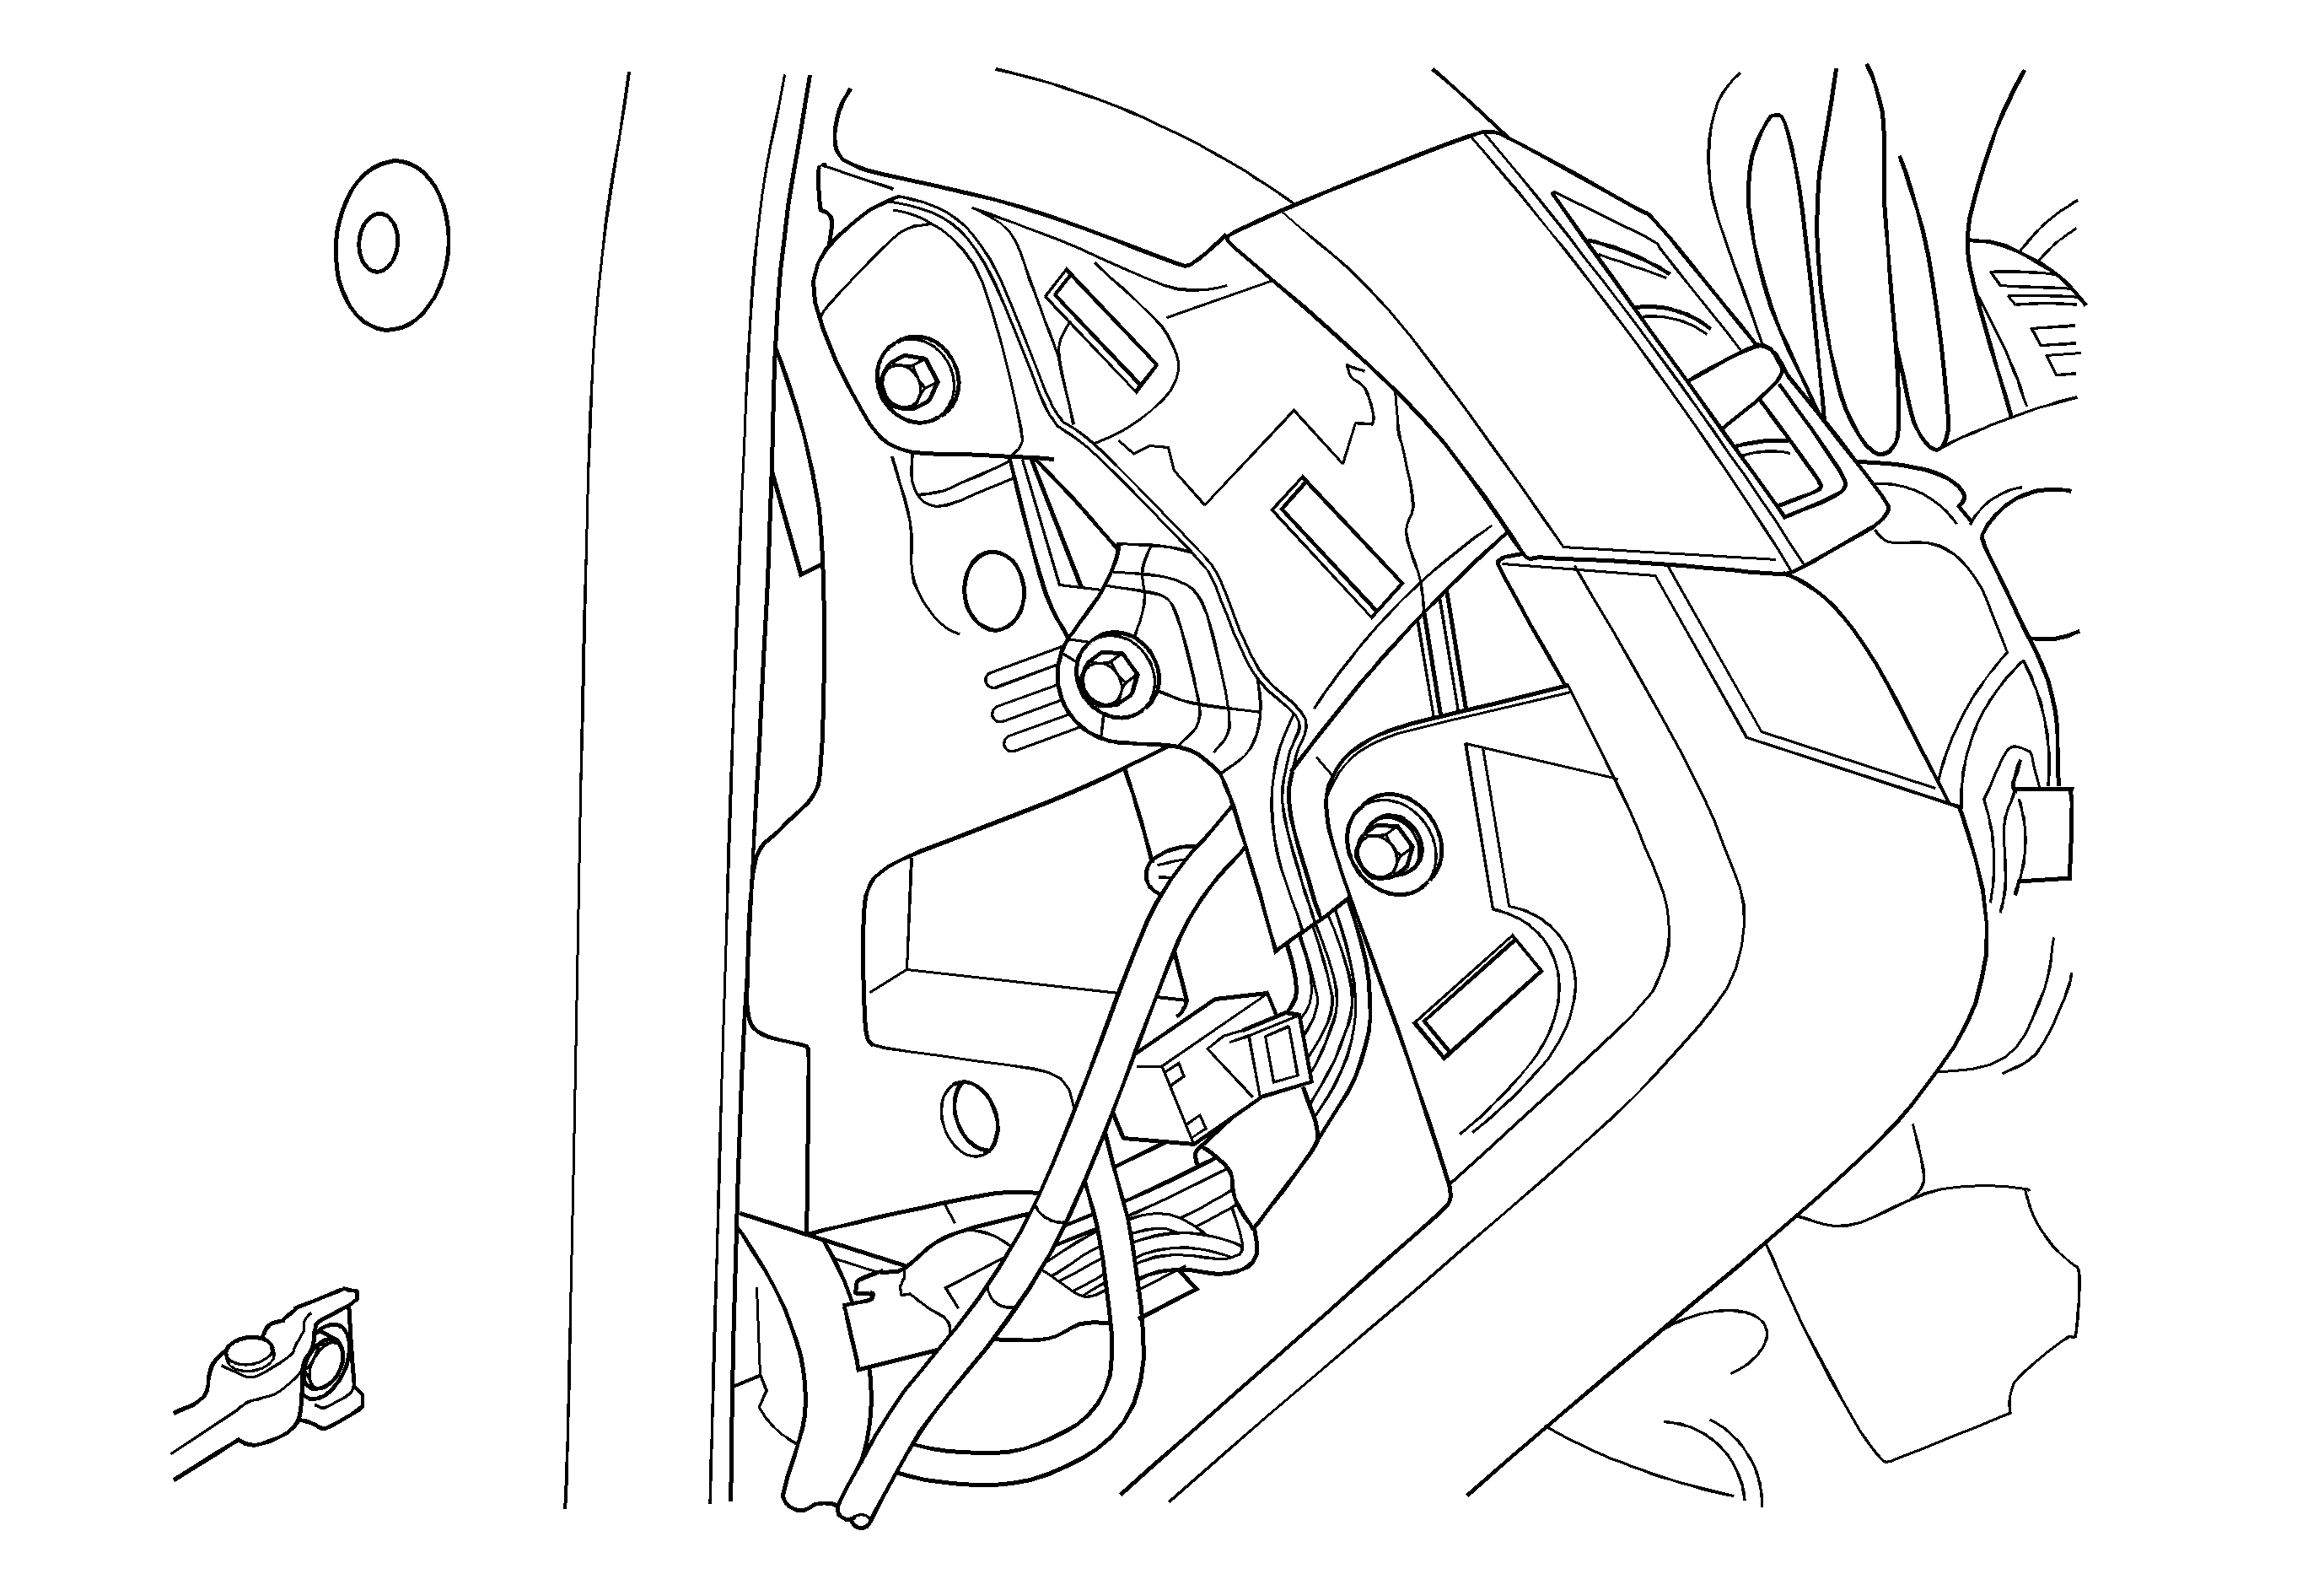
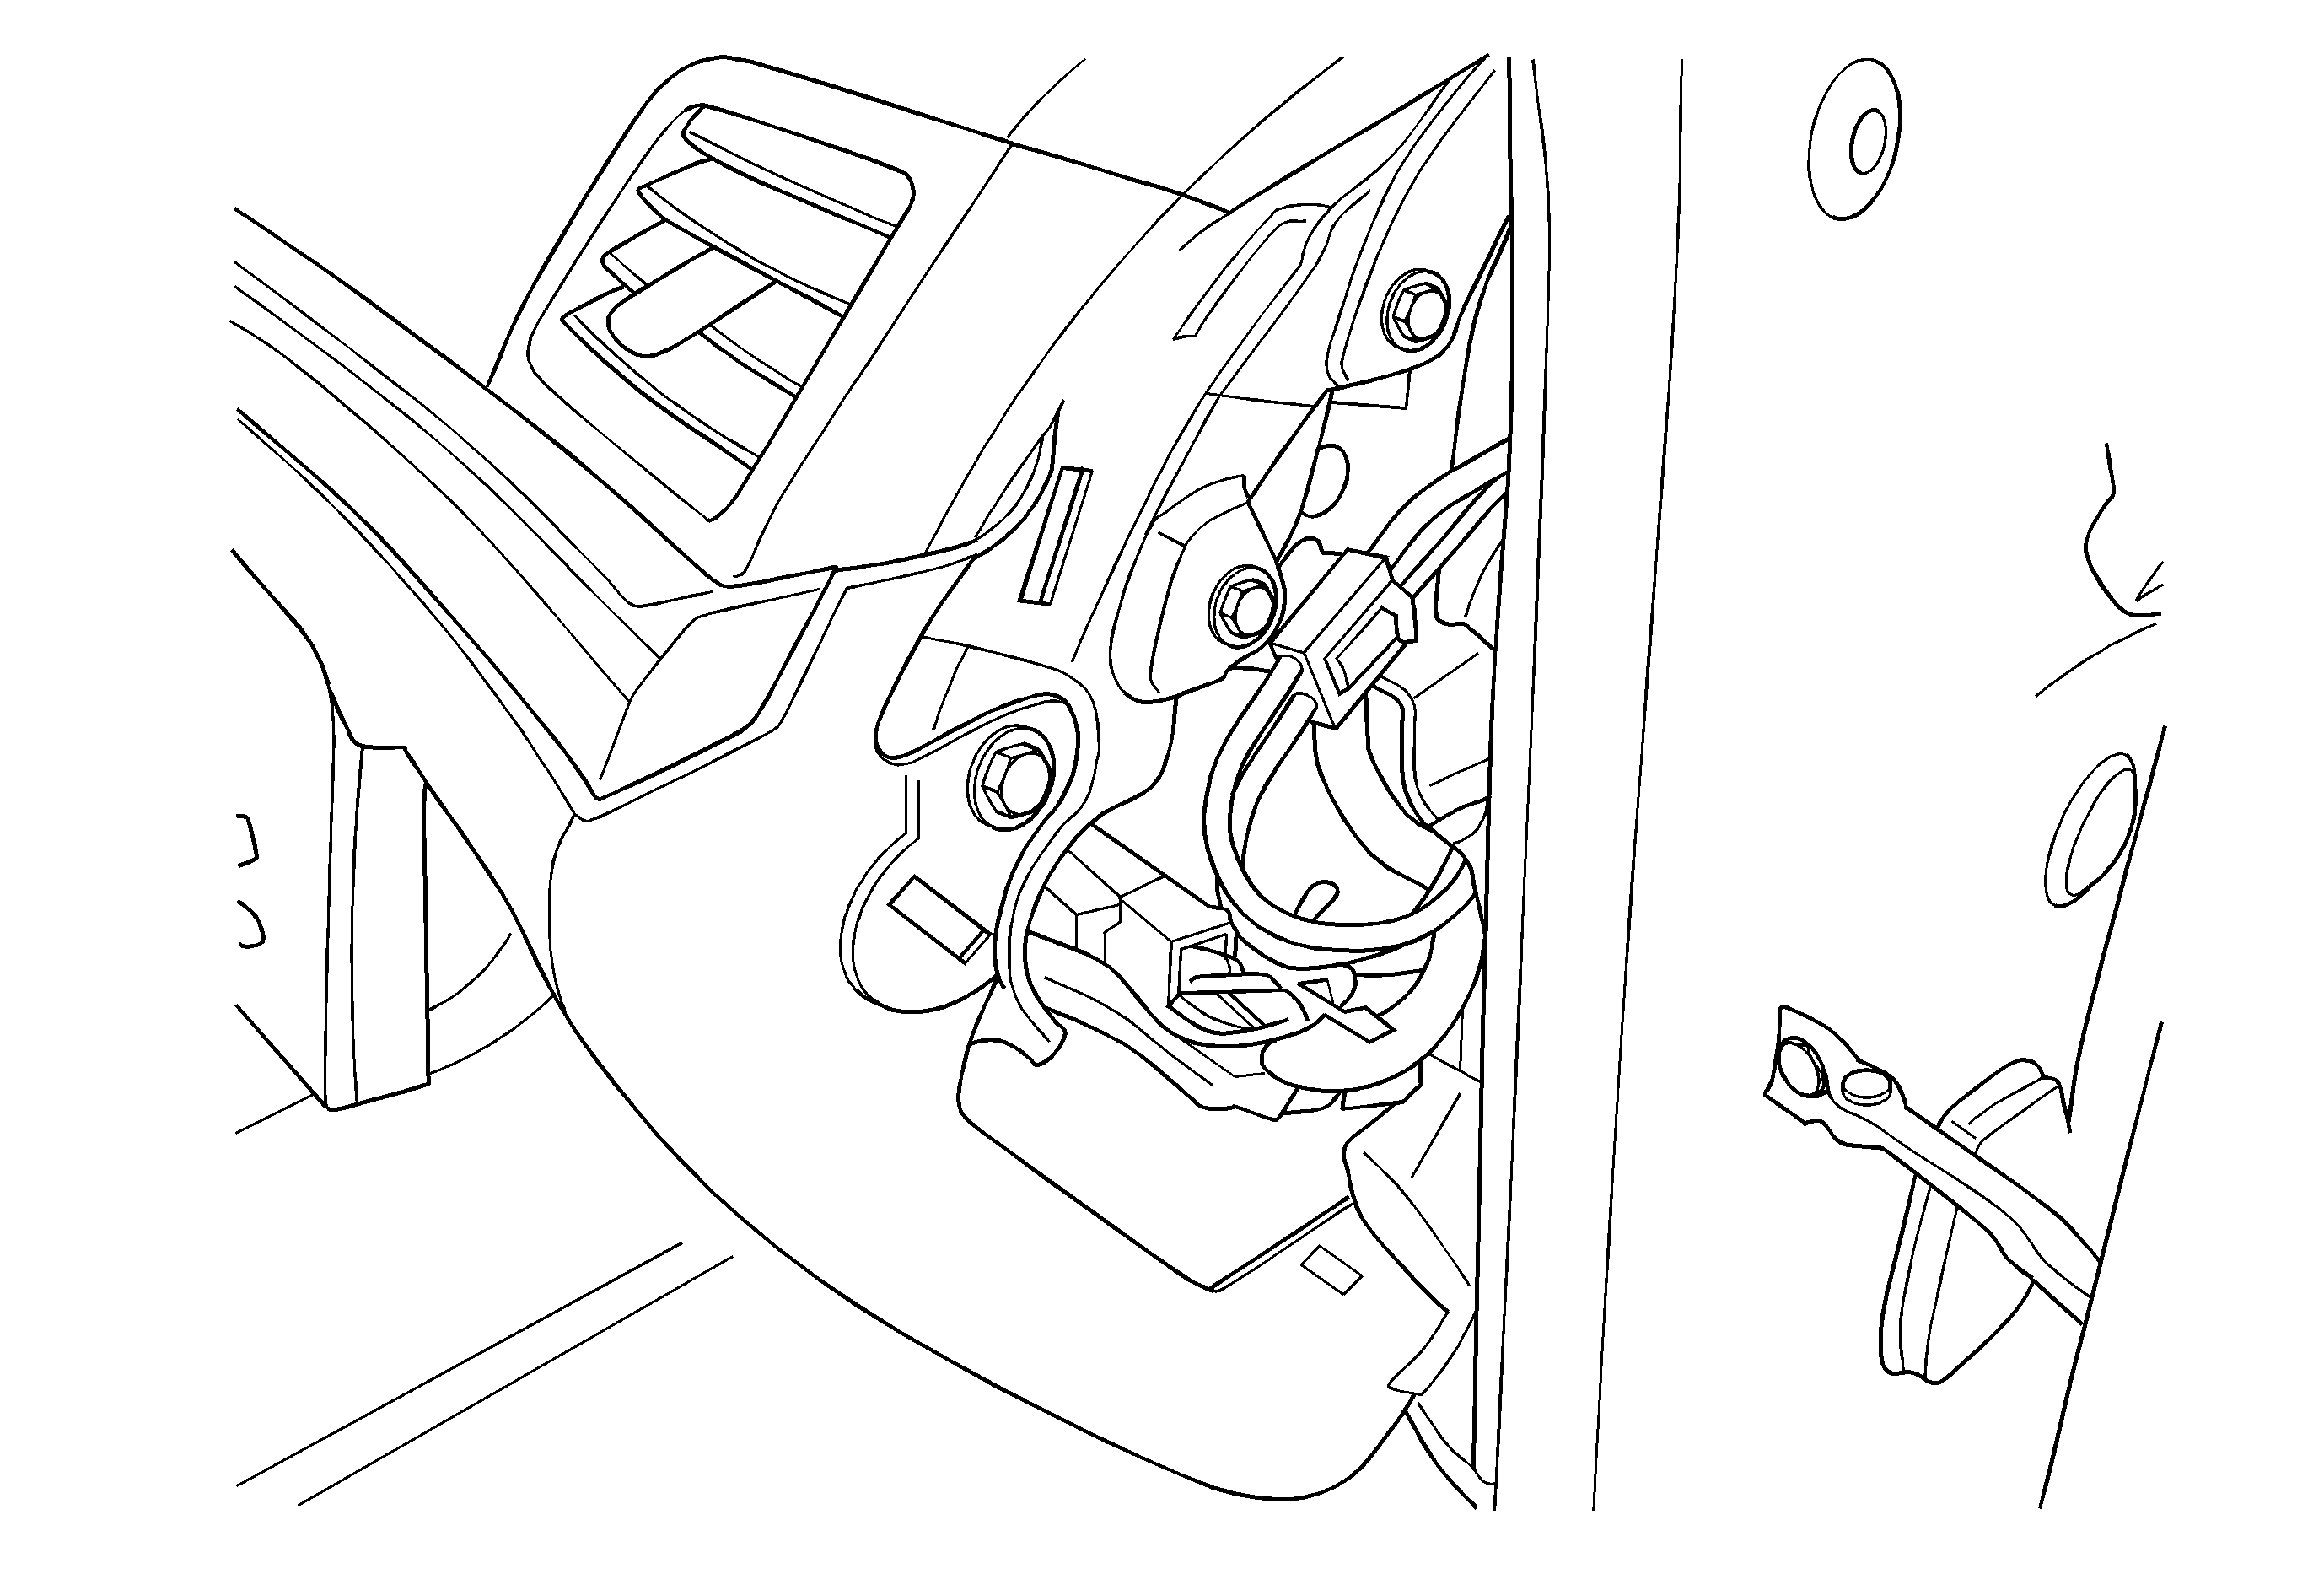
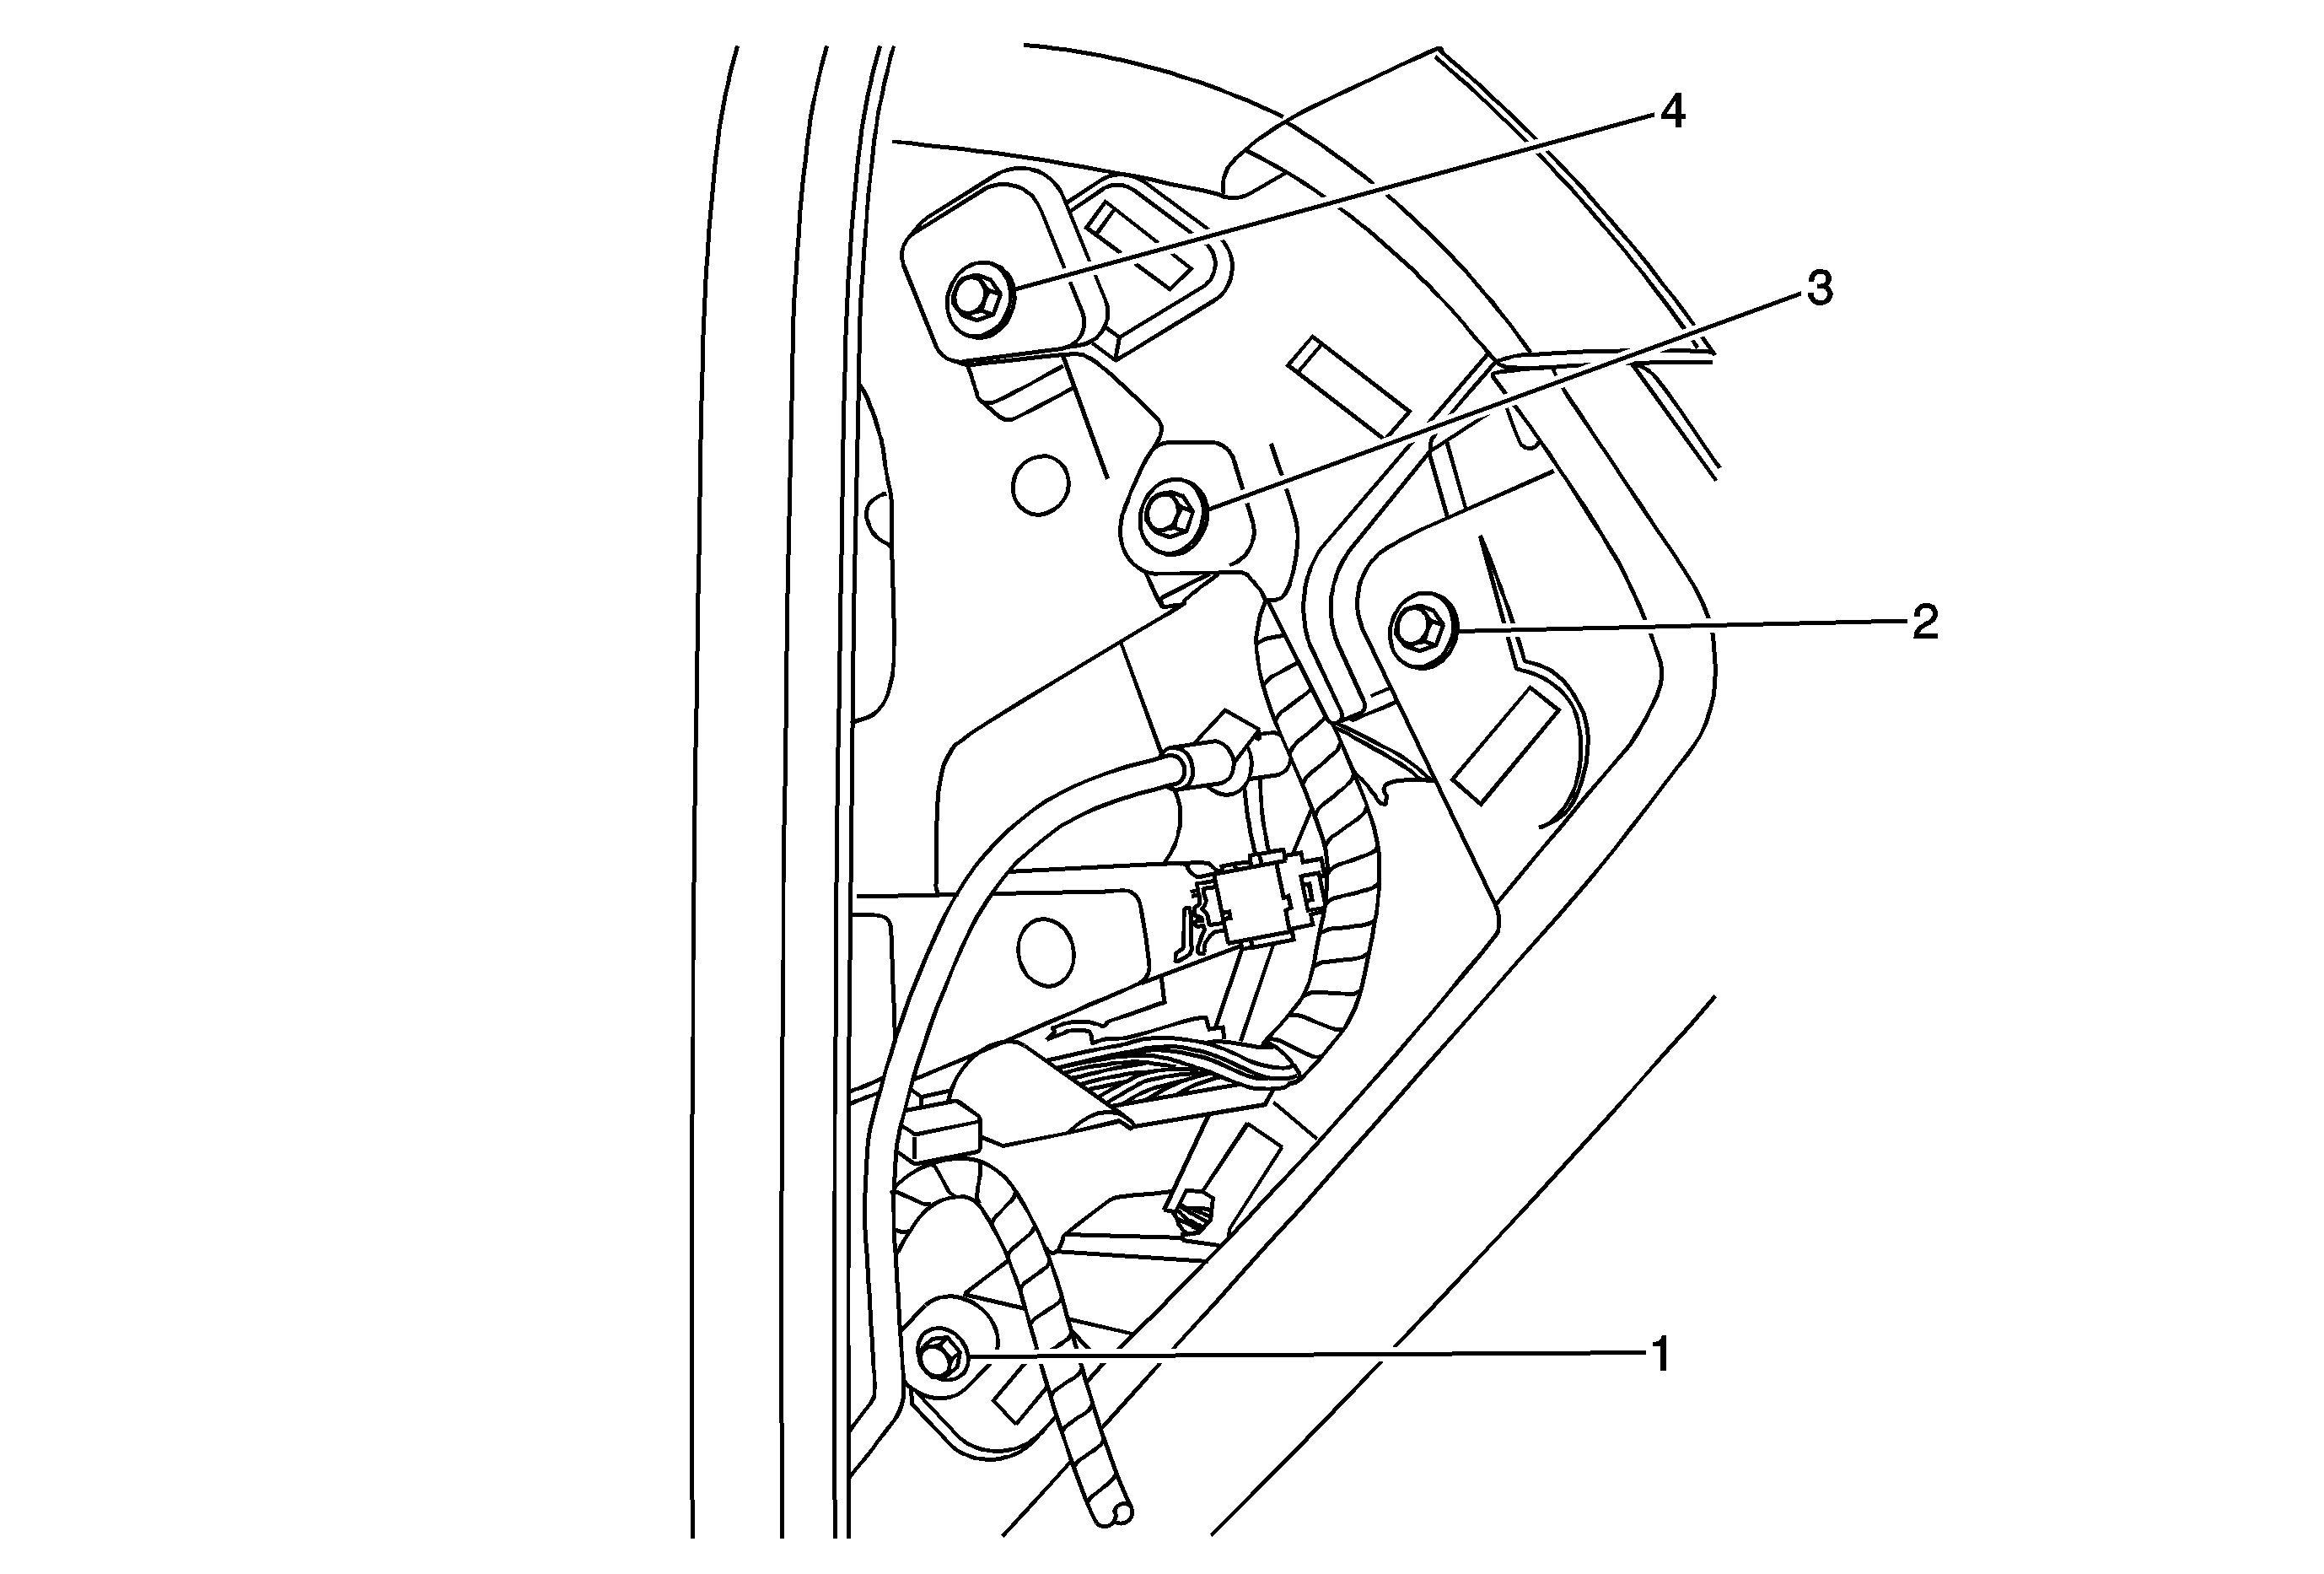
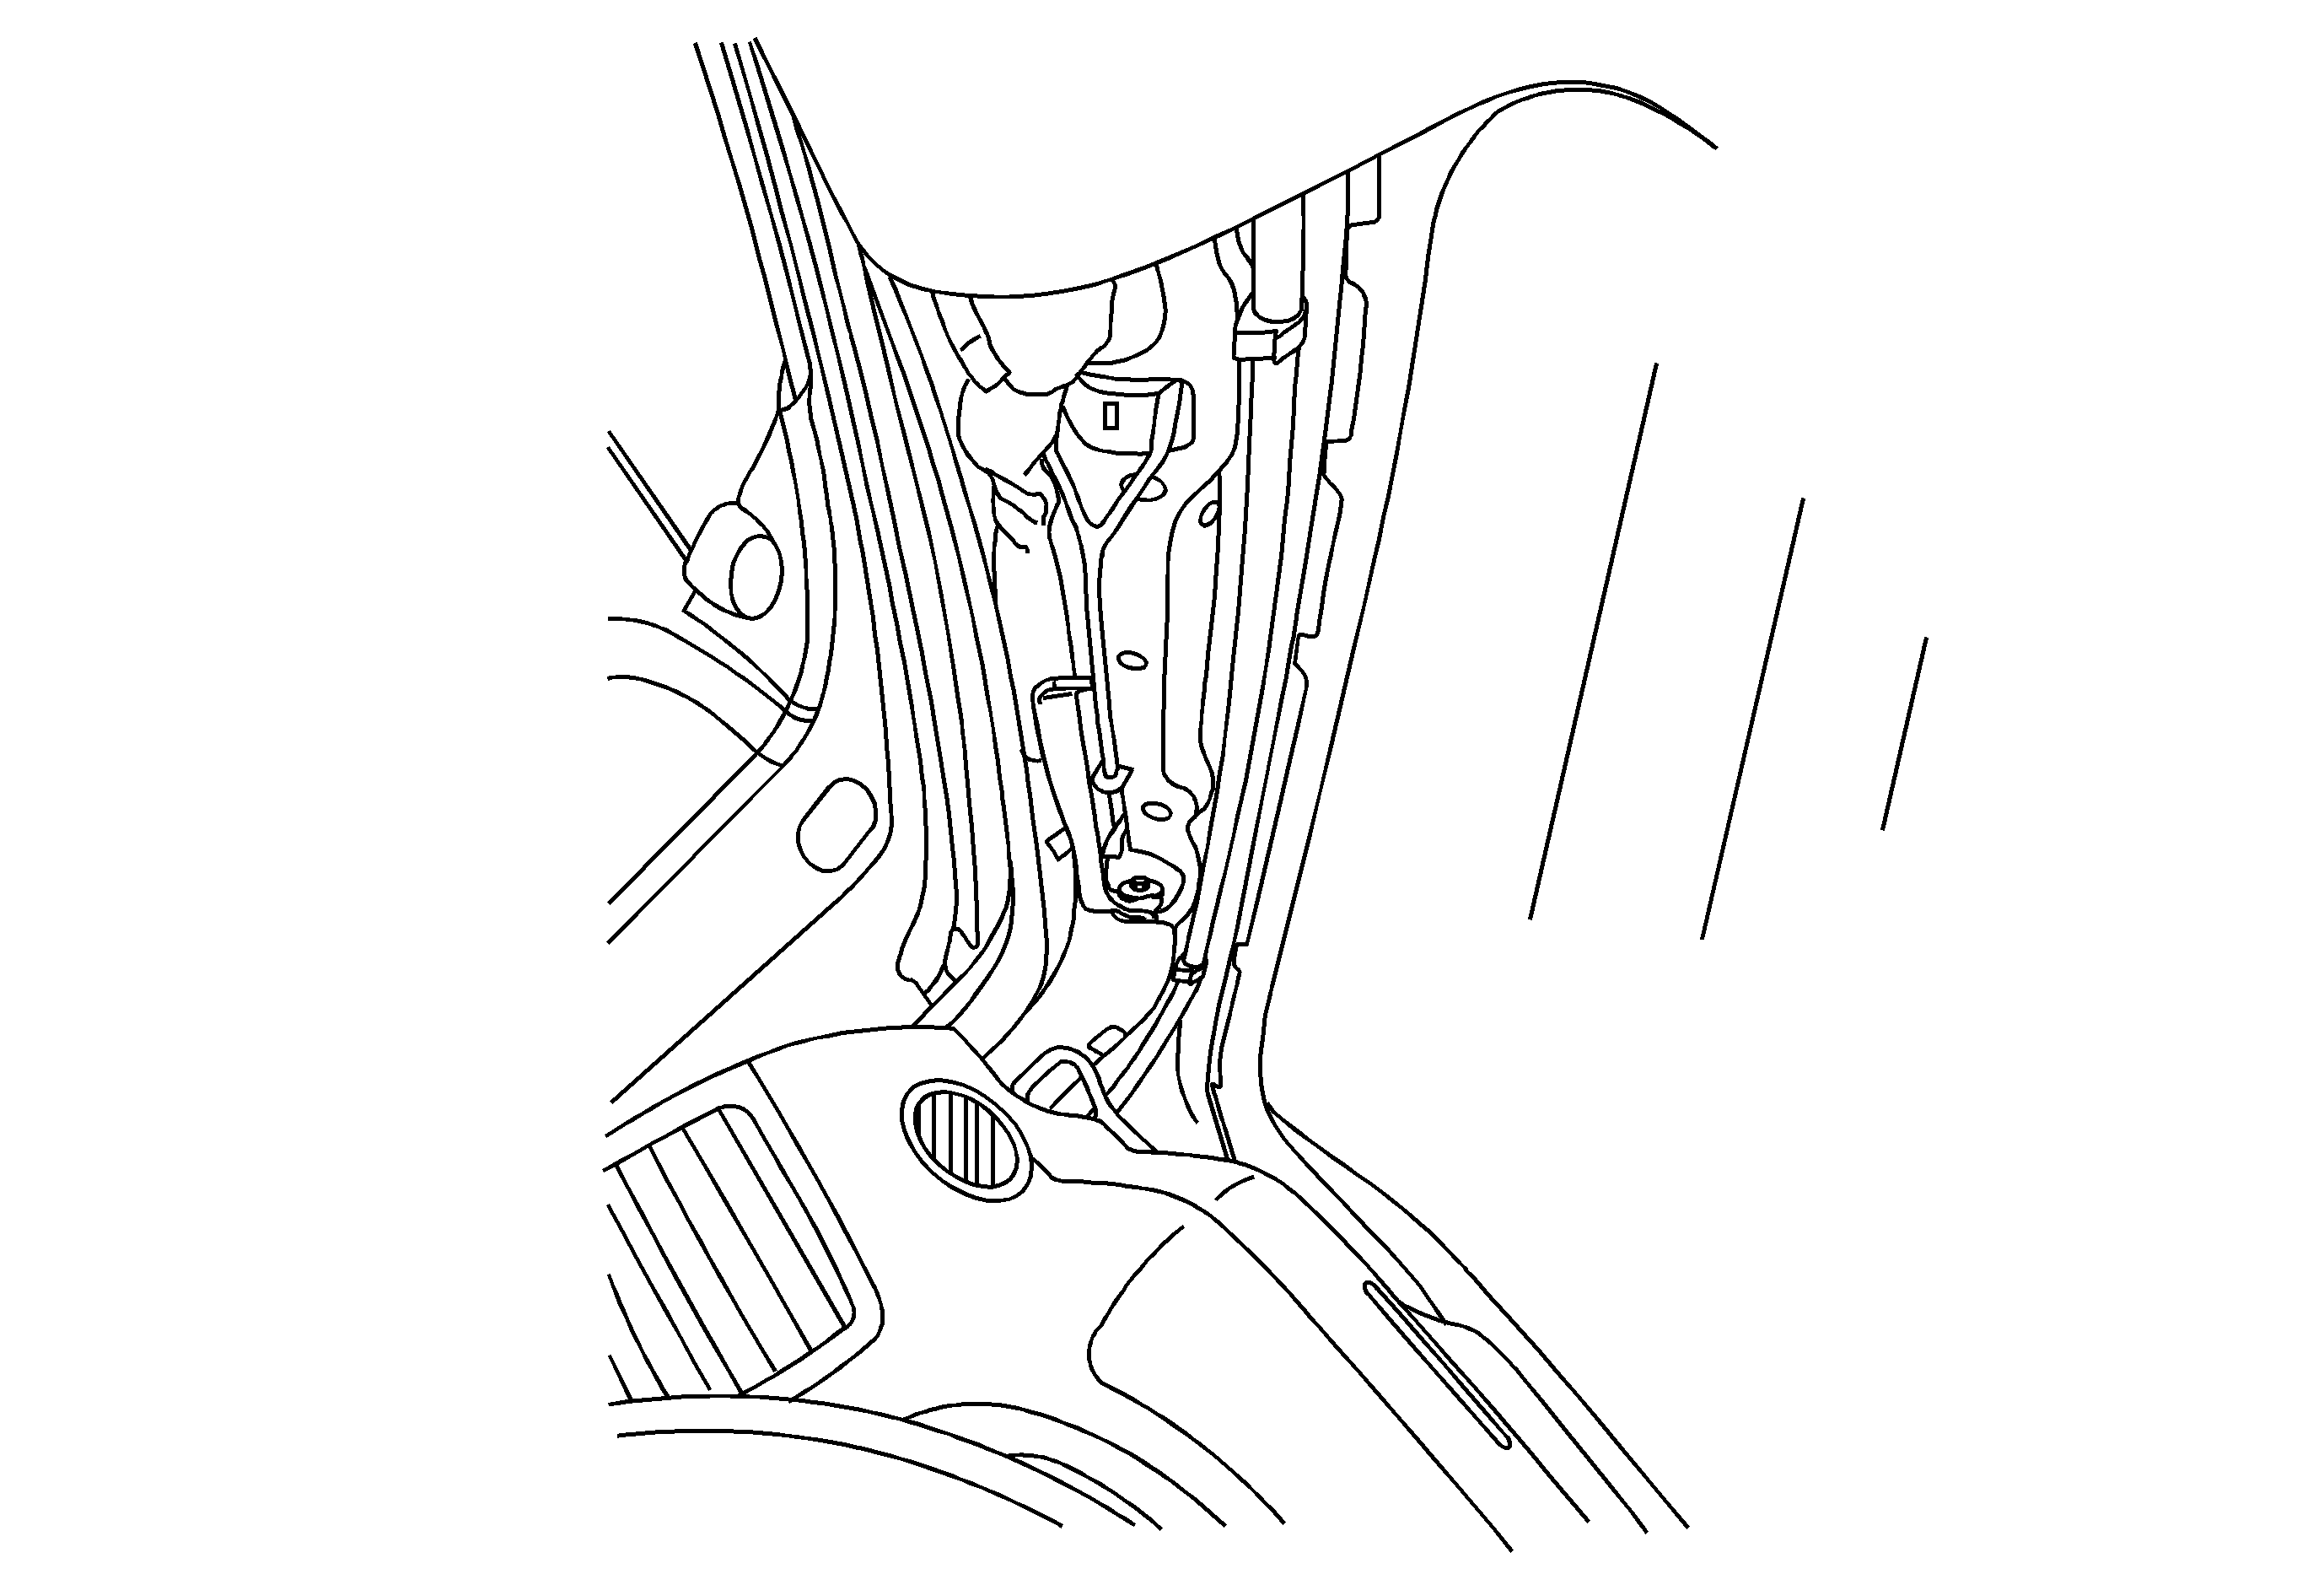
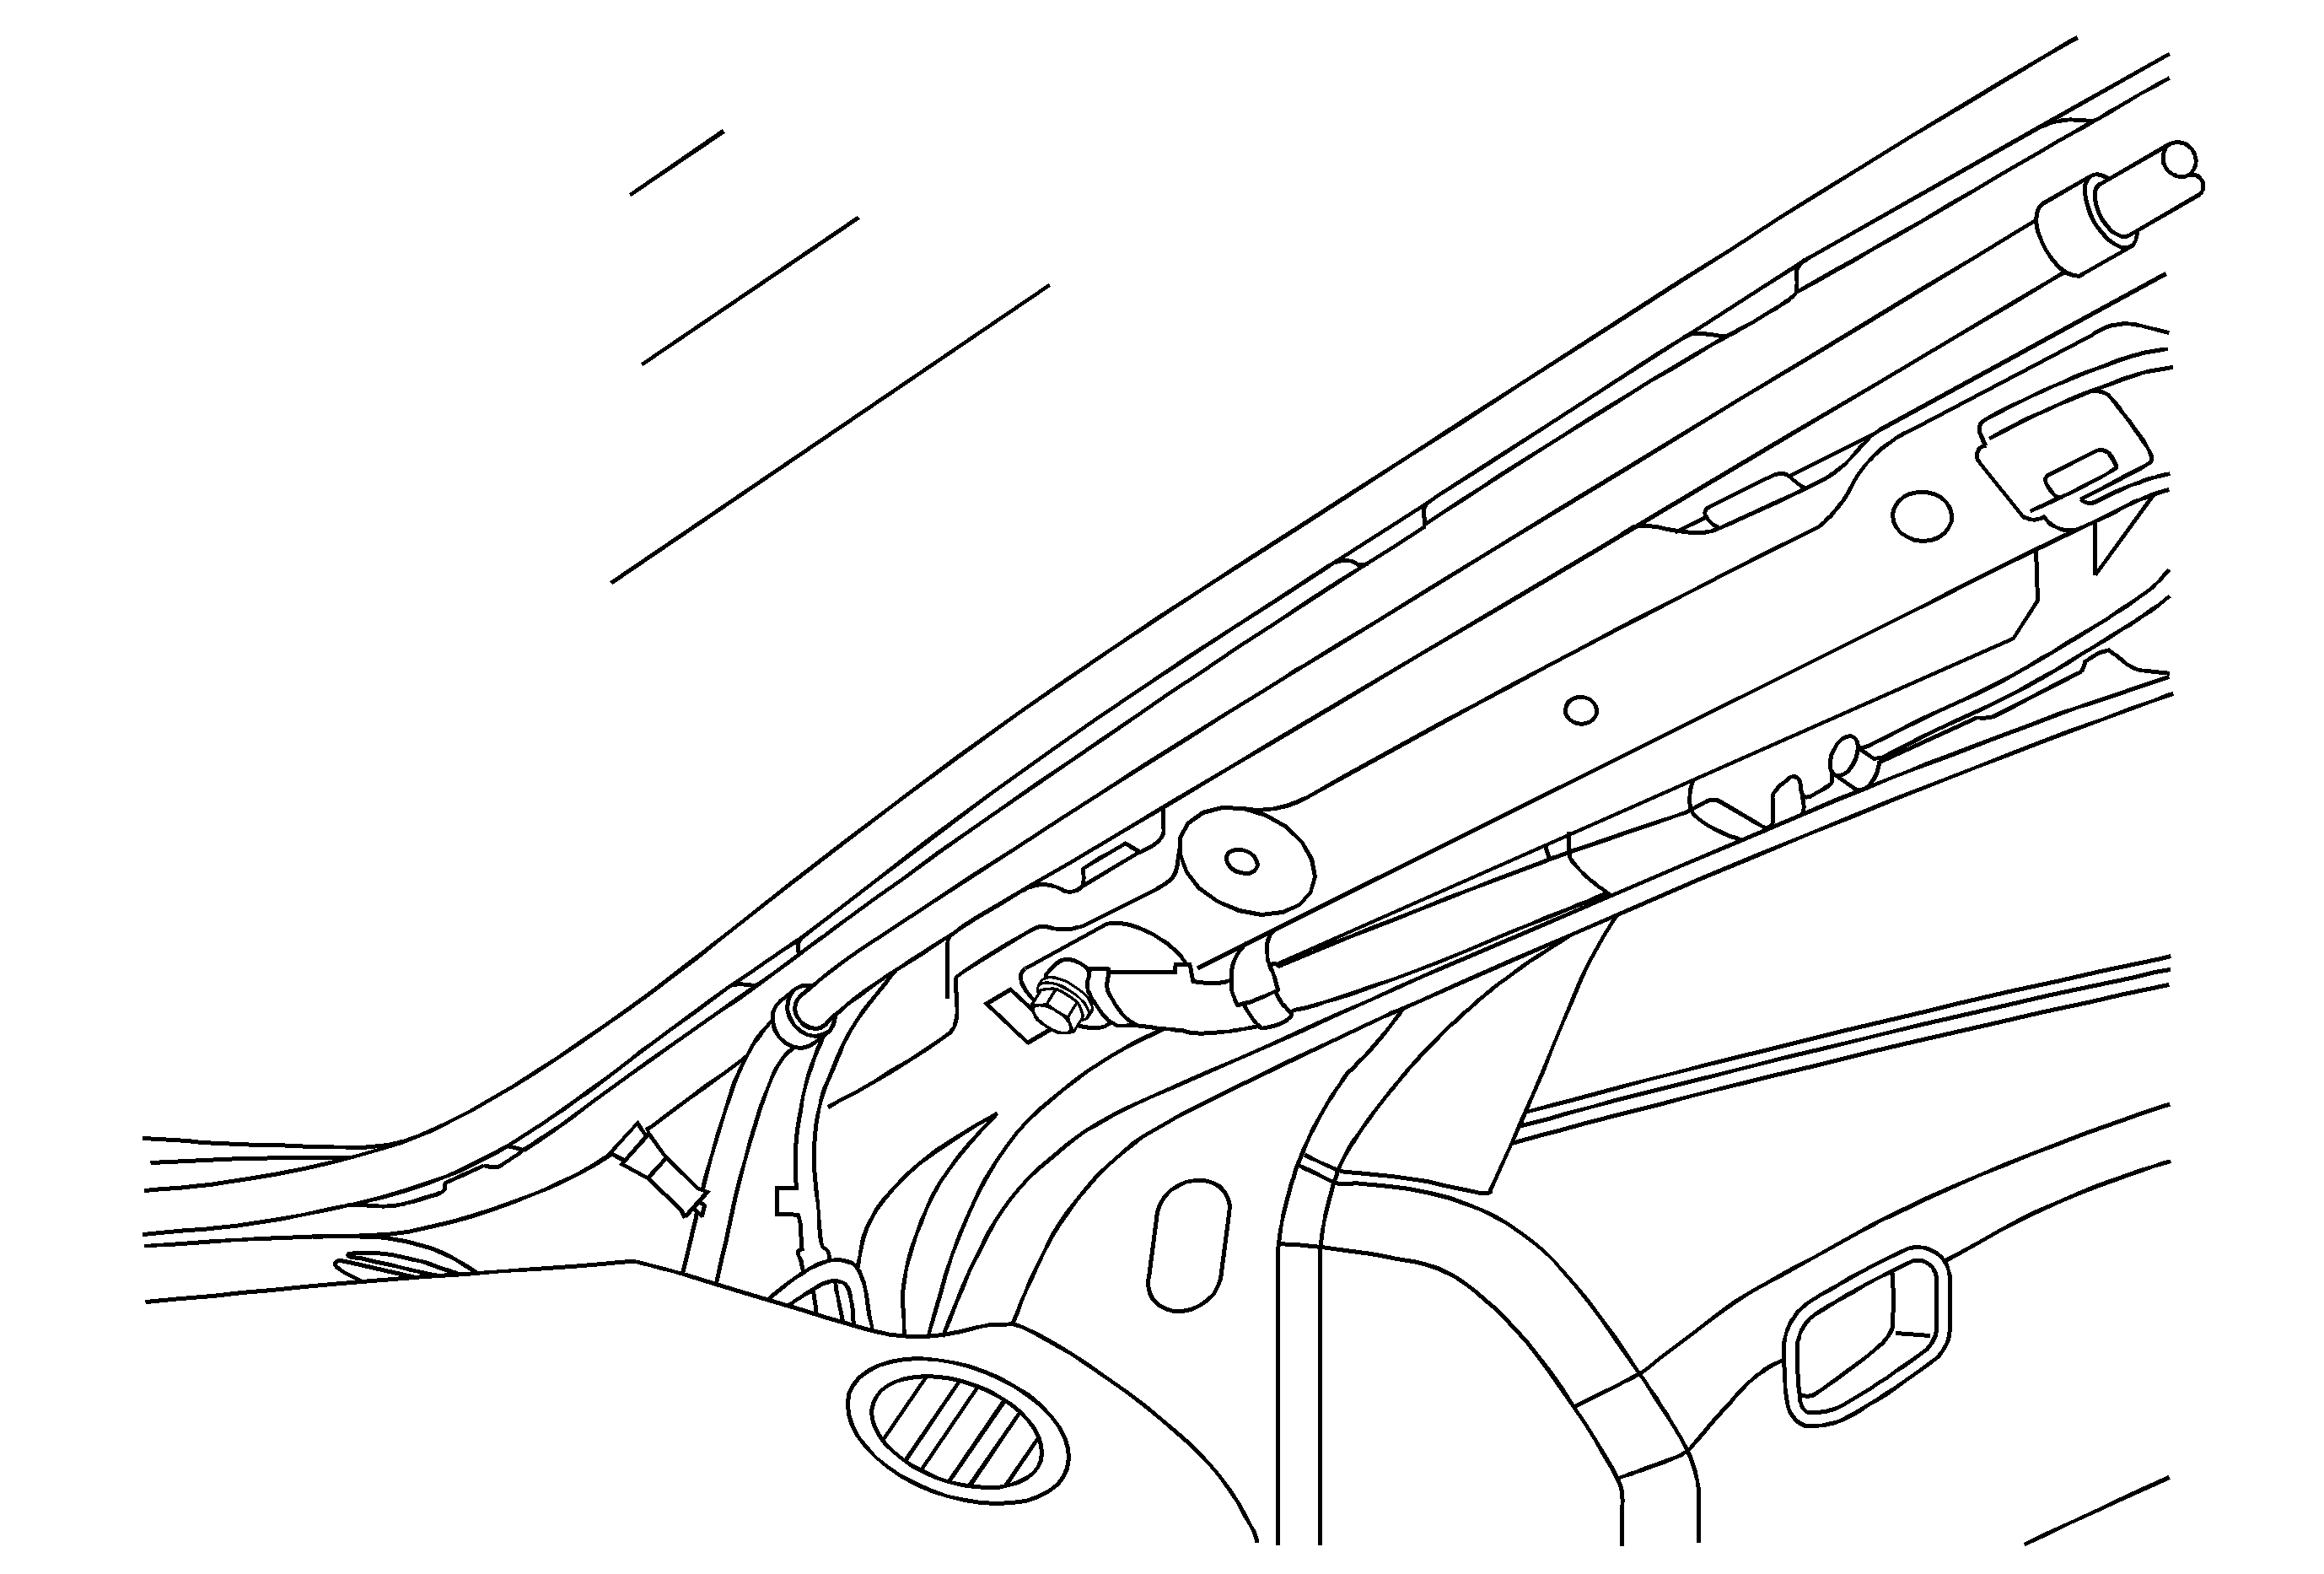
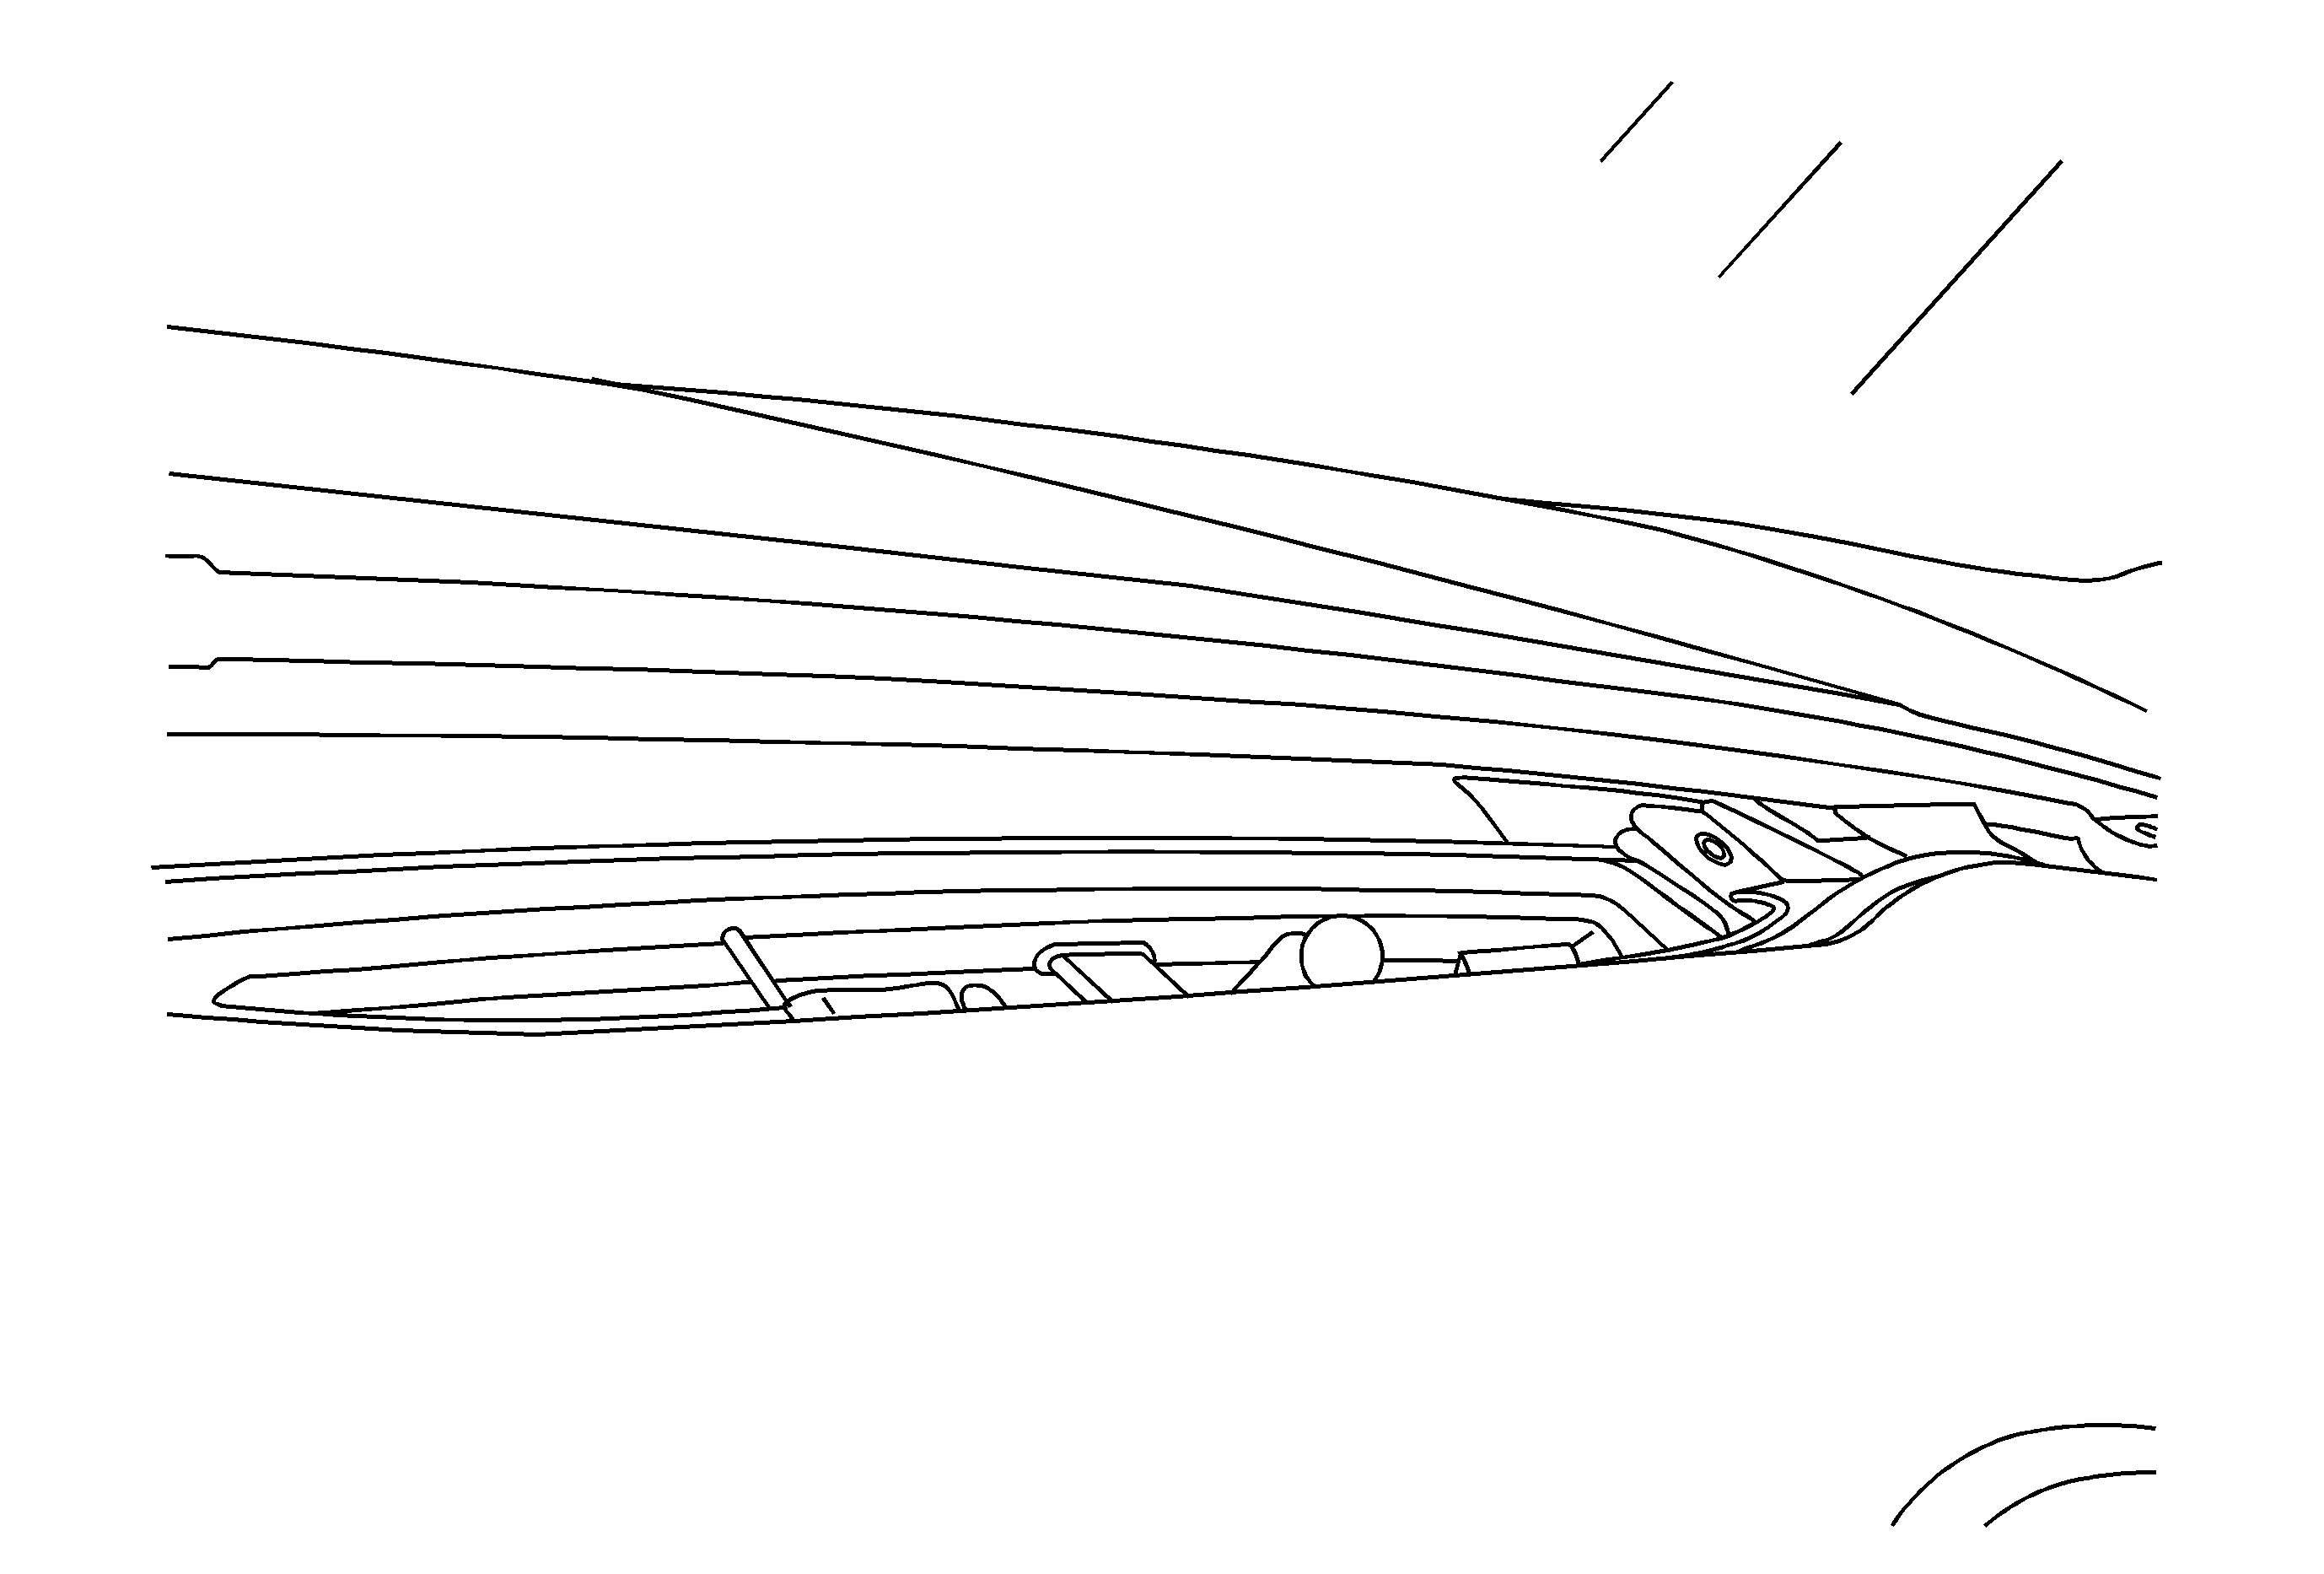
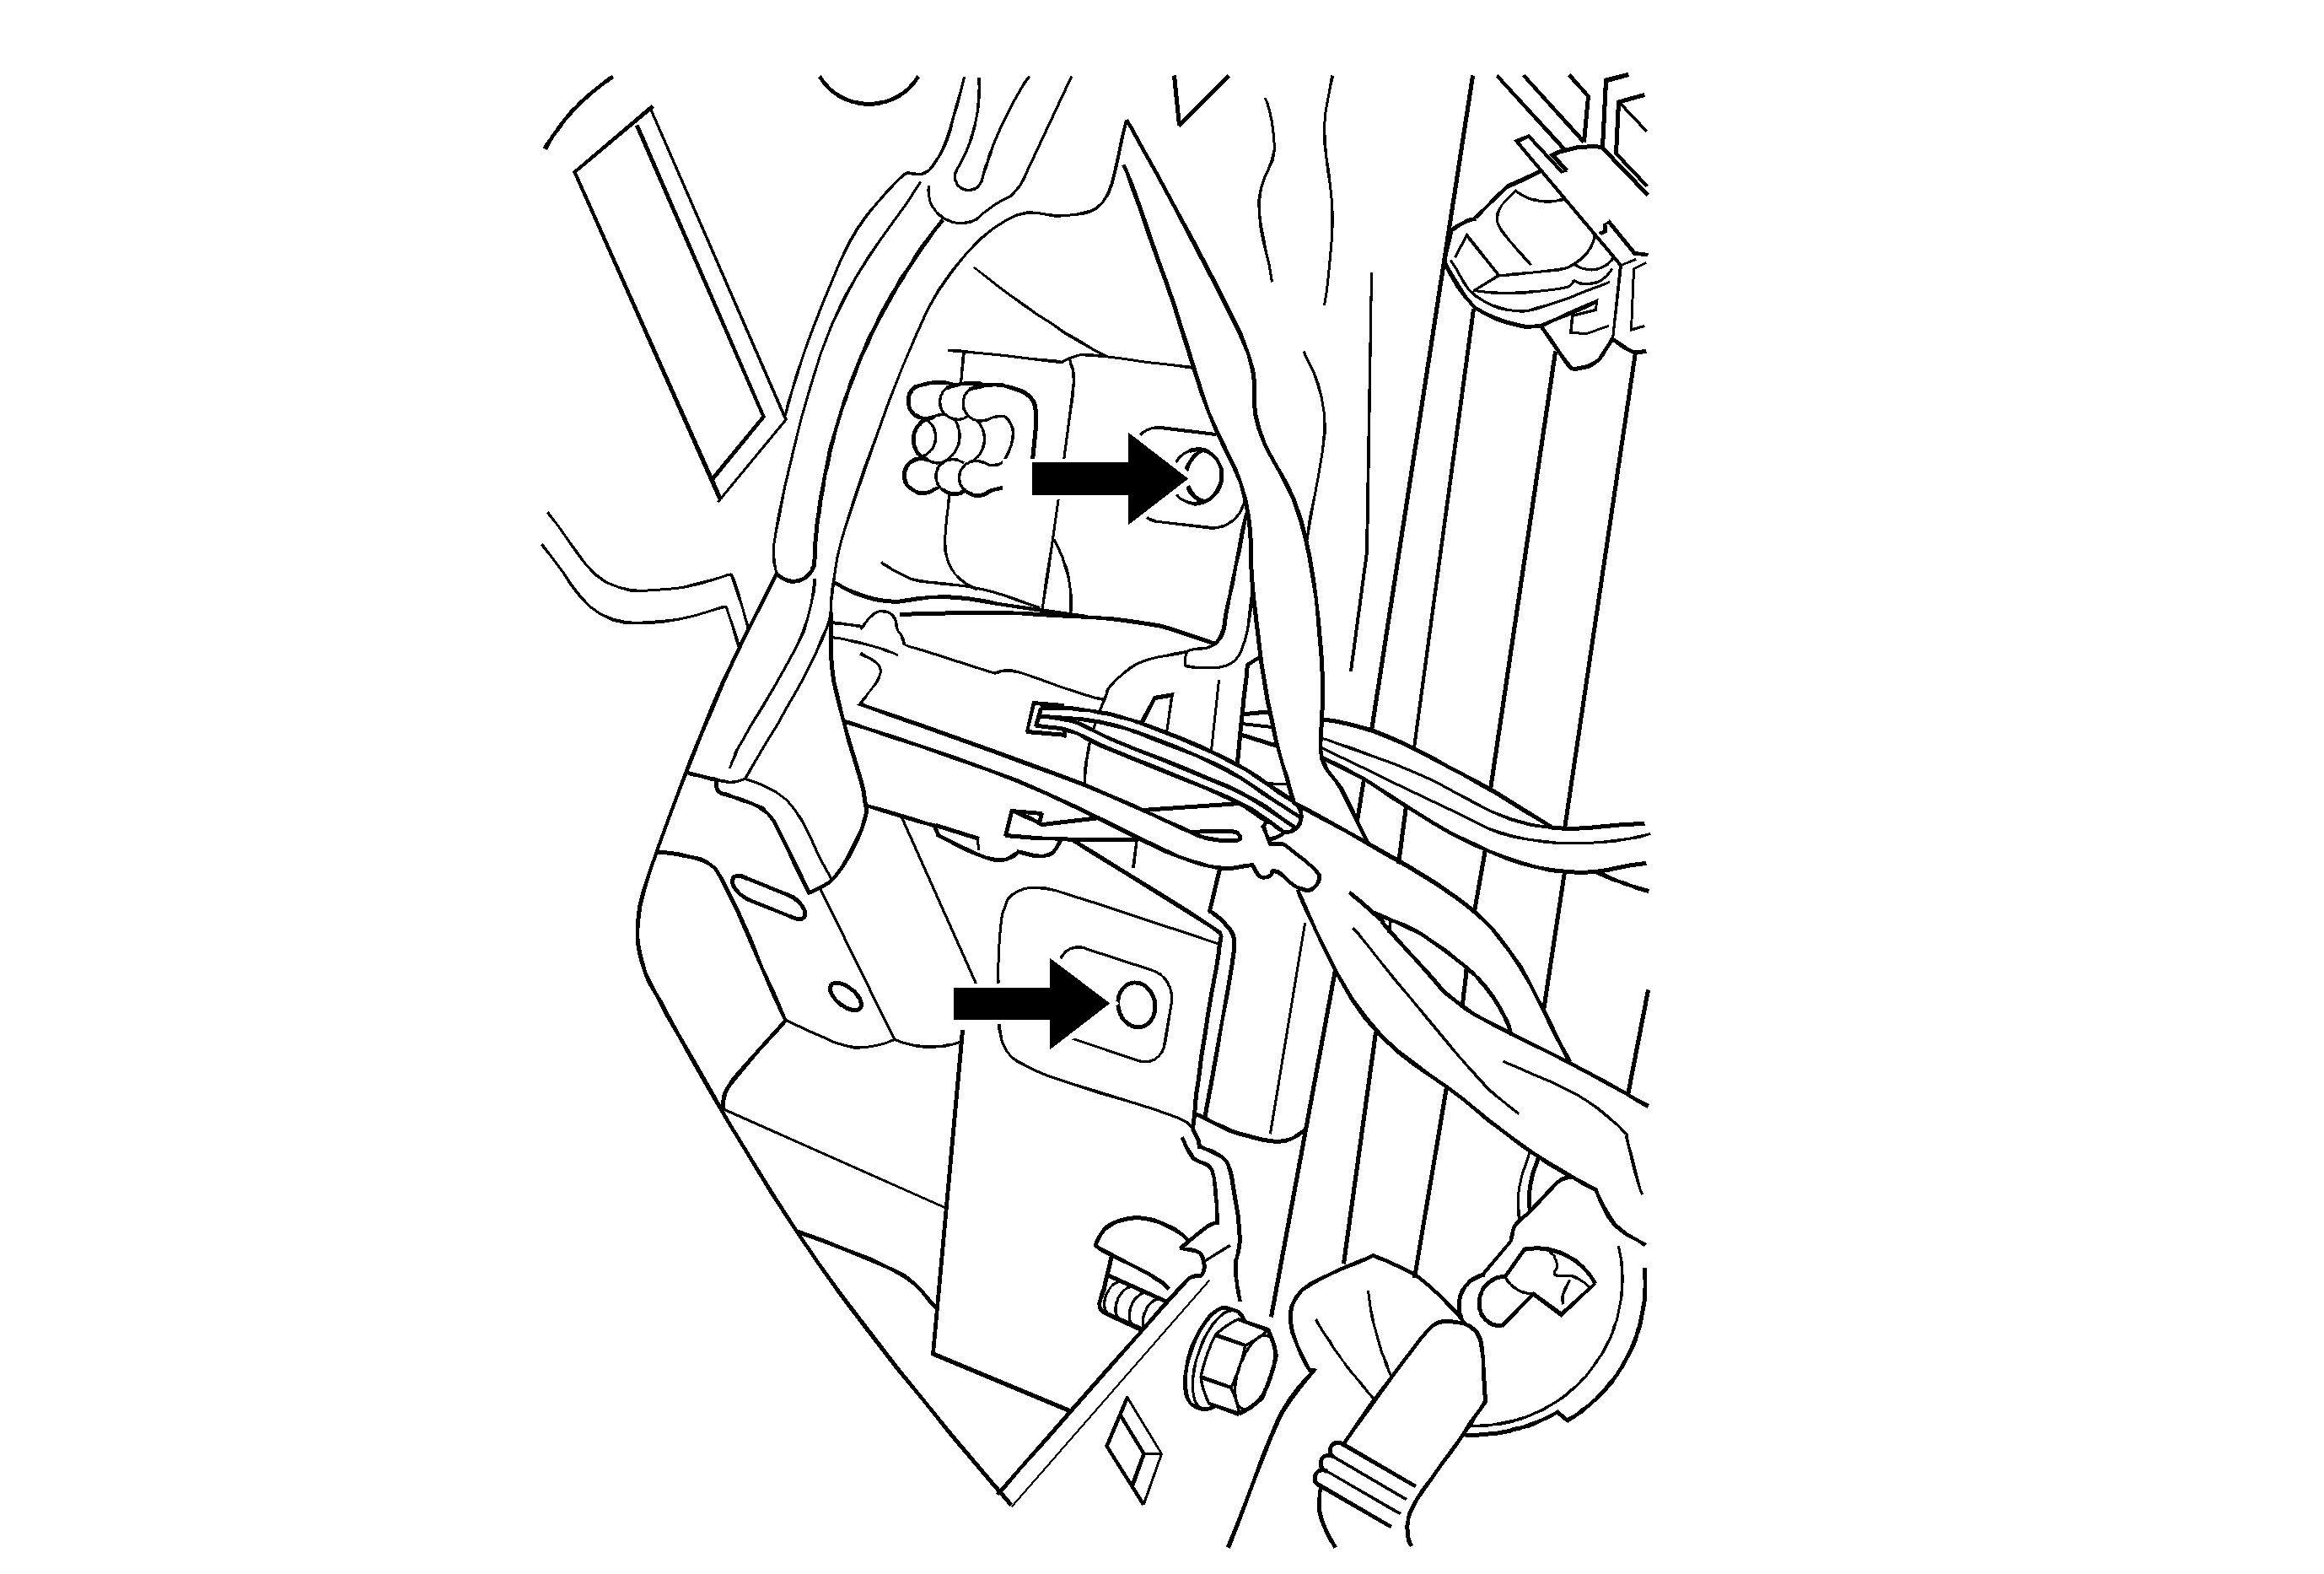
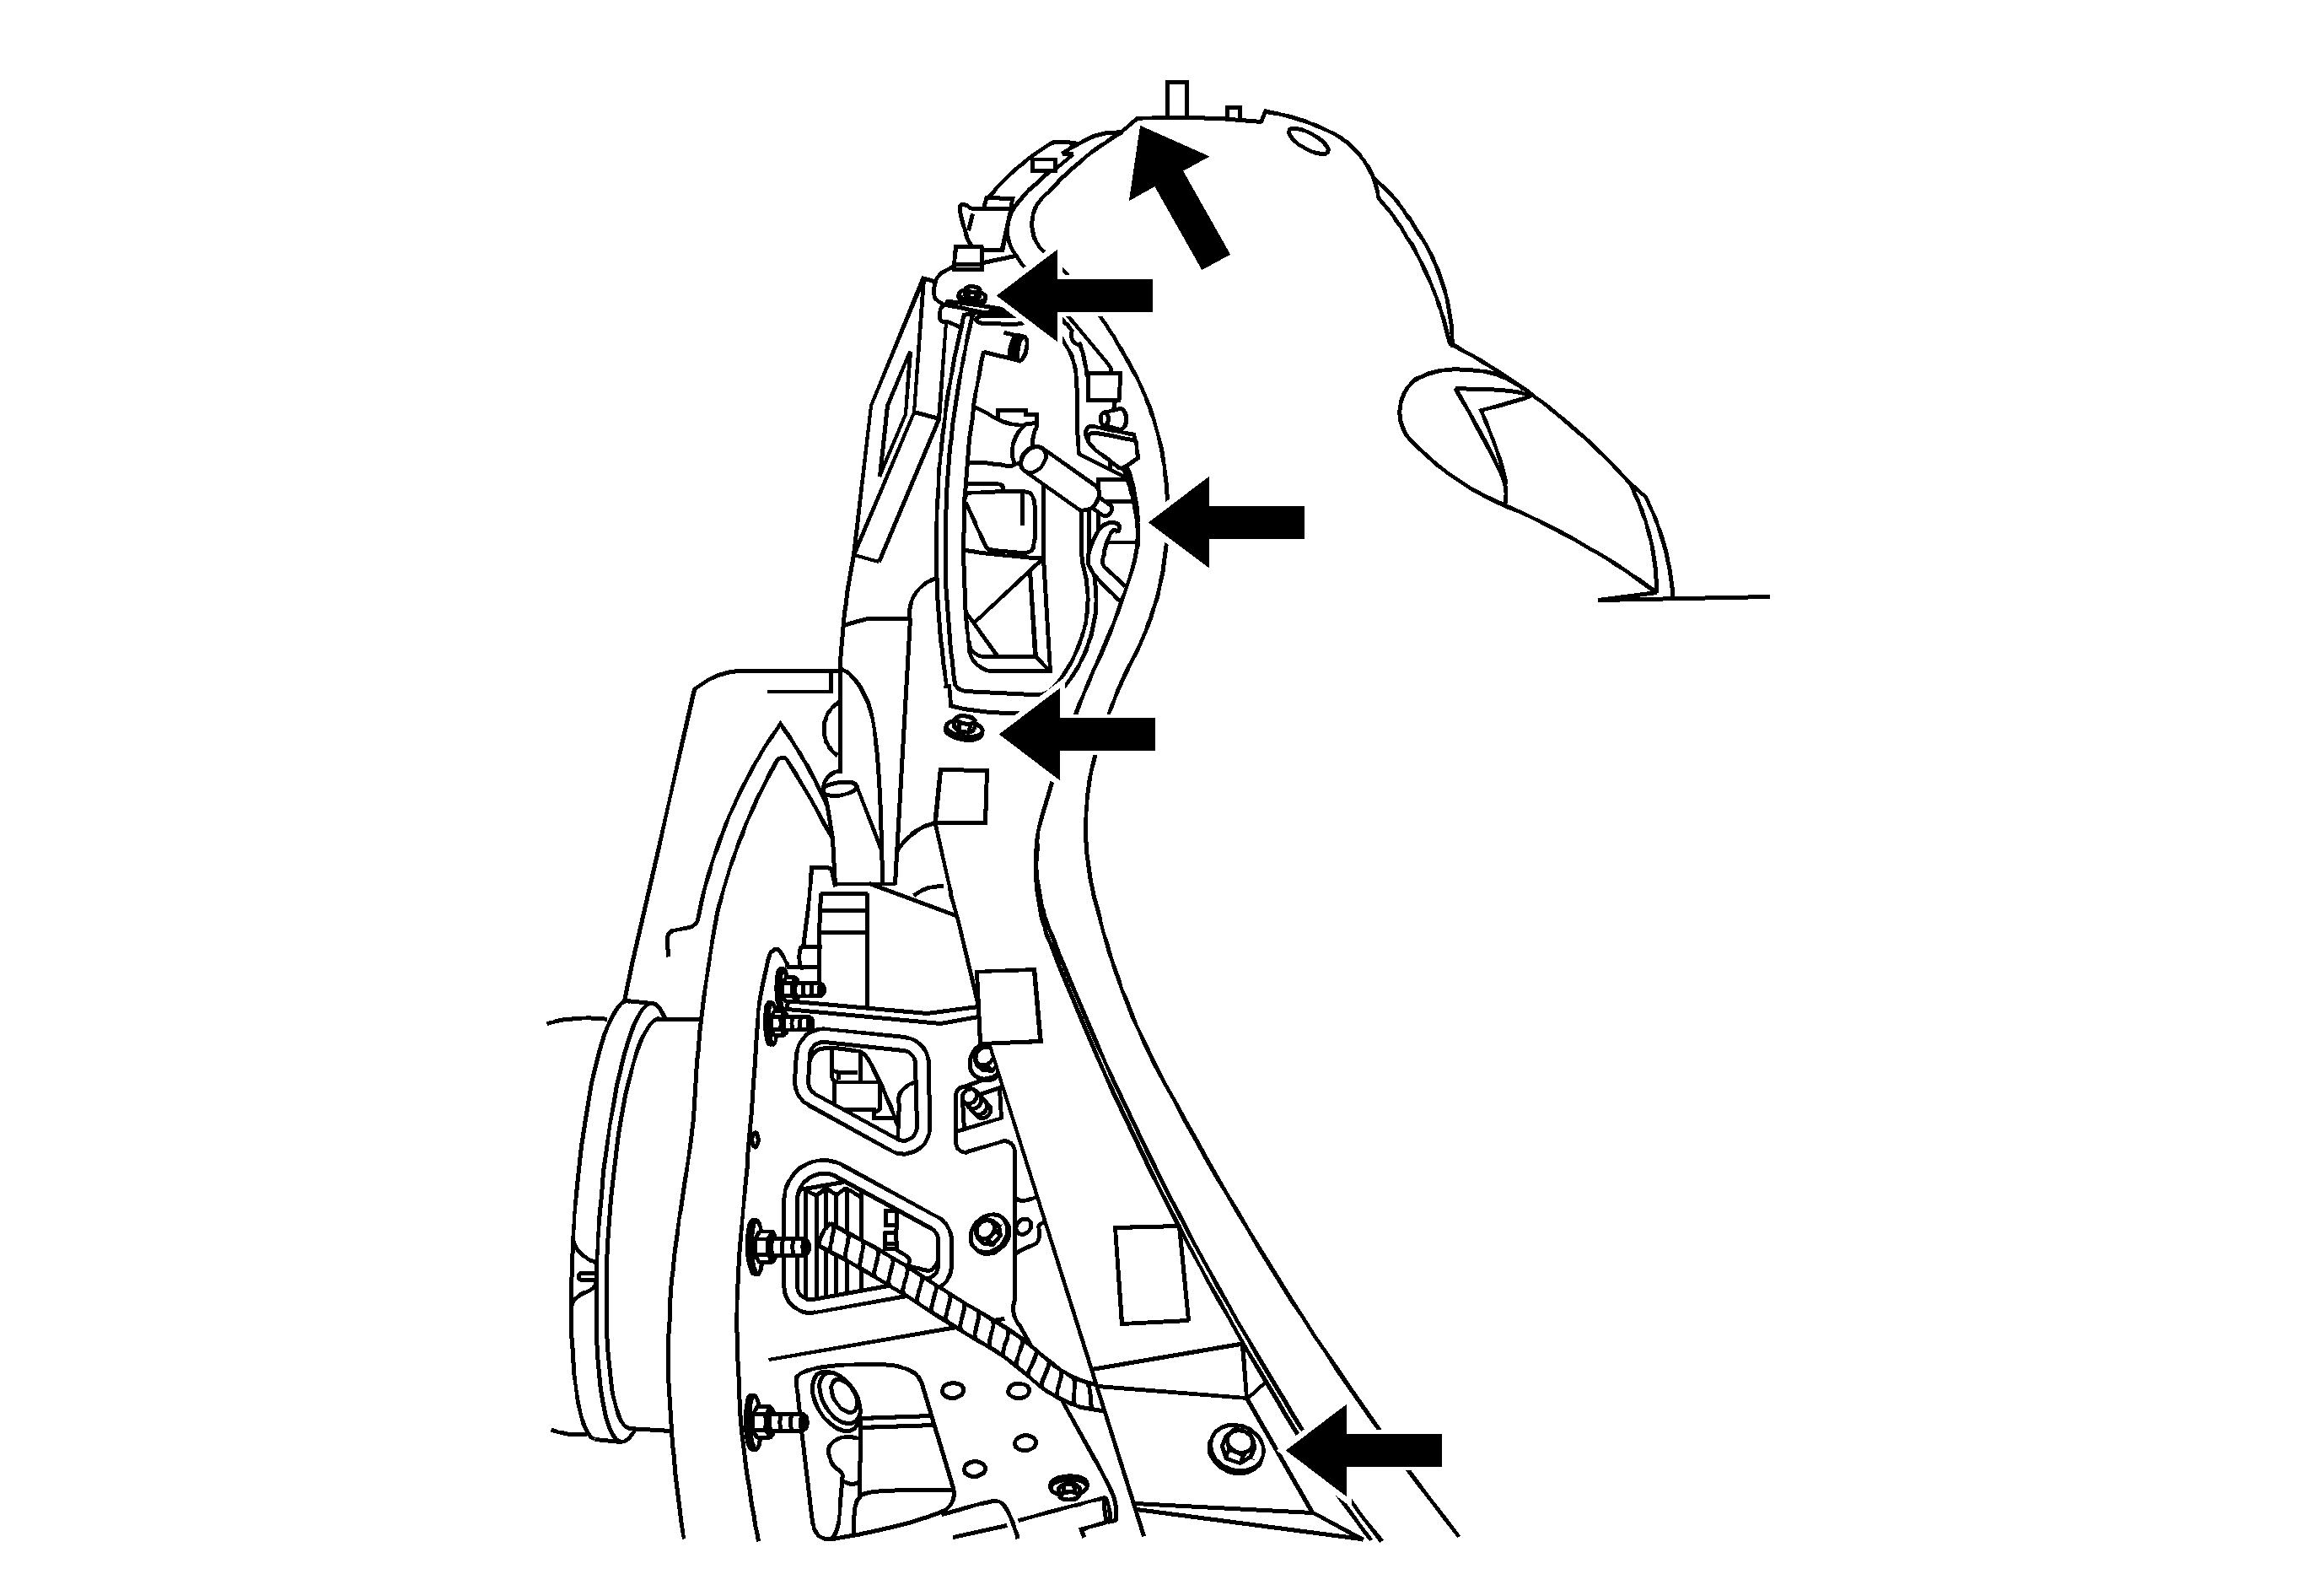
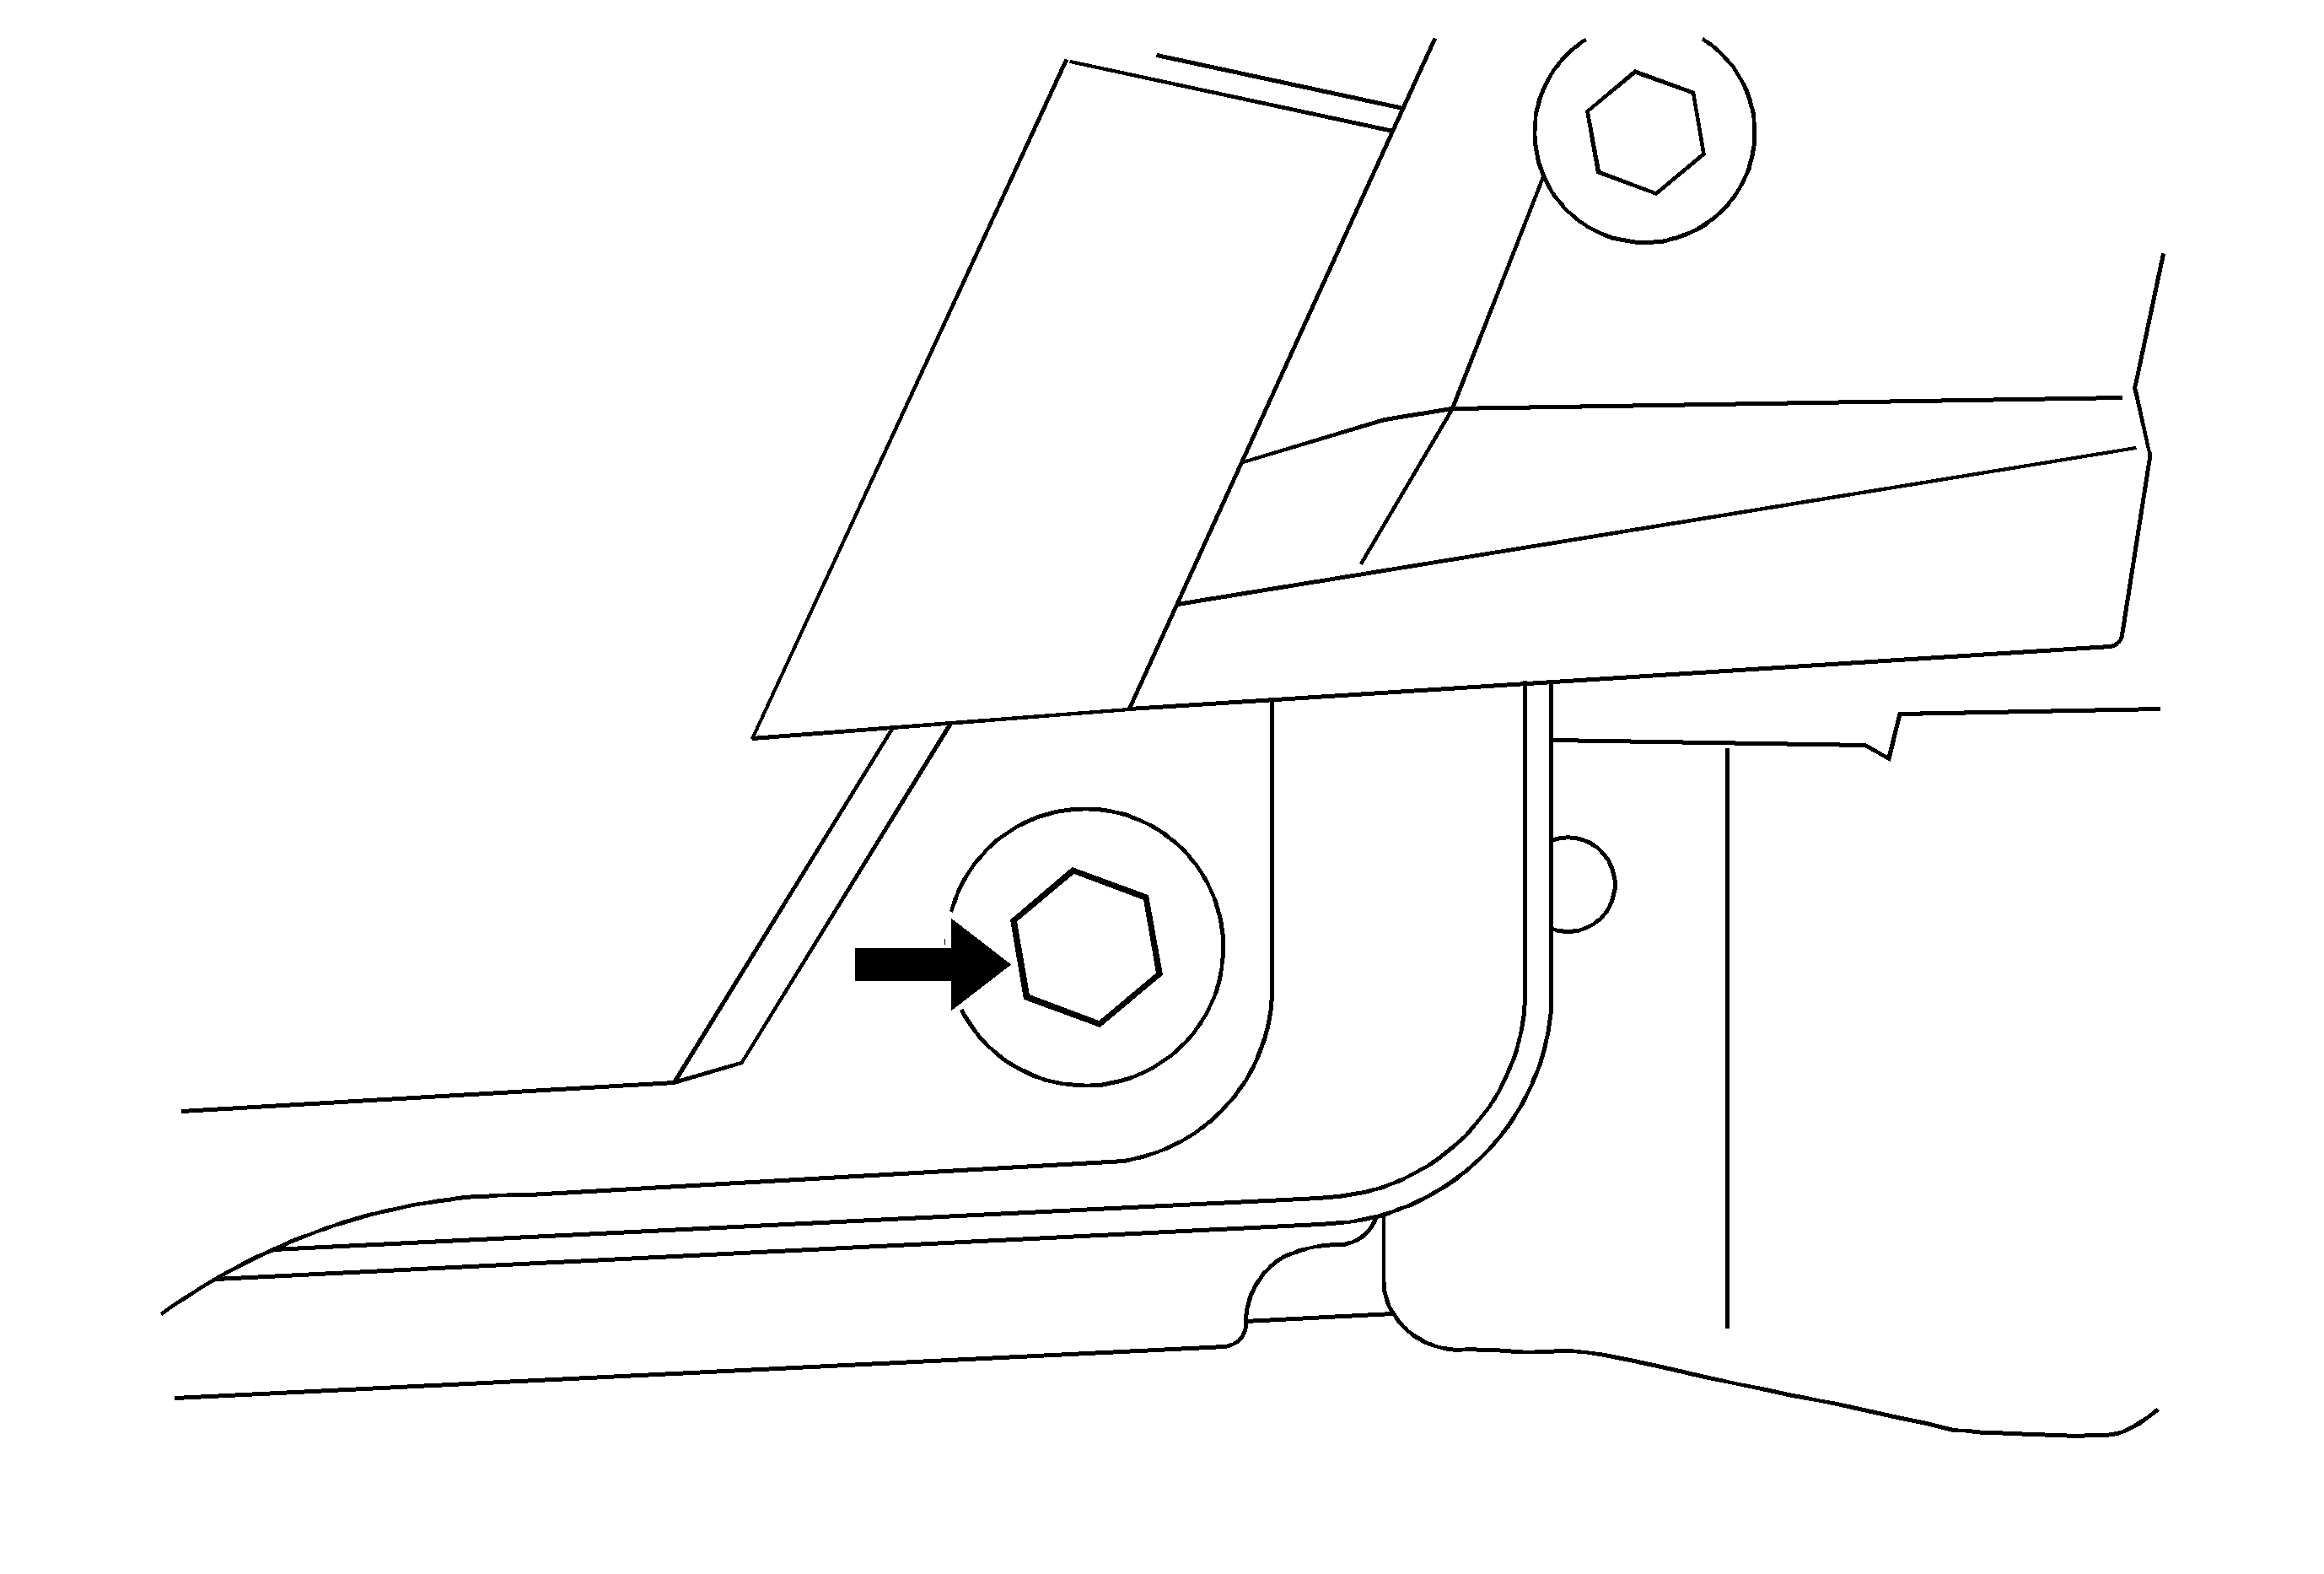
Important: You are now ready to re-secure the I/P in a prescribed order. The primary goal is to set the height of the I/P without compromising the sealing at the front of dash. If the I/P trim is lower than the door trim (I/P needs to be raised), proceed to Step 17.
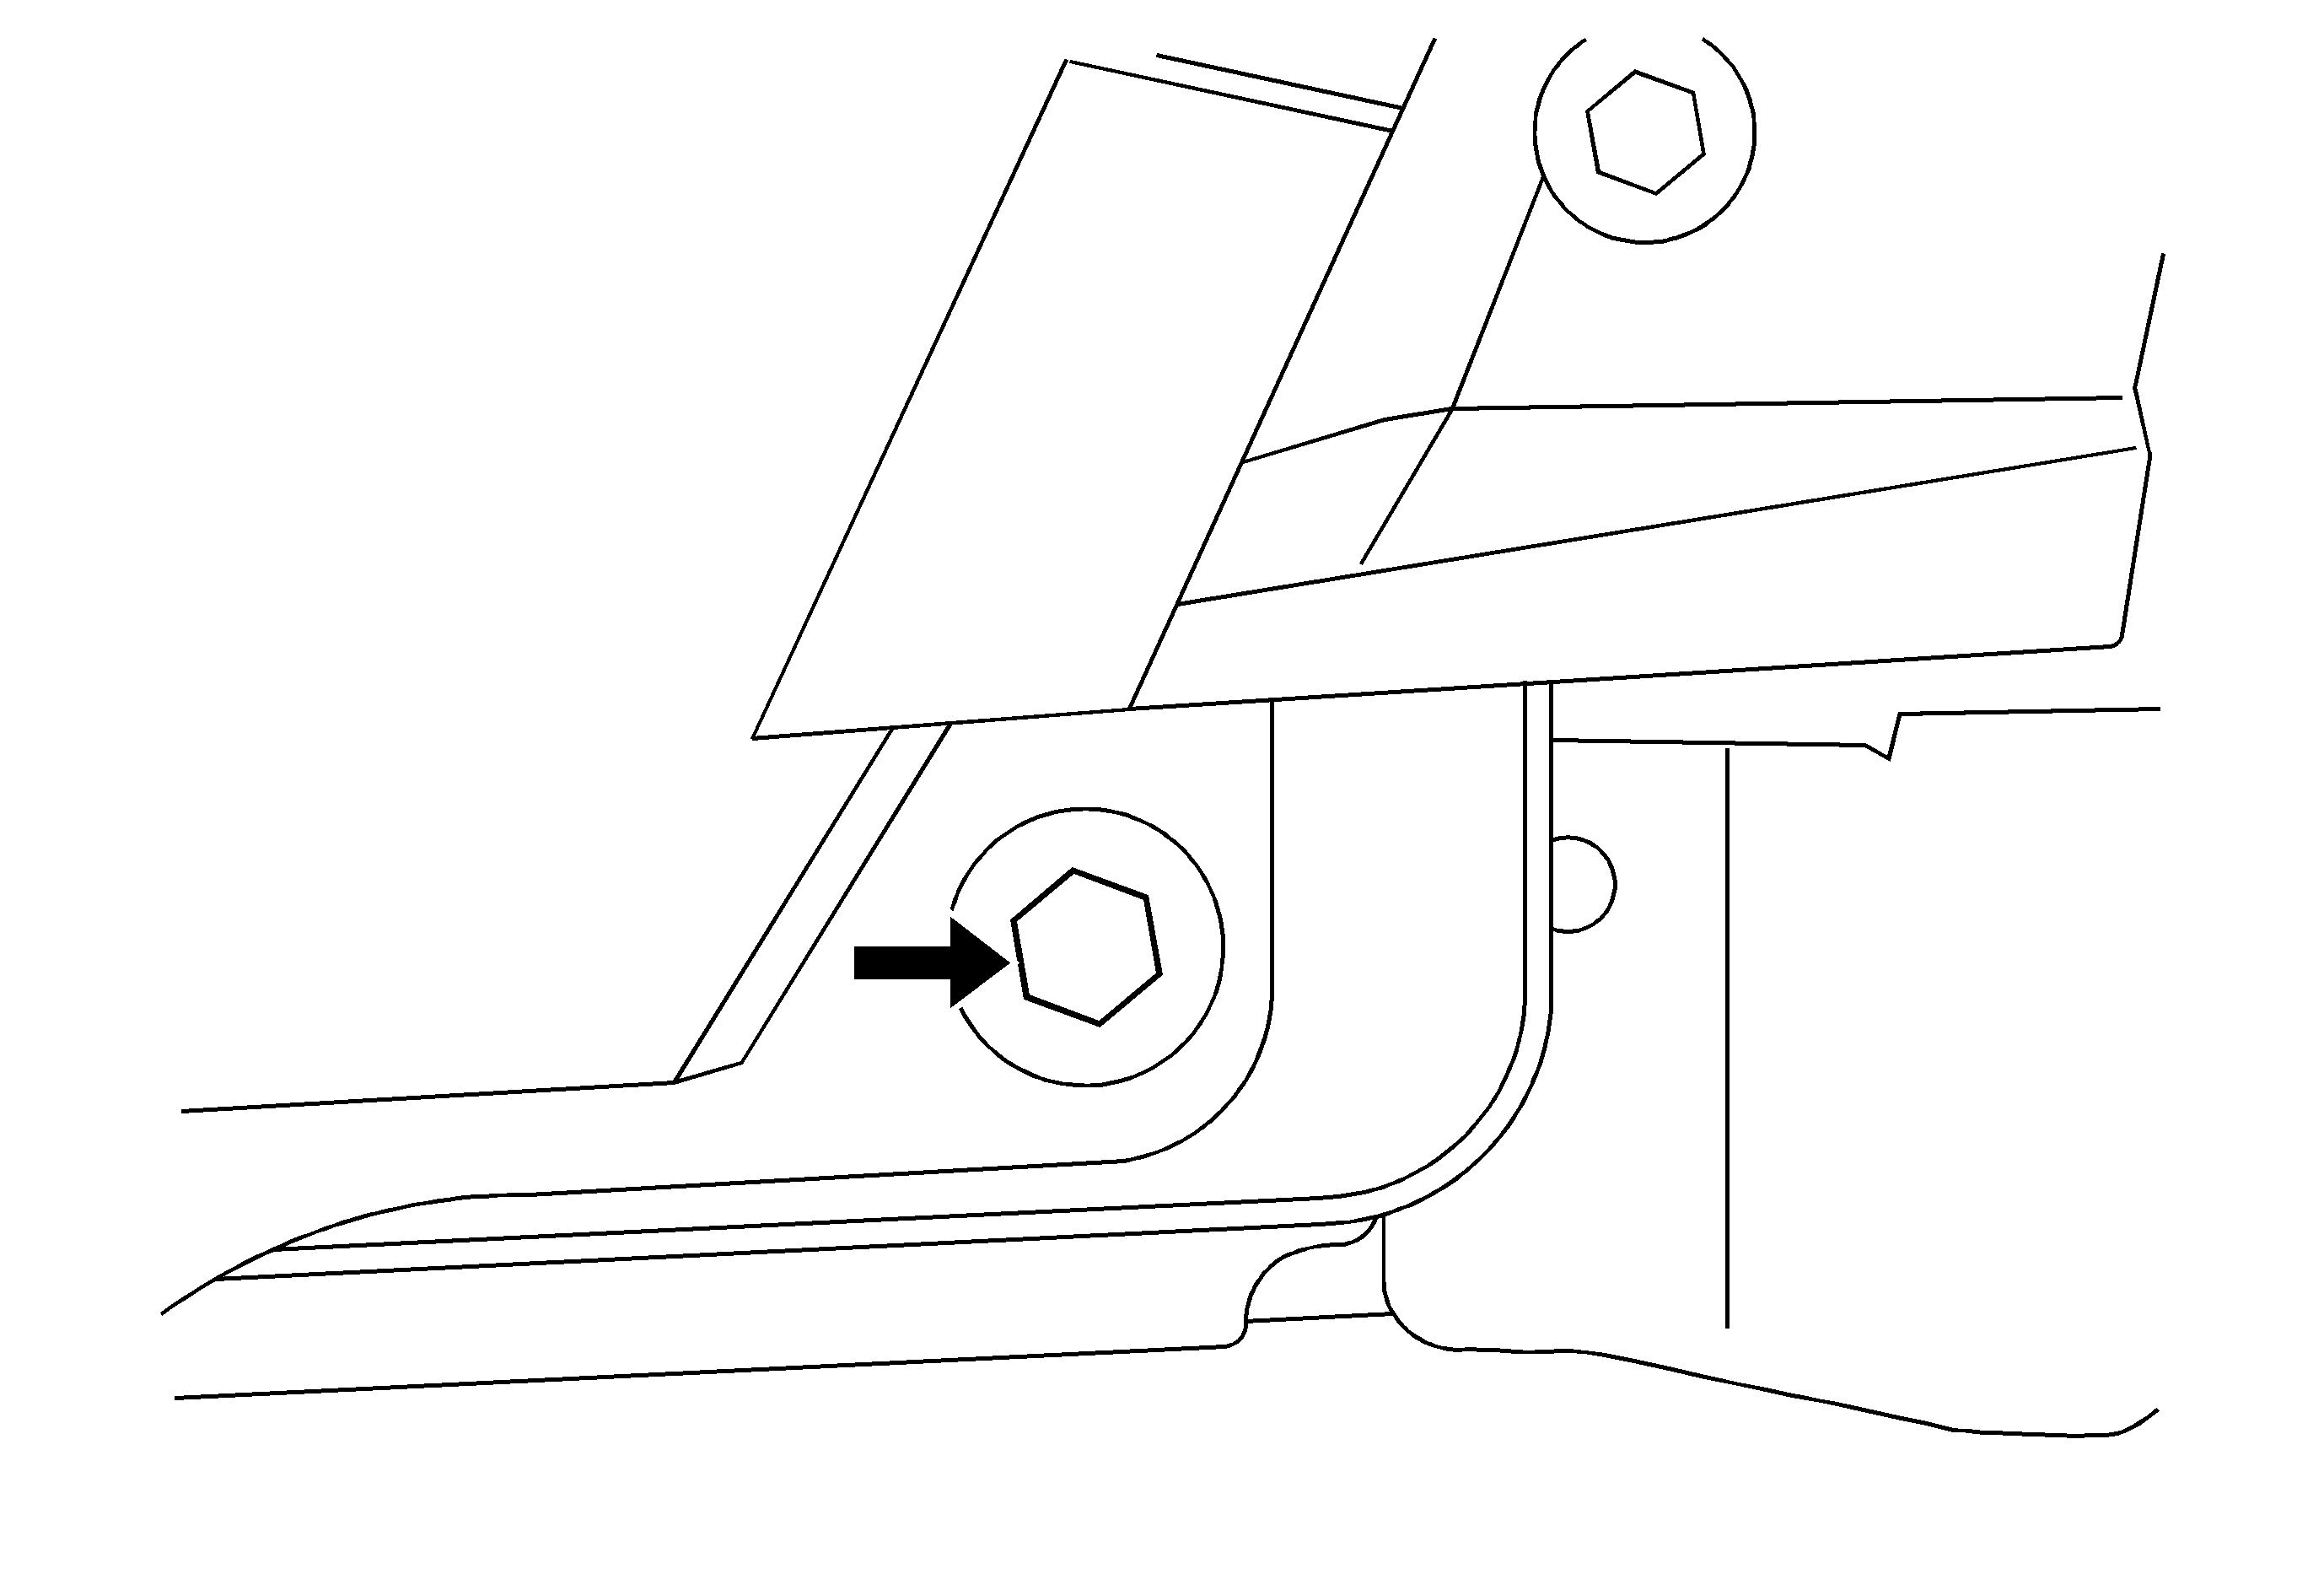
Tighten
Tighten the bolts to 25 N·m (18 lb ft).
Tighten
Tighten the bolts to 25 N·m (18 lb ft).
Tighten
Tighten the bolts to 25 N·m (18 lb ft).
Tighten
Tighten the bolts to 25 N·m (18 lb ft).


Important: Verify that the I/P trim and the door trim are in proper alignment before proceeding. If not, then return to Step 11 and loosen the bolts on the side that is not aligned.
Tighten
Tighten the bolts to 9 N·m (80 lb in).

Tighten
Tighten the screws to 2 N·m (18 lb in).


Tighten
Tighten the screws to 2 N·m (18 lb in).


Warranty Information
For vehicles repaired under warranty, use:
Labor Operation | Description | Labor Time |
|---|---|---|
C9789* | Dash Alignment | 0.9 hr |
*This is a unique labor operation for bulletin use only. It will not be published in the Labor Time Guide. | ||
