Removal Procedure
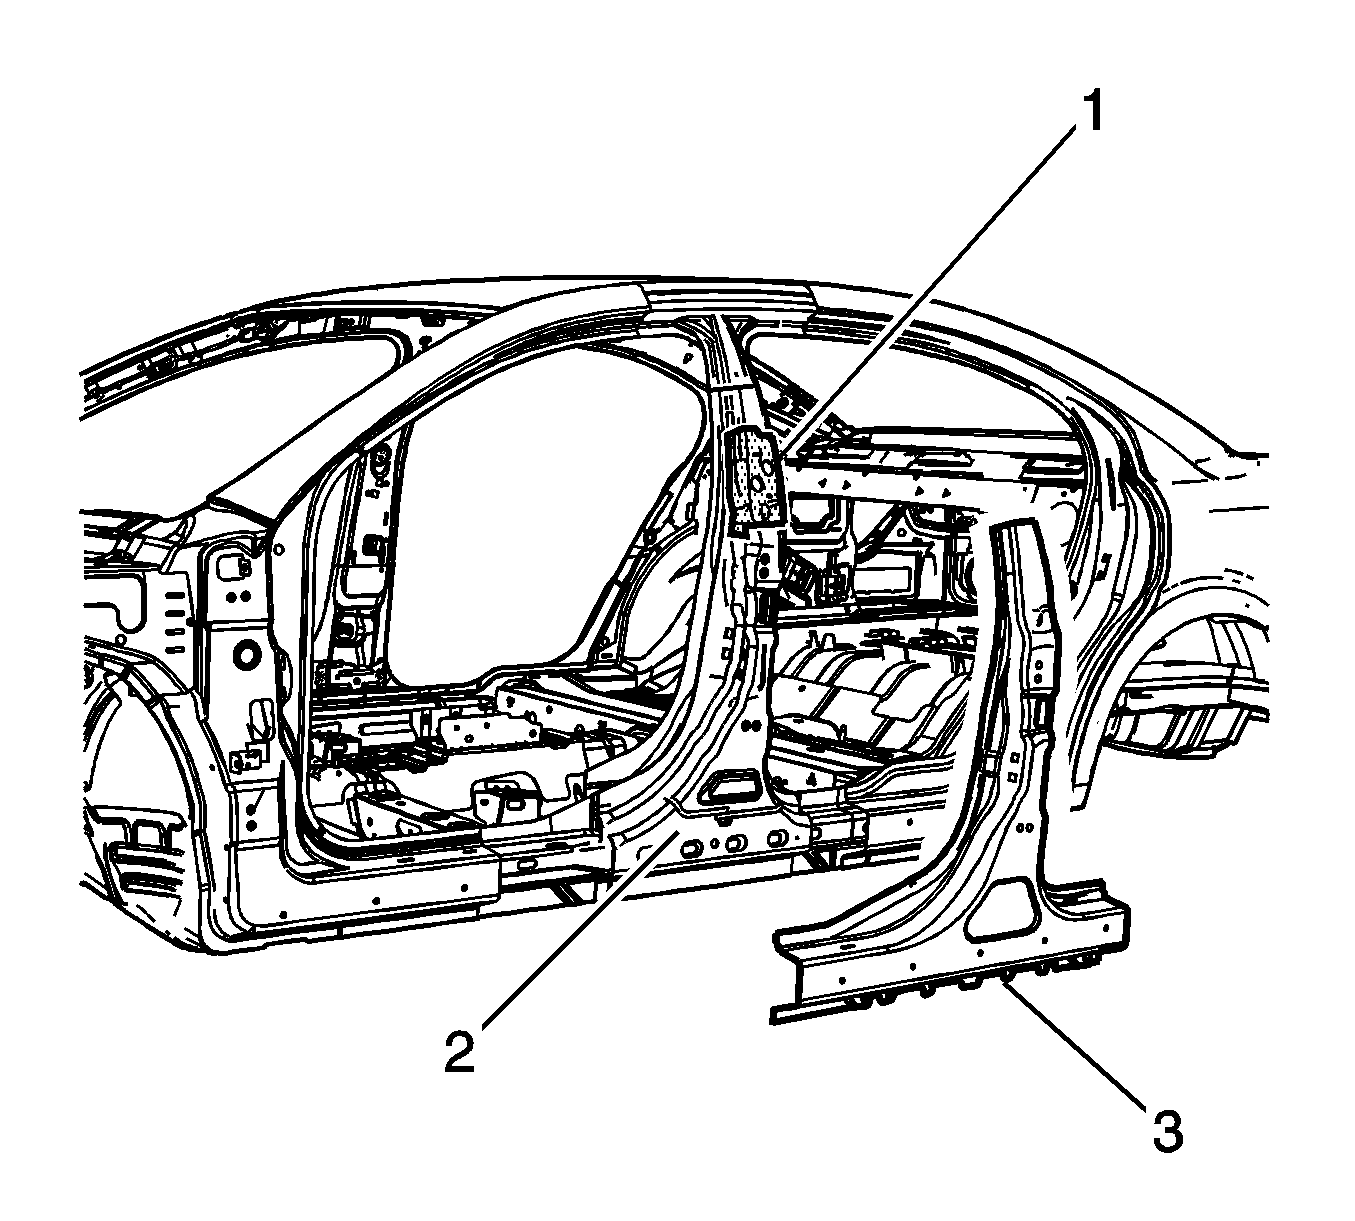
Nylon reinforcement (1) is located between the inner center pillar reinforcement (2) and the outer B pillar (3) on both sides of the vehicle.
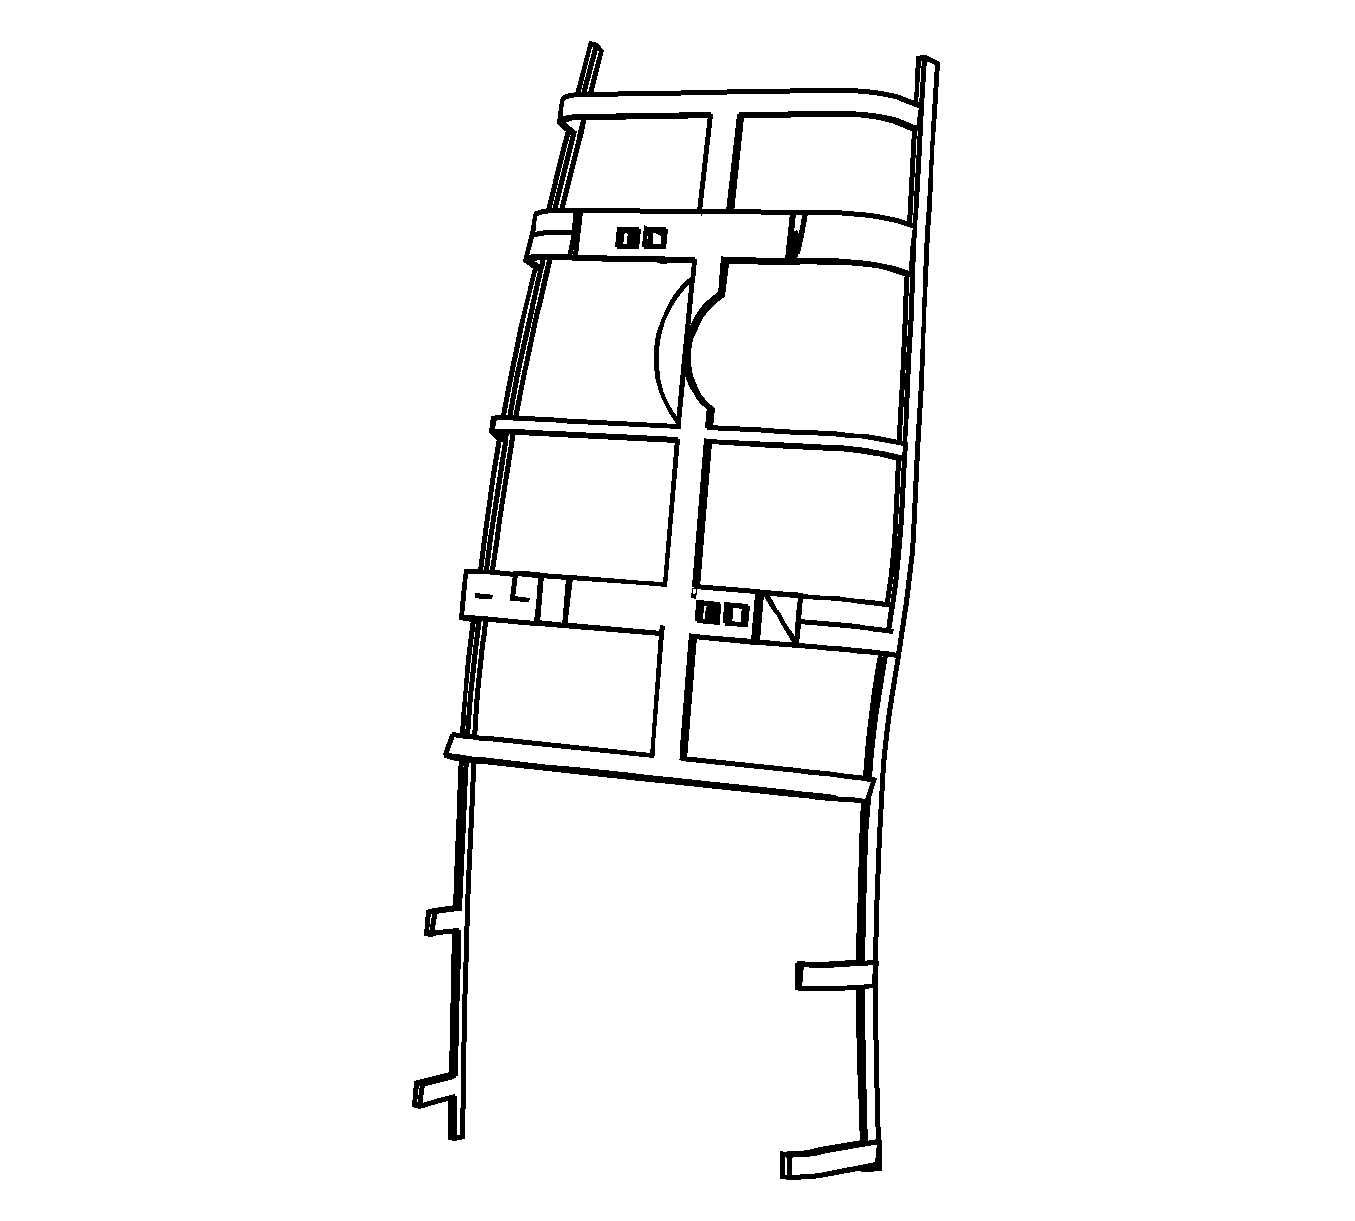
Pre-cast structural nylon replacement masks, without the adhesive, are available, and may be ordered separately.
Note: The nylon mask is serviced without the adhesive because of the shelf life of the adhesive on the mask for extended periods of time. This will affect the adhesive's ability to activate.
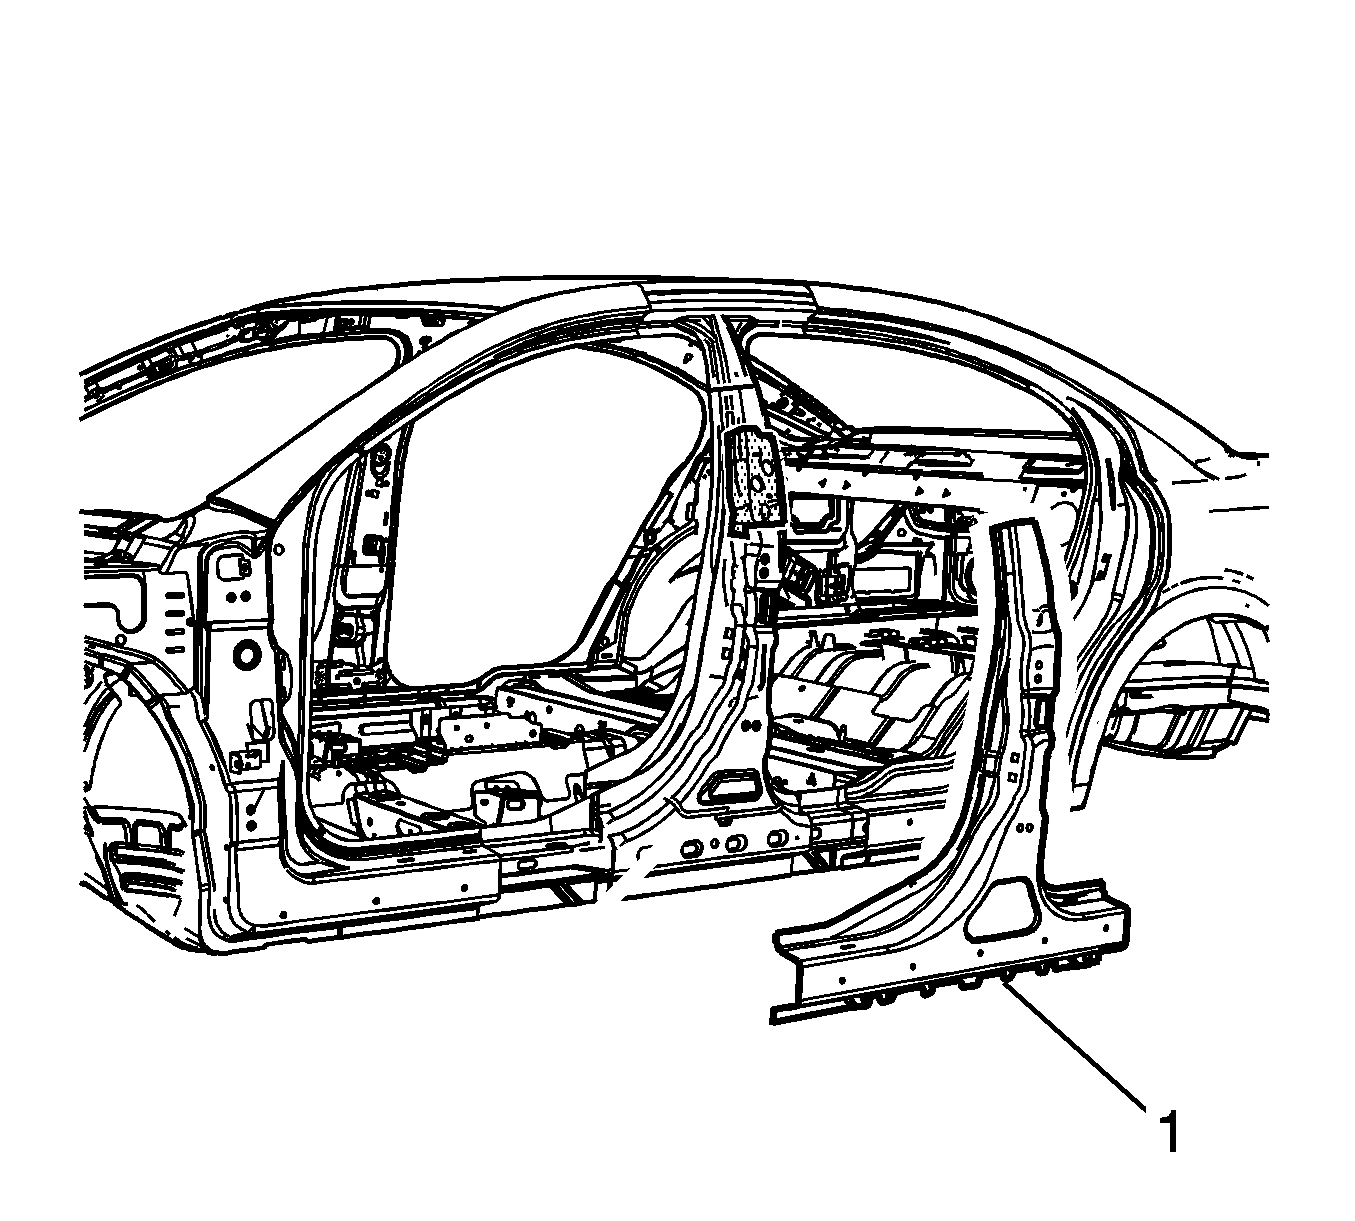
- Remove the outer B pillar panel (1). Refer to Body Lock Pillar Outer Panel Sectioning or to Body Lock Pillar Outer Panel Reinforcement Replacement.
- To remove the nylon reinforcement, use a scraper tool and a heat gun. The nylon has push pins in clips on the back side of the part.
Warning: Refer to Approved Equipment for Collision Repair Warning in the Preface section.
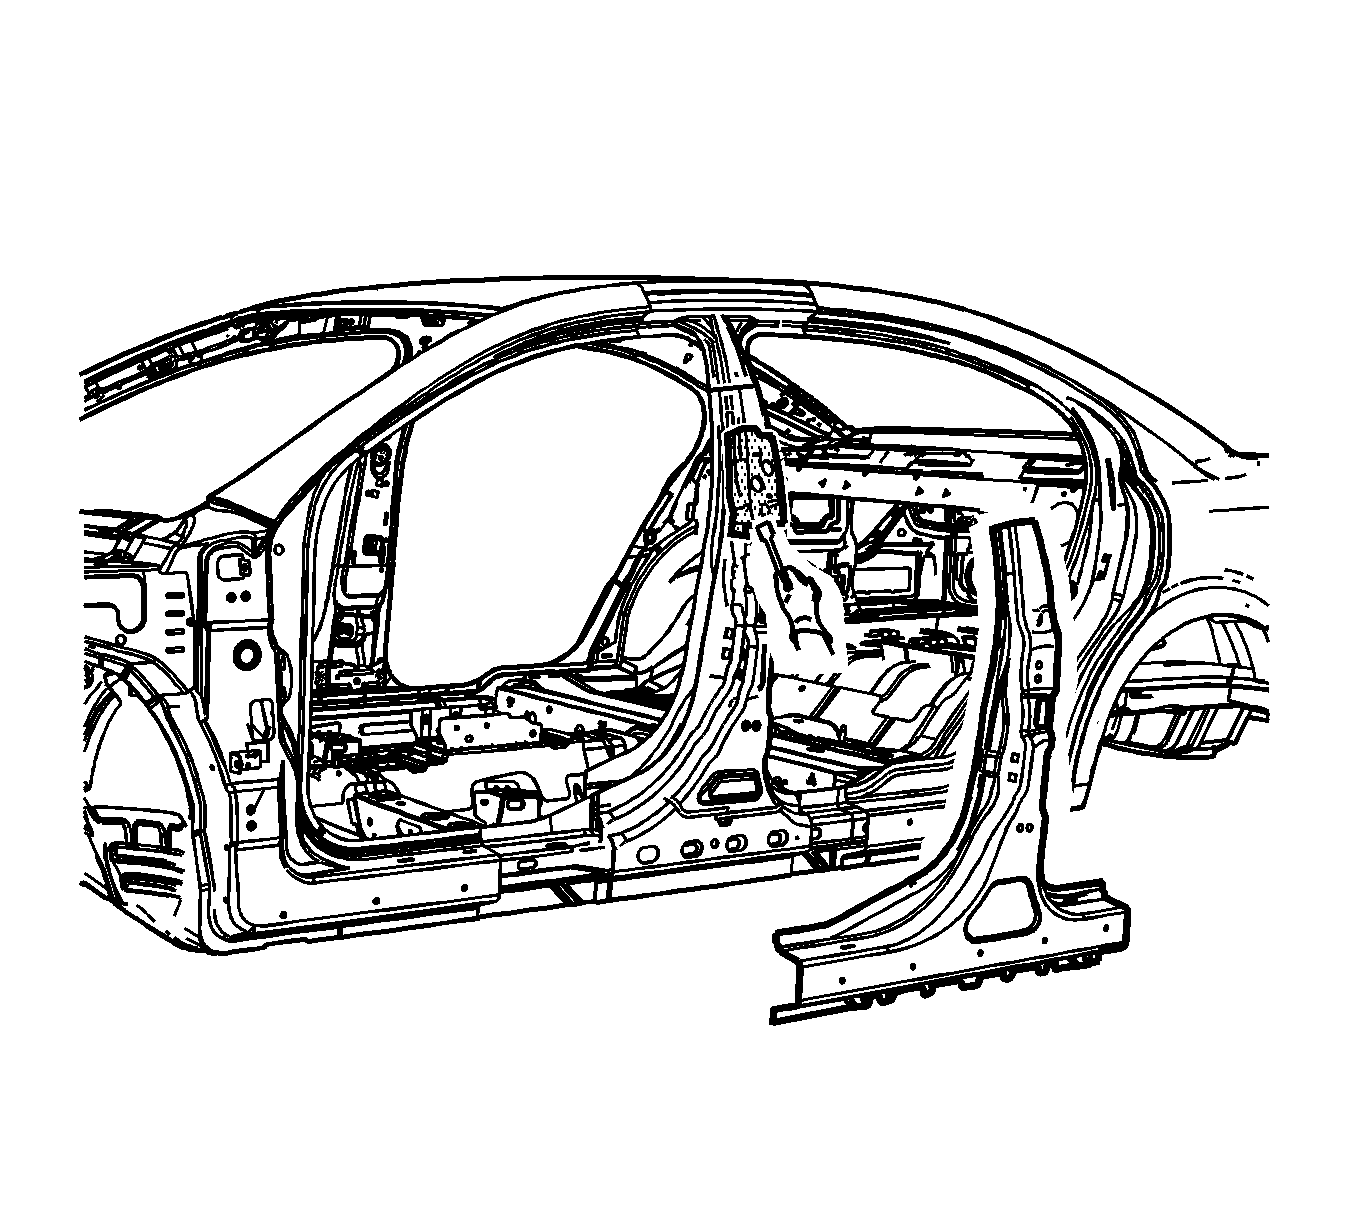
Note: Do not remove the existing primer from the inner panels when removing the adhesive. The entire adhesive does not need to be completely removed.
Installation Procedure
- Clean the replacement nylon reinforcement and all of the mating surfaces with naphtha solvent. Allow to dry thoroughly.
- Position the nylon reinforcement to the body of the vehicle. Push firmly into place.
- Apply approximately 10-13 mm (3/4-1/2 in) beads of adhesive to the reinforcement mating surface of the hinge pillar. Fill all of the entire area between the inner hinge pillar reinforcement and the outermost panel.
- Position the outer lock pillar assembly to the vehicle. Clamp into place.
Note: Use only enough naphtha solvent to dampen a cloth. Too much solvent may saturate the structural foam reinforcement and may leak out at a later time, possibly affecting the bond strength of the adhesive.
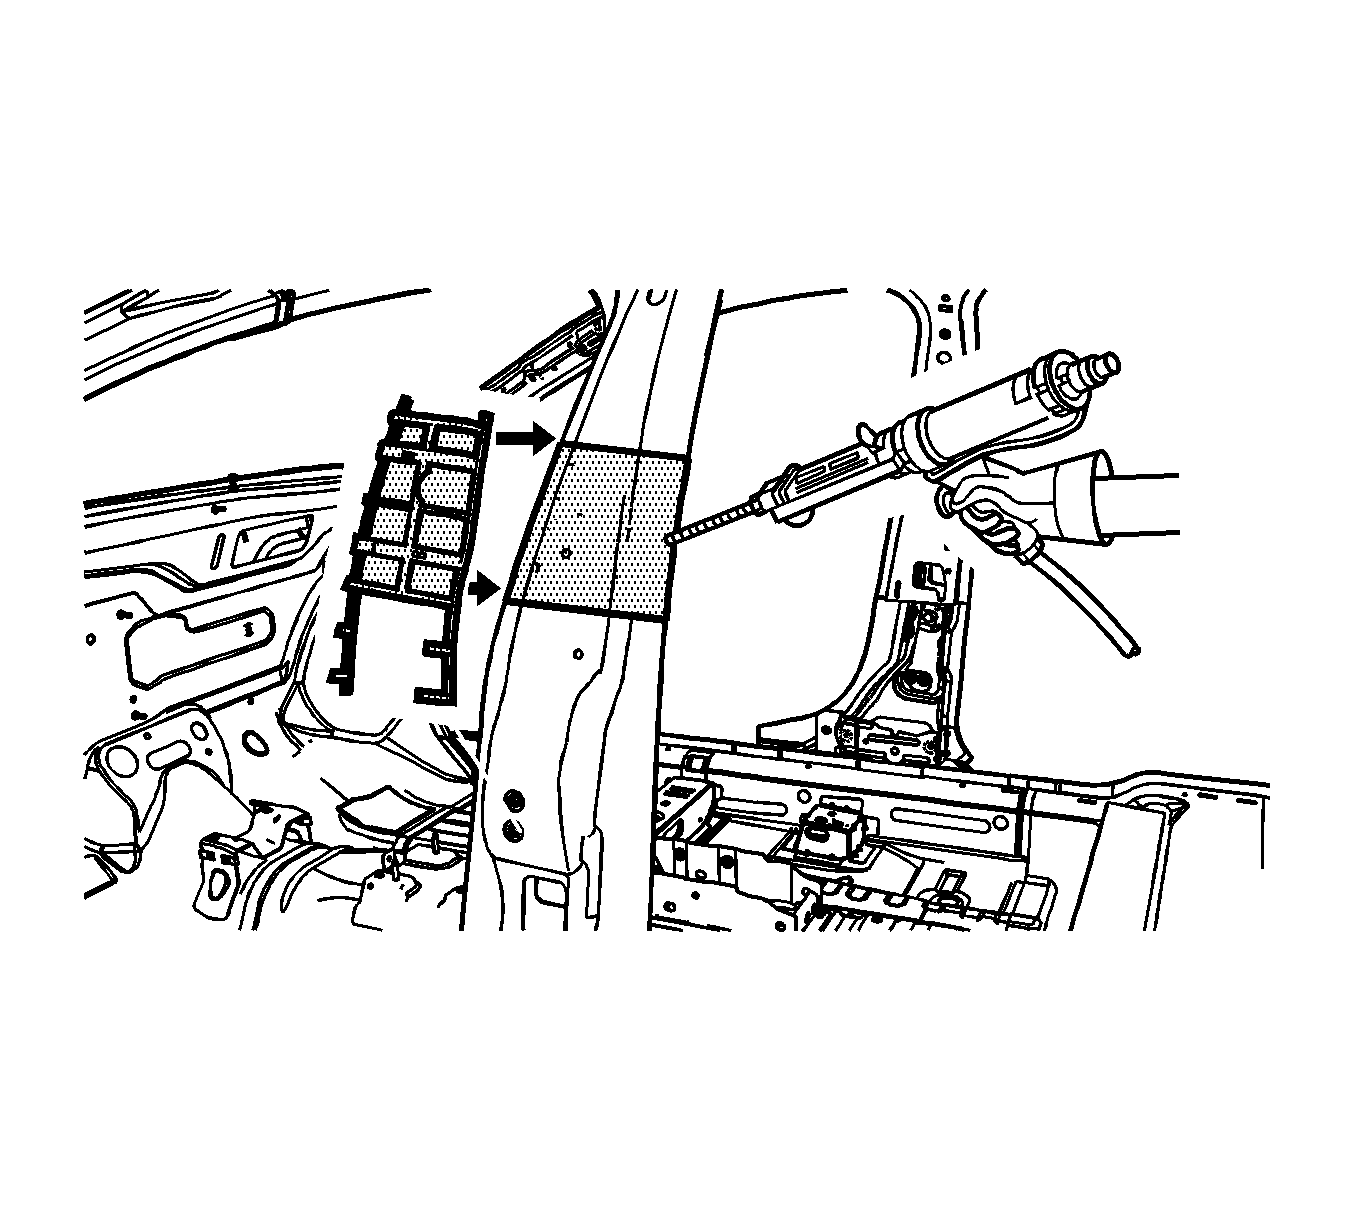
Note: Refer to Reinforcement Bonding. The adhesive has a 20-30 minute work time. Do not allow the adhesive to cure prior to installing the nylon reinforcement to the vehicle and to the inner hinge pillar reinforcement.
Note: Do not pull the inner hinge pillar reinforcement apart from the nylon reinforcement after the parts have been joined together.
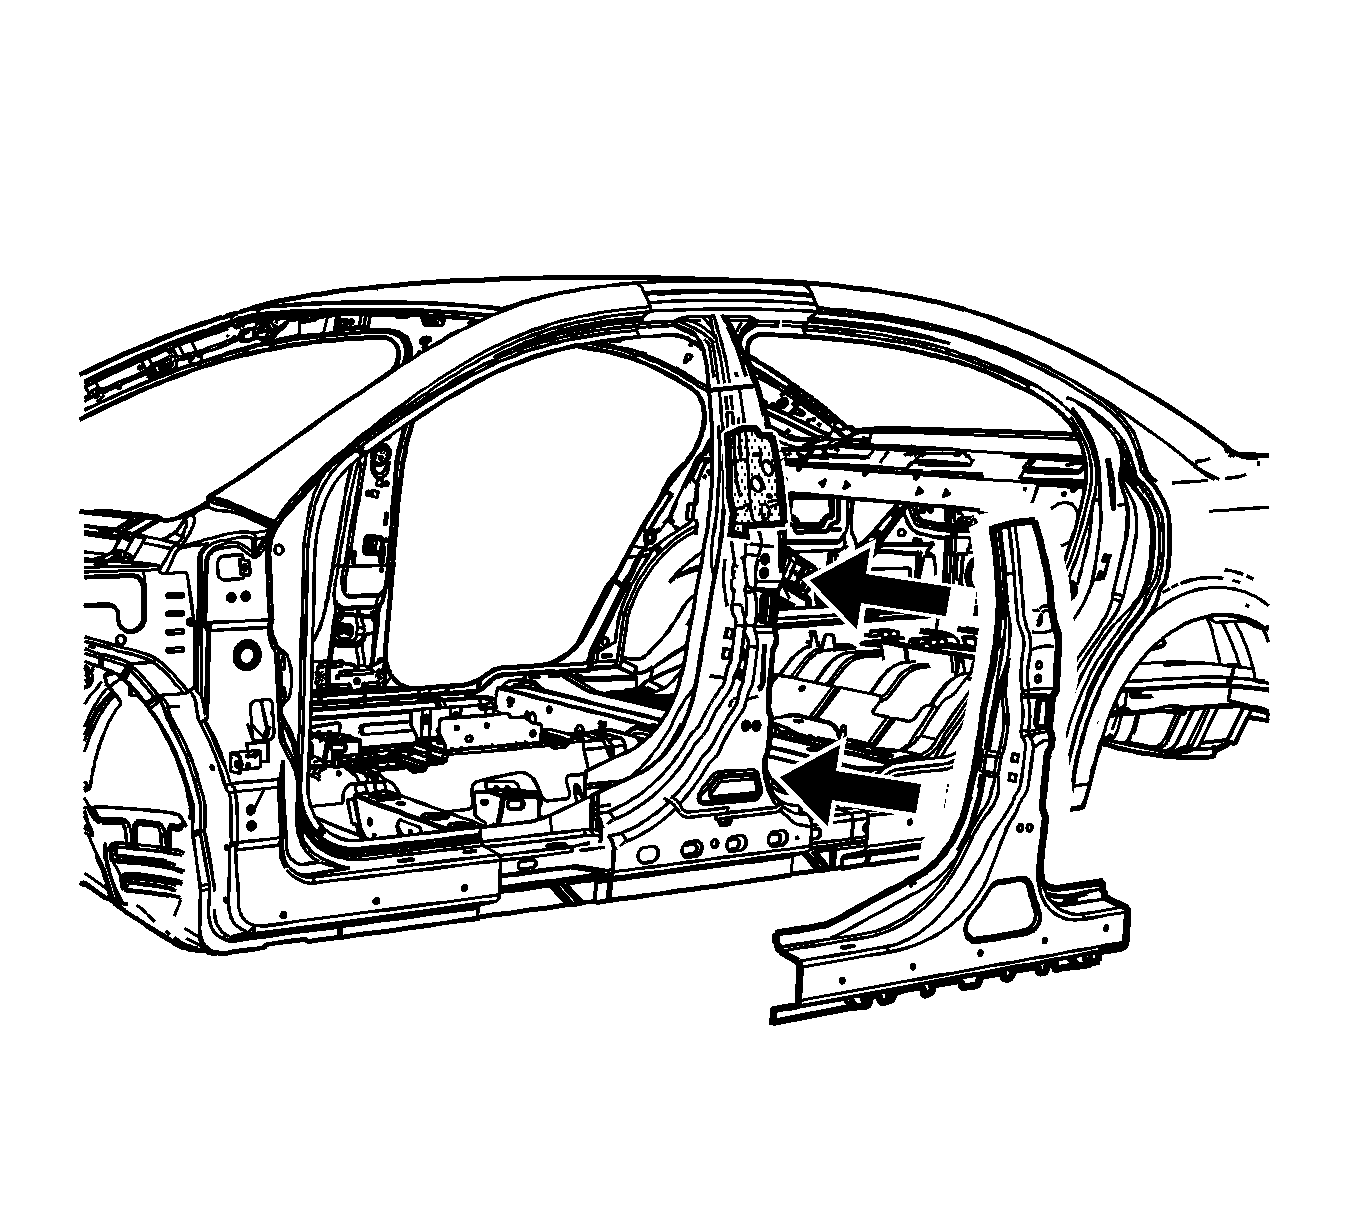
Note: Refer to Body Lock Pillar Outer Panel Sectioning to ensure that the sectioning location is high enough not to have the heat from welding affect the nylon reinforcement or the bonding adhesive.
