Removal Procedure
- Raise and support the vehicle. Refer to Lifting and Jacking the Vehicle .
- Remove the 2 front wheels. Refer to Tire and Wheel Removal and Installation .
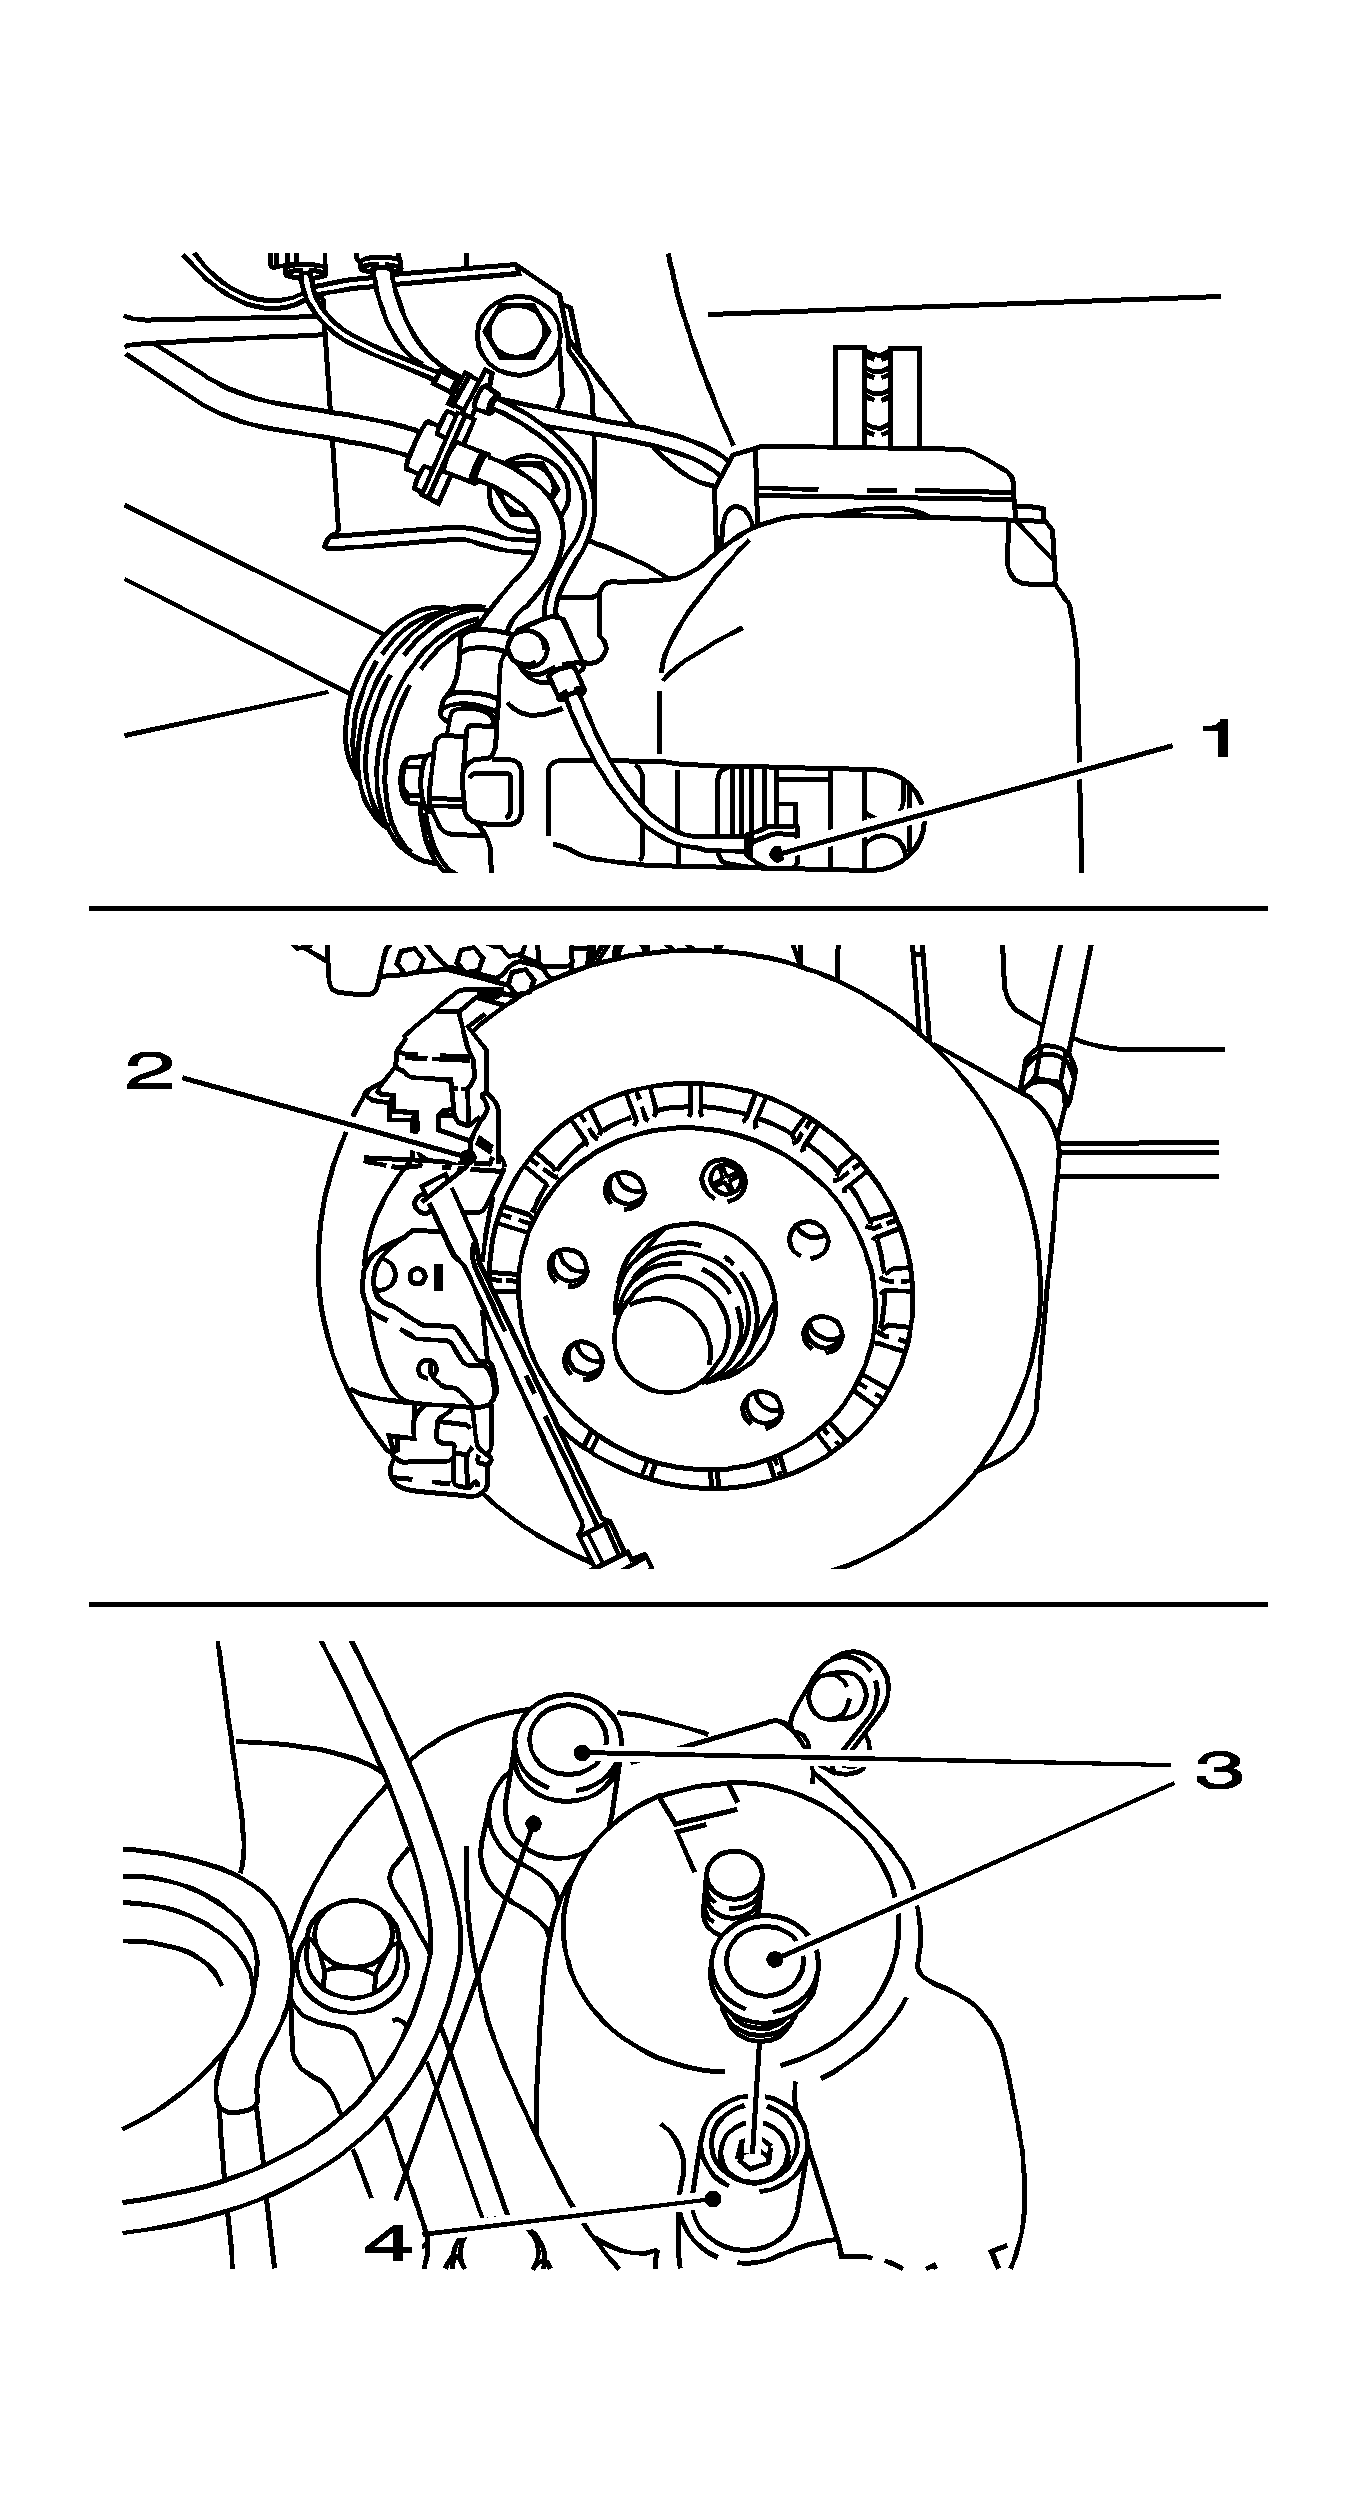
- Remove the brake lining sensor (1) from the inner brake lining if equipped.
- Remove the retaining spring (2) out of the brake caliper with a screwdriver and remove.
- Remove the dust caps (3) from the protective sleeves for the caliber guide bolts (4).
- Remove the guide bolts for the brake caliper.
- Remove the brake caliper from the brake carrier.
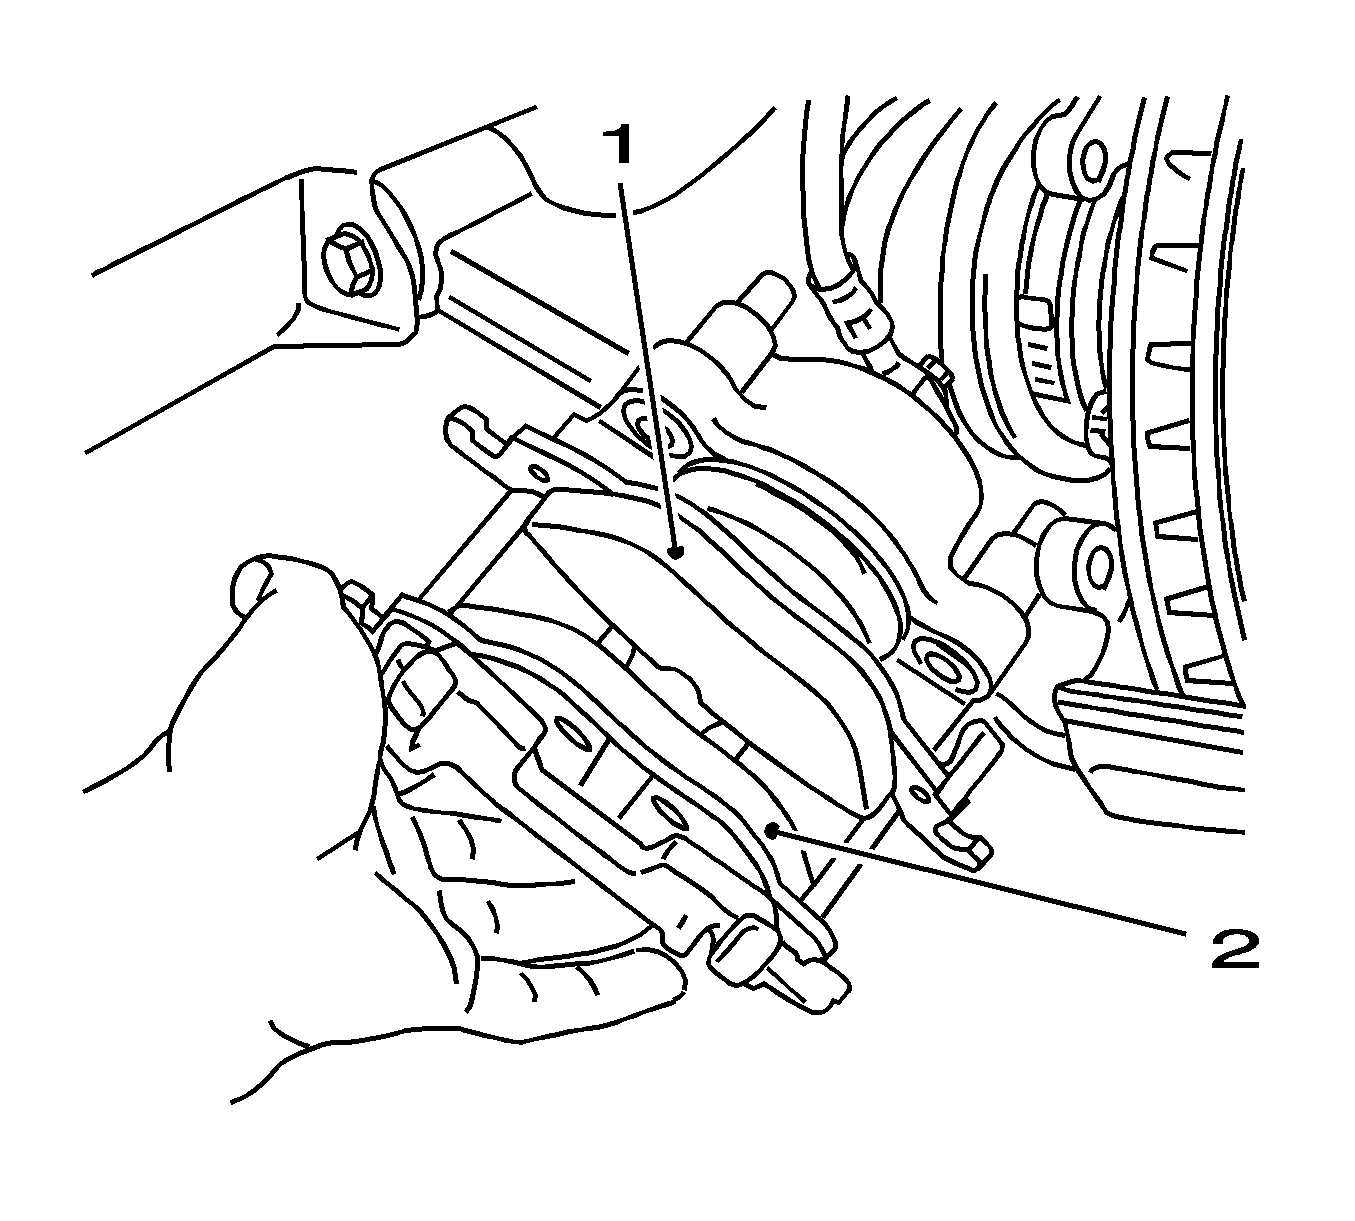
- Remove the outer brake pad (2) from the brake caliper.
- Remove the inner brake pad (1) with the retaining clamp from the pistons.
- Inspect the brake pads for wear. Refer to Brake Pad Inspection
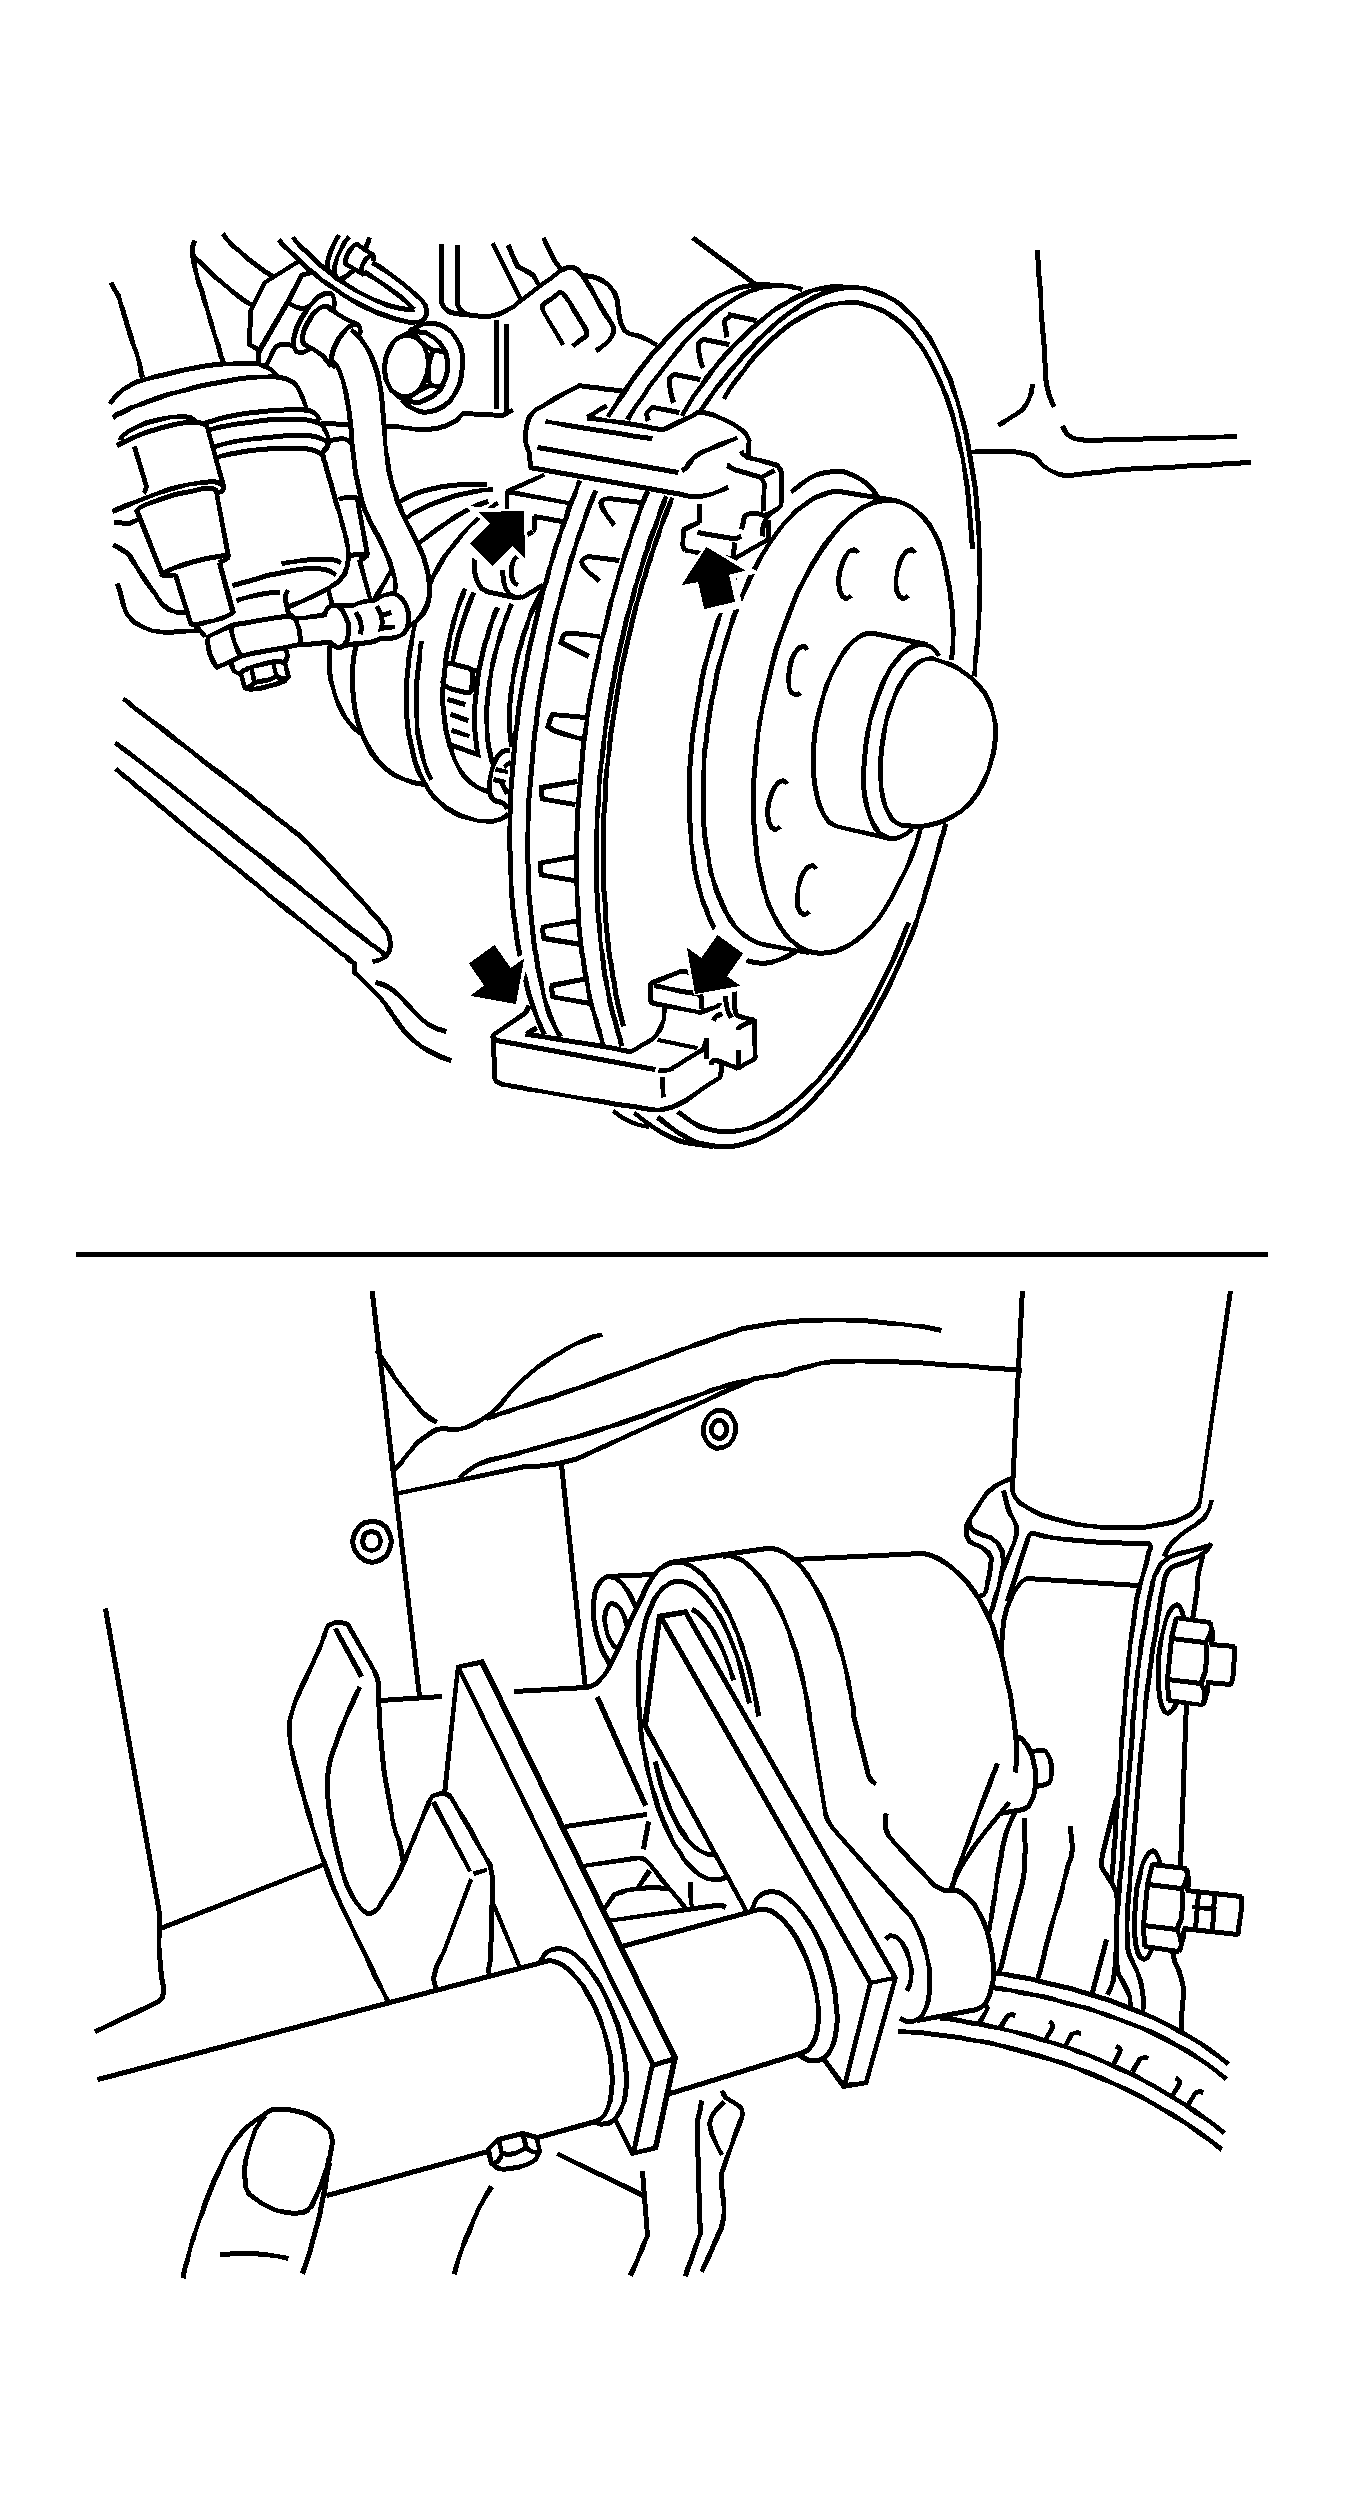
- Clean the guides (arrows) in the brake carrier with a soft metal brush.
- Coat the guides with anti-squeak compound.
- Push back piston with the piston pusher.
Caution: Refer to Brake Dust Caution in the Preface section.
Caution: Refer to Brake Fluid Irritant Caution in the Preface section.
Important: Brake pads on an axle must be replaced as a set.
Notice: Support the brake caliper with heavy mechanic wire, or equivalent, whenever it is separated from its mount and the hydraulic flexible brake hose is still connected. Failure to support the caliper in this manner will cause the flexible brake hose to bear the weight of the caliper, which may cause damage to the brake hose and in turn may cause a brake fluid leak.
Important: Brake fluid level rises in brake fluid reservoir. If necessary, siphon out brake fluid with siphon bottle. If the brake caliper is leaking or the protective cap on the brake caliper is damaged, overhaul brake. Refer to Front Brake Caliper Overhaul .
Installation Procedure
- Press the inner brake lining into piston with the retaining clamp.
- Insert the outer brake lining in the brake caliper.
- Place the brake caliper on the brake carrier with the brake linings.
- Install the brake caliper to the brake carrier.
- Install the dust caps to the guide bolts.
- Install the retaining spring to the brake caliper.
- Install the brake lining sensor to the inner brake lining, if equipped.
- Install 2 front wheels. Refer to Tire and Wheel Removal and Installation .
- Actuate the brake pedal repeatedly.
- Lower the vehicle.
- Top up the brake fluid to the MAX mark. Refer to Master Cylinder Reservoir Filling .
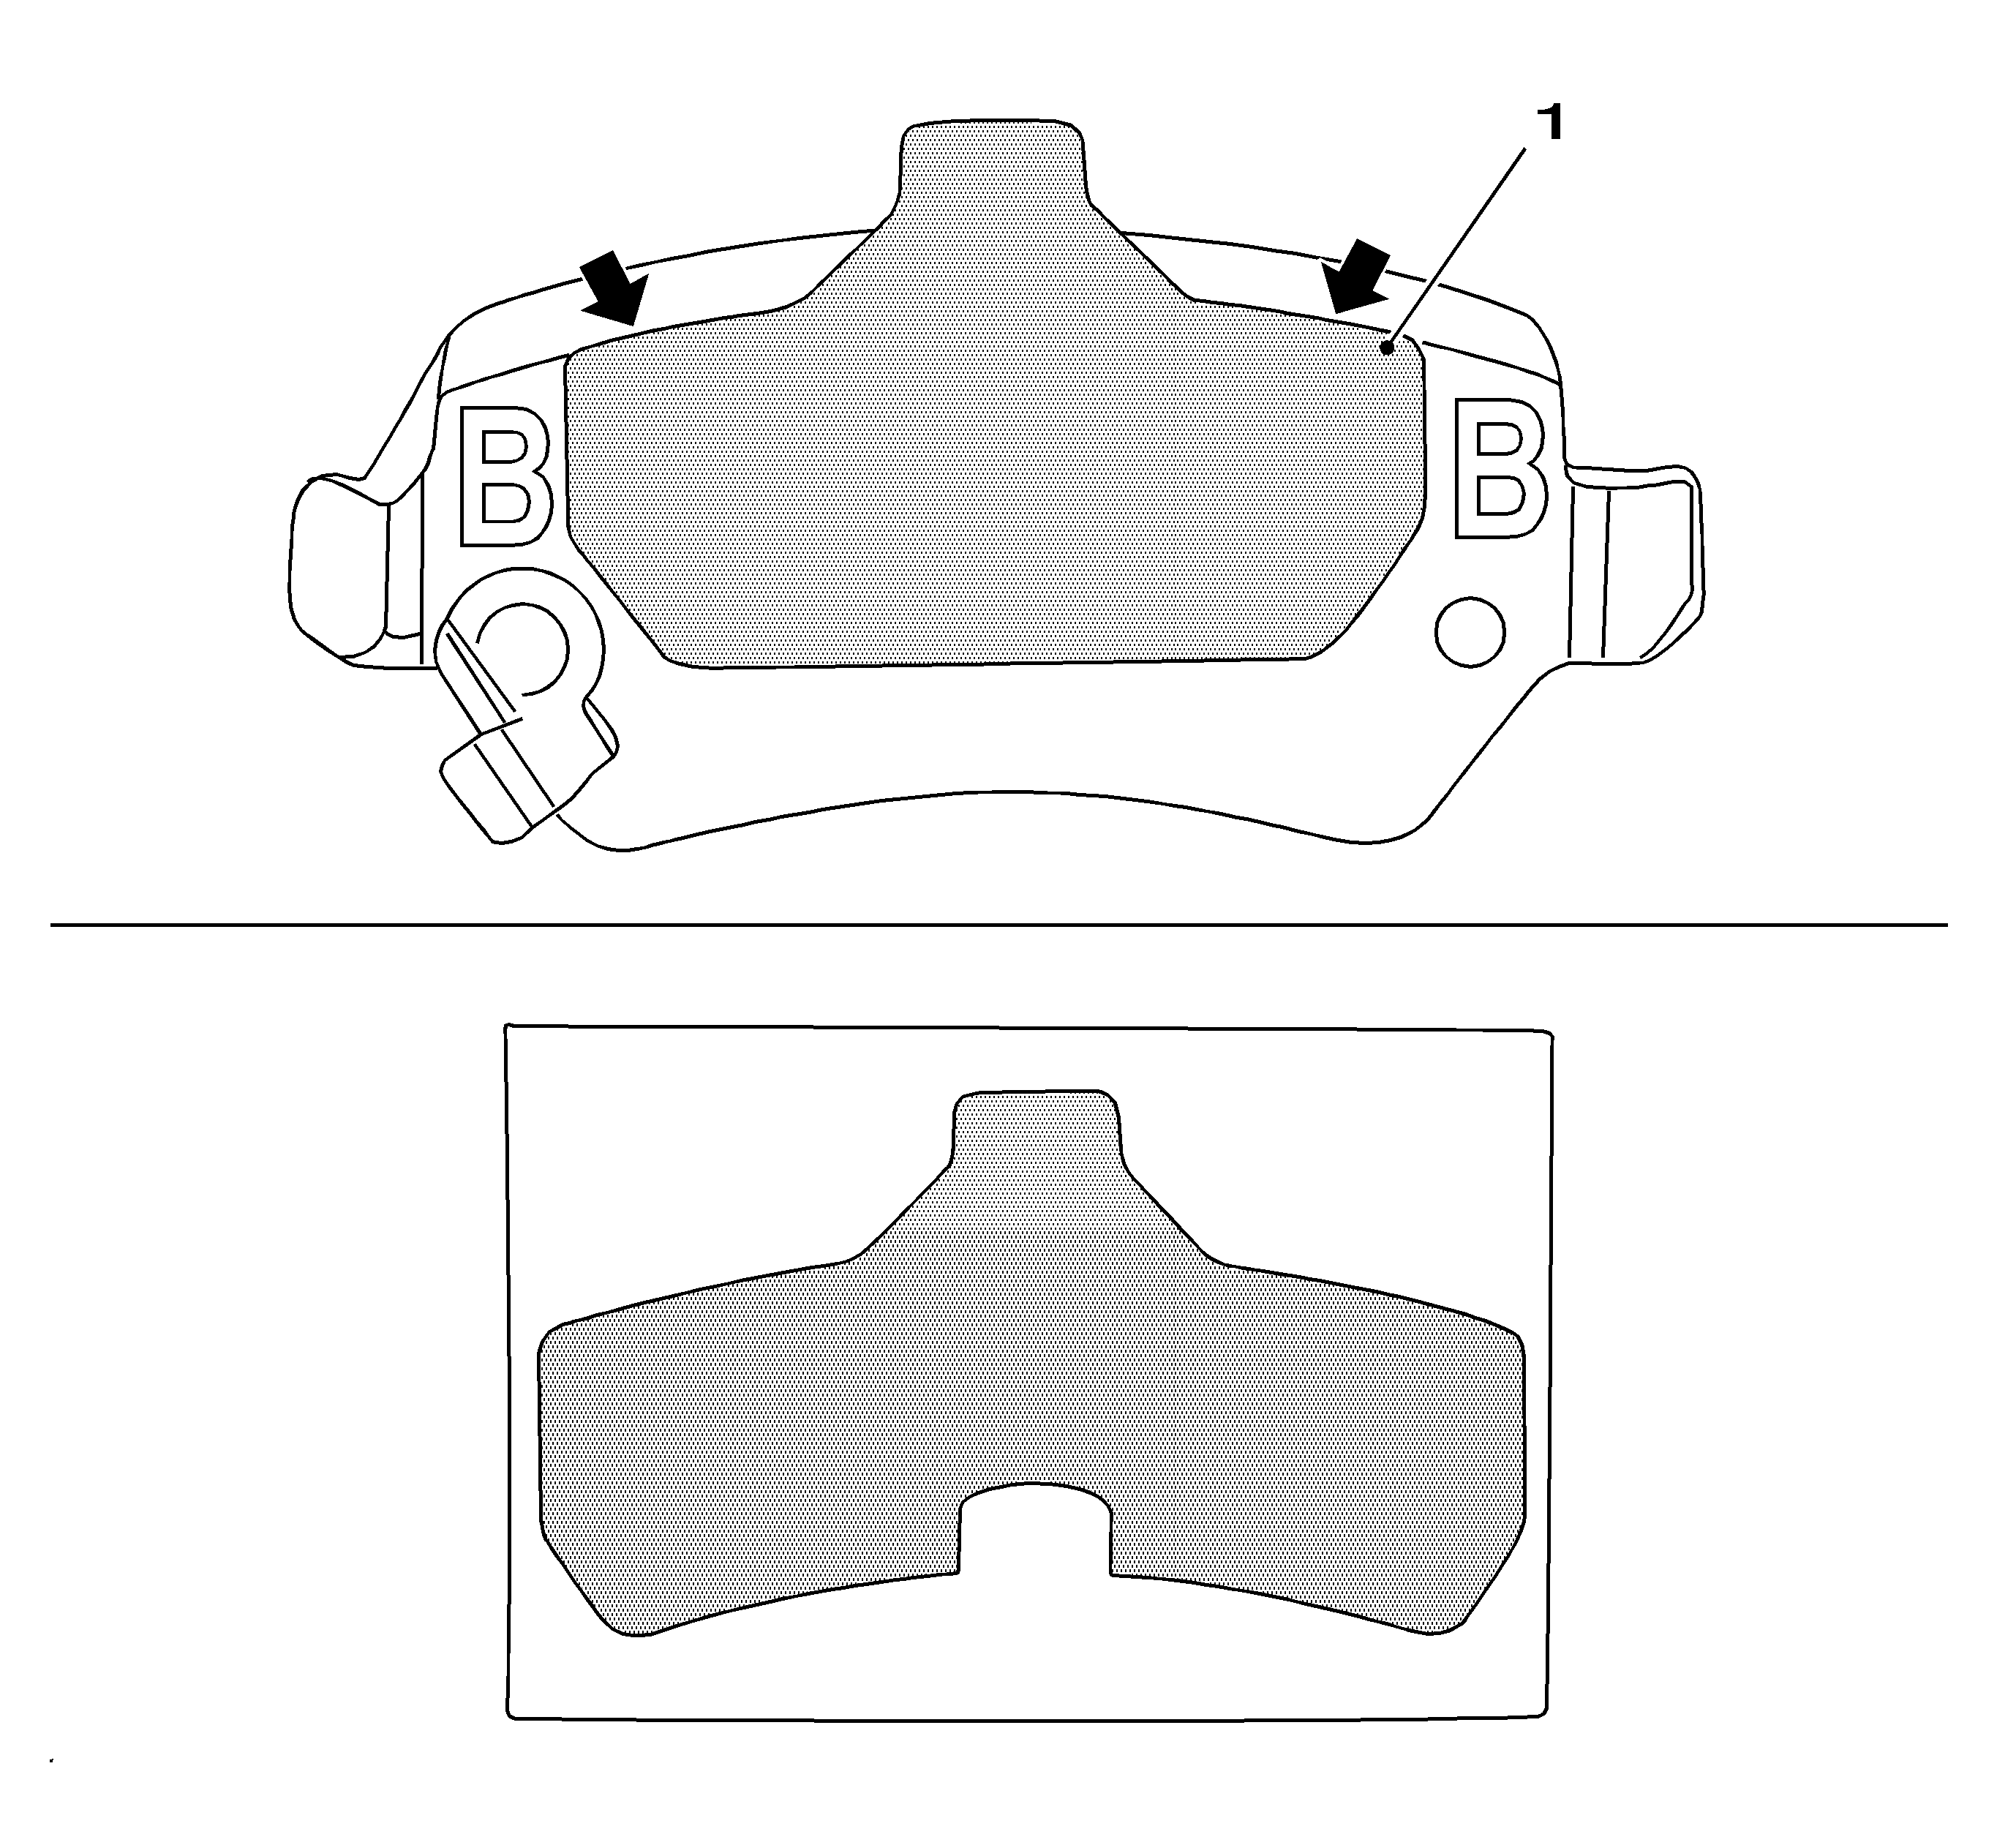
Important: Substitute adhesive films (1), obtainable from the service department are to be used for reinstalling brake linings, attached with adhesive, on the rear brake caliper.
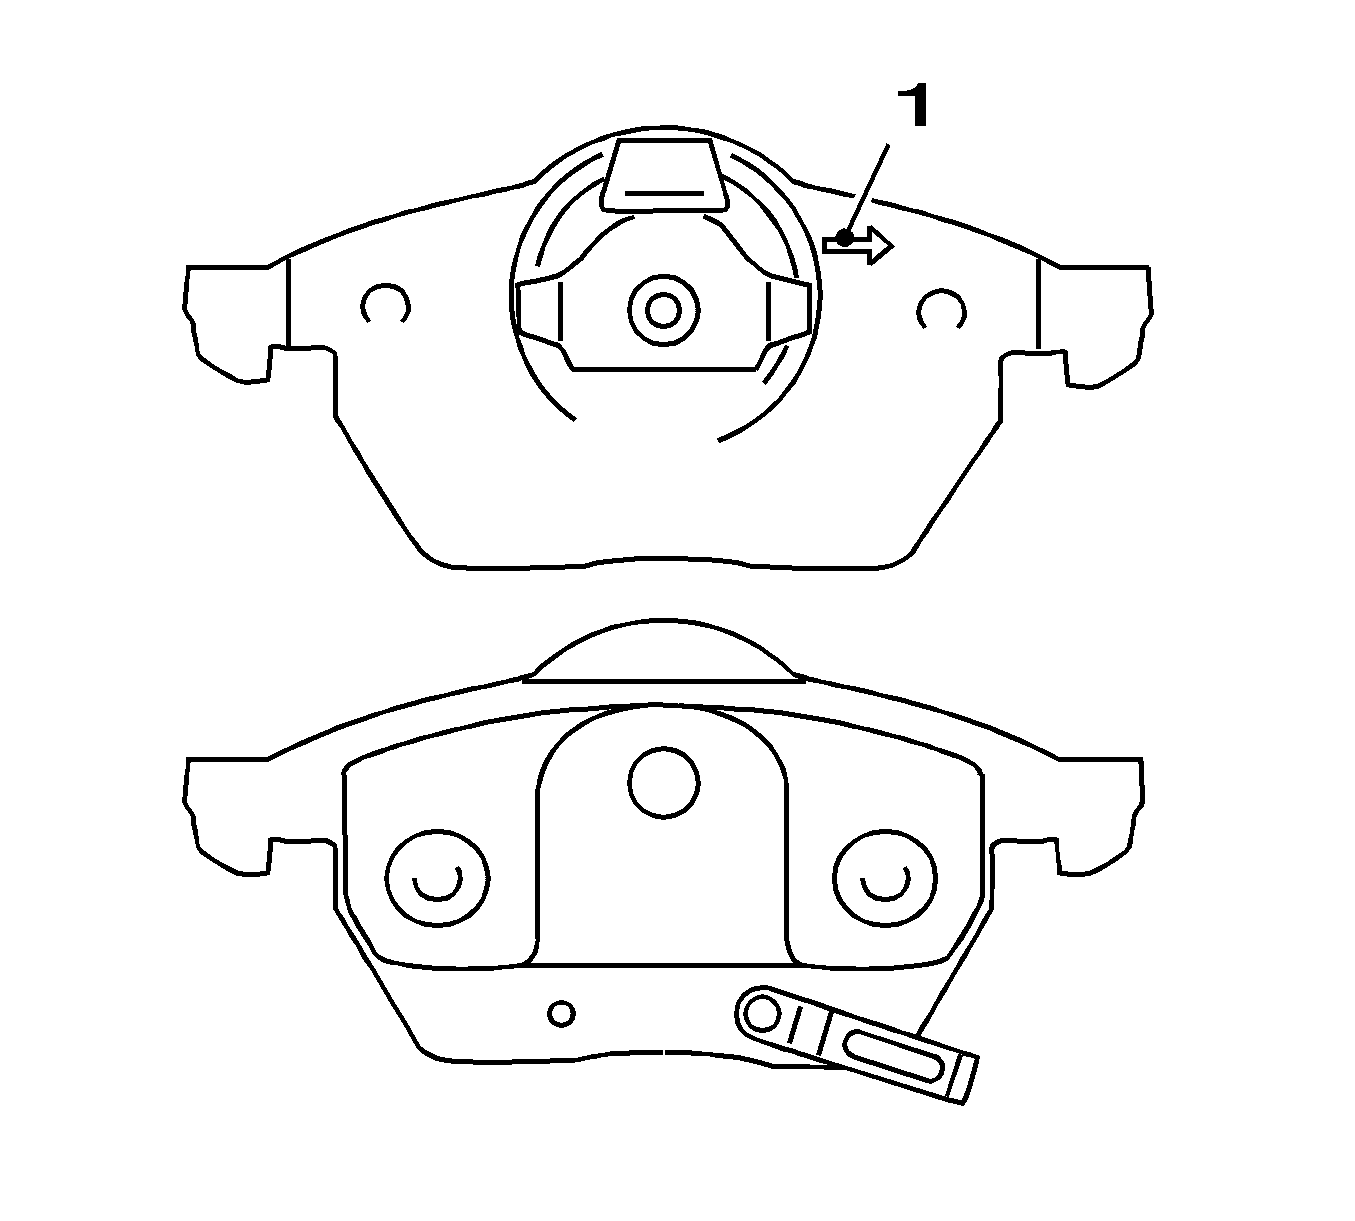
Important: When installing the brake linings, ensure that the arrows (1) on the rear face of the lining point in the direction of rotation of the brake disc when the vehicle is travelling forwards.
Important: Ensure that the brake hose is not twisted.
Notice: Refer to Fastener Notice in the Preface section.
Tighten
Tighten the brake caliper guide bolts to 28 N·m (20 lb ft).
