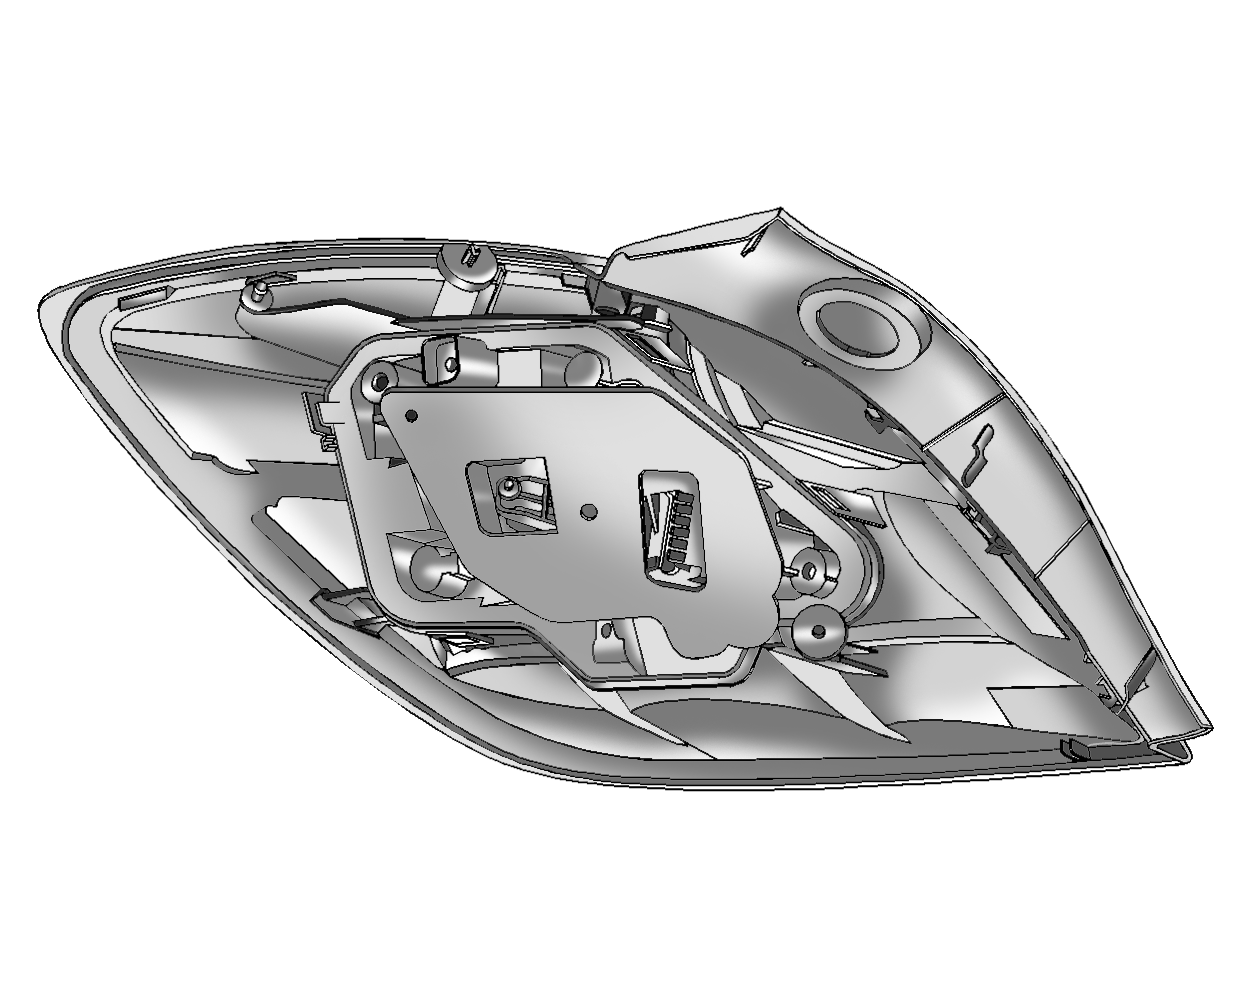
For 1990-2009 cars only
Taillamps Five-Door Hatchback
Backup Lamp
Taillamp
Taillamp/Stoplamp/Turn Signal Lamp
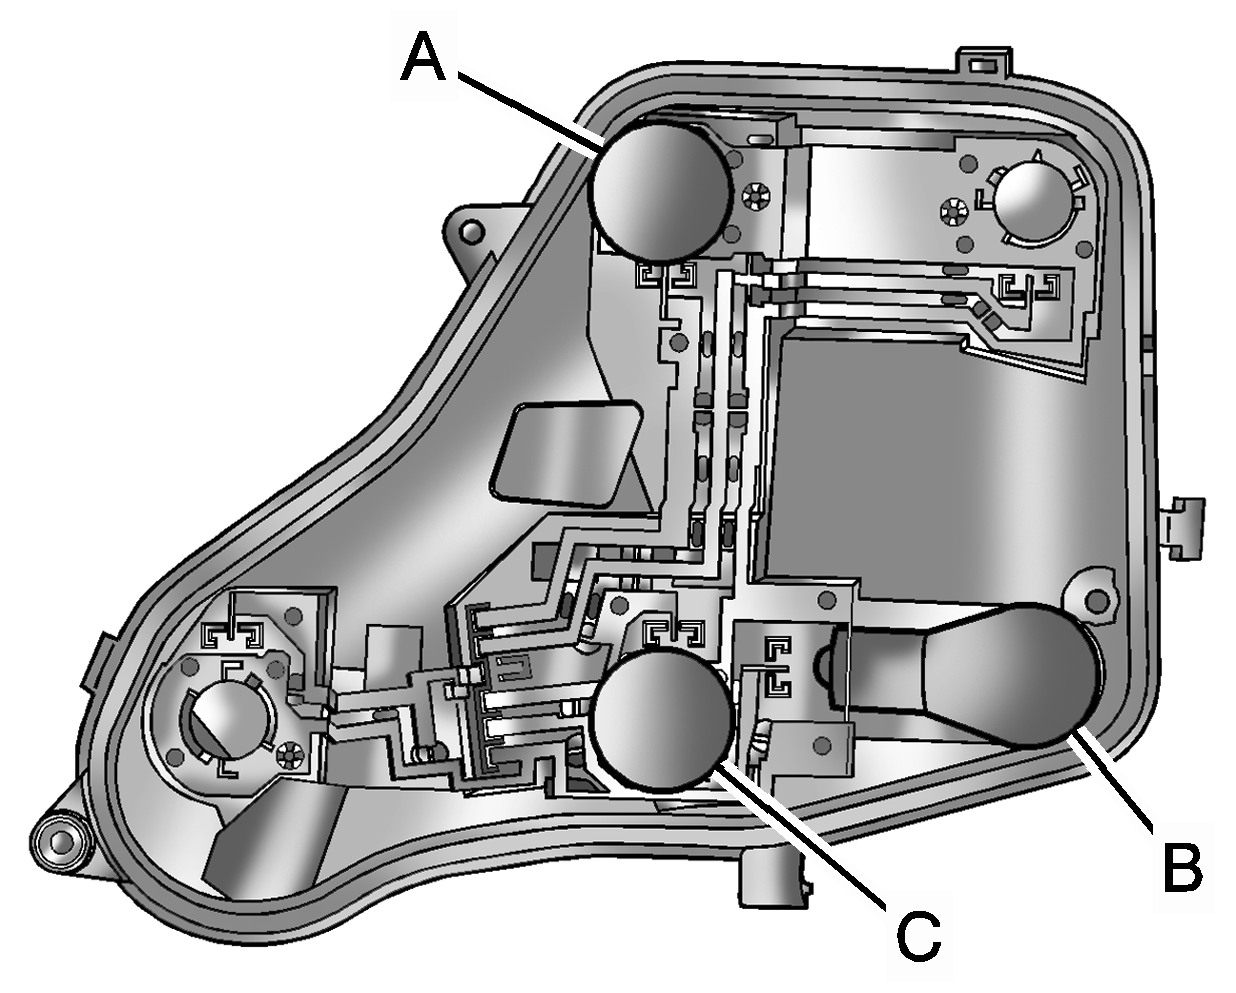
To replace one of these bulbs:
- Open the liftgate.
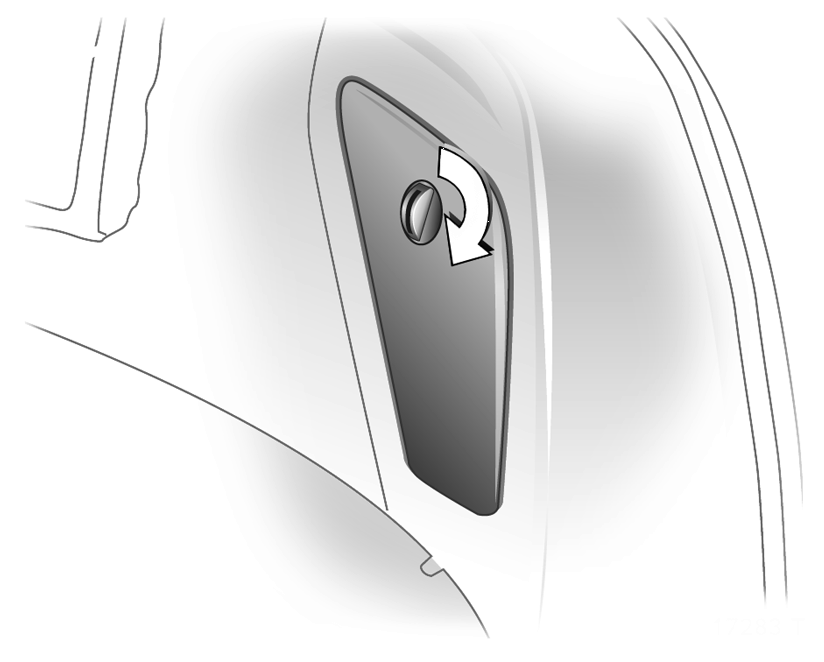
- To replace the bulbs on the driver side, turn both locks and remove the cover.
- To replace the bulbs on the passenger side, turn the lock clockwise and remove the cover.
- Detach the plug connector from the bulb assembly.
- Turn the nuts counterclockwise and hold the outside of taillamp assembly.
- Pull the taillamp assembly straight out.
- Remove the three nuts.
- Press on the tabs on the outside of bulb assembly and remove the bulb assembly.
- Remove the bulb from the bulb assembly.
- Install a new bulb without touching the glass.
- Reinstall the bulb assembly in taillamp assembly.
- Make sure the seals are applied to the taillamp assembly and screws.
- Insert the taillamp assembly into the body.
- Reinstall the three nuts.
- Attach the plug connector to the bulb assembly.
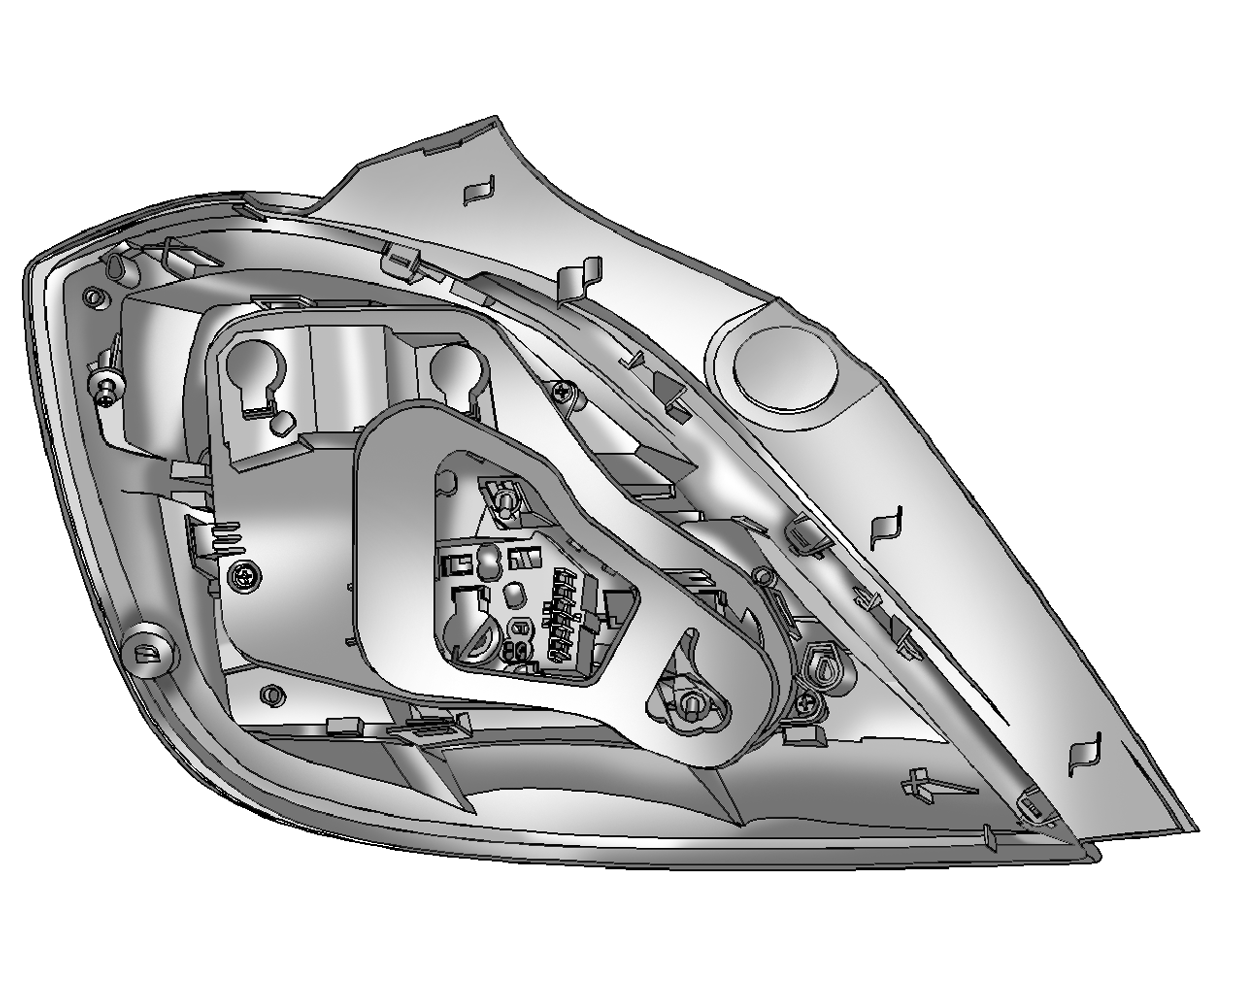
Taillamps Three-Door Hatchback
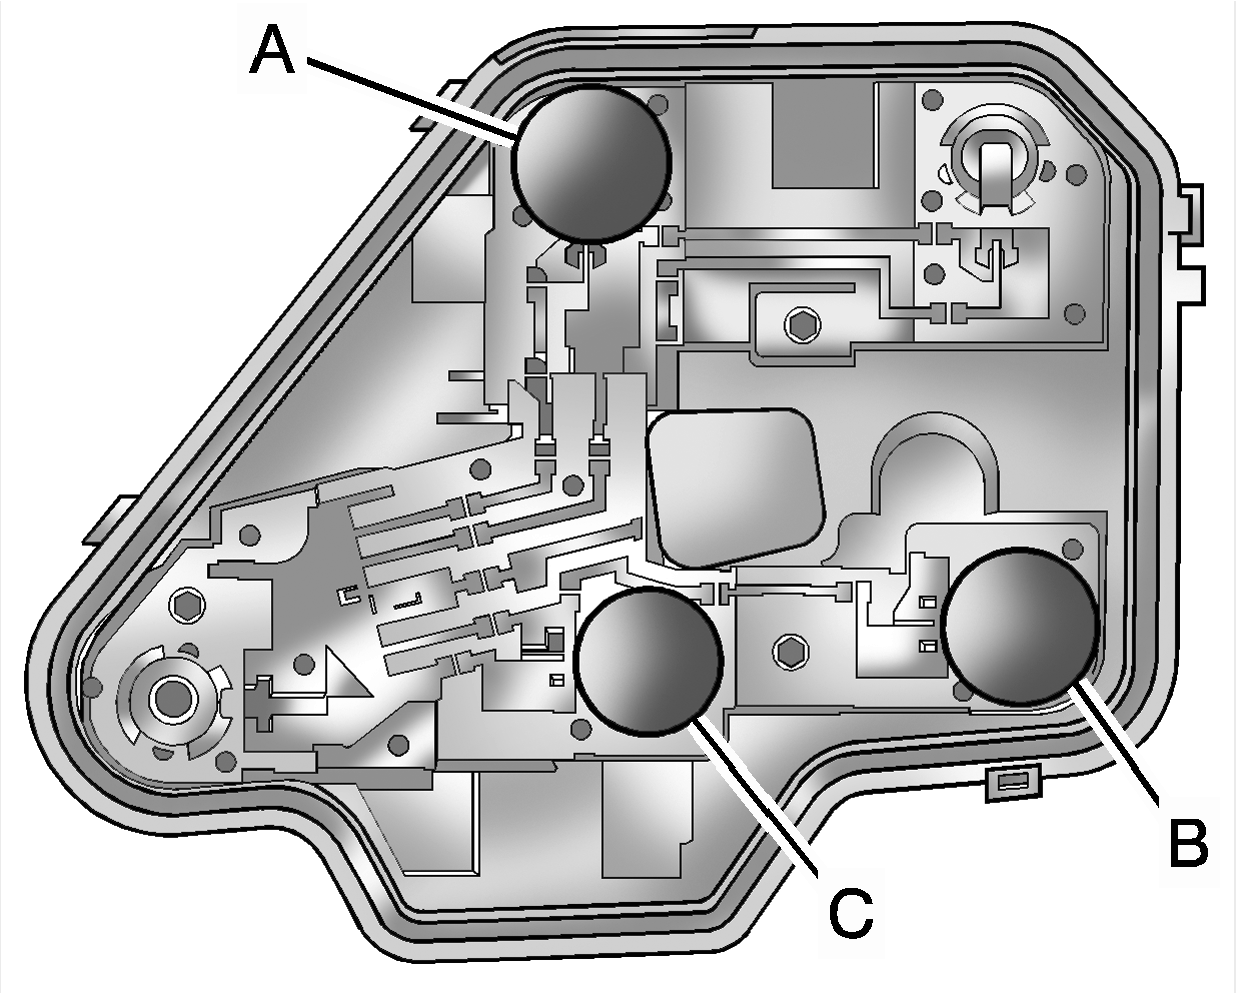
Backup Lamp
Taillamp
Taillamp/Stoplamp/Turn Signal Lamp
To replace one of these bulbs:
- Open the liftgate. See Liftgate for more information.
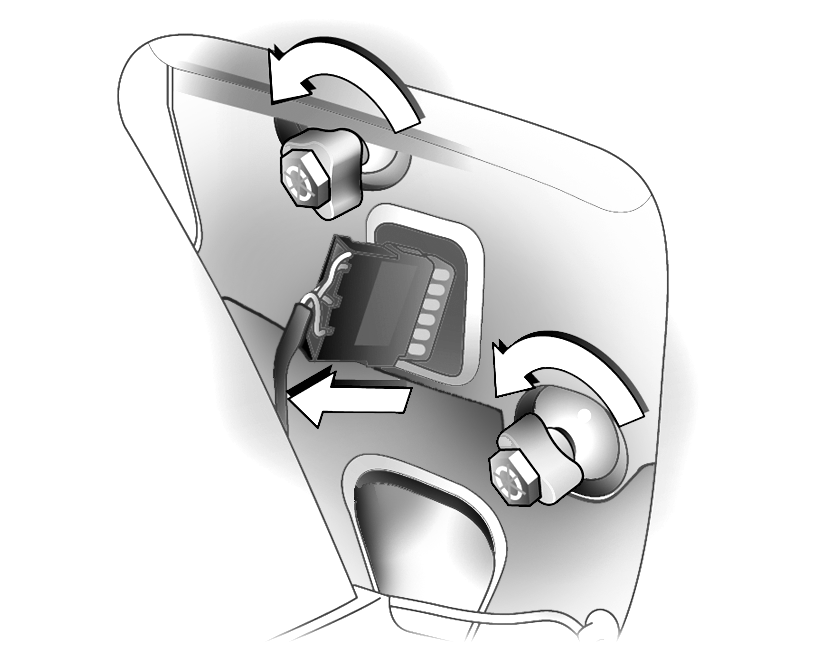
- Detach the plug connector from the bulb assembly.
- Turn the nuts counterclockwise and hold the outside of taillamp assembly.
- Pull the taillamp assembly straight out.
- Remove the seal.
- Press on the tabs on outside of bulb assembly and remove the bulb assembly.
- Remove the bulb from the bulb assembly.
- Install a new bulb without touching the glass.
- Reinstall the bulb assembly in taillamp assembly.
- Make sure the seals are applied to the taillamp assembly and screws.
- Insert the taillamp assembly into the body.
- Reinstall the three nuts.
- Attach the plug connector to the bulb assembly.

