Removal Procedure
- Open the hood.
- Disconnect the battery.
- Remove the upper grille.
- Remove the front fascia at the top.
- Raise the vehicle by half its height.
- Remove the front fascia.
- Raise the vehicle by half its height.
- Drain the coolant.
- Disconnect the cooling module wiring harness plug (1).
- Place a drain pan underneath.
- Remove the 2 radiator hoses from the radiator.
- Lower the vehicle by its full height.
- Remove the coolant hose from the radiator.
- Remove the 2 coolant hoses.
- For vehicles equipped with an automatic transmission:
- Remove the fan housing from the radiator.
- Secure the radiator to the upper brackets (1).
- Remove the condenser from the radiator.
- Raise the vehicle by its full height.
- Remove the lower radiator bracket (1) from the front axle body.
- Lower the radiator down and out.
Warning: Refer to Battery Disconnect Warning in the Preface section.
| • | Disconnect the negative connection. |
| • | Loosen the nut. |
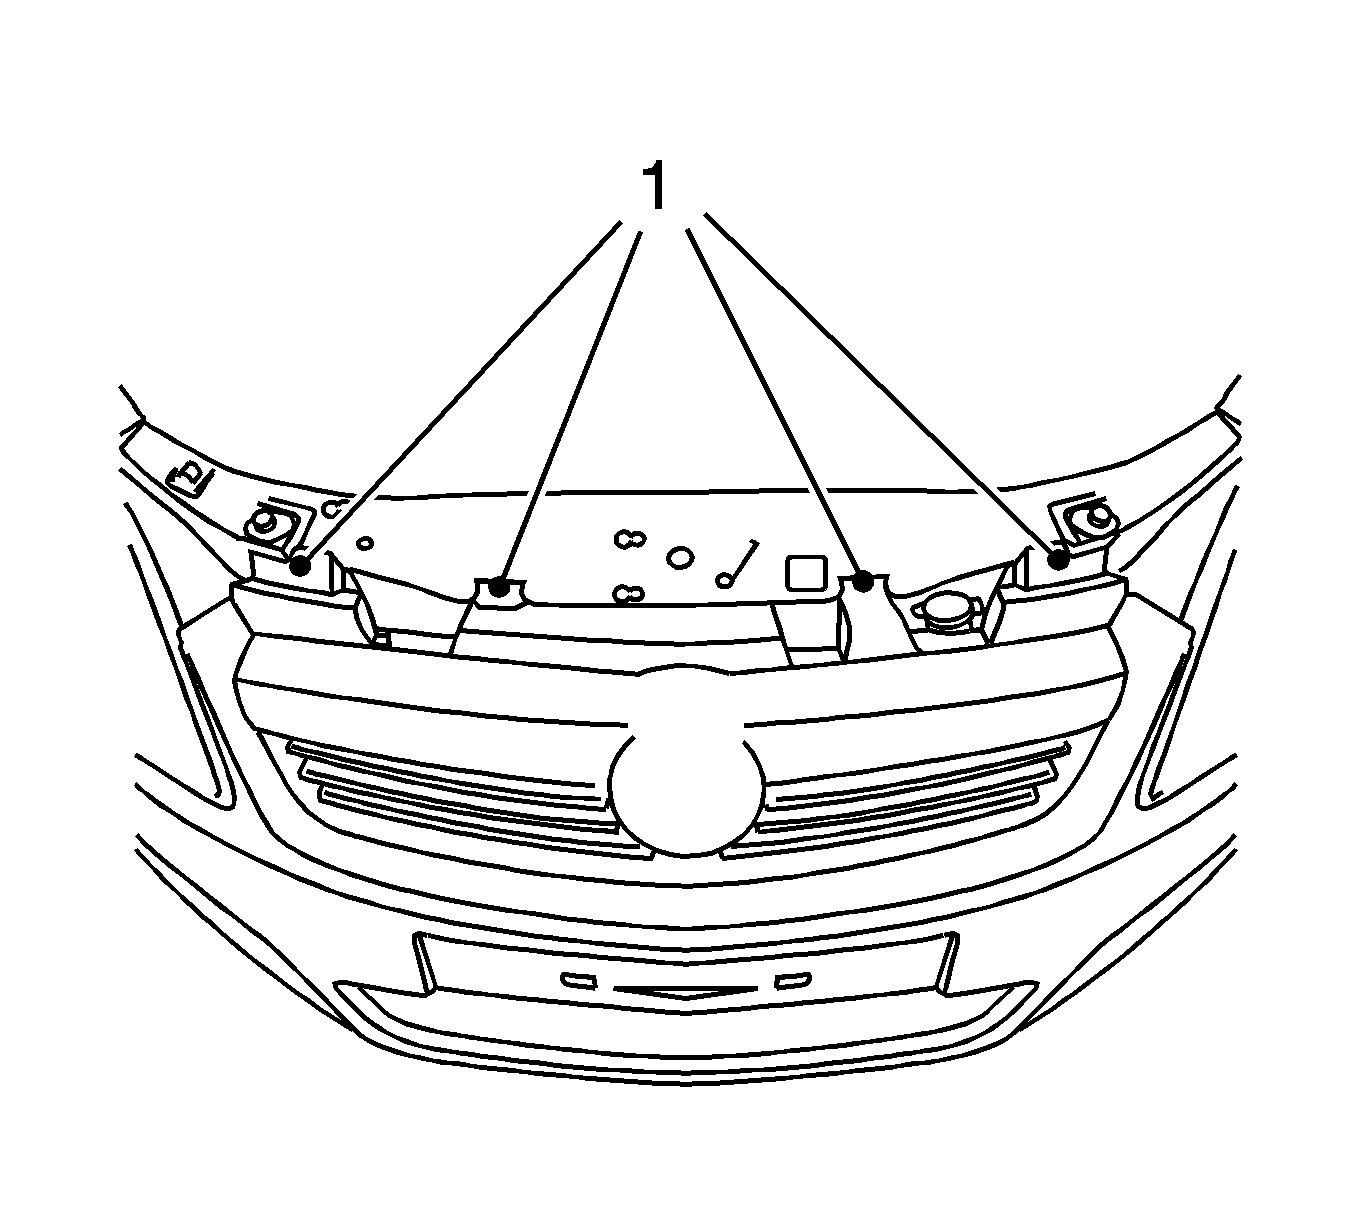
| • | Remove the 4 body-bound rivets (1). |
| • | Remove from the front fascia from above. |
| • | Remove the 6 clips. |
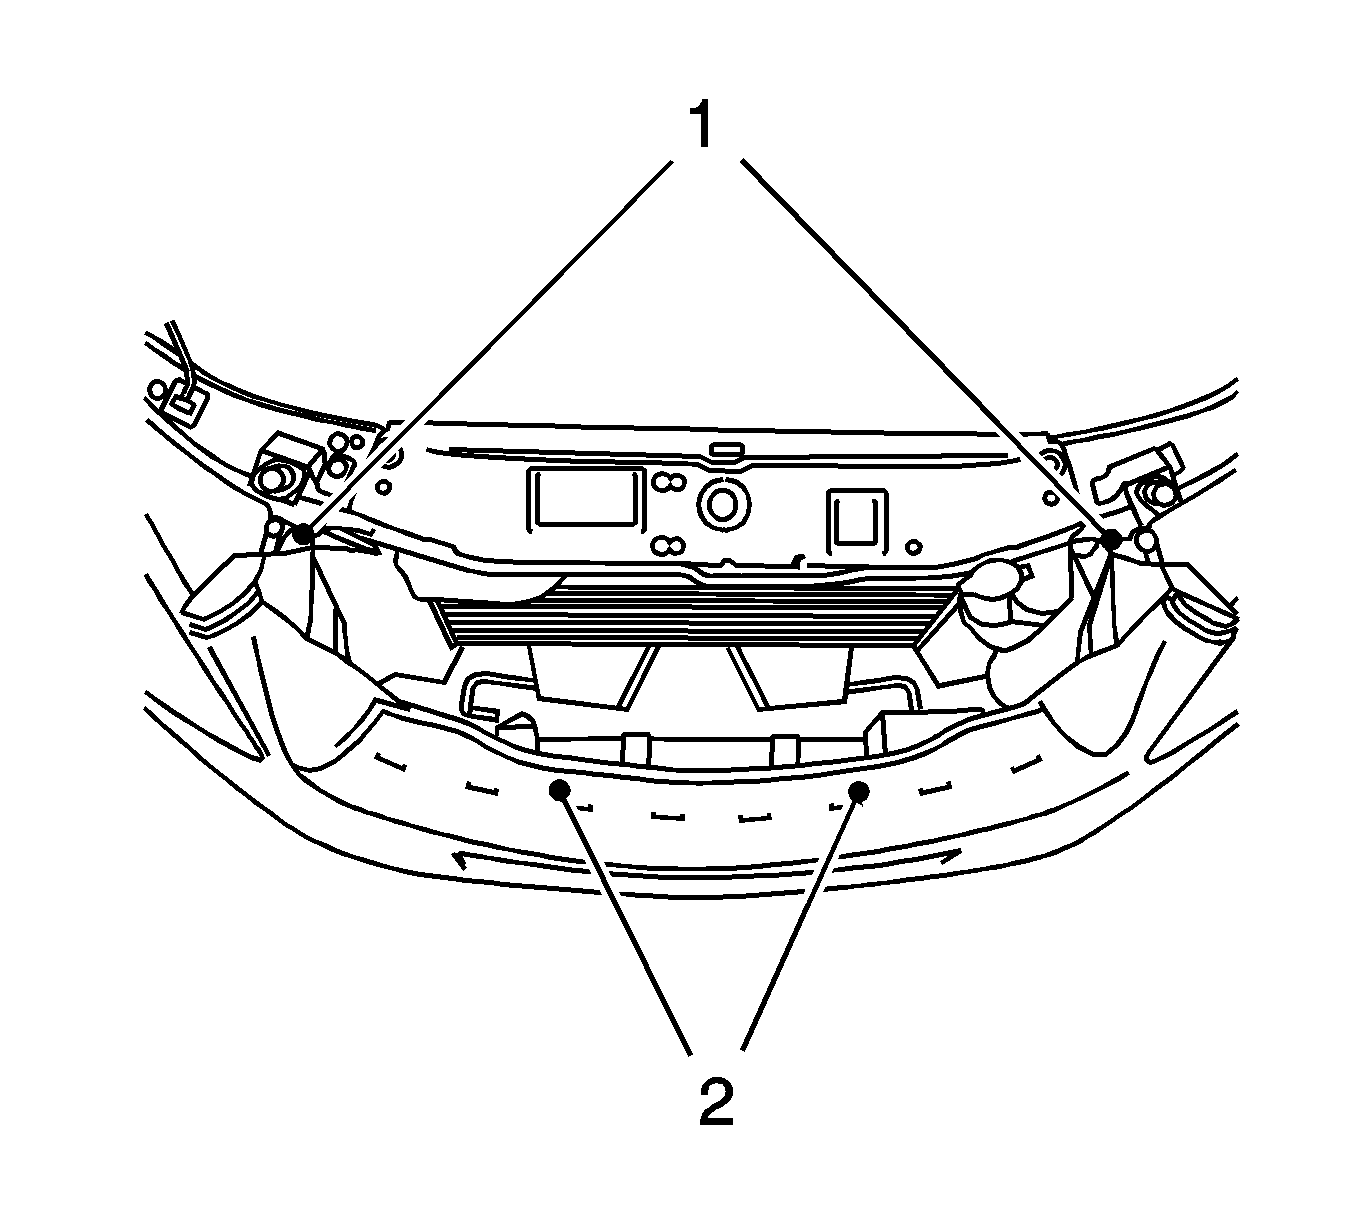
| • | Remove the 2 bolts (1). |
| • | Remove the 2 body-bound rivets (2). |
| • | Disconnect the wiring harness connector. |
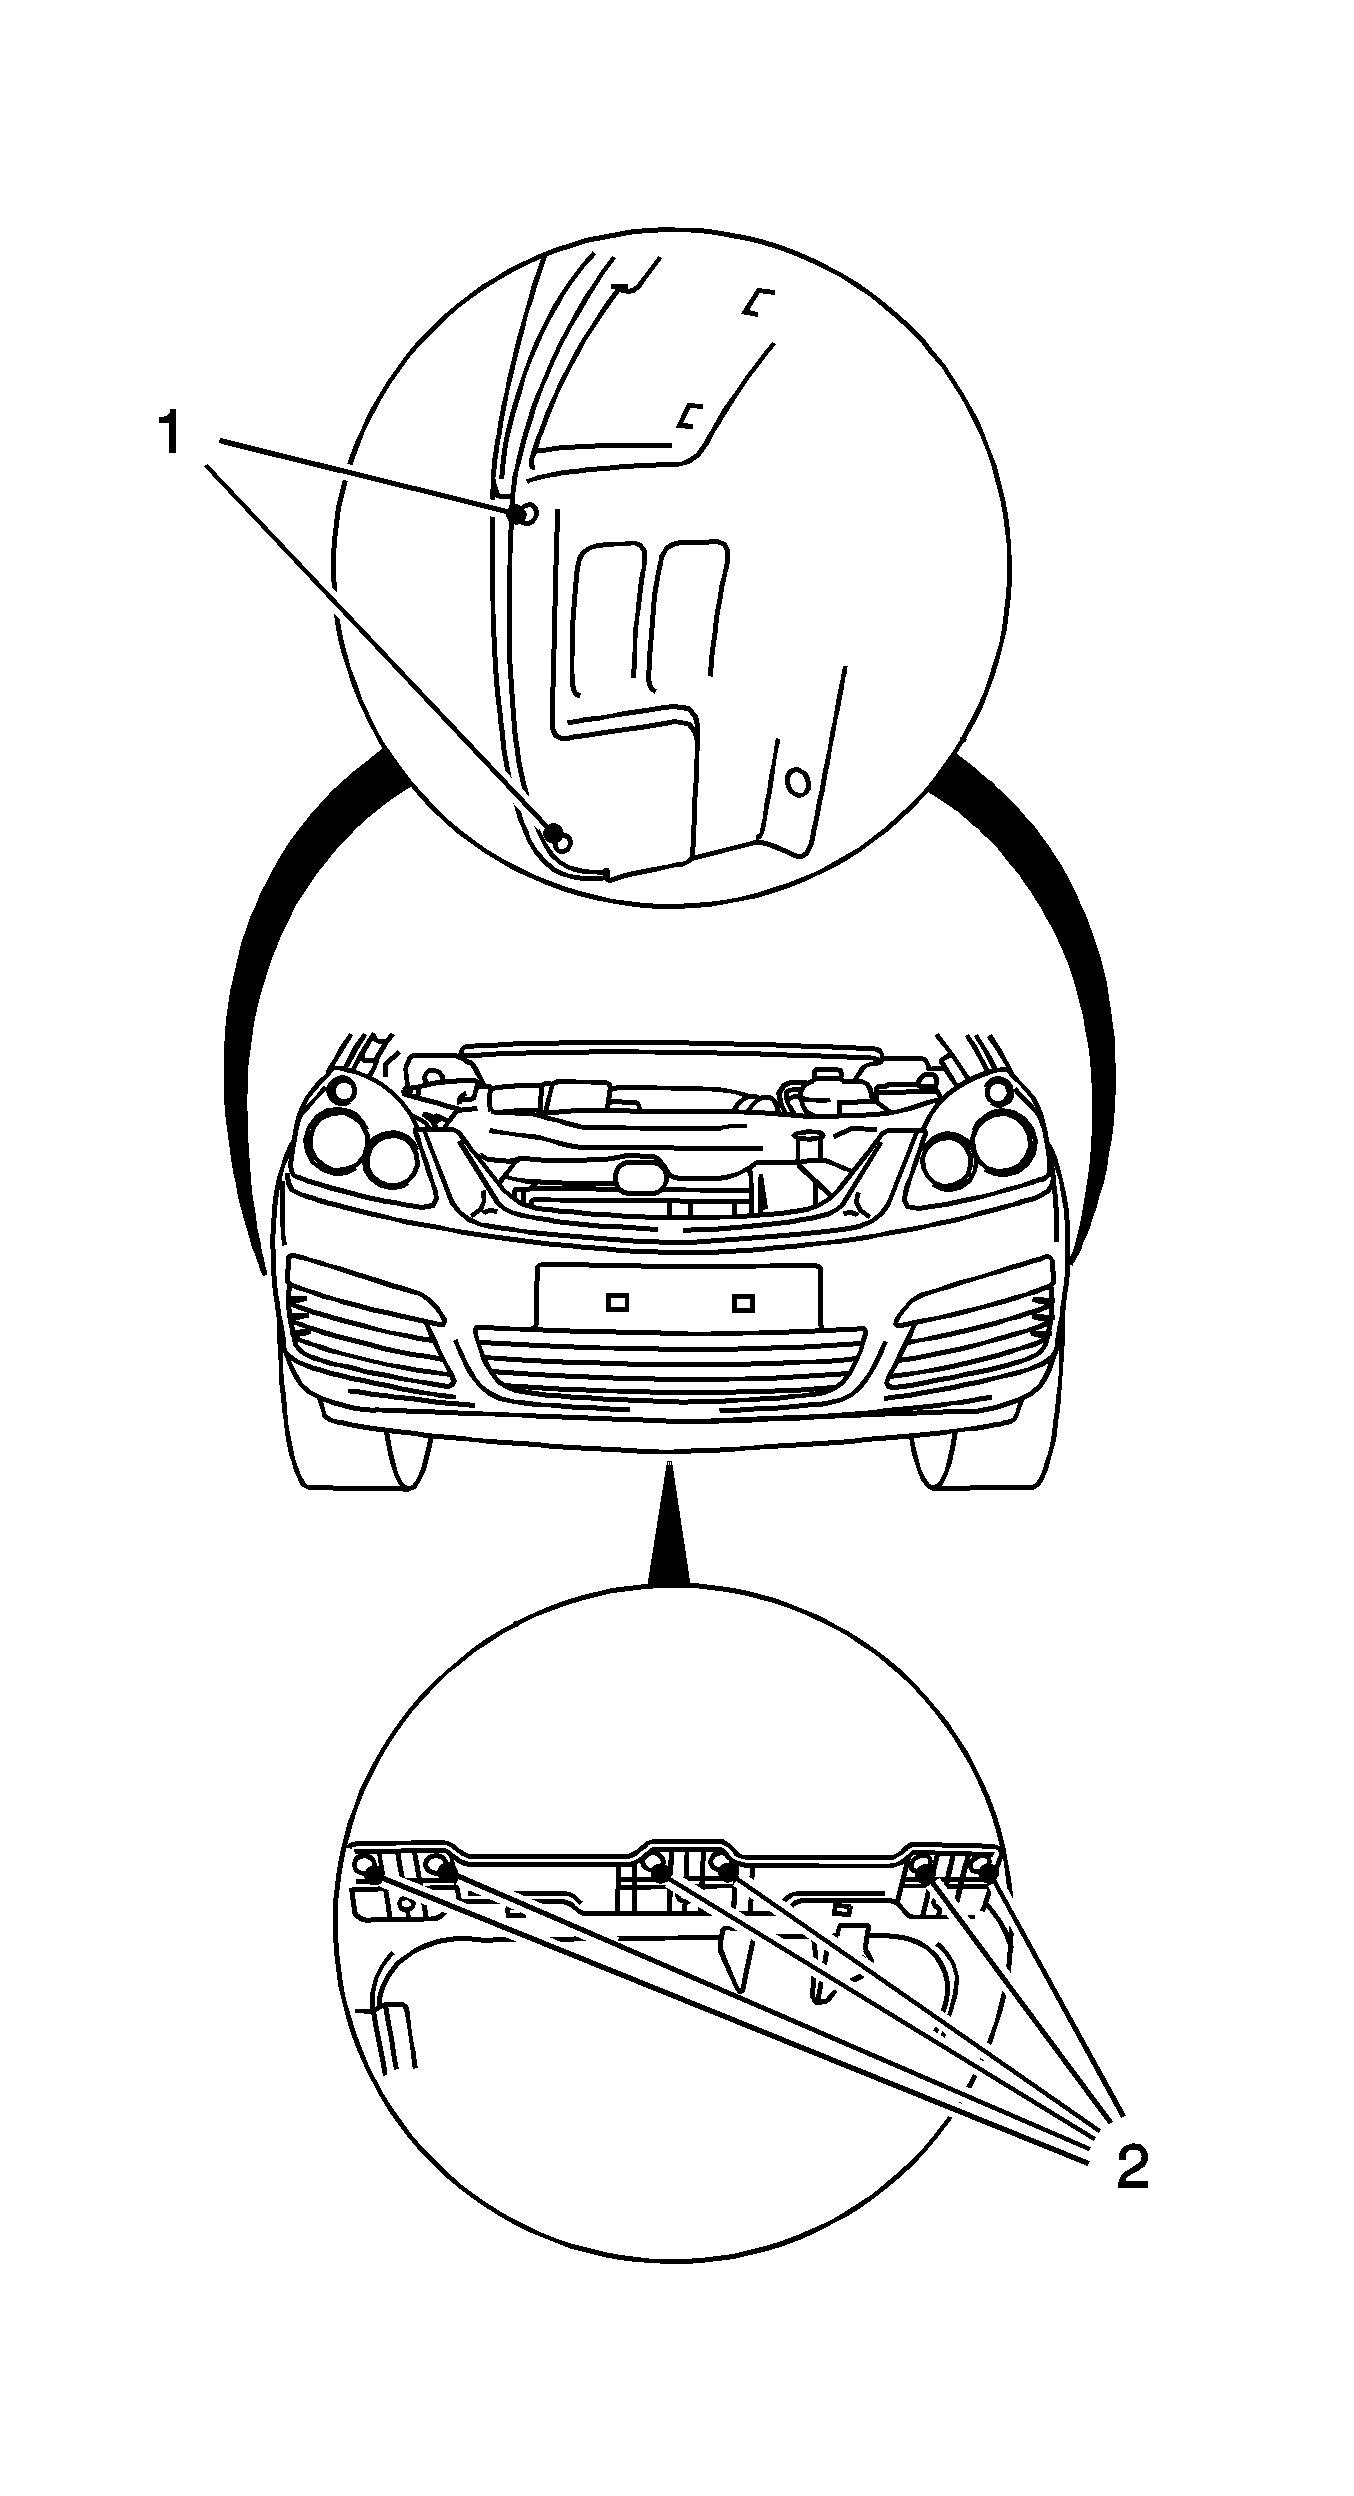
| • | Remove the 6 body-bound rivets (2). |
| • | Remove the 4 bolts (1). |
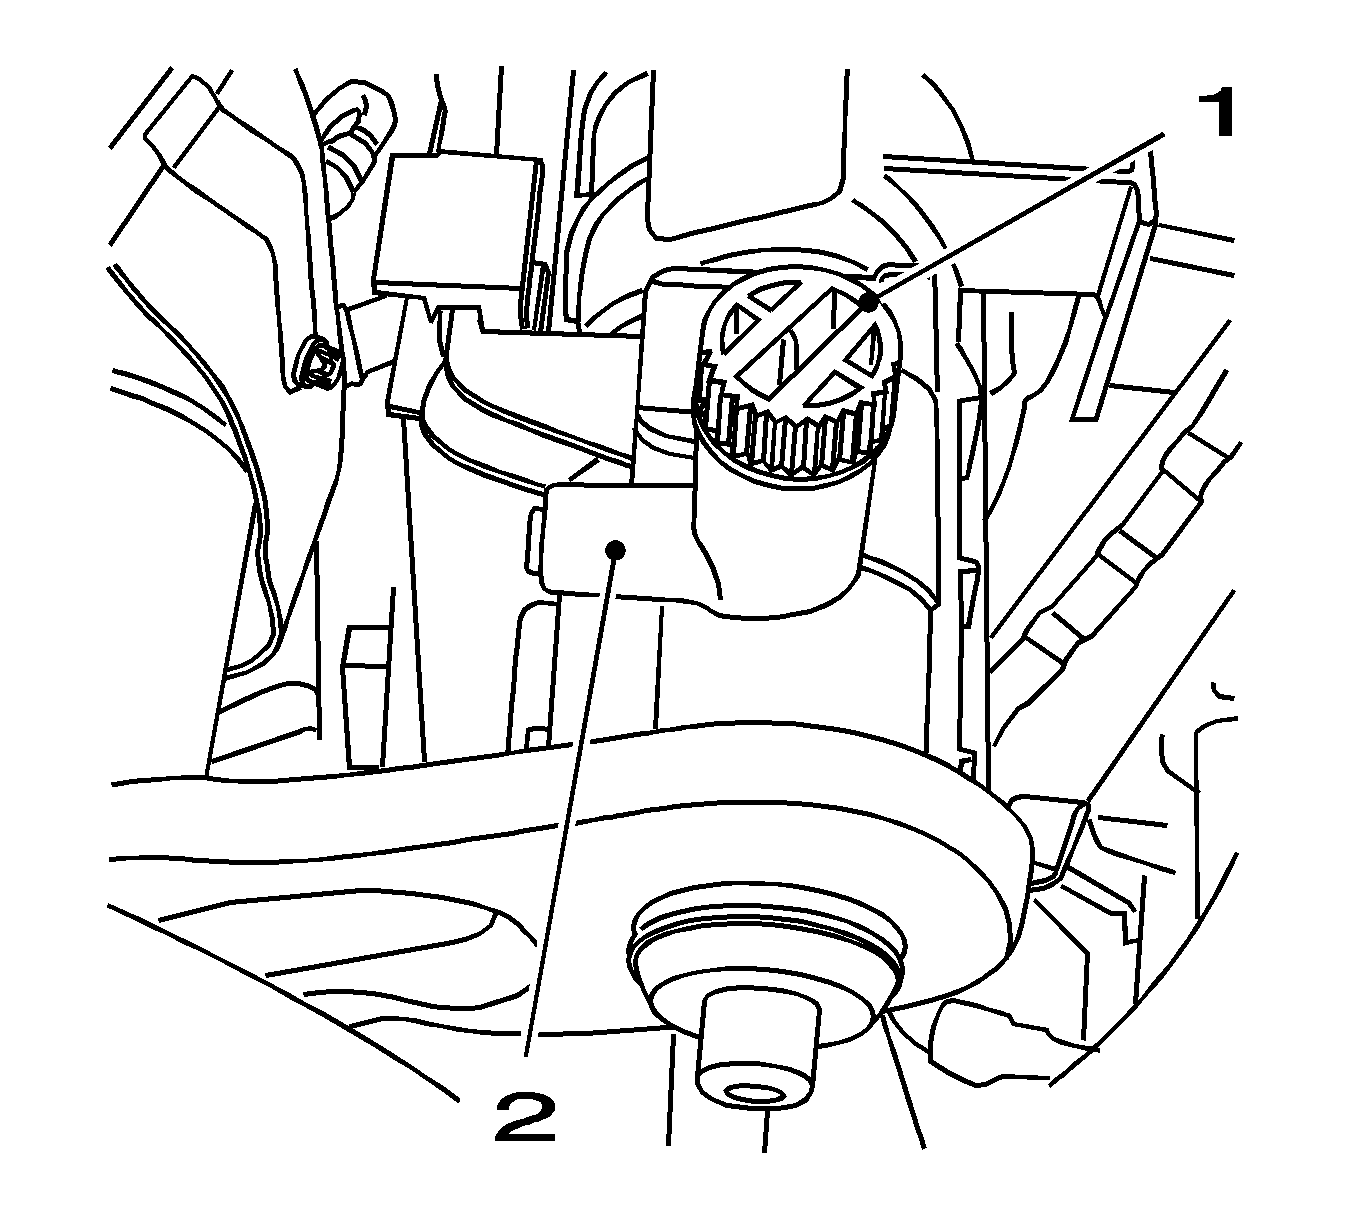
| • | Place a drain pan underneath. |
| • | Install the suitable hose to the drain connection (2). |
| • | Open the coolant drain screw (1). |
| • | Drain the coolant. |
| • | Close the coolant drain screw. |
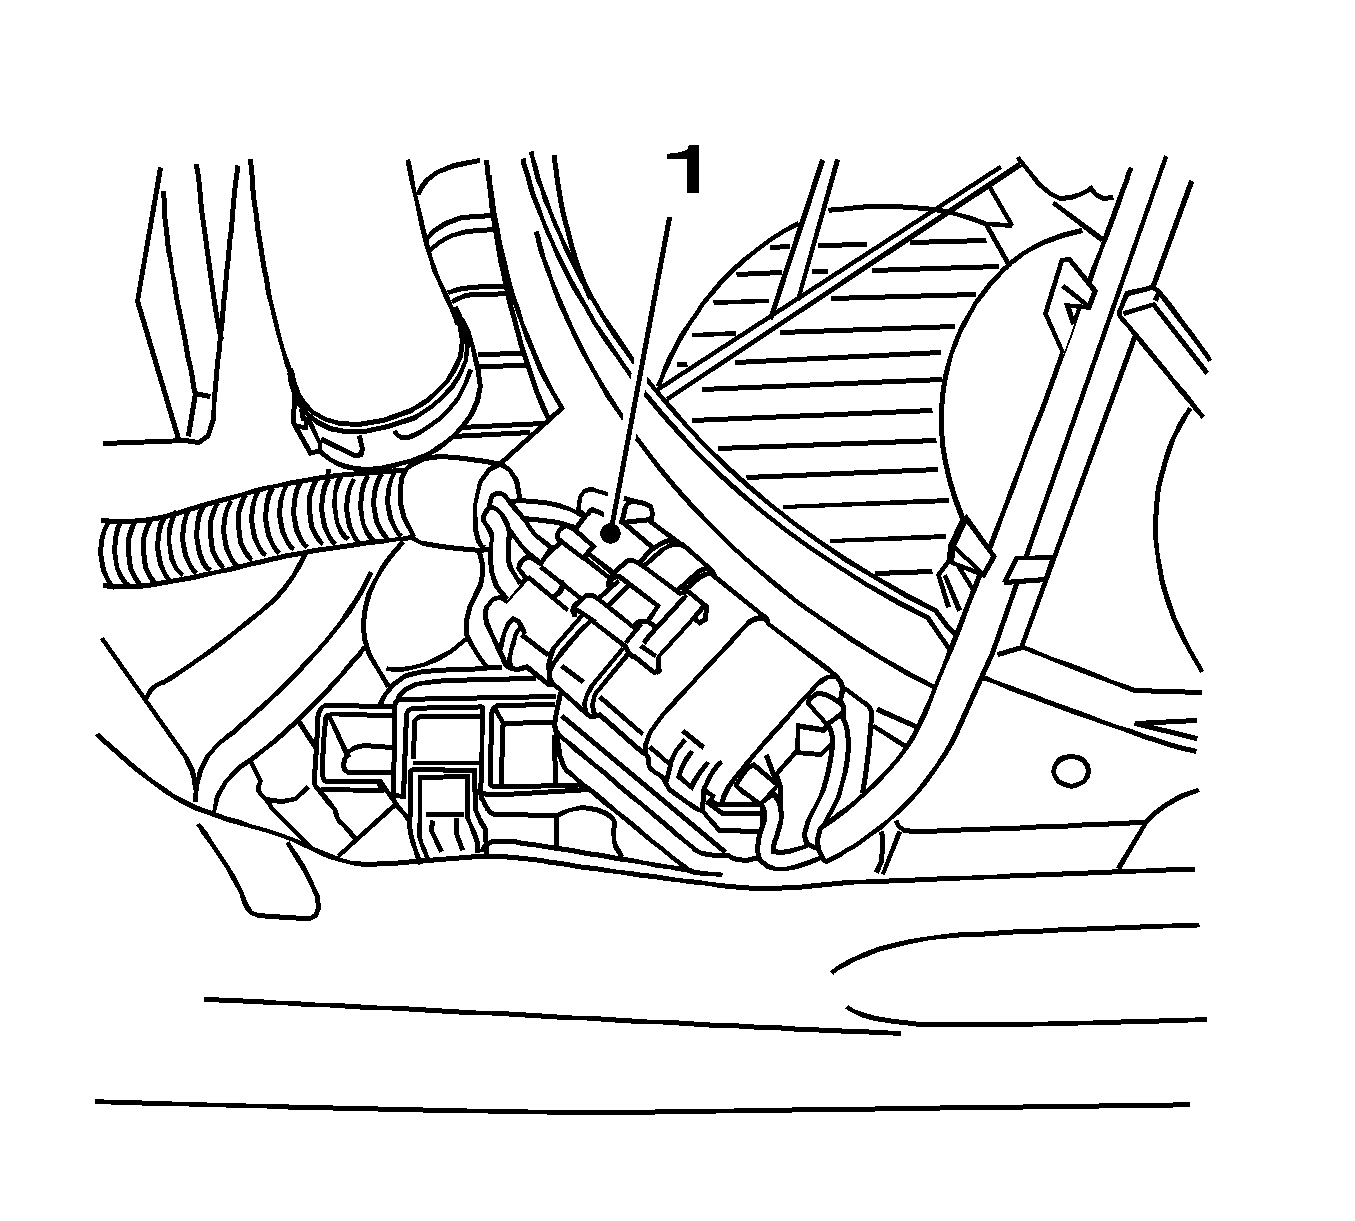
Remove 2 clamps.
| • | Release the clamp. |
| • | Remove the coolant hose. |
| • | Remove the radiator hose (top) from the bracket. |
| • | Remove the coolant hose from the fan housing. |
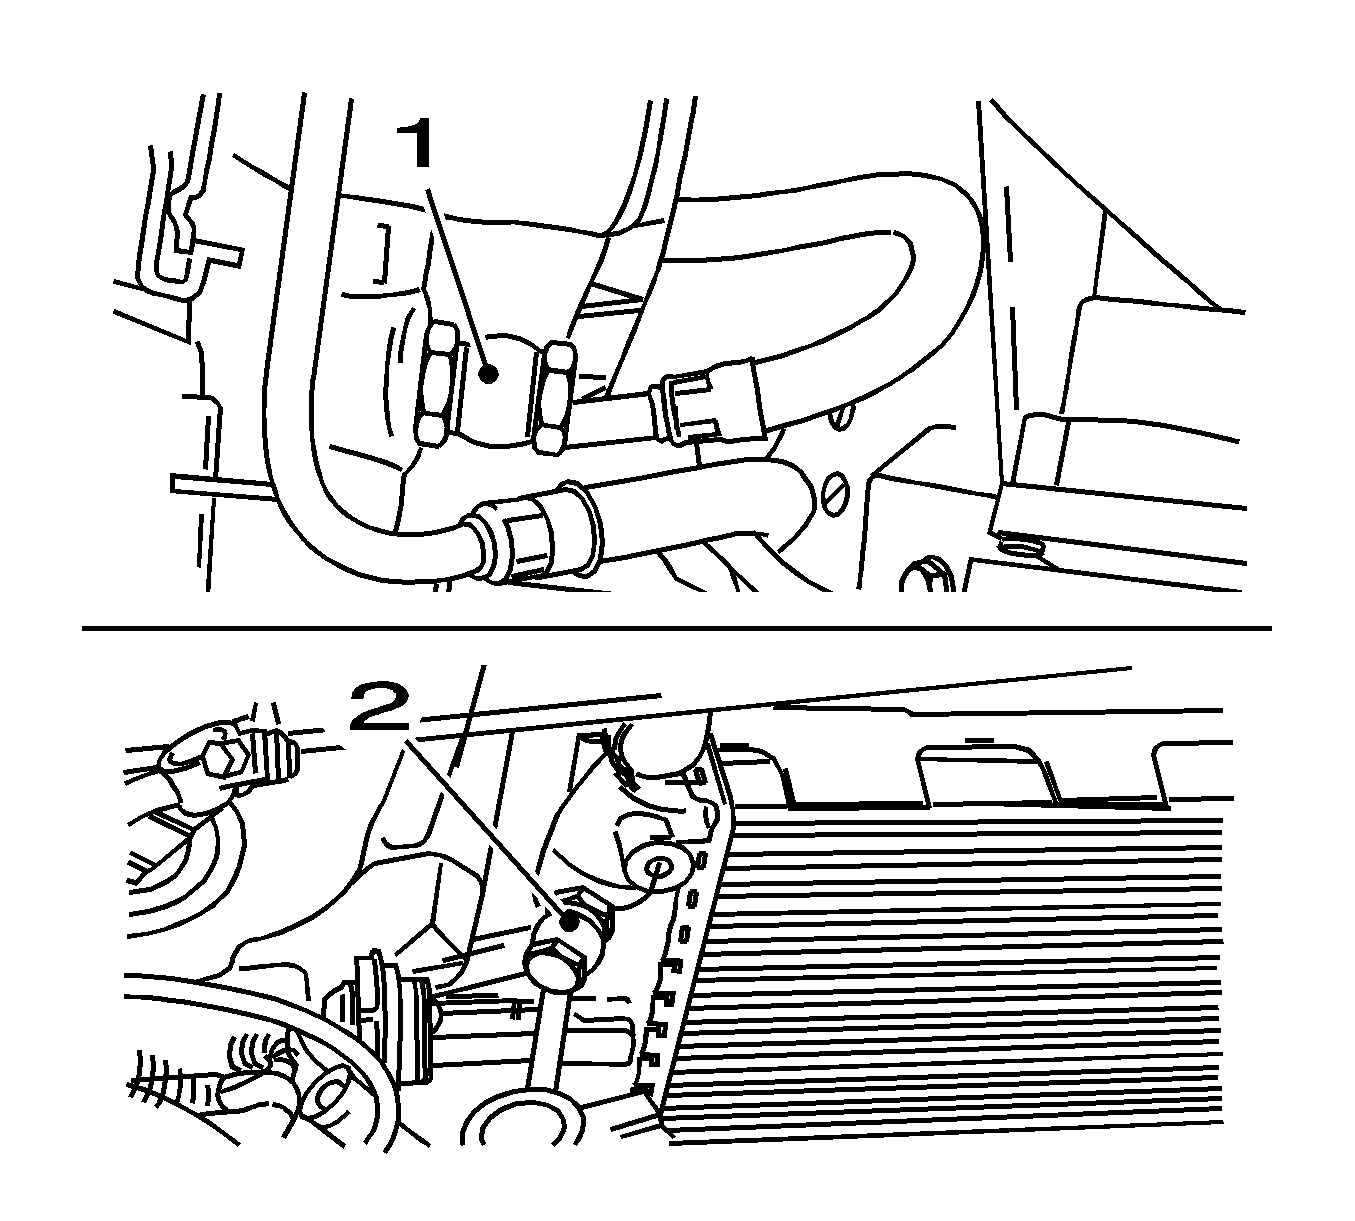
| • | Remove the lower oil cooling line (2) with the connecting hose from the oil cooler. |
| • | Remove the banjo bolt. |
| • | Remove the upper oil cooling line (1) with the connecting hose from the oil cooler. |
| • | Remove the banjo bolt. |
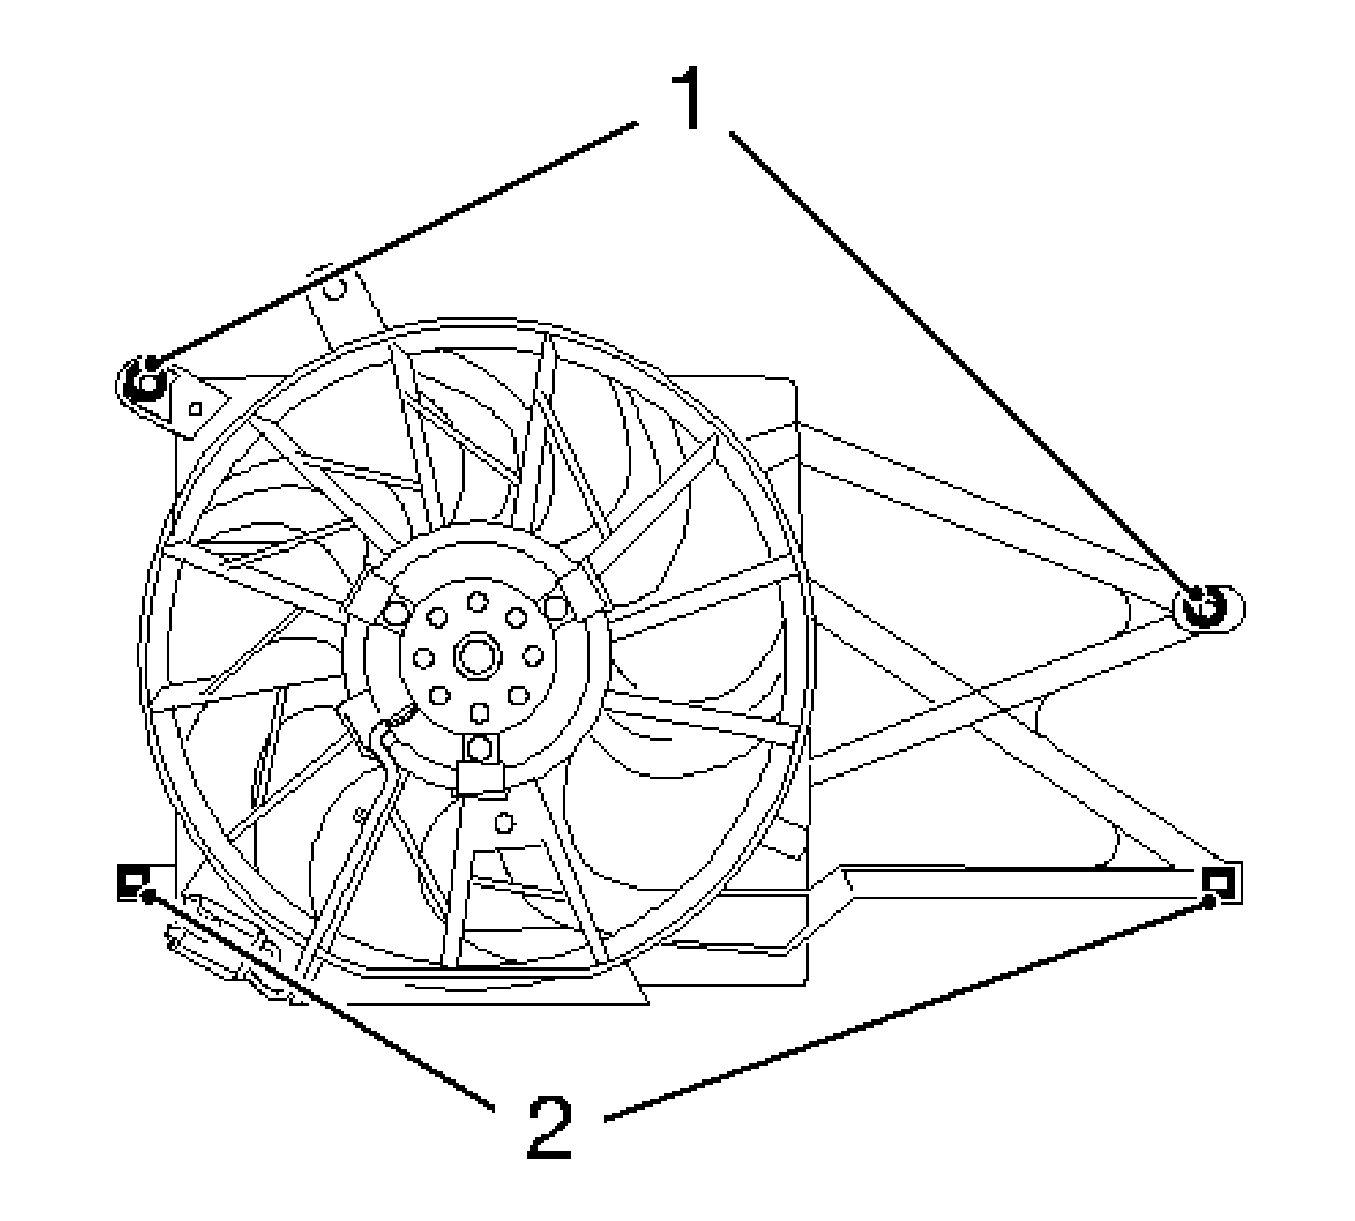
| • | Remove the 2 bolts (1). |
| • | Pull the 2 brackets (2) upward out of the radiator. |
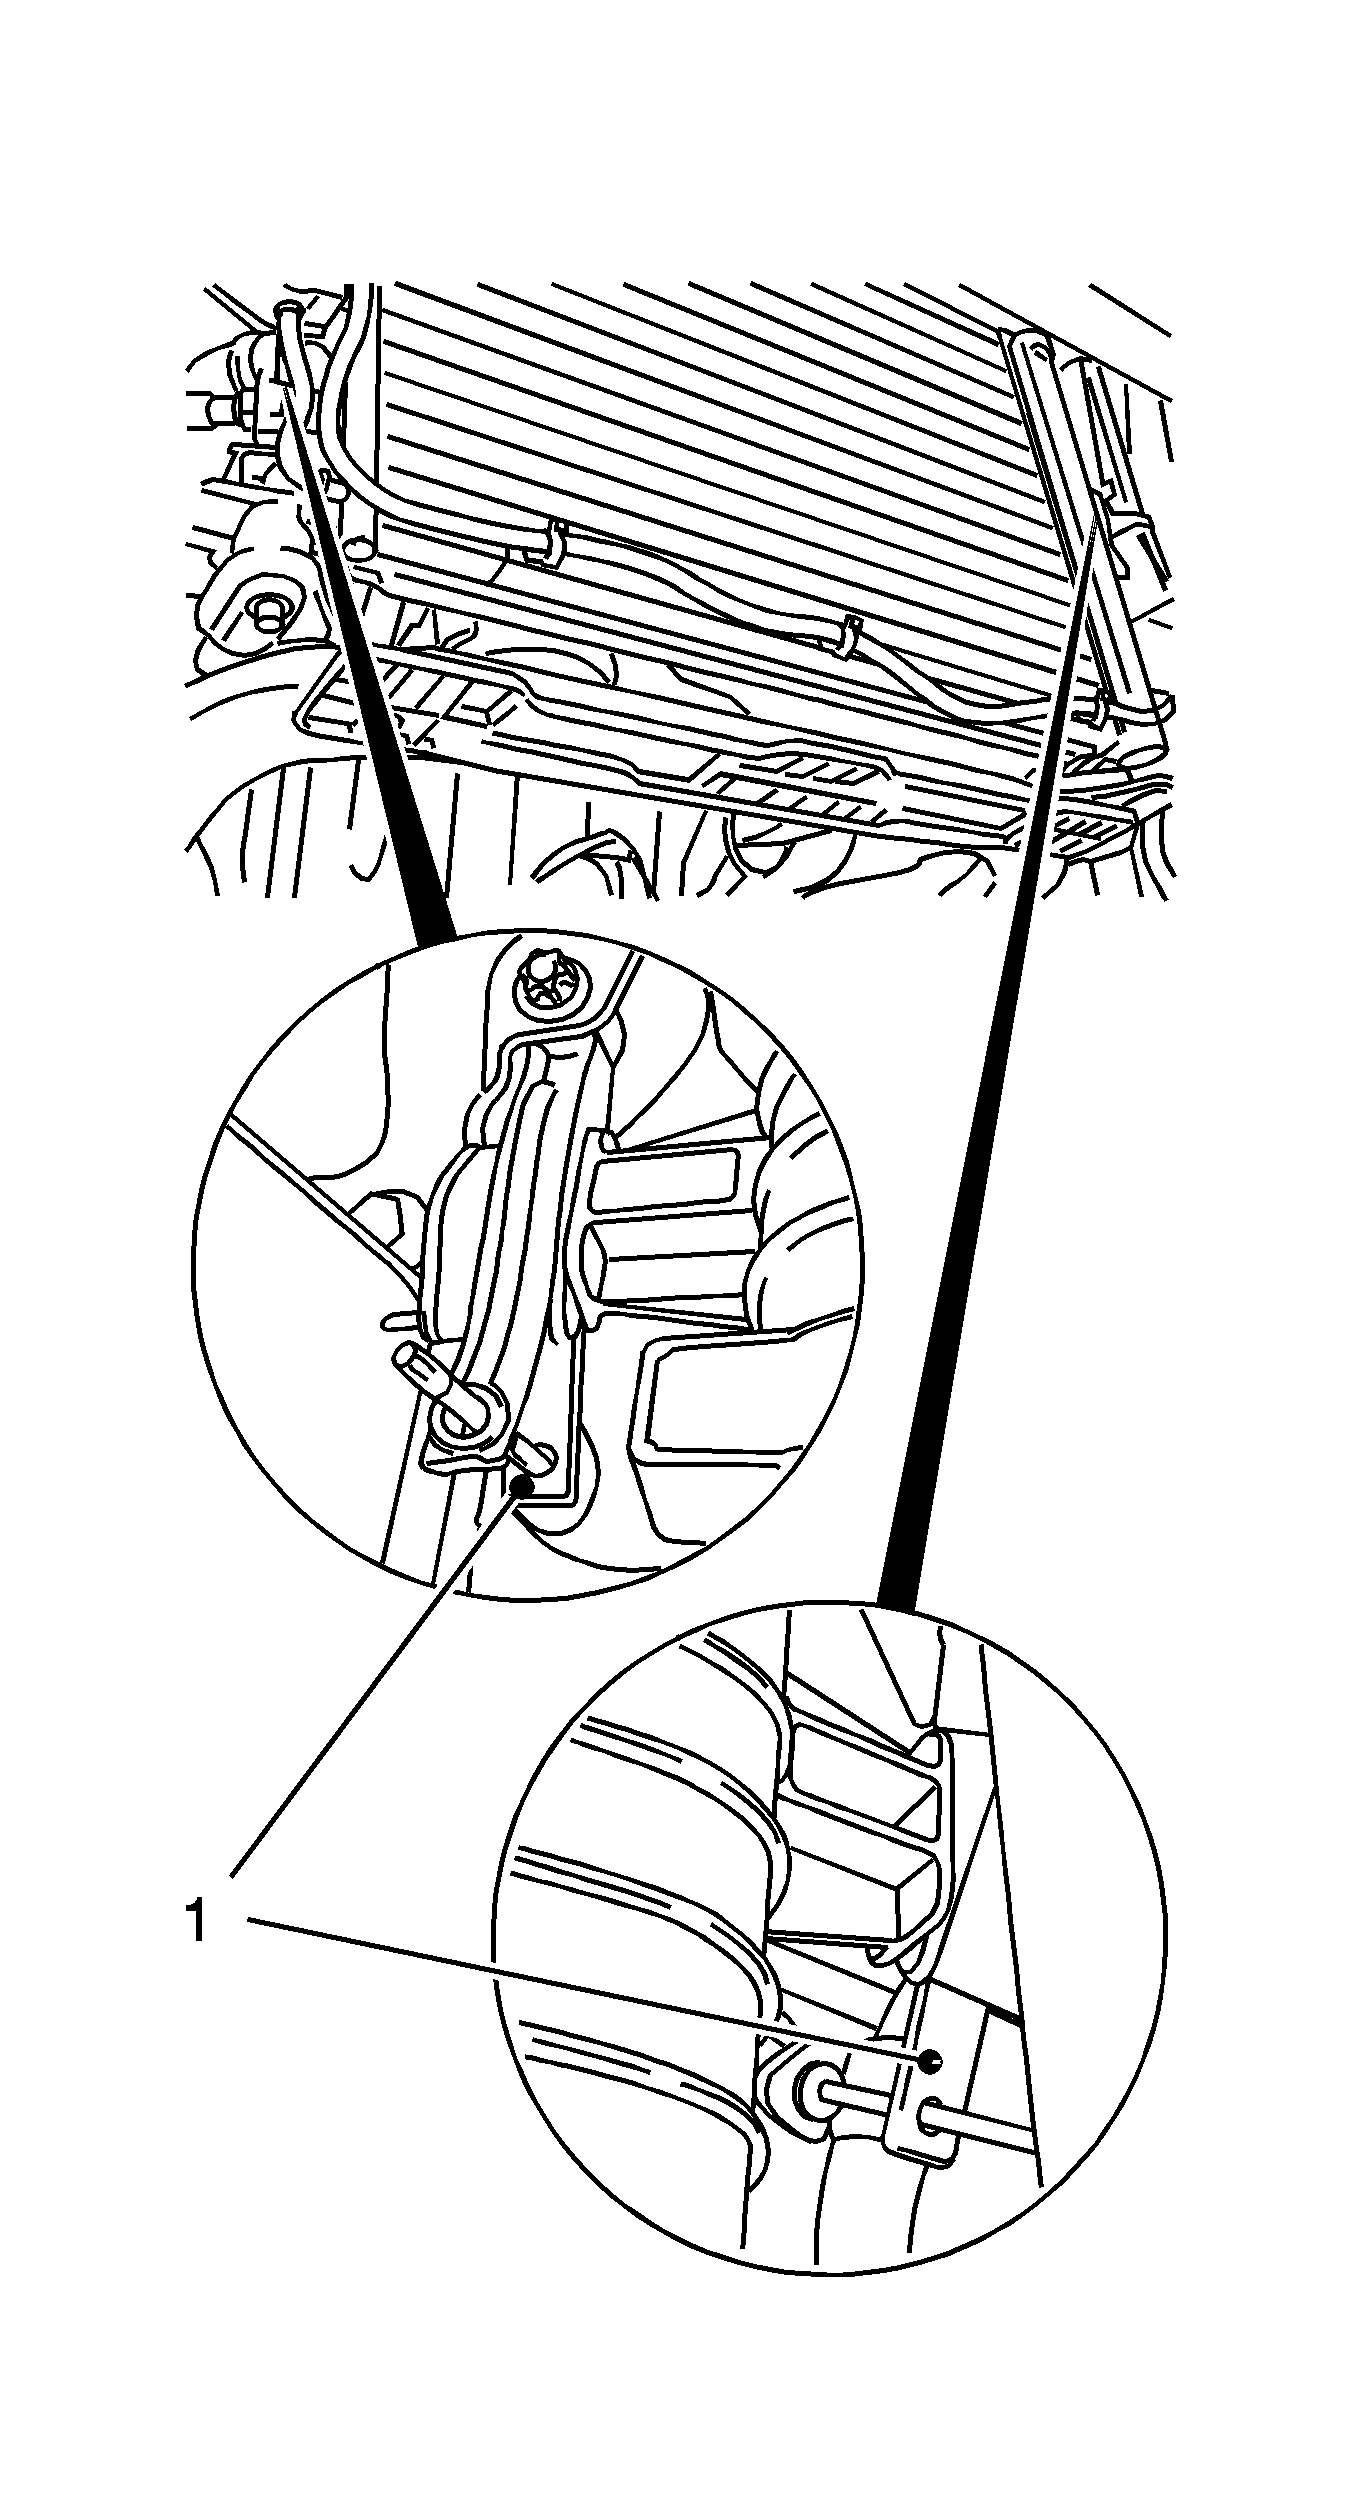
Insert 2 suitable tools.
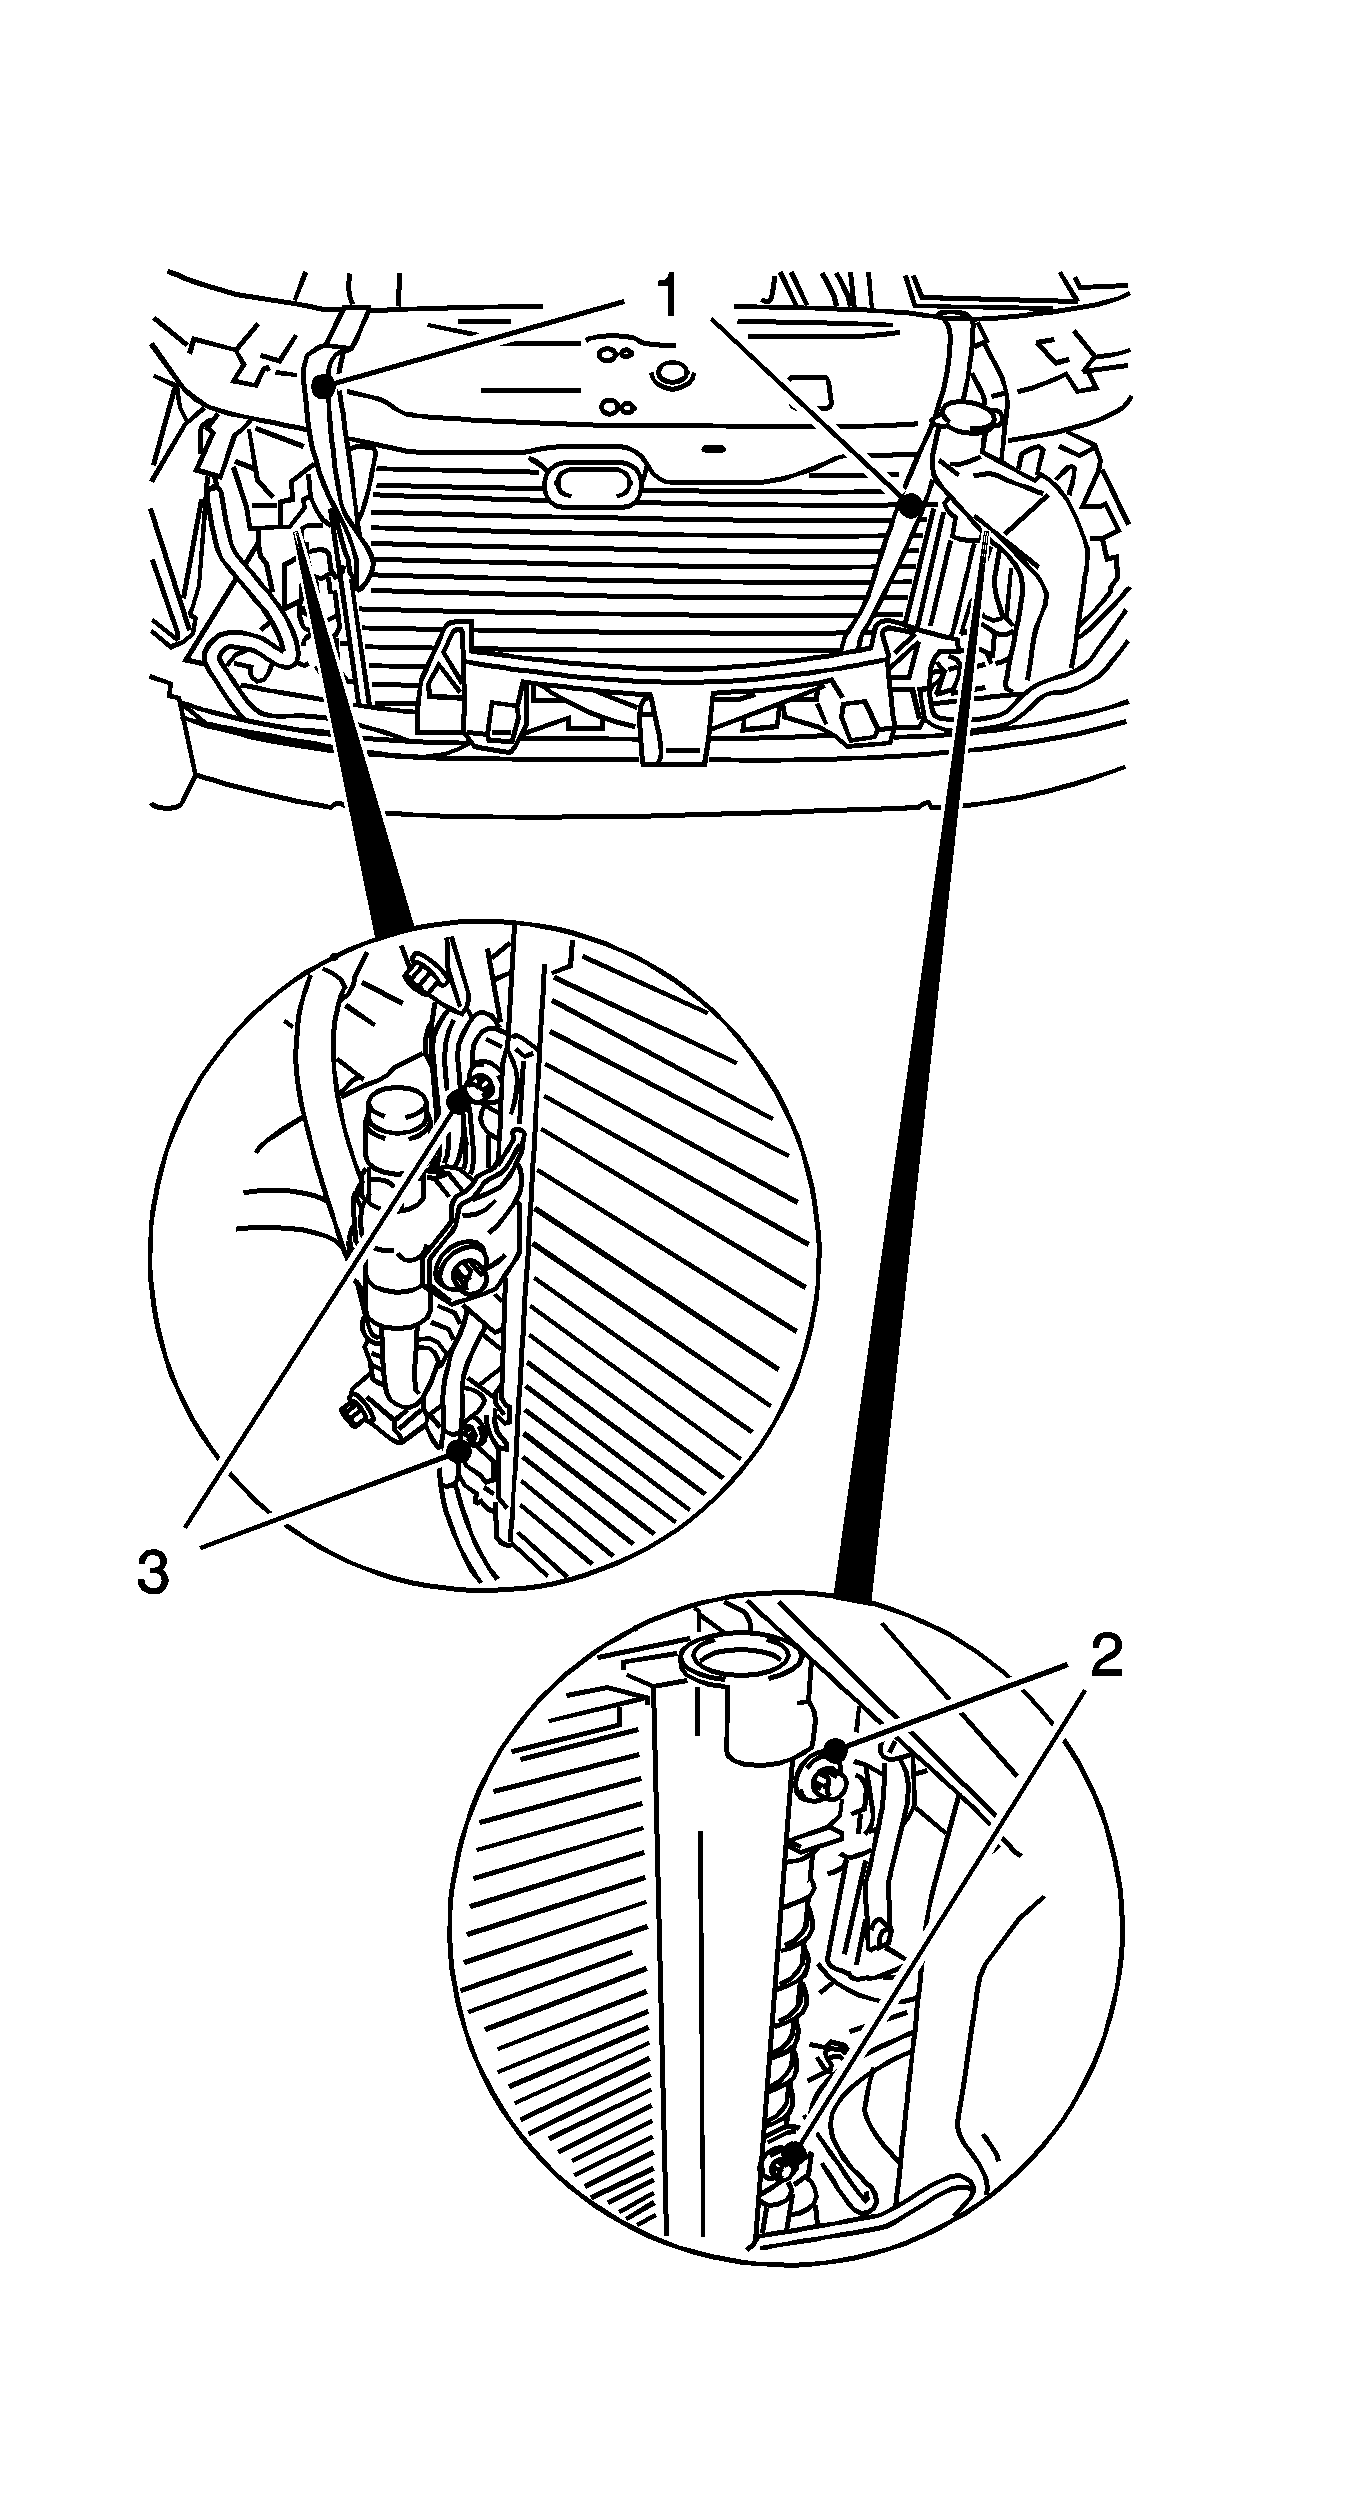
| • | Secure the condenser to the upper front with the retaining straps (1). |
| • | Remove the 4 bolts (2, 3). |
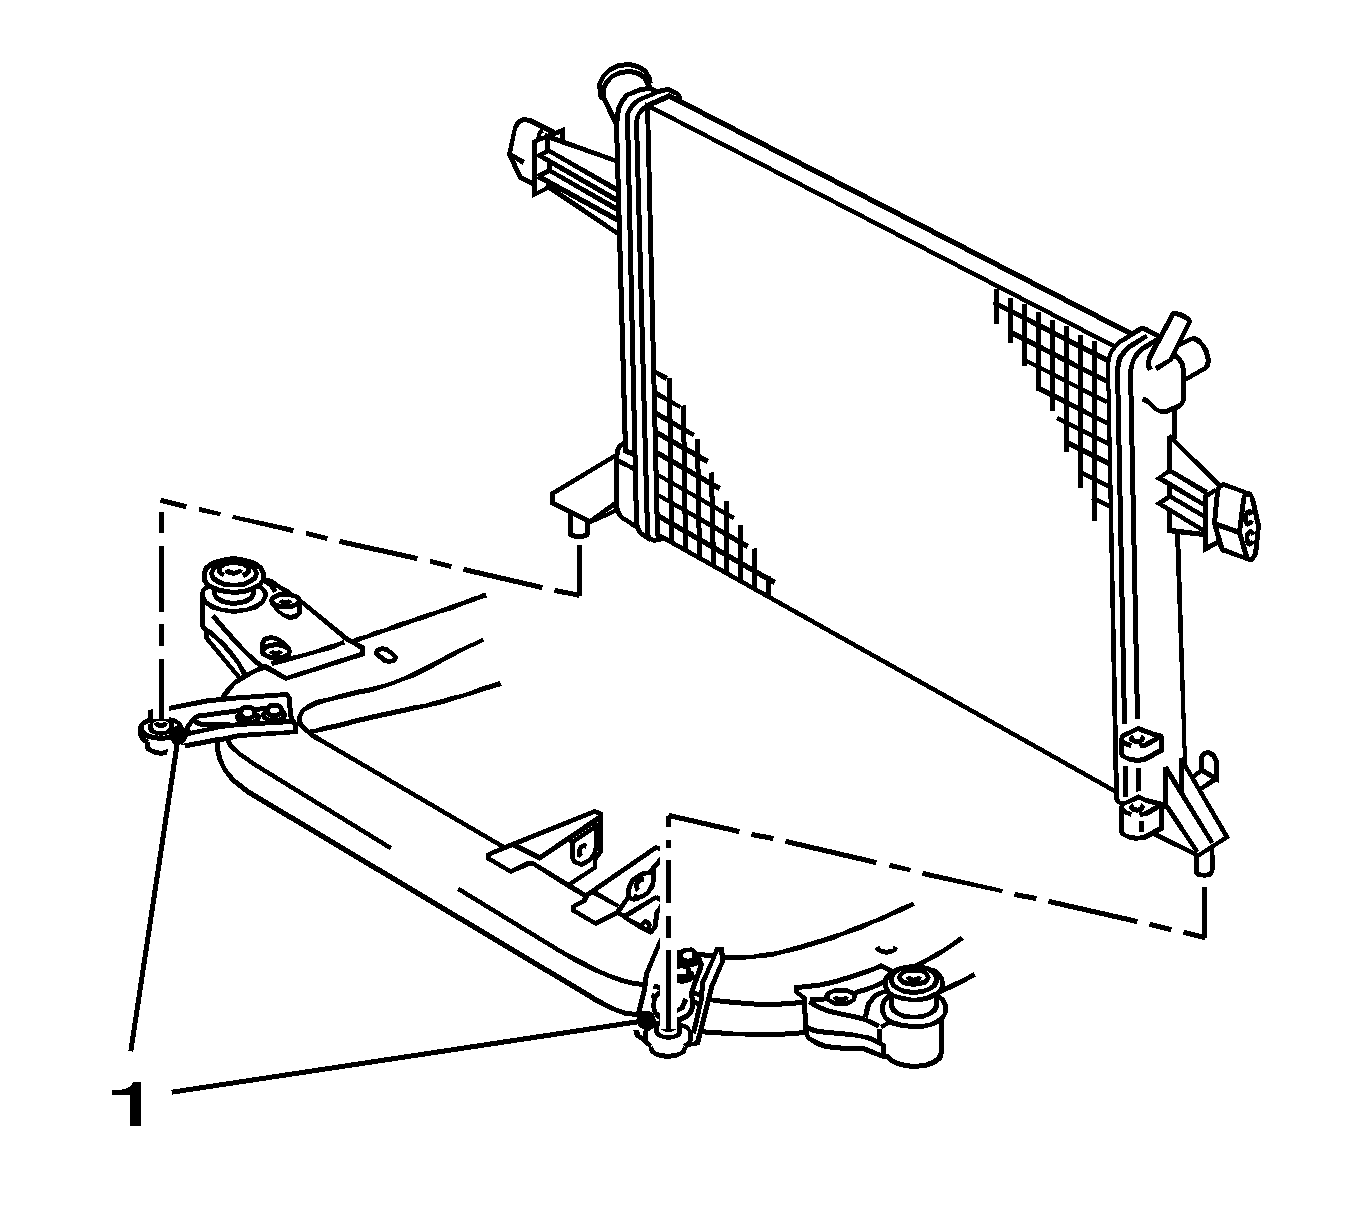
Note: Inspect the installation position.
Remove the 4 bolts.
| • | Remove the fuses from the upper holders. |
| • | Push the condenser forward. |
| Note: These operations must only be performed if the component is being replaced. |
| • | Remove the attached parts from the radiator. |
| • | Remove the 2 rubber bearings. |
| • | Pull away the 6 sheet metal nuts. |
| • | Remove the coolant temperature sensor. |
Installation Procedure
- Install the attaching parts to the radiator.
- Insert the radiator from below.
- Install the lower radiator bracket.
- Remove the fuses.
- Lower the vehicle by half its height.
- Install the condenser to the radiator.
- Remove the retaining straps.
- Lower the vehicle by half its height.
- Install the fan housing.
- Install the expansion tank coolant hose to the radiator.
- Raise the vehicle by its full height.
- Install the lower oil cooling line with the connecting hose on the oil cooler.
- Install the upper oil cooling line with the connecting hose on the oil cooler.
- Install the 2 coolant hoses to the radiator.
- Connect the fan wiring harness plug.
- Lower the vehicle by half its height.
- Install the front fascia.
- Install the front paneling at bottom.
- Lower the vehicle by half its height.
- Install the fascia at top.
- Install the radiator grille.
- Fill and bleed the cooling system. Refer to Cooling System Draining and Filling.
- Connect the battery.
- For reprogramming procedures, refer to Control Module References.
- Close the hood.
| • | Install the 2 rubber bushes. |
| • | Push on the 6 sheet metal nuts. |
| • | Install the coolant temperature sensor. |
Secure to the upper radiator with a suitable tool.
Caution: Refer to Fastener Caution in the Preface section.
Note: Arrow on bracket points to the front of the vehicle.
Tighten
Tighten the 4 bolts to 15 N·m (11 lb ft).
Tighten
Tighten the 4 bolts to 5 N·m (44 lb in).
| • | Insert in bracket at the bottom of the radiator. |
Tighten
Tighten the 2 bolts to 5 N·m (44 lb in).
| • | Install the 2 radiator hoses into the bracket. |
| • | Install the NEW cable tie. |
| • | Fasten the clamp. |
| • | Install the coolant hose. |
Use NEW seal rings.
Tighten
Tighten the bolt to 25 N·m (18 lb ft).
Use NEW seal rings.
Tighten
Tighten the bolt to 25 N·m (18 lb ft).
Install the 2 clamps.
| • | Connect the 2 wiring harness plugs. |
| • | Install the front fascia on the side. |
Install the 6 body-bound rivets.
Tighten
Tighten the 4 bolts to 2.5 N·m (22 lb in).
Fasten the 2 body-bound rivets.
Tighten
Tighten the 2 bolts to 2.5 N·m (22 lb in).
| • | Install the 6x. |
| • | Install the 4 body-bound rivets. |
Connect the negative connection.
Tighten
Tighten the nut to 5 N·m (44 lb in).
