Removal Procedure
- Open the hood.
- Disconnect the battery.
- Raise the vehicle all the way.
- Remove the fuel filler pipe.
- Raise the vehicle halfway.
- Remove the right rear wheel.
- Remove the right rear wheel housing inner paneling.
- Remove the wiring harness of the pressure sensor (atmospheric pressure) (1) from the fuel filler tube (2).
- Remove the fuel filler tube from the fuel tank.
- Remove the fuel filler tube (1) from the fuel filler pipe.
Warning: Refer to Gasoline/Gasoline Vapors Warning in the Preface section.
Note:
• The fuel tank must be drained with a suitable, commercially-available fuel removal unit and suction hose - follow safety regulations and national legislation. The fuel tank is fitted with a refill limit float valve. This is located on the filler
neck in the fuel tank. To prevent damaging the refill limit float valve, a suitable suction hose must be used. • In the presence of fuel vapors or escaping fuel - observe safety regulations and national legislation. Store drained fuel in a suitable, sealable container.
Warning: Refer to Battery Disconnect Warning in the Preface section.
| 2.1. | Disconnect the ground clamp from the ground terminal. |
| 2.2. | Loosen the nut. |
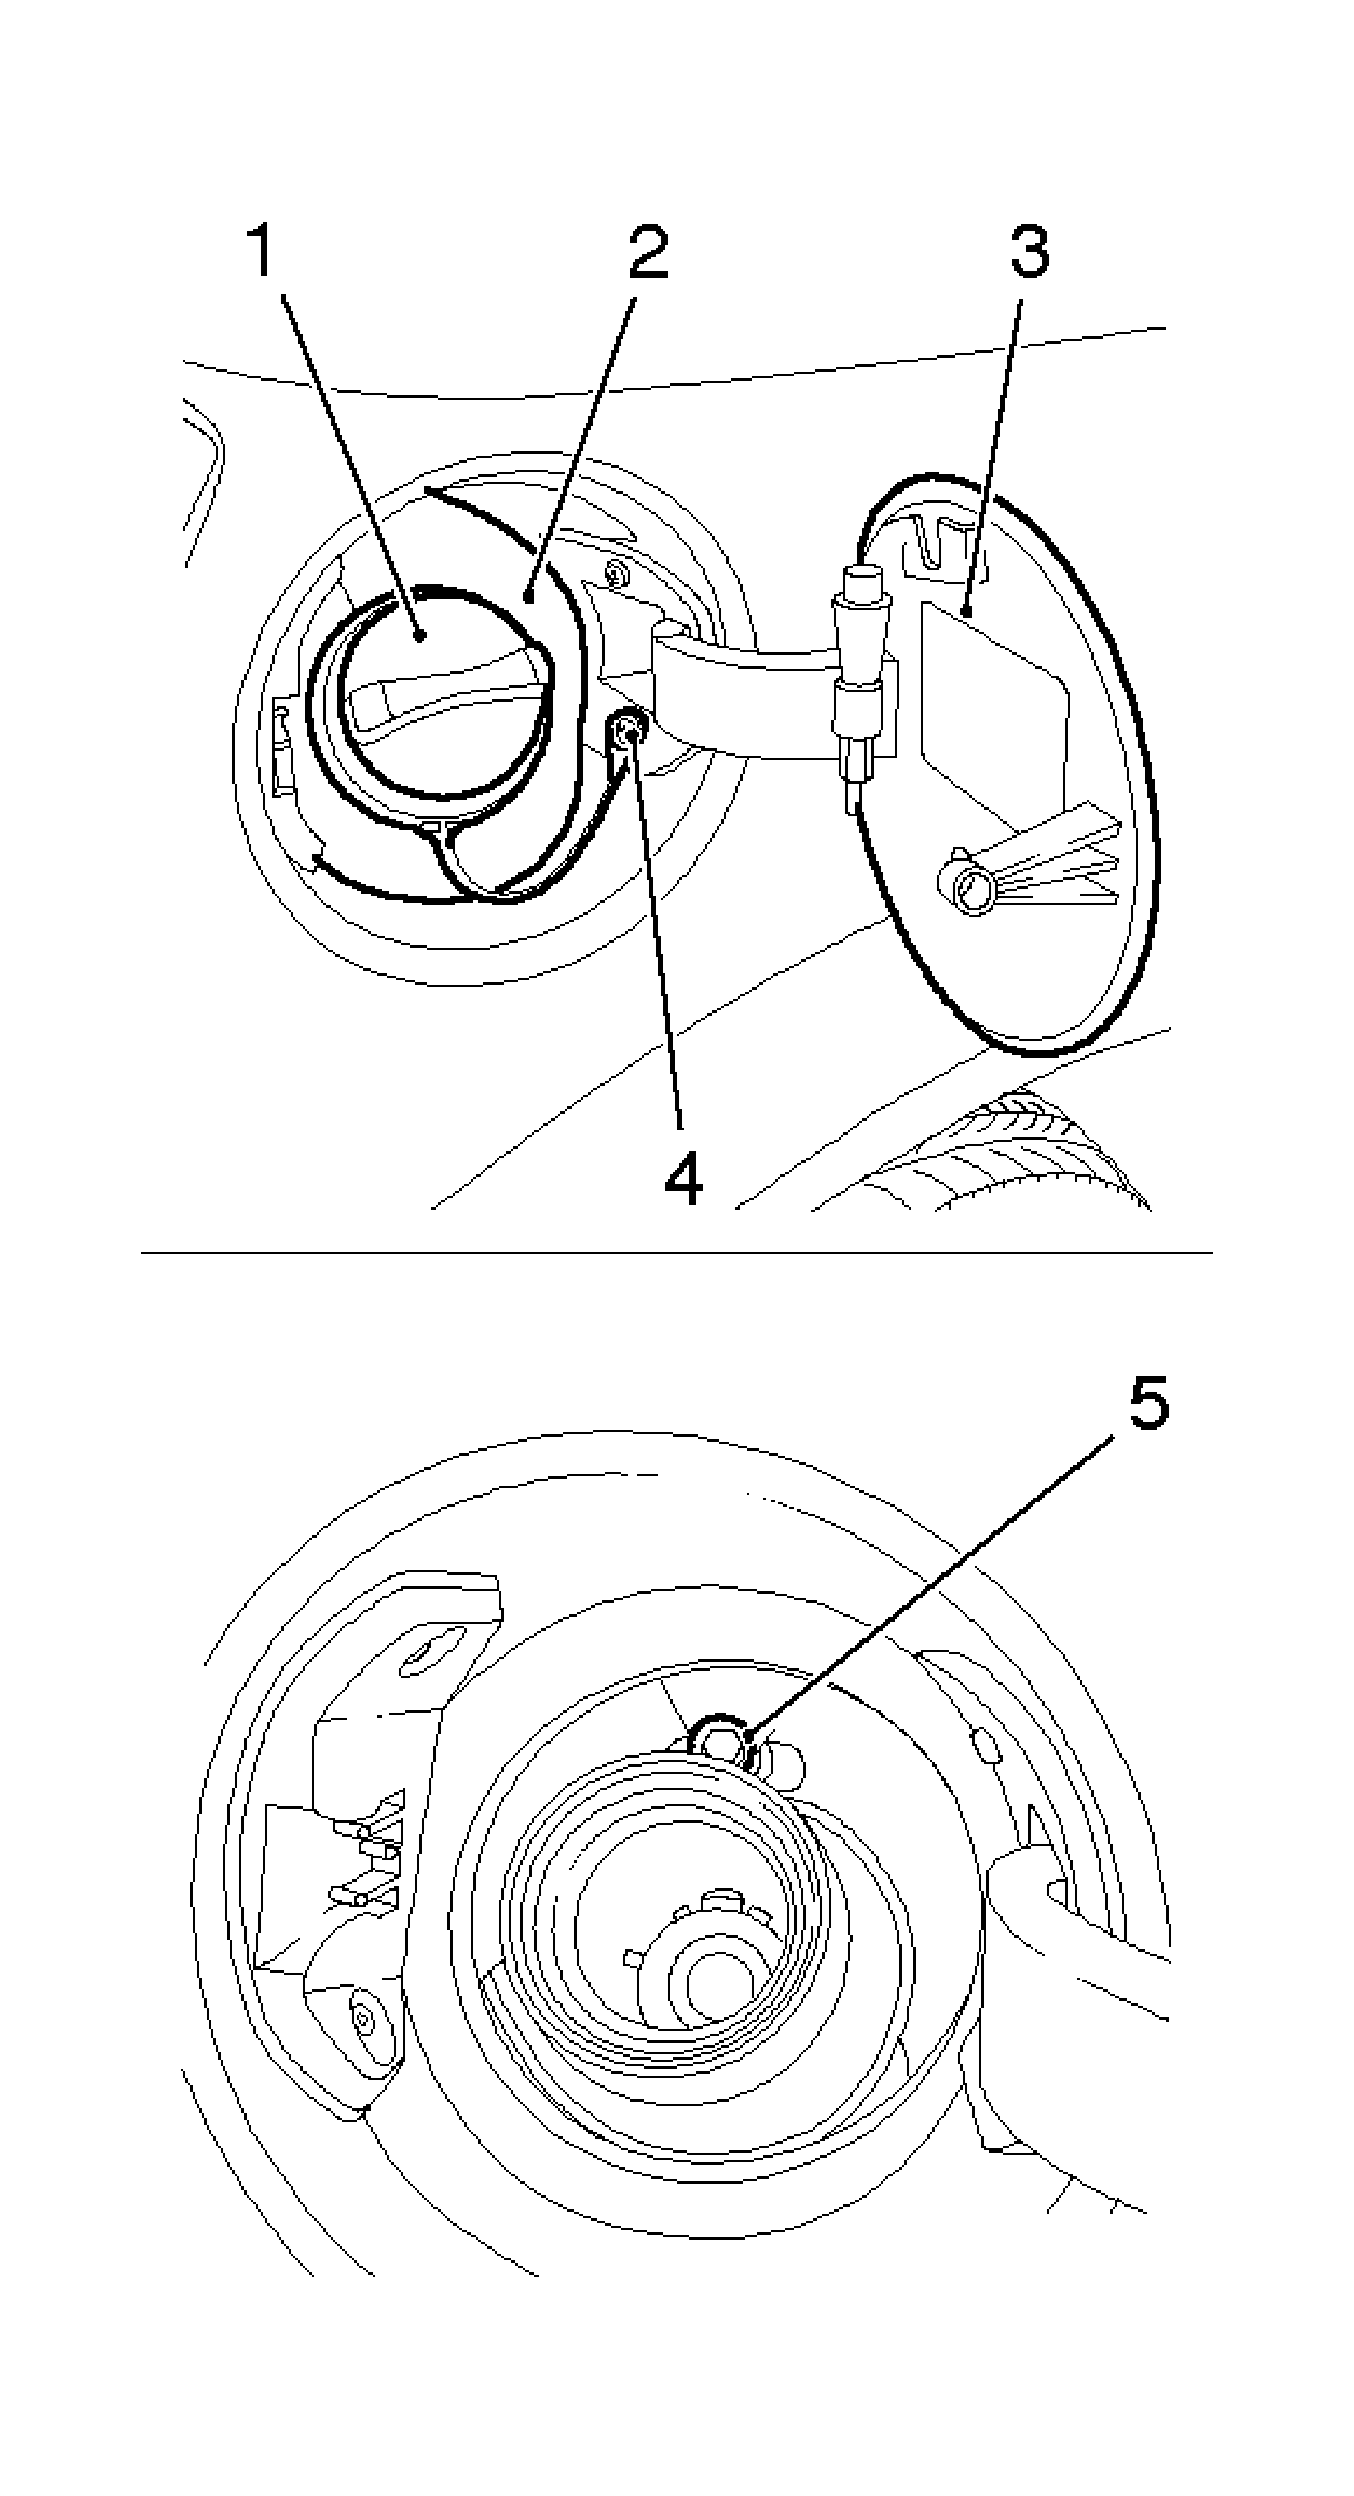
| 4.1. | Open the fuel filler door. |
| 4.2. | Remove the fuel filler pipe gas cap (1). |
Remove the bolt (4).
| 4.3. | Remove the rubber cover (2). |
| 4.4. | Remove the bolt (5). |
| 4.5. | Install the fuel filler pipe gas cap. |
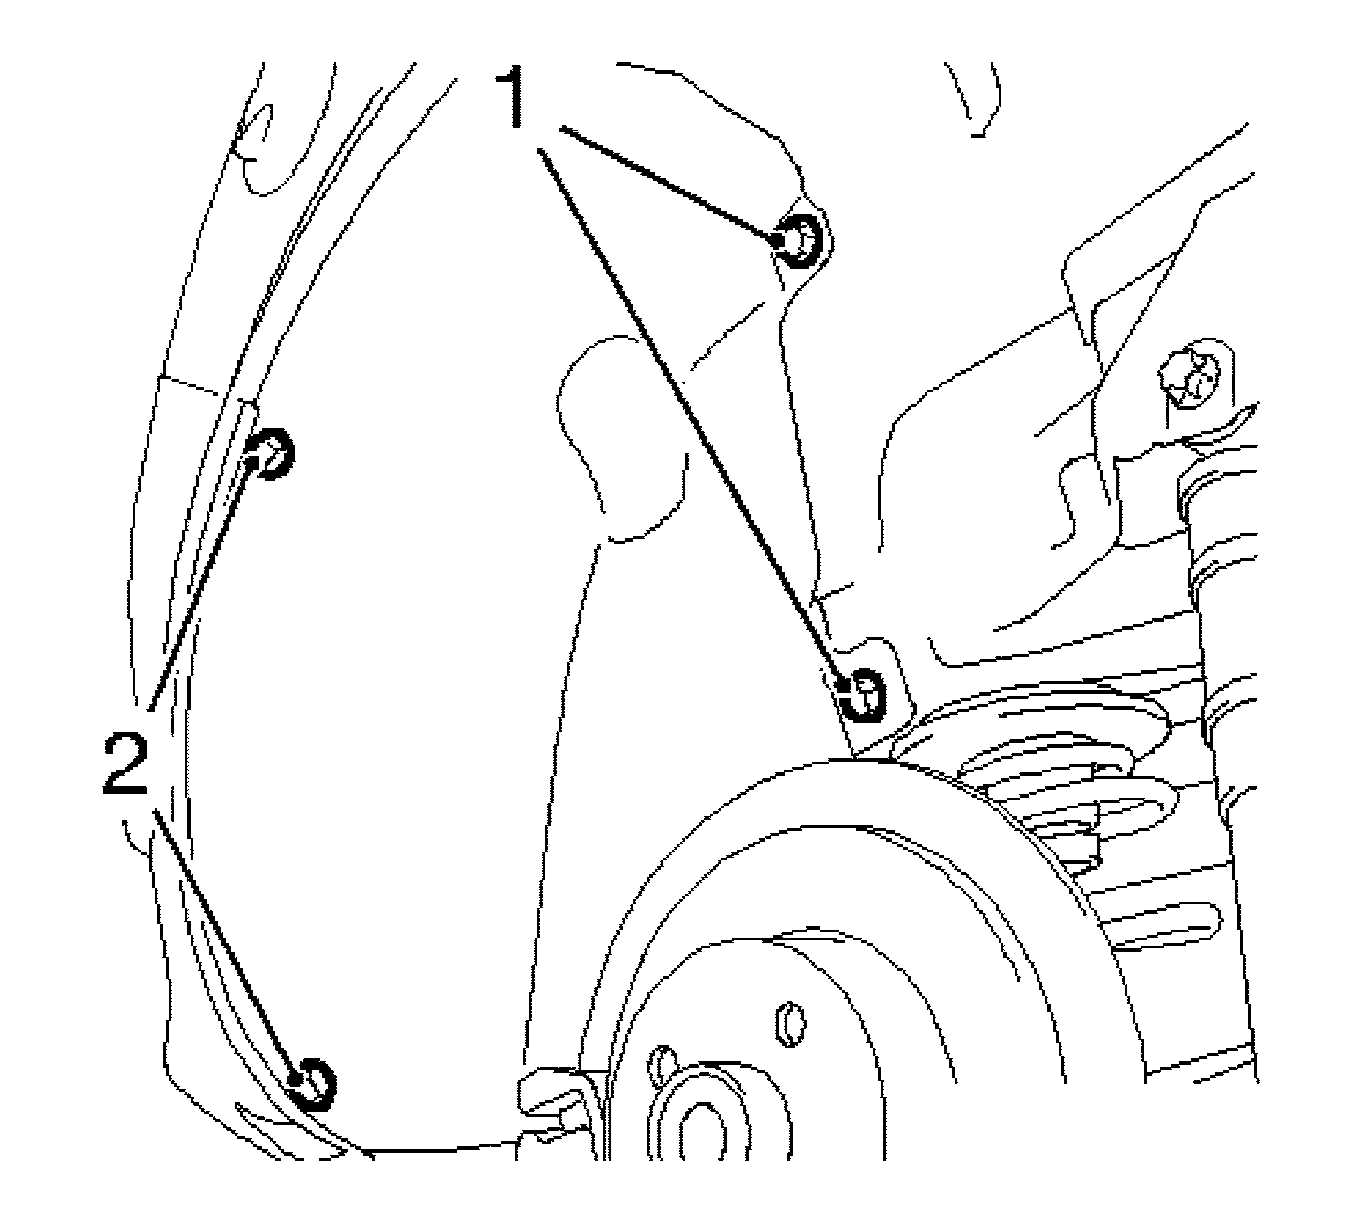
| 7.1. | Remove the 2 nuts (1). |
| 7.2. | Remove the 2 bolts (2). |
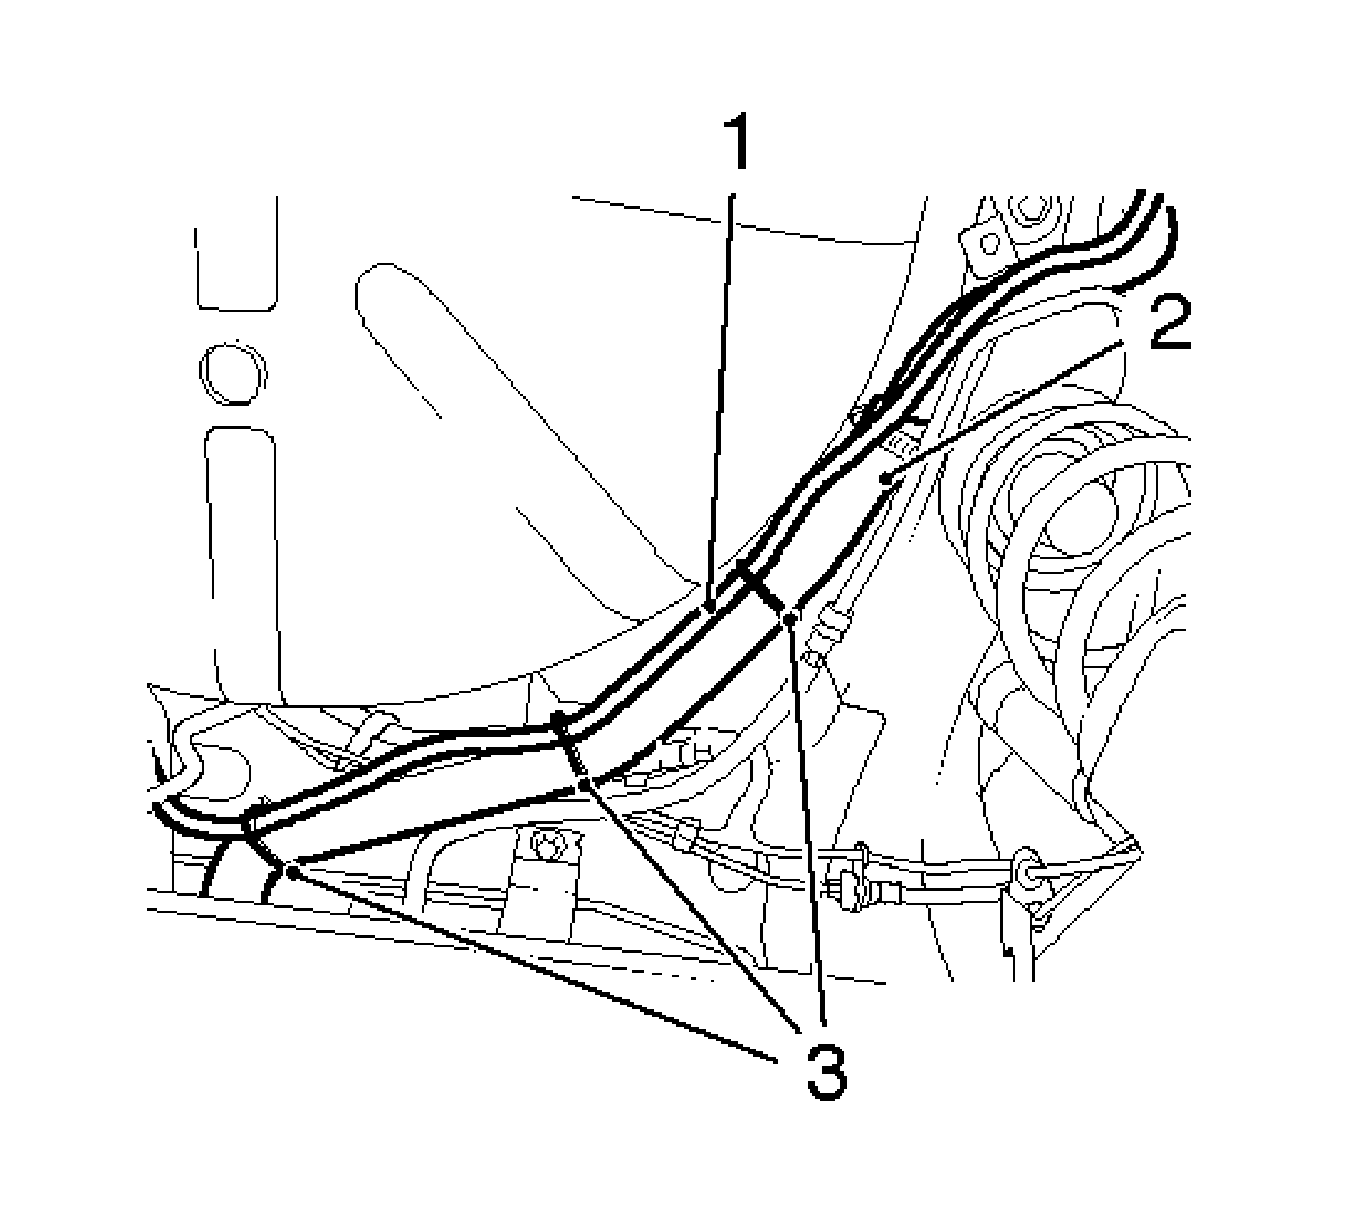
Remove the 3 cable ties (3).
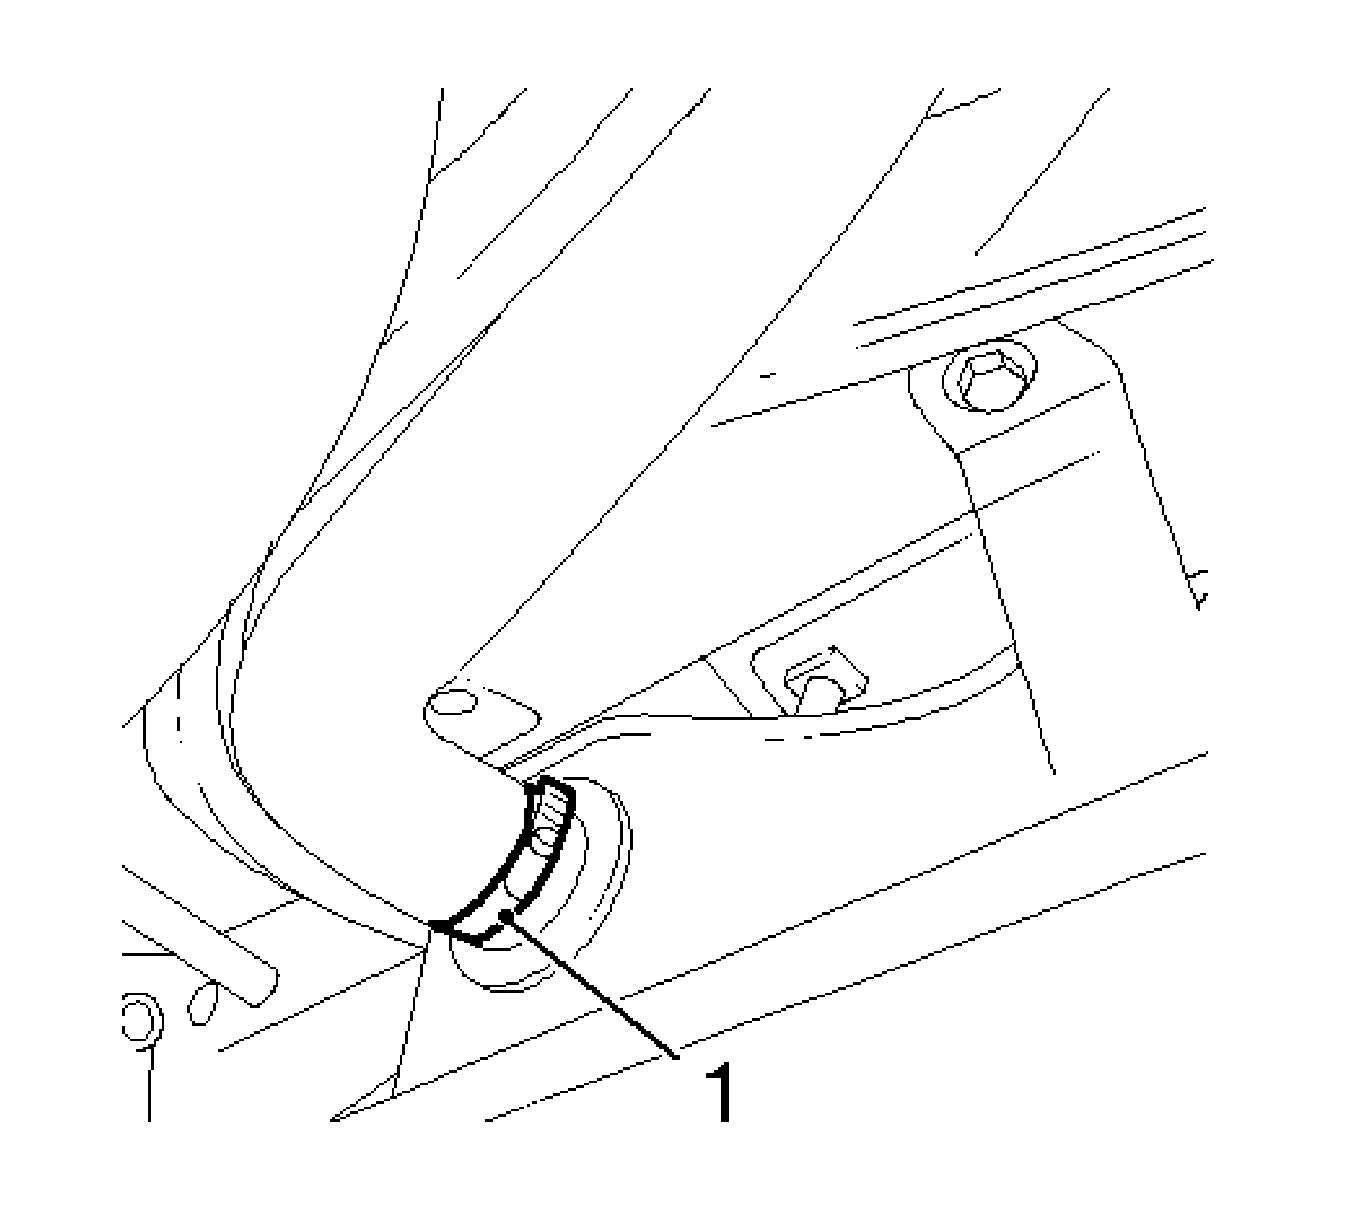
Release the clamp (1).
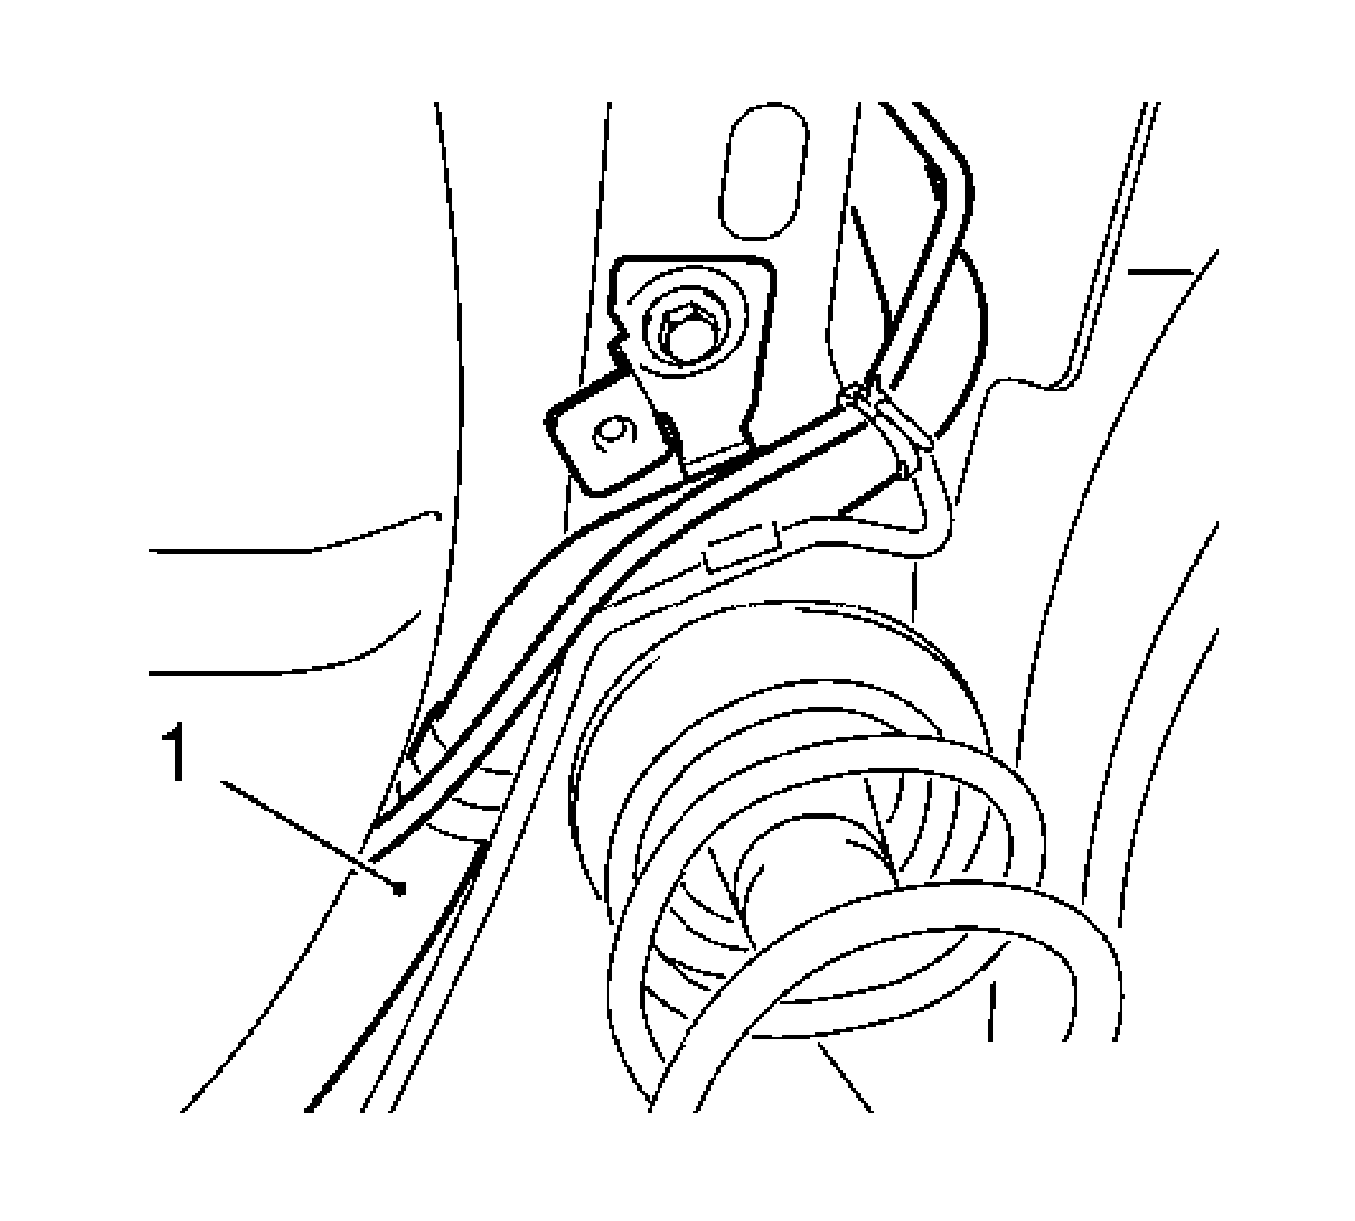
Release the clamp.
Installation Procedure
- Install the fuel filler tube to the fuel filler pipe.
- Install the fuel filler tube to the fuel tank.
- Install the wiring harness of the pressure sensor (atmospheric pressure) to the fuel filler tube.
- Install the right rear wheel housing inner paneling.
- Install the right rear wheel.
- Lower the vehicle halfway.
- Install the fuel filler pipe.
- Lower the vehicle all the way.
- Connect the battery.
- For programming procedures, refer to Control Module References.
- Close the hood.
Fasten the clamp.
Caution: Refer to Fastener Caution in the Preface section.
Tighten
Fasten the clamp to 3.5 N·m (31 lb in).
Install the 3 cable ties.
Tighten
| • | Tighten the 2 nuts to 3 N·m (26 lb in). |
| • | Tighten the 2 bolts to 3 N·m (26 lb in). |
Tighten
Tighten the right rear wheel to 10 N·m (89 lb in).
| 7.1. | Remove the fuel filler pipe cap. |
Tighten
Tighten the bolt to 6 N·m (53 lb in).
| 7.2. | Install the rubber cover. |
| 7.3. | Install the fuel filler pipe cap. |
Tighten
Tighten the bolt to 6 N·m (53 lb in).
Connect the ground clamp to the ground terminal.
Tighten
Tighten the ground clamp nut to 5 N·m (44 lb in).
