For 1990-2009 cars only
Removal Procedure
- Remove the lower control arm. Refer to Lower Control Arm Replacement.
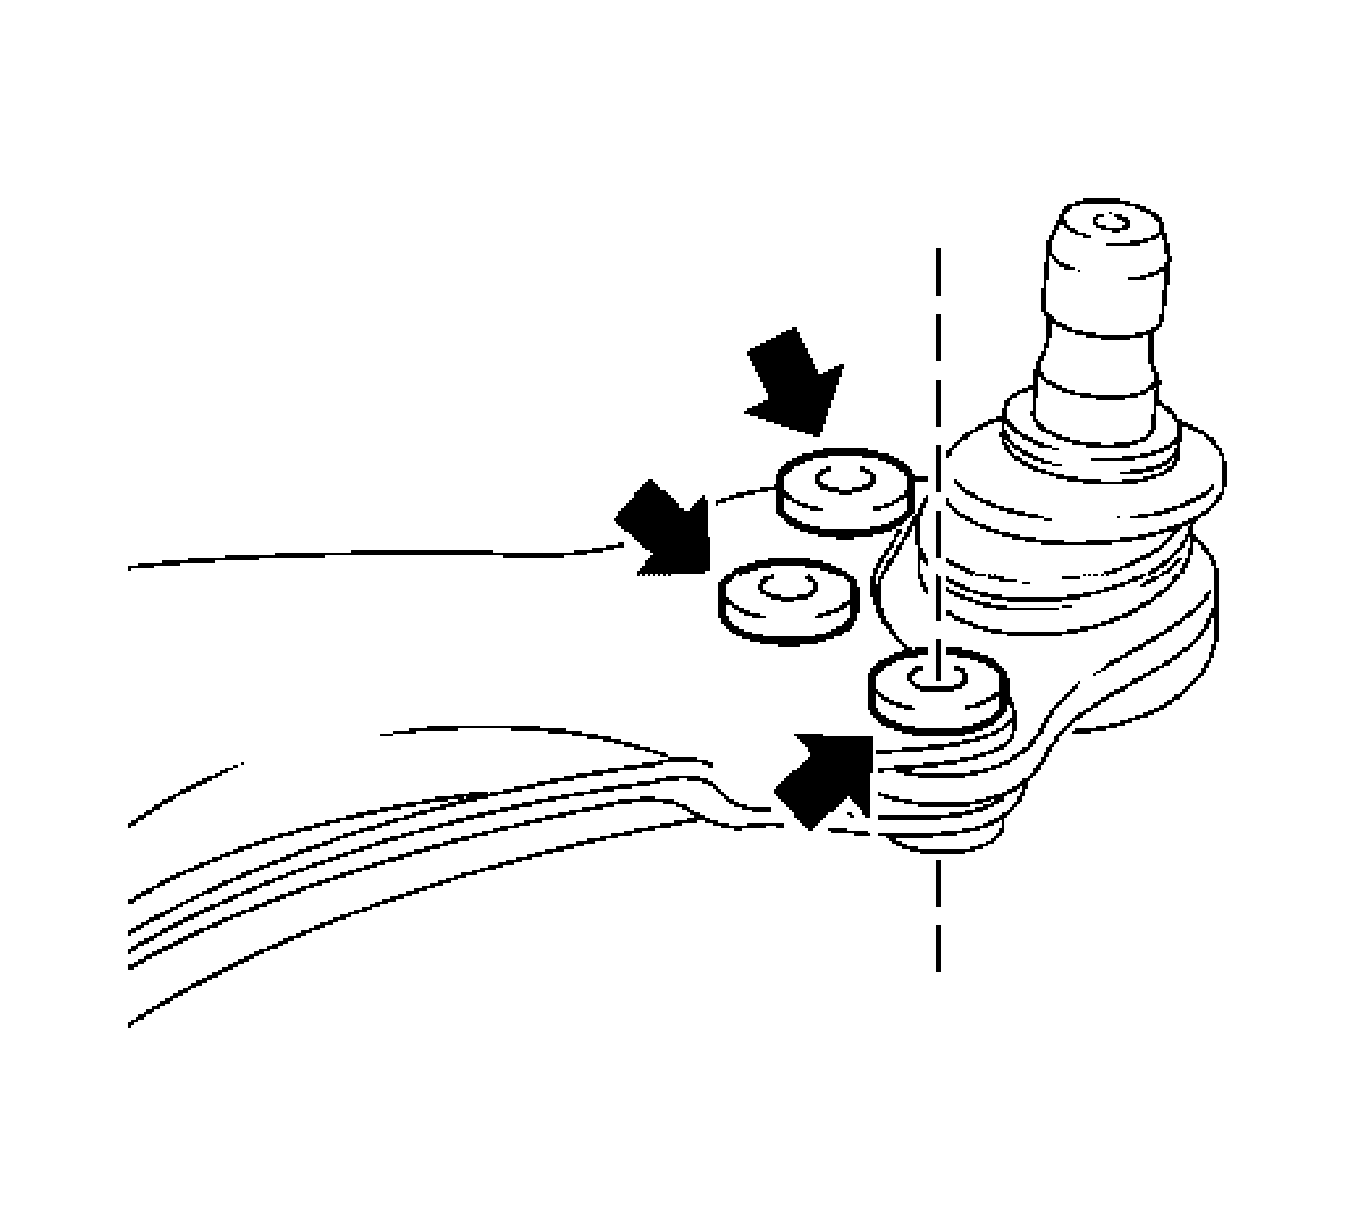
- Drill through the 3 rivets, in the center, as a guide line.
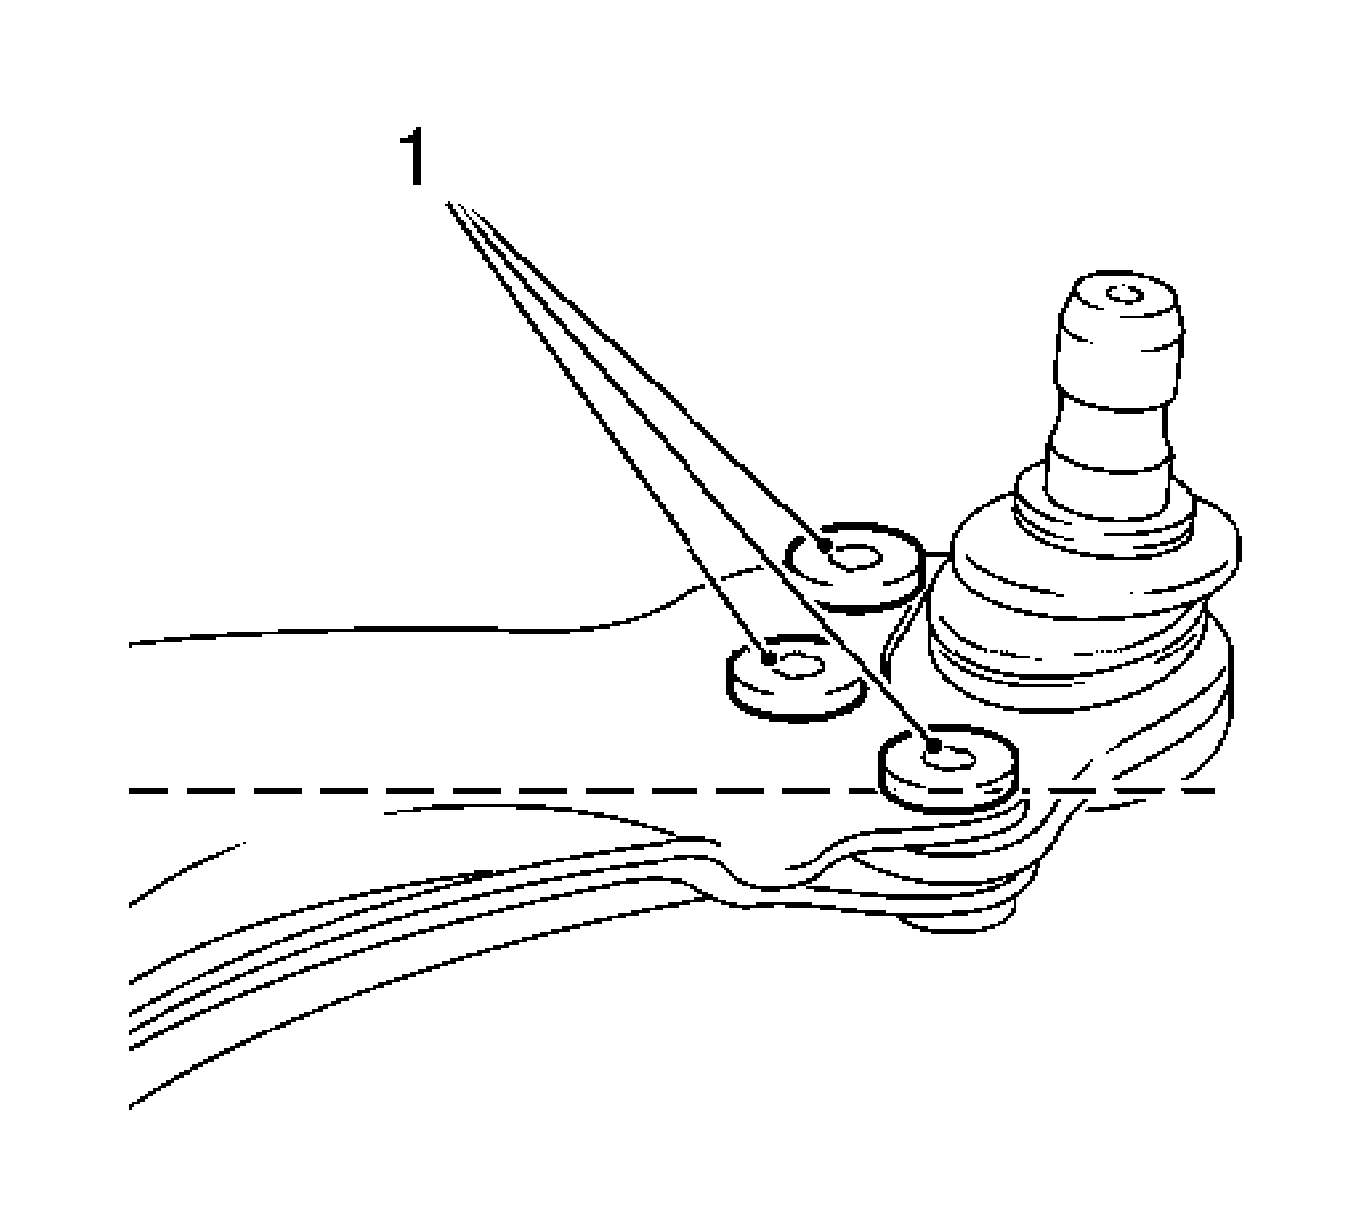
- Start drilling the 3 rivet heads (1).
- Coat the holes with corrosion protection material.

Note: Use a drill bit with 5 mm diameter.

Note:
• Be careful not to damage the control arm. • Use a drill bit with 8 mm diameter. Drill as far as the contact surface, guide line, of the control arm.
| • | Knock off 3 rivet heads carefully with a flat chisel. |
| • | Remove remains of rivets. |
| • | Remove the guide joint. |
Installation Procedure
- Install the guide joint to control arm.
- Install the lower control arm. Refer to Lower Control Arm Replacement.
Caution: Refer to Fastener Caution in the Preface section.

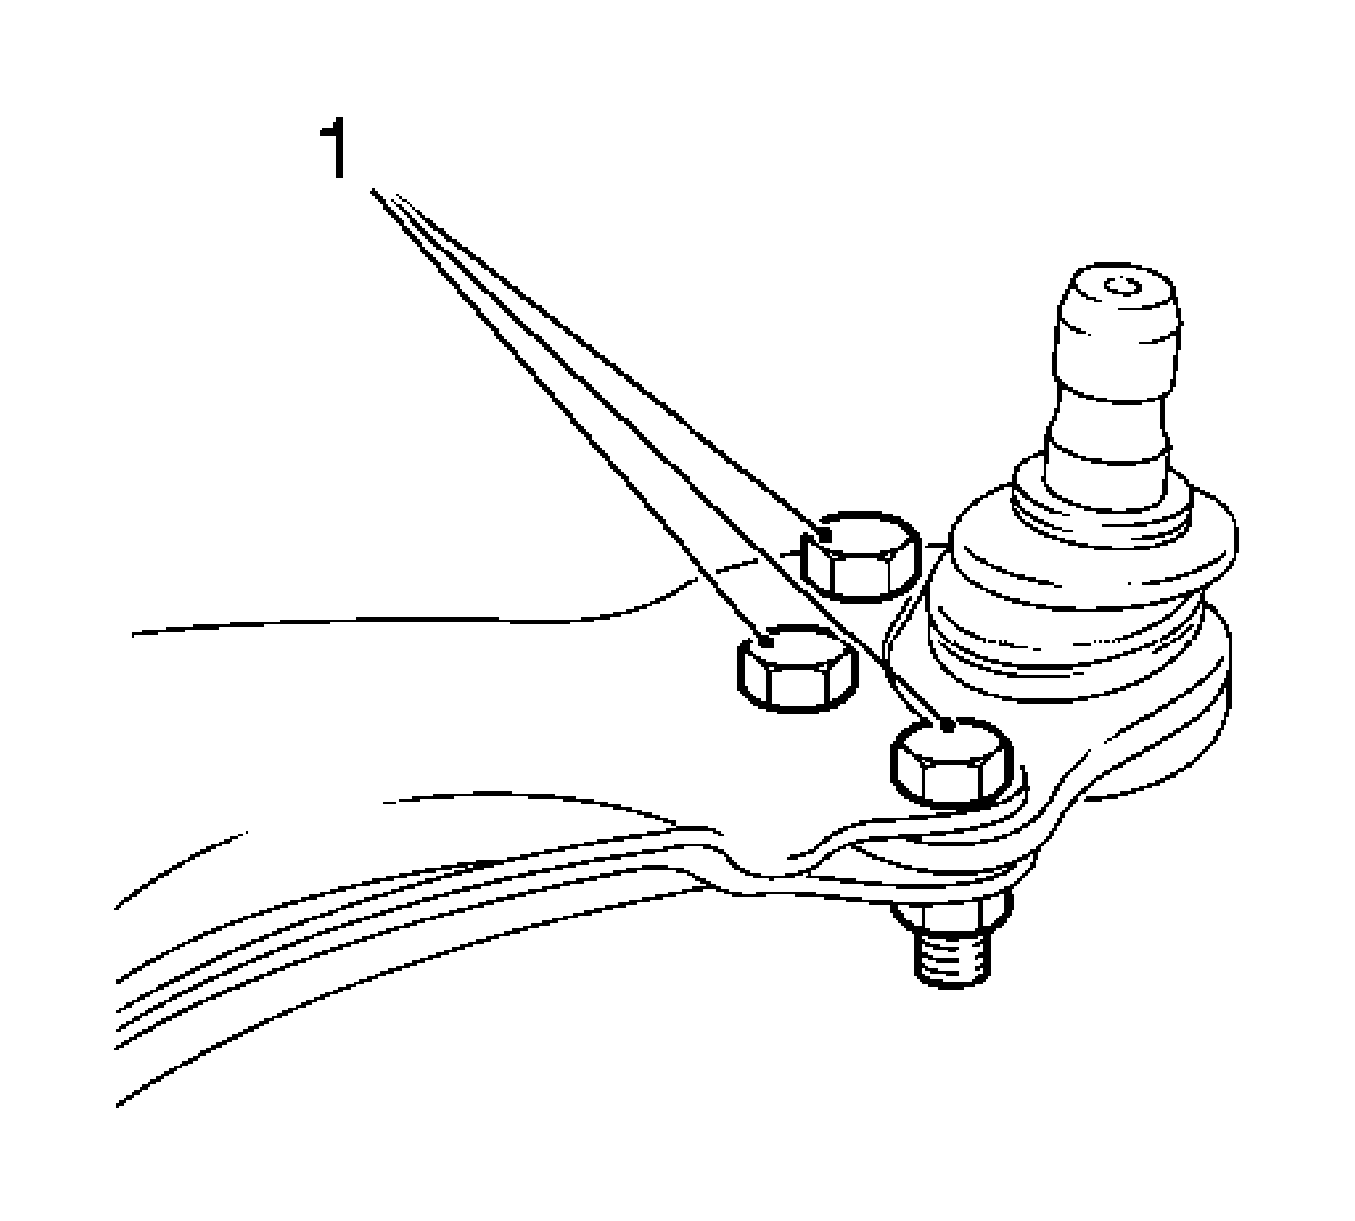
Note: The new guide joint is screwed to the control arm - use special bolts and nuts from "Service" area.
Tighten
Tighten the 3 screwed connections (1) to 35 N·m (26 lb ft).
