Front Side Door Window Weatherstrip Replacement Coupe
Removal Procedure
Warning: Refer to Express Down Feature Warning in the Preface section.
- Lower the window.
- Remove the front side door trim panel. Refer to
Front Side Door Trim Panel Replacement.
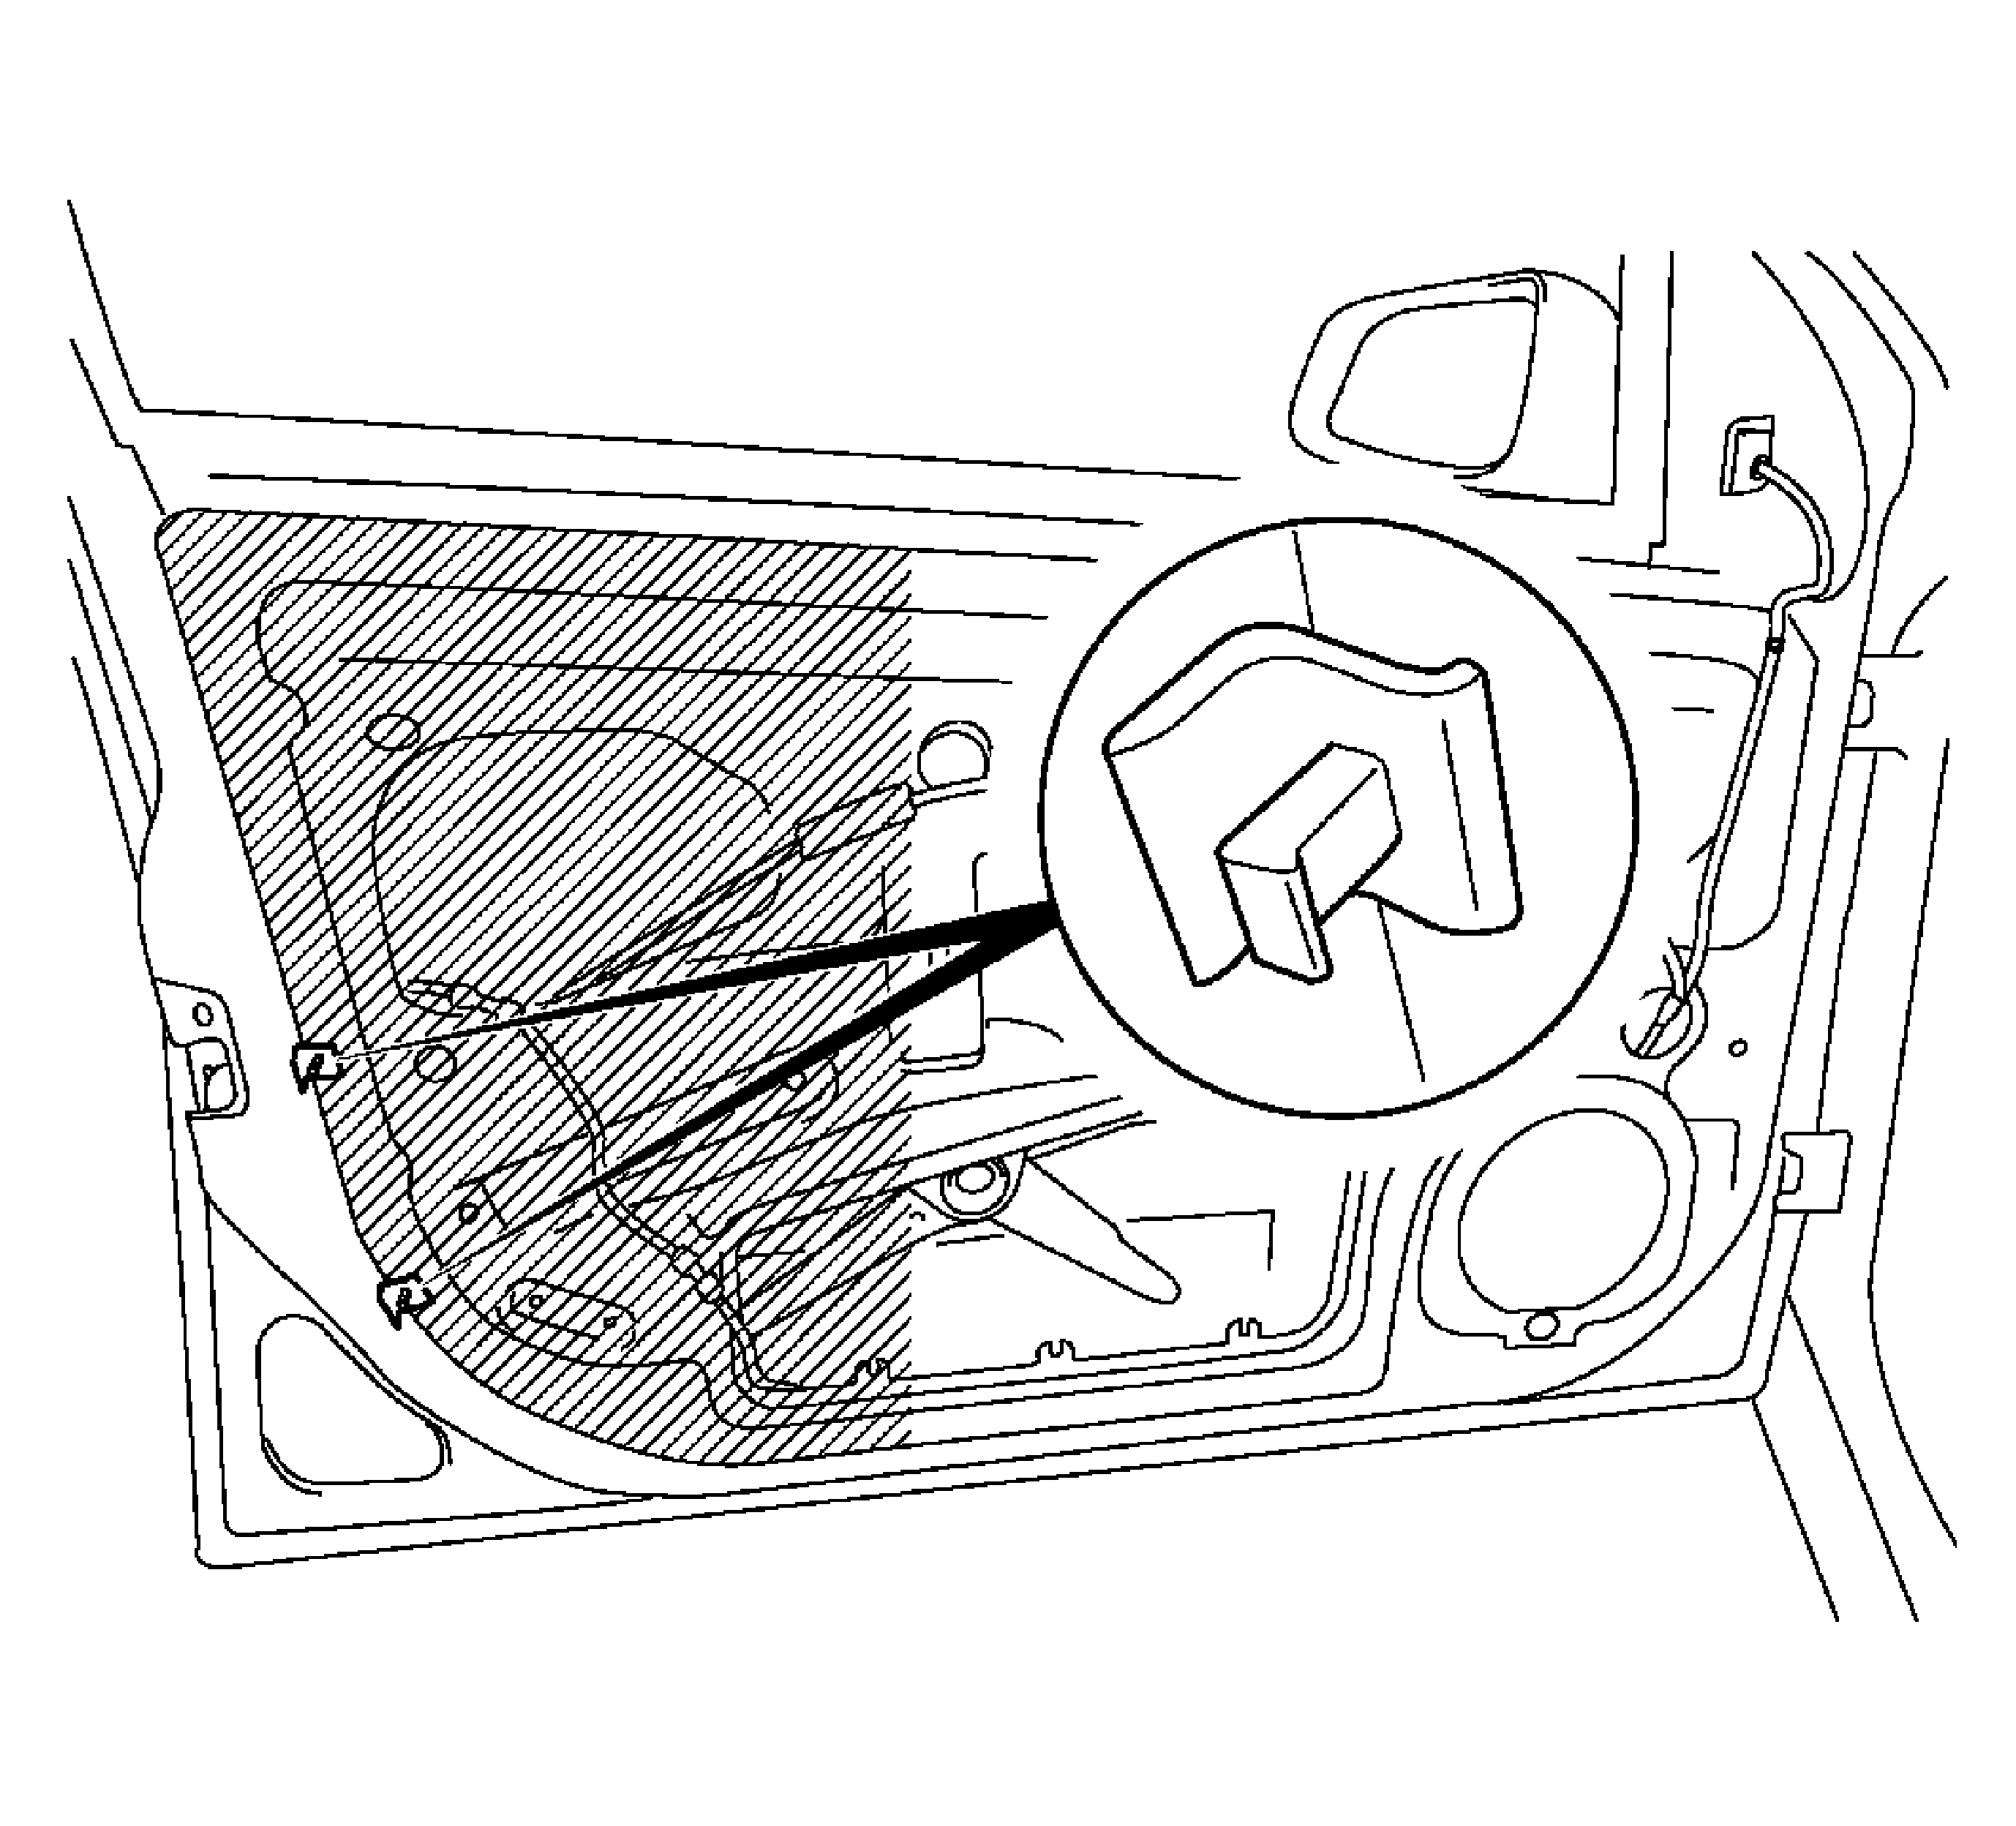
- Partly loosen the water vapor barrier.
| 3.1. | Remove the 2 holding angles. |
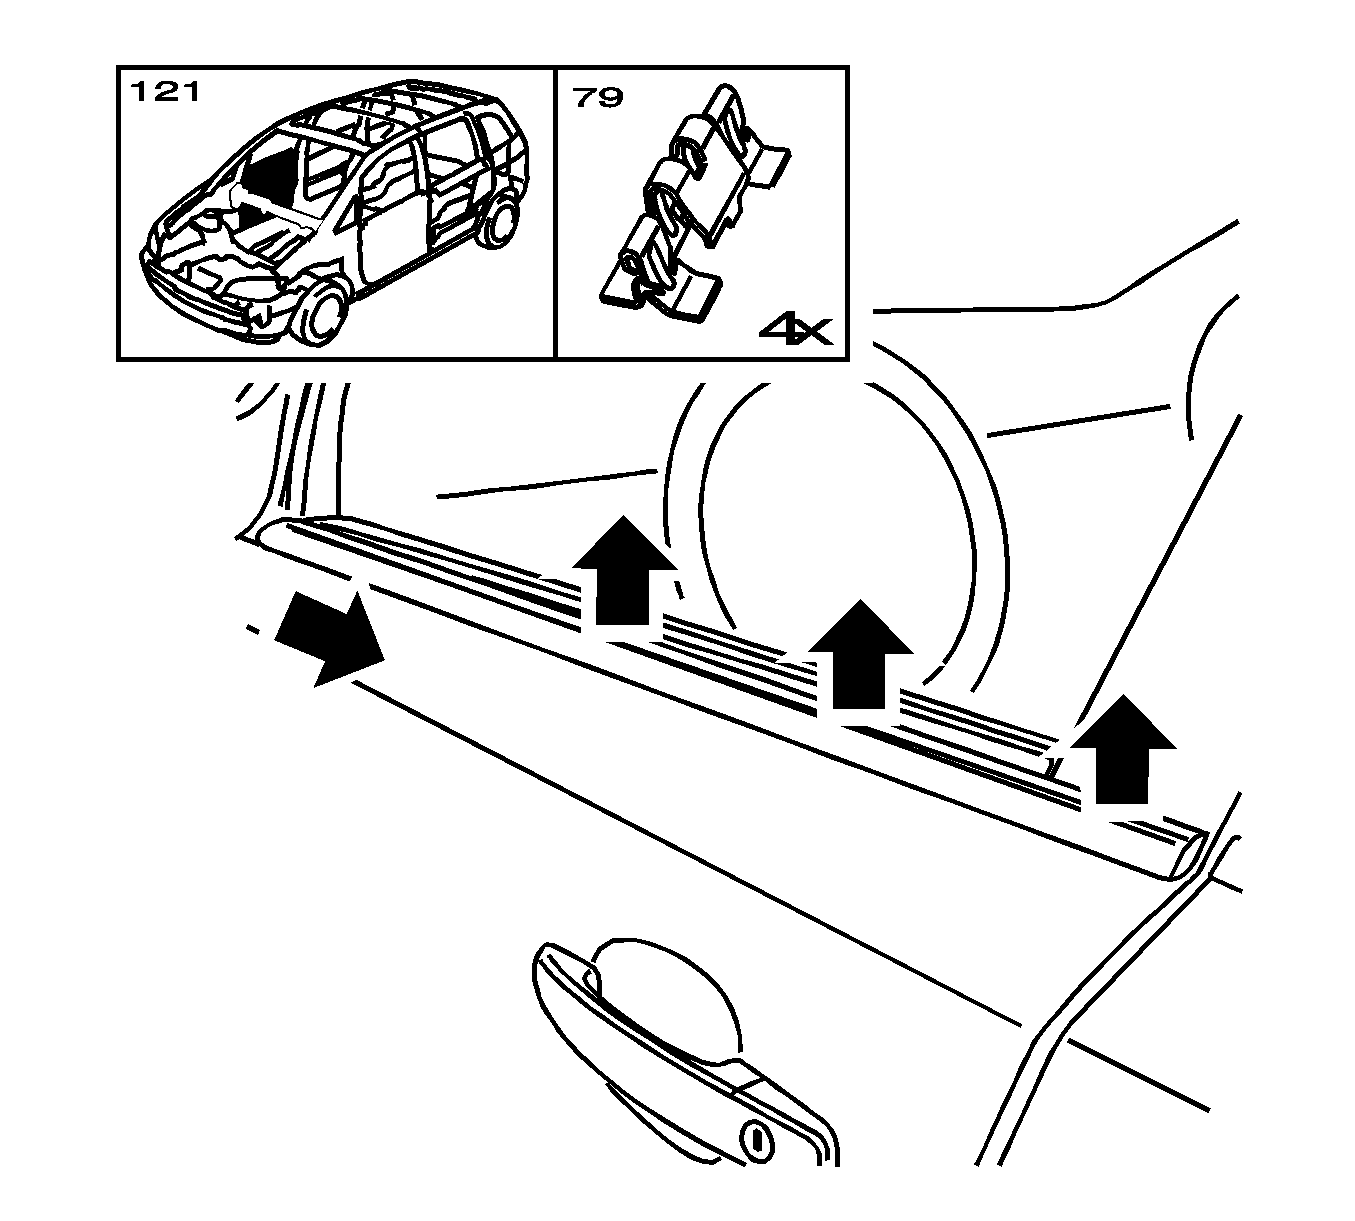
Note: Remove the window channel weatherstrip from inside with the appropriate tool.
- Remove the outer channel weatherstrip.
| 4.1. | Remove the window channel weatherstrip from the rear window frame bracket. |
| 4.2. | Remove the fastening clip from the outer window frames. |
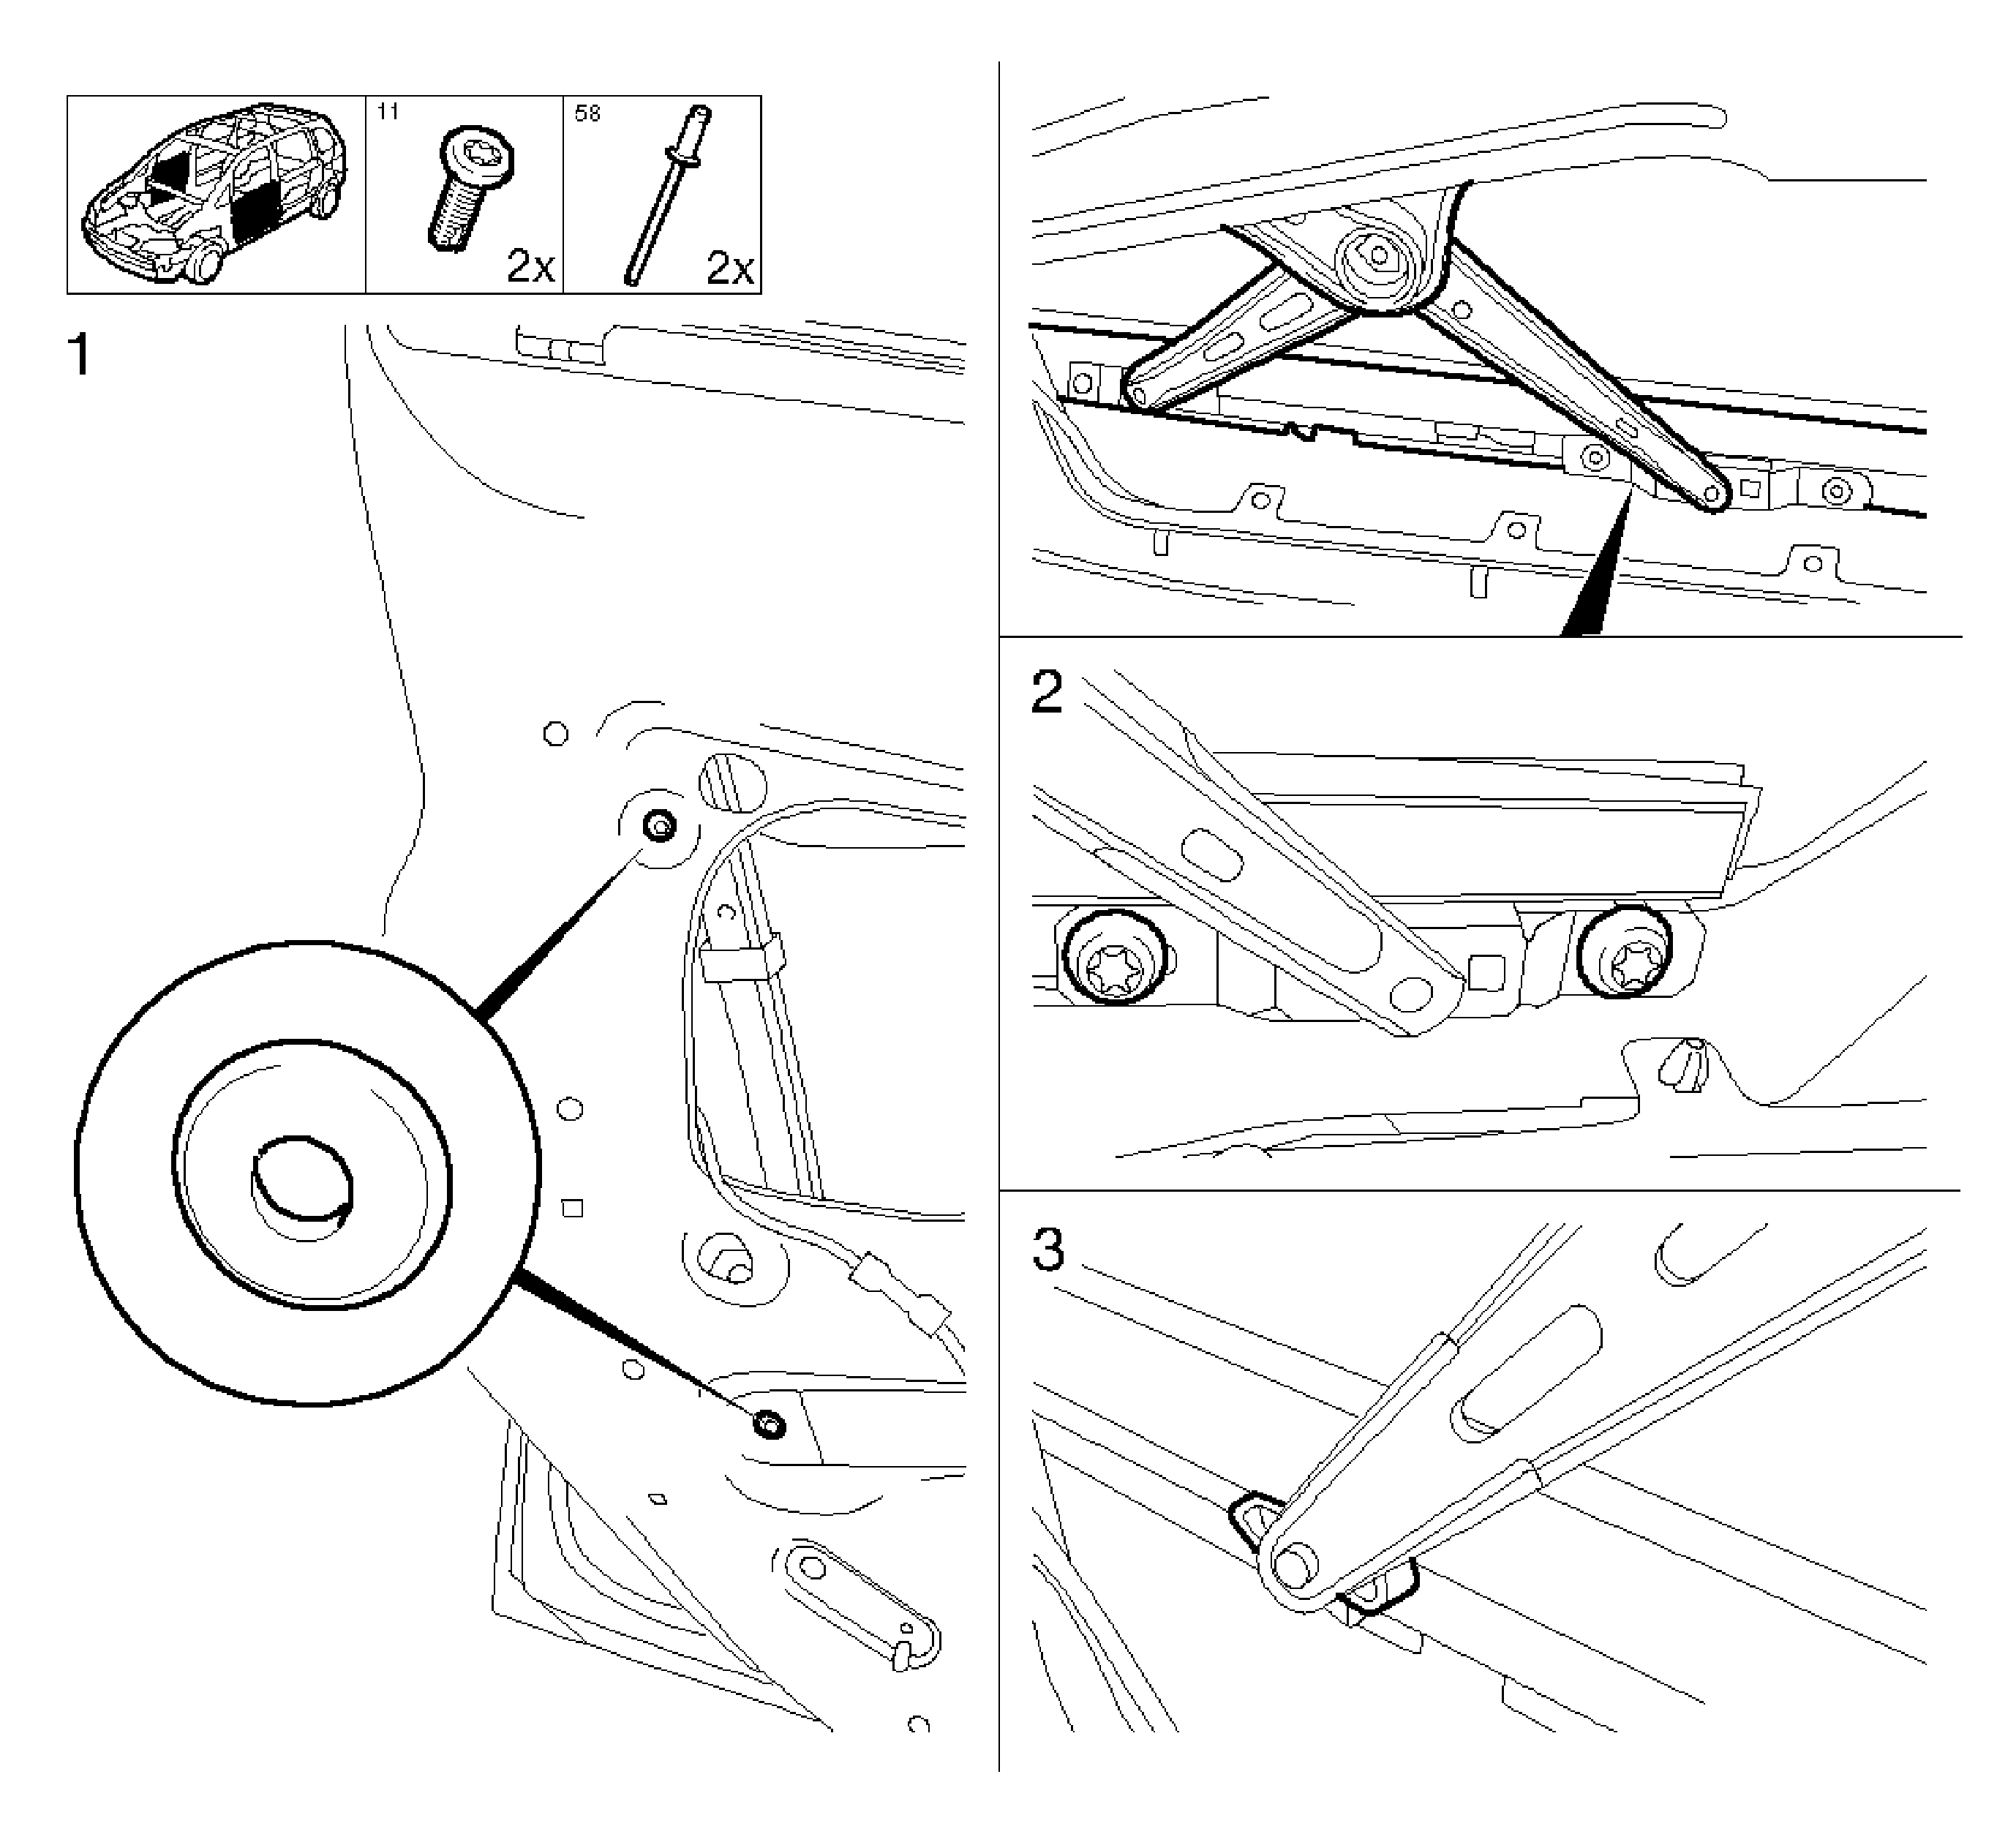
- Remove the rear window channel rail.
Drill out the 2 blind rivets.
- Take out rear window channel.
Note: Guide the window so in position that the fastening bolts align with the top mounting holes.
- Loosen the front door window.
| 7.2. | Remove the window regulator from its guide. |
Note: Lower the window downward and simultaneously tilt the window forwards.
- Remove the front door window.
| 8.1. | Remove the window from the window regulator guide. |
| 8.2. | Remove the window upwards. |
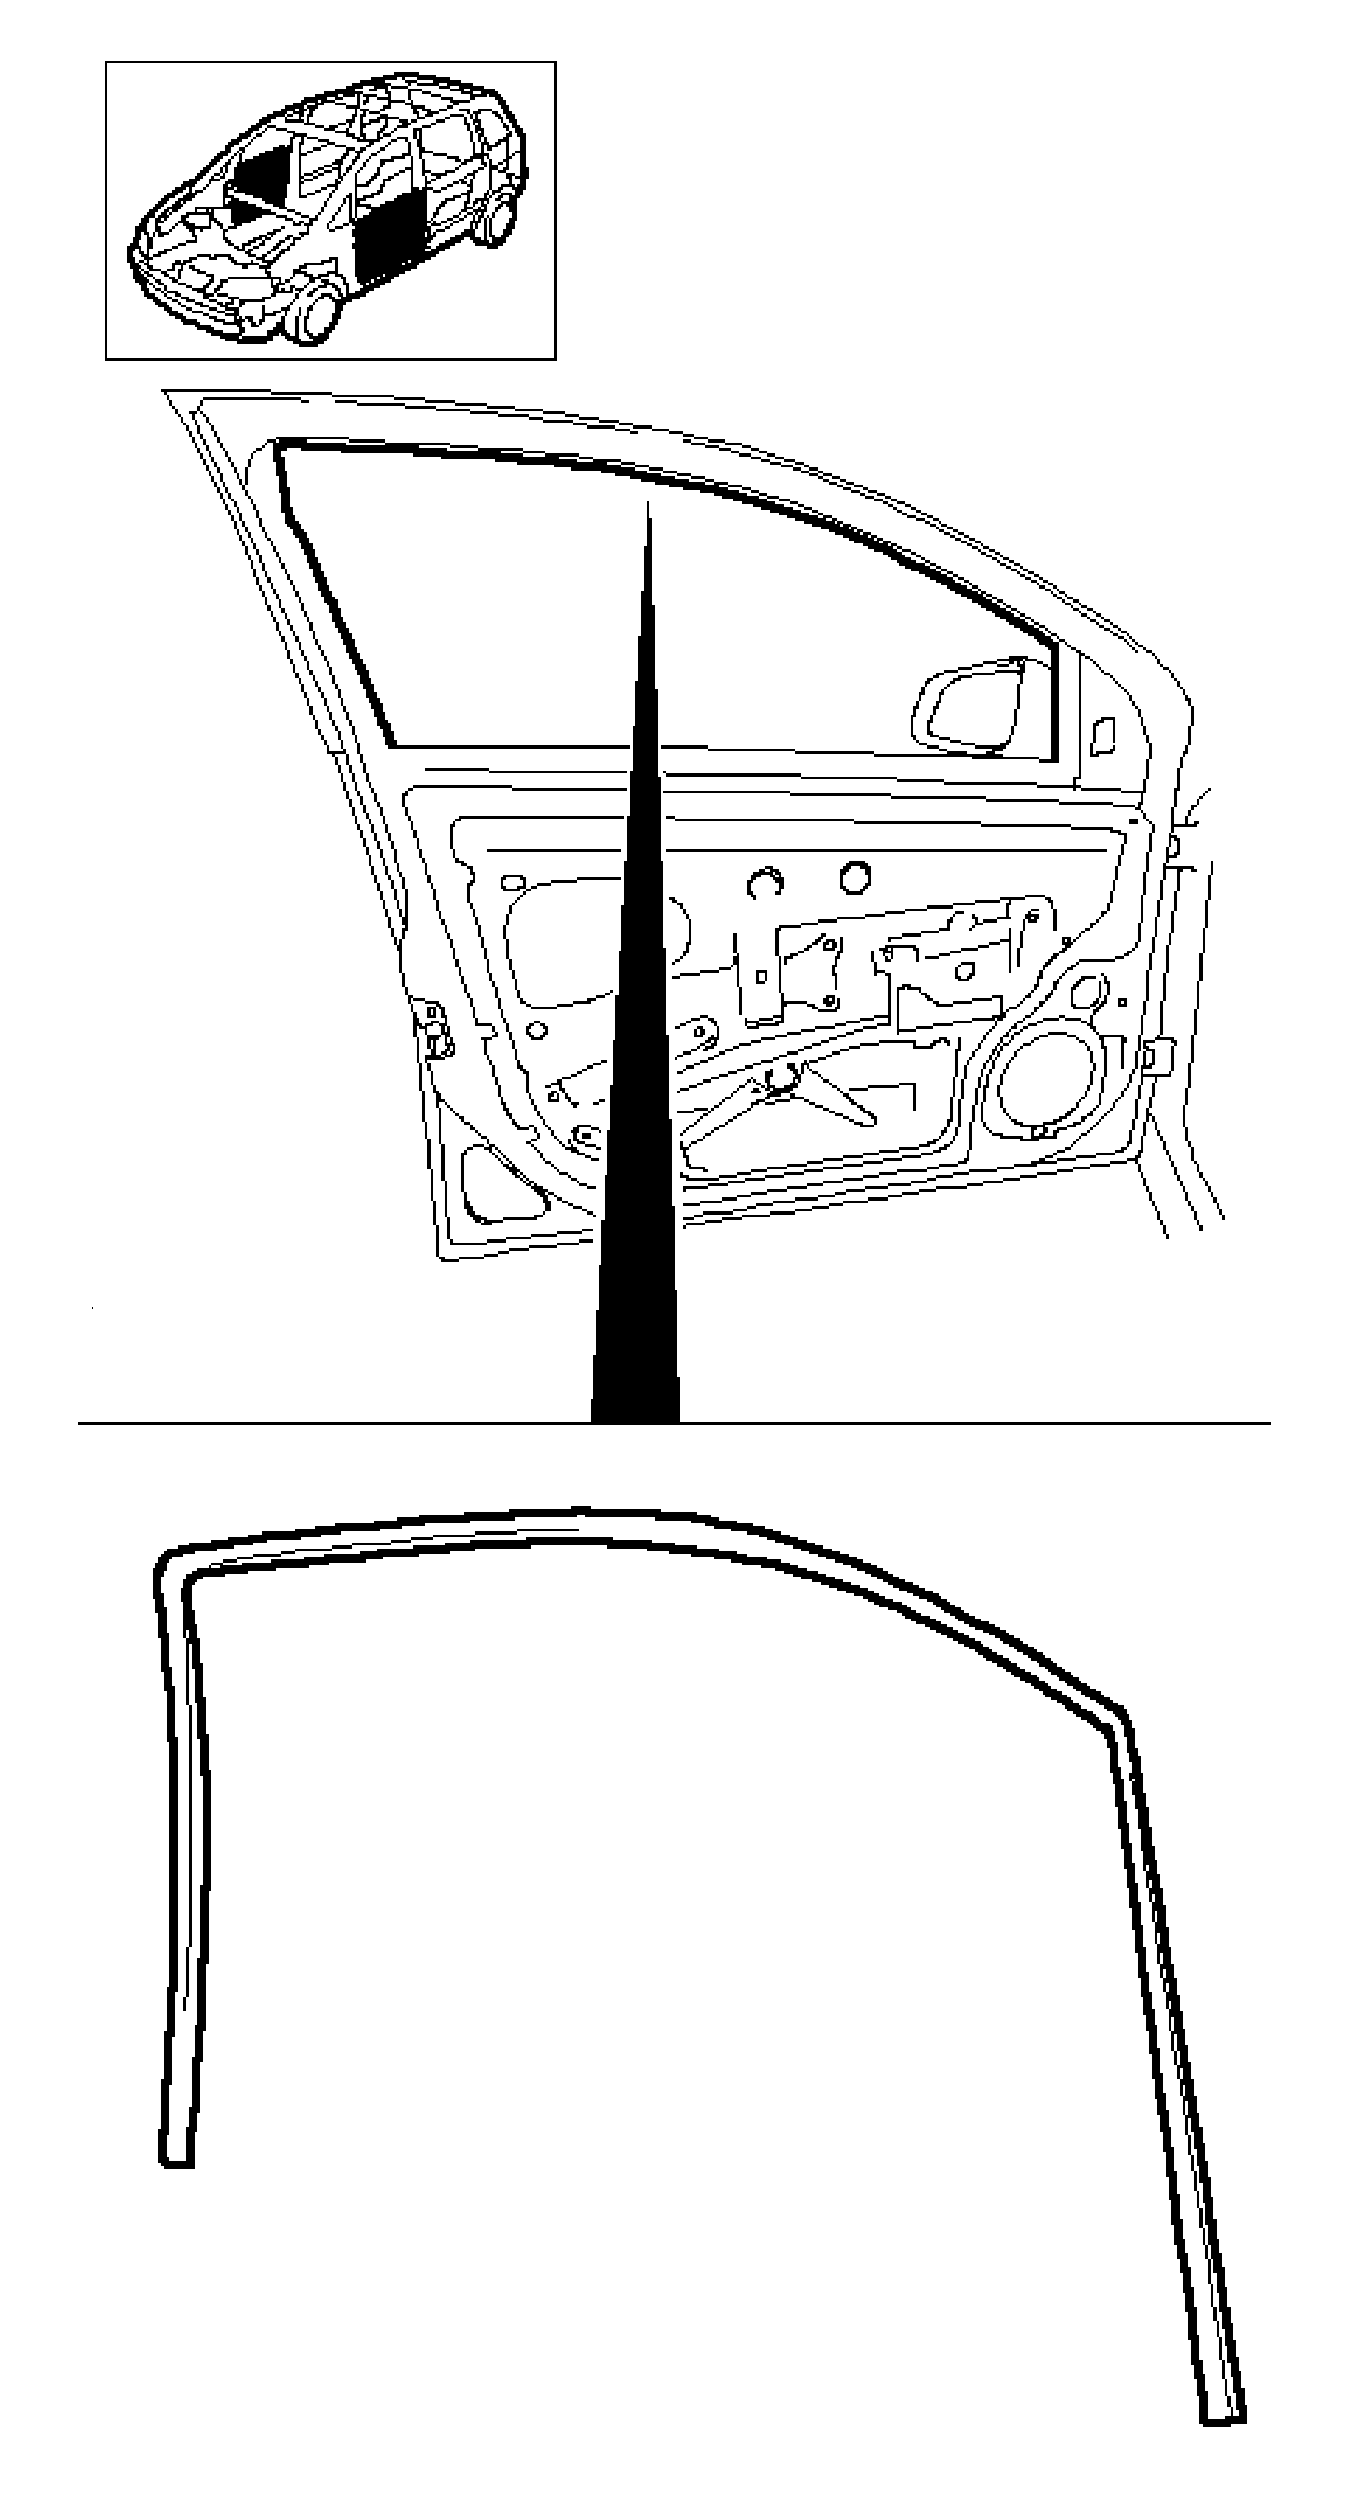
- Remove the window guide.
Installation Procedure
- Install the window guide.
Note: Gently raise the window upward and simultaneously tilt the window forwards.
- Install front door window weatherstrip.
| 2.1. | Position the window downwards. |
| 2.2. | Install the window in the window regulator guide. |
Caution: Refer to Fastener Caution in the Preface section.
Note: Guide the window in position so that the fastening bolts align with the mounting holes.
- Install the front door window and tighten the 2 bolts to
2.5 N·m (22 lb in).
Install the window regulator arm in the window guide.
- Position the rear window channel.
- Install the rear window channel.
Rivet on the 2 rivets.
- Install the outer channel weatherstrip.
| 6.1. | Install the fastening clip on the outer window frame. |
| 6.2. | Install the window channel weathterstrip in the window channel bracket. |
| 6.3. | Press the window channel weatherstrip onto the door folding. |
- Install the water vapor barrier.
| 7.1. | Install the 2 holding angles. |
- Install the front side door trim panel. Refer to
Front Side Door Trim Panel Replacement.
- Close the window.
Front Side Door Window Weatherstrip Replacement Sedan
Removal Procedure
Warning: Refer to Express Down Feature Warning in the Preface section.
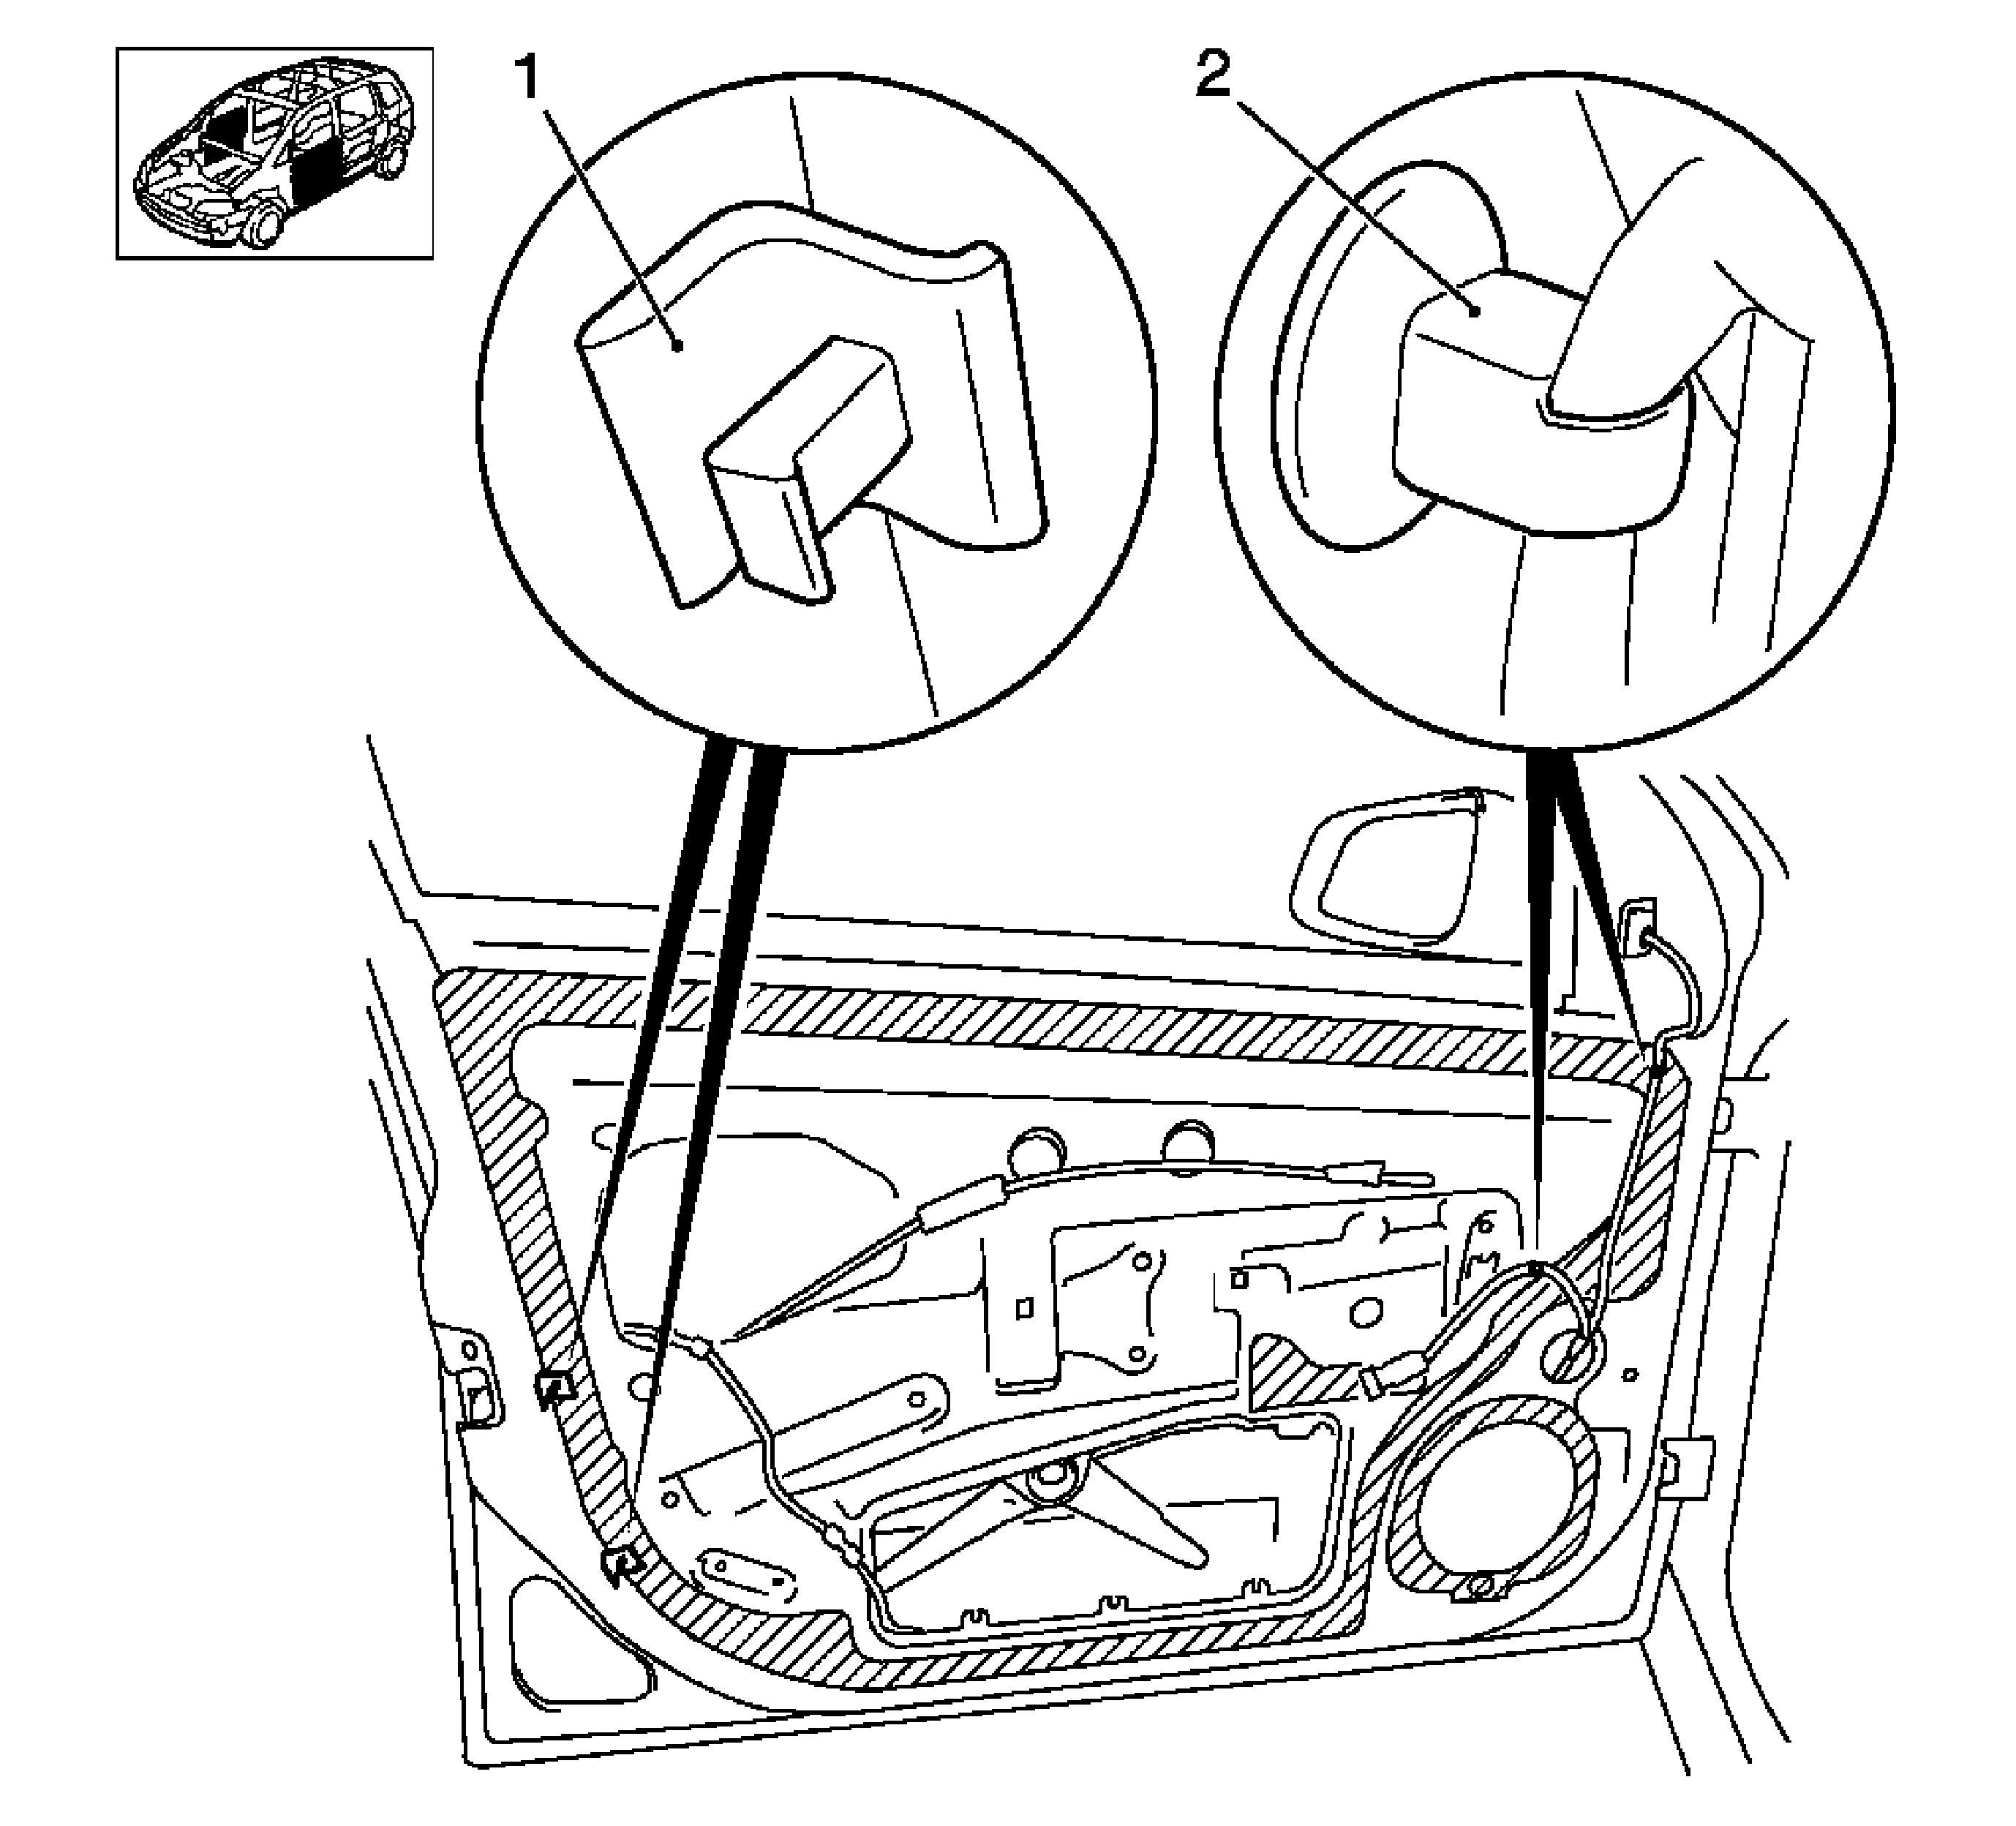
- Remove the front side door trim panel. Refer to
Front Side Door Trim Panel Replacement.
- Remove the water vapor barrier.
| 2.1. | Release the 2 loom of cables clips. |
| 2.2. | Remove the 2 front door retainer base inner paneling (1). |
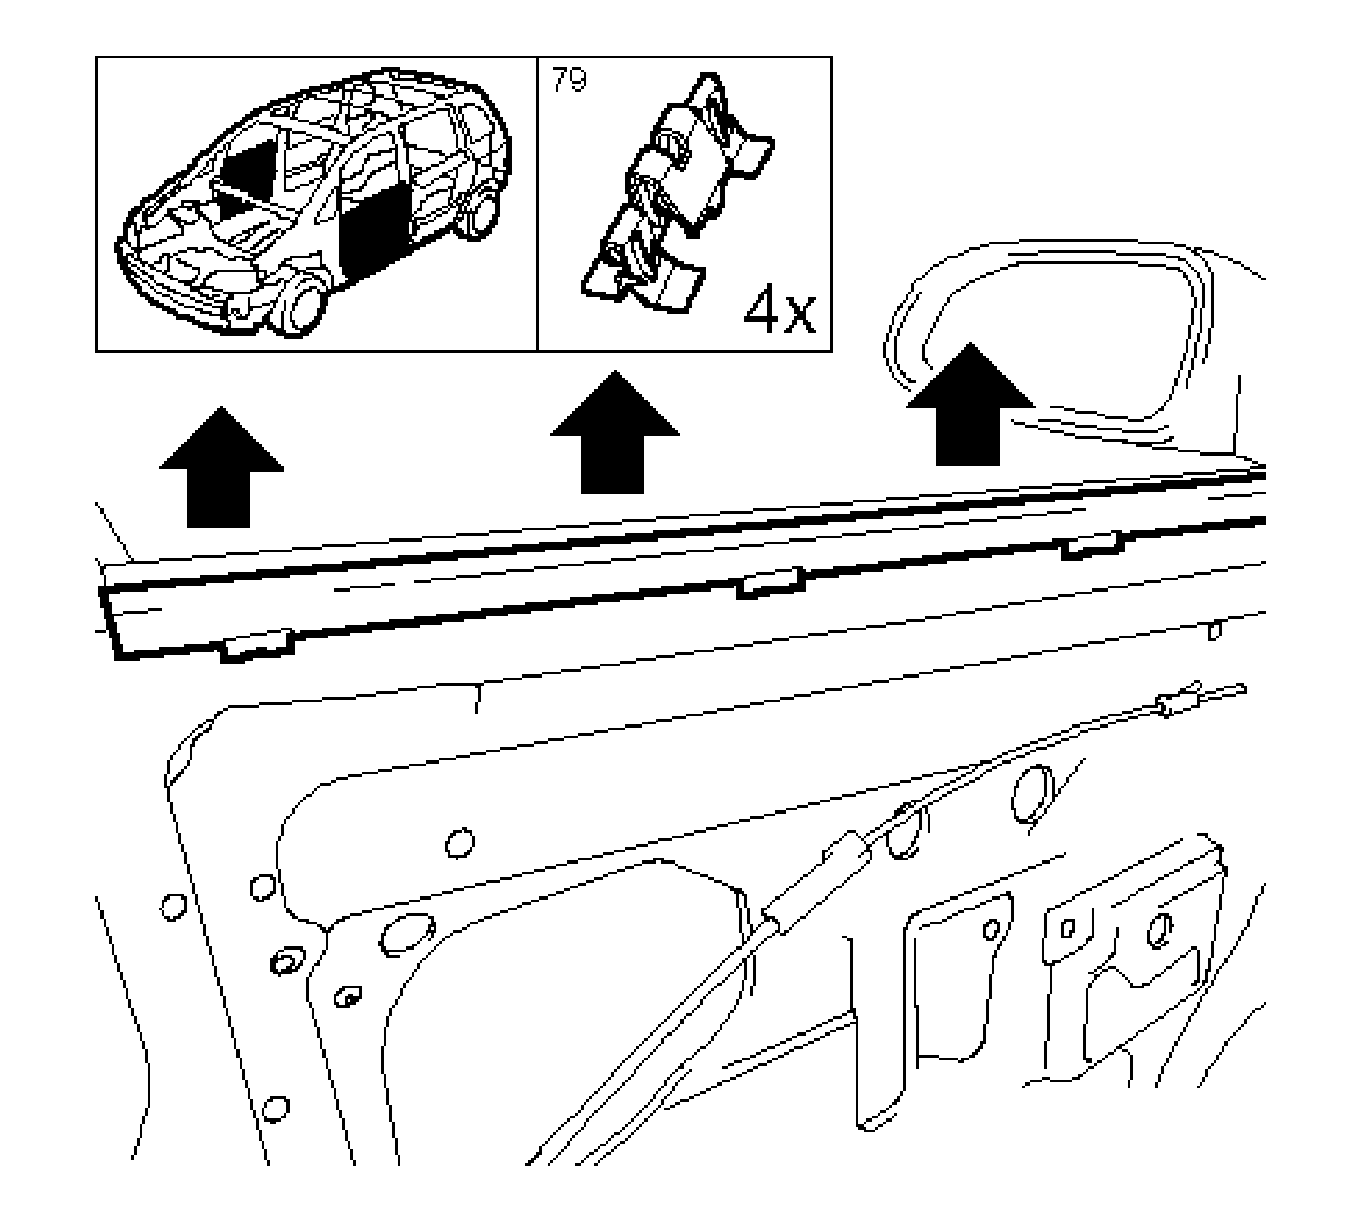
- Lower the window.
- Remove the belt inner sealing strip.
Pull the sealing strip carefully from behind beginning at the top.

- Remove the belt outer sealing strip.
Remove the sealing strip carefully from behind beginning from the top and take out from the rearview mirror backwards.
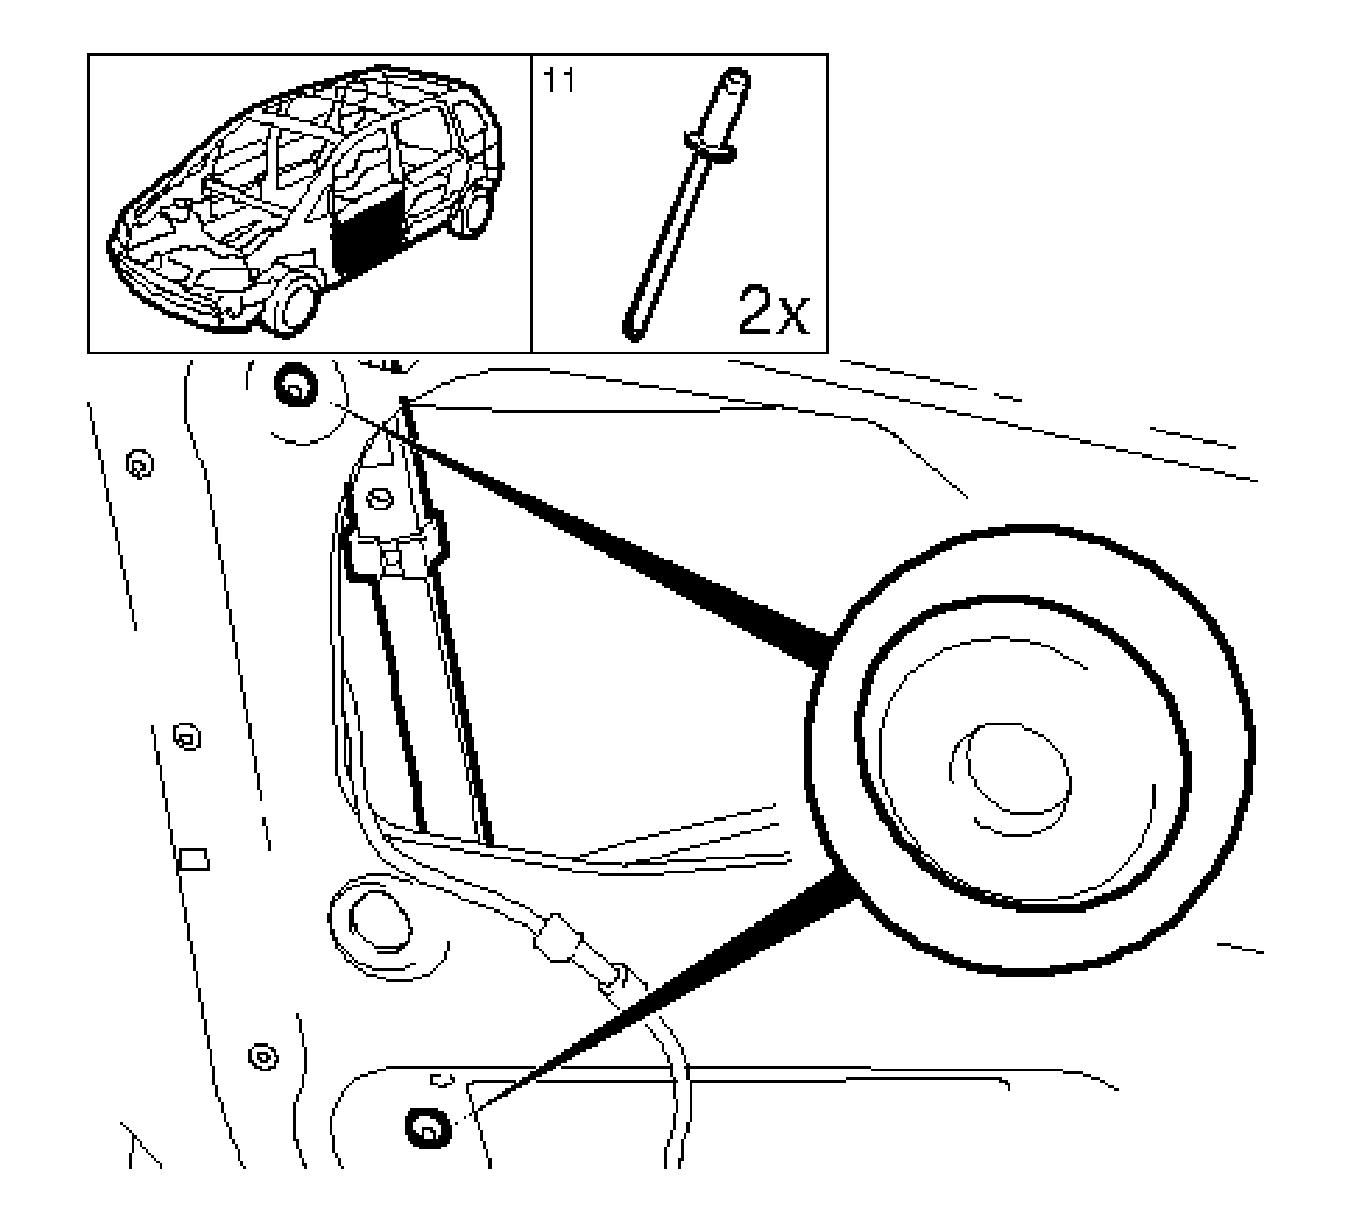
- Drill out the rear window channel.
Drill out the 2 rivets.
- Remove the window channel.

- Remove the front door window.
Remove the 2 bolts (2).
Note: Lower the window to the lowest position and remove from the weatherstrip channel (3).
- Remove the window.

- Remove the window weatherstrip channel.
Installation Procedure
Note: Ensure that the window guide is correctly seated.
- Install the window weatherstrip channel.
- Positioning the front door window.
Position in weatherstrip channel.
Caution: Refer to Fastener Caution in the Preface section.
- Install the front door window and tighten the 2 bolts to 2.5 N·m (22 lb in).
Note: Observe the installation direction.
- Install the rear front door window channel.
| 4.1. | Install the 2 rivets. |
| 4.2. | Position in the lower window channel. |
- Install the belt outer sealing strip.
- Install the belt inner sealing strip.
Note: Damaged water vapor barrier must be replaced.
- Install the water vapor barrier.
| 7.1. | Apply the adhesive tape to door frame according to the shaded areas shown. |
| 7.2. | Cut the foil to size. |
| 7.3. | Provide the cut-outs for inside handle with bearing supports and, if available, manual window actuation. |
| 7.4. | Install the water vapor barrier without creases. |
| 7.5. | Install the 2 loom of cables. |
| 7.6. | Install the 2 front door retainer base inner paneling. |
- Install the front side door trim panel. Refer to
Front Side Door Trim Panel Replacement.
- Close the window.


