For 1990-2009 cars only
Removal Procedure
- Lower the window.
- Remove the rear side door trim panel. Refer to Rear Side Door Trim Panel Replacement.
- Remove the rubber ring.
- Remove the water vapor barrier.
- Remove the belt inner sealing strip
- Remove the belt outer sealing strip.
- Loosen the lower window channel (3).
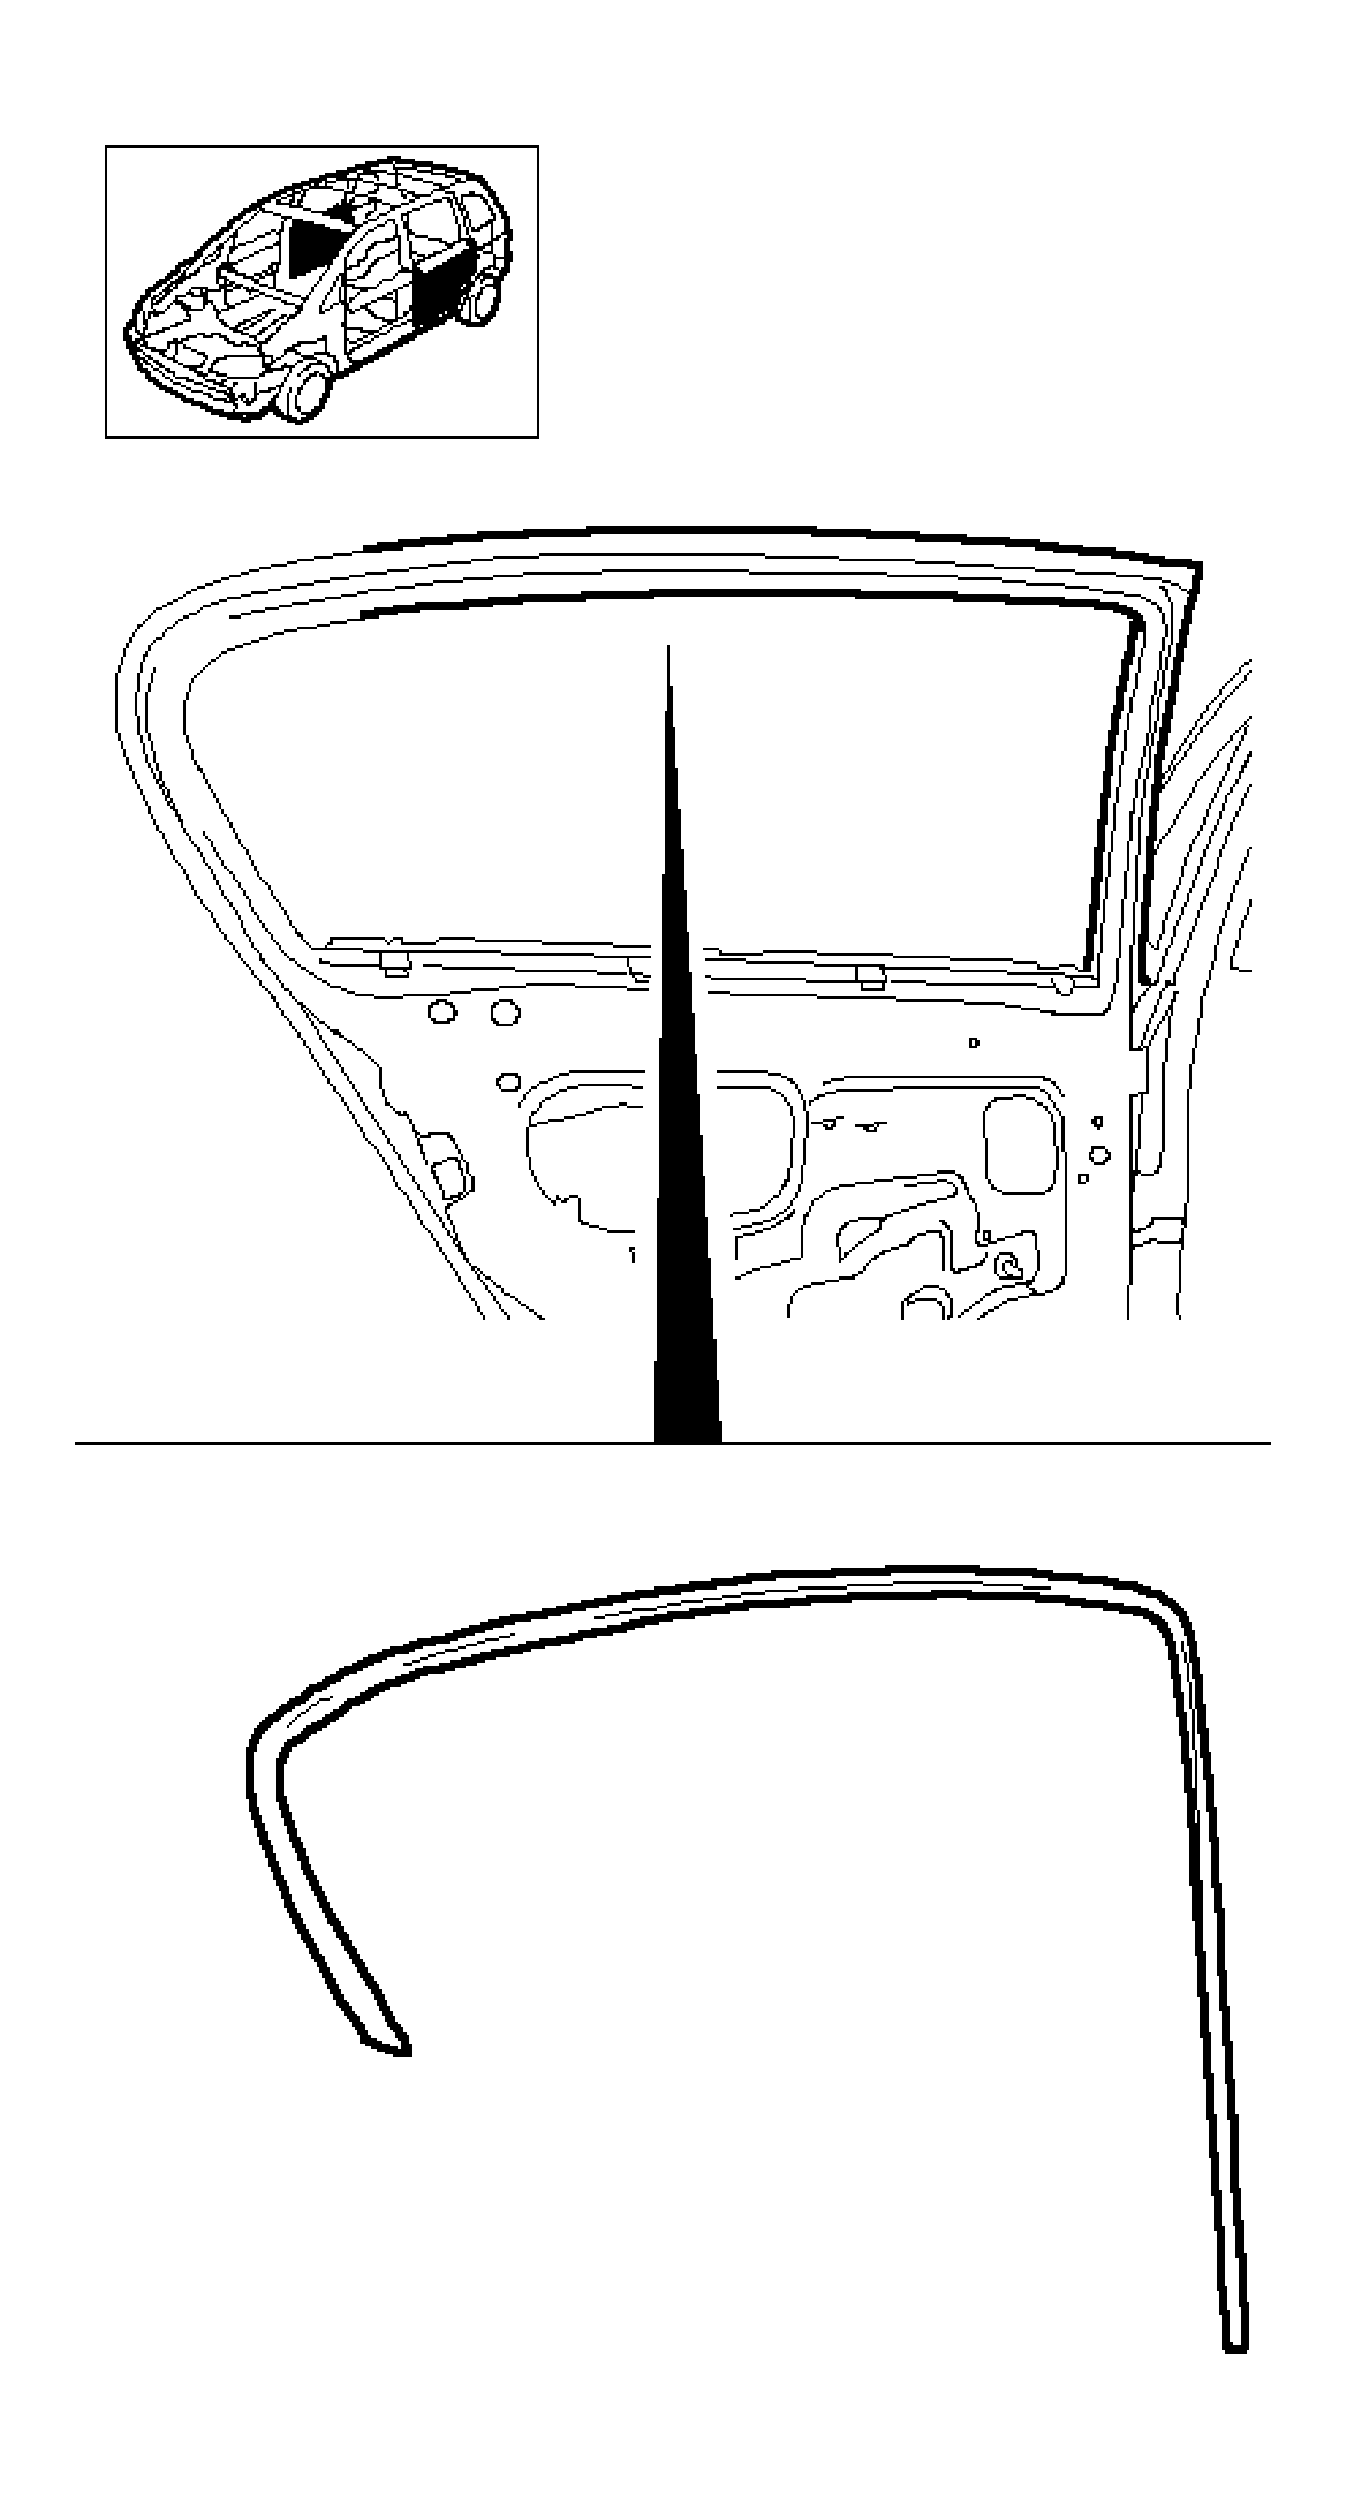
- Remove the rear window channel seal (1).
- Remove the rear window channel (2).
- Remove the fixed rear window.
- Remove the window guide.
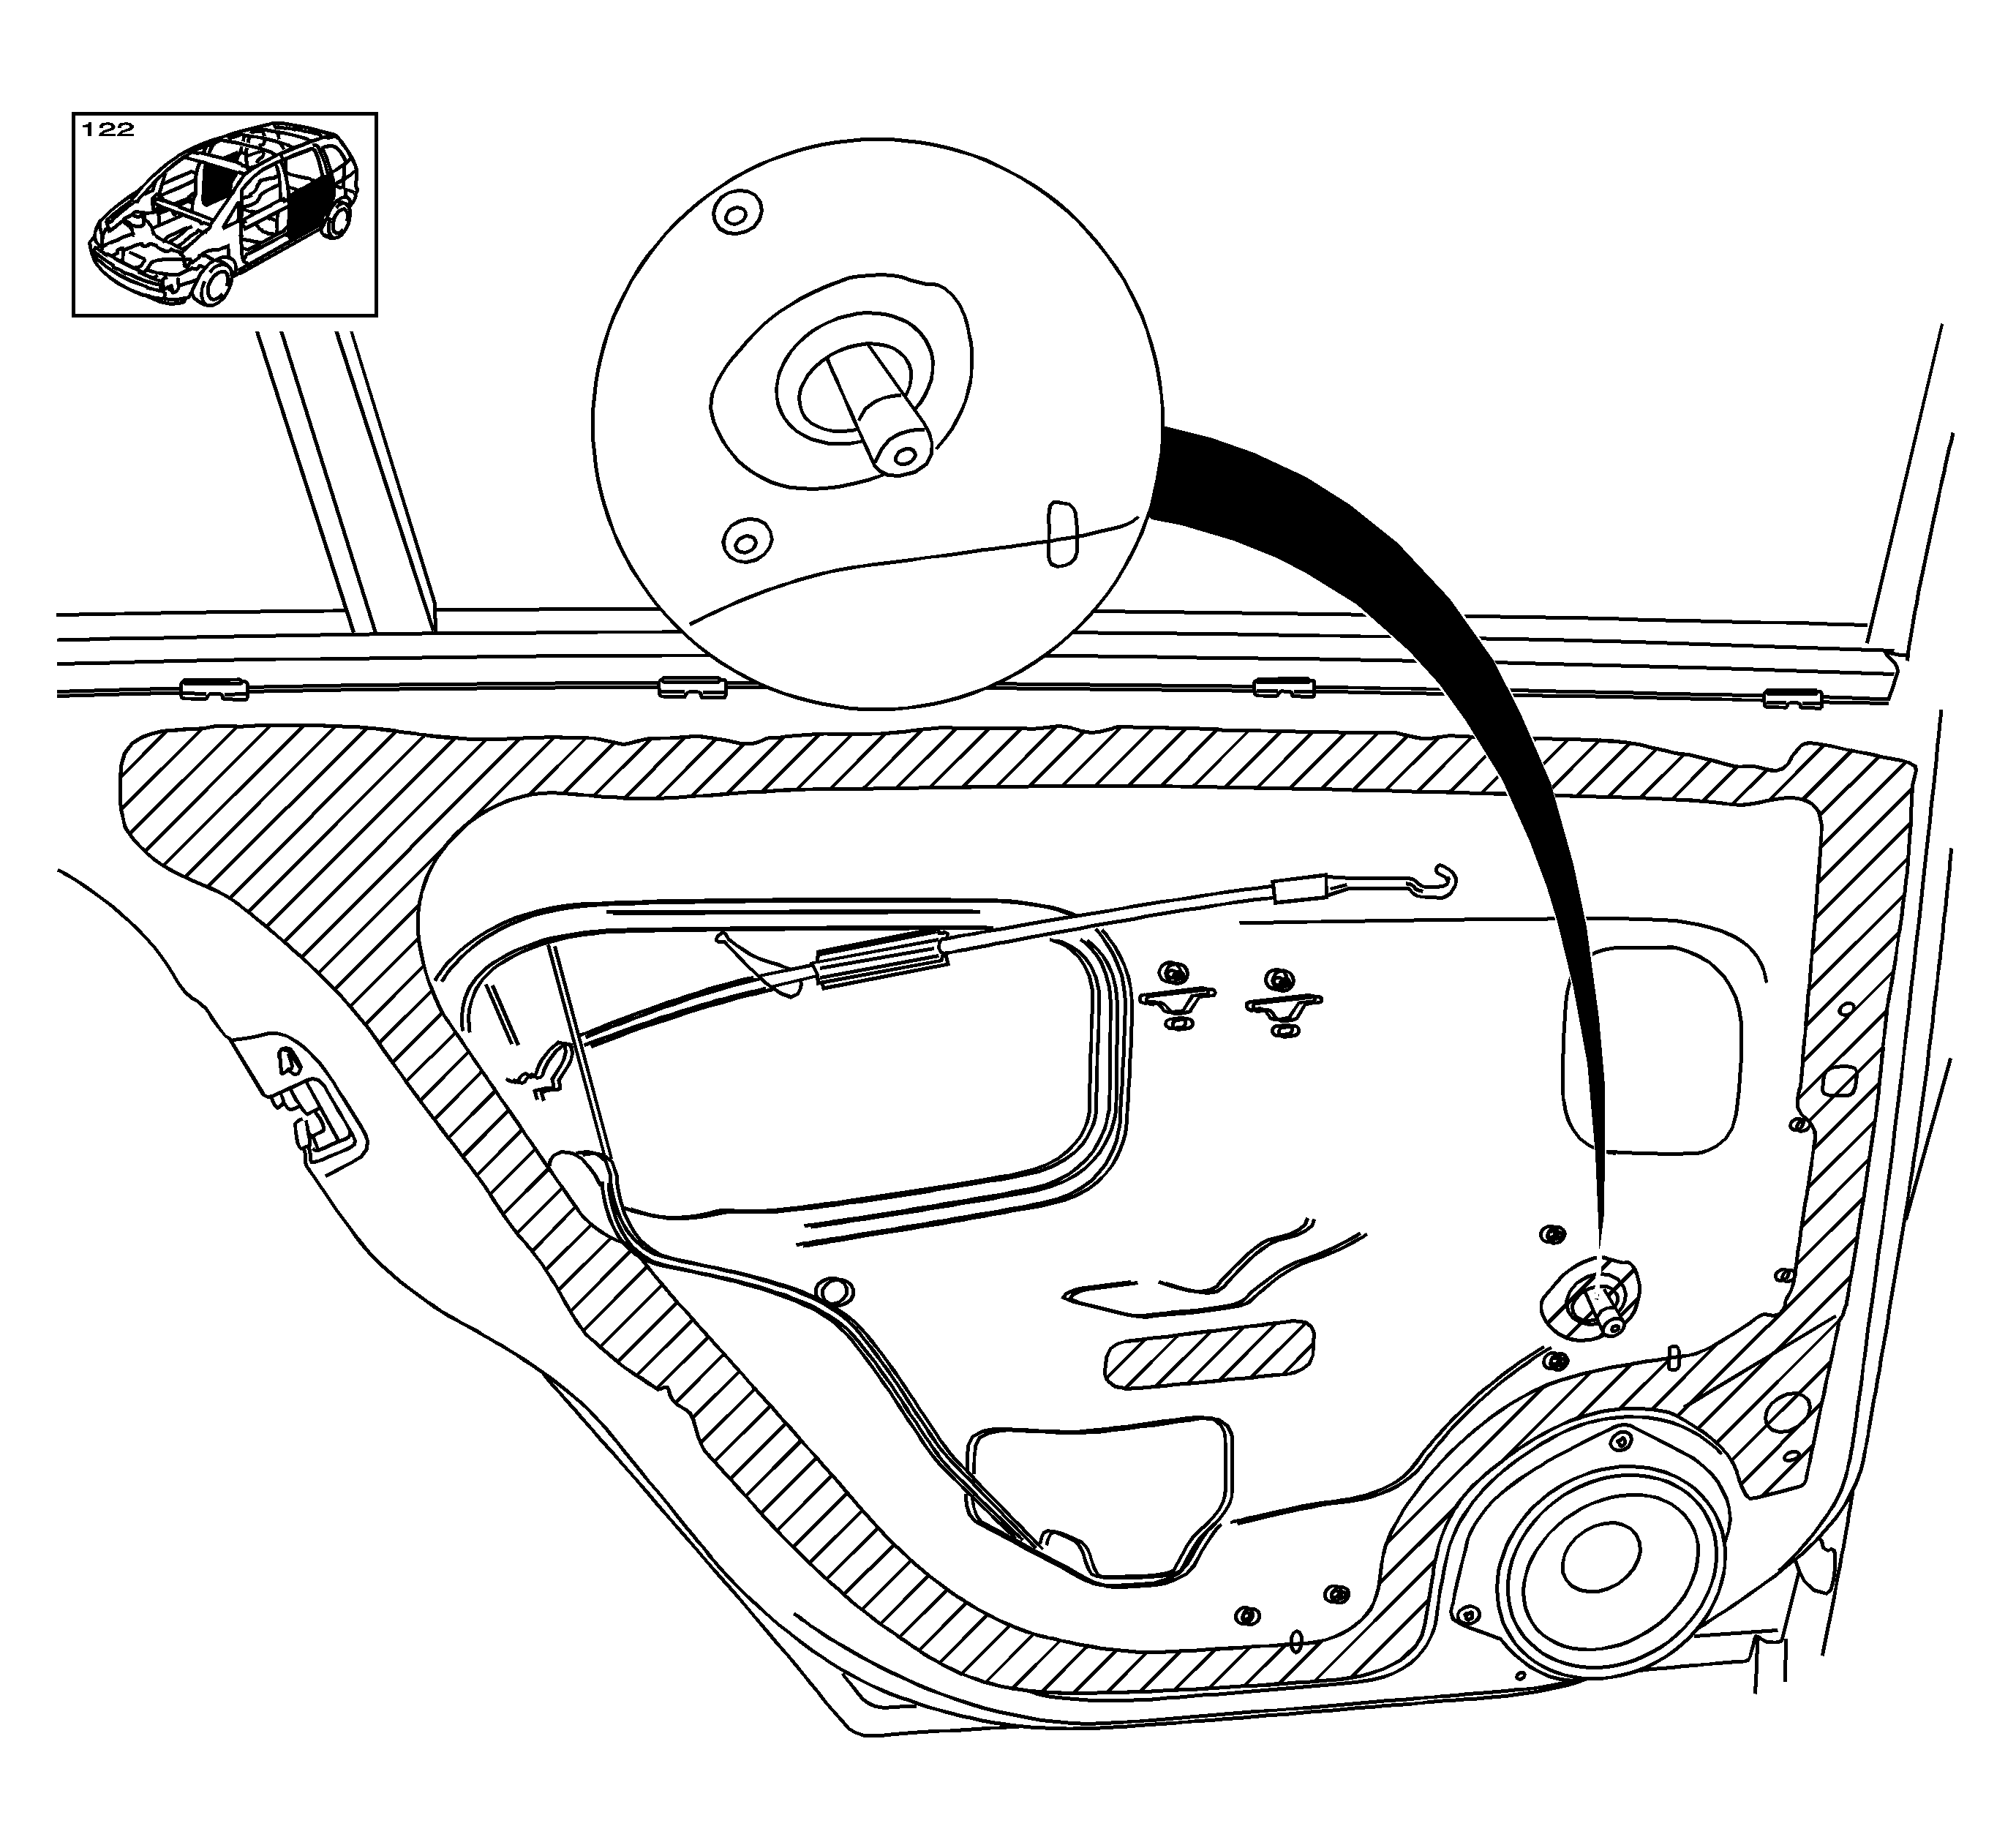
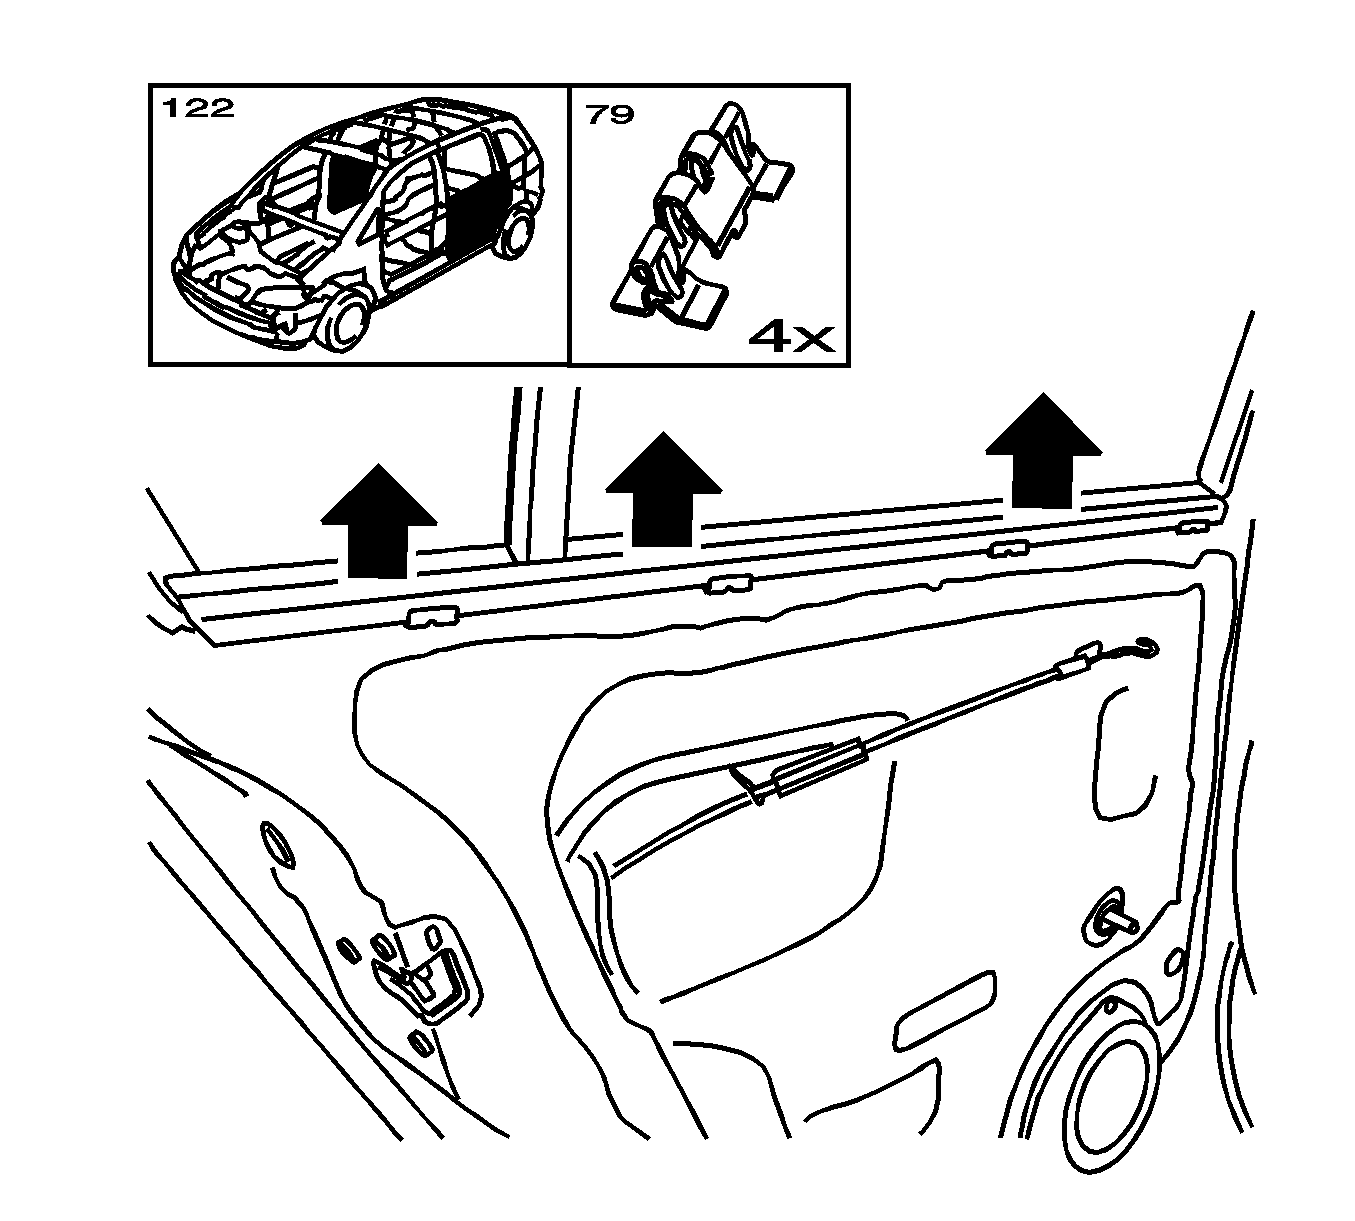
Pull the sealing strip carefully from behind beginning at the top.
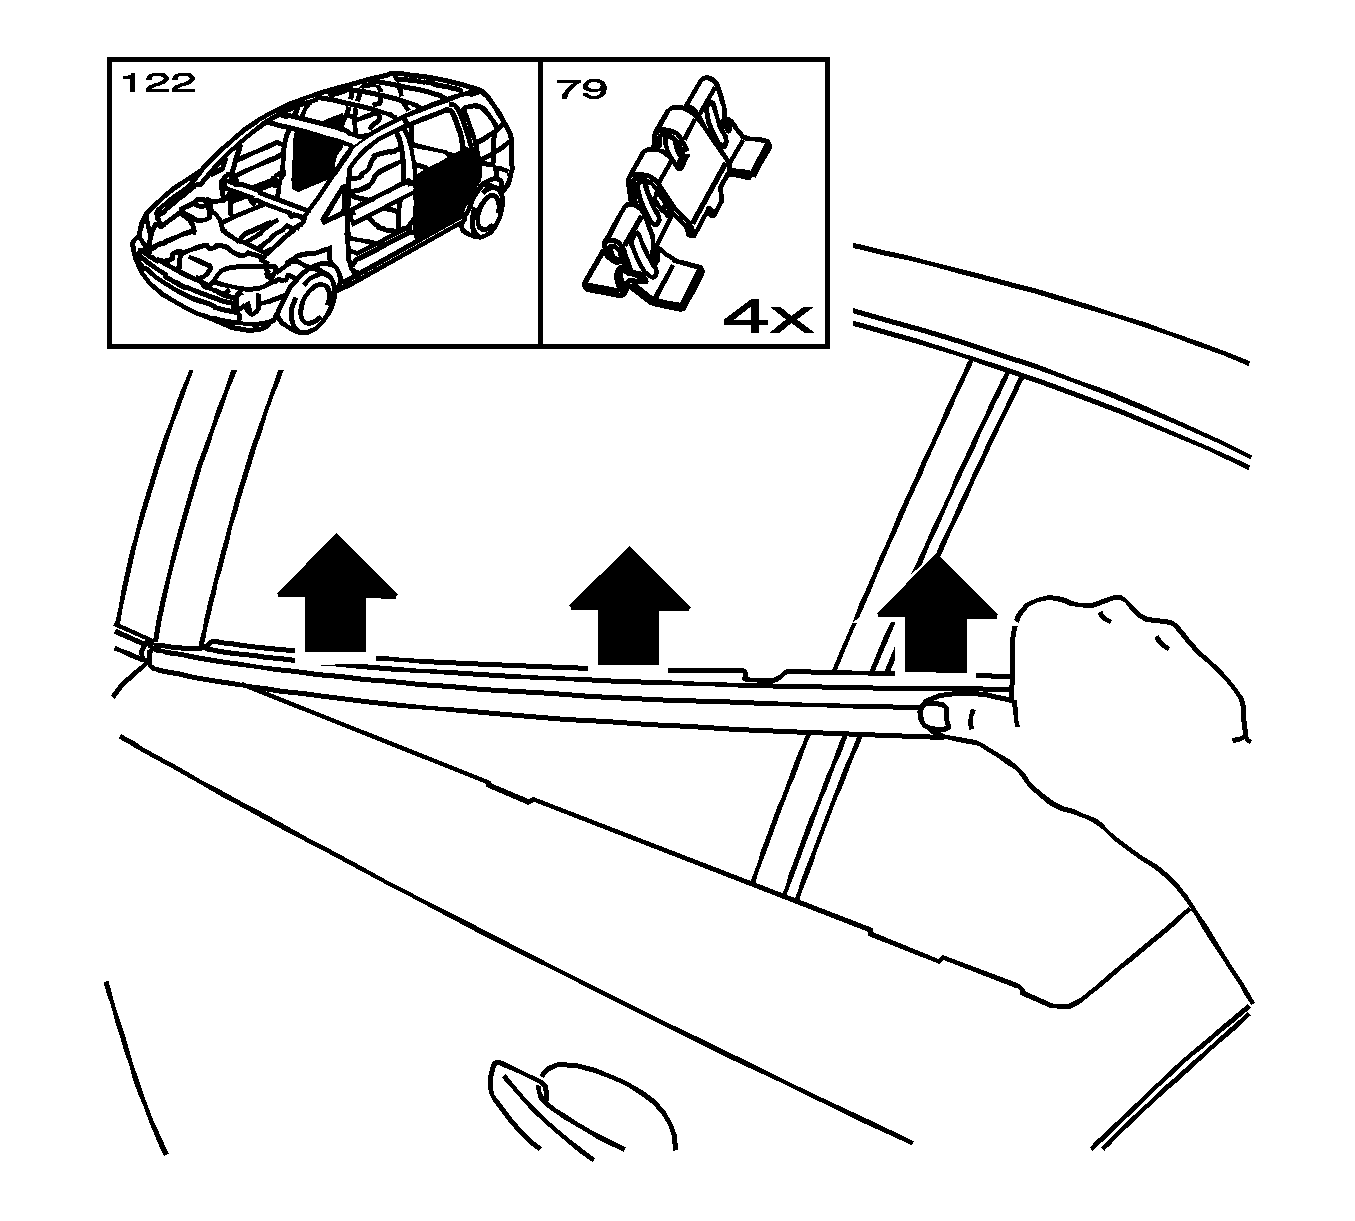
Pull the sealing strip carefully from behind beginning at the top.
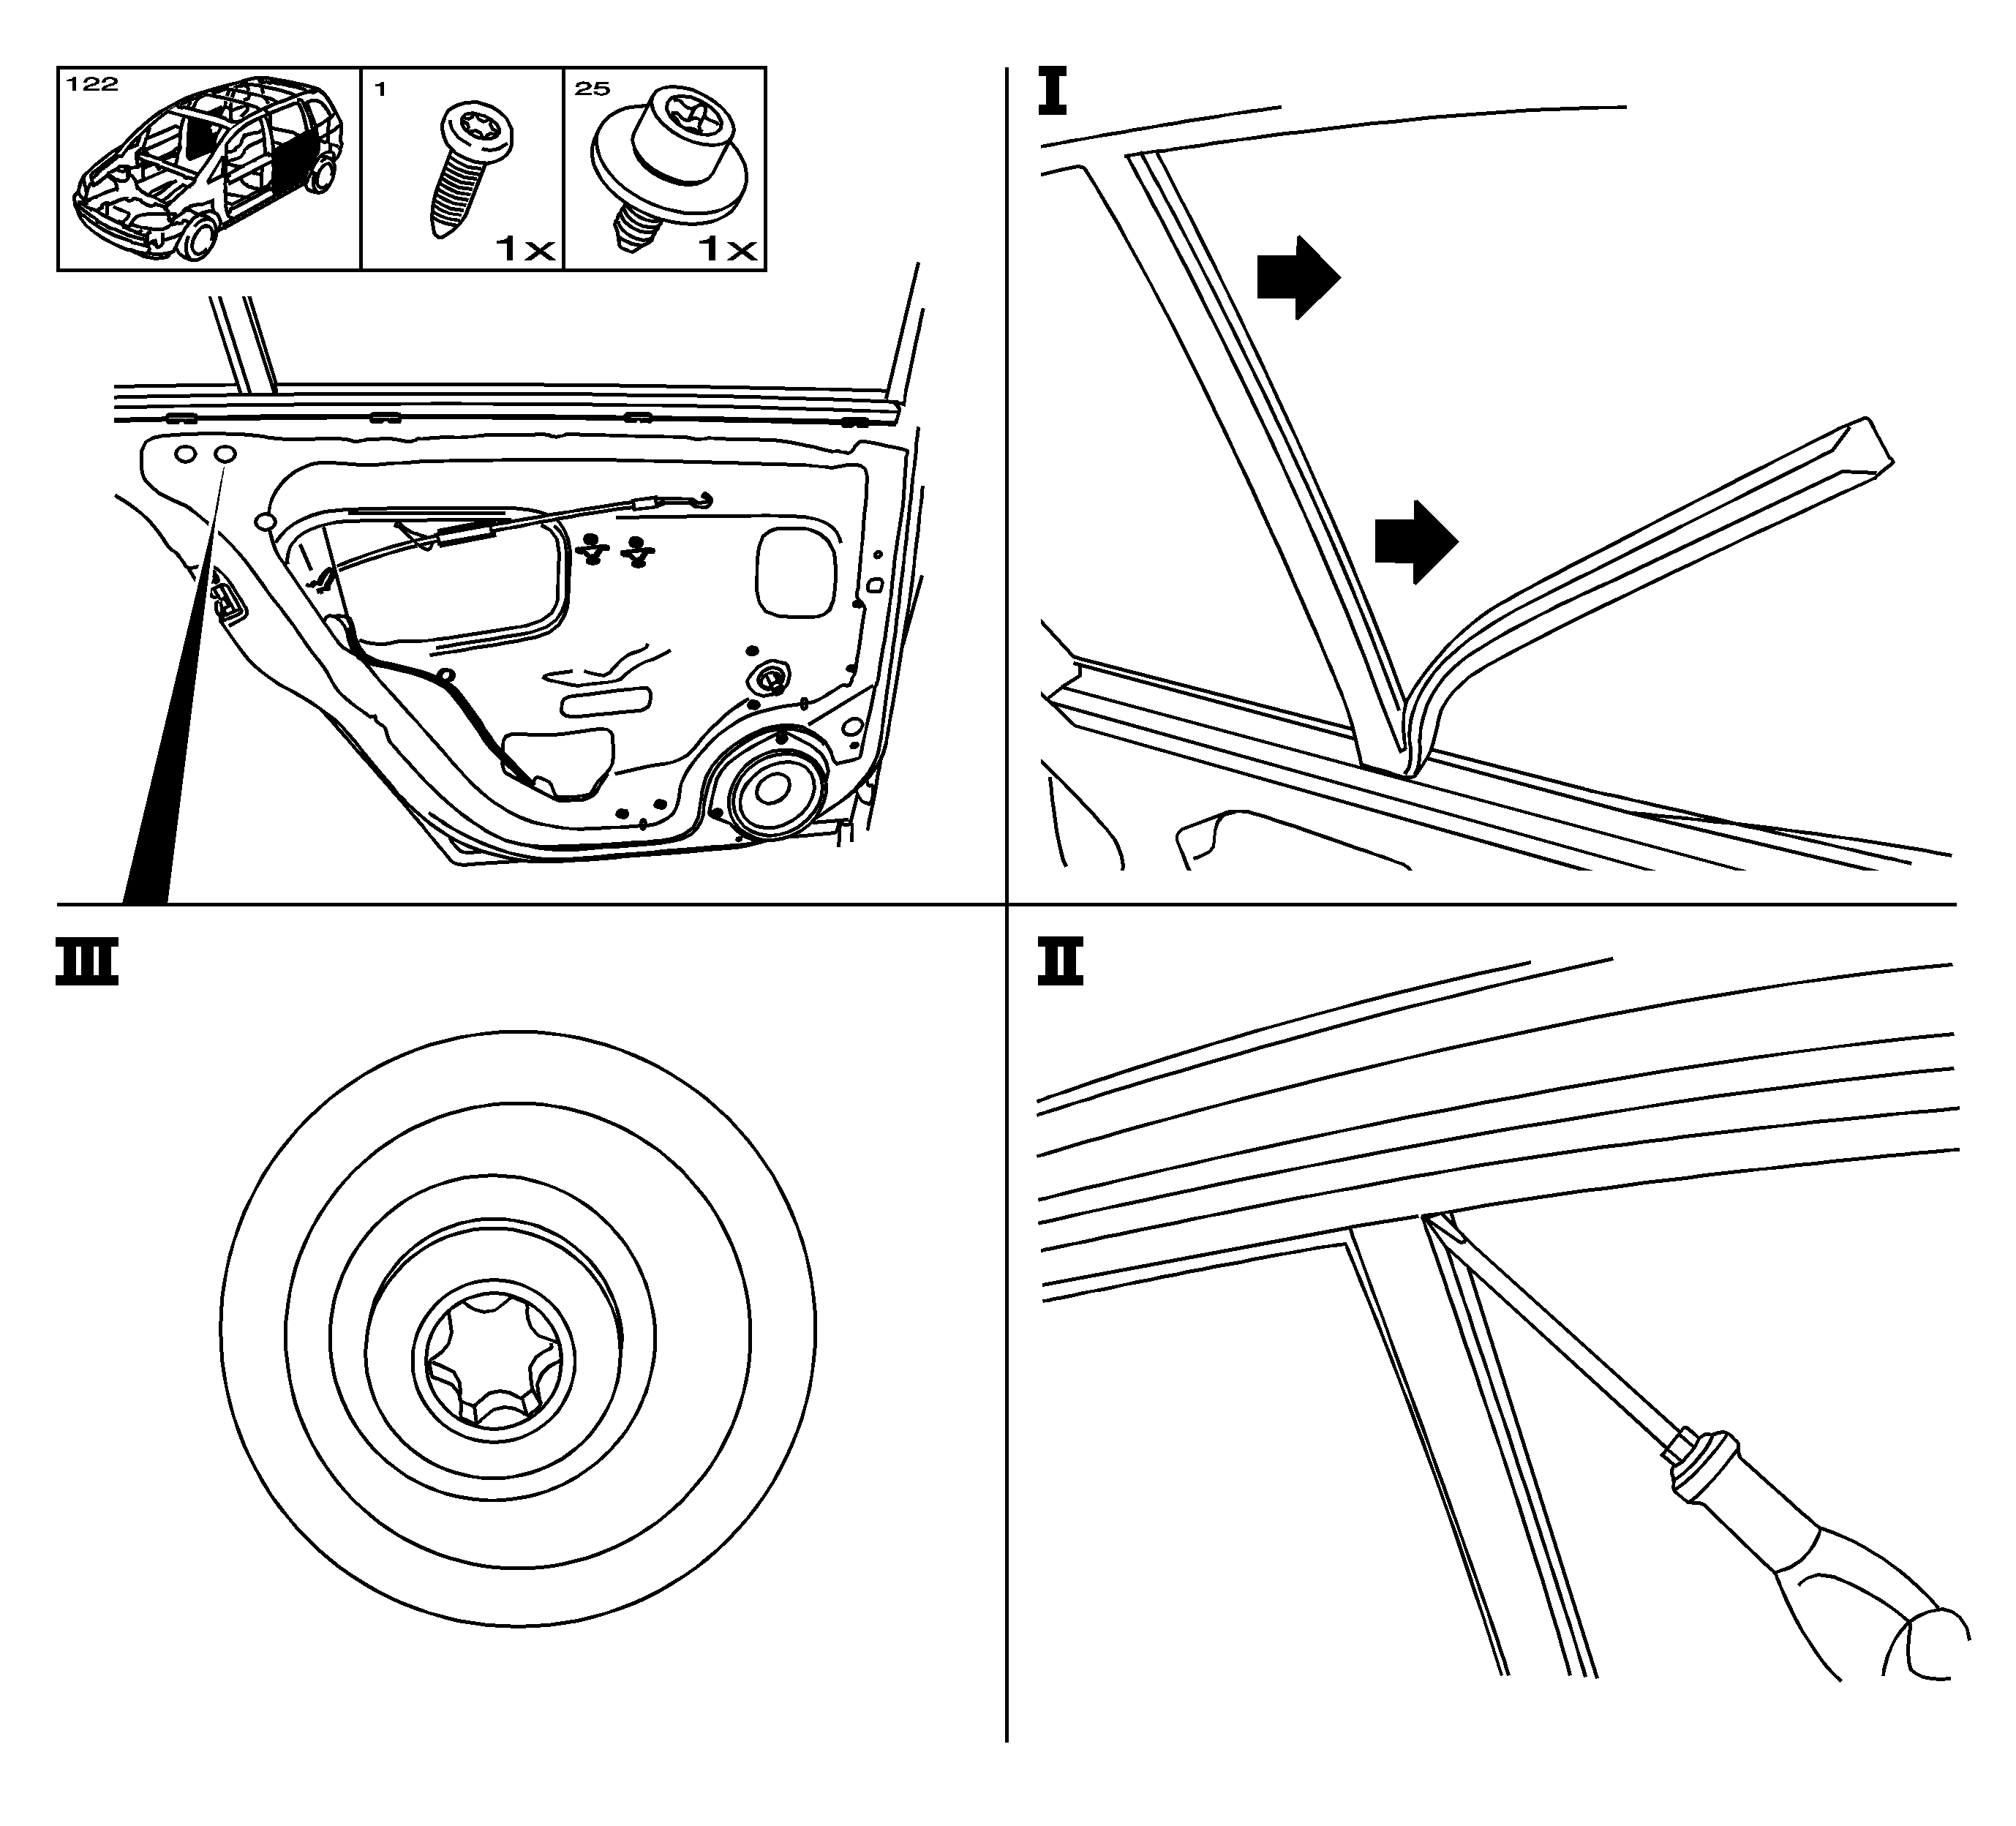
Remove the bolt.
Remove the bolt.
Remove from the window channel.
Installation Procedure
- Install the window channel.
- Install the fixed window.
- Install the front door rear weatherstrip channel.
- Install the rear lower channel weatherstrip.
- Install the belt outer sealing strip.
- Install the belt inner sealing strip.
- Install the water vapor barrier.
- Install the rubber ring.
- Install the rear door inner paneling, refer to Rear Side Door Trim Panel Replacement.
- Close the window.
Note: Ensure that the window channel is correctly seated.
Caution: Refer to Fastener Caution in the Preface section.
Tighten
Tighten the top bolt to 2.5 N·m (22 lb in).
Tighten
Tighten the bolt to 7 N·m (62 lb in).
Note: Damaged the water vapor barrier must be replaced
| • | Apply the adhesive tape to door frame according to the shaded areas shown. |
| • | Cut the foil to size. |
| • | Provide the cut-outs for inside handle with bearing supports and, if available, manual window actuation. |
| • | Install the water vapor barrier without creases. |
