Liftgate Actuator Switch Replacement for Saturn Astra 2009
Liftgate Actuator Switch Replacement L08
Removal Procedure
- Remove the liftgate trim panel. Refer to
Liftgate Trim Panel Replacement.
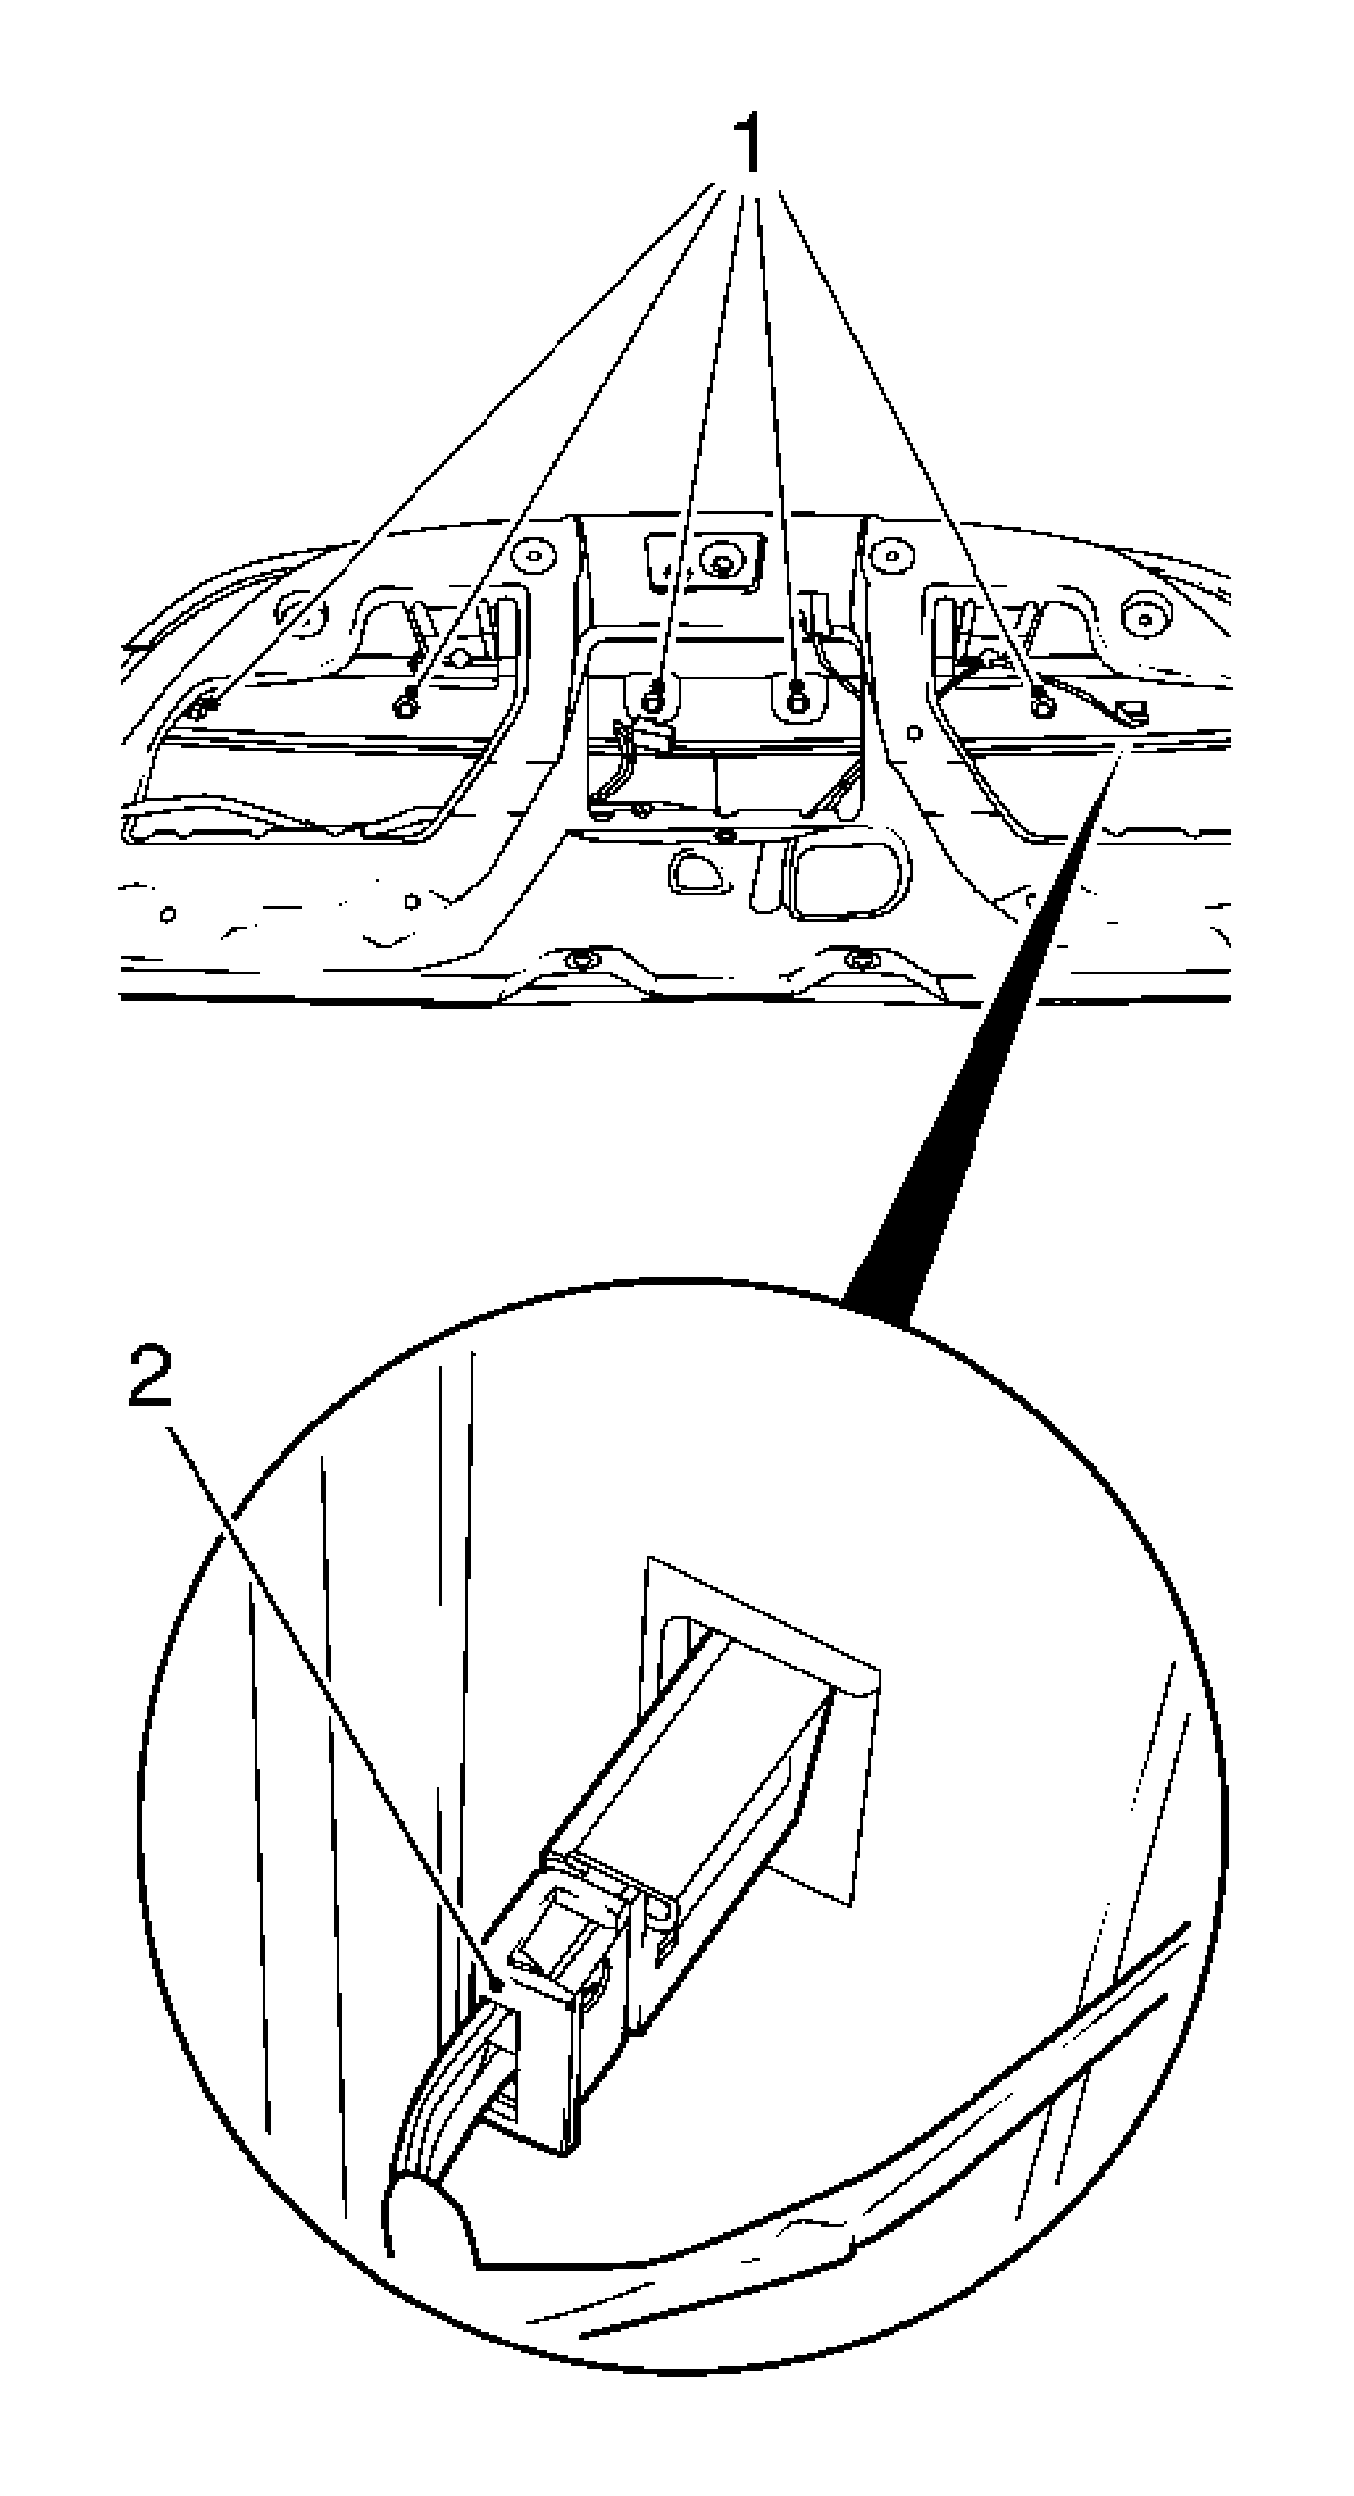
Note: The center fastening bolts are installed from outside with additional locking compound.
- Remove the liftgate trim panel.
| • | Disconnect the wiring harness plug (2). |
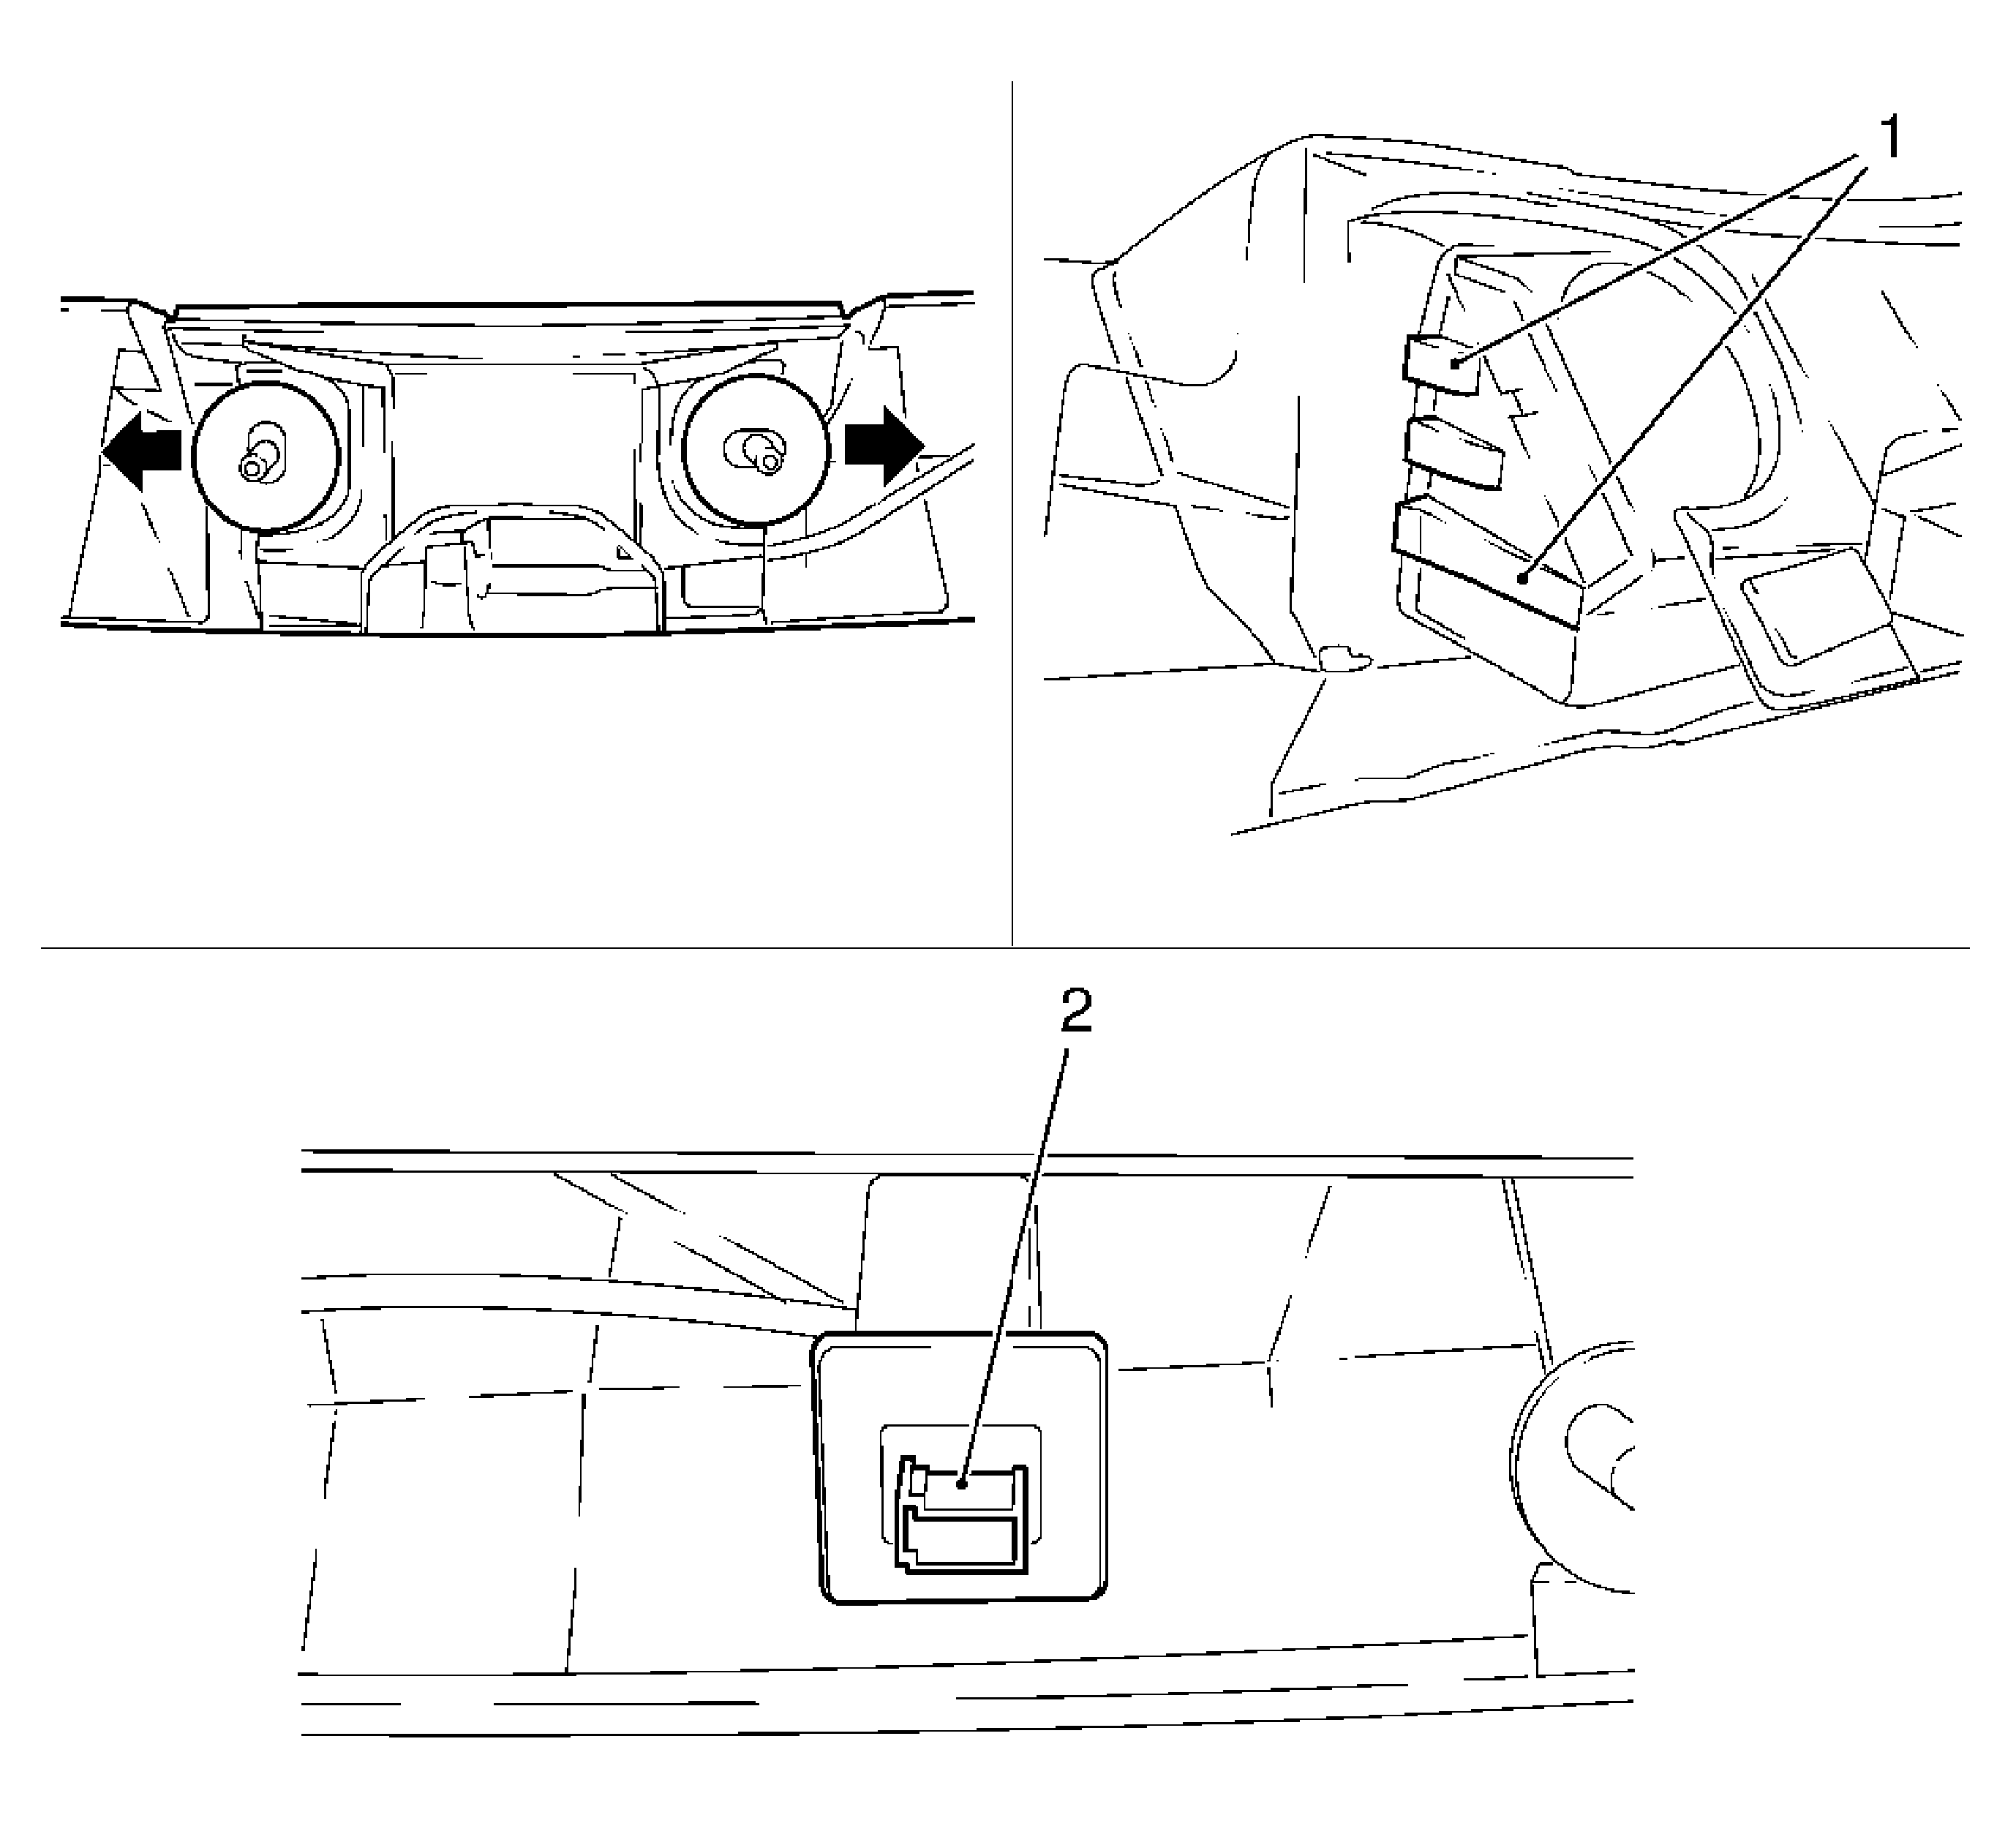
- Remove the actuator switch from the liftgate panel.
| • | Remove the 2 bolts from the guide (arrow). |
| • | Disconnect the wiring harness plug (2). |
| • | Disconnect the wiring harness. |
| • | Remove the 2 retaining lugs (1). |
Installation Procedure
- Install the switch in the liftgate panel.
| • | Connect the wiring harness. |
| • | Connect the wiring harness plug. |
| • | Install the 2 bolts into the guide. |
Caution: Refer to Fastener Caution in the Preface section.
- Install the liftgate applique panel.
Connect the wiring harness plug.
Tighten
Tighten the 6 nuts to 3 N·m (26 lb in).
- Install the liftgate trim panel. Refer to
Liftgate Trim Panel Replacement.
Liftgate Actuator Switch Replacement L48
Removal Procedure
- Open the liftgate.
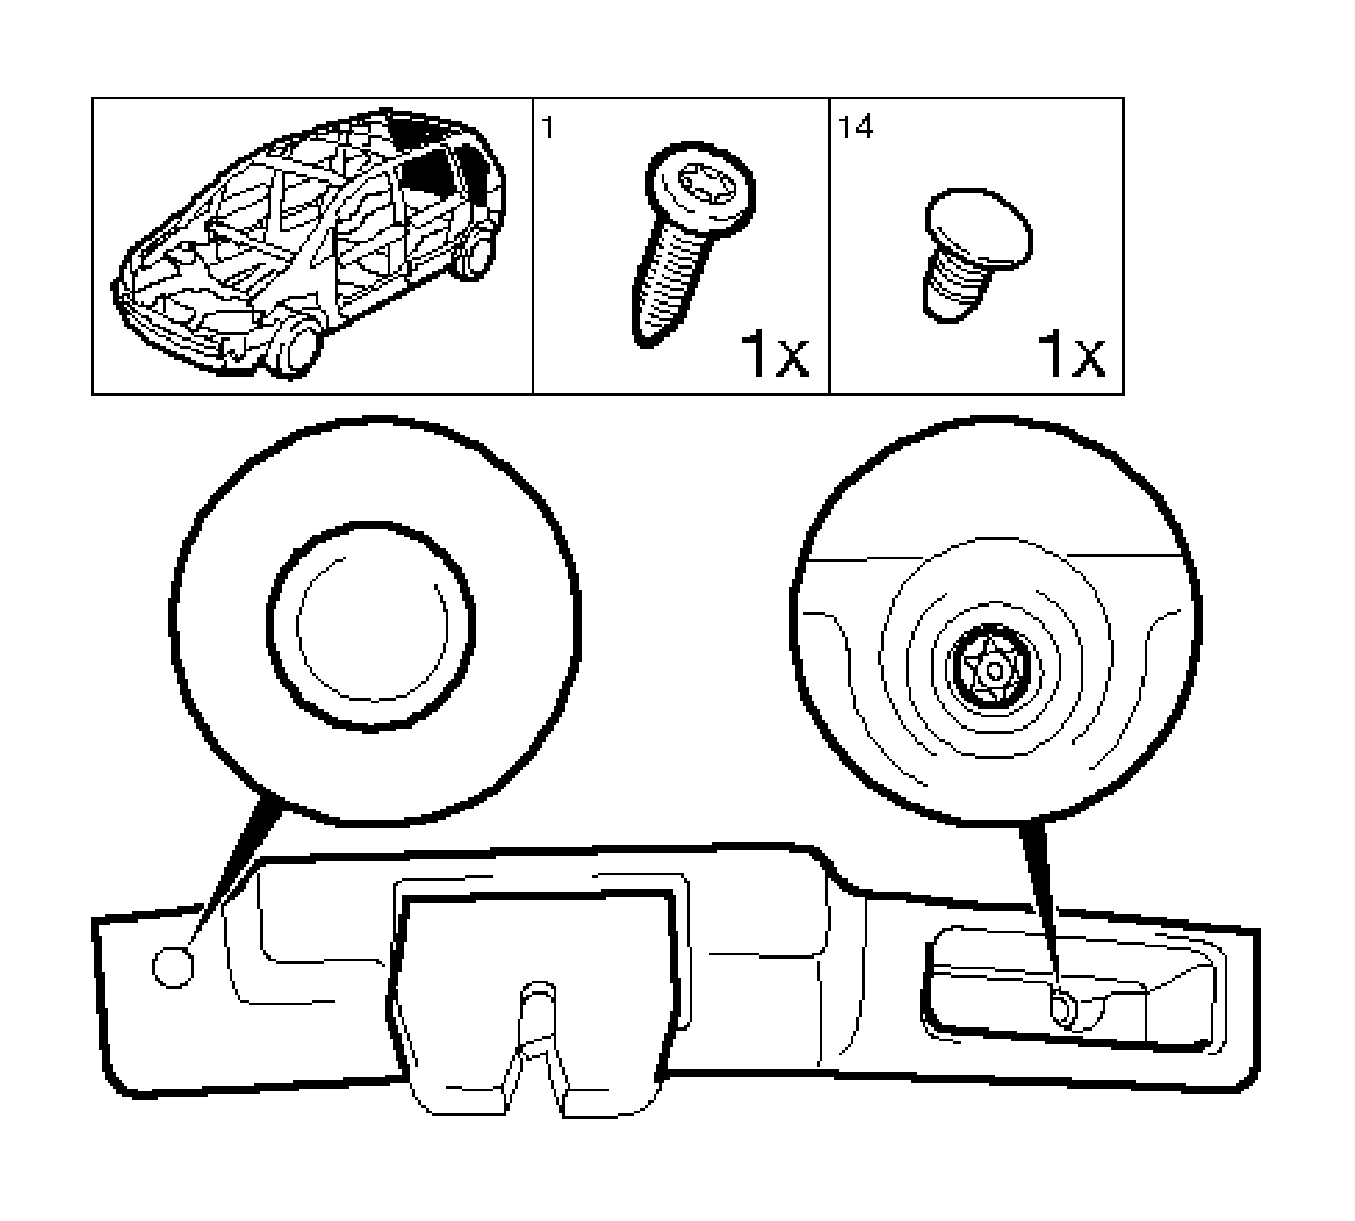
- Remove the lock trim panel.
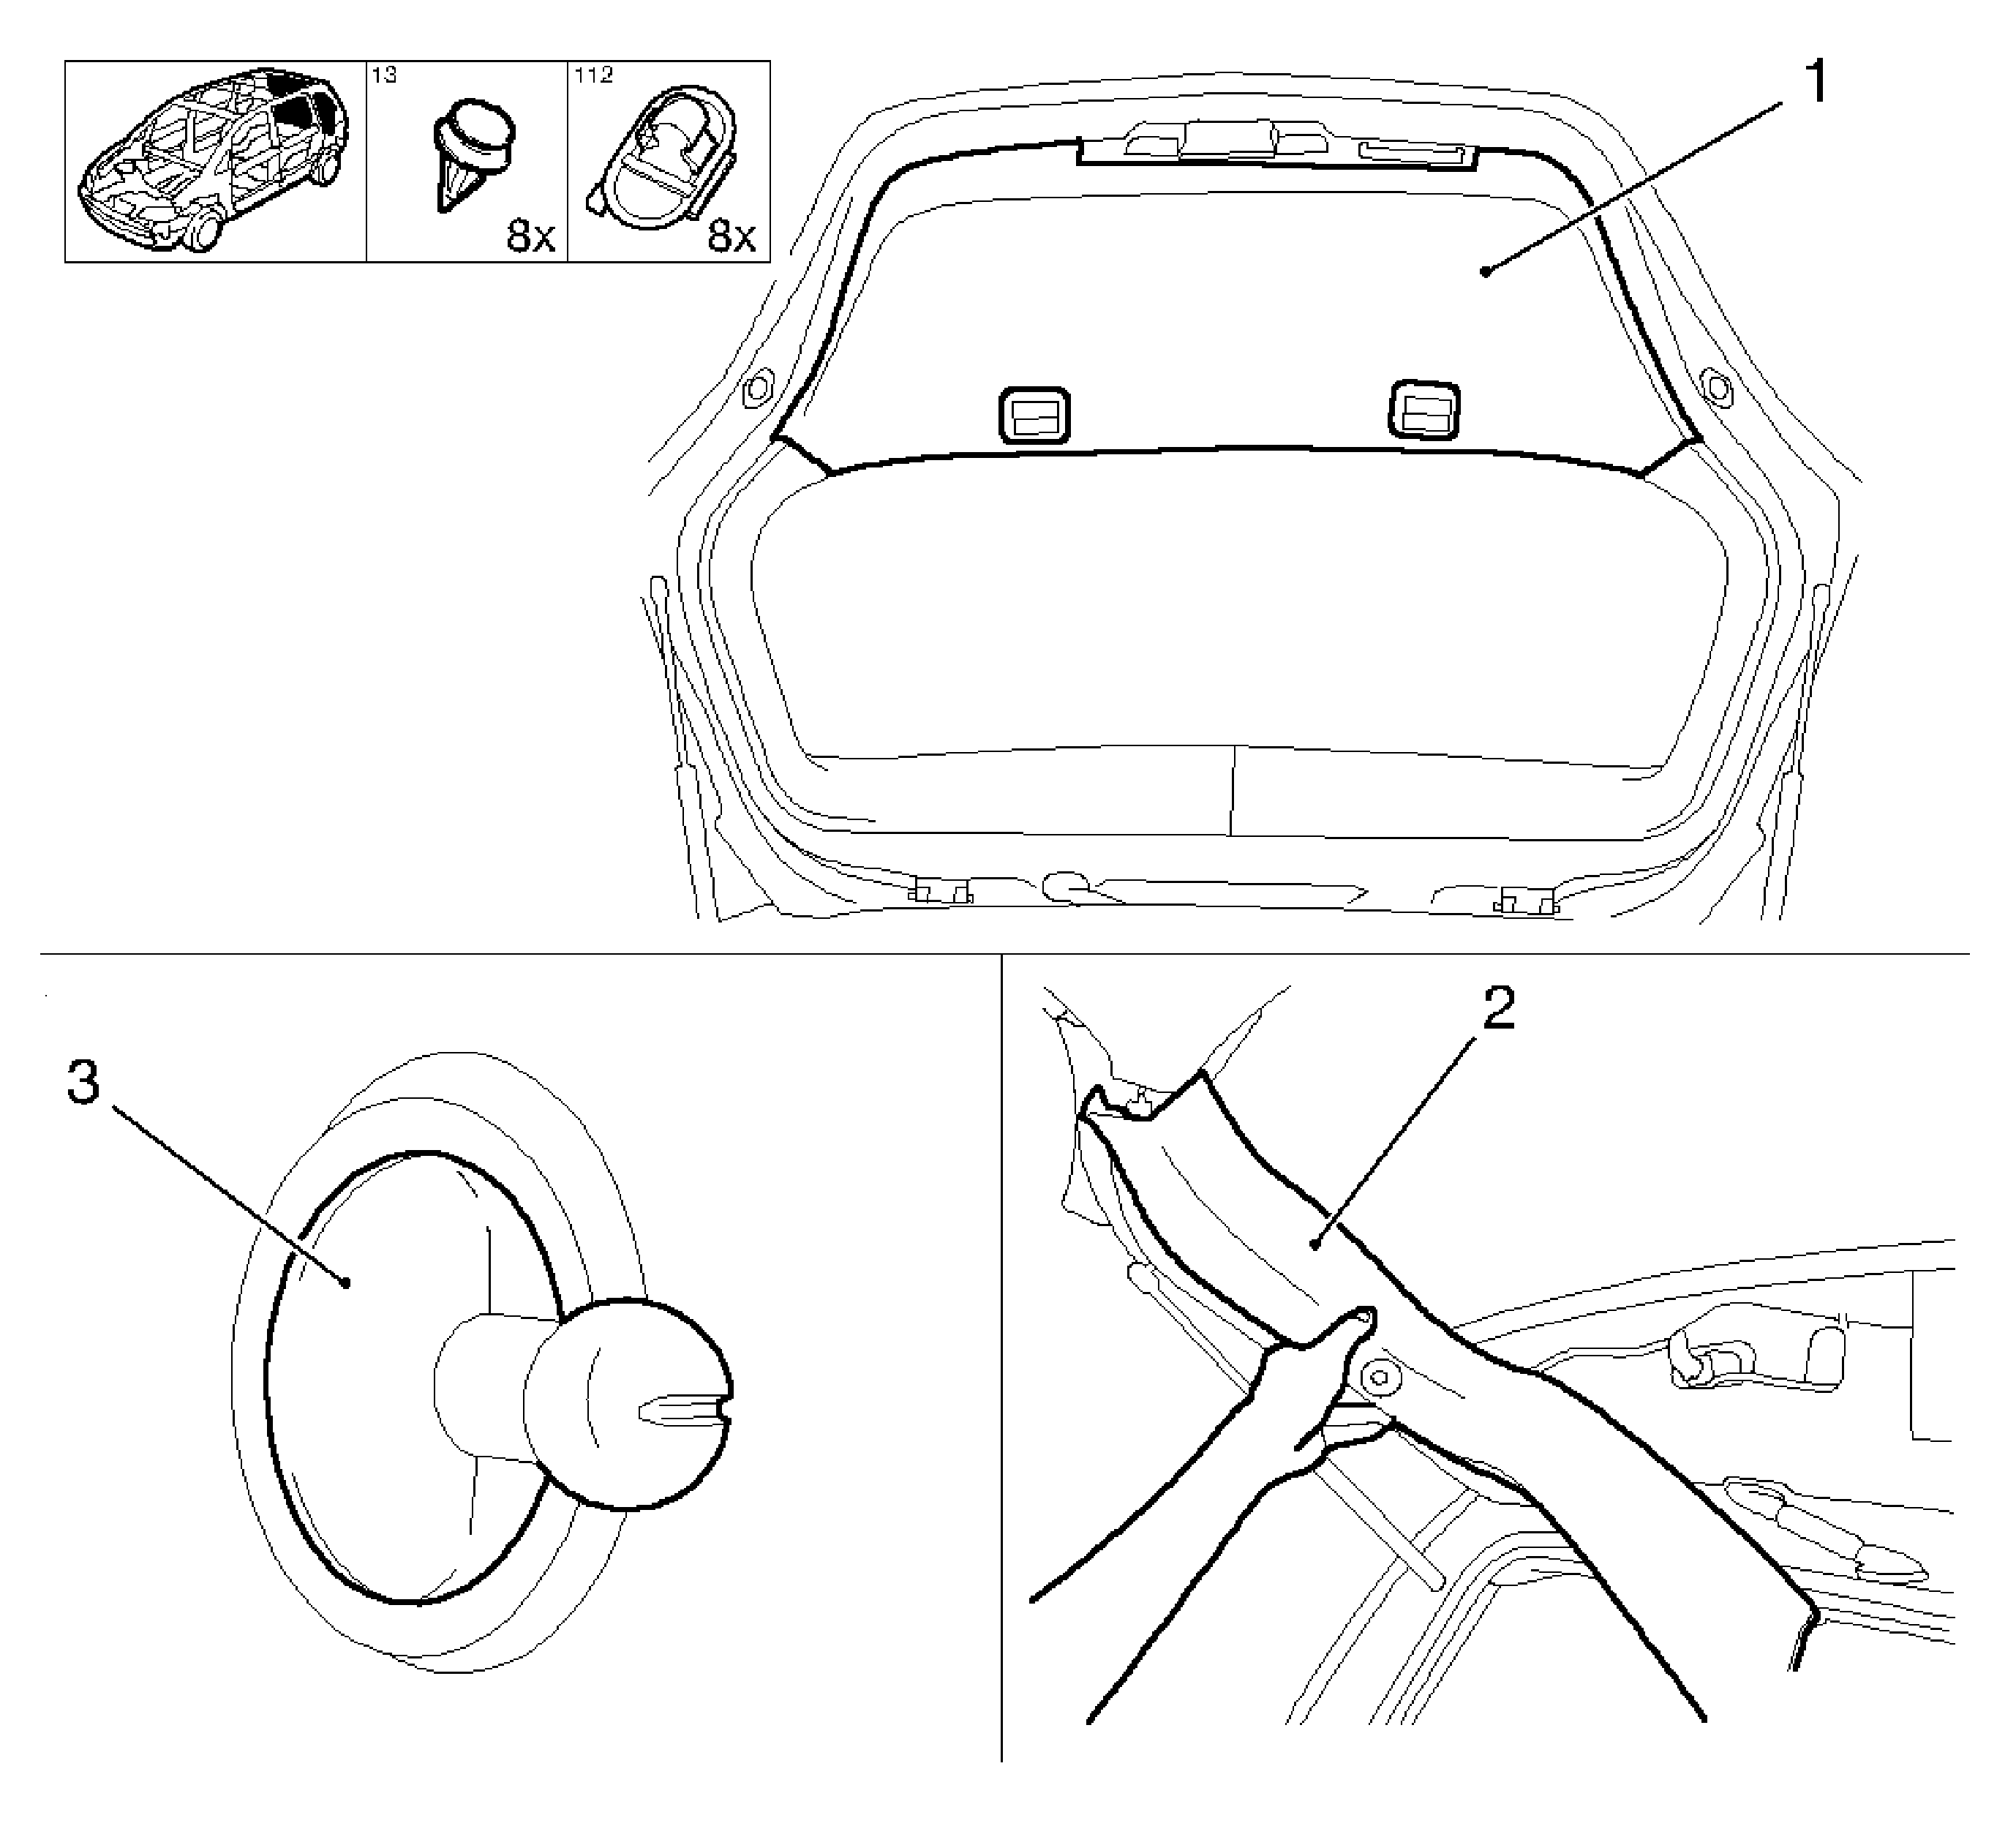
- Remove the luggage shade brackets (3) - left side.
- Remove the upper liftgate garnish molding (2) - left side.
Release the 4 clips.
- Remove the luggage shade brackets (3) - right side.
- Remove the upper liftgate garnish molding (2) - right side.
Release the 4 clips.
- Remove the liftgate inner lower trim panel.
Release the 8 clips.
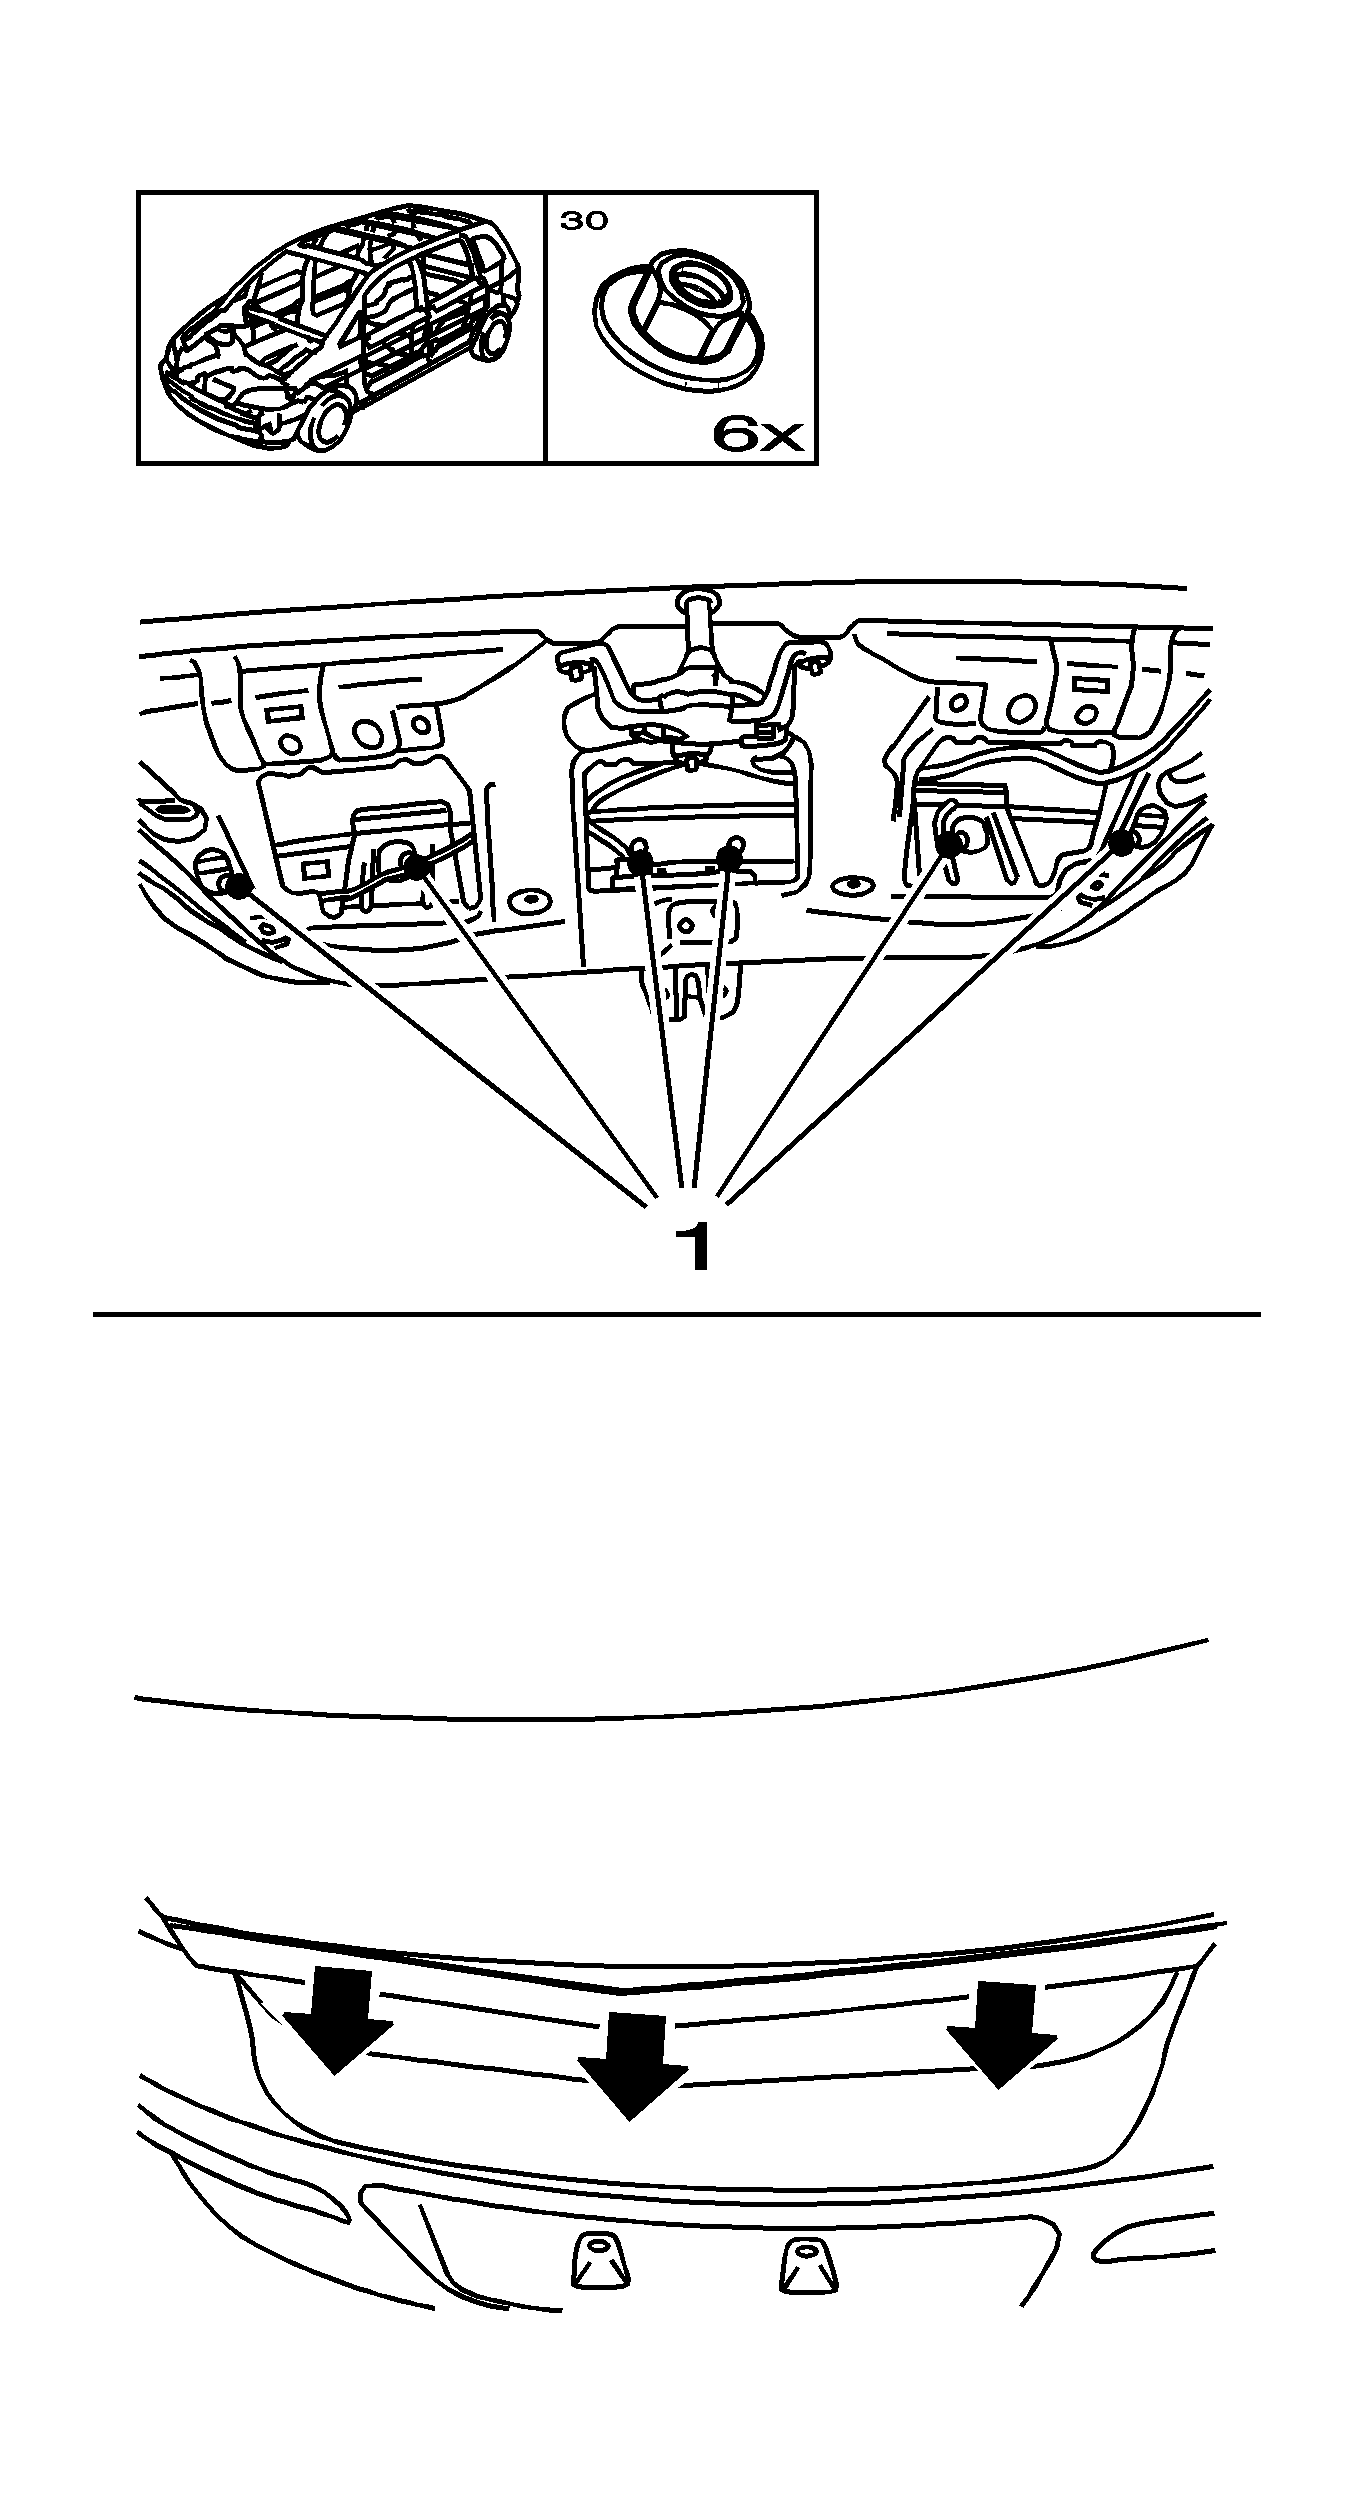
- Remove the liftgate applique.
| • | Disconnect the wiring harness plug. |
| • | Remove the liftgate applique (arrows). |
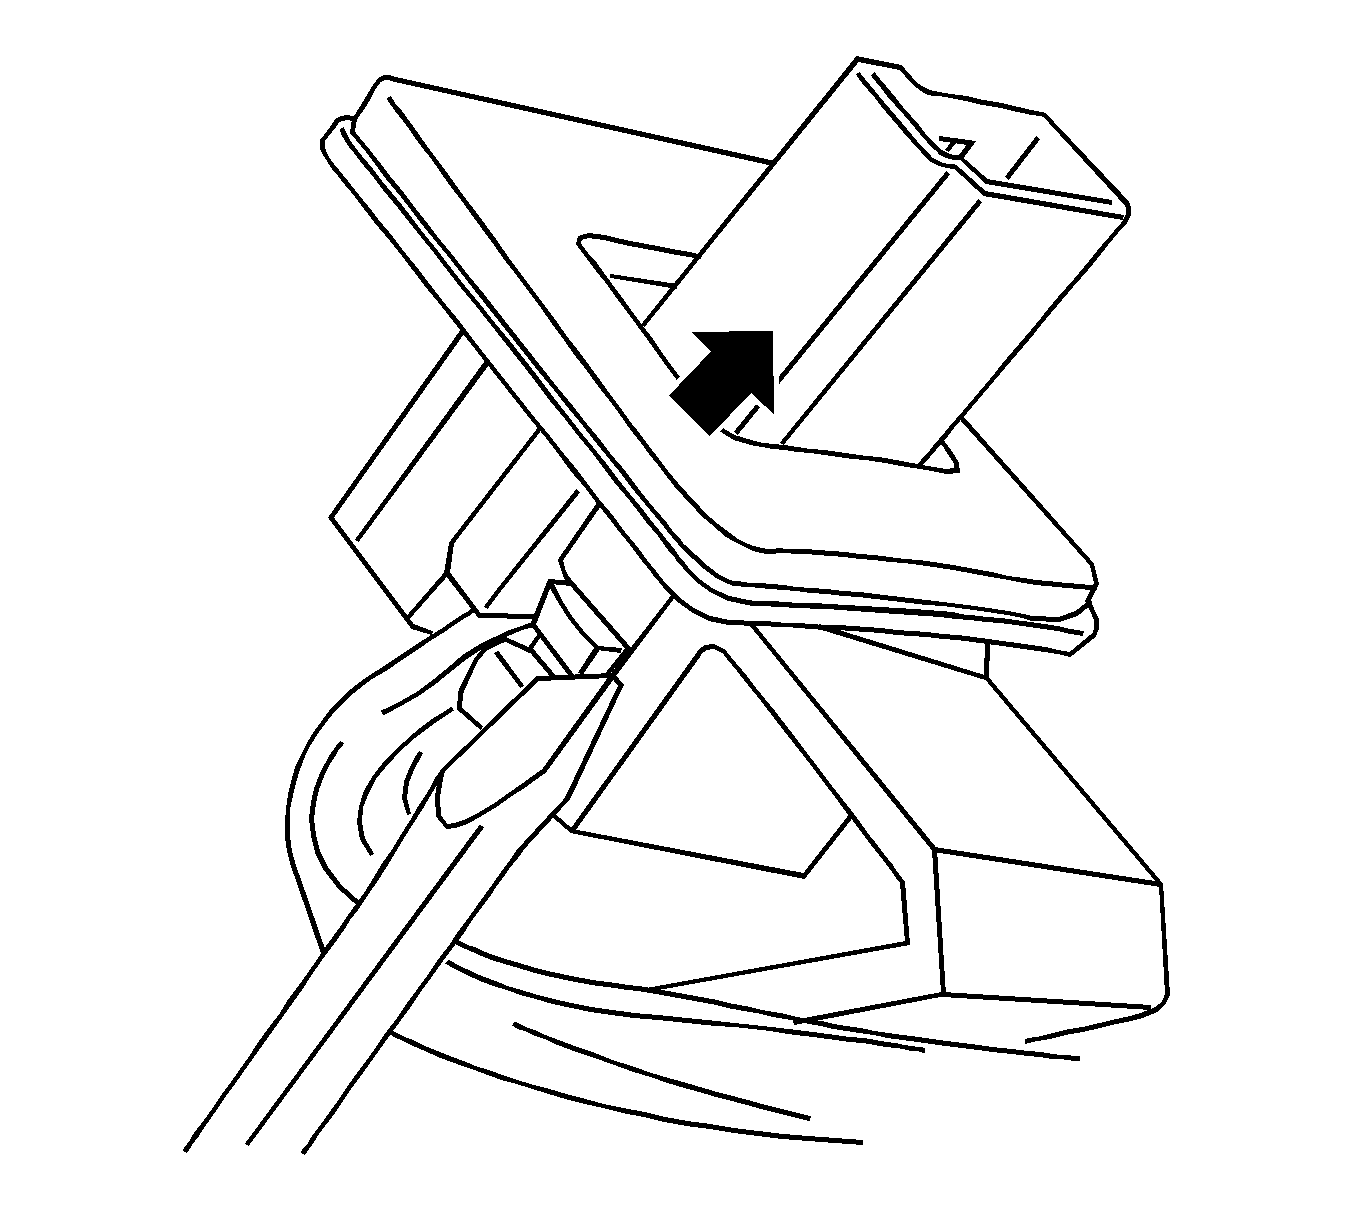
- Remove the center plug from the liftgate applique.
| • | Remove the plug with the wiring harness from the guide (arrow). |
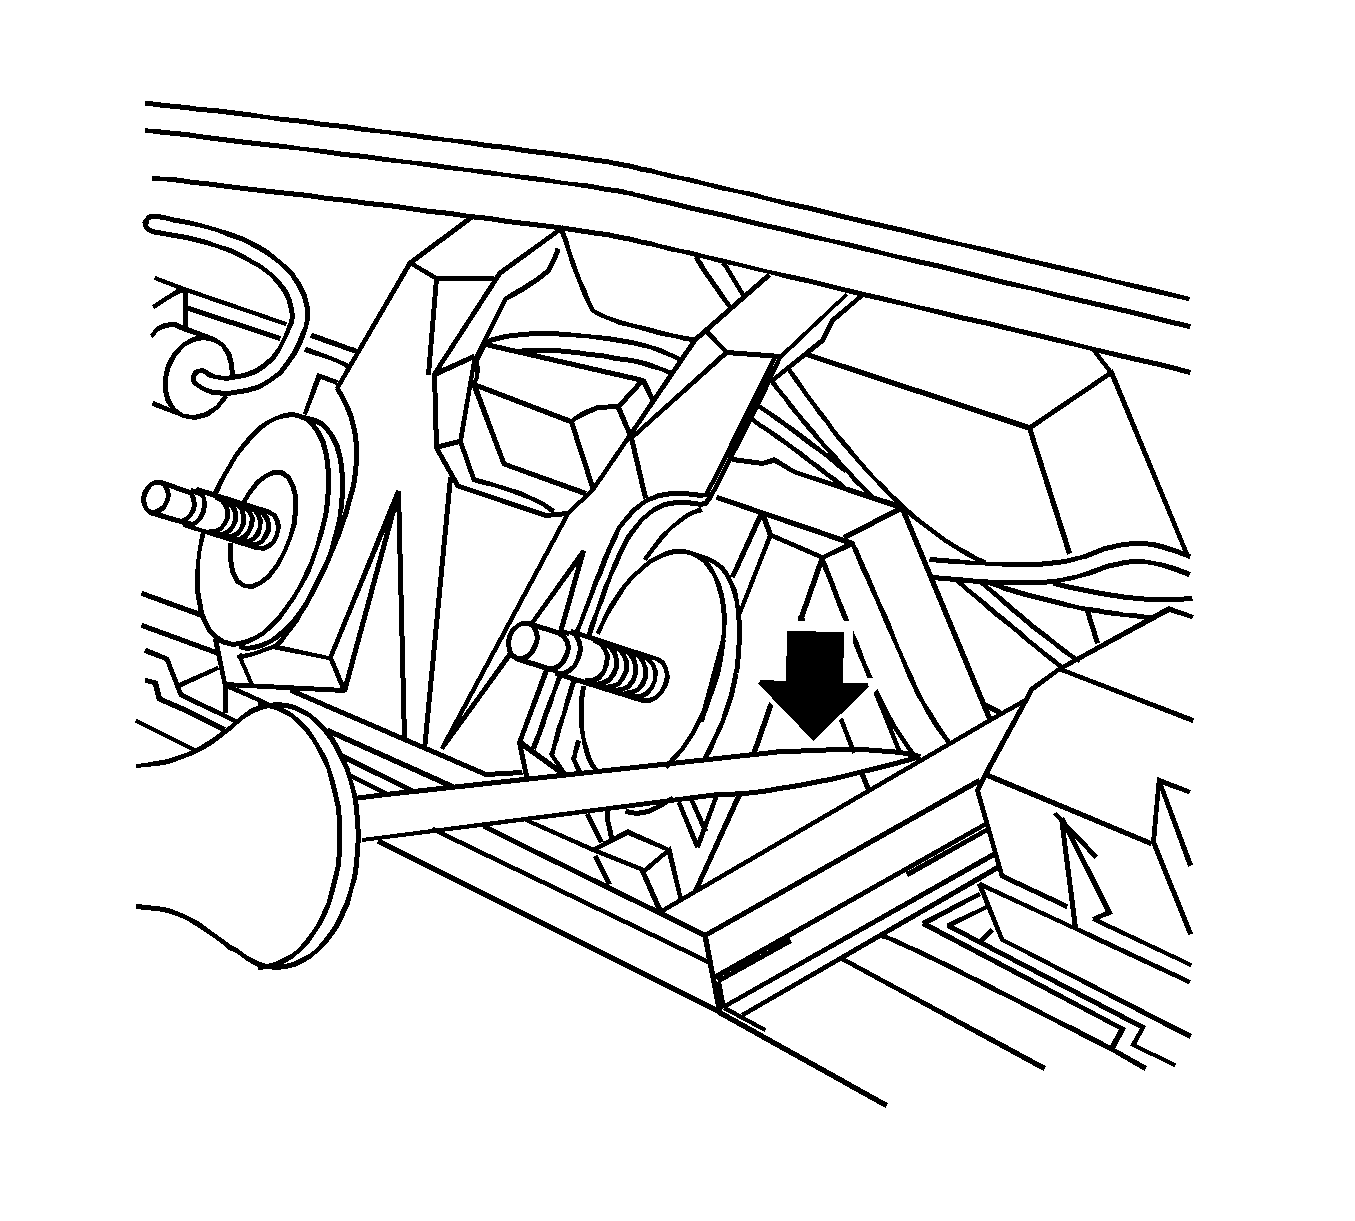
- Remove the liftgate actuator switch.
| • | Remove the 2 guides (arrow). |
| • | Remove the switch with the full wiring harness. |
Installation Procedure
- Install the liftgate lock actuator switch.
| • | Install the switch with the full wiring harness. |
| • | Position the wiring harness. |
- Install the center plug in the liftgate panel mounting.
Secure the plug.
Caution: Refer to Fastener Caution in the Preface section.
- Install the liftgate applique.
Tighten
Tighten the 6 nuts to 3 N·m (26 lb in).
- Connect the wiring harness plug.
- Install the liftgate lower trim panel.
Install the 8 clips.
- Install the lock trim panel.
Install the clip.
Tighten
Tighten the bolts to 5 N·m (44 lb in).
- Install the upper interior paneling - right side.
Install the 4 clips.
- Install the luggage shade bracket - right side.
- Install the upper liftgate garnish molding - left side.
Install the 4 clips.
- Install the luggage shade bracket - left side.
- Close the liftgate.
