For 1990-2009 cars only
Removal Procedure
- Remove the cover of the diagnostic connection and unclip the parking brake lever boot.
- Loosen the parking brake cable on the parking brake lever by unscrewing the adjusting nut.
- Remove the front floor console. Refer to Front Floor Console Replacement.
- Disconnect the wiring harness plug of the parking brake indicator switch.
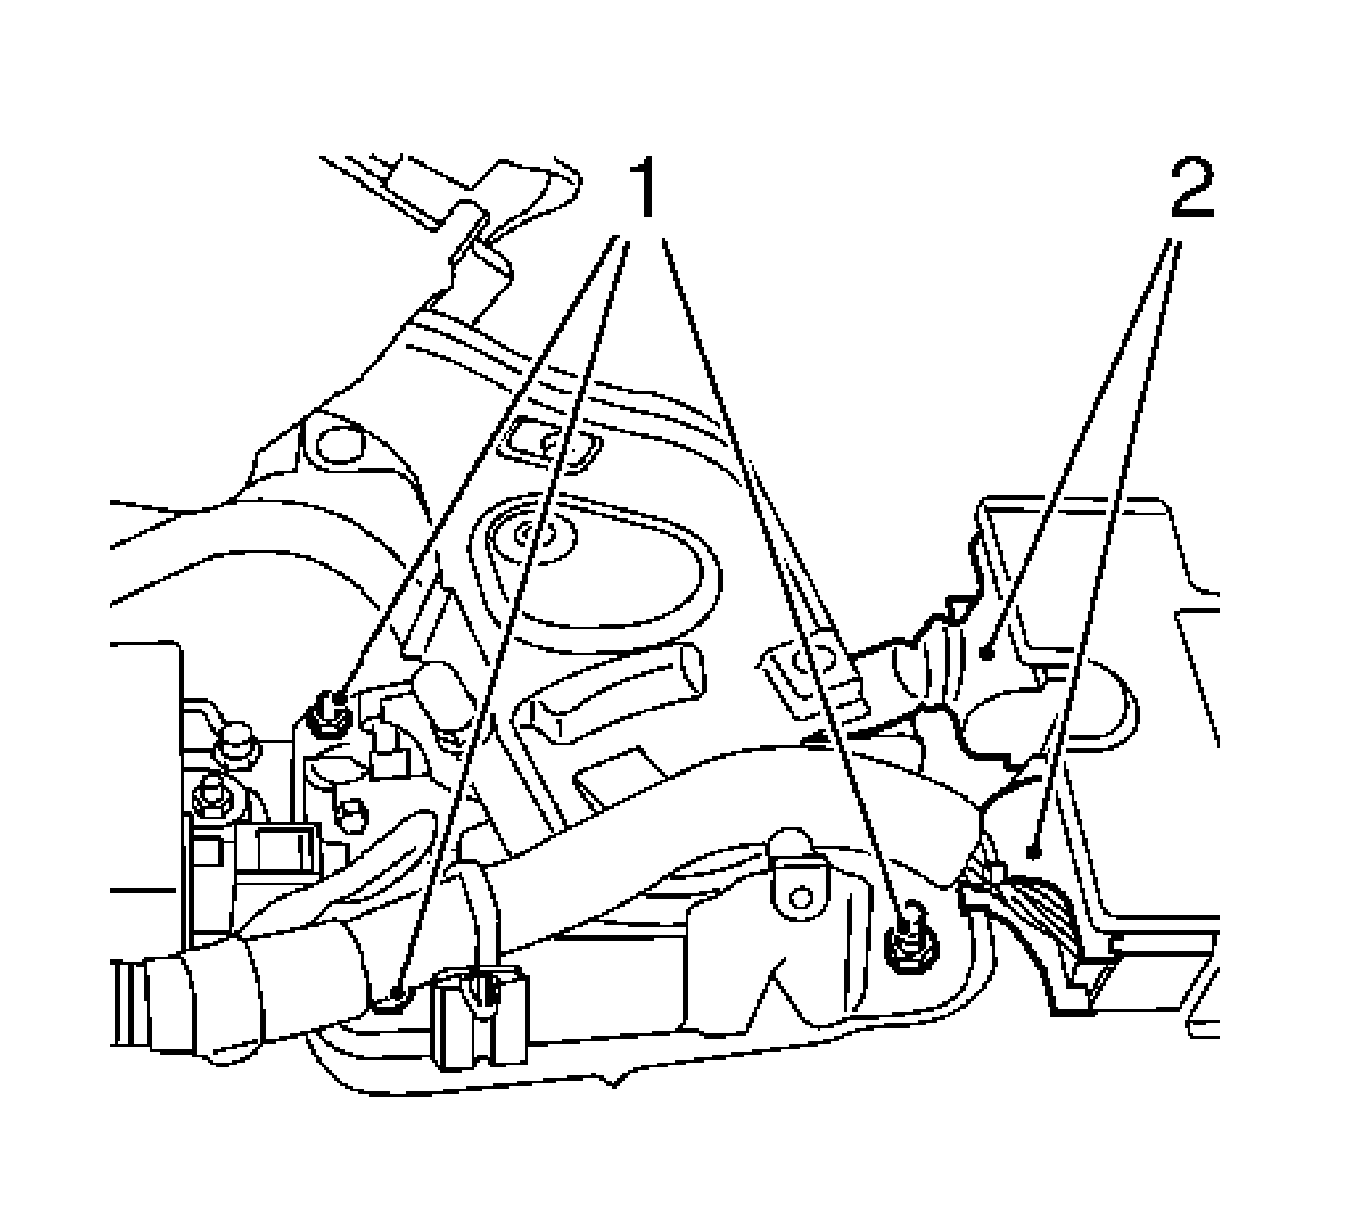
- Disconnect 2 wiring harness plugs (2) from the airbag control unit.
- Disconnect 2 wiring harness from the parking brake lever support plate.
- Remove the adjusting nut, parking brake cable.
- Remove the parking brake lever.
- Remove the parking brake indicator switch from the parking brake lever.

Remove the 3 nuts (1)
Installation Procedure
- Install the parking brake indicator switch to the parking brake lever.
- Install the parking brake lever to the vehicle substructure.
- Install the parking brake cable to the parking brake lever.
- Connect the wiring harness plug of the parking brake indicator switch.
- Install the front floor console. Refer to Front Floor Console Replacement.
- Adjust the parking brake lever path. Refer to Parking Brake Adjustment.
Caution: Refer to Fastener Caution in the Preface section.
Tighten
Tighten the parking brake control indicator switch to 6 N·m (53 lb in).
Tighten
Tighten 3 new parking brake lever nuts to 8 N·m (71 lb in).
Install the adjusting nut.
