For 1990-2009 cars only
Removal Procedure
- Remove the front floor console.
- Loosen the front floor console.
- Disconnect the hand brake molding.
- Loosen the front floor console and middle.
- If equipped with storage compartment, remove the storage compartment then remove the ashtray.
- Loosen the front floor console upper front.
- Remove the console shift level bezel.
- Remove the front floor console.
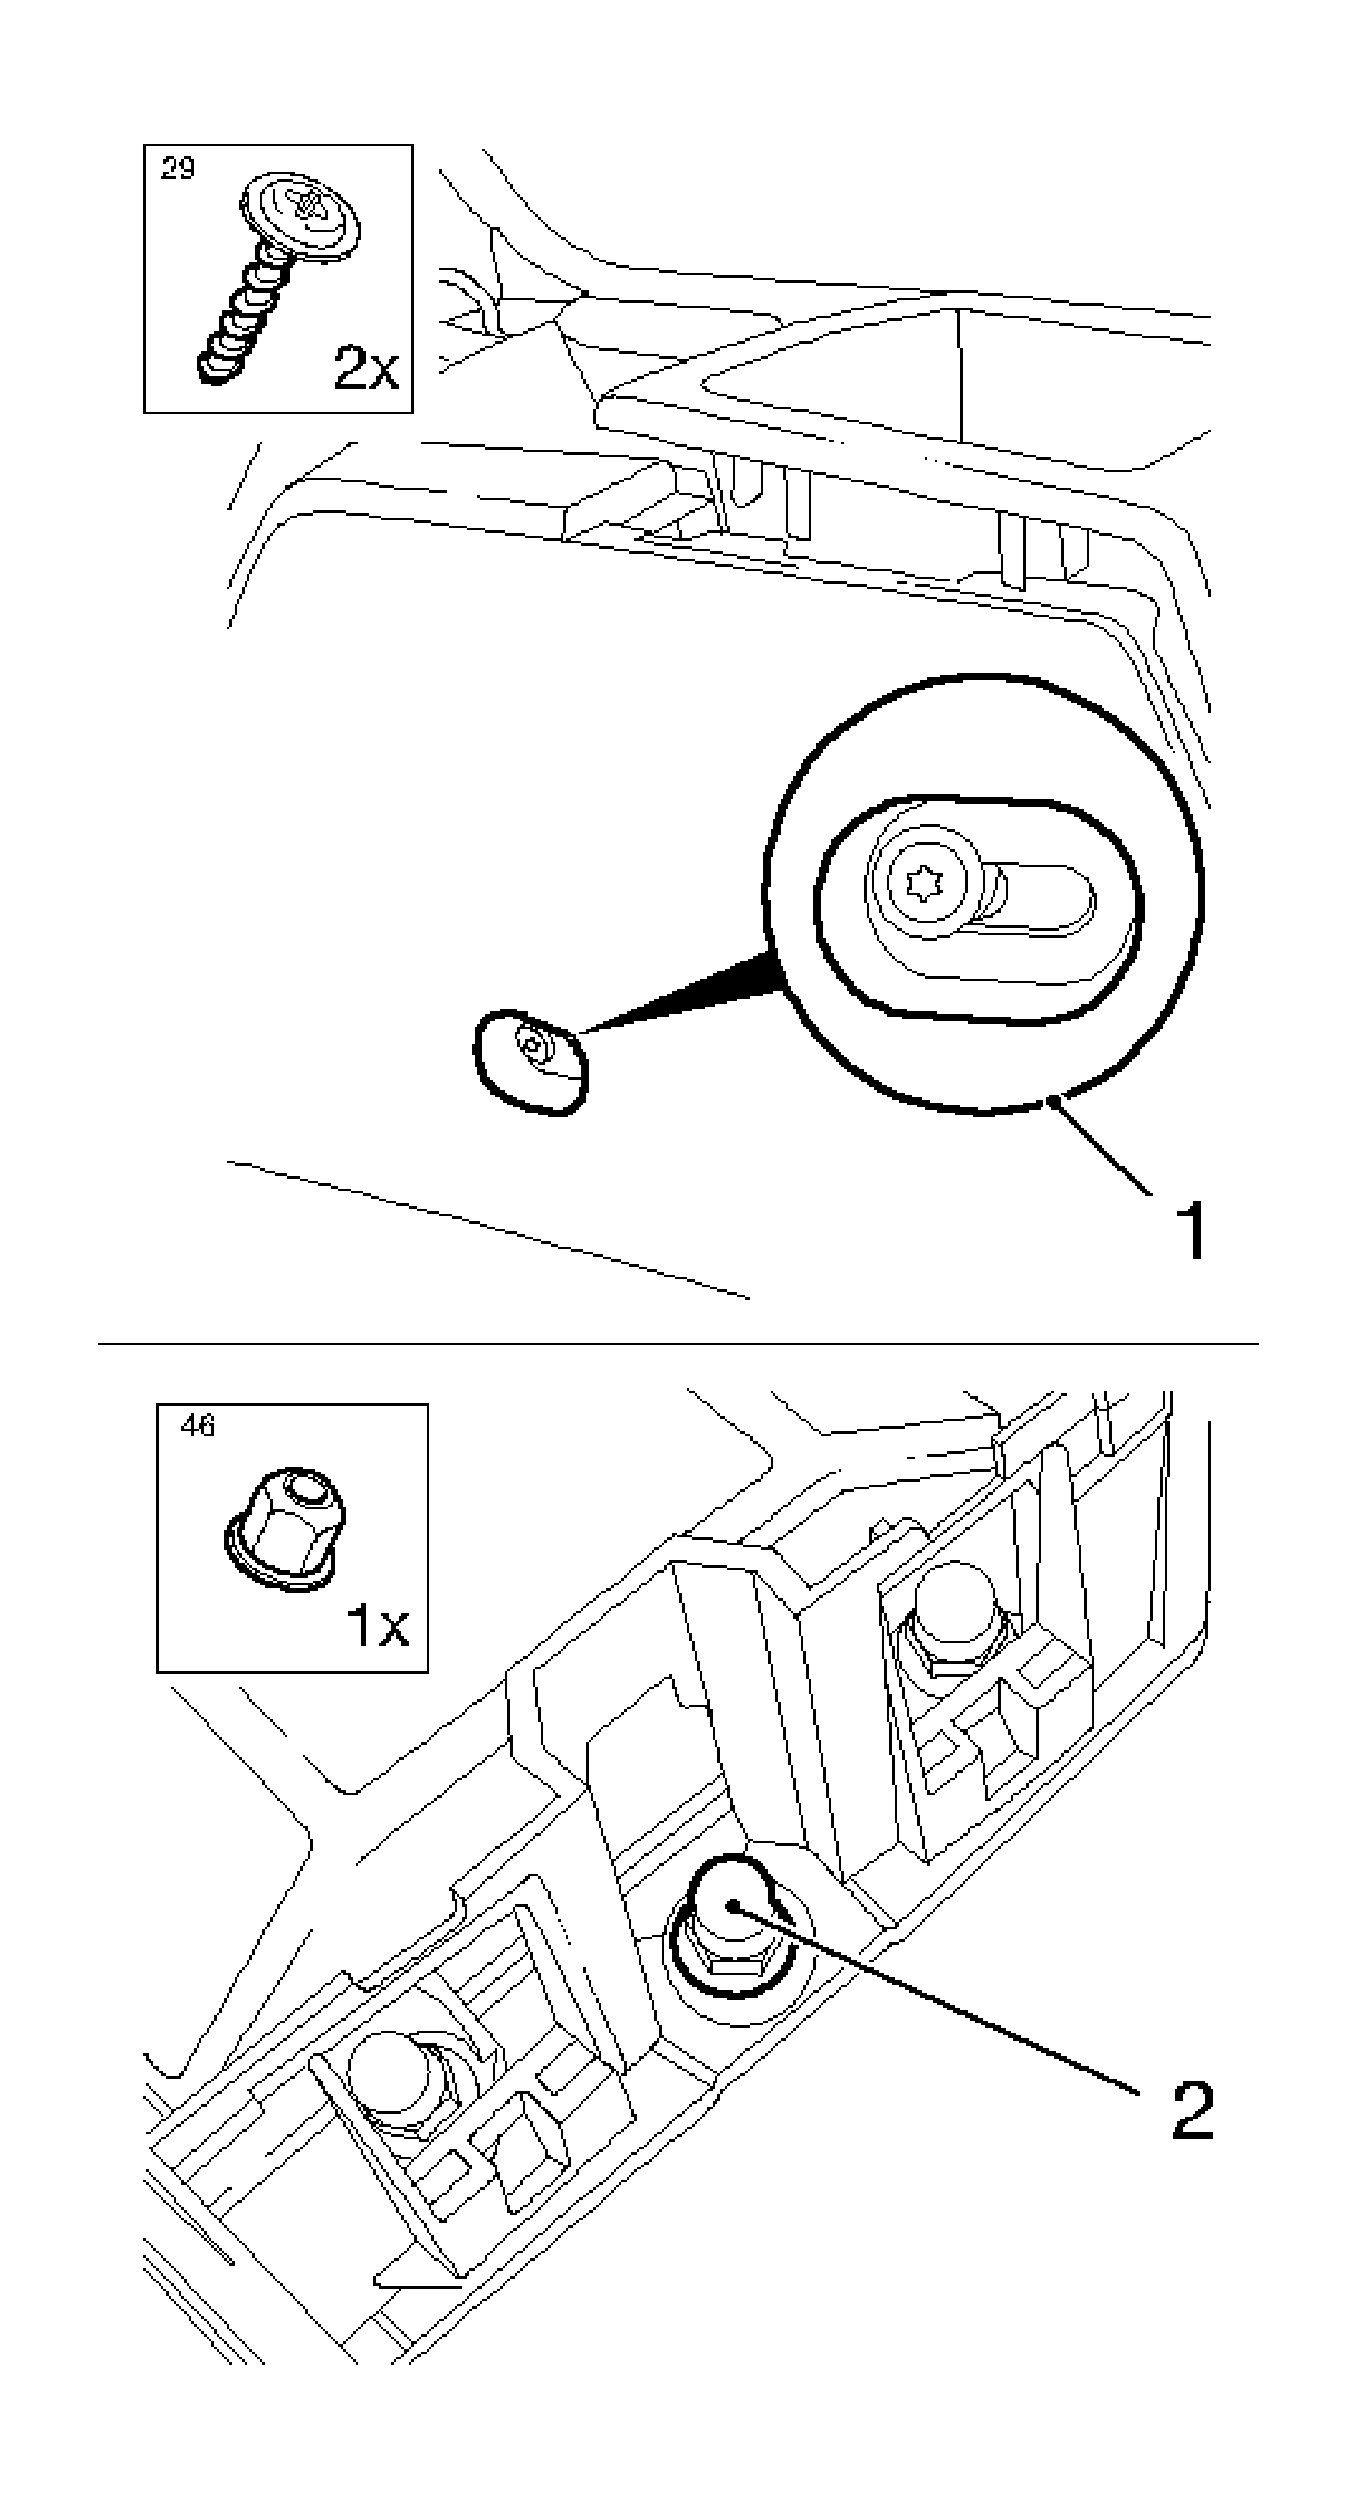
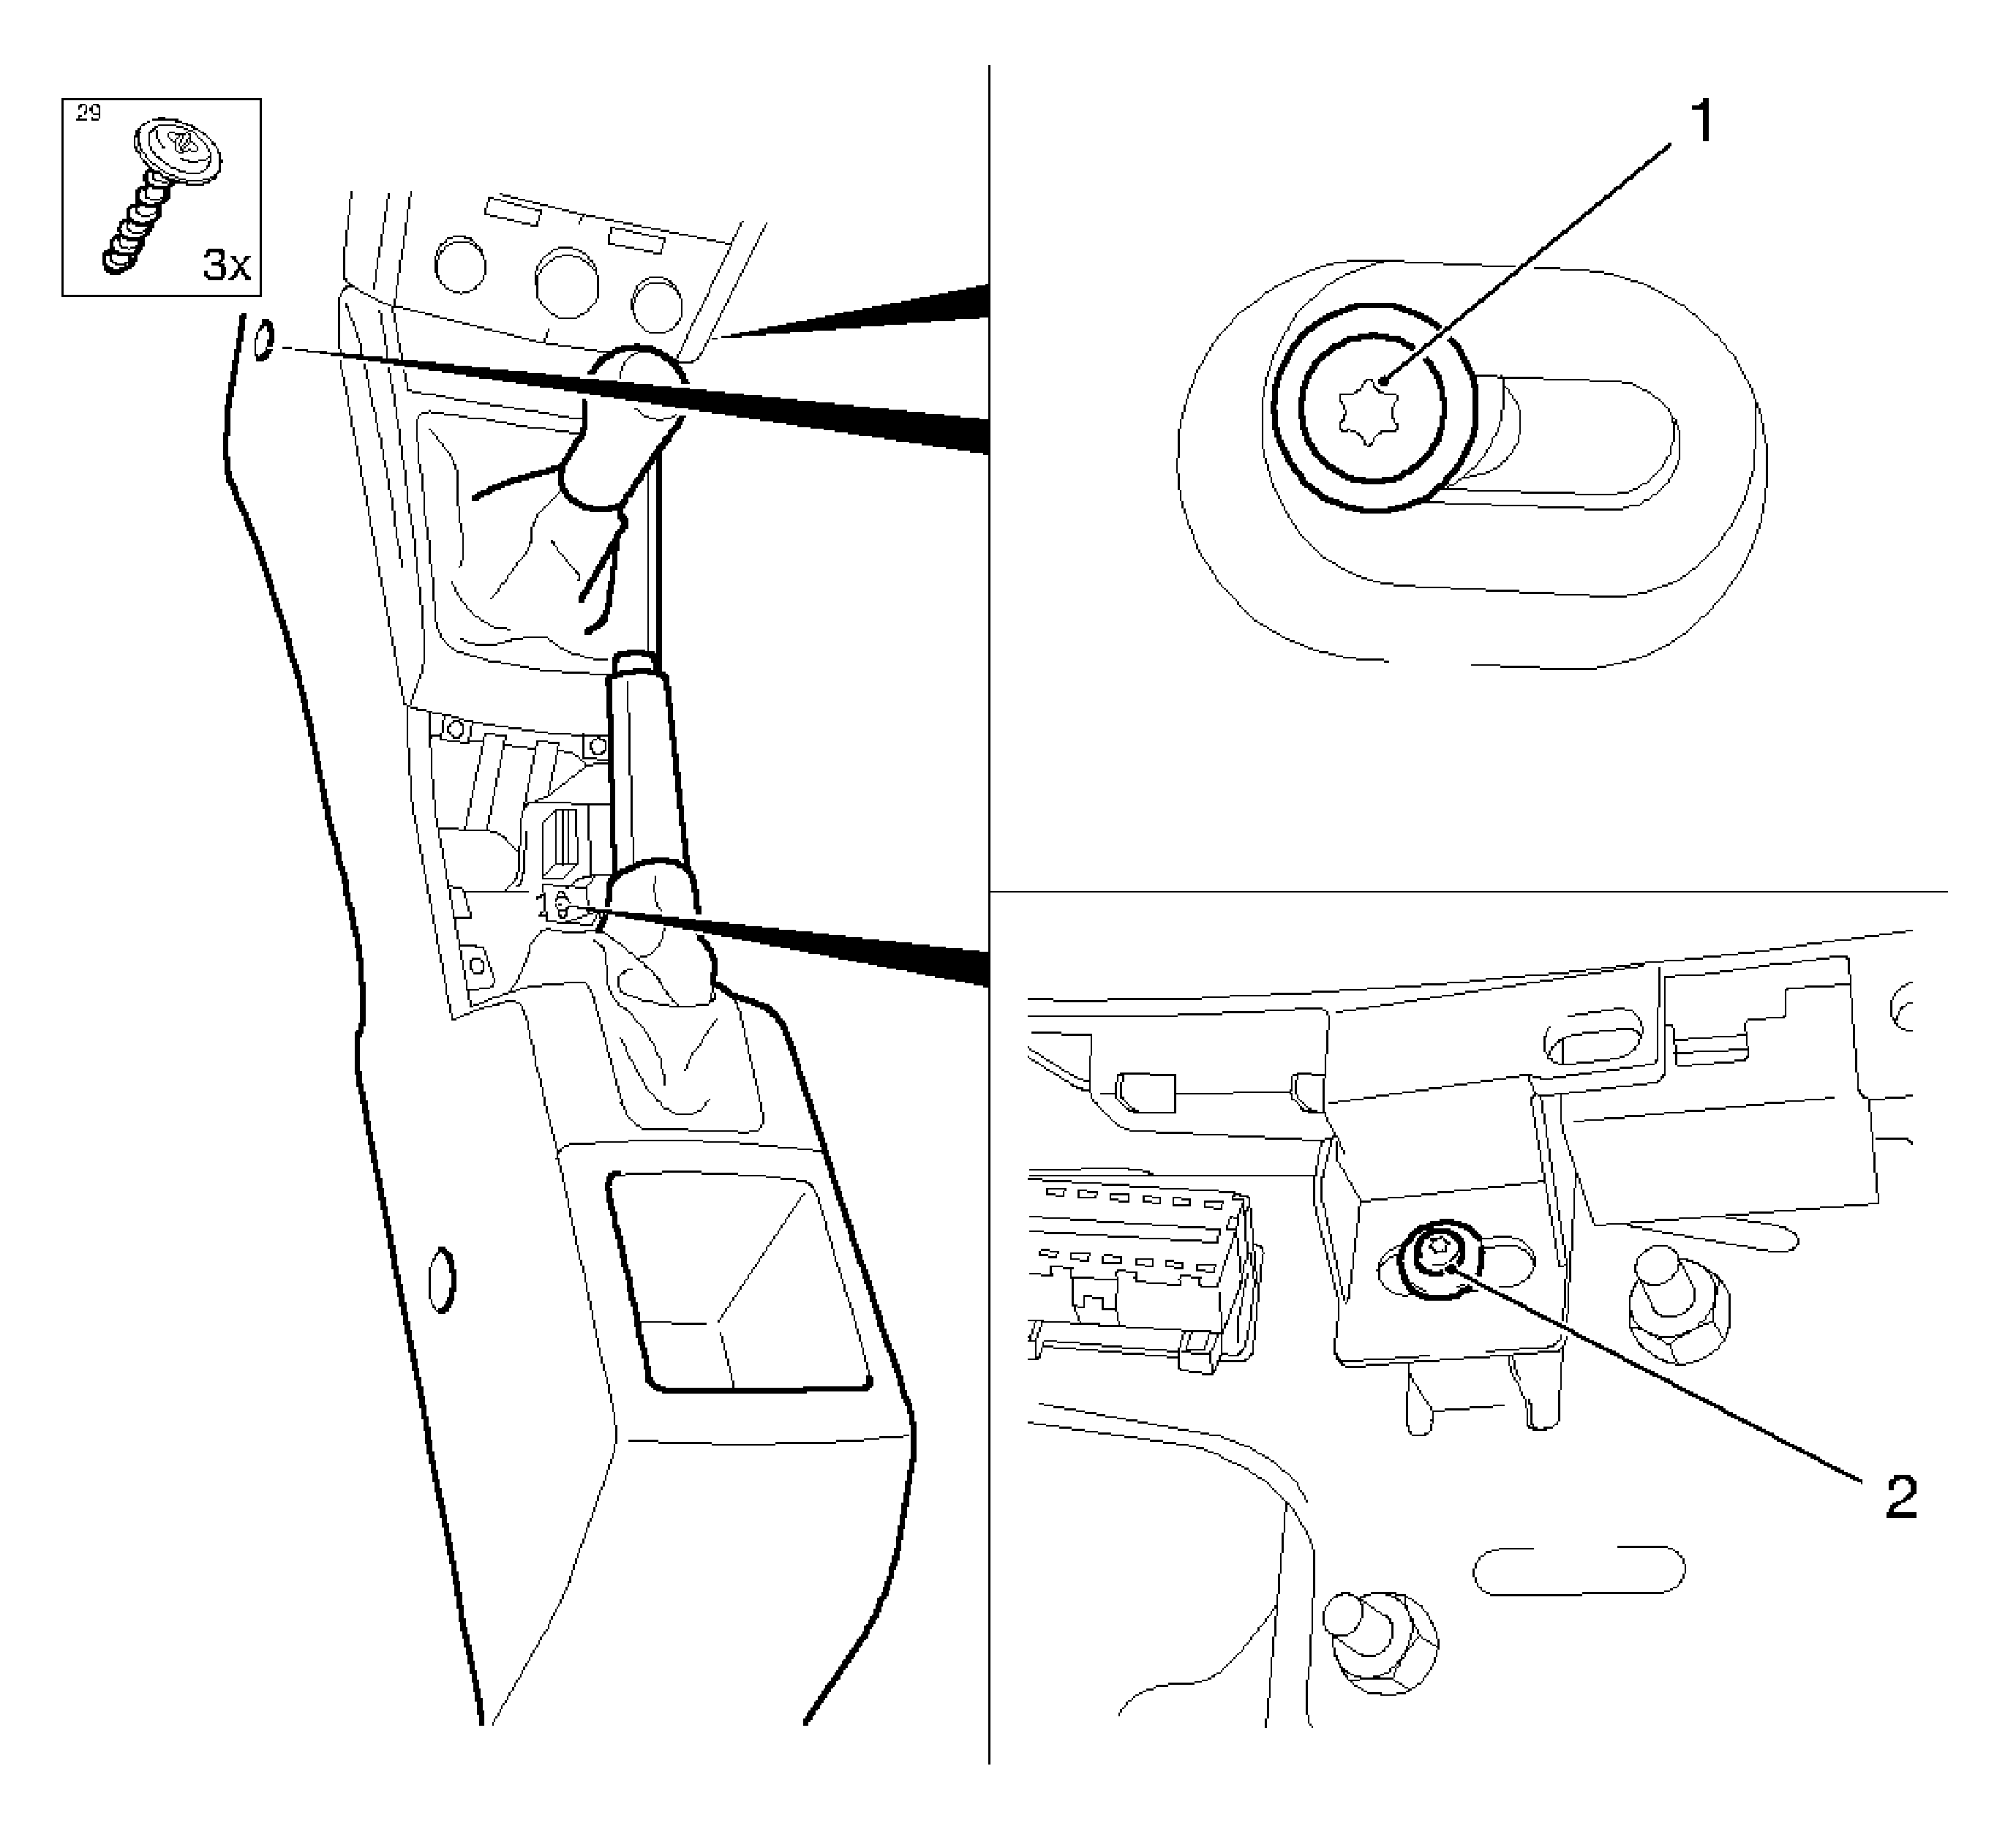
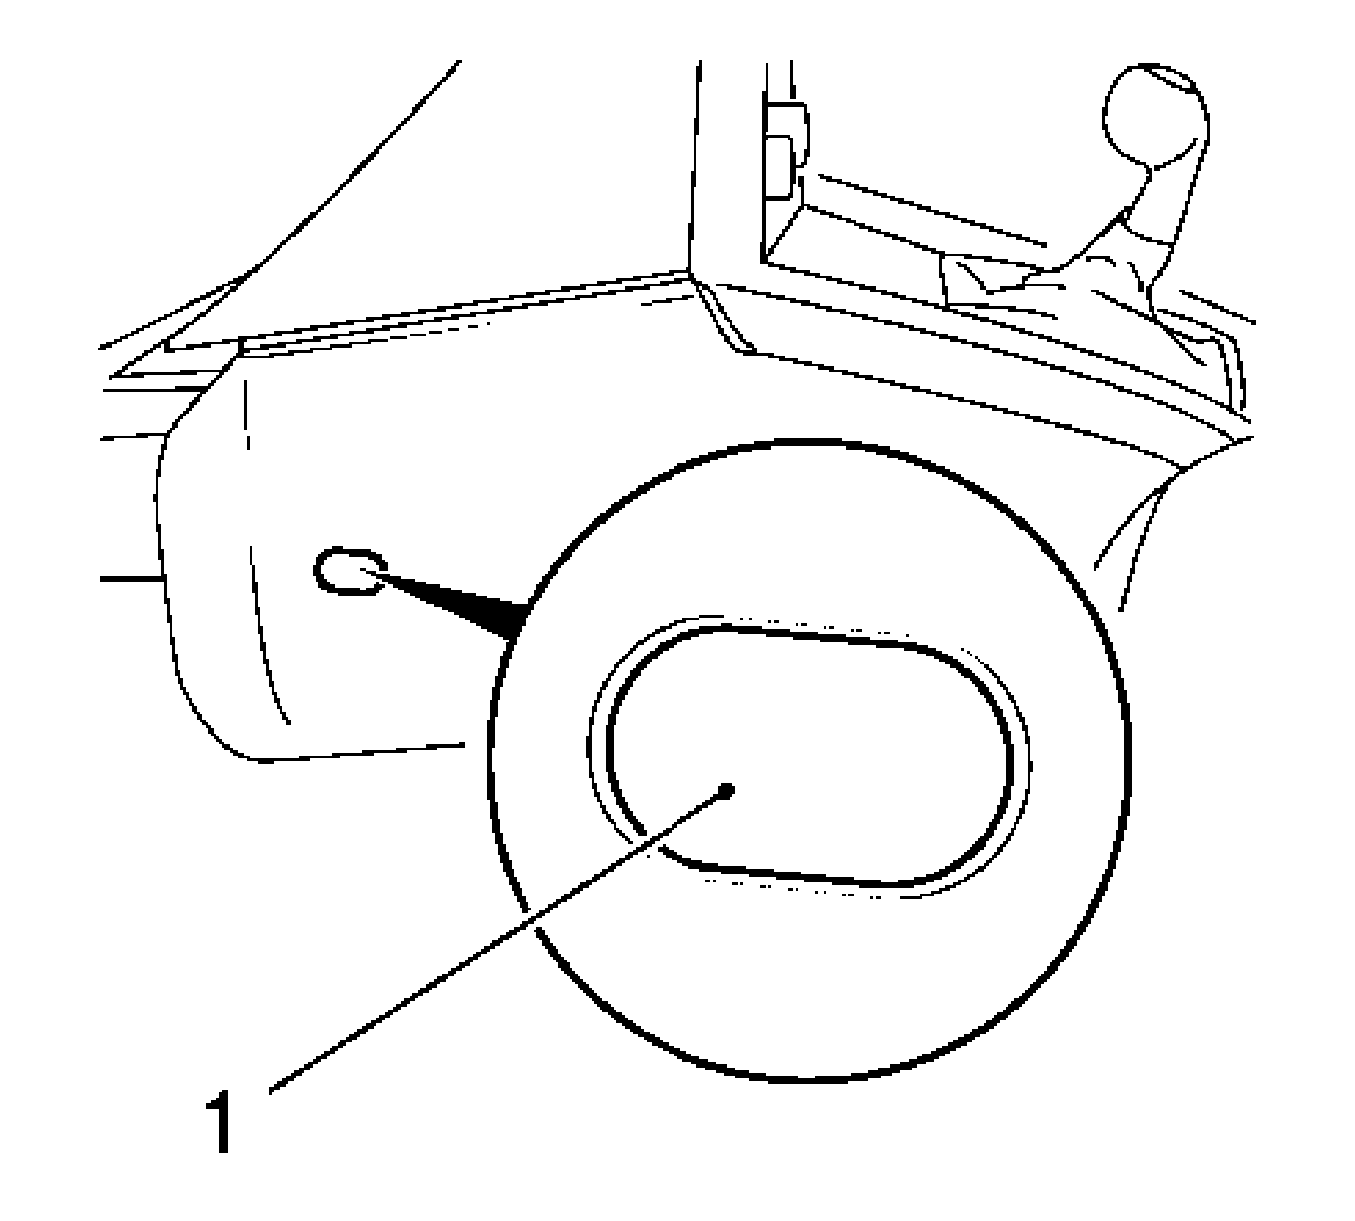
- If necessary, remove the cover (1) from console retaining bolt.
Disconnect the 8 clips and remove the storage compartment.
| 2.1. | Place both of the seats in the most forward position. |
| 2.2. | Remove the nut (2). |
| 2.3. | Remove the 2 bolts (1). |
| 4.1. | Position both seats to the rear-most position. |
| 4.2. | Remove the 2 bolts (1), front. |
| 4.3. | Remove the Tech2 connection molding. |
| 4.4. | Remove the middle bolt (2). |

Disconnect the 2 wiring harness plug.
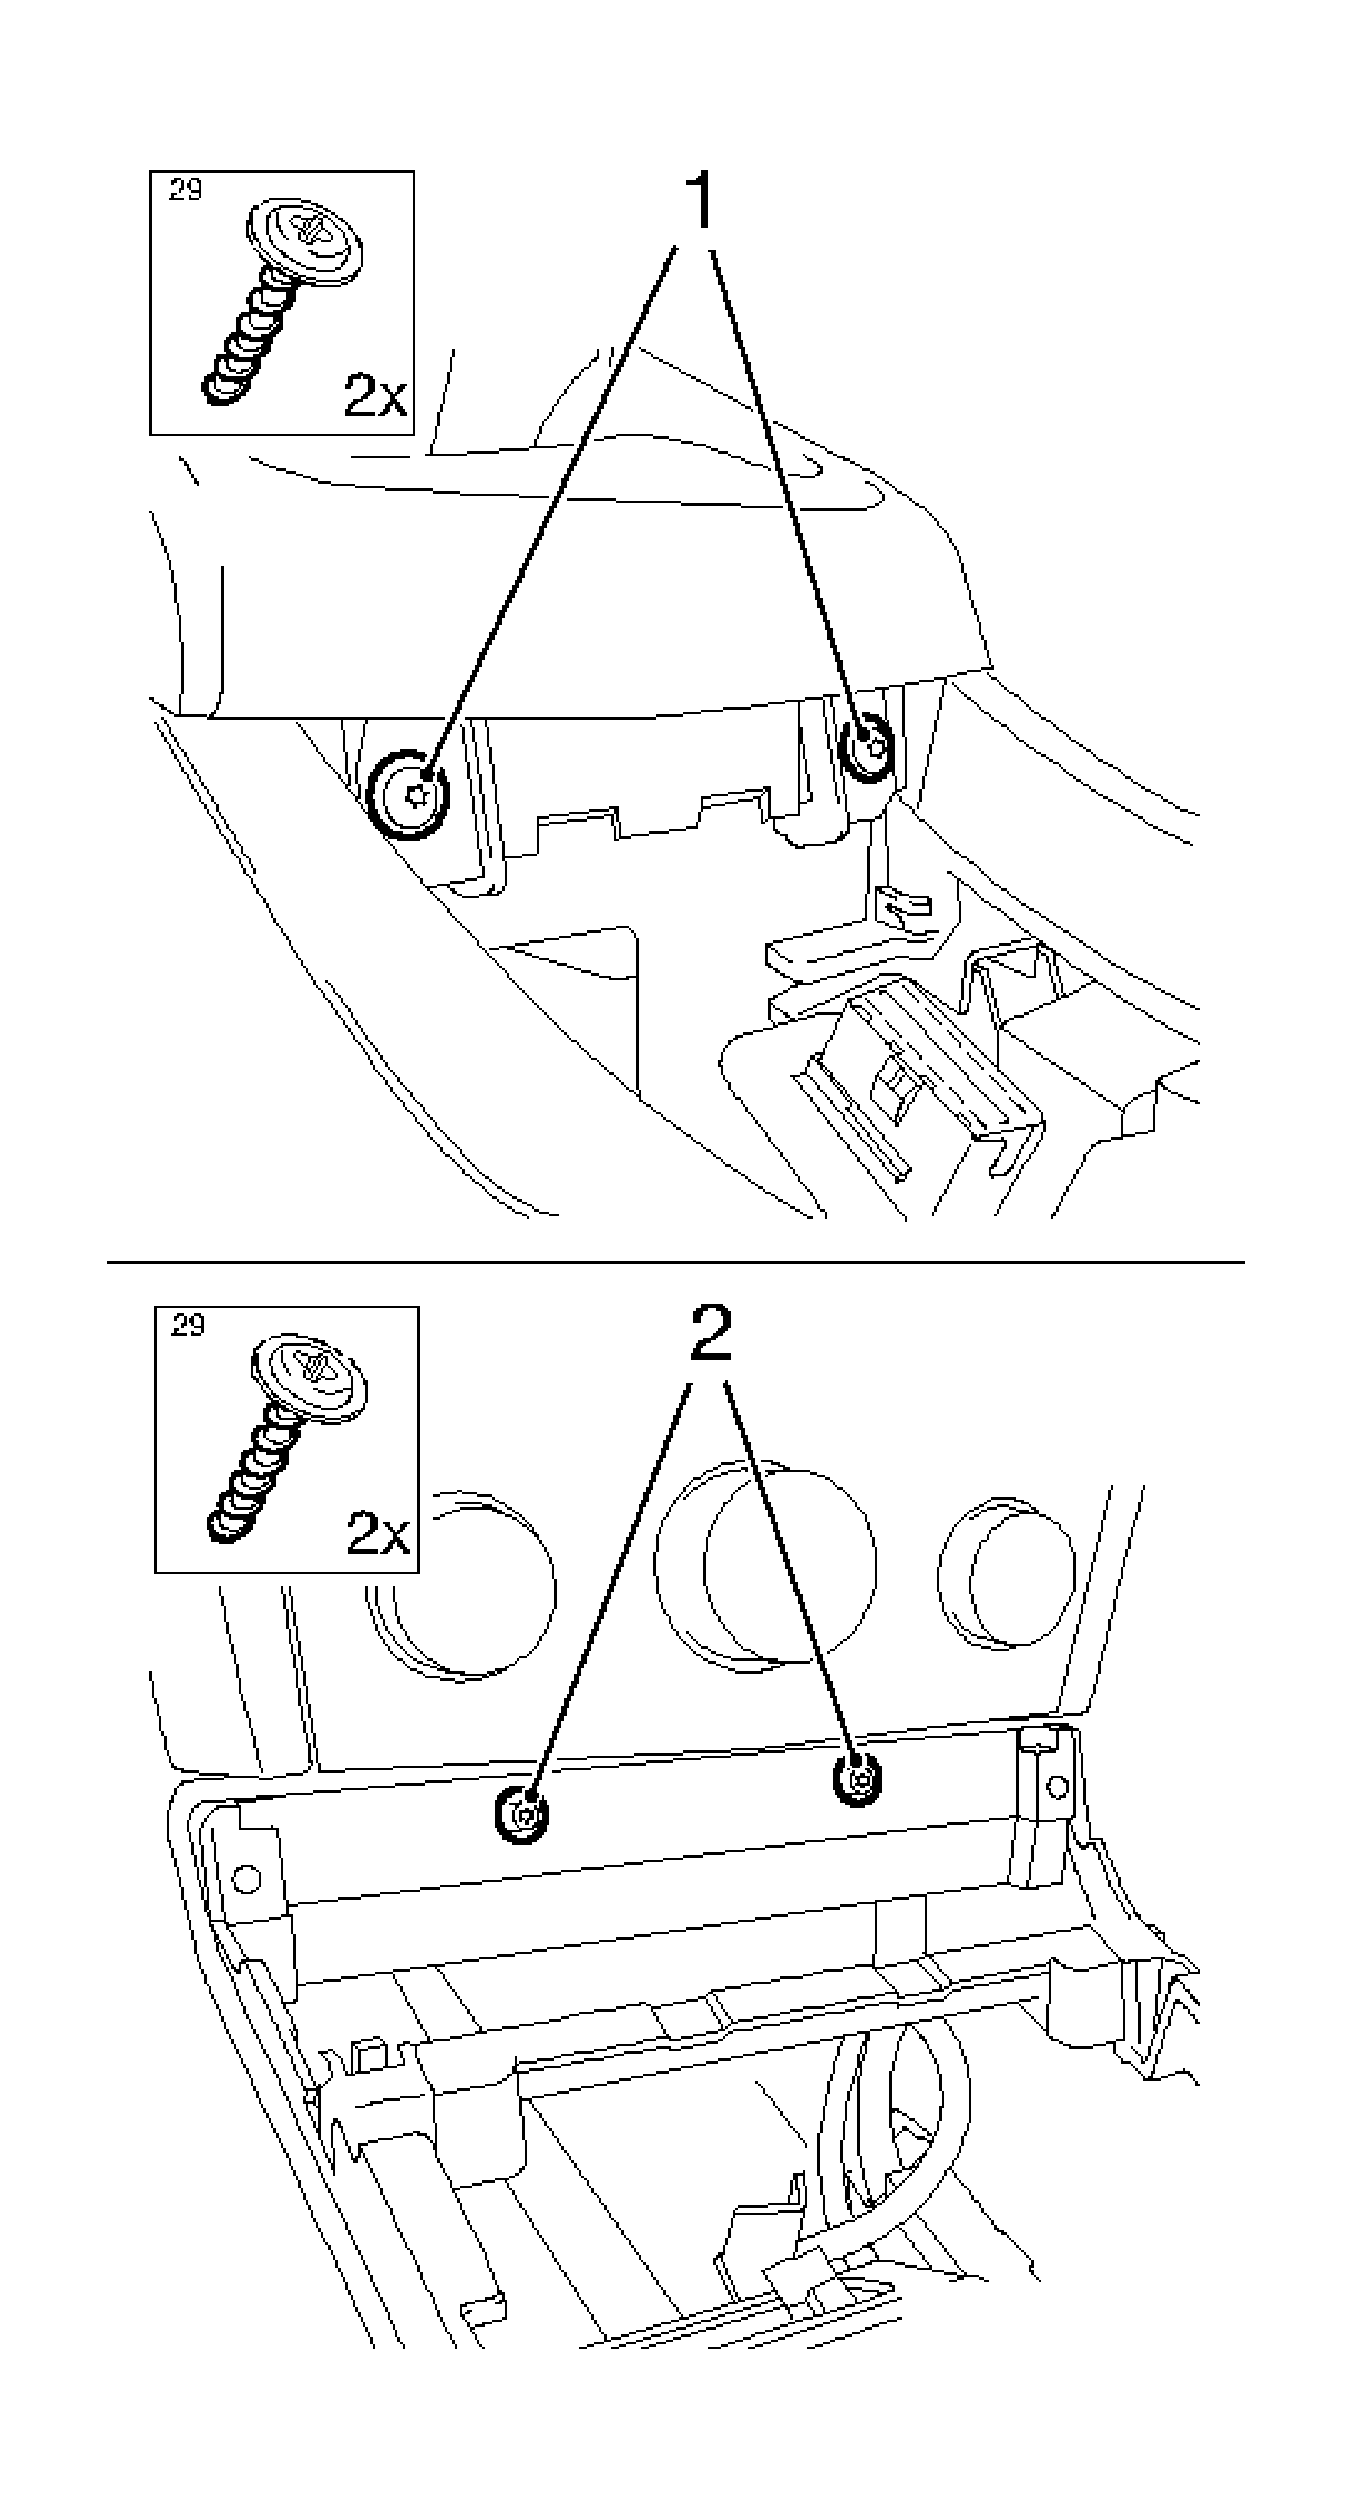
Remove the 2 bolts (2).
Remove the 2 bolts (1).
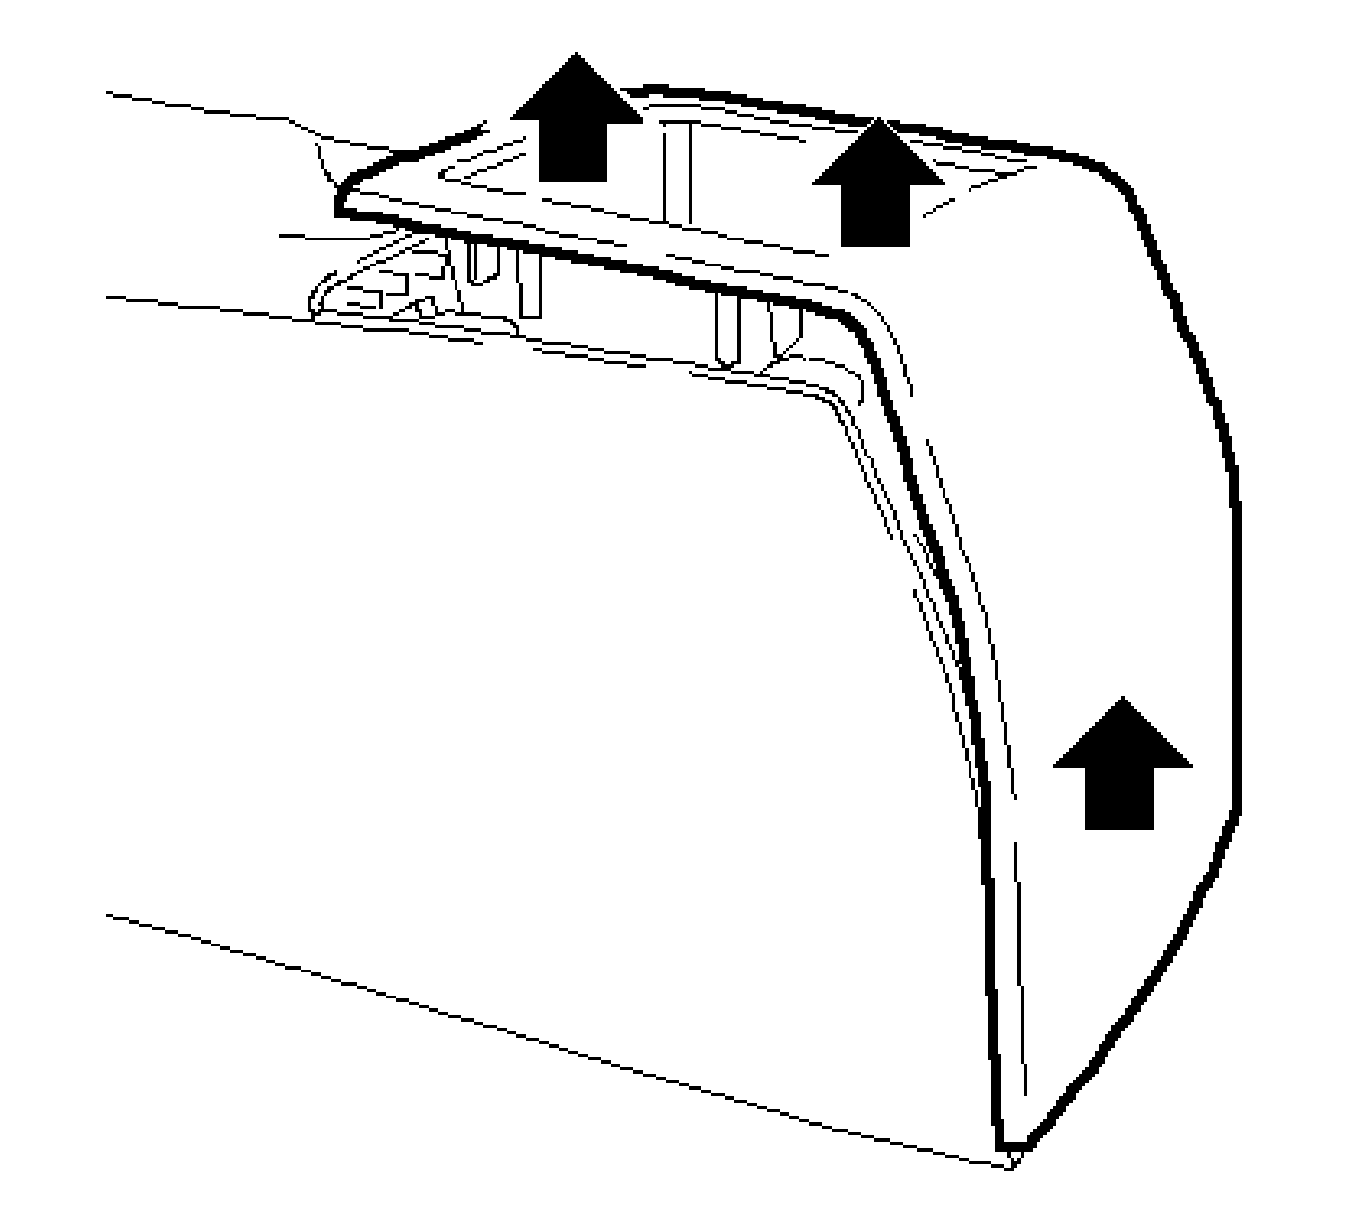
Note: Carefully take out the front floor console to the rear.
Installation Procedure
- Position the front floor console.
- Install the gear.
- Fasten the console, upper front.
- If equipped with storage compartment, install the storage compartment and then Install the ashtray.
- Fasten the console front and center.
- Install the hand brake molding.
- Install the console, rear.
- Install the console storage compartment, rear.
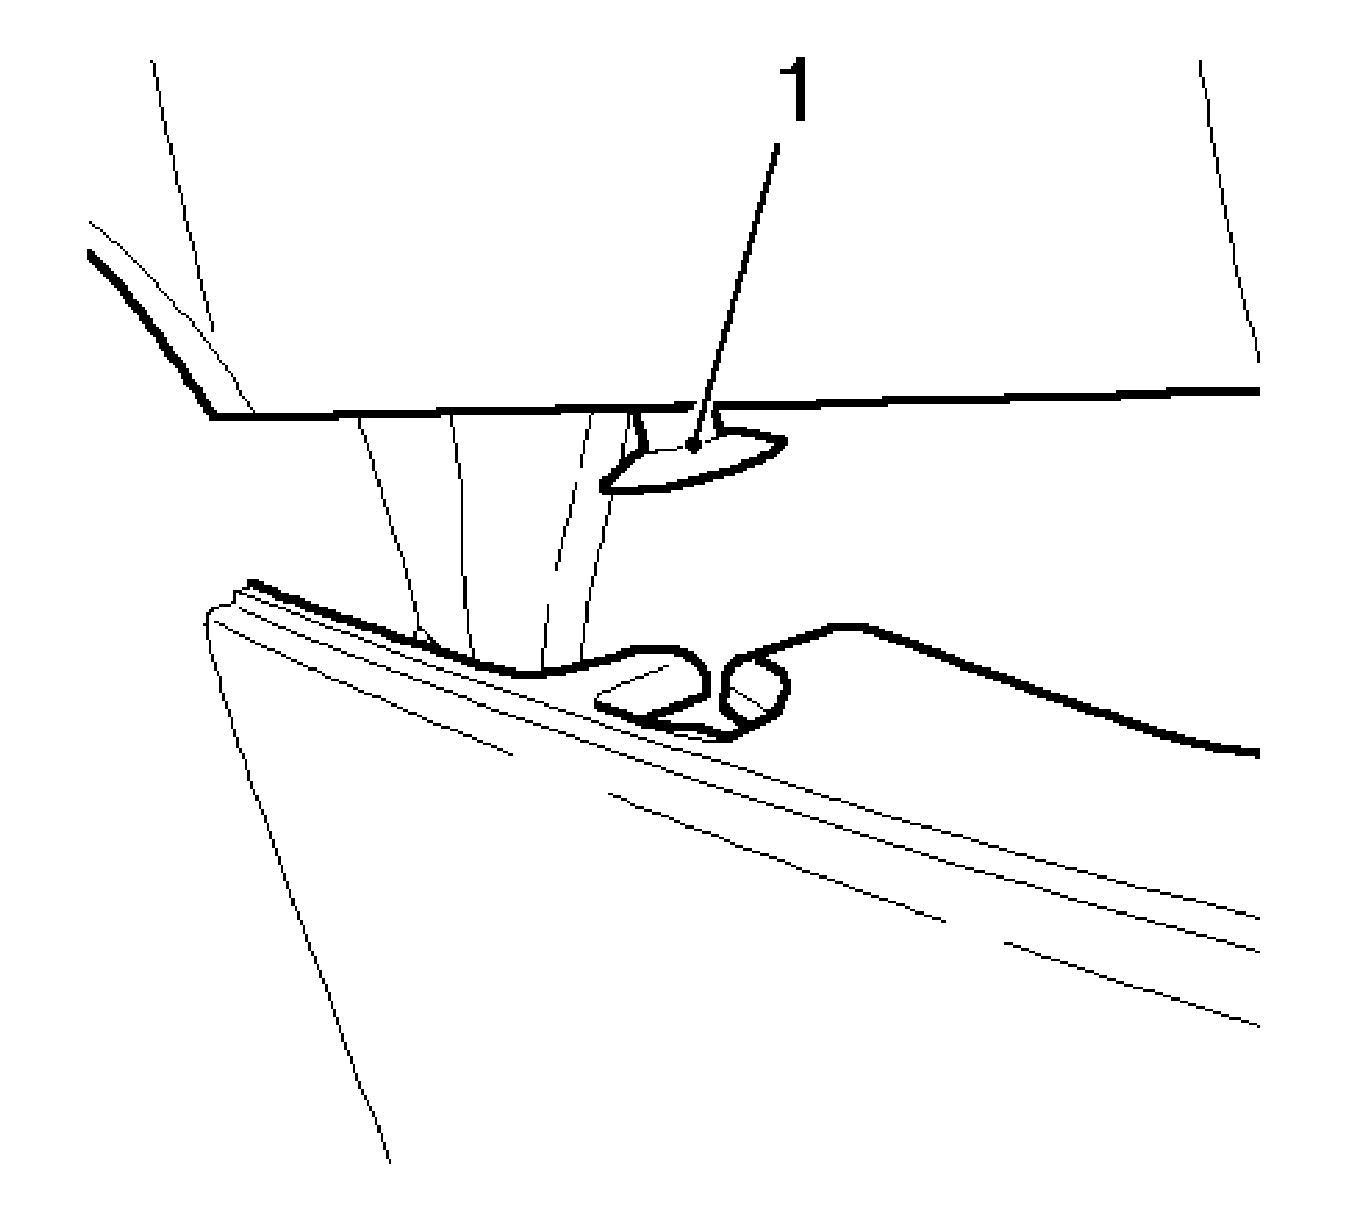
Slide the console in the front-most guide (1).
Caution: Refer to Fastener Caution in the Preface section.
Tighten
Tighten the 2 bolts to 2.5 N·m (22 lb in).
Tighten
Tighten the 2 bolts to 2.5 N·m (22 lb in).
Connect the 2 wiring harness plugs.
| • | Position both seats in rear-most position. |
Tighten
Tighten the 3 bolts to 2.5 N·m (22 lb in).
| • | Install the Tech2 connection molding. |
Position both seats to the most forward position.
Tighten
| • | Tighten the nut to 2.5 N·m (22 lb in). |
| • | Tighten the 2 bolts to 2.5 N·m (22 lb in). |
Install the 8 clips.
