Special Tools
| • | KM-6155 Guide Pins |
| • | SA9105E /MKM-883-1A Engine Support Fixture (3-Bar) |
Removal Procedure
- Remove the battery tray. Refer to Battery Tray Replacement.
- Remove the upper engine cover, if equipped.
- Remove the gearbox cover.
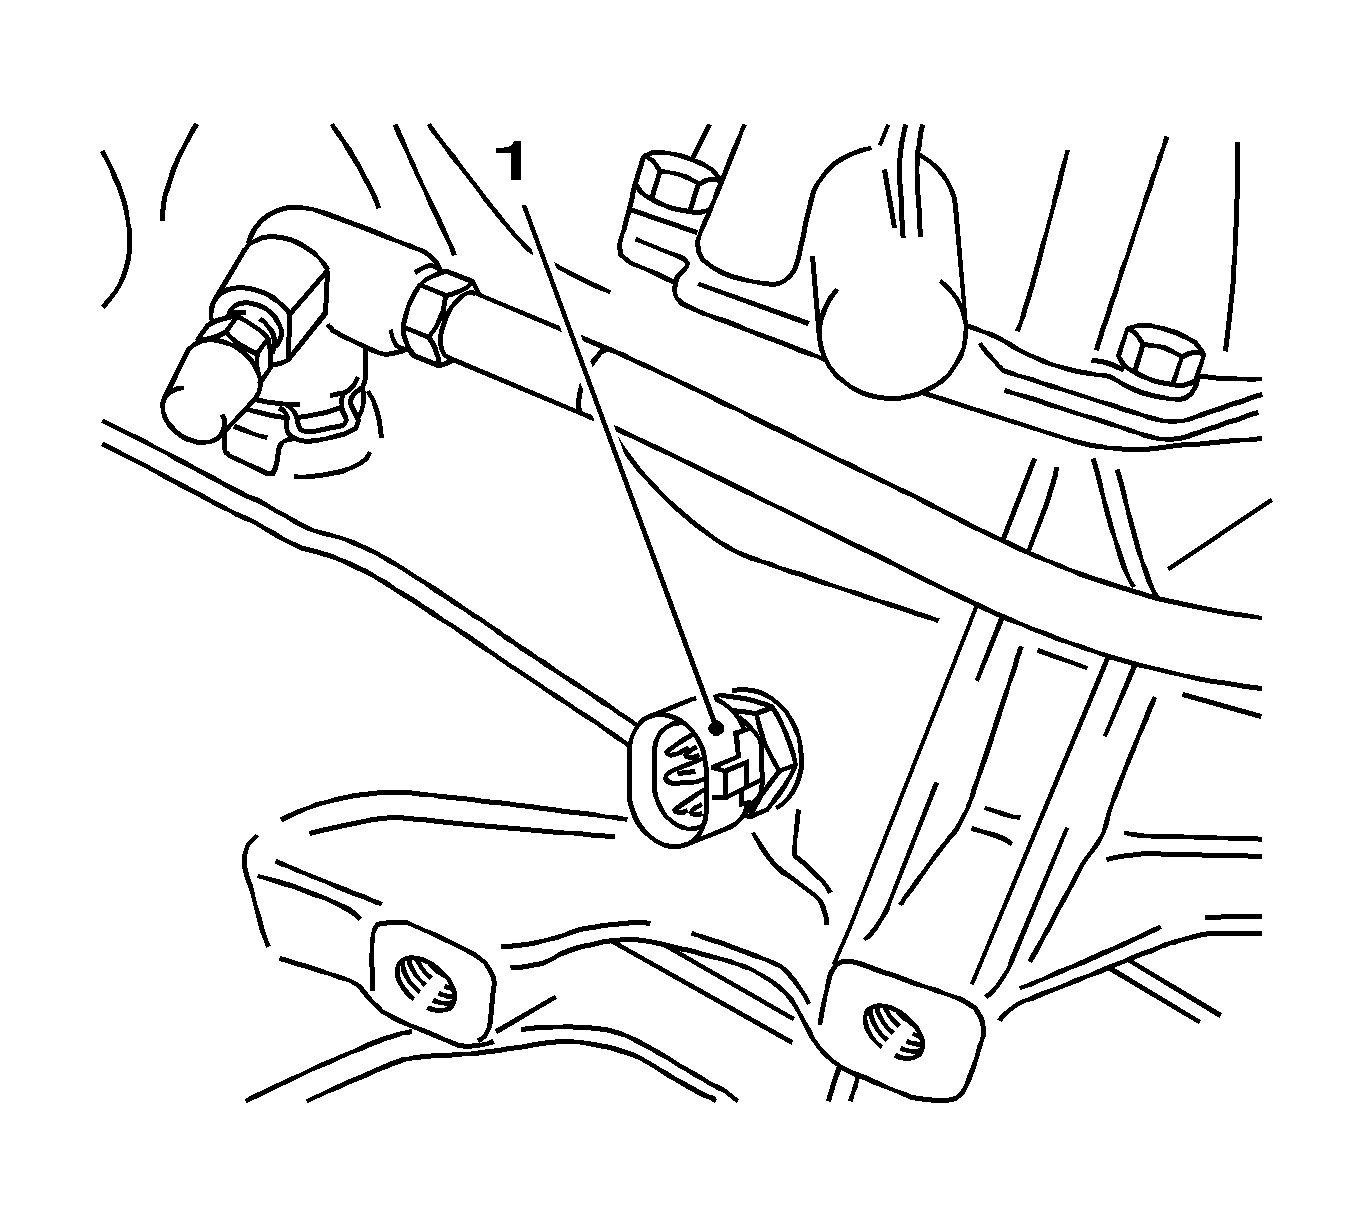
- Remove the reversing lamp switch (1).
- Remove the front frame. Refer to Front Frame Replacement.
- Remove the left engine damping block.
- Lower the engine and transmission SA9105E /MKM-883-1A approximately 5 cm.
- Remove the front left wheel.
- Remove the end shield cover.
- Screw the KM-6155 into the threaded bores.
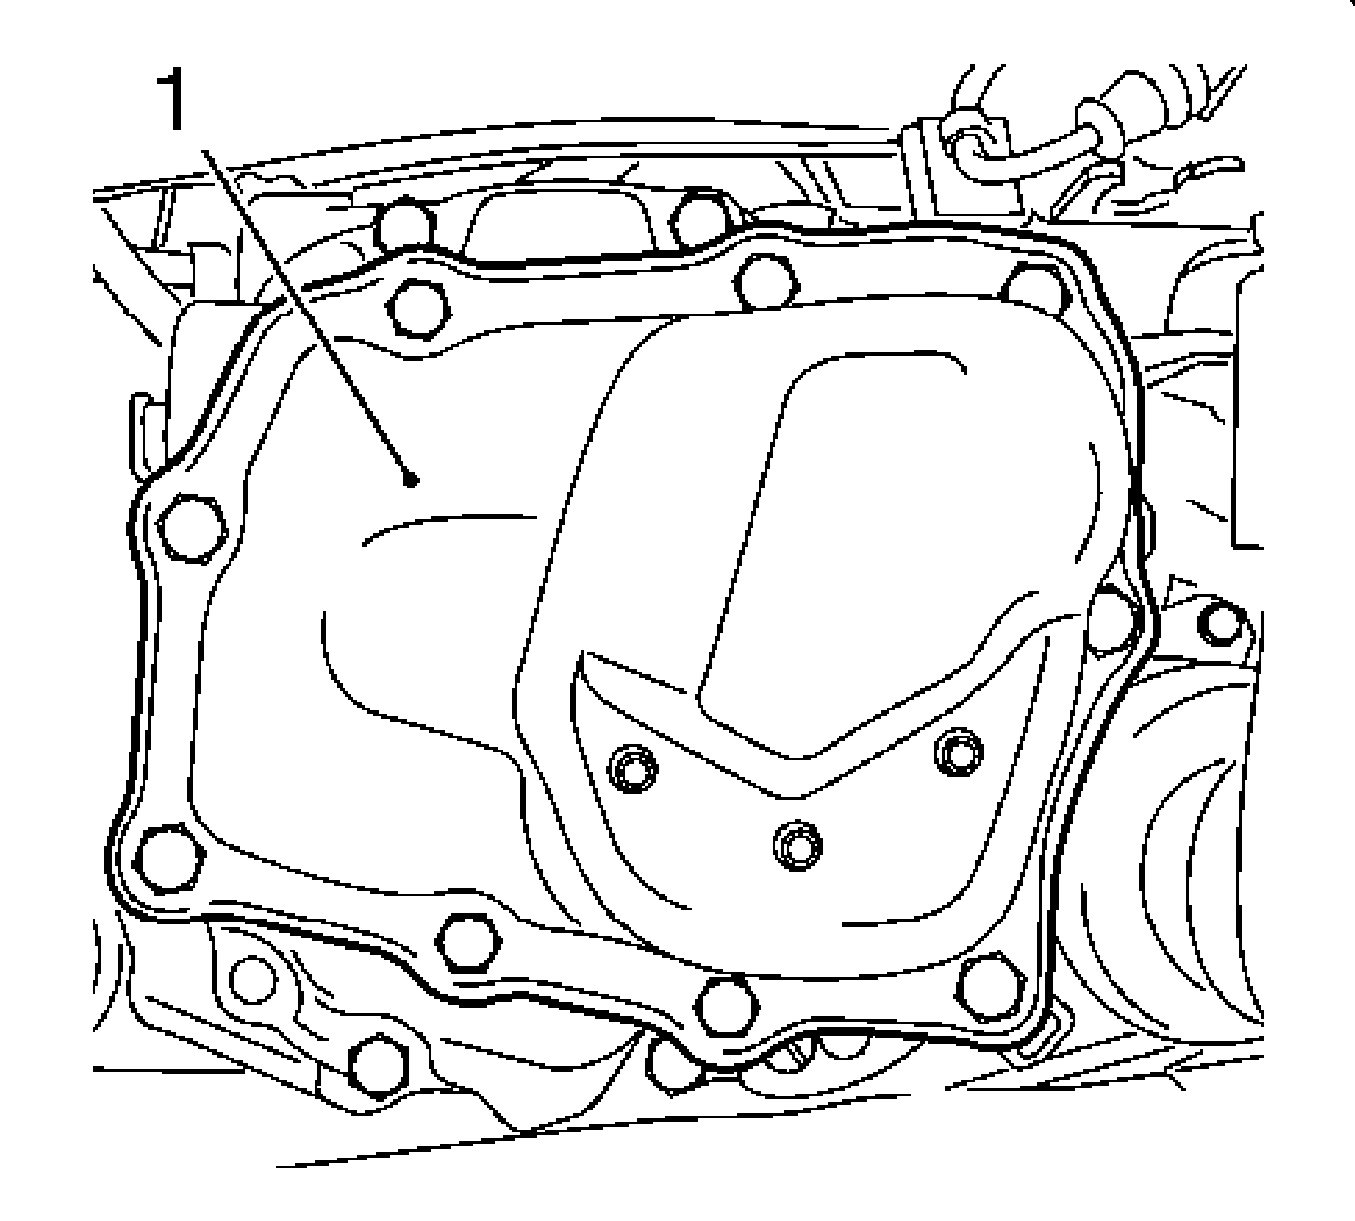
- Remove the end shield.
- Check all parts for damage.
- Clean the sealing surfaces.
Warning: Refer to Battery Disconnect Warning in the Preface section.

Disconnect the wiring harness plug, reversing lamp switch.

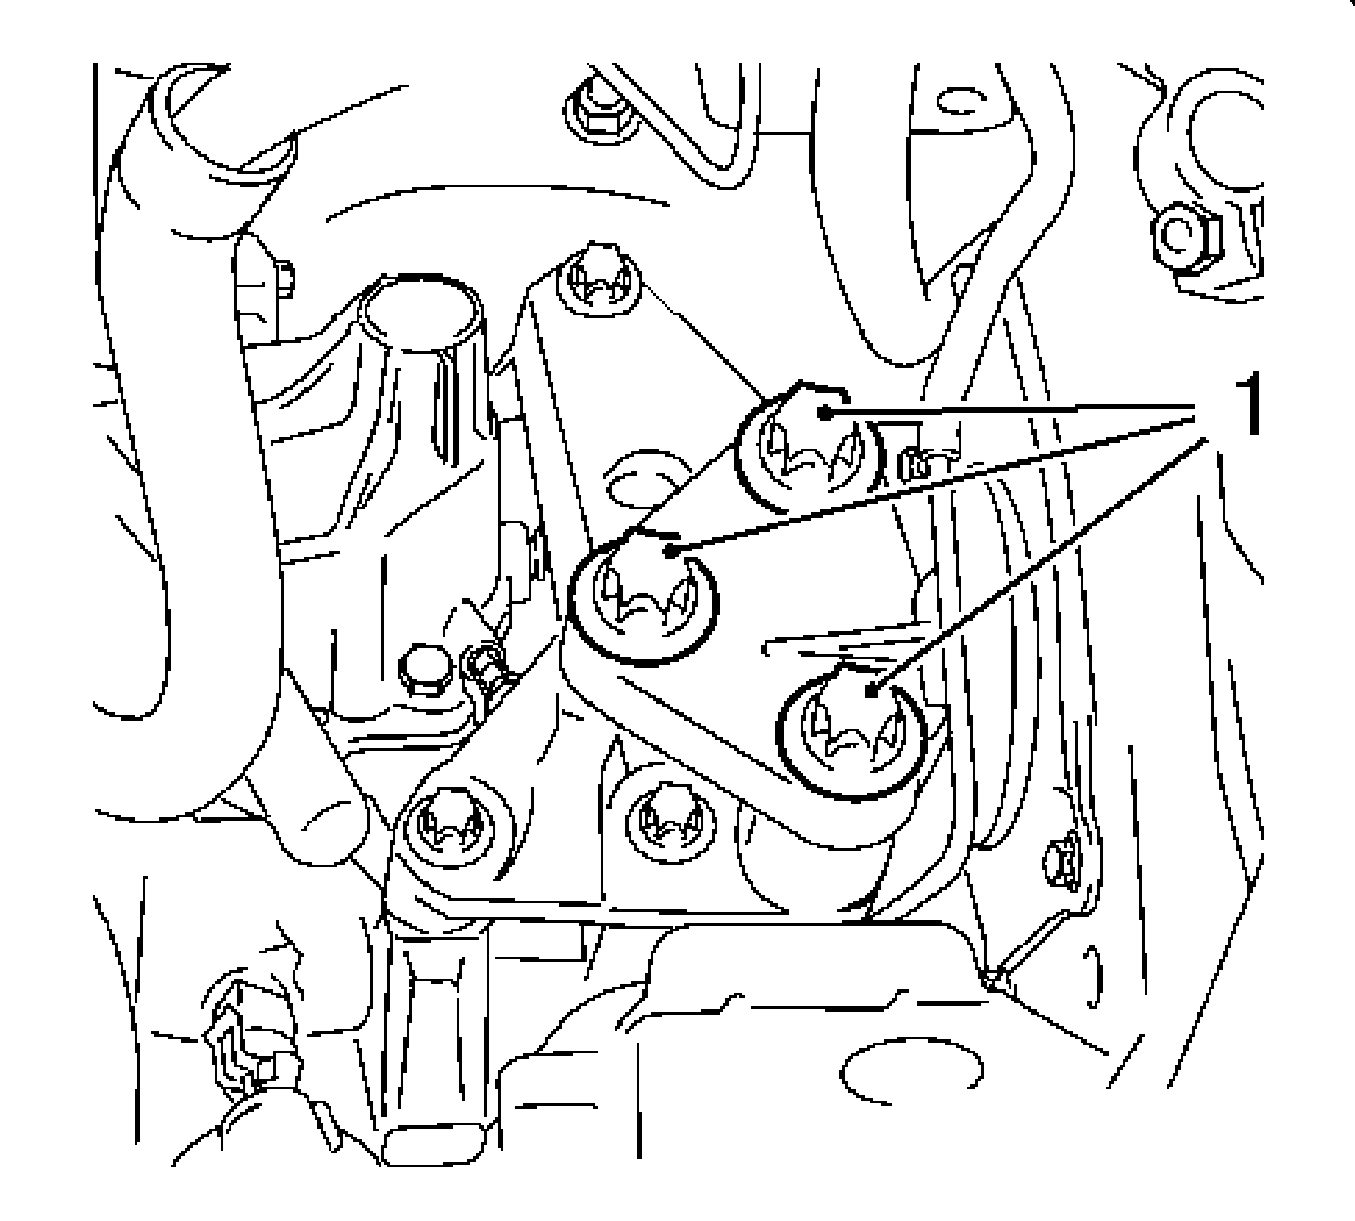
| • | Remove from the left engine damping block bracket. |
| • | Remove the 3 bolts (1). |
Note: Do not damage the wiring harnesses and attaching parts.
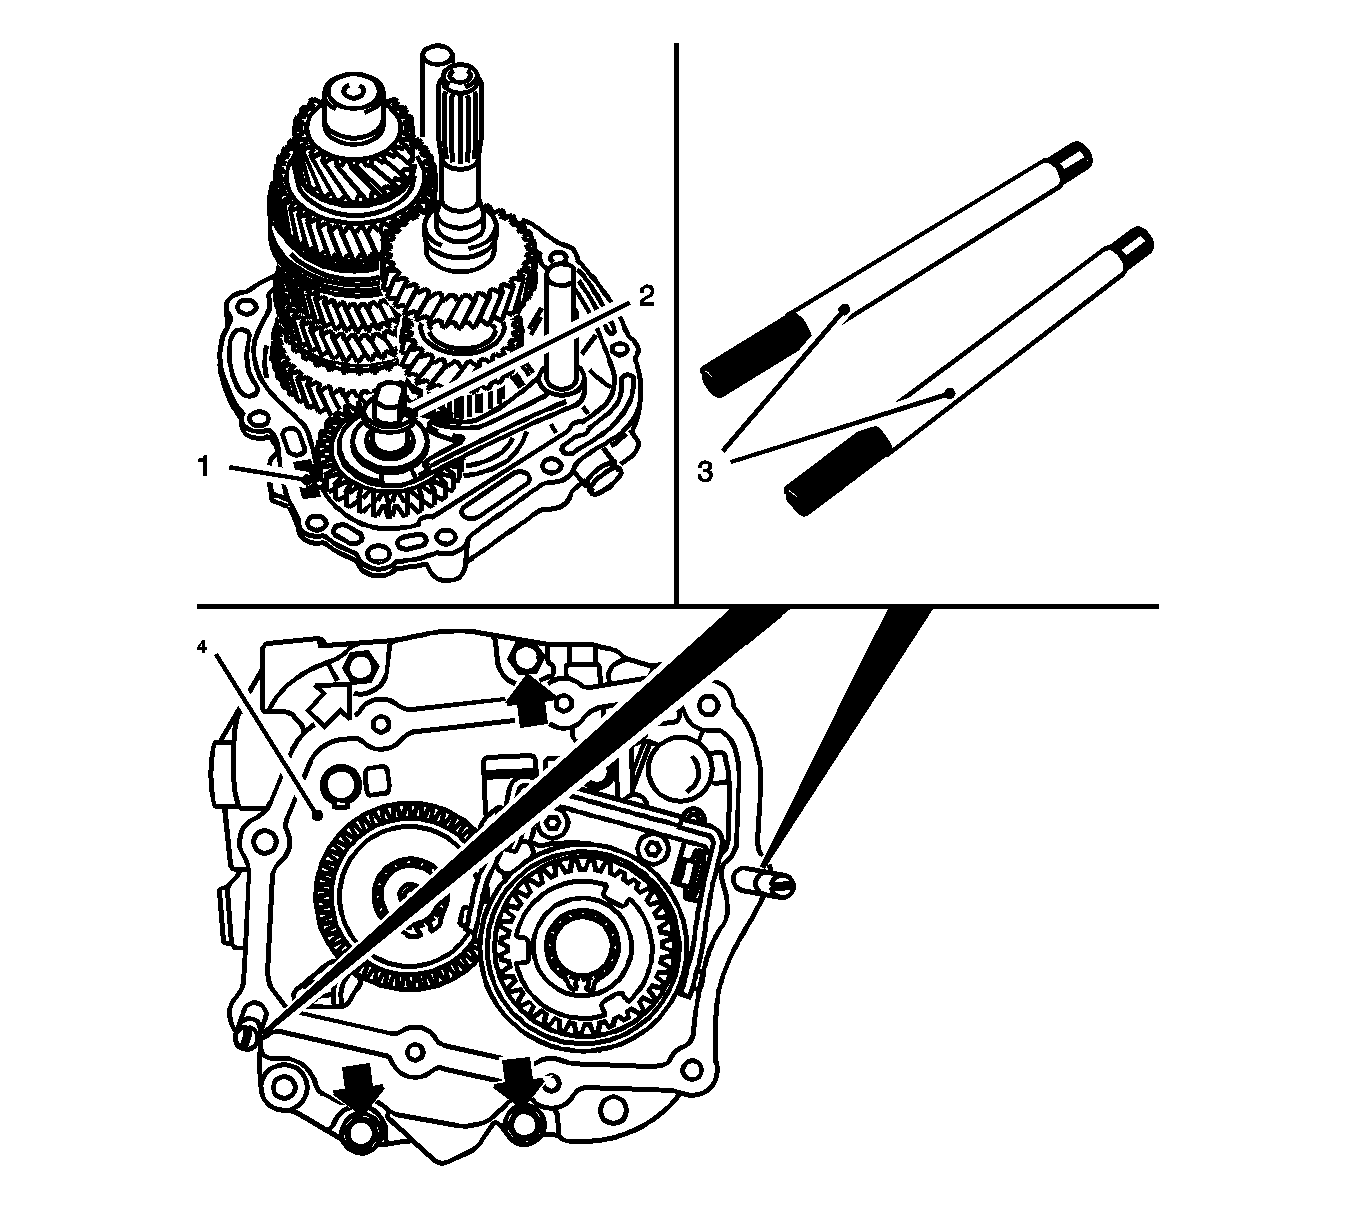
Note: When dismantling the end shield (1) it is essential to use KM-6155 (2) as otherwise the shaft seal ring of the central release will be damaged.

Note: Be careful of the guide sleeves, magnet (3) and spacer washer (4) for axle reverse idler gear.
Remove the 4 bolts (arrows).
Note: Replace damaged components.
Installation Procedure
- Install a new end shield gasket to the transmission with roller bearing grease.
- Install the end shield (4).
- Remove KM-6155 (3)
- Install the end shield cover.
- Install the left front wheel.
- Lift the engine and transmission with SA9105E /MKM-883-1A.
- Install the left engine damping block.
- Install the front frame. Refer to Front Frame Replacement.
- Install the reversing lamp switch.
- Attach the gearbox cover to the transmission.
- Install the upper engine cover, if present.
- Install the batter tray. Refer to Battery Tray Replacement.
- Inspect the transmission fluid level. Refer to Front Wheel Drive Shaft Seal Replacement.
- For reprogramming procedures, refer to Control Module References.
Caution: Refer to Fastener Caution in the Preface section.

Note:
• Check that the magnet (1) and friction washer (2), are correctly seated. • Use new bolts.
Carefully insert the end shield into the transmission housing.
Tighten
Tighten the 4 new bolts to 22 N·m (16 lb ft).
Tighten
Tighten the left front wheel to 110 N·m (81 lb ft).

| • | Attach to the left support for engine damping block. |
Tighten
Tighten the 3 bolts to 55 N·m (41 lb ft).

Tighten
Tighten the reversing lamp switch to 20 N·m (15 lb ft).
| • | Using new seal ring. |
| • | Connect the wiring harness plug for the reversing lamp switch. |
Tighten
Tighten to 7 N·m (62 lb in).
