For 1990-2009 cars only
Tools Required
| • | J 36346 Fascia Retainer Remover |
| • | J 44810 Transaxle Range Switch Alignment Tool |
Removal Procedure
- Shift the transmission into neutral.
- Disconnect the negative battery cable. Refer to Battery Negative Cable Disconnection and Connection in Engine Electrical.
- Disconnect the transmission control module connectors, noting proper orientation.
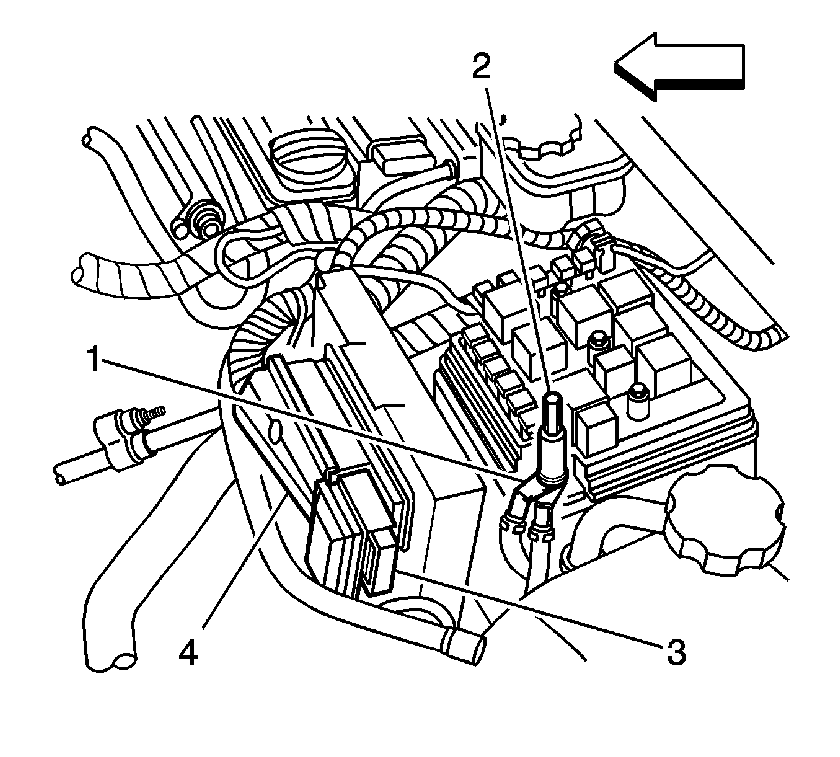
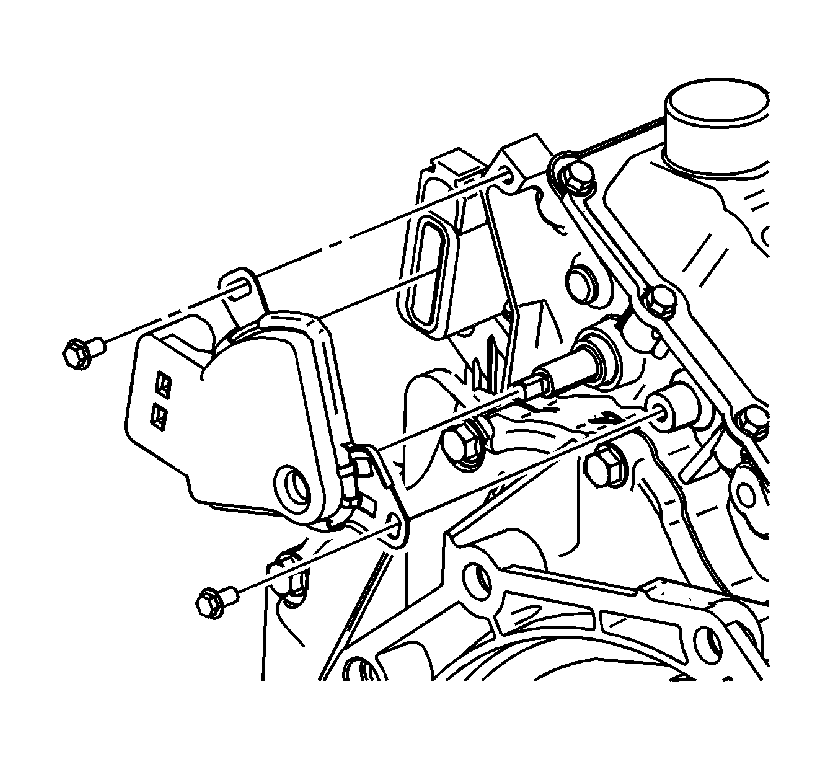
- Remove the bolt and disconnect the large engine control module connector (4).
- Disconnect the engine wiring harness retainer near the engine control module.
- Disconnect the EVAP purge solenoid connector and lay wiring harness aside.
- Using the J 36346 or equivalent, remove the control cable assembly from the park/neutral position switch lever.
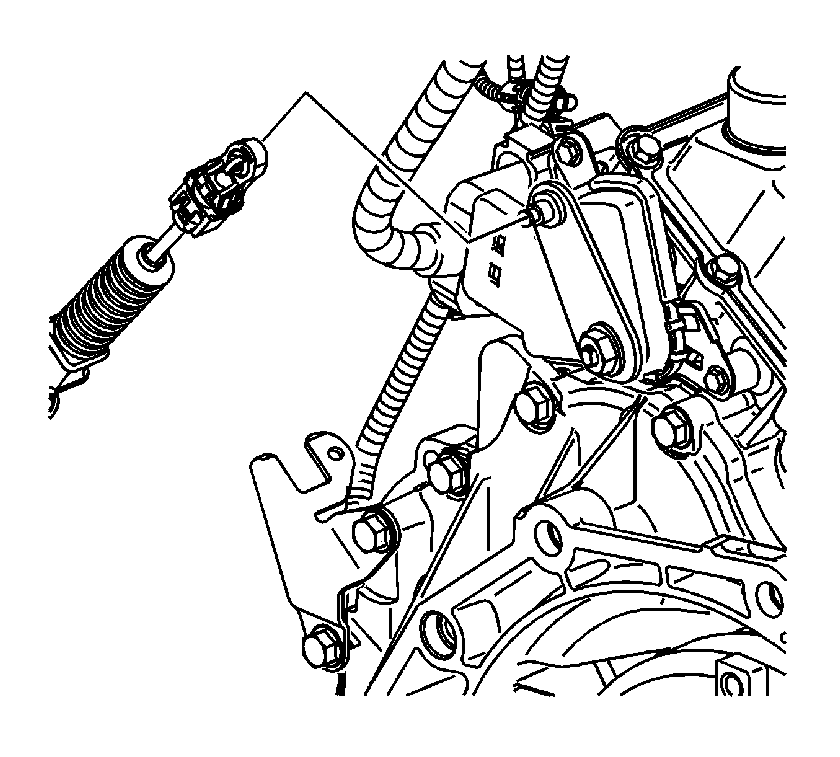
- Disconnect the park/neutral position switch harness connector.
- Remove the park/neutral position switch lever nut and lever.
- Remove the park/neutral position switch bolts.
- Remove the park/neutral position switch from the vehicle.
Important: Ensure that the manual shaft is fully seated into the transmission.
Installation Procedure
- Place the transmission manual shift shaft in the neutral position.
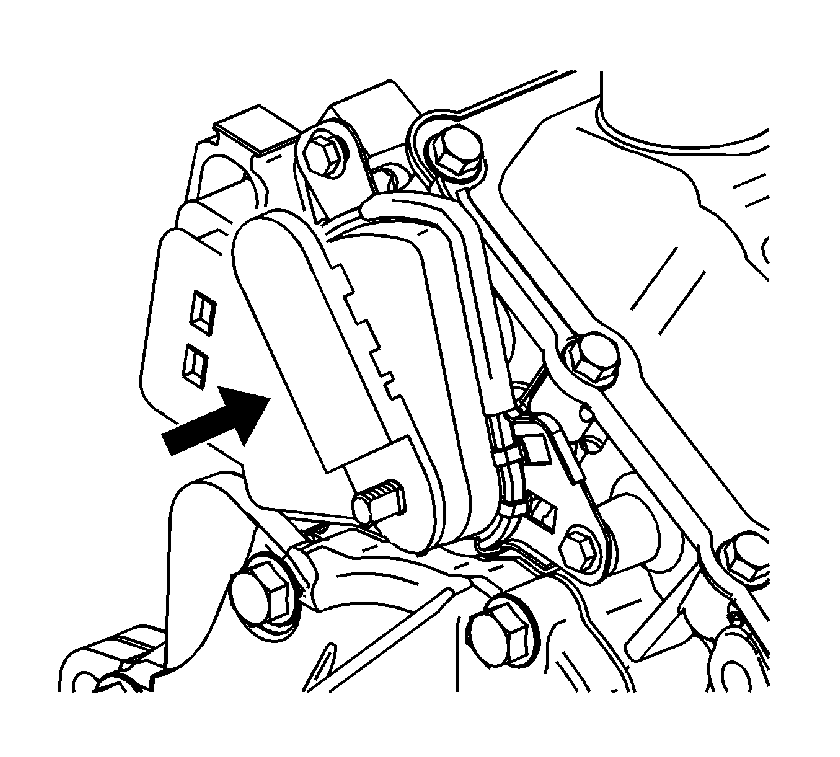
- Align the flats on the manual shift shaft with the flats on the park/neutral position switch, while installing the switch.
- Loosely install the park/neutral position switch bolts.
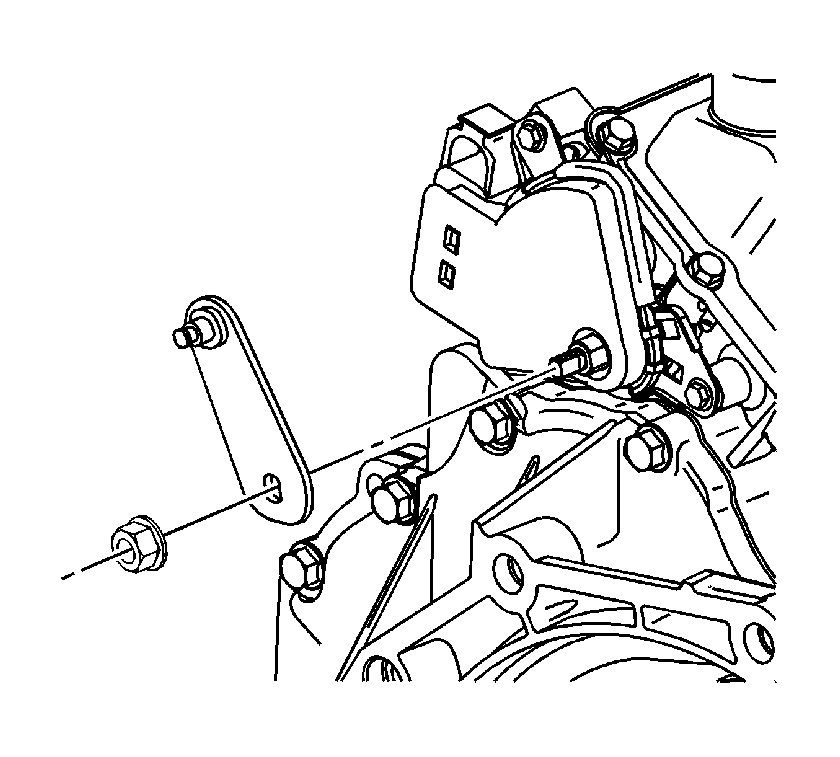
- If installing the old park/neutral switch, insert theJ 44810 as shown and rotate the switch until the tool drops into position.
- Tighten the park/neutral position switch bolts.
- Install the park/neutral position switch lever and nut.
- Connect the park/neutral position switch harness connector.
- Install the control cable assembly to the park/neutral position switch lever and verify proper operation.
- Connect the EVAP purge solenoid connector.
- Install the engine wiring harness retainer near the engine control module.
- Install the large engine control module connector (4) and bolt.
- Connect the transmission control module connectors to the proper orientation.
- Connect the negative battery cable. Refer to Battery Negative Cable Disconnection and Connection in Engine Electrical.
Notice: Refer to Fastener Notice in the Preface section.
Tighten
Tighten the bolts to 11 N·m (97 lb in).
Tighten
Tighten the nut to 16 N·m (12 lb ft).
Tighten
Tighten the bolt to 4 N·m (35 lb in).
