For 1990-2009 cars only
Removal Procedure
- Raise and support the vehicle. Refer to Lifting and Jacking the Vehicle in General Information.
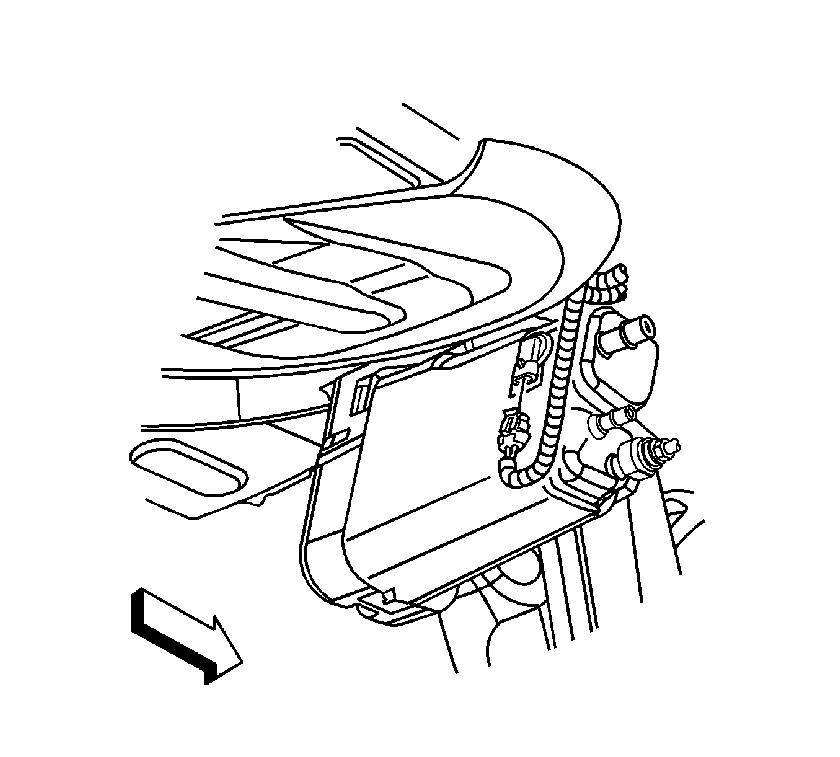
- Disconnect the electrical connector from the evaporative emission (EVAP) canister vent solenoid valve.
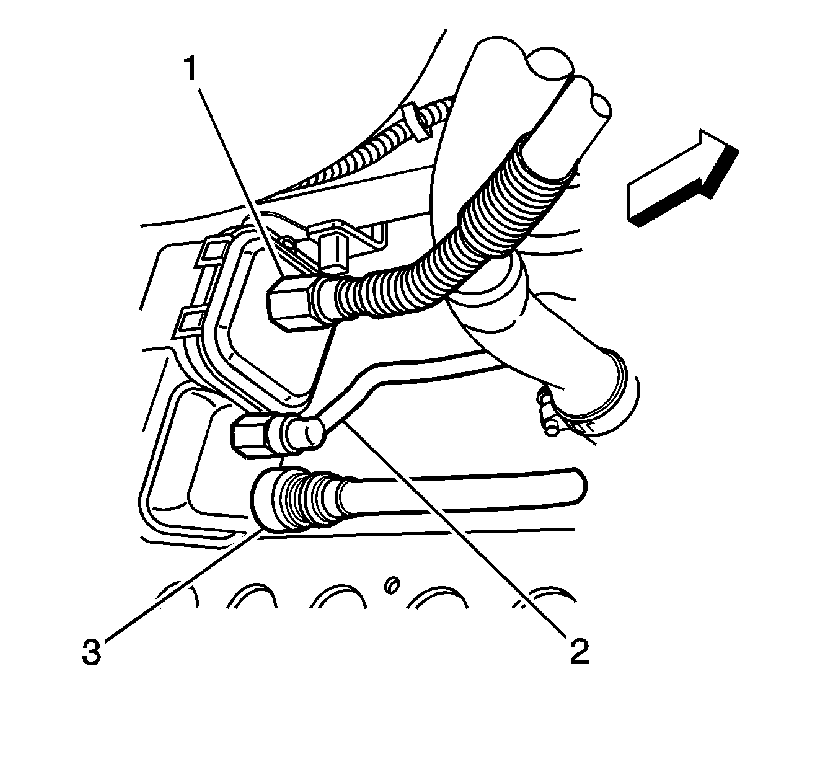
- Disconnect the hose connections (1, 2, 3) from the EVAP canister. Refer to Plastic Collar Quick Connect Fitting Service .
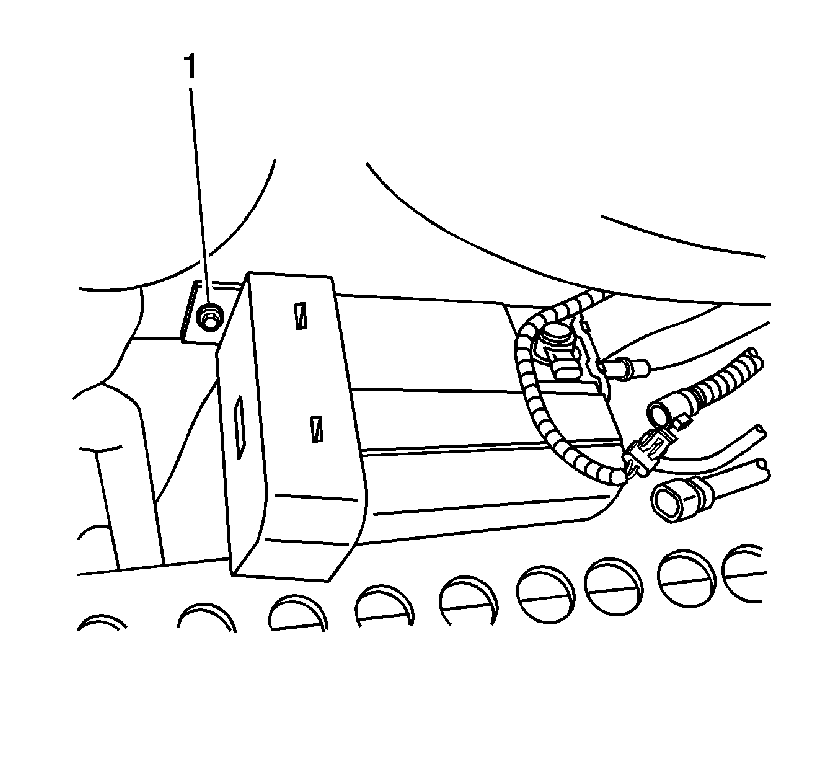
- Remove the EVAP canister retaining bolt (1).
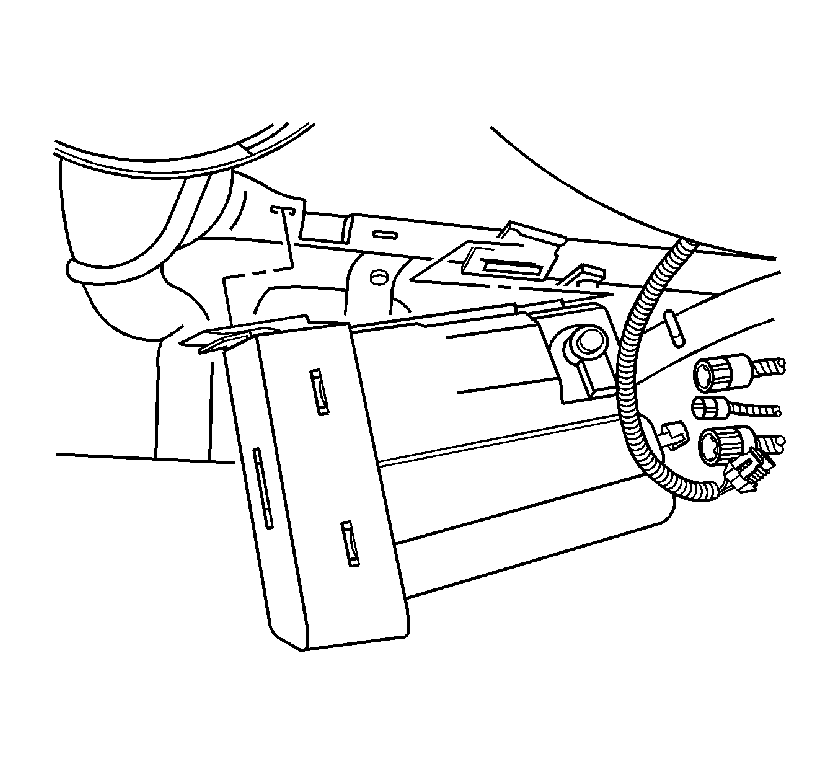
- Remove the EVAP canister assembly toward the outboard side of the vehicle.
- If the EVAP canister is to be reused, inspect the canister for loose carbon.


Notice: The EVAP canister may have released carbon particles which caused this part to fail and may cause damage to other components. Check the EVAP canister for loose carbon before returning the vehicle to service.
Installation Procedure
- Insert the retaining tab of the EVAP canister into the slotted bracket on the vehicle underbody.
- Install the EVAP canister retaining bolt (1).
- Connect the hose connections (1,2,3) to the EVAP canister. Refer to Plastic Collar Quick Connect Fitting Service .
- Connect the electrical connector to the EVAP canister vent solenoid valve.
- Lower the vehicle.

Notice: Refer to Fastener Notice in the Preface section.

Tighten
Tighten the bolt to 10 N·m (89 lb in).


