For 1990-2009 cars only
Transmission Wiring Extension Harness Replacement for Saturn ION 2003
Removal Procedure
- Raise and support the vehicle. Lifting and Jacking the Vehicle in General Information
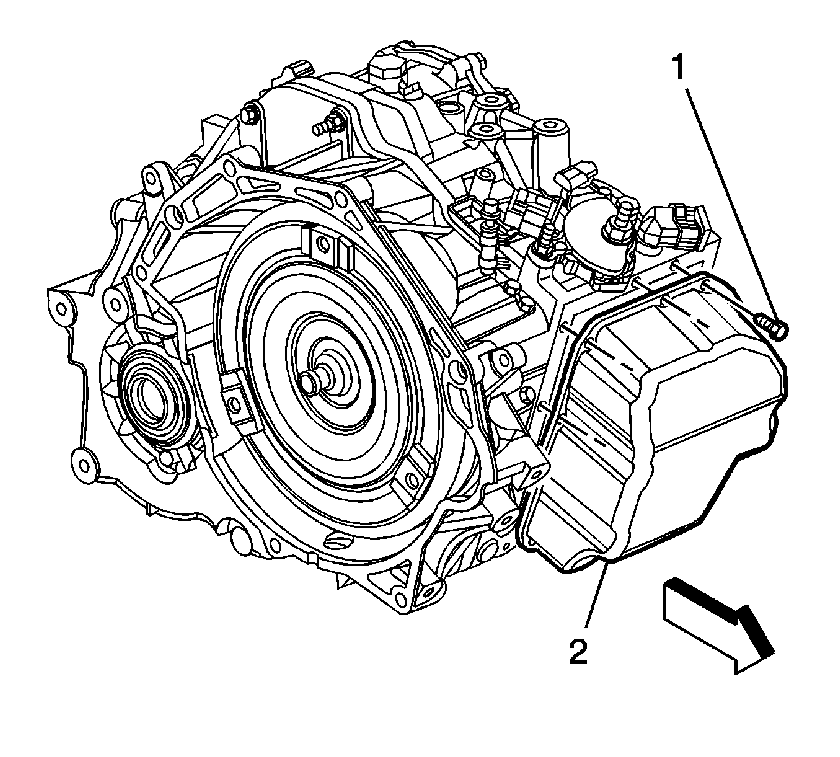
- Remove the control valve body cover (2). Refer to Control Valve Body Cover Replacement .
- Disconnect the 8 solenoid harness connectors.
- Remove the fluid temperature sensor bolt (31).
- Remove the fluid temperature sensor clamp (49).
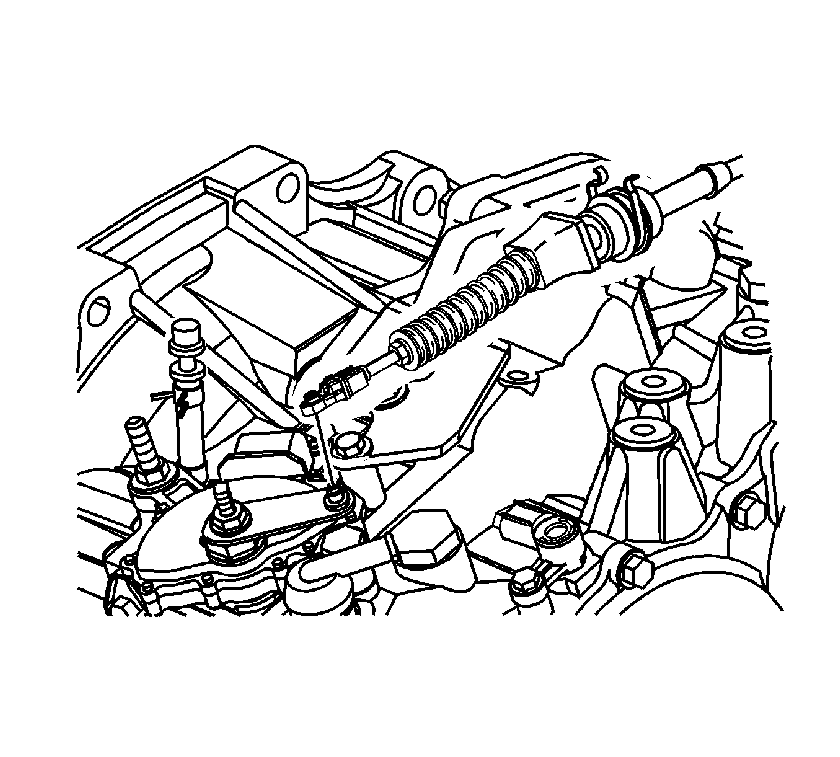
- Disconnect the shift cable from the transmission control lever.
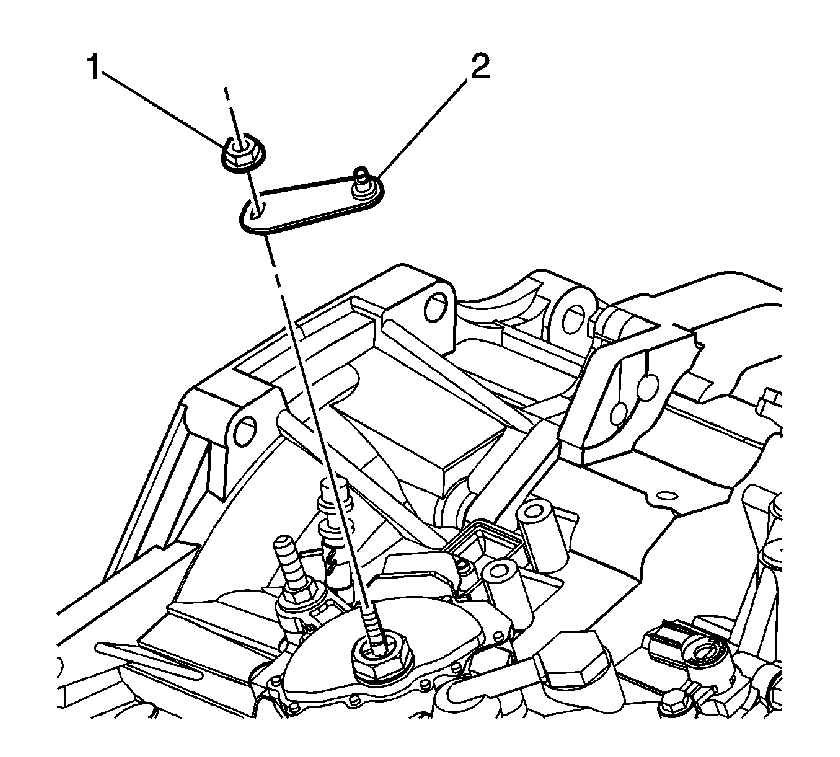
- Remove the transmission control lever (2) and nut.
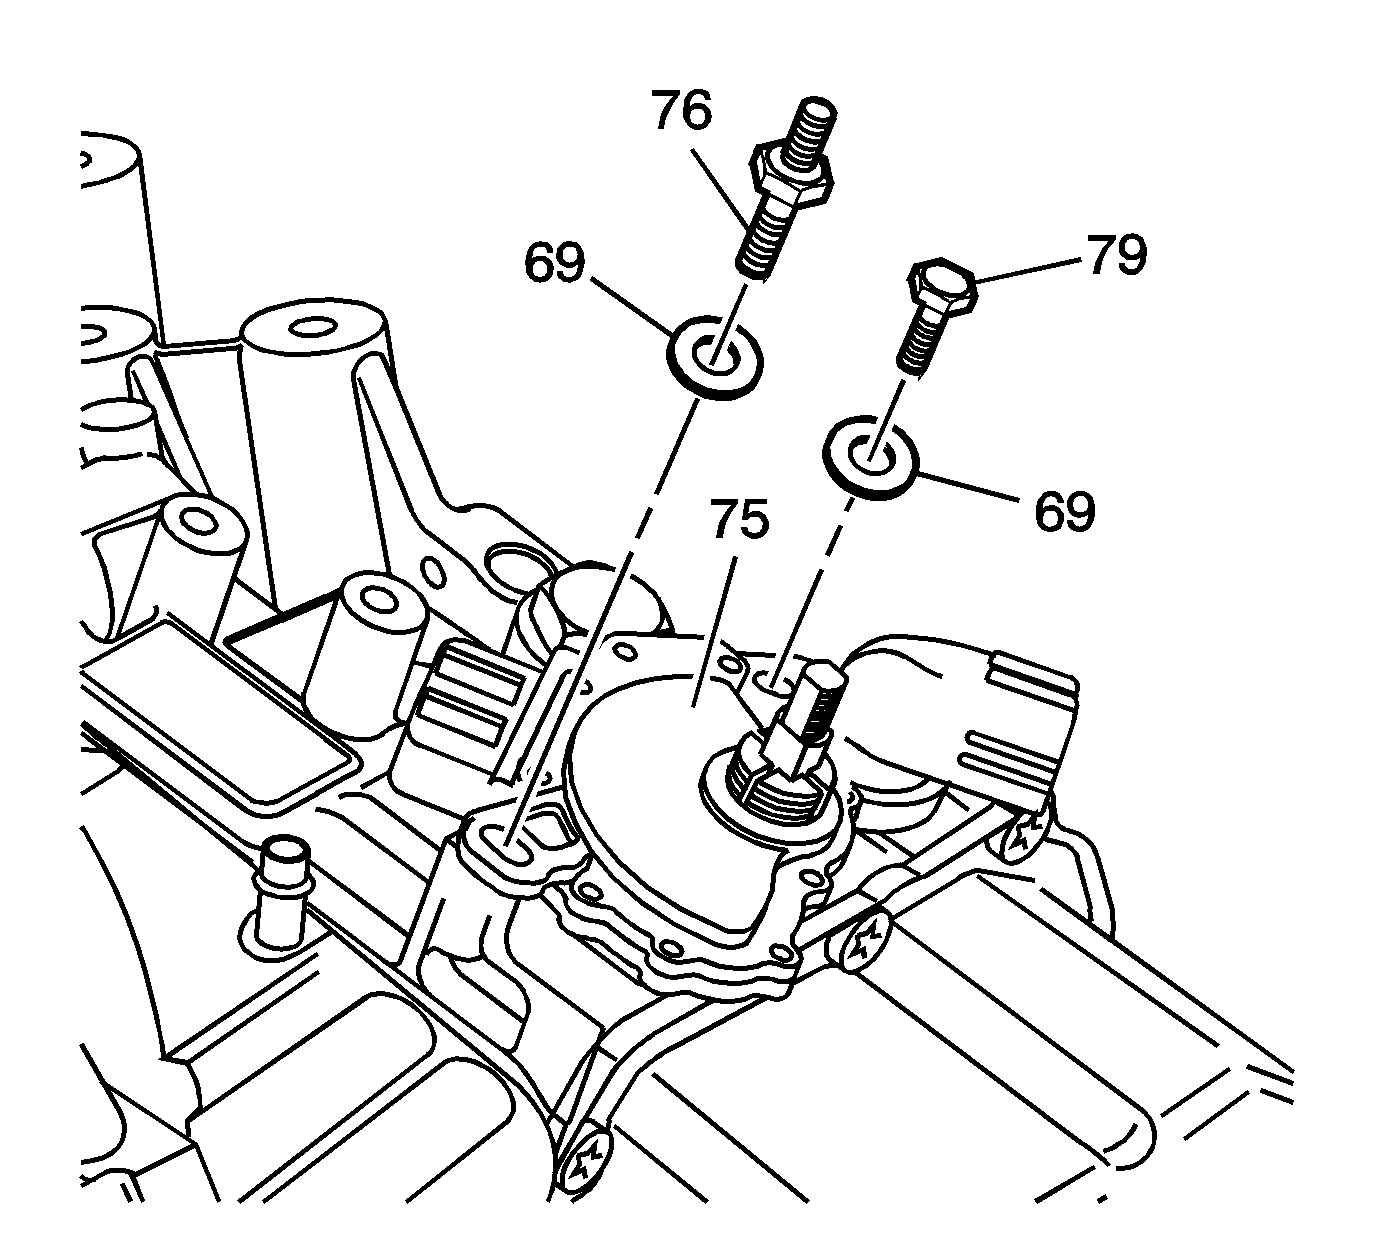
- Remove the park/neutral position switch bolt (79).
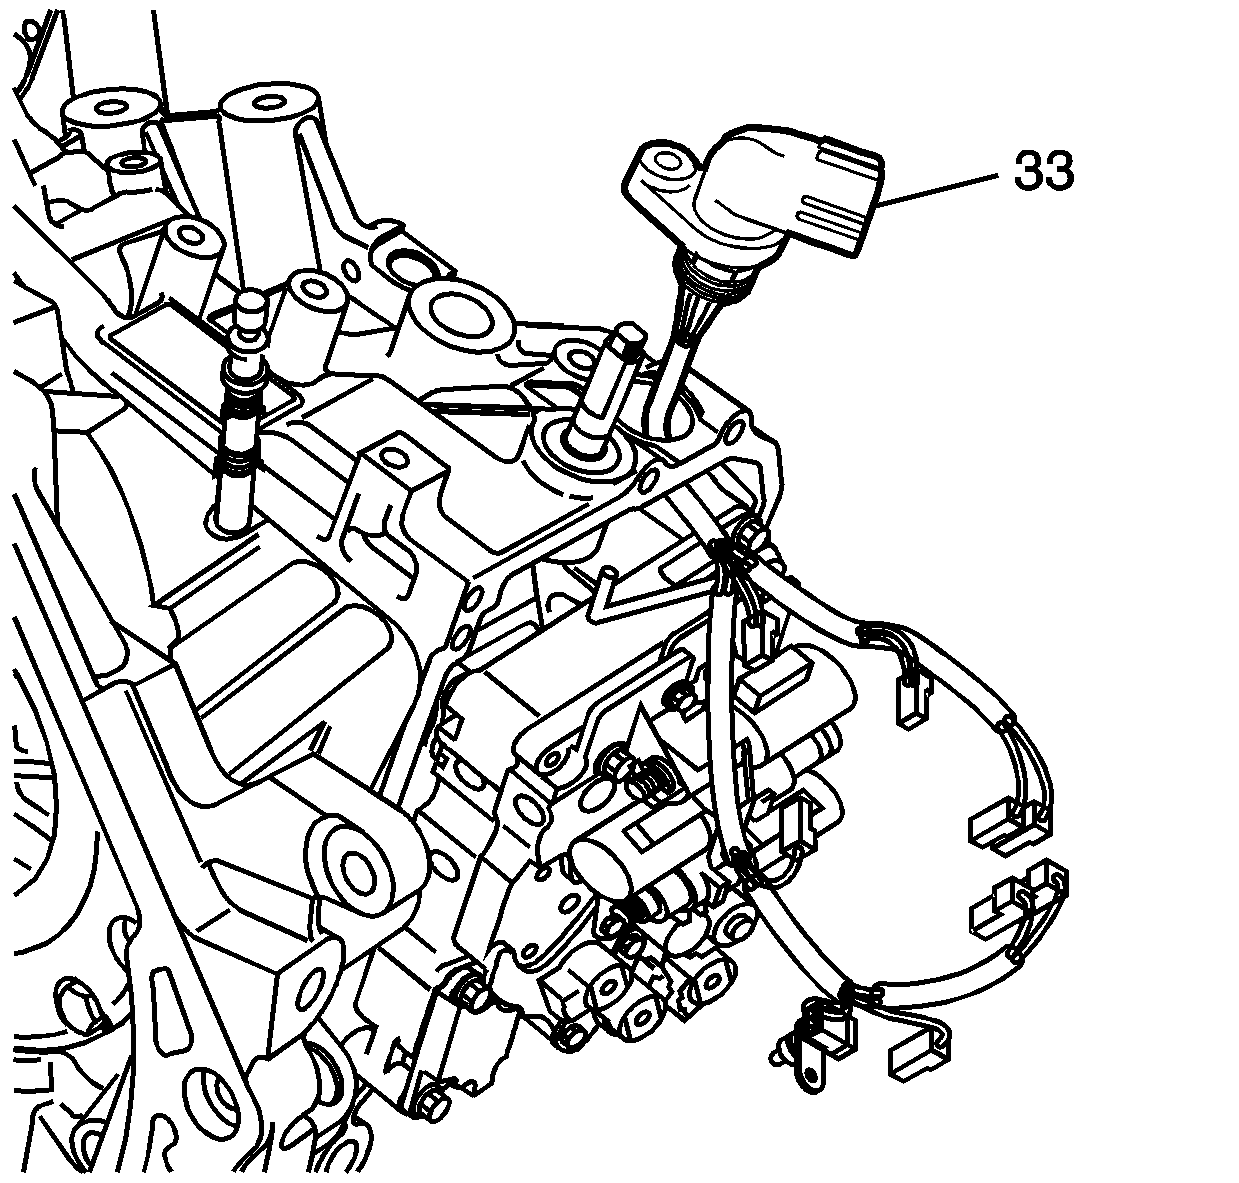
- With a twisting motion, remove the complete wiring harness assembly.
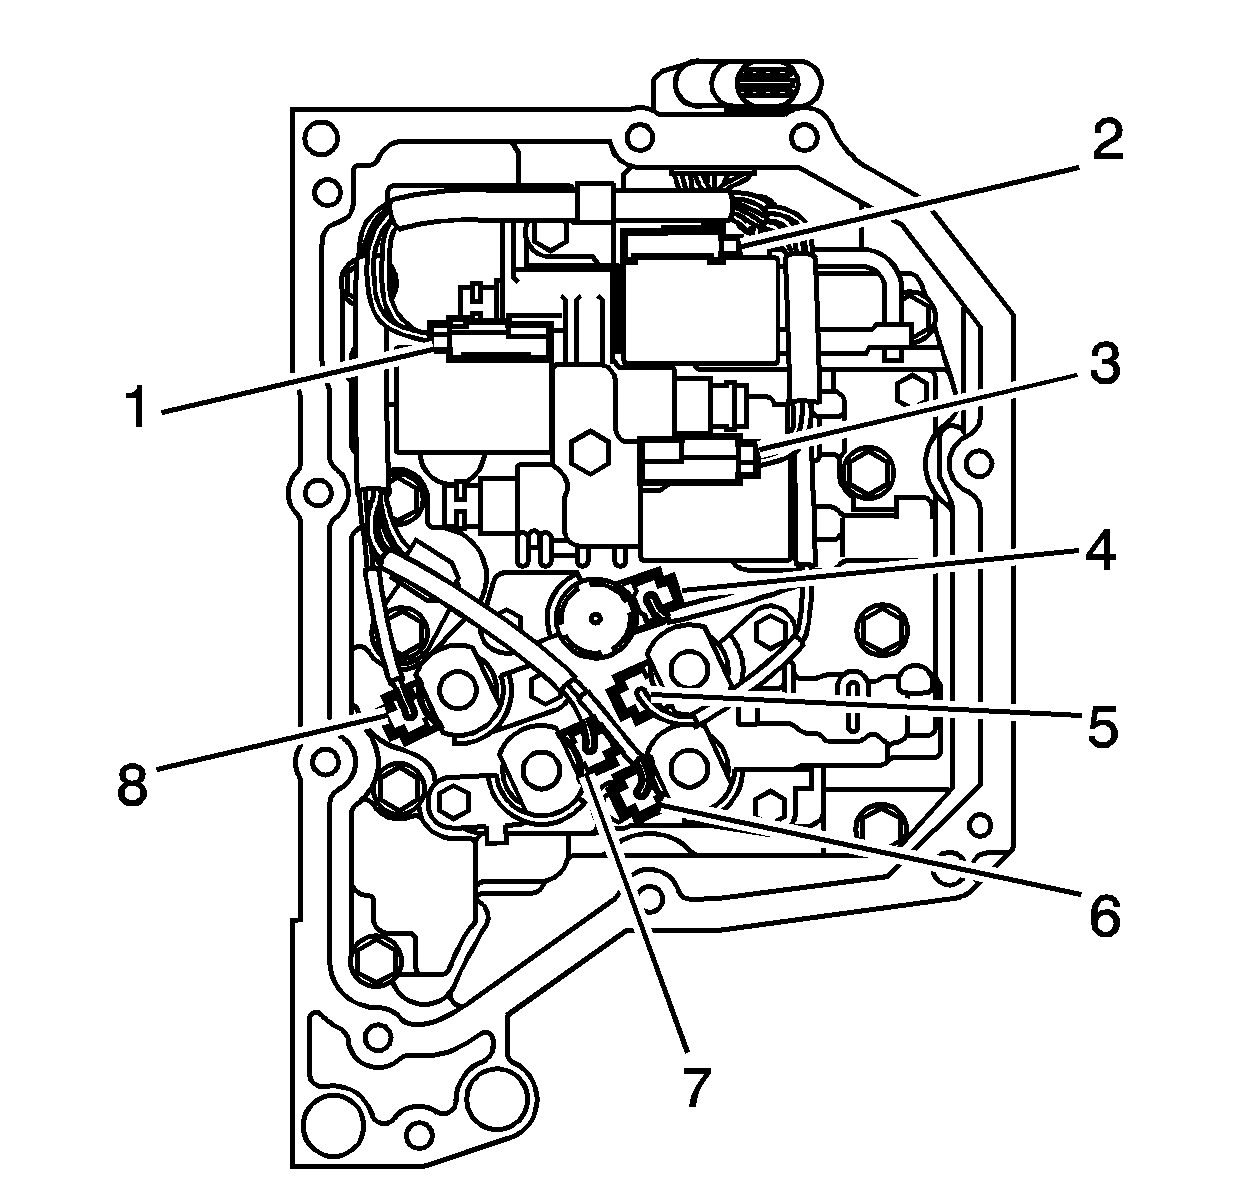
Important: DO NOT damage the wiring harness connectors.
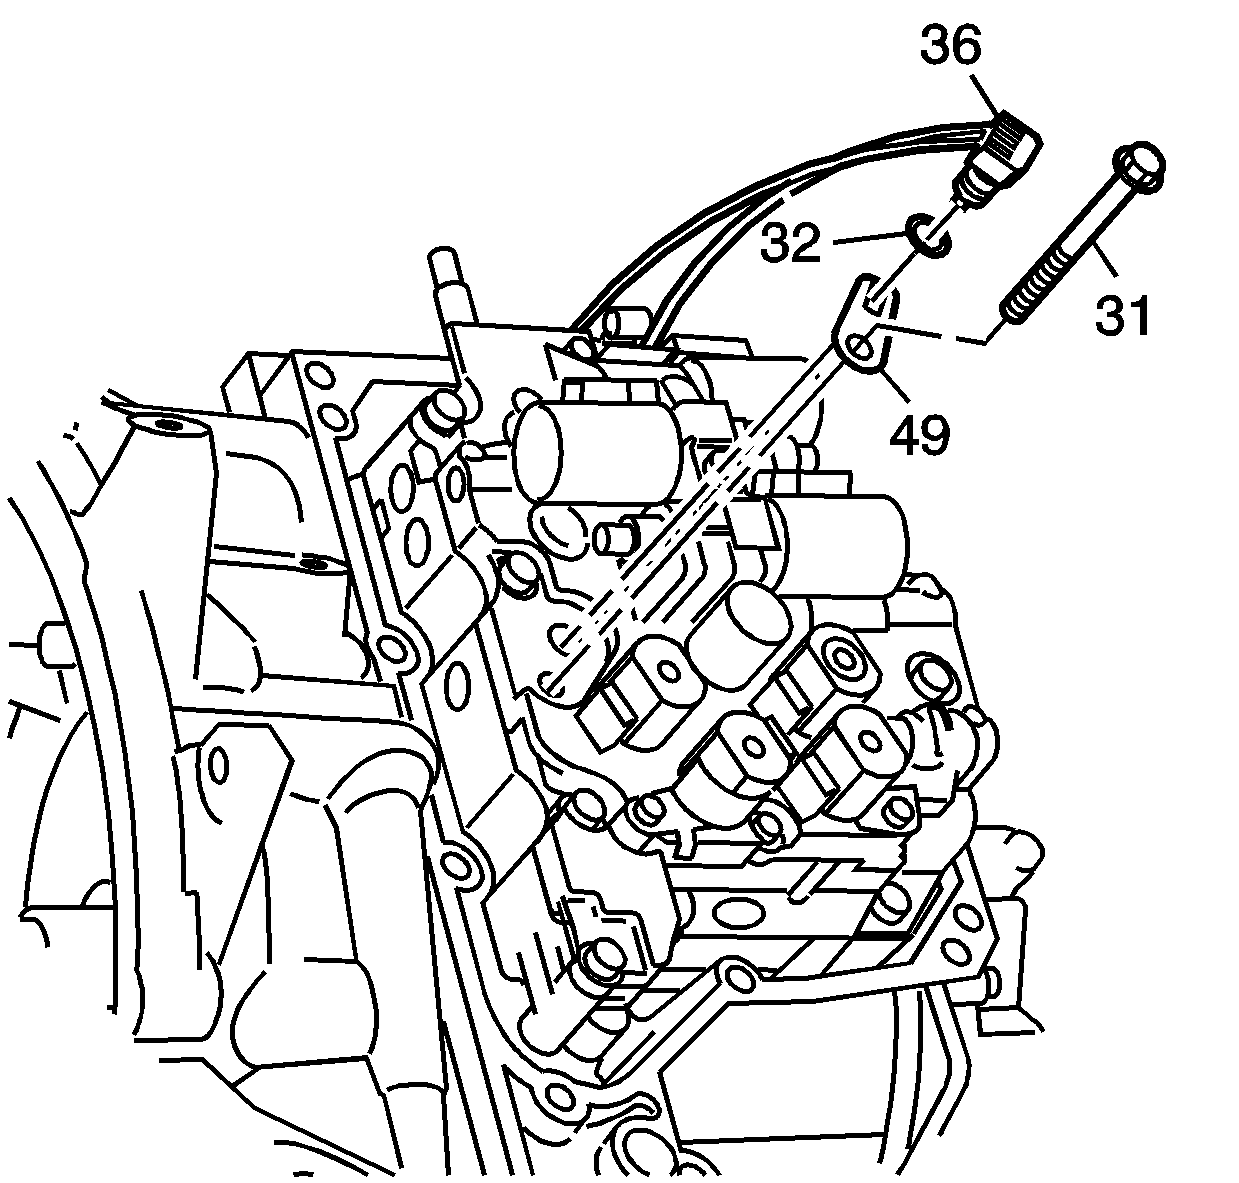
Remove the fluid temperature sensor (36) and O-ring (32).
Installation Procedure
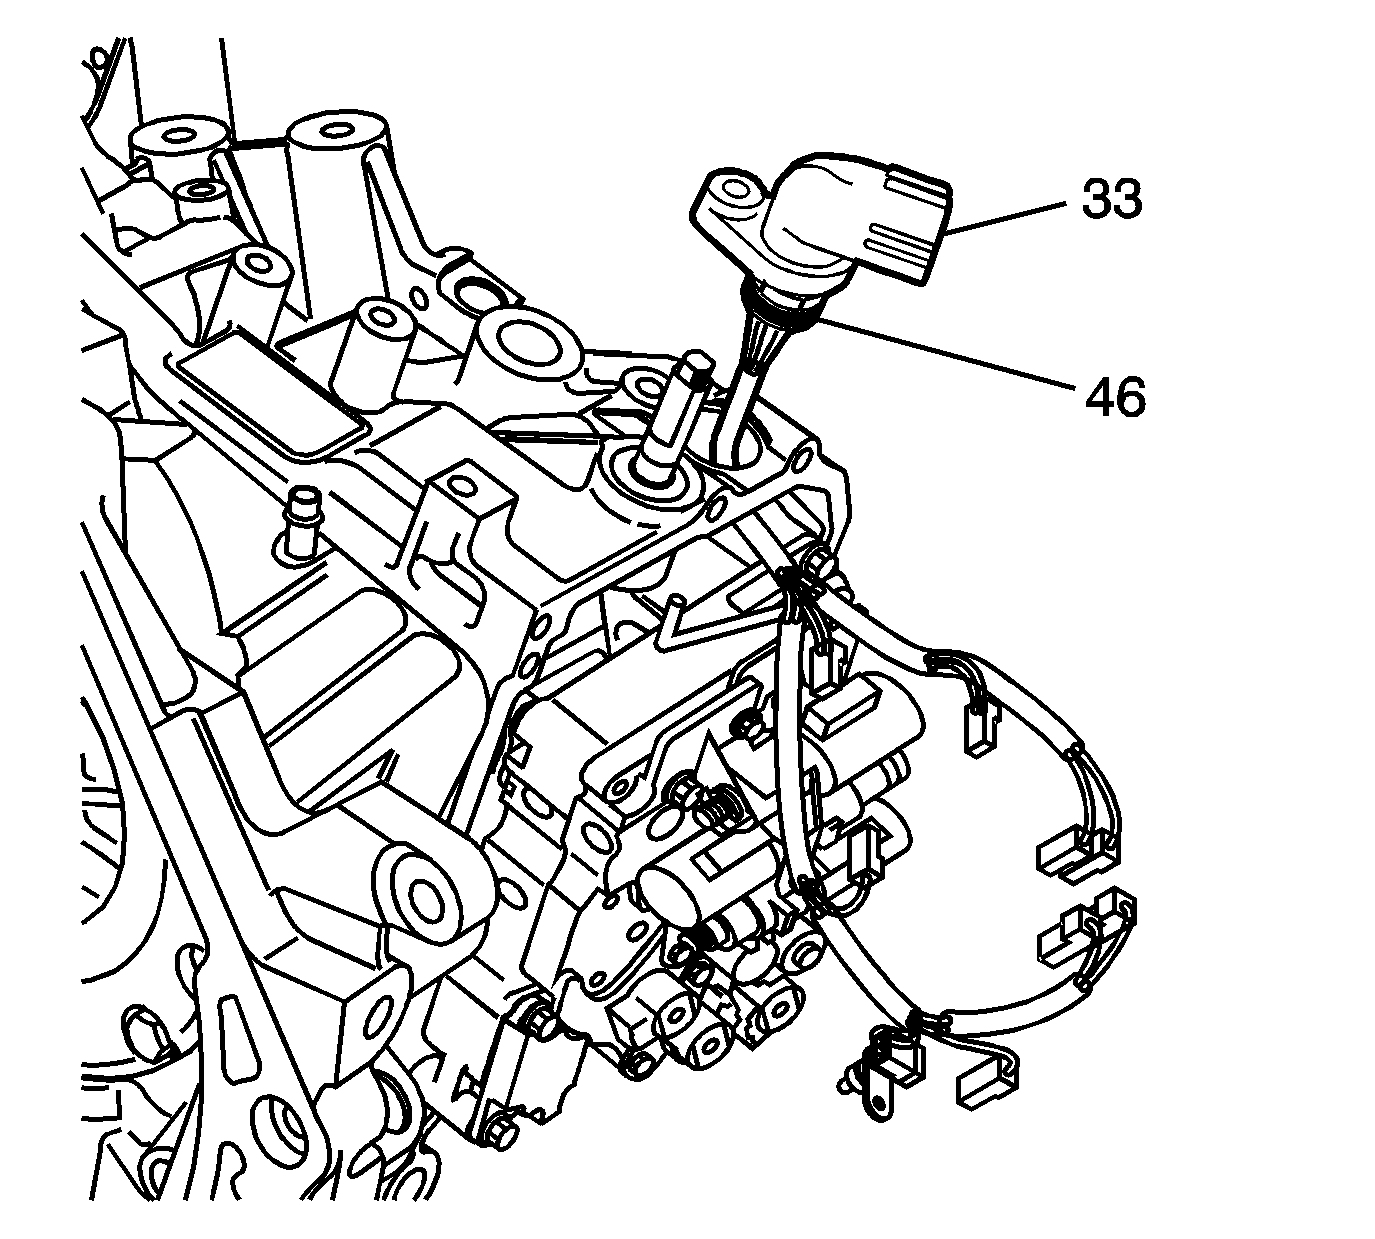
- Apply automatic transmission fluid to a new transmission wiring connector O-ring seal (46).
- Install the new transmission wiring connector O-ring seal (46) onto the transmission wiring harness assembly (33).
- Install the transmission wiring harness assembly (33) into the transmission case assembly through the wiring harness bore.
- Install the park/neutral position switch bolt (79).
- Install the transmission control lever (2) and the nut (1).
- Install the shift cable to the transmission control lever.
- Install the temperature fluid sensor (36) into the valve body.
- Install the fluid temperature sensor clamp (49).
- Install the fluid temperature sensor bolt (31).
- Install a new O-ring (32) into the groove of the transaxle fluid temperature sensor (36).
- Connect the fluid temperature sensor harness connector.
- Install the control valve body cover (2). Refer to Control Valve Body Cover Replacement .
- Lower the vehicle.
- Add fluid to the transaxle as necessary. Refer to Transmission Fluid Check .
- Start the engine a check for leaks.
Notice: Refer to Fastener Notice in the Preface section.
Tighten
Tighten the bolt to 25 N·m (18 lb ft).
Tighten
Tighten the nut to 16 N·m (12 lb ft).
Important: Apply transaxle fluid to the new fluid temperature sensor O-ring.
Tighten
Tighten the bolt to 10 N·m (89 lb in).
Important: Do not use AF P/N 21005966 or P/N 21019223, these fluids are not compatible with this transaxle. Use Saturn T-IV P/N 22689186.
