For 1990-2009 cars only
Removal Procedure
- Remove the I/P retainer. Refer to Instrument Panel Retainer Replacement .
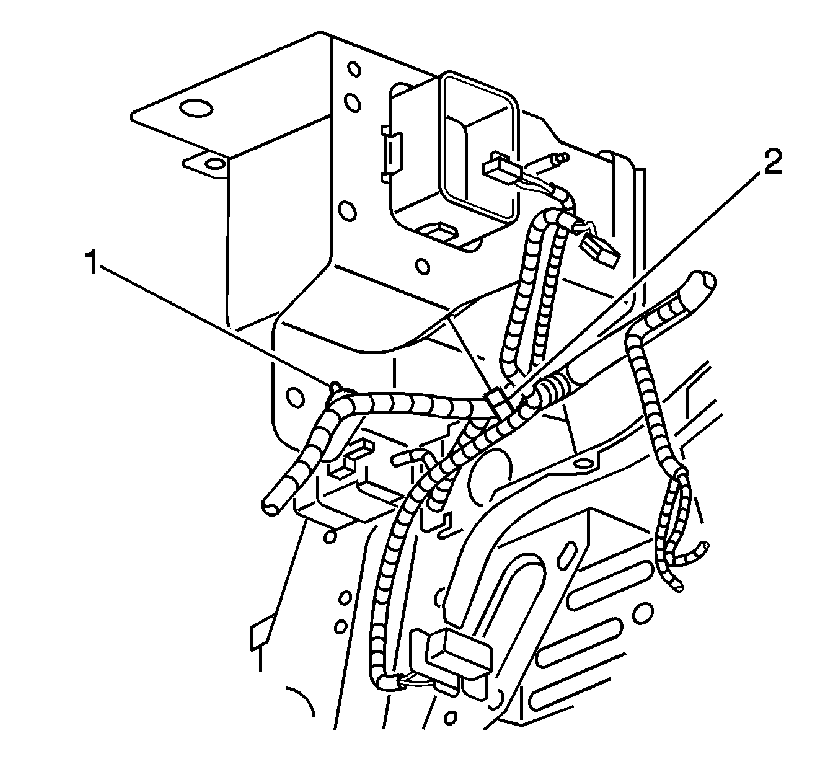
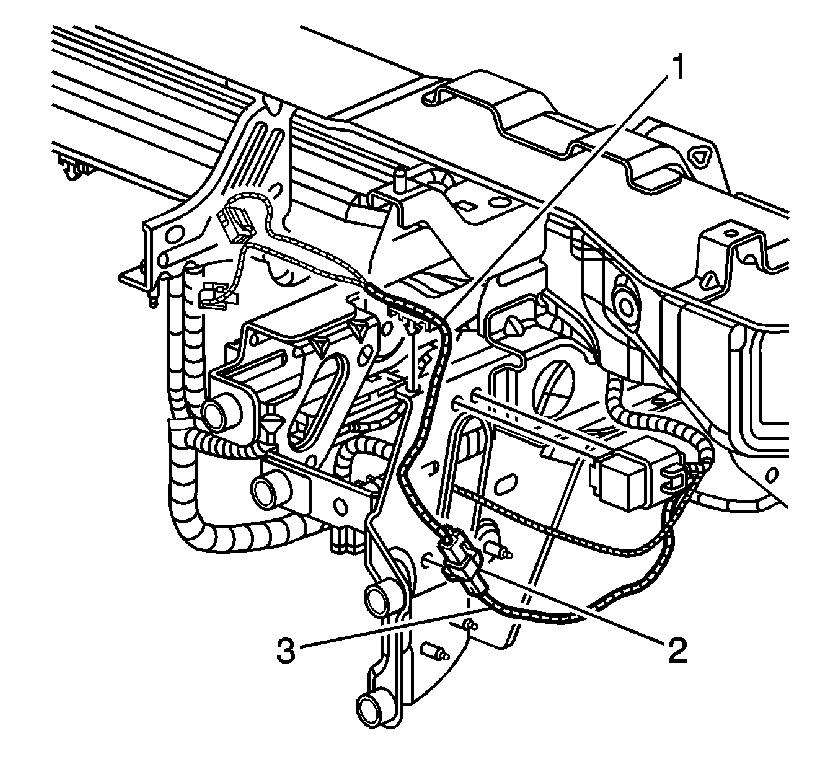
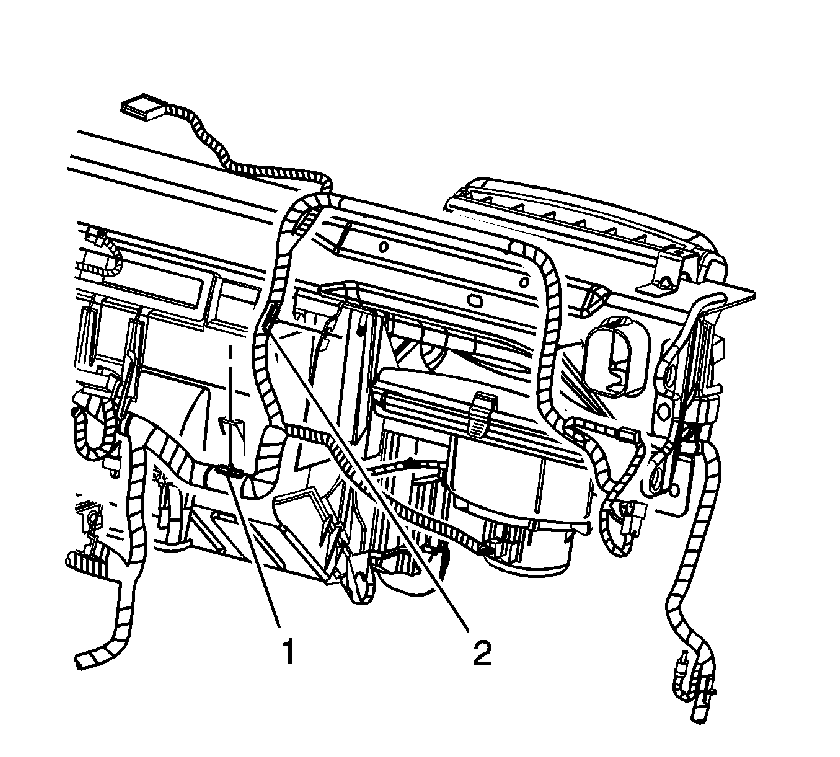
- Remove the wire harness rosebuds (1,2) from the left side of the beam.
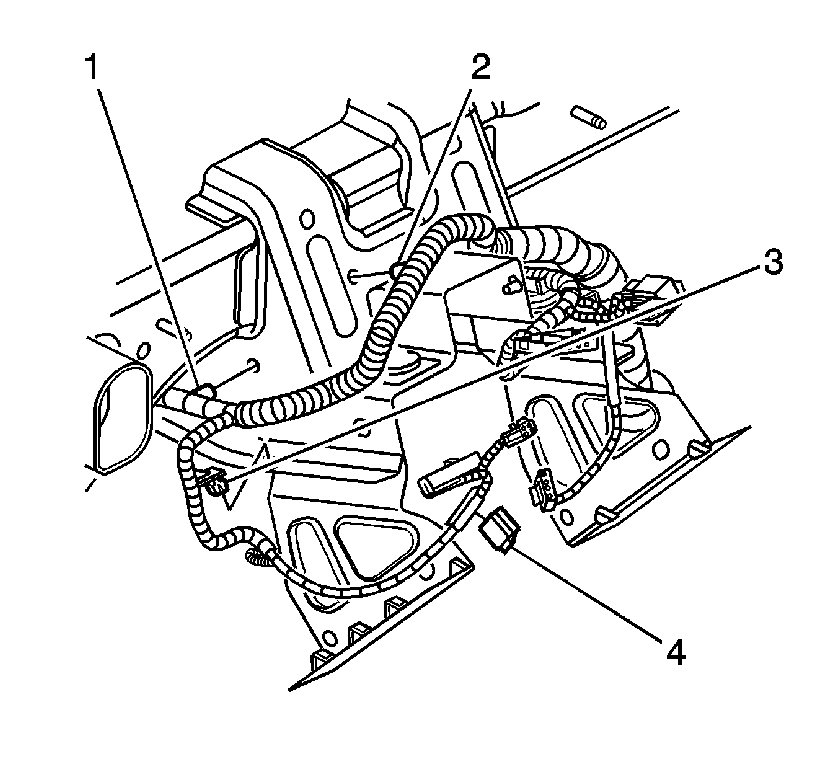
- Remove the wire harness rosebuds (1,2,3) from the left side of the steering column support bracket.
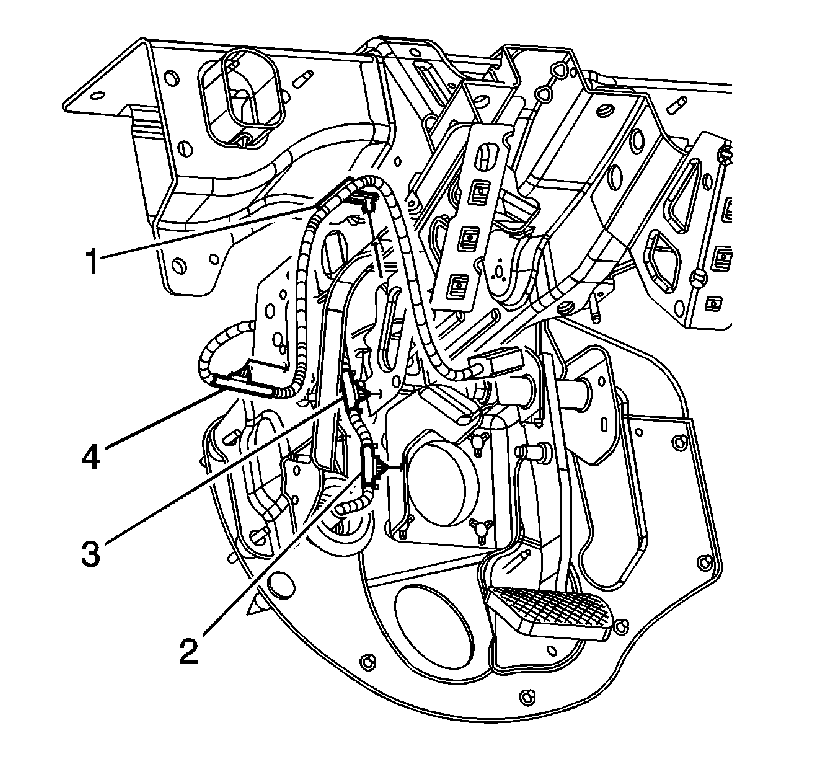
- Remove the metal clip (4) from the steering column support bracket.
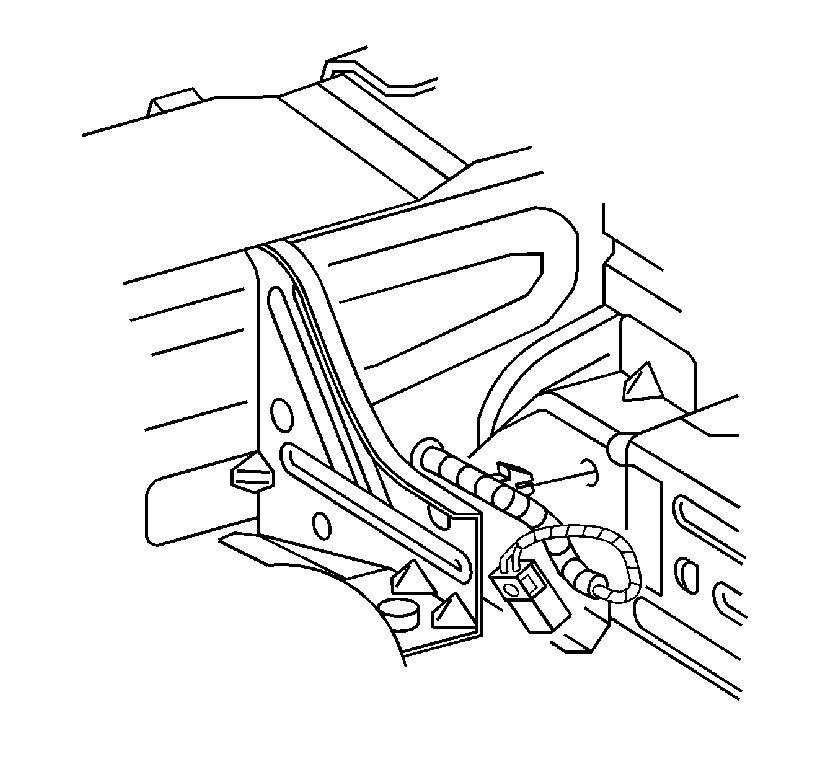
- Remove the wire harness rosebuds from the front right side of the steering column support bracket.
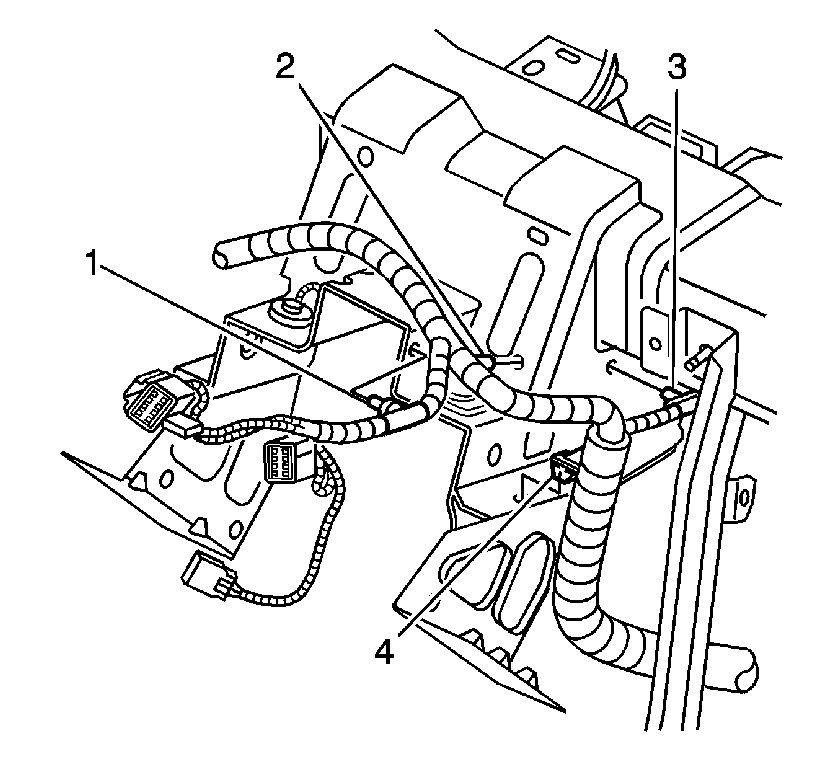
- Remove the wire harness rosebuds (1,2,3,4) from the right side of the steering column support bracket.
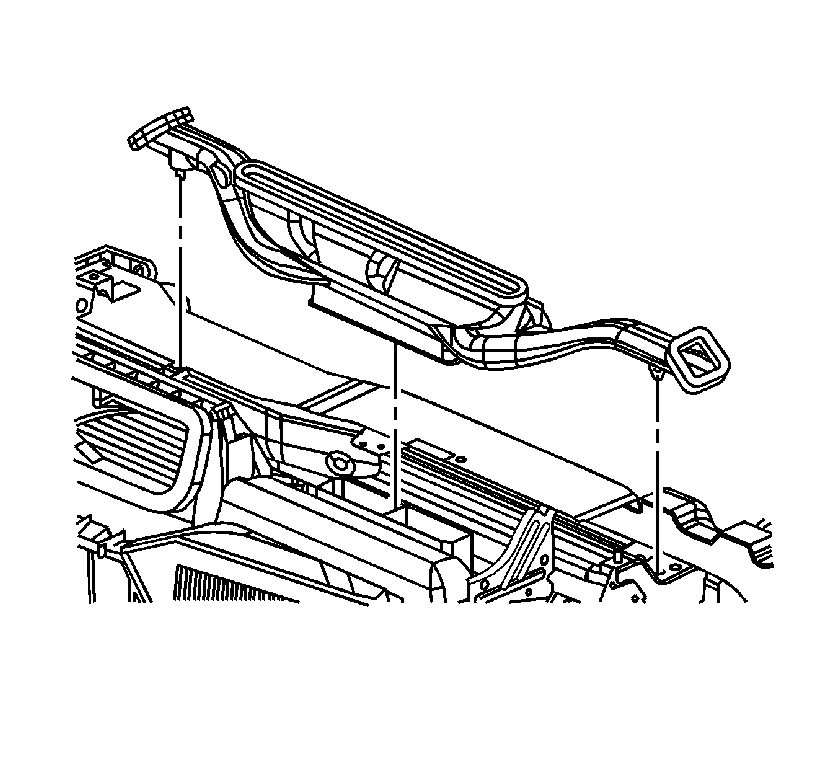
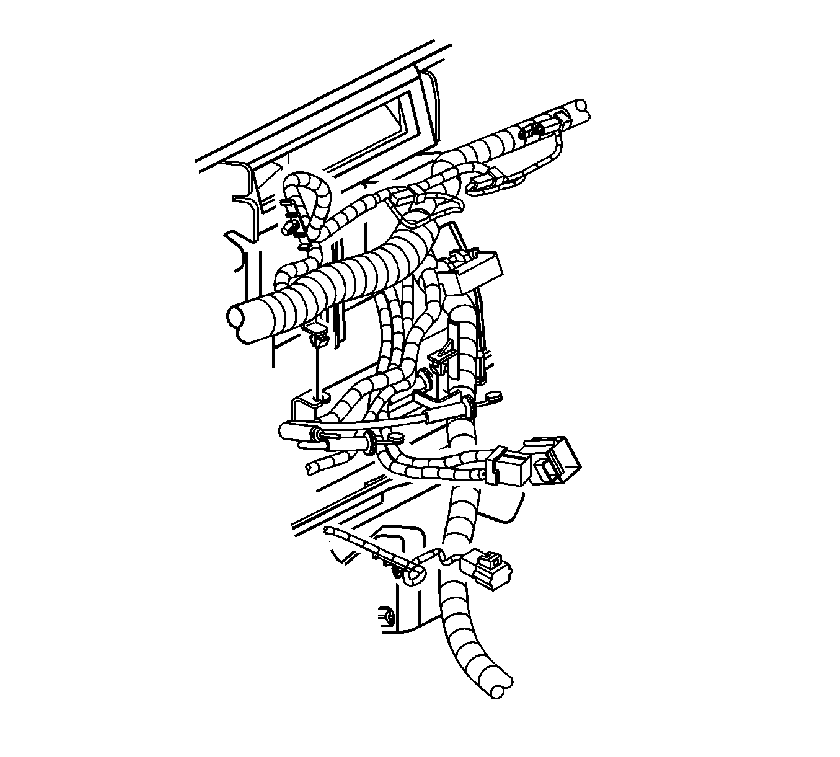
- Unsnap the defroster duct from the HVAC module and the beam. Bend the cluster wire harness tab on the I/P carrier to remove the defroster duct.
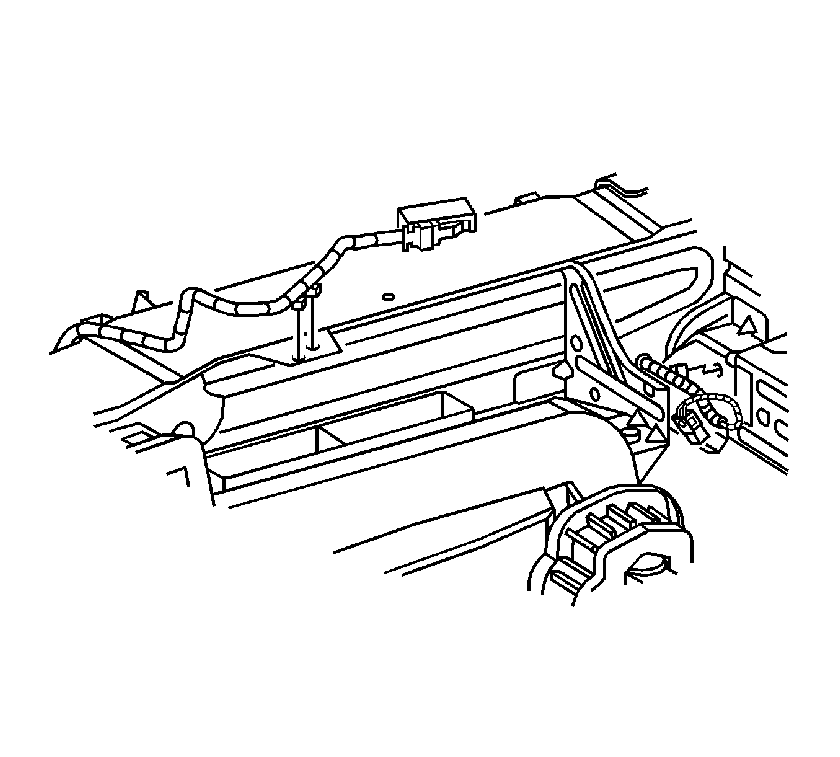
- Remove the cluster wire harness rosebuds from the I/P carrier.
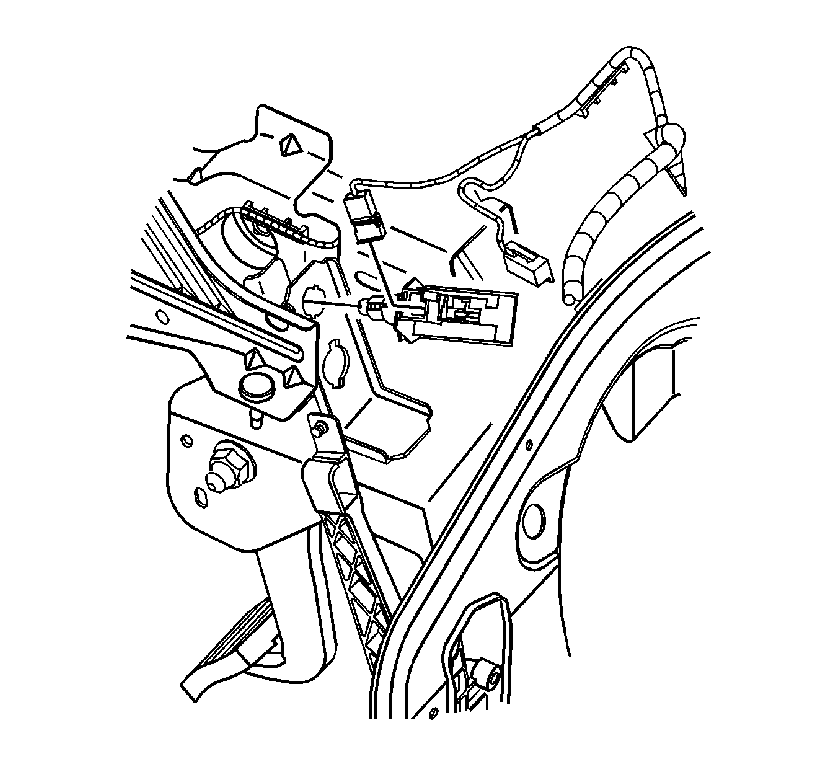
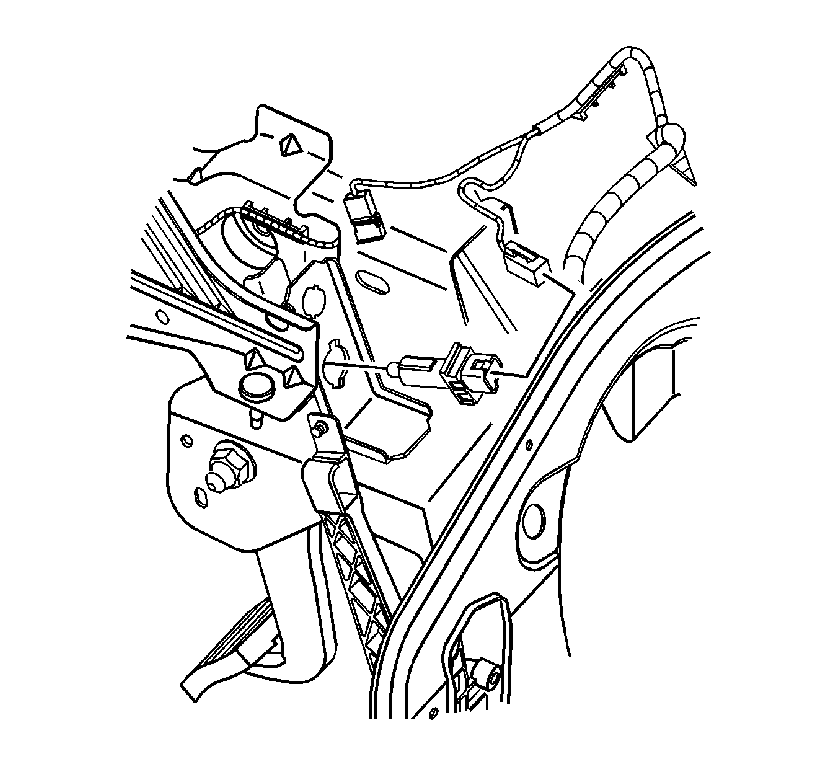
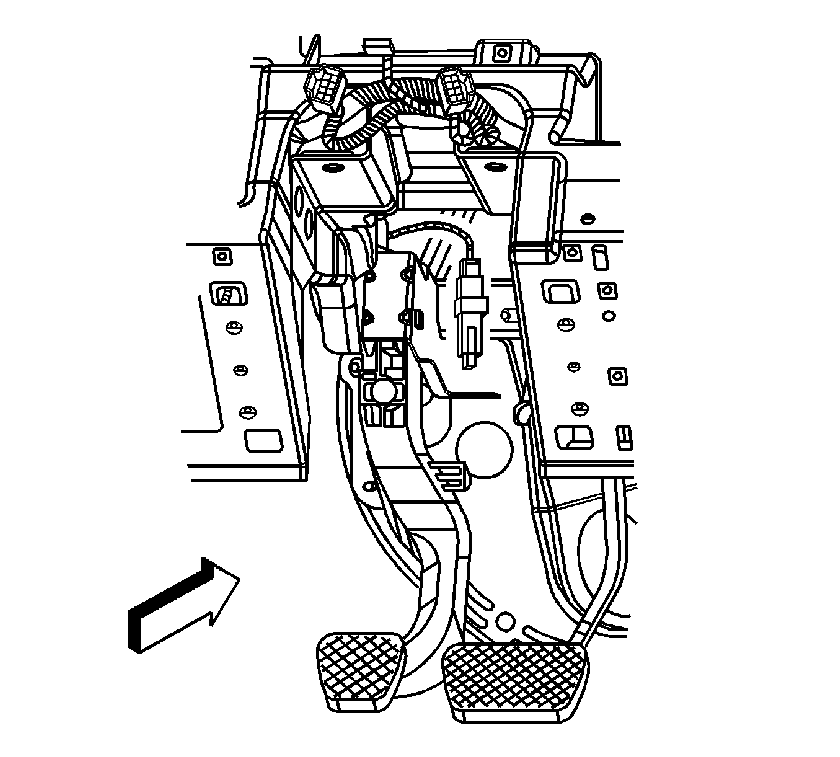
- Remove the stop lamp switch from the brake pedal bracket.
- If equipped with cruise control, remove the cruise control release switch from the brake pedal bracket.
- If equipped with a manual transmission, remove the clutch switch from the clutch pedal bracket.
- Remove the wire harness rosebuds (1,2,3) from the front left side of the steering column support bracket.
- Remove the I/P wire harness ground wires from the steering column support bracket.
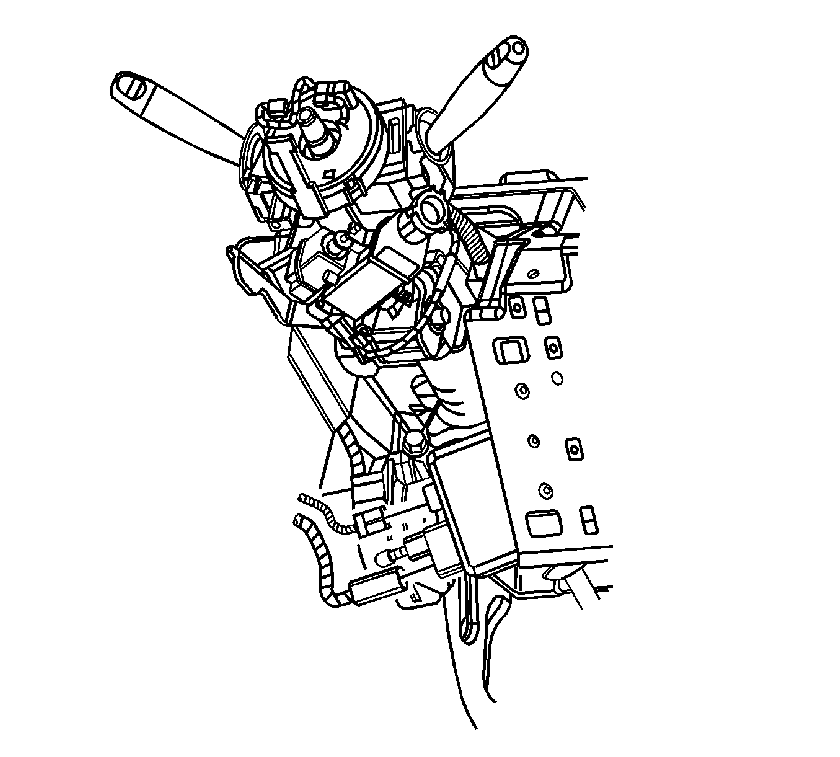
- Disconnect the electrical connectors from the electric power steering motor.
- Remove the electric power steering power wire rosebuds (1,2,3,4) from the steering column support bracket.
- Remove the wire harness rosebuds from the center of the HVAC module.
- Remove the wire harness rosebuds (1,2) from the right center of the HVAC module.
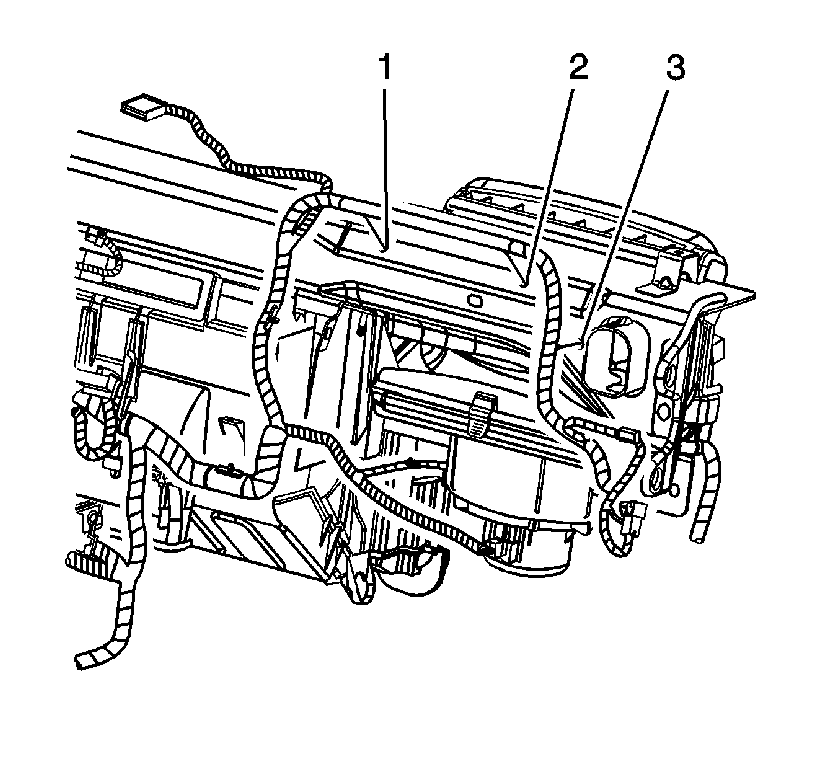
- Remove the wire harness rosebuds (1,2,3) from the right side of the I/P carrier.
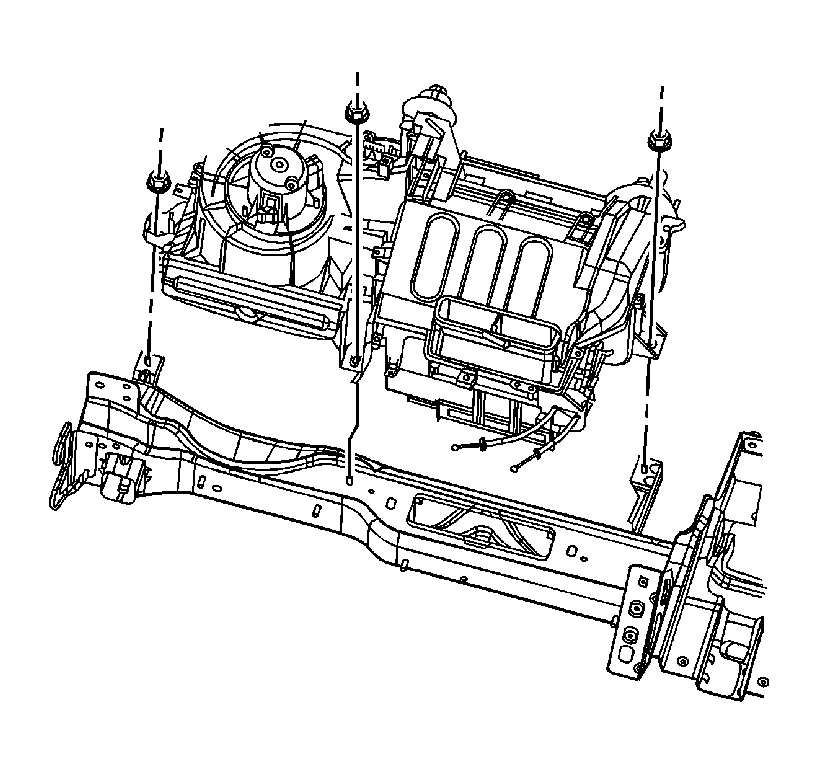
- Remove the HVAC module nuts at the front of dash.
- Remove the HVAC module nuts at the I/P carrier.
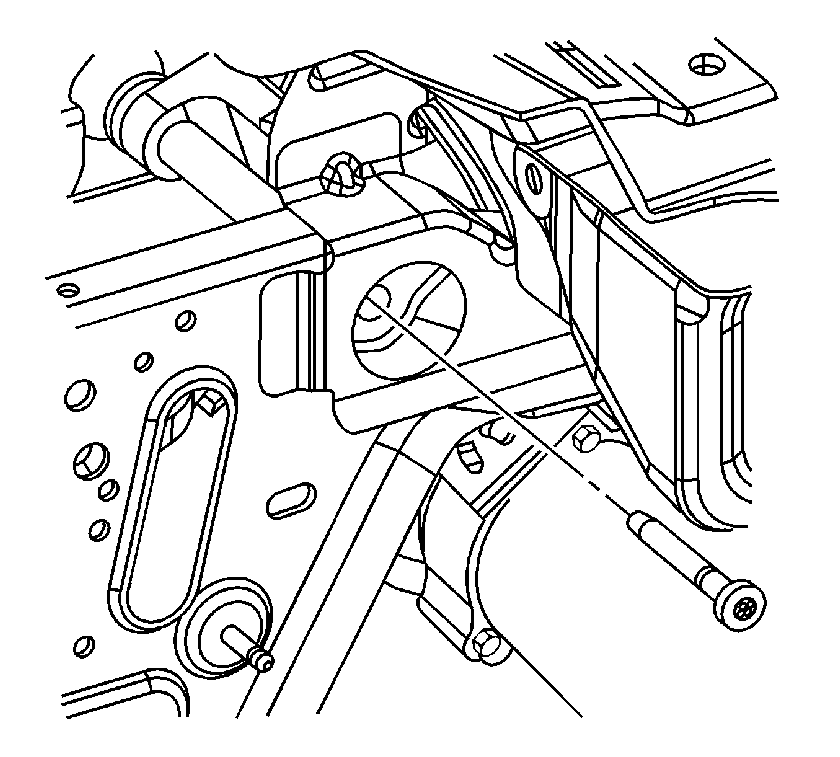
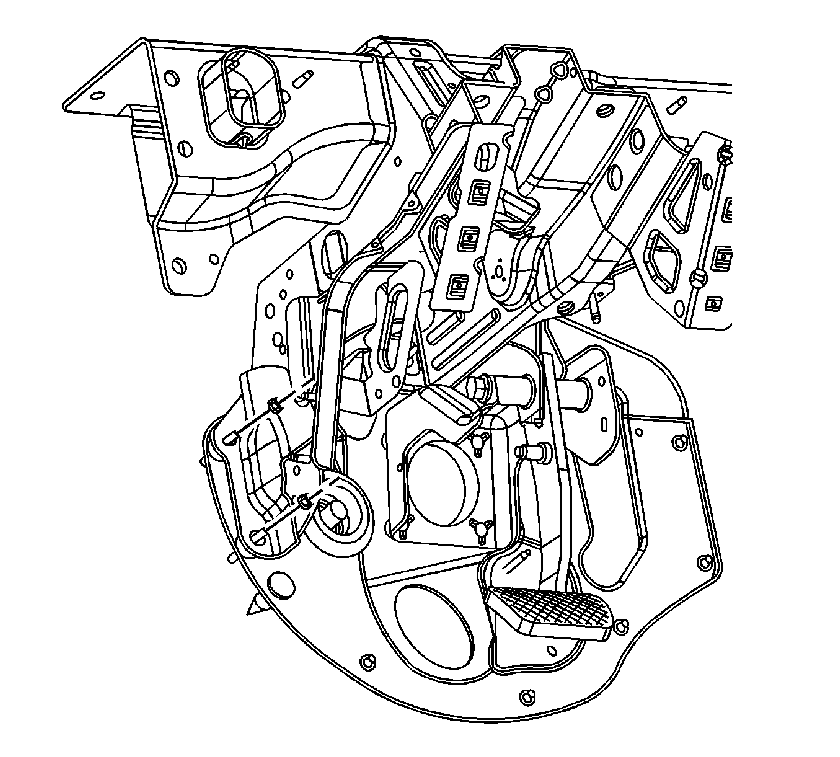
- Remove the steering column pivot bolt and rest the steering column on the floorpan.
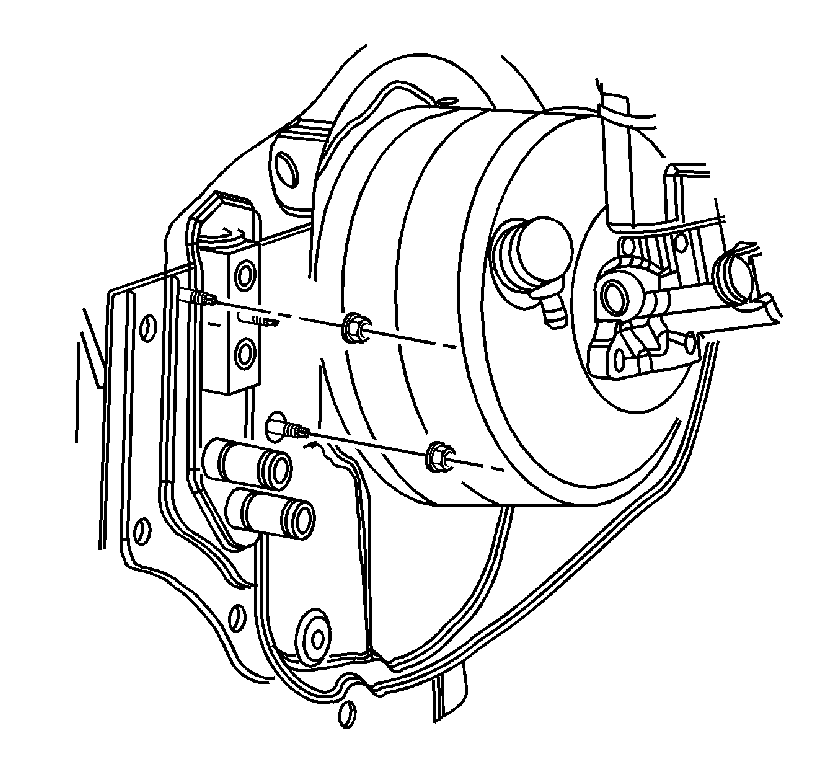
- If equipped with a manual transmission, remove the clutch pedal nut. Position the clutch pedal bracket away from the I/P carrier.
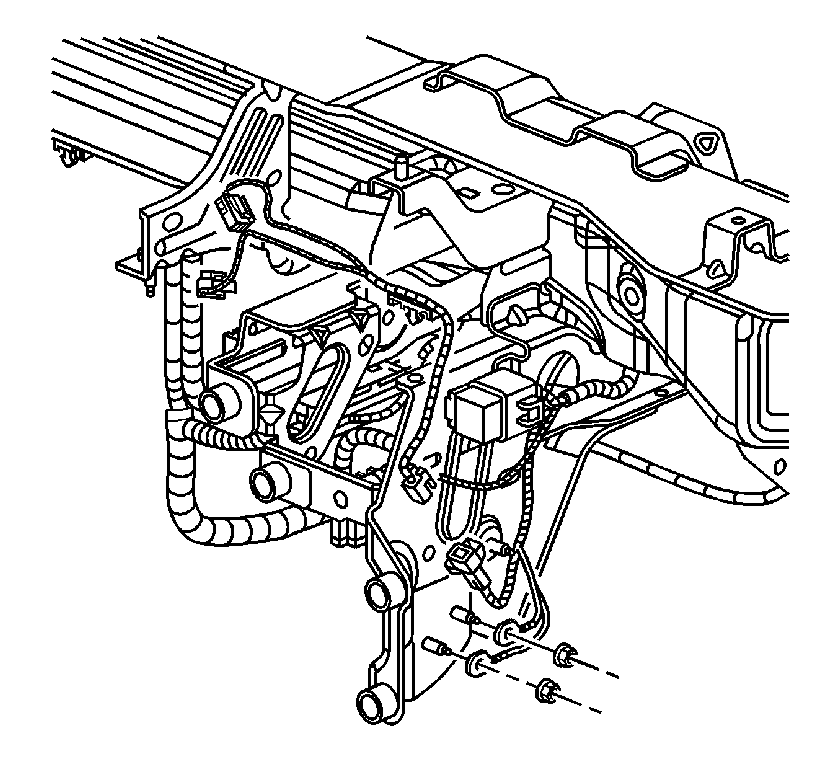
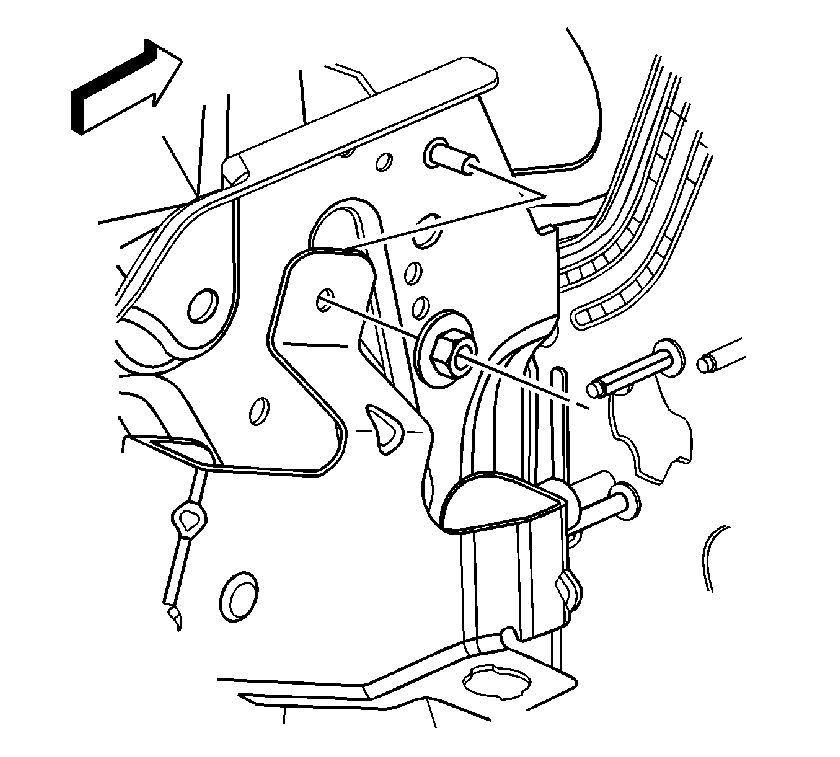
- Remove the left steering column support bracket to front of dash nuts.
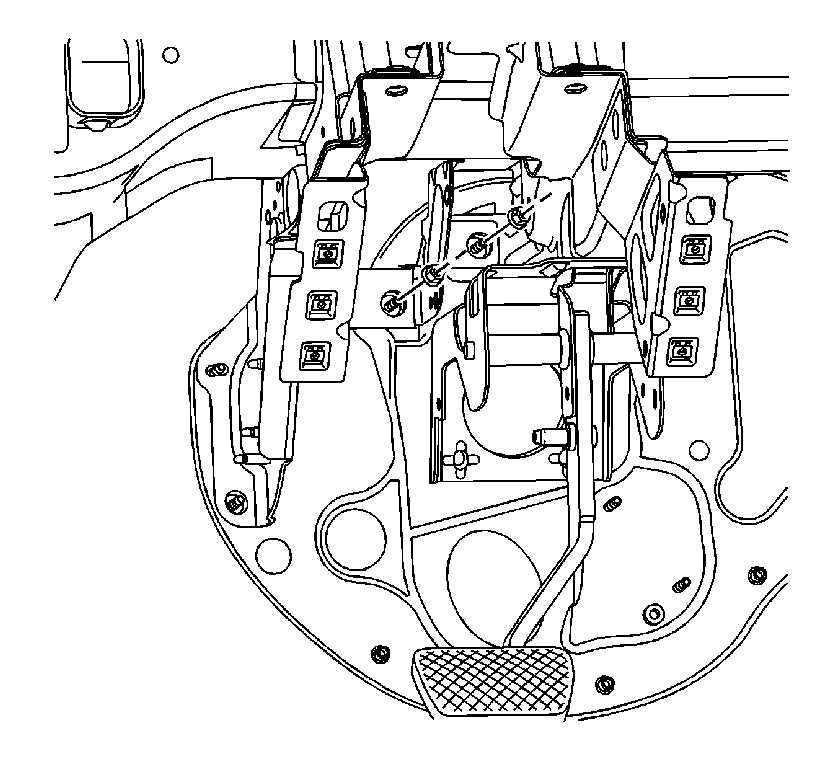
- Remove the center steering column support bracket nuts.
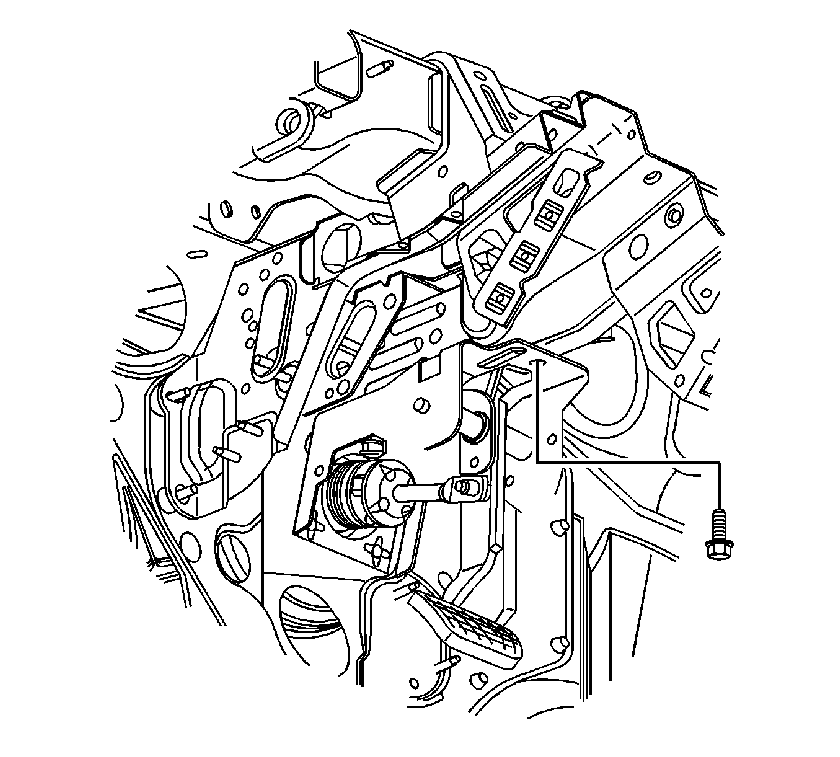
- Remove the brake pedal bracket to steering column support bracket bolt.
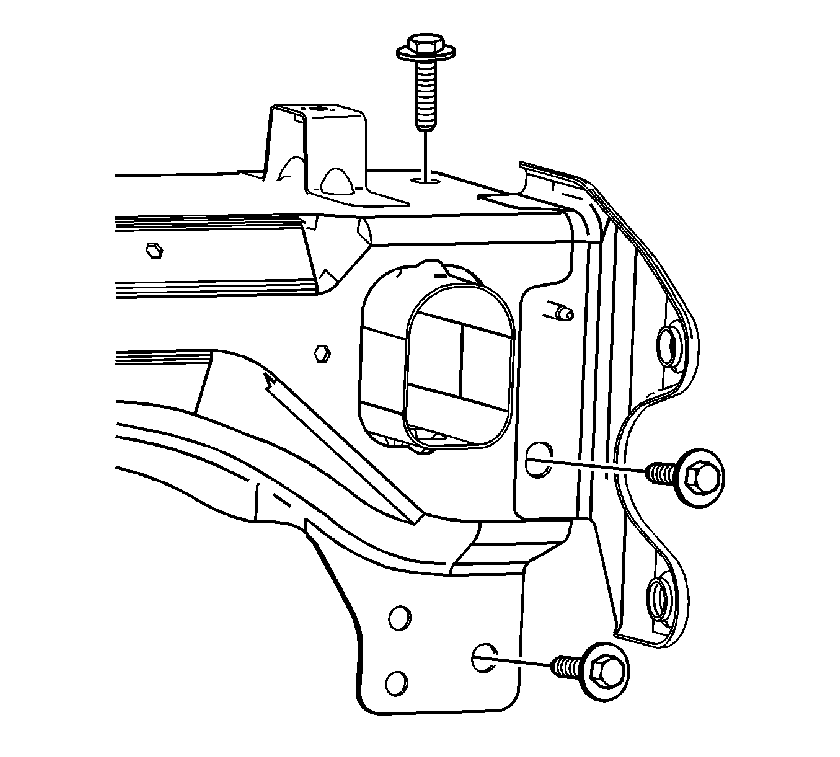
- Remove the right and left I/P carrier to vehicle bolts.
- Slide the I/P carrier rearward, disconnect the HVAC module from the I/P carrier, and remove the I/P carrier from the vehicle.
Installation Procedure
- Slide the I/P carrier into the vehicle, align the HVAC module with the I/P carrier, and align the steering column support bracket with the studs on the vehicle. Slide the I/P carrier into position.
- Install the right and left I/P carrier to vehicle bolts.
- Install the HVAC module nuts to the I/P carrier.
- Install the HVAC module nuts at the front of dash.
- Install the center steering column support bracket nuts.
- Install the left steering column support bracket to front of dash nuts.
- Install the brake pedal bracket to steering column support bracket bolt.
- If equipped with a manual transmission, align the clutch pedal bracket to the I/P carrier. Install the clutch pedal nut.
- Raise the steering column into position and loose install the rear steering column bolts.
- Raise the steering column into position and install pivot bolt.
- Remove the rear steering column bolts.
- Install the wire harness rosebuds (1,2,3) at the right side of the I/P carrier.
- Install the wire harness rosebuds (1,2) at the right center of the HVAC module.
- Install the wire harness rosebuds at the center of the HVAC module.
- Align the defroster duct with the I/P carrier and the HVAC module. Snap the defroster duct into position. Return the cluster wire harness tab on the I/P carrier to the correct position.
- Install the cluster wire harness rosebuds at the I/P carrier.
- Install the electric power steering power wire rosebuds (1,2,3,4) at the steering column support bracket.
- Connect the electrical connectors to the electric power steering motor.
- Install the I/P wire harness ground wires and nuts at the steering column support bracket.
- Install the wire harness rosebuds (1,2,3) at the front left side of the steering column support bracket.
- If equipped with a manual transmission, install the clutch switch to the clutch pedal bracket. Adjust the clutch switch. Refer to Clutch Pedal Position Switch Replacement in Clutch.
- If equipped with cruise control, install the cruise control release switch to the brake pedal bracket. Adjust the cruise control switch. Refer to Cruise Release Switch Adjustment in Cruise Control.
- Install the stop lamp switch to the brake pedal bracket. Adjust the stop lamp switch. Refer to Stop Lamp Switch Adjustment in Lighting Systems.
- Install the wire harness rosebuds at the front right side of the steering column support bracket.
- Install the wire harness rosebuds (1,2,3,4) at the right side of the steering column support bracket.
- Install the wire harness rosebuds (1,2,3) at the left side of the steering column support bracket.
- Install the metal clip (4) to the steering column support bracket.
- Install the wire harness rosebuds (1,2) at the left side of the beam.
- Install the I/P retainer. Refer to Instrument Panel Retainer Replacement .
Notice: Refer to Fastener Notice in the Preface section.

Tighten
Tighten the I/P carrier to body bolts to 25 N·m (18 lb ft).

Tighten
Tighten the HVAC module nuts to 10 N·m (88 lb in).

Tighten
Tighten the HVAC module nuts to 10 N·m (88 lb in).

Tighten
Tighten the center steering column support bracket nuts to 10 N·m
(88 lb in).

Tighten
Tighten the left steering column support bracket nuts to 10 N·m
(88 lb in).

Tighten
Tighten the brake pedal bracket bolt to 25 N·m (18 lb ft).

Tighten
Tighten the clutch pedal nut to 10 N·m (88 lb in).
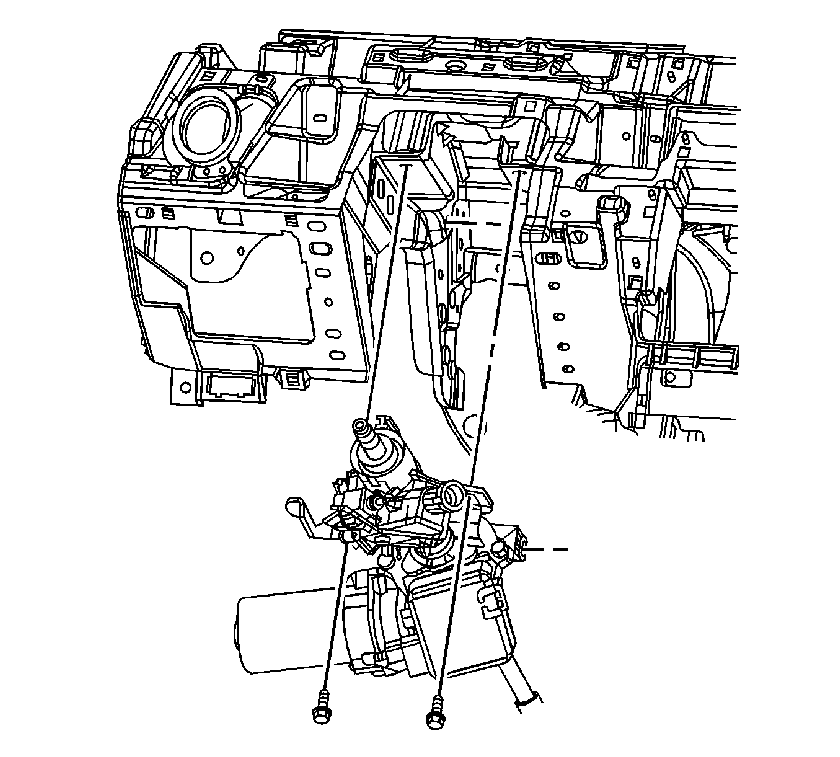

Tighten
Tighten the steering column pivot bolt to 25 N·m (18 lb ft).


Tighten
Tighten the I/P wire harness ground nuts to 10 N·m (88 lb in).


