For 1990-2009 cars only
Removal Procedure
- Remove the clutch pedal retainer from the front of the clutch pedal assembly.
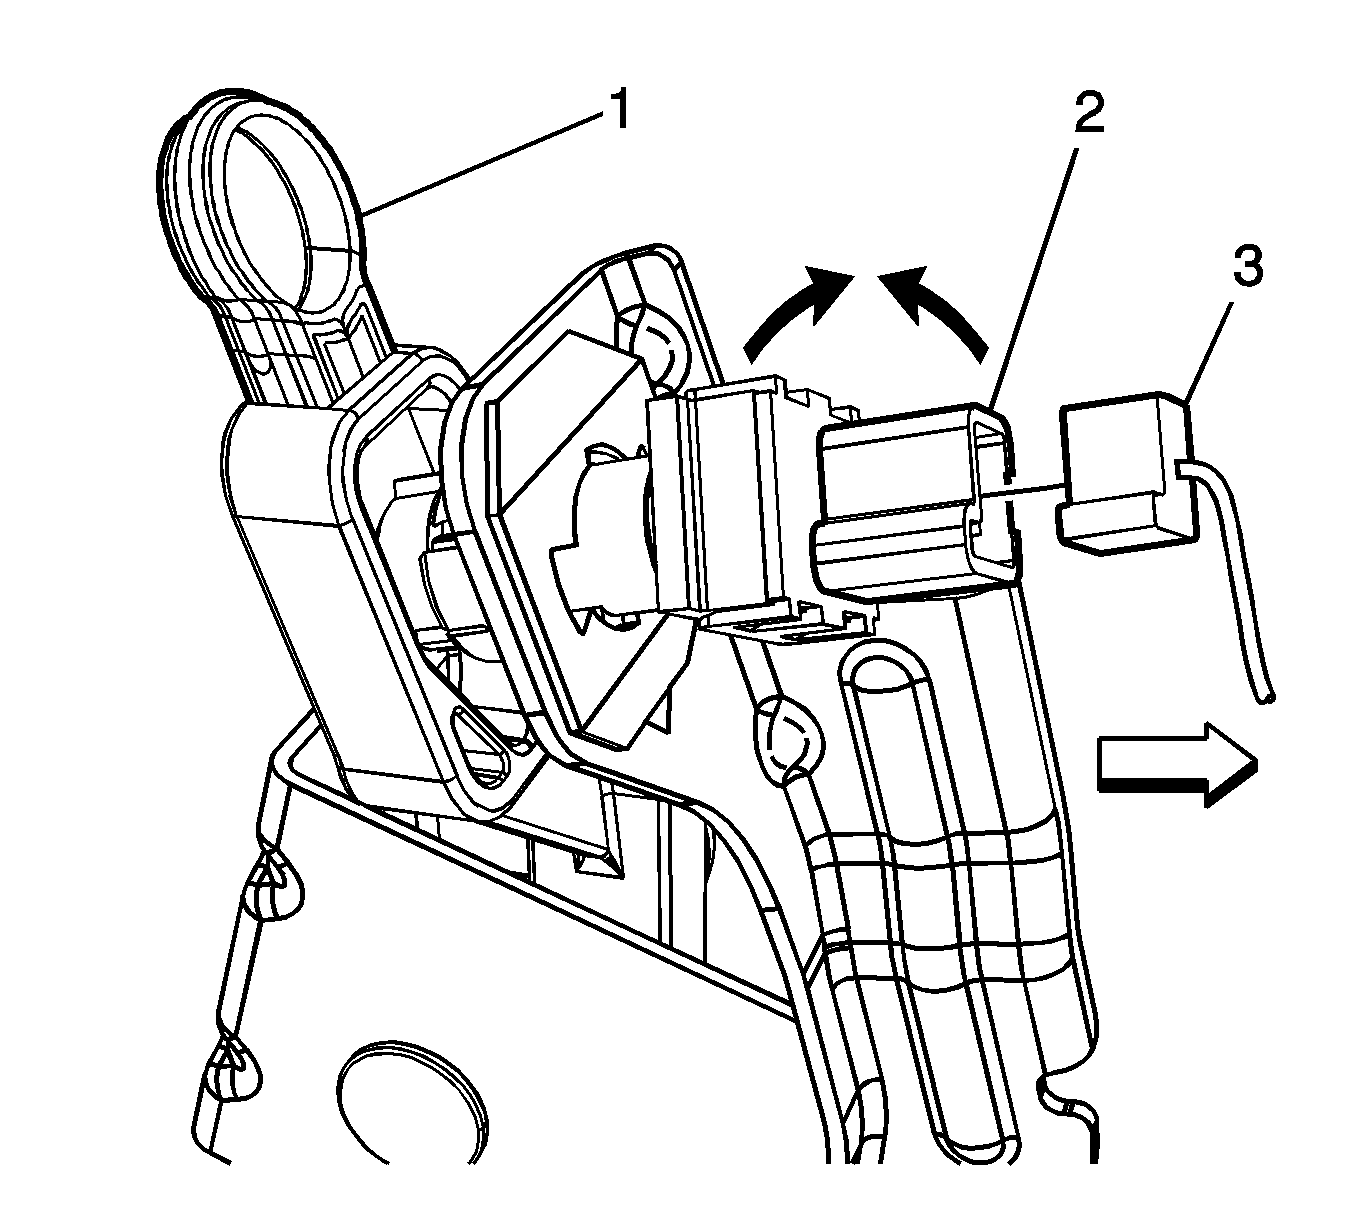
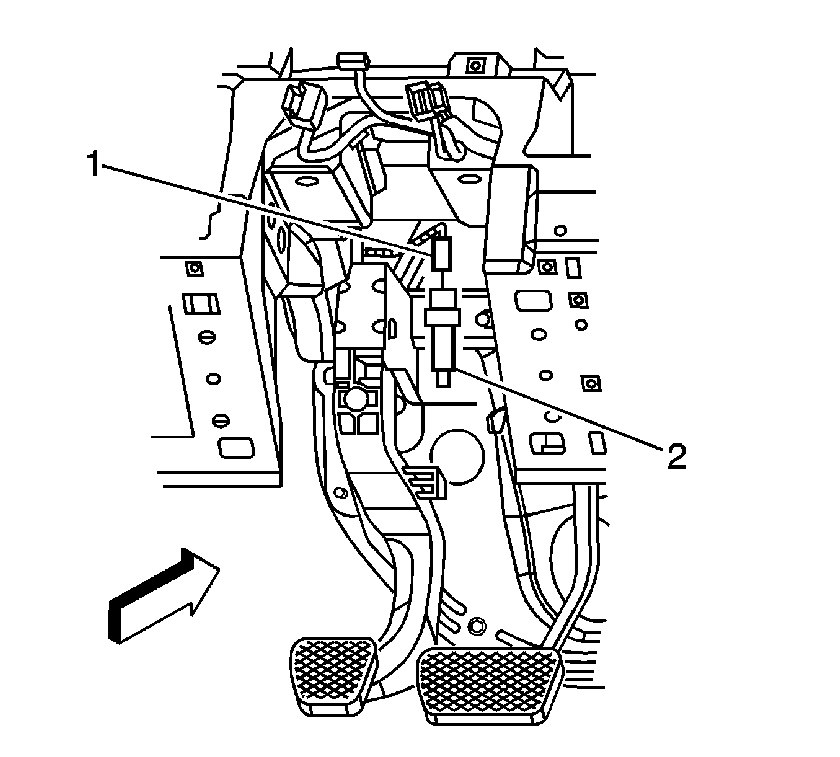
- Disconnect the clutch pedal position switch (2) from the clutch bracket.
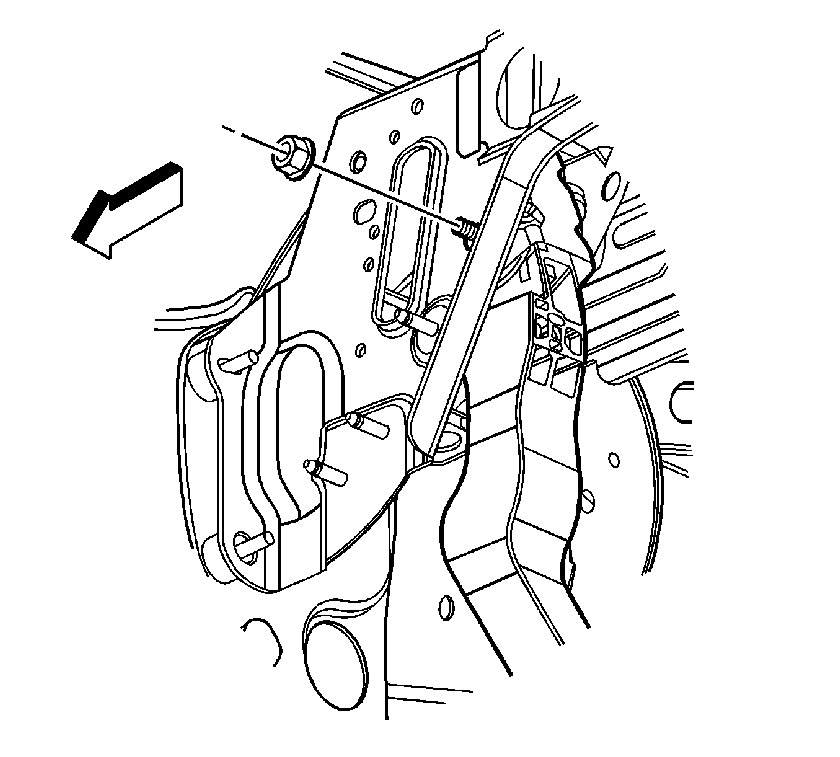
- Remove the clutch pedal pivot nut.
- Disconnect the clutch master cylinder from the clutch pedal assembly.
- Remove the clutch bracket to front of dash nuts.
- Lower the steering column opening trim cover. Disconnect the 4 steering column electrical connectors and remove the steering column mounting bolts. Refer to Steering Column Replacement.
- Remove the clutch pedal and bracket assembly.
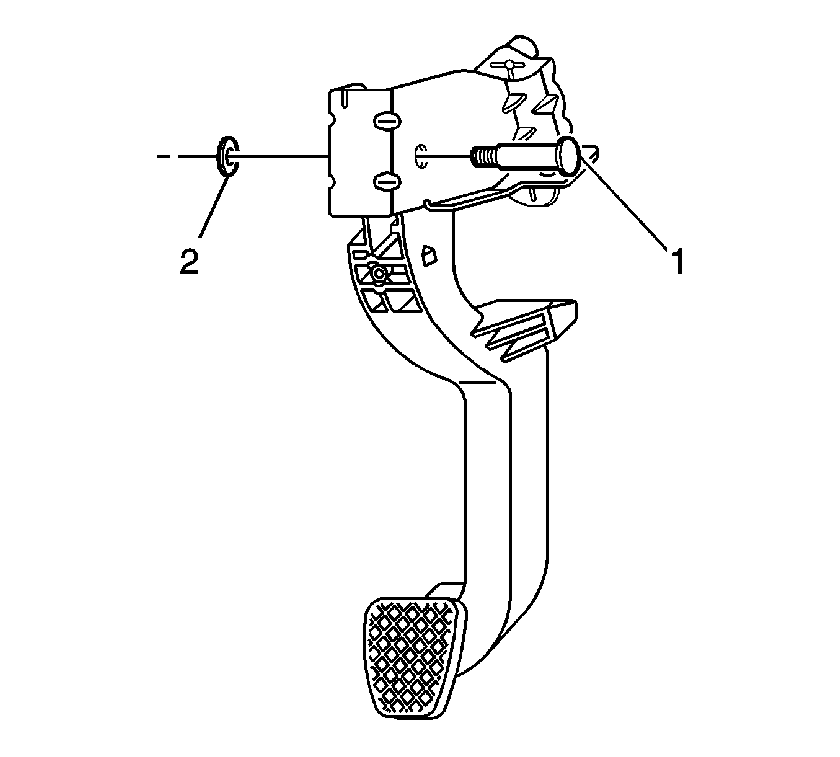
- Remove the clutch pedal pivot bolt (1) and retainer (2).
- Remove the clutch pedal.
- Secure the clutch pedal and return spring and remove the clutch pedal pivot bolt.
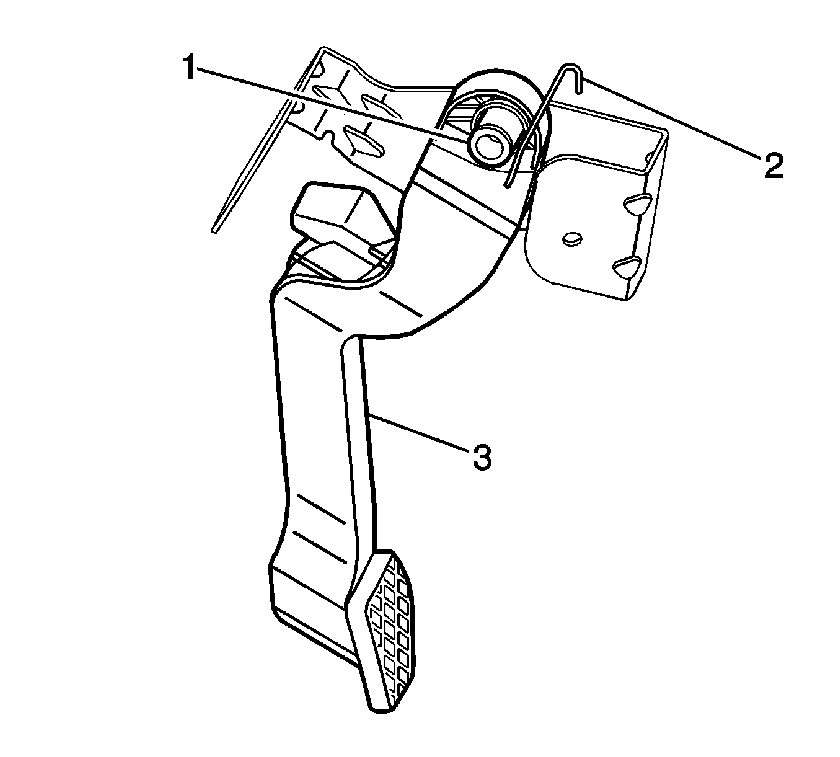
- Remove the clutch pedal (3), return spring (2), and pivot bushings (1).
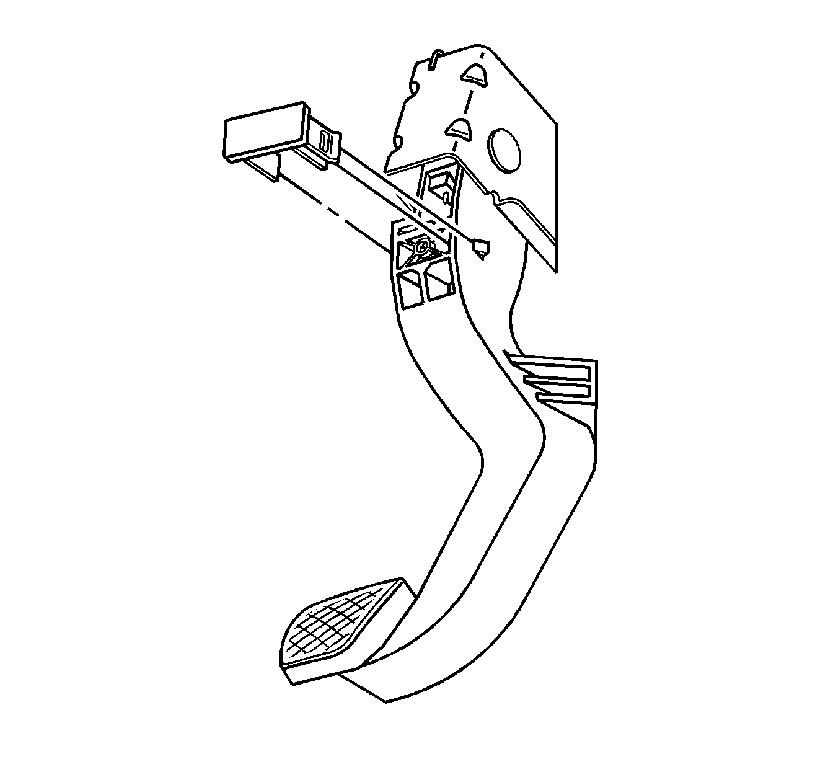
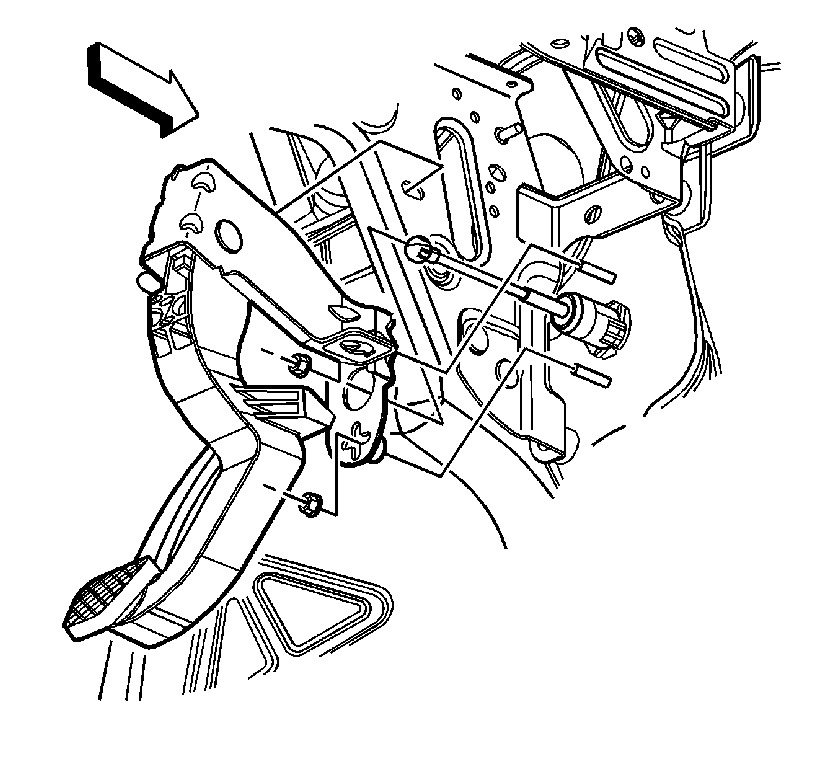
Move the steering column enough to have clearance to remove the clutch pedal and bracket assembly.
Installation Procedure
- Install the clutch pedal (3), return spring (2), and pivot bushings (1).
- Secure the clutch pedal and return spring and install the clutch pedal pivot bolt (1) and retainer (2).
- Install the clutch pedal and bracket assembly.
- Install the clutch pedal bracket to front of dash nuts.
- Connect the steering column 4 electrical connectors. Install the steering column mounting bolts and steering column opening trim cover. Refer to Steering Column Replacement.
- Connect the clutch master cylinder to the clutch pedal assembly.
- Install the clutch pedal pivot nut.
- Connect the clutch pedal position switch (2) to the clutch pedal bracket.
- Install the clutch pedal retainer to the front of the clutch pedal assembly.
- Connect the clutch start switch (2) to the clutch pedal bracket.
- If a new clutch pedal assembly was installed, perform the following steps to adjust the pedal position switch:
- Remove the shipping clip (1) from the new pedal assembly.
- Adjust the clutch start switch. Refer to Clutch Pedal Engine Start Switch Replacement.


Notice: Refer to Fastener Notice in the Preface section.
Tighten
Tighten the nuts to 10 N·m (89 lb in).

Tighten
Tighten the nut to 10 N·m (89 lb in).


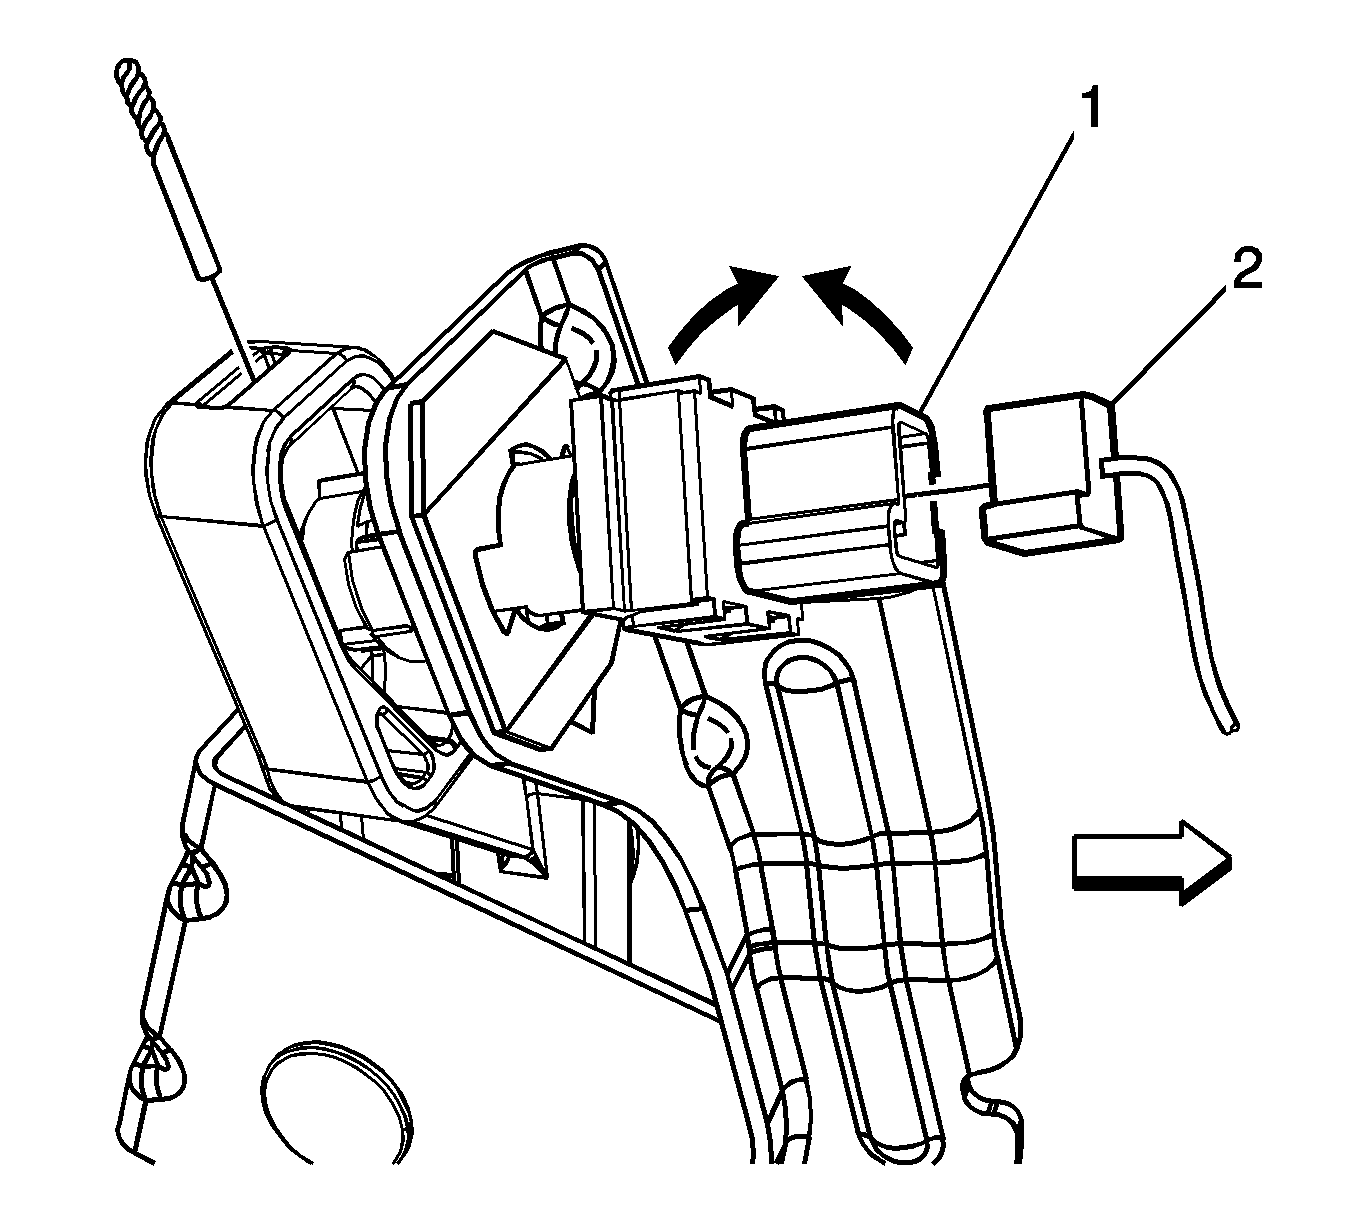
| 11.1. | A 3/32 inch or 2 mm drill bit can be used as a gage tool for the proper adjustment of the CPP switch. Insert and seat the 3/32 inch or 2 mm drill bit through the slot in the top of the clutch pedal assembly. |
| 11.2. | Install the CPP switch (1) to the clutch pedal assembly. |
| 11.3. | While holding the pedal in the fully released position, press the switch (1) toward the pedal until the barrel of the switch touches the drill bit on the pedal assembly. |
| 11.4. | Rotate the switch (1) clockwise to secure. |
| 11.5. | Remove the drill bit. |
| 11.6. | Connect the electrical connector (2) to the CPP switch (1). |
