For 1990-2009 cars only
Removal Procedure
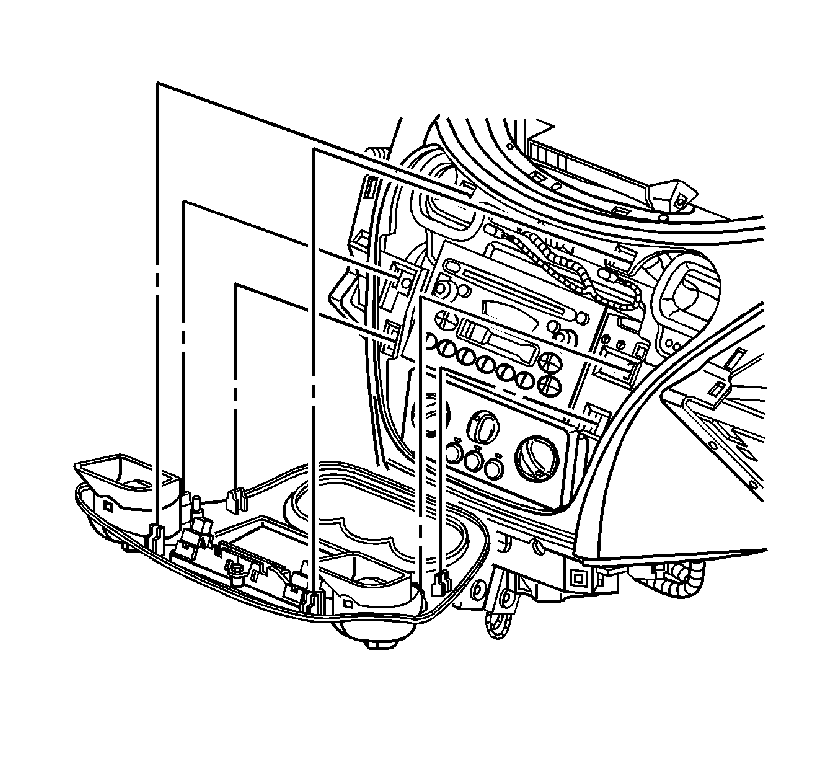
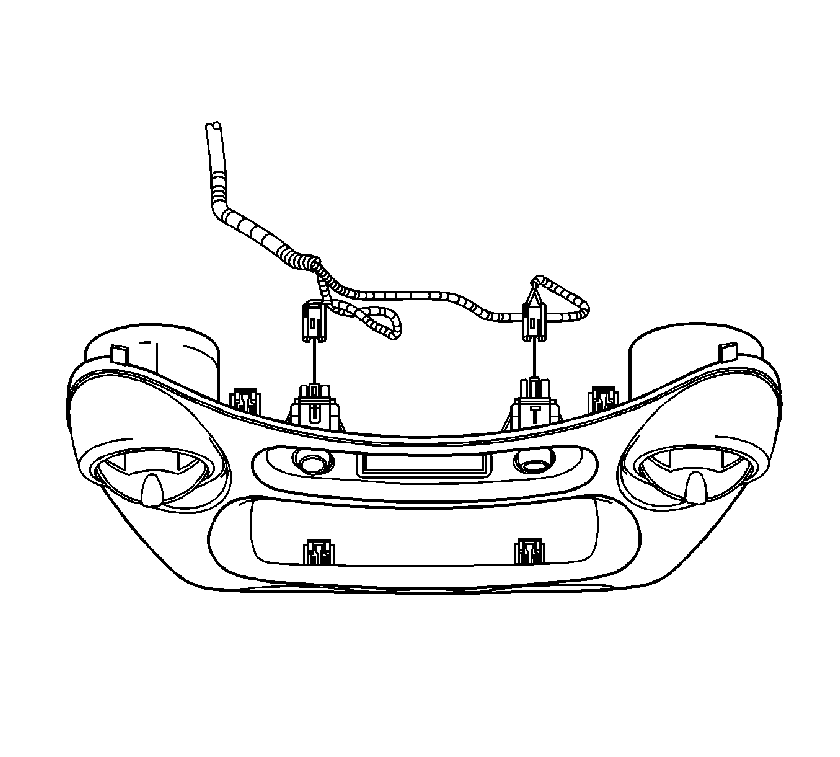
- Pull out on the accessory trim plate in order to release the retaining fasteners.
- Disconnect the accessory trim plate electrical connector(s).
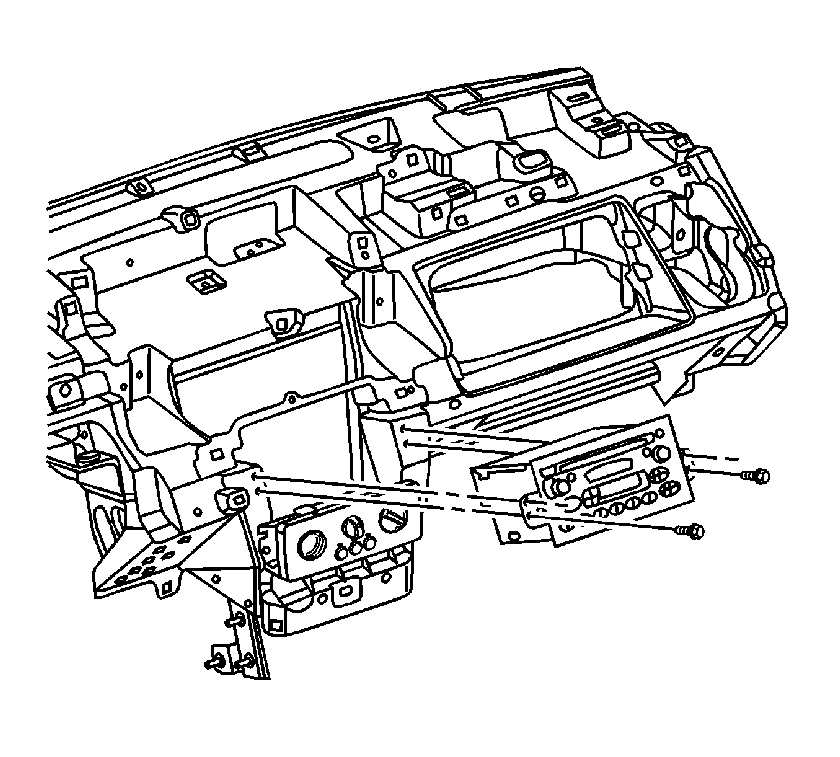
- Remove the screws from the radio and pull the radio out.
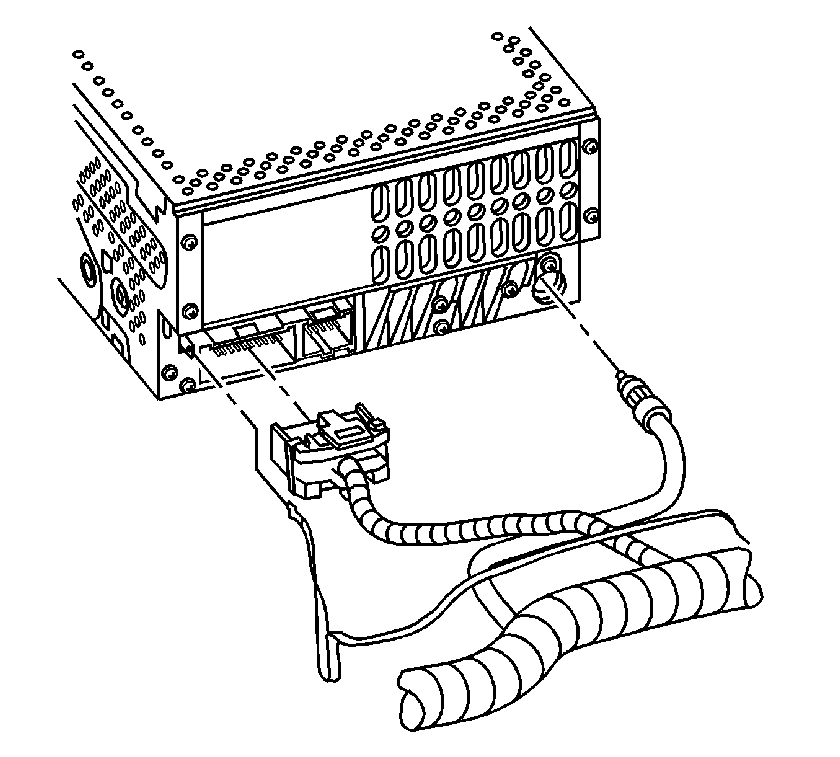
- Disconnect the radio electrical connectors and remove the radio.
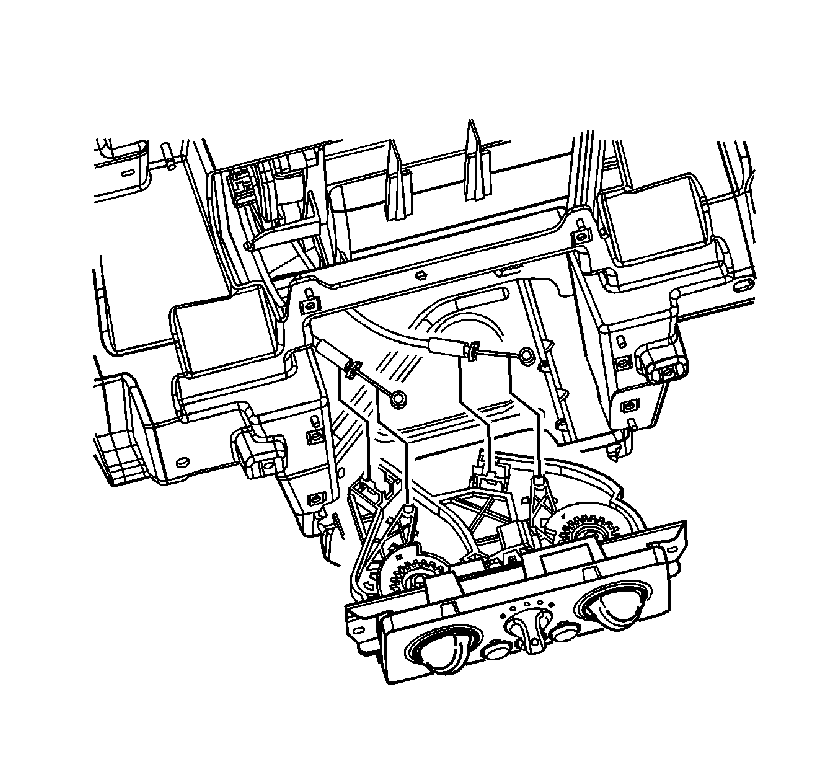
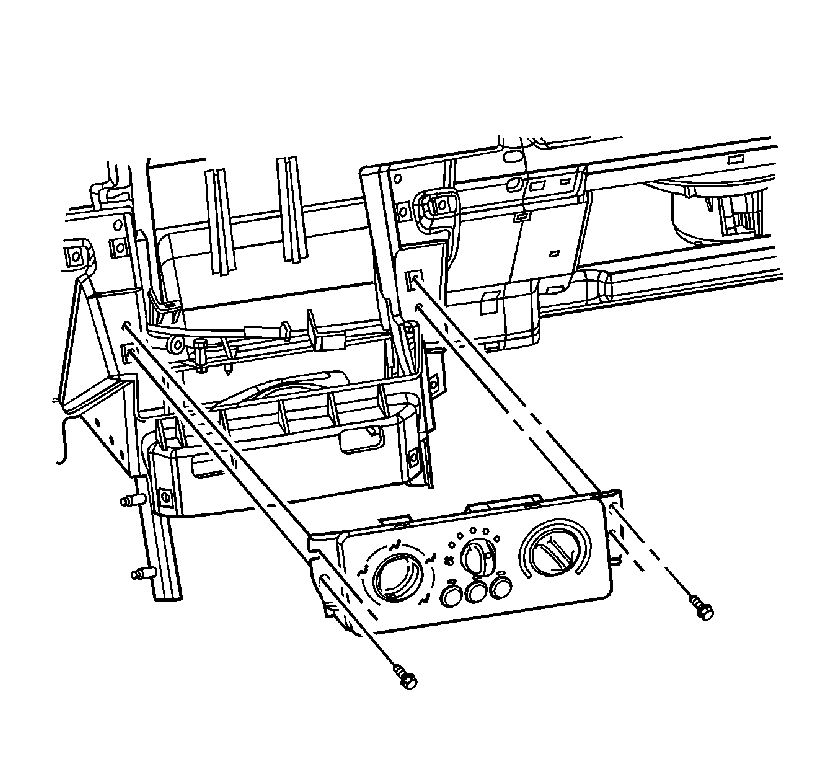
- Disconnect the mode and temperature cables from the HVAC control assembly.
- Disconnect the HVAC control assembly electrical connectors.
- Remove the HVAC control assembly screws and remove the HVAC control assembly.
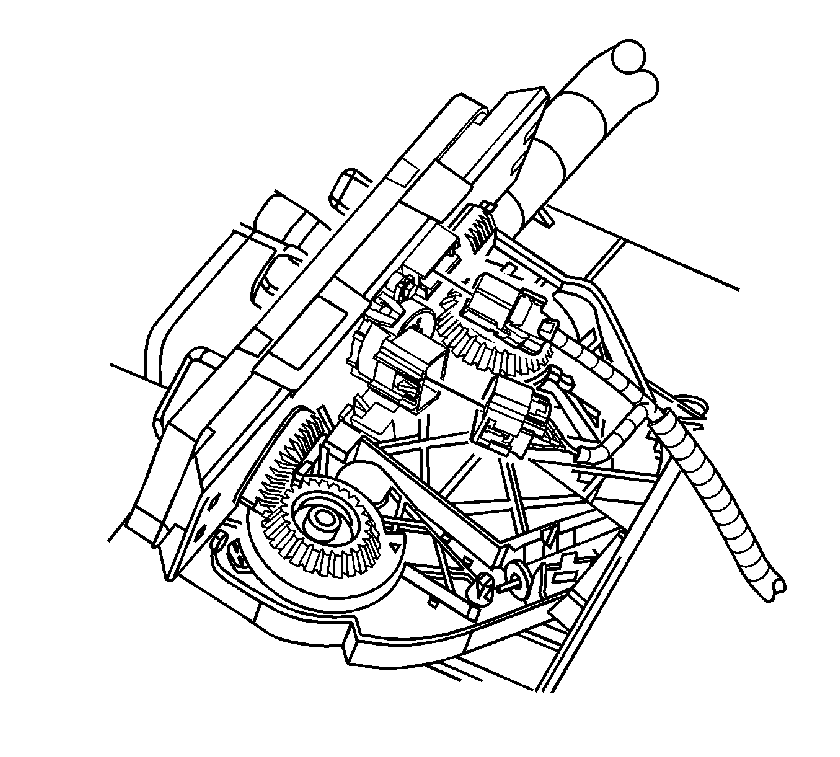
- Remove the mode cable screw and remove the mode cable.
- Turn the mode cam clockwise while pulling out to remove.
Important: Do not bend the mode and temperature cables.
Important: Do not bend the mode cable.
Installation Procedure
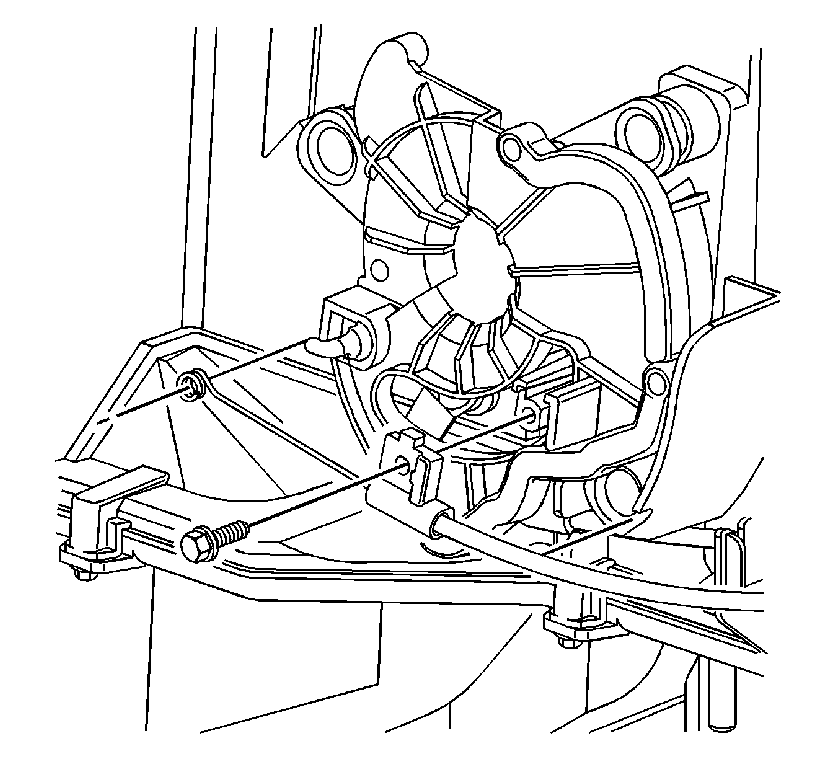
- Align the mode cam with the mode door levers and the HVAC module.
- Insert the mode cam into the HVAC module while turning the mode cam clockwise. Make certain that the mode door levers align with the proper grooves in the mode cam.
- Install the mode cable. Make certain that the cable is properly seated in the notch in the HVAC module.
- Install the mode cable screw.
- Install the HVAC control assembly.
- Install the HVAC control assembly screws.
- Connect the mode and temperature cables to the HVAC control assembly.
- Connect the HVAC control assembly electrical connectors.
- Place the radio in the vehicle and connect the radio electrical connectors.
- Push the radio into position.
- Install the radio screws.
- Connect the accessory trim plate electrical connector(s).
- Align the retaining fasteners with the instrument panel (I/P).
- Push on the outer edge of the accessory trim plate in order to secure the retaining fasteners.
Important: Do not bend the mode cable.
Notice: Refer to Fastener Notice in the Preface section.
Tighten
Tighten the screw to 2 N·m (18 lb in).
Tighten
Tighten the screws to 2.5 N·m (22 lb in).
Important: Do not bend the mode and temperature cables.
Tighten
Tighten the screws to 2.5 N·m (22 lb in).
