For 1990-2009 cars only
Removal Procedure
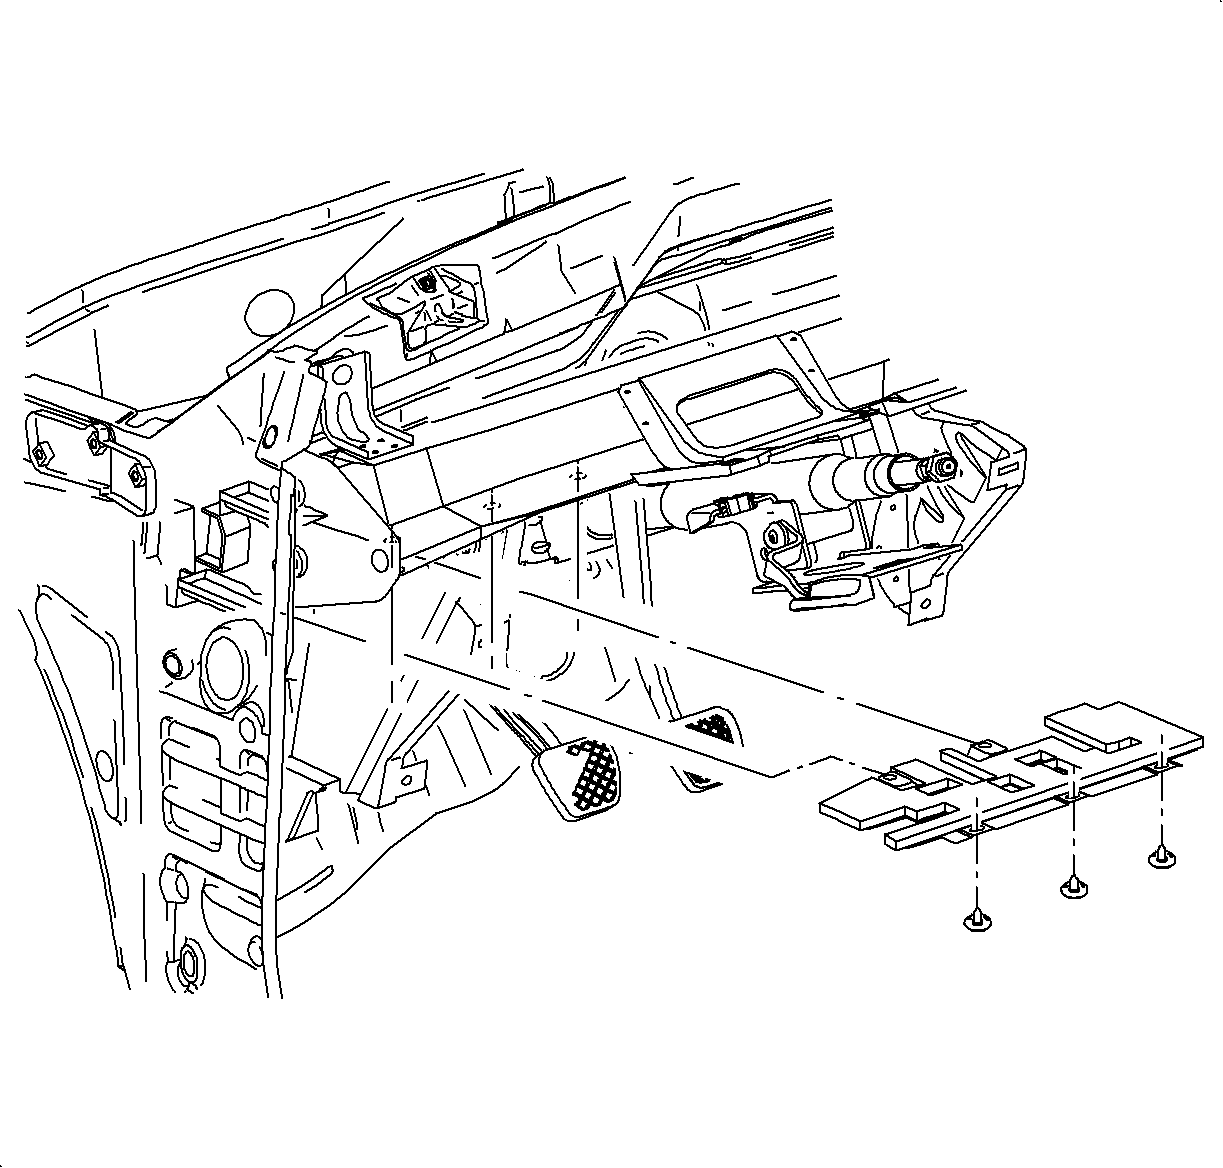
- Remove the left lower I/P closeout panel (hush panel) push pins.
- Remove the left lower I/P closeout panel (hush panel) from the vehicle.
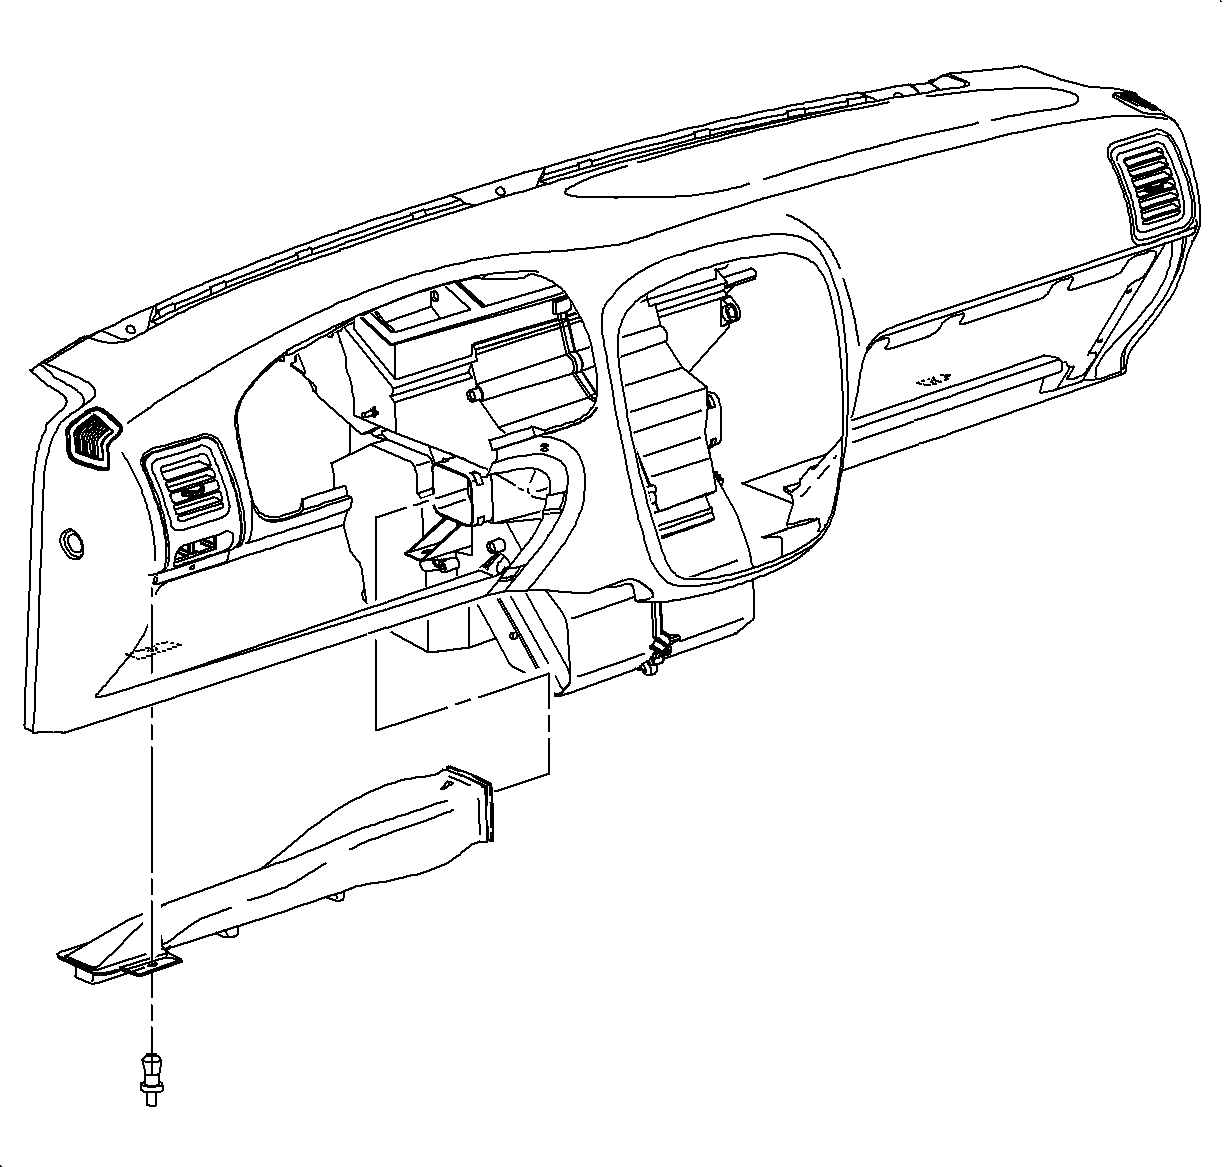
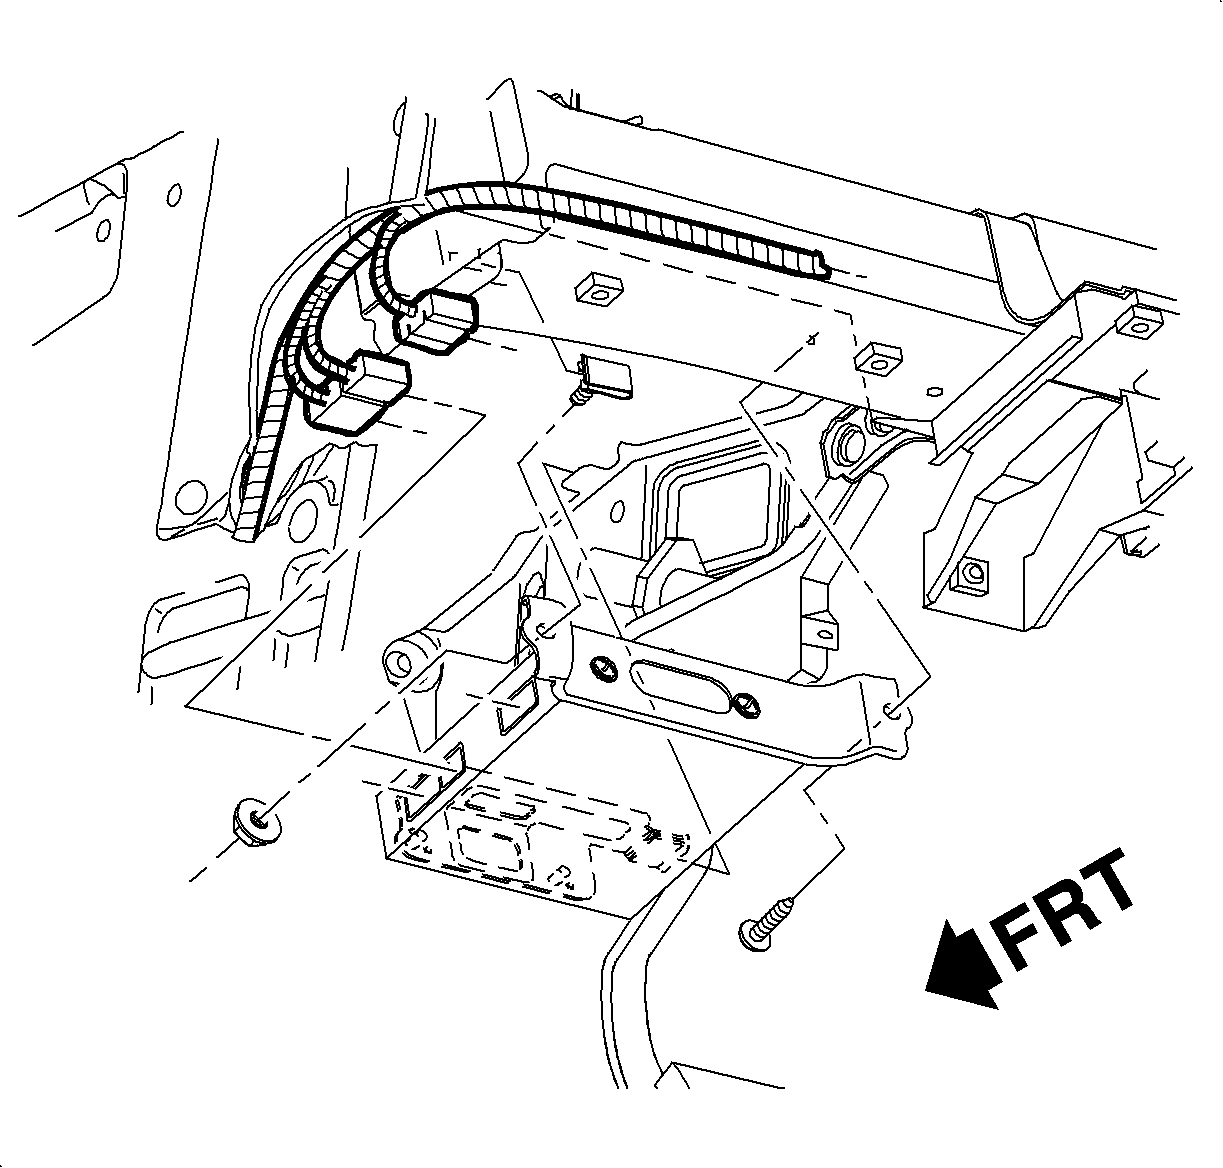
- Remove the HVAC duct push pin and remove the duct from the vehicle.
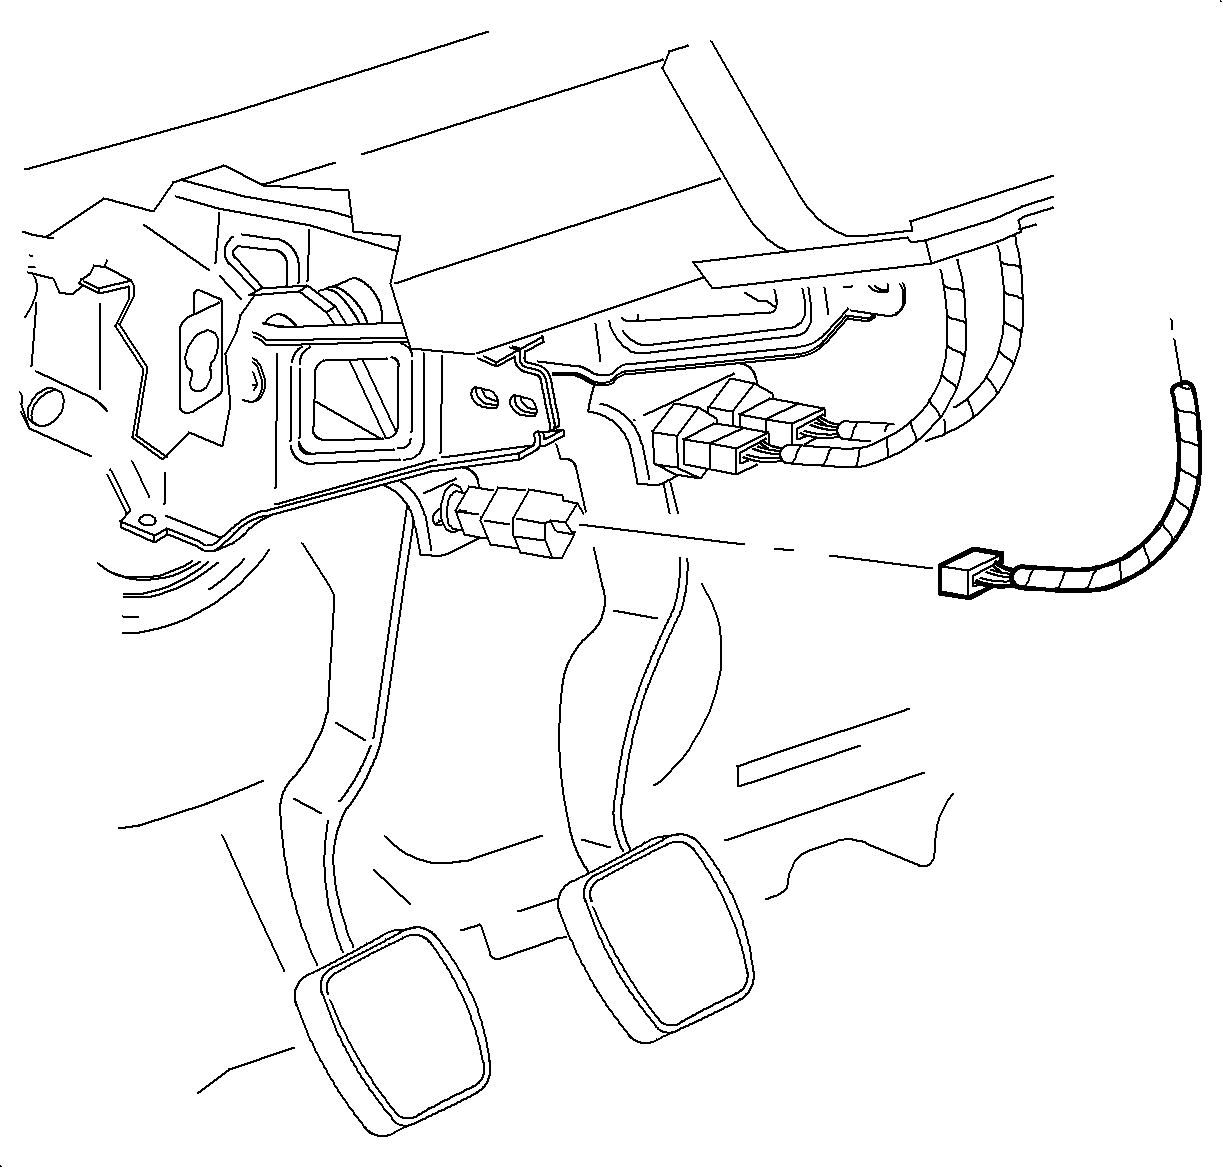
- Remove the wire harness channel from the clutch pedal bracket.
- Disconnect the clutch start switch electrical connector.
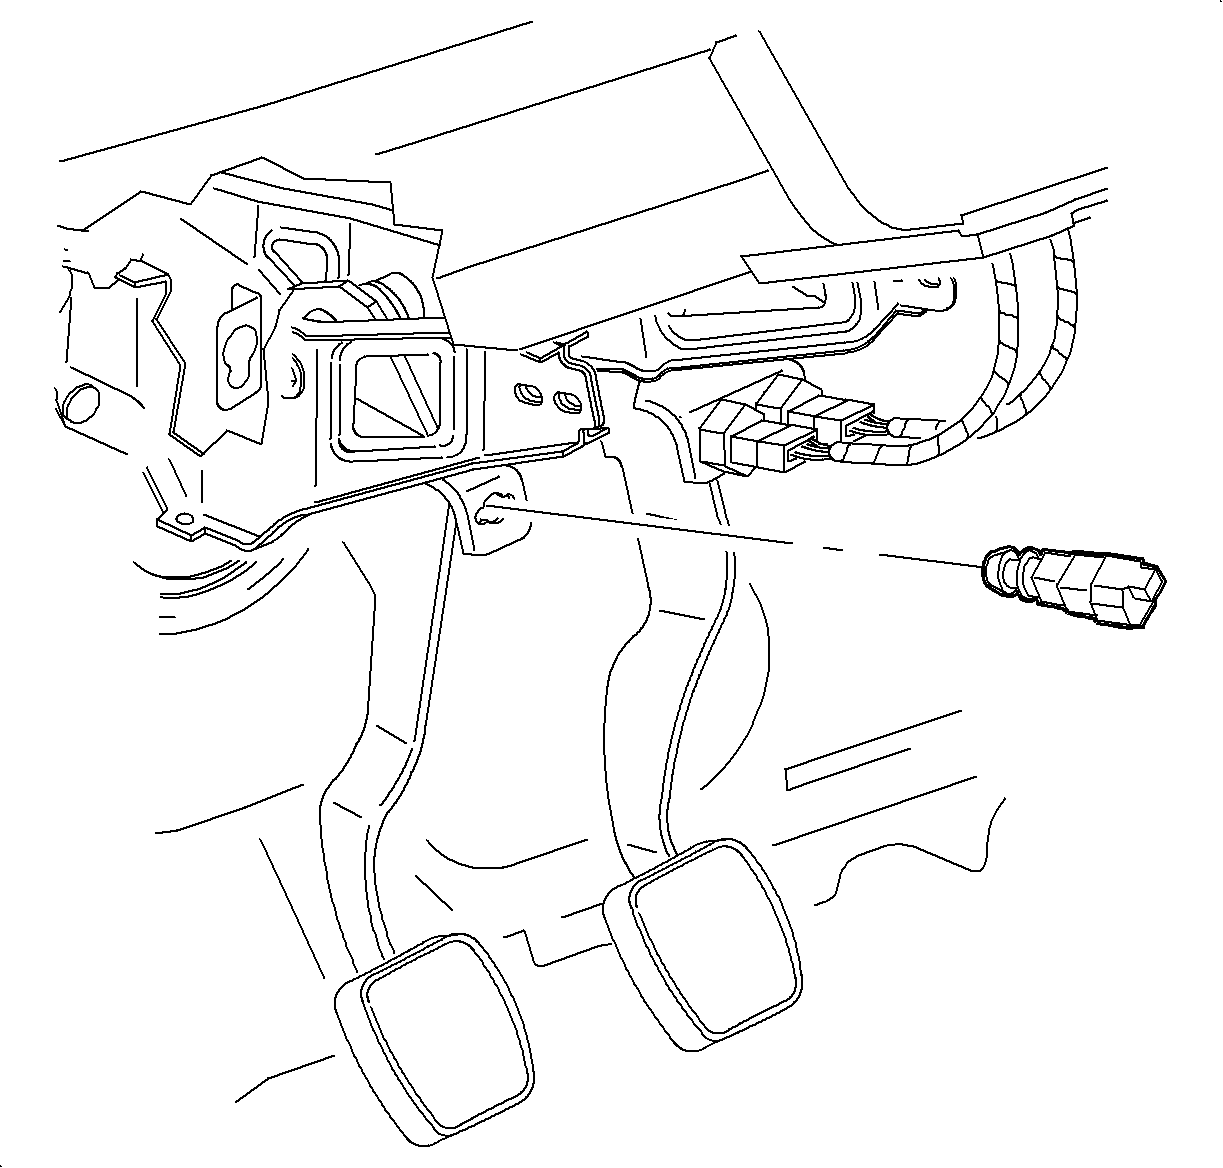
- Remove the clutch start switch.
- Insert the feeler gage between the switch and clutch pedal bracket to release the switch locking tab.
- Slide the switch downward to remove from bracket.
- Disconnect the clutch cruise switch electrical connector.
- Remove the clutch cruise switch.
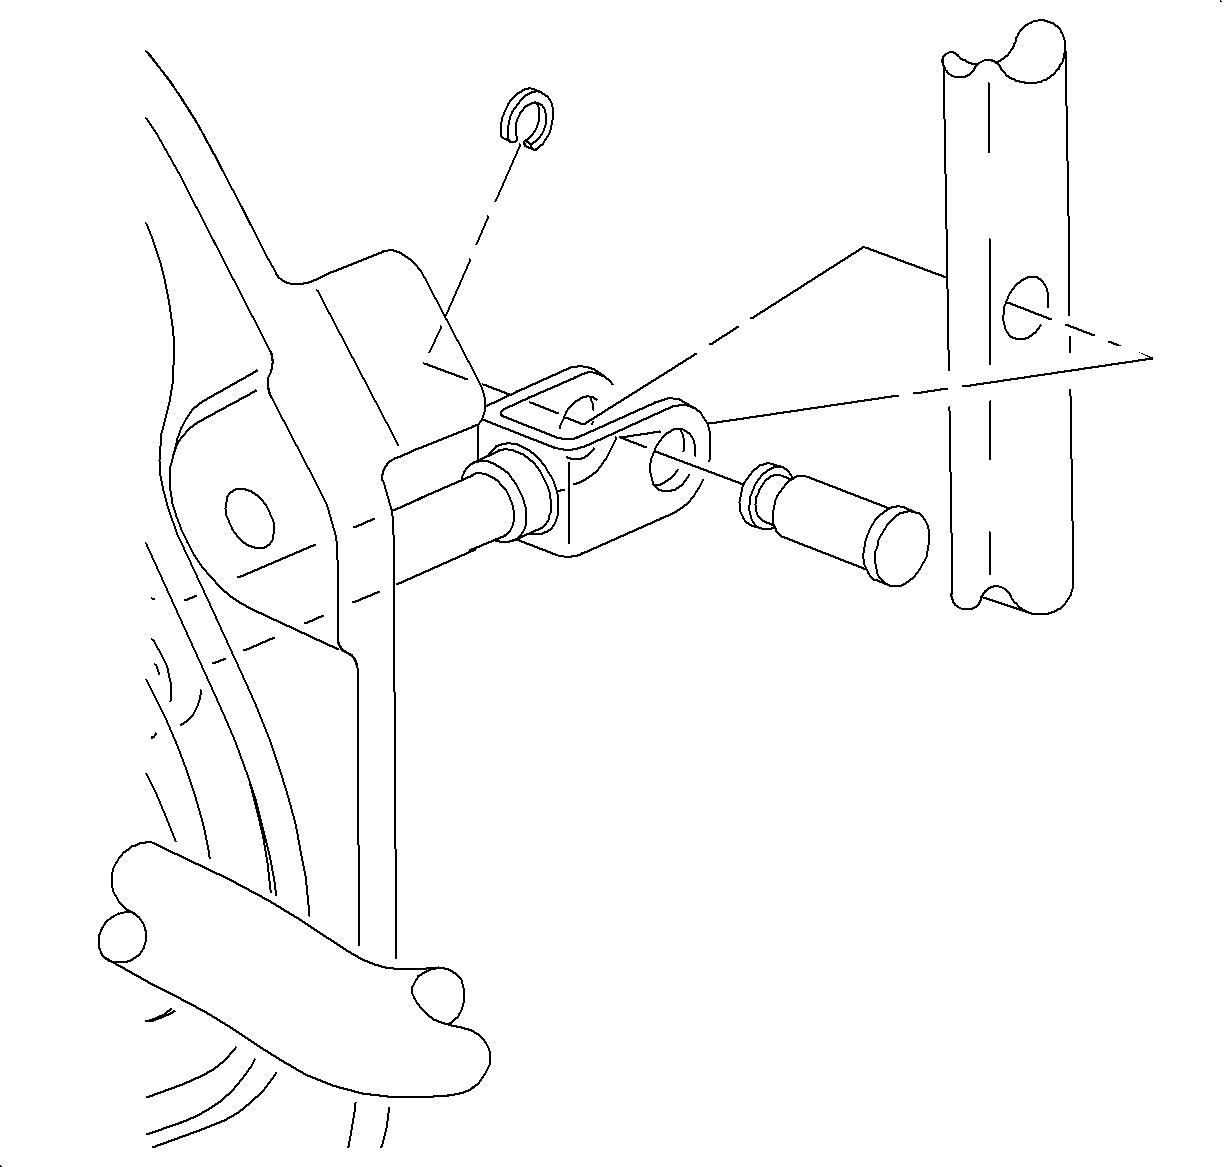
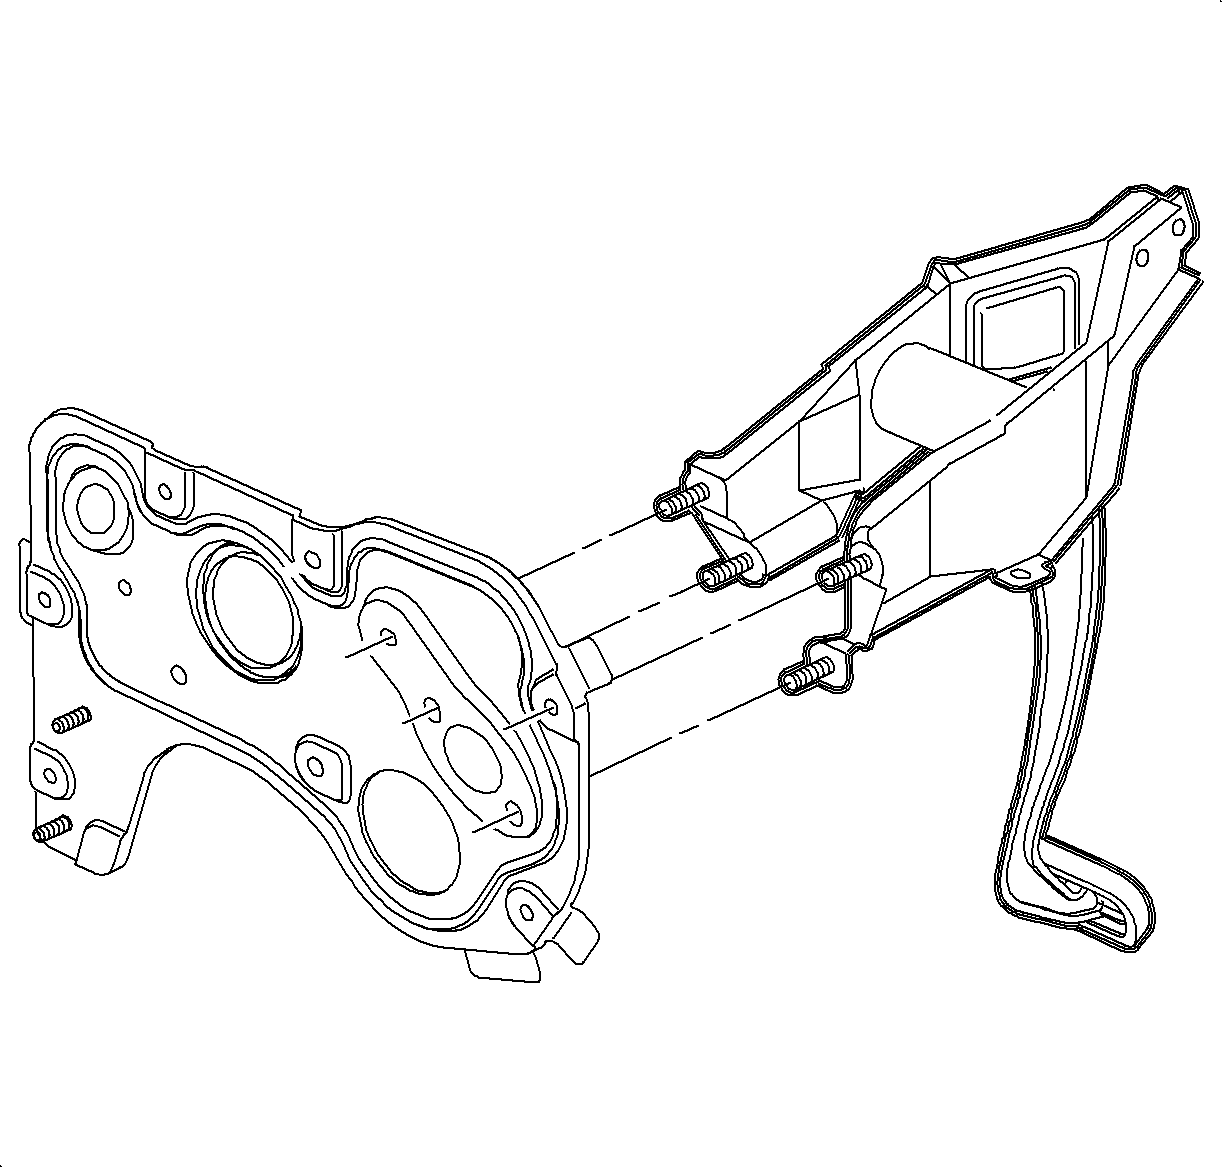
- Remove the clutch master cylinder push rod from the clutch pedal.
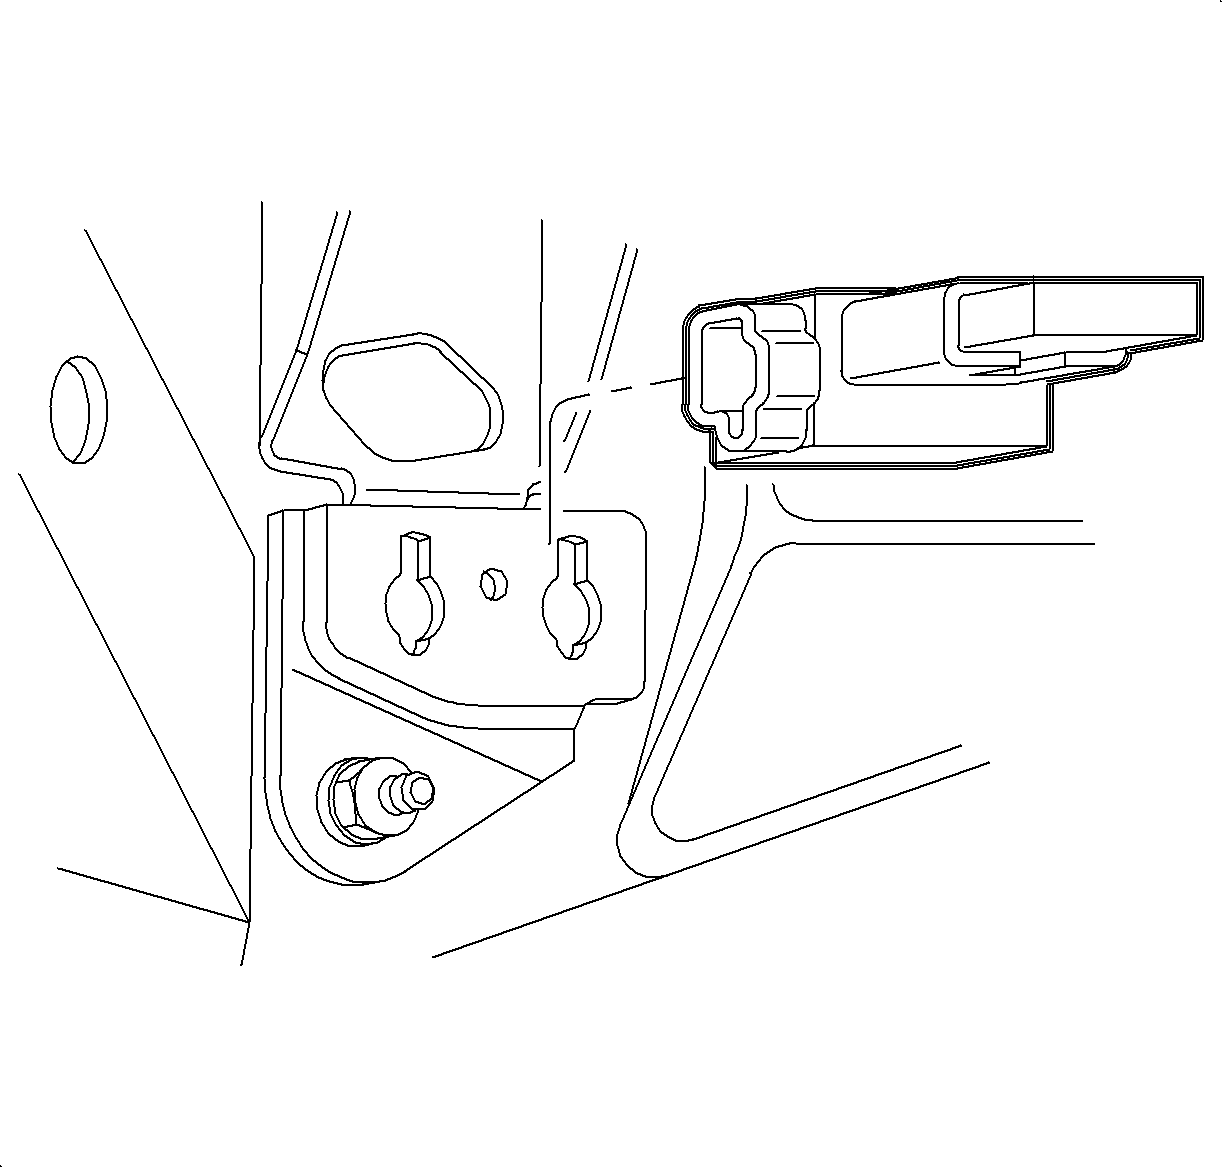
- If the vehicle is equipped, remove the stereo amplifier fasteners from the I/P beam and slide the amplifier out of the way.
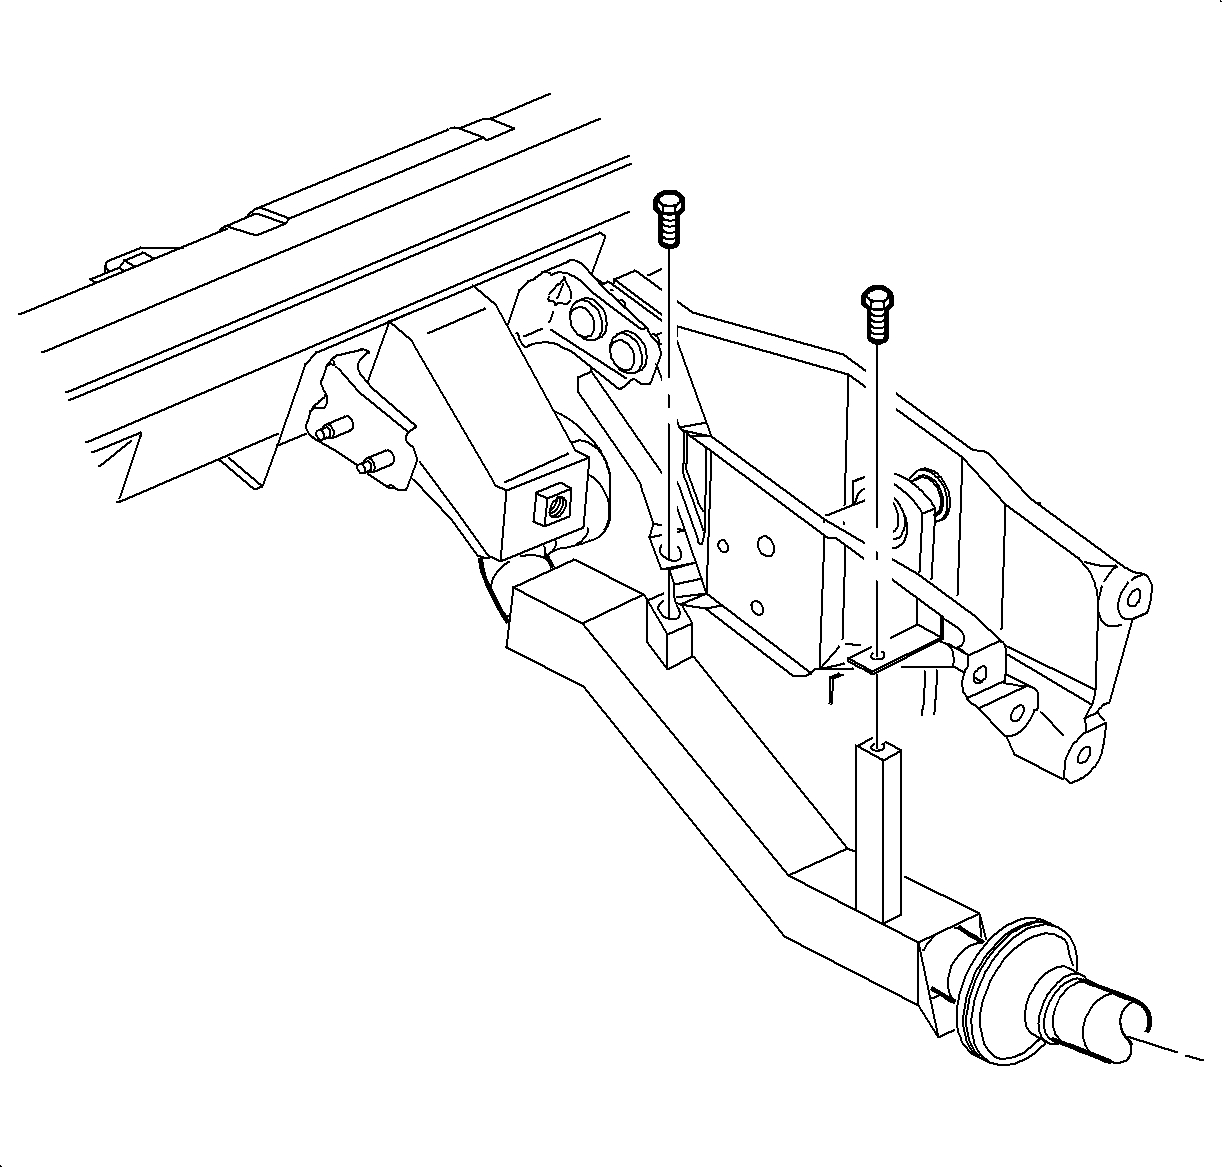
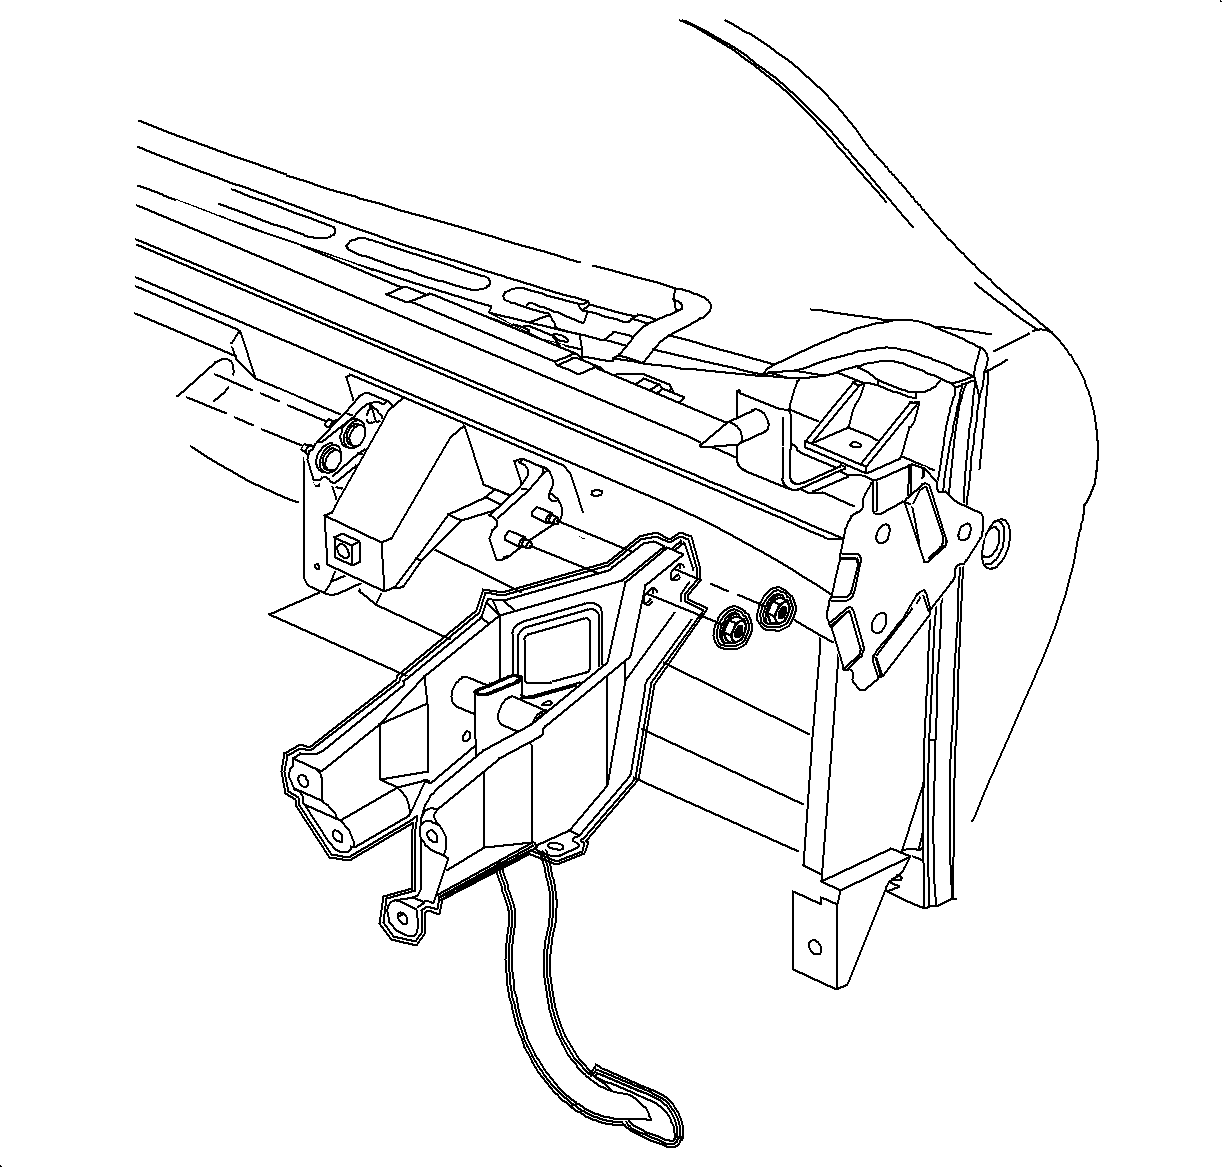
- Remove the clutch pedal bracket to the I/P beam fasteners.
- Remove the clutch pedal bracket to the front of the dash nuts. These nuts are accessible from under the hood.
- Remove the clutch pedal assembly.
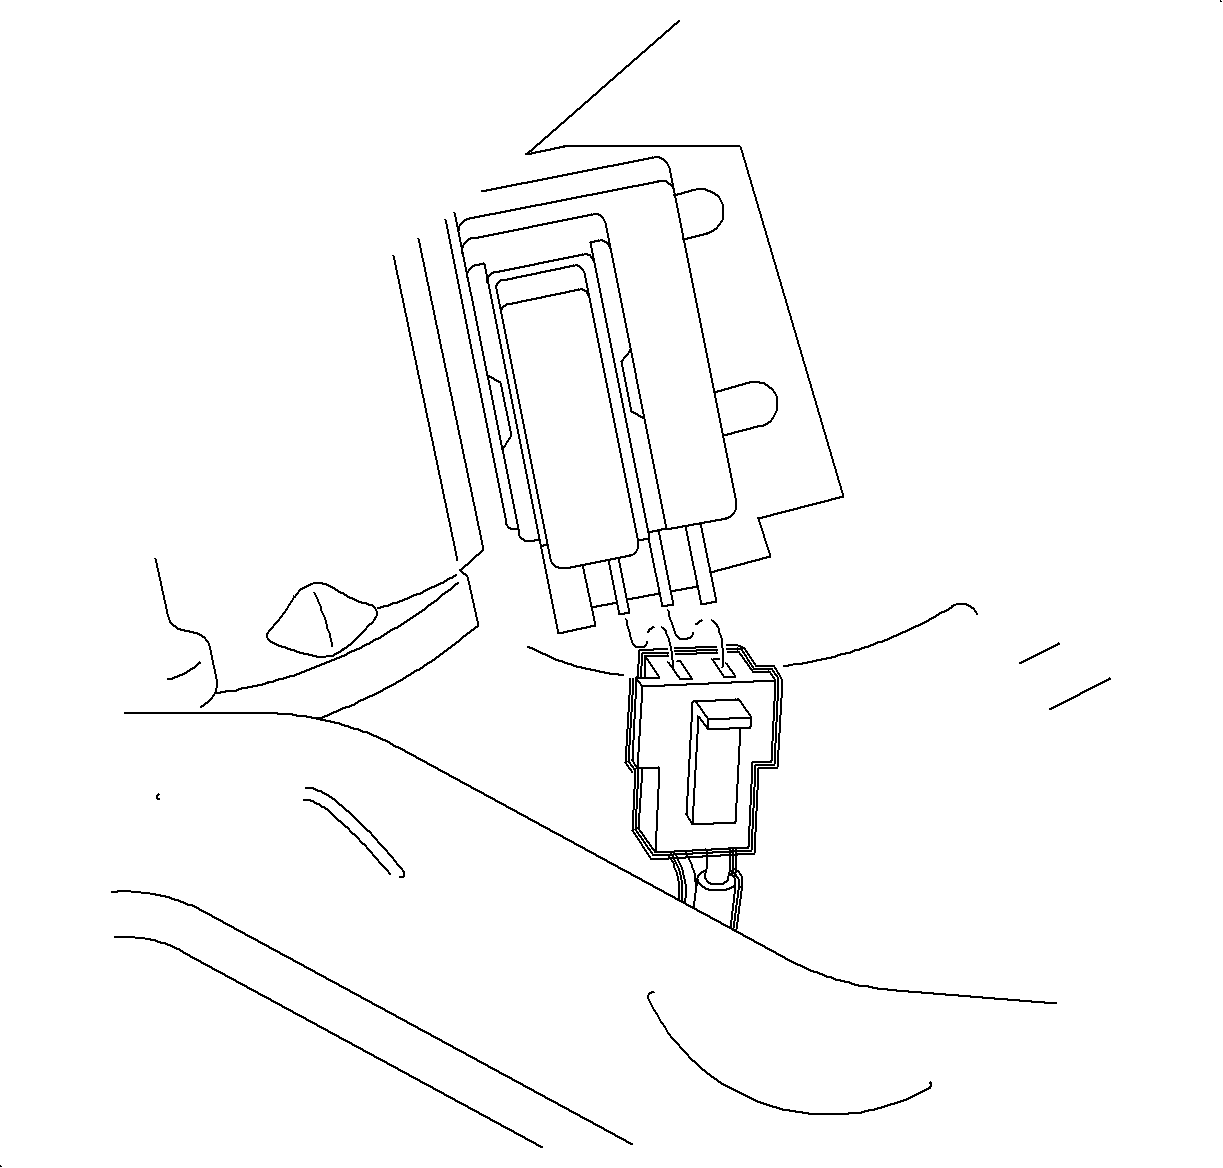

| 10.1. | Slide out the red locking collar. |
| 10.2. | Depress the side tabs and remove the switch. |
Installation Procedure
- Position the pedal in the vehicle.
- Install the clutch pedal assembly to front of dash fasteners.
- Install the clutch pedal bracket to I/P beam fasteners.
- If the vehicle is equipped, install the radio amplifier.
- Install the clutch start switch.
- Insert the tabs of the switch in the bracket and slide the switch upward until the locking tab engages.
- Install the clutch cruise switch.
- Connect the clutch cruise switch and clutch start switch electrical connectors.
- Install the clutch master cylinder push rod to clutch pedal.
- Install the wire harness channel.
- Install the HVAC duct work.
- Install the left lower I/P closeout panel (hush panel).

Notice: Refer to Fastener Notice in the Preface section.
Tighten
Tighten the clutch pedal assembly-to-front of dash nuts to 20 N·m
(15 lb ft).

Tighten
Tighten the clutch pedal bracket-to-I/P beam fasteners to 20 N·m
(15 lb ft).

Tighten
Tighten the radio amplifier retaining fasteners to 10 N·m (89 lb in).


| 7.1. | Pull out the red locking collar. |
| 7.2. | Depress the sides and install the switch. |
| 7.3. | Slide the red locking collar back into the lock position. |


