For 1990-2009 cars only
Removal Procedure
- Operate the sunroof to the closed position.
- Remove the headliner. Refer to Headlining Trim Panel Replacement .
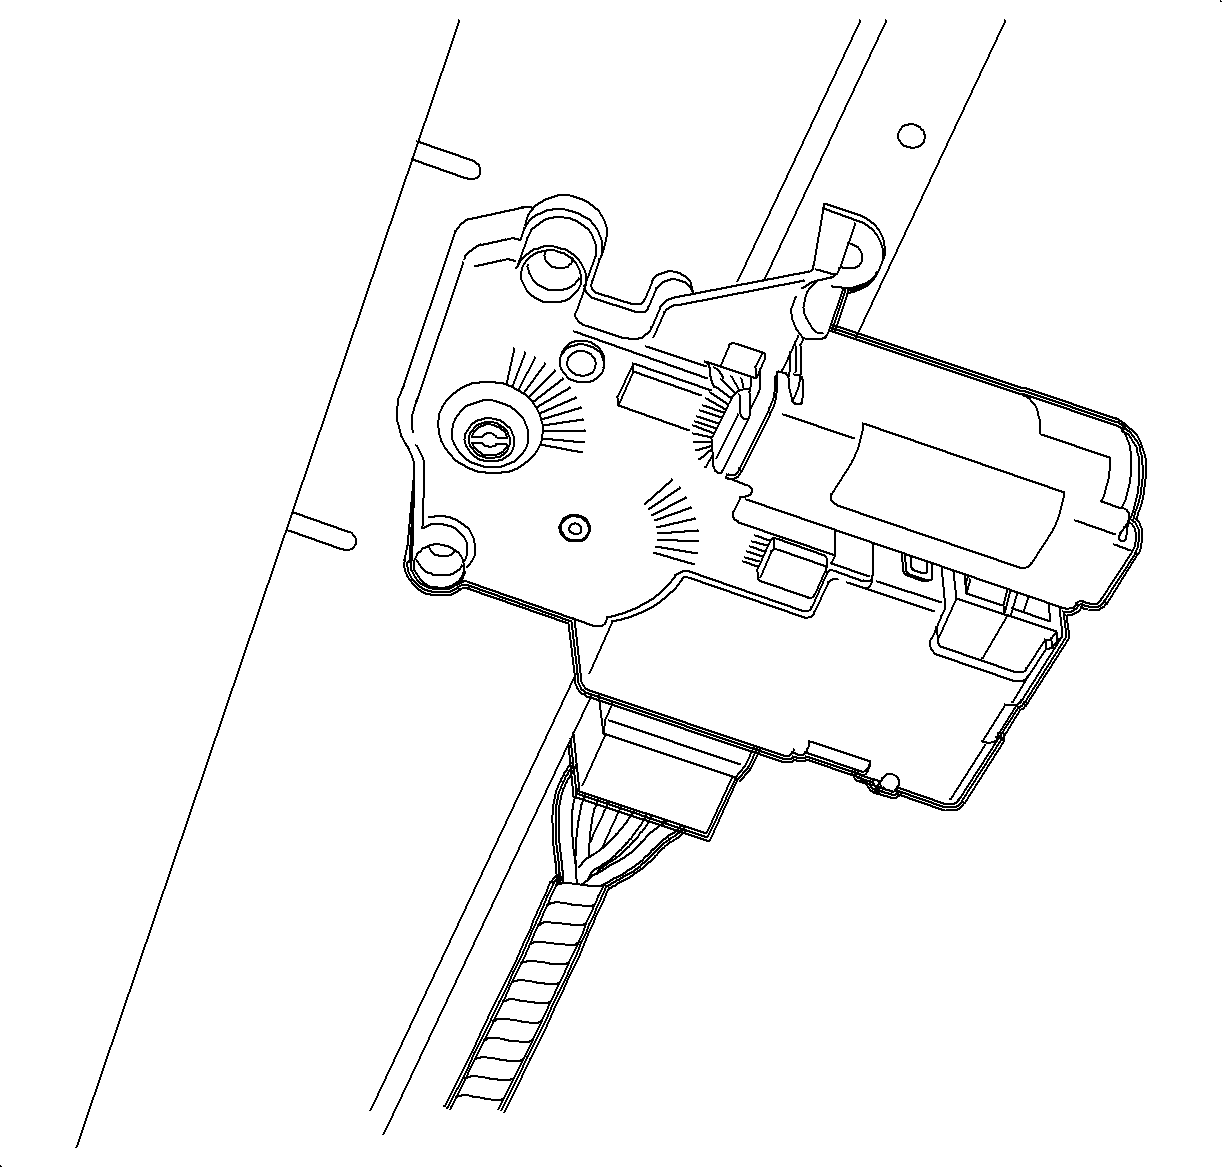
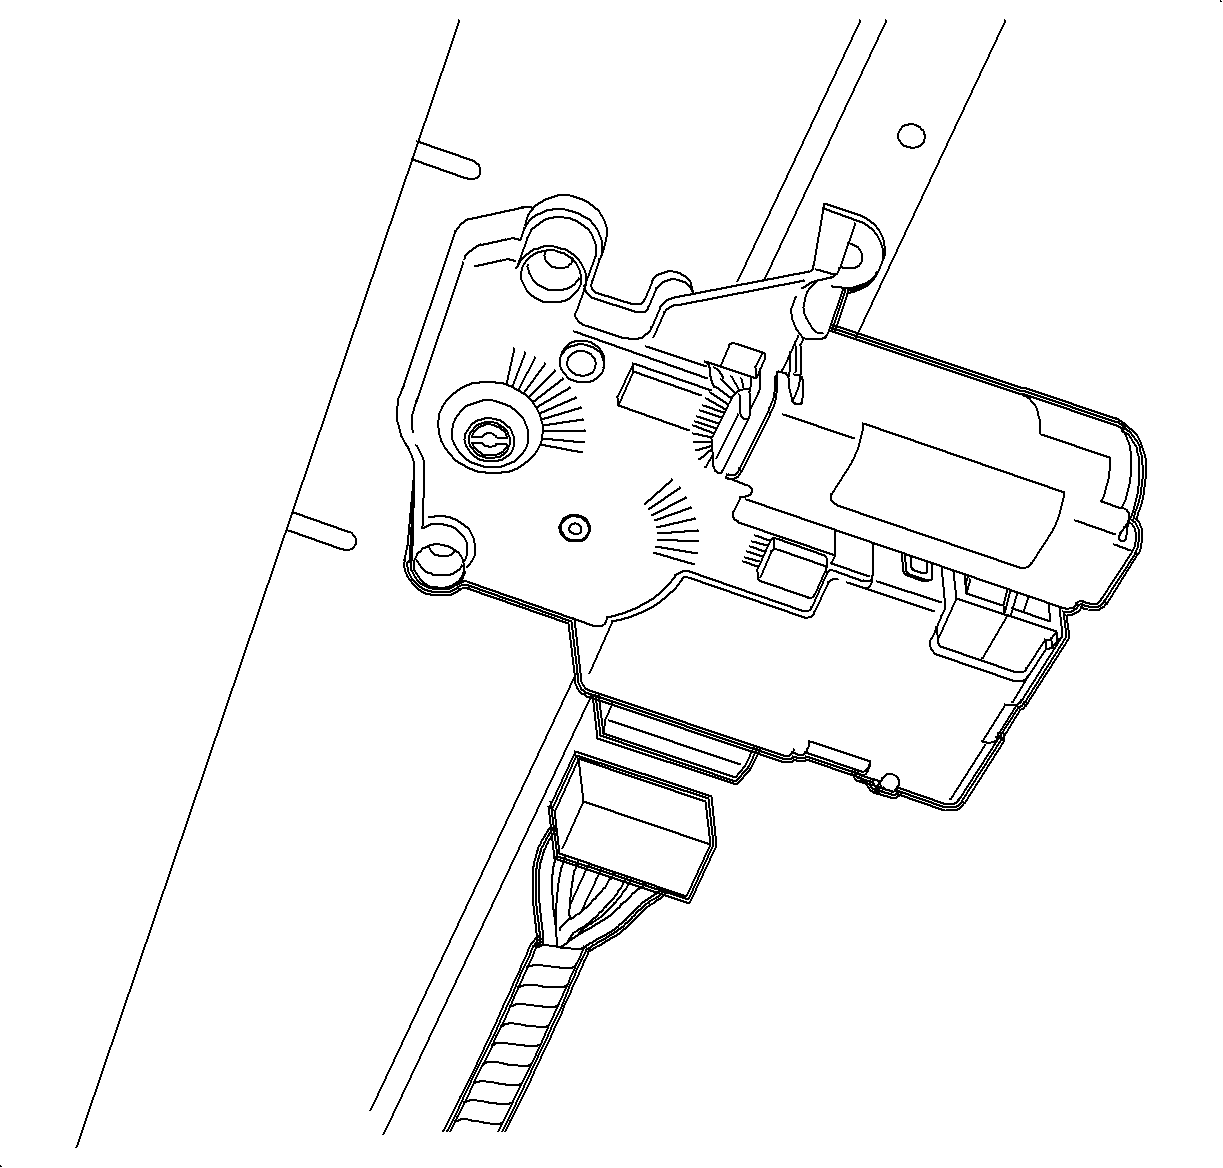
- Disconnect the electrical connection from the sunroof motor.
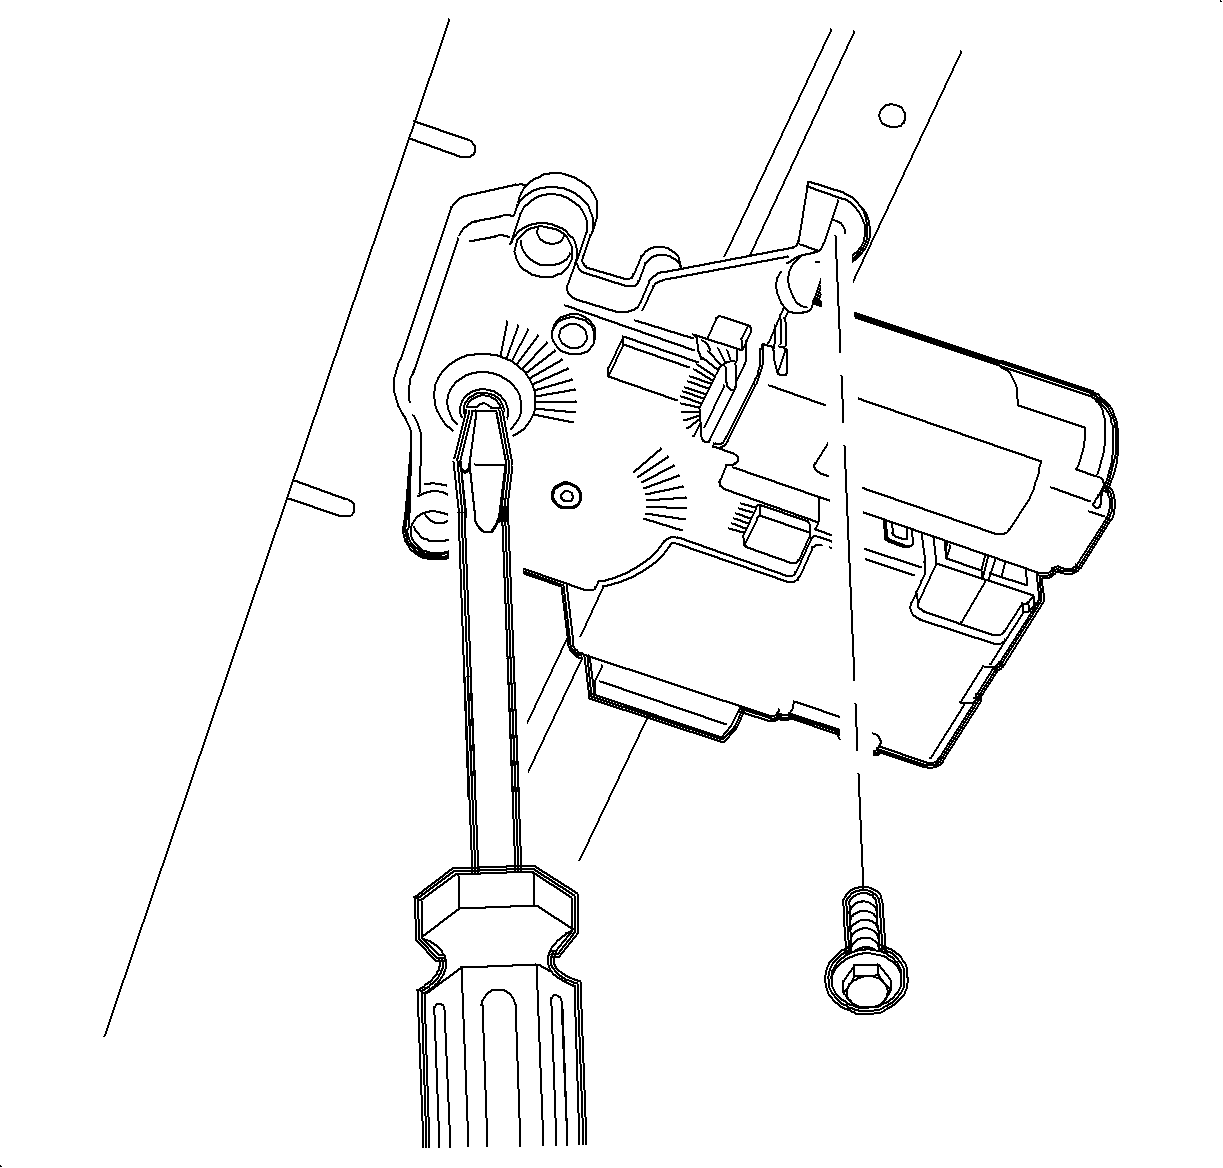
- Remove the screws from the motor assembly.
- Remove the motor assembly.

Important: If the motor will not operate, proceed to step 2.
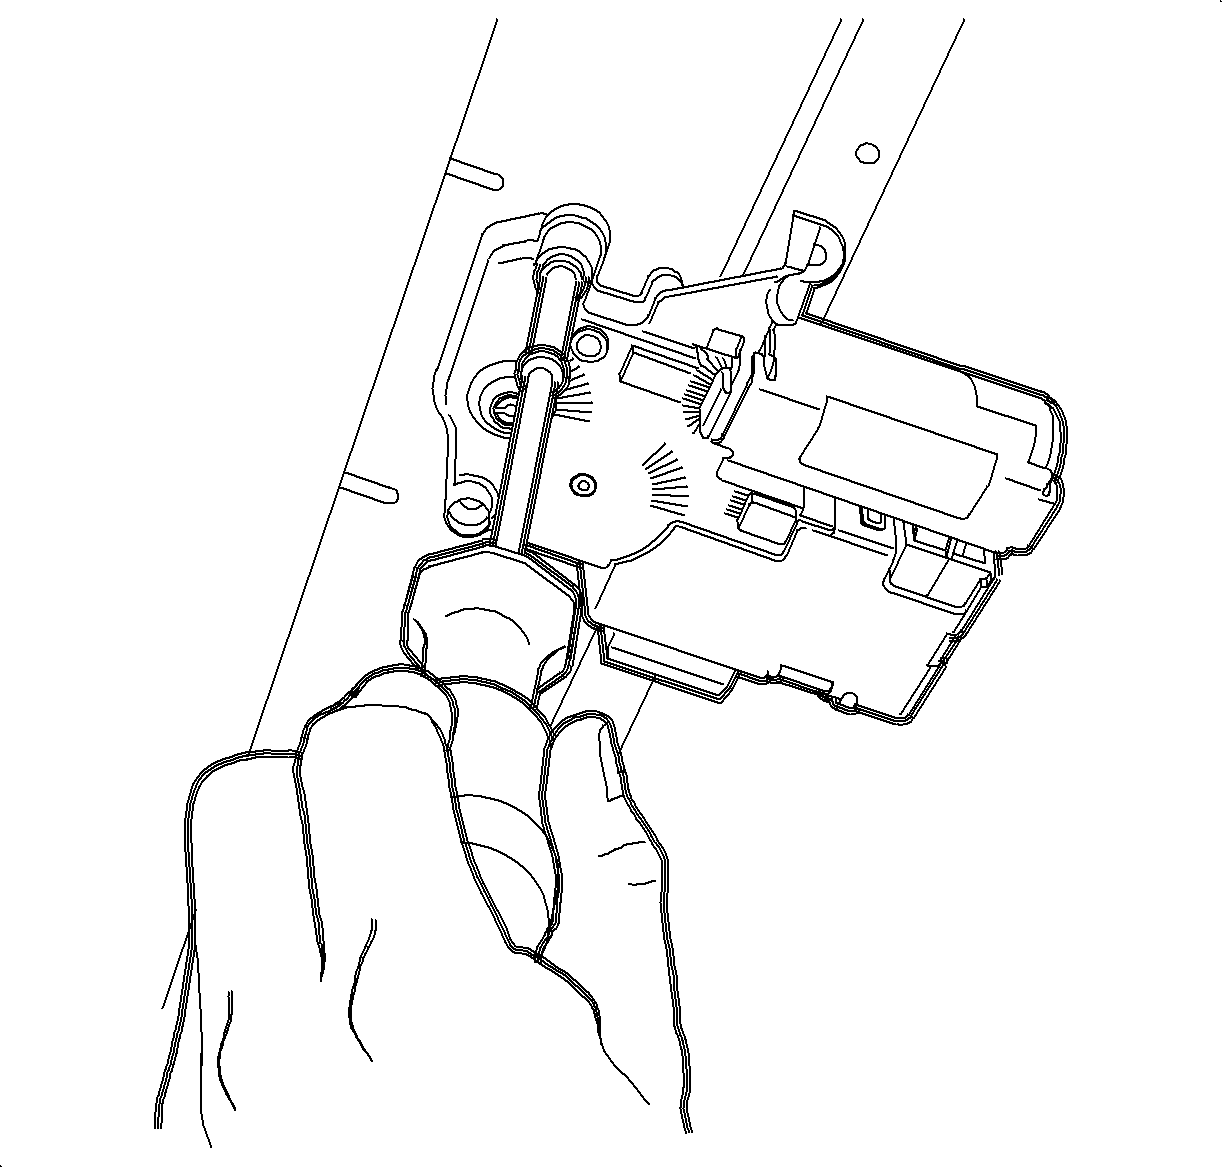
Important: If the sunroof is still in the open position, insert a screwdriver into the slot and manually close the sunroof. Closing the sunroof before motor removal will help to maintain the mechanical timing of the sunroof assembly.


Installation Procedure
- Insert Graphic SMVIS81935AA1
- Install the motor assembly.
- Install the screws to the motor assembly.
- Connect the electrical connection to the sunroof motor.
- Install the headliner. Refer to Headlining Trim Panel Replacement .
- Verify the smooth operation of the sunroof in all of the positions.
Prior to motor installation, verify the motor is in the 0 position by lining up the slot on the outside ring with the slot on the inside ring as shown. Cycle the motor with the switch, or manually operate with the small screwdriver in the slot, until these slots line up.

Notice: Refer to Fastener Notice in the Preface section.
Tighten
Tighten the sunroof motor-to-sunroof module fasteners to 3 N·m
(27 lb in).

