Pop Noise from Drivers Seat

| Subject: | Pop Noise from Driver's Seat (Replace Seat Adjuster Assembly) Due to a change in parts requirements, this bulletin has been revised and supersedes bulletin 00-T-40, which should be discarded. |
| Models: | 2000 Saturn L-Series vehicles with Power Seat Option (AGI) up to and including YY676327 |
| 2000 Saturn L-Series vehicles with Mid Level Option (AG4) up to and including YY676439 |
Condition
Some customers may comment that the drivers seat makes a popping sound when braking, accelerating, or moving in the seat.
Cause
This condition is caused by clearance in the rivet joint at the seat adjuster.
Correction
Perform seat noise verification procedure in this bulletin. If seat adjuster needs replacement continue with procedure in this bulletin.
Procedure
- Verify the condition, while sitting in the drivers seat grab the seat cushion on the right front bottom and gently rock in the seat in a forward and aft motion.
- Remove front seat from vehicles. (Refer to "Front Seat" removal procedure in the Seats Section of the Body/Electrical Volume II Service Manual).
- On manual recliner, remove recliner lever retaining clip and remove lever.
- On manual height adjuster, remove height adjuster handle fastener and remove height adjuster handle
- 8970098
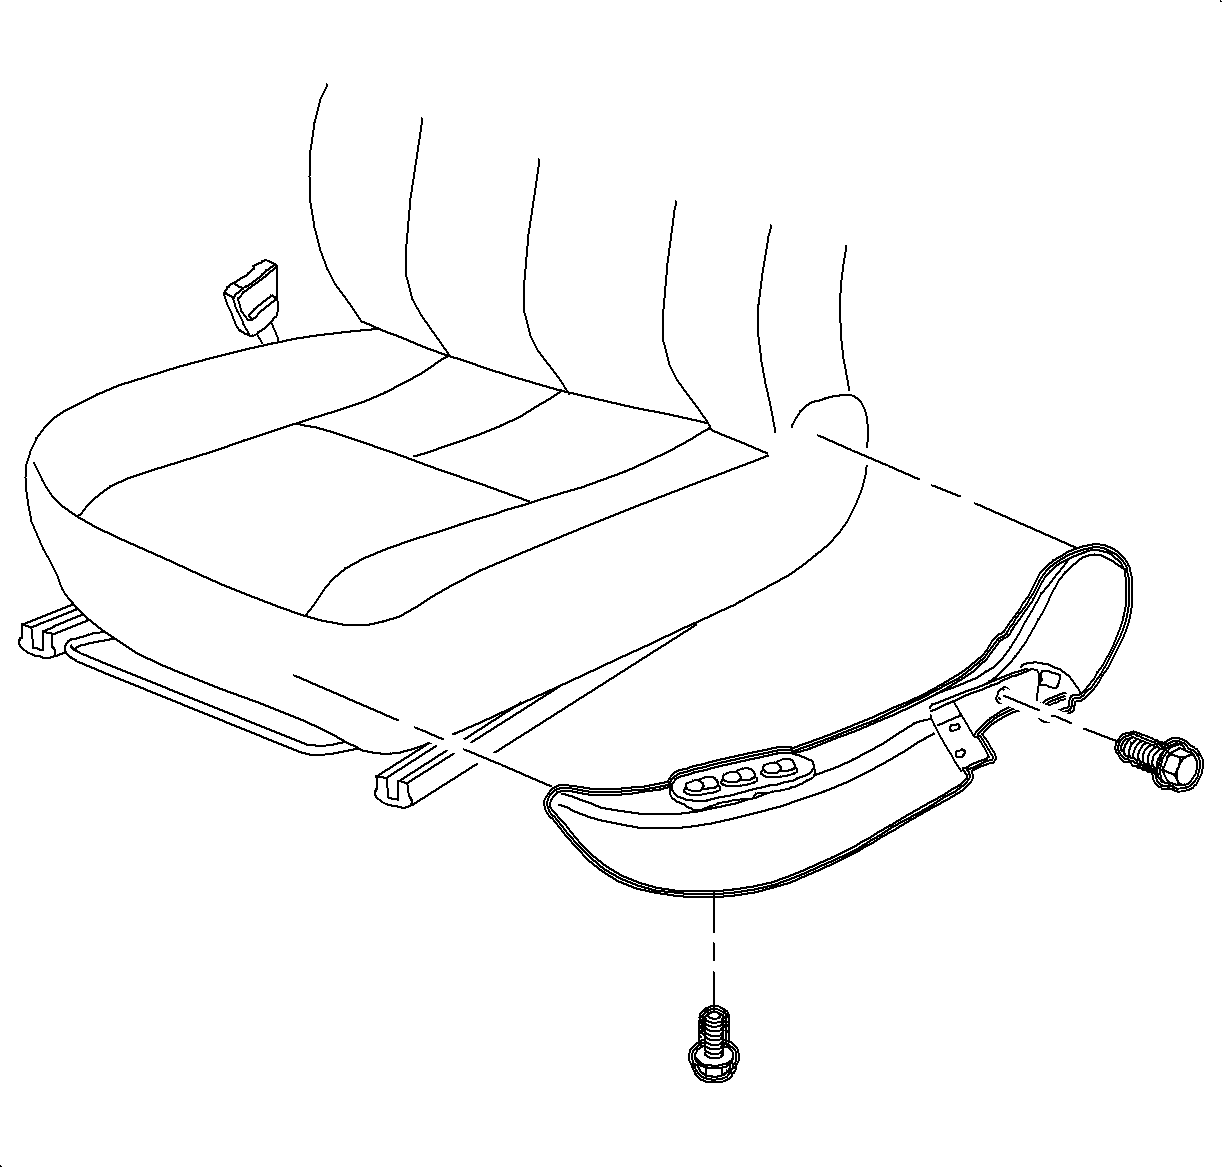
- On power seat, remove outer valance fasteners, disconnect power sear switch and remove valance.
- Disconnect seat belt buckle wiring harness connector from connector gang plug.
- Remove seat belt buckle fastener and remove seat belt buckle.
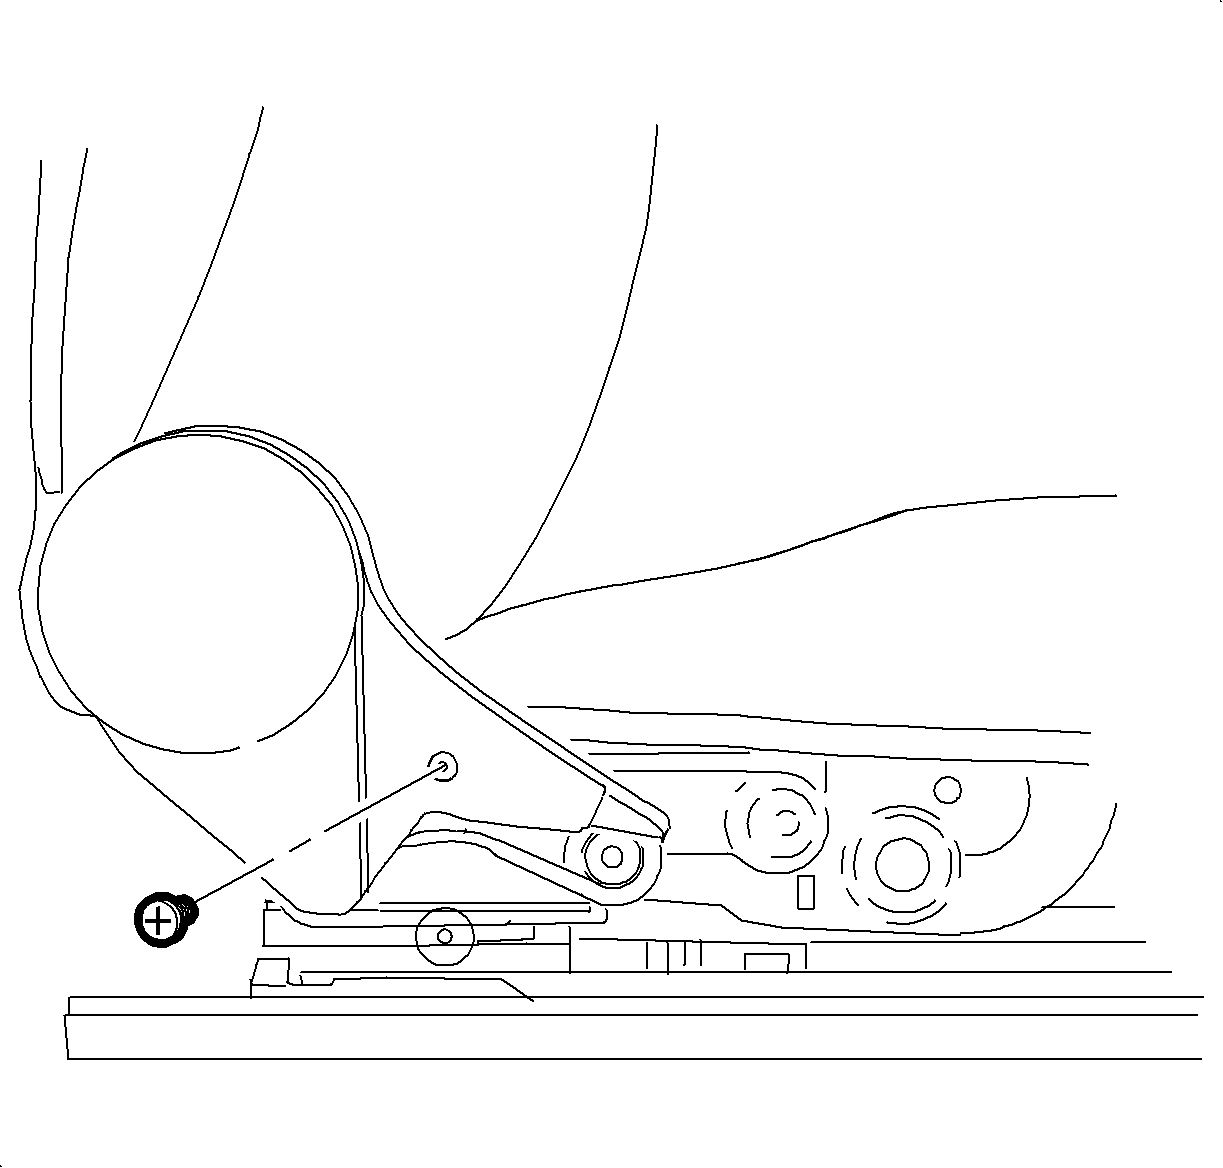
- Remove inner recliner cover fasteners and remove cover.
- Disconnect wiring harness connectors and remove harness from adjuster frame.
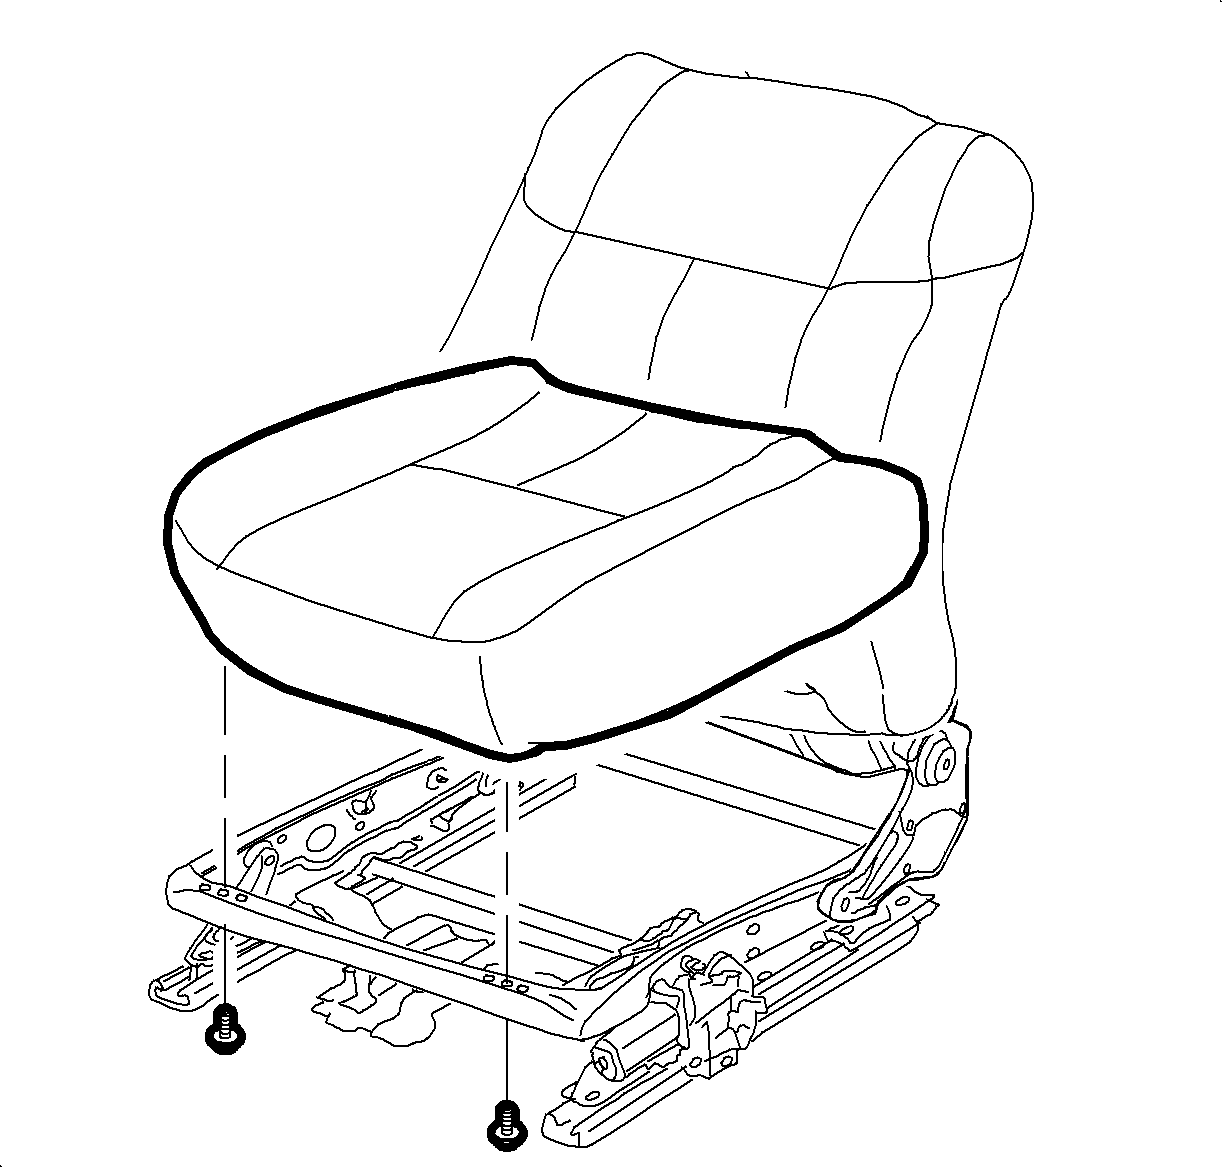
- Remove seat cushion carrier fasteners.
- Remove seat cover J-strip from seat frame at back of cushion and remove seat carrier assembly.
- Transfer wiring harness gang plug to new seat adjuster.
- Remove seat back assembly and fasteners.
- On power seat remove power seat riser motor.
- Install power seat riser motor to new seat adjuster.
- Install seat back assembly.
- On power equipped vehicles positions seat wire harness to seat carrier assembly properly routing and strapping harness to seat carrier.
- Install seat cover J-strip to seat adjuster, position seat adjuster to seat cushion carrier and secure with fasteners.
- Clip wiring harness to seat carrier frame.
- Install inner recliner cover with fasteners.
- Install seat belt.
- On manual height adjuster, install outer valance with fasteners.
- On manual height adjuster, install height adjuster handle with fasteners.
- On manual recliner, install recliner lever with retainer clip.
- On power seats, connect power seat switch connector and install outer valance with fasteners.
- Install front seat to vehicle. (Refer to "Front Seat" installation procedure in the Seats Section of the Body/Electrical Volume II Service Manual).
| • | If drivers seat exhibits a pop noise that is heard or felt in the seat cushion area continue to step 2. |
| • | If no pop noise is heard or felt in the seat cushion area, the repair procedures outlined in this bulletin will not address other seal concerns. |
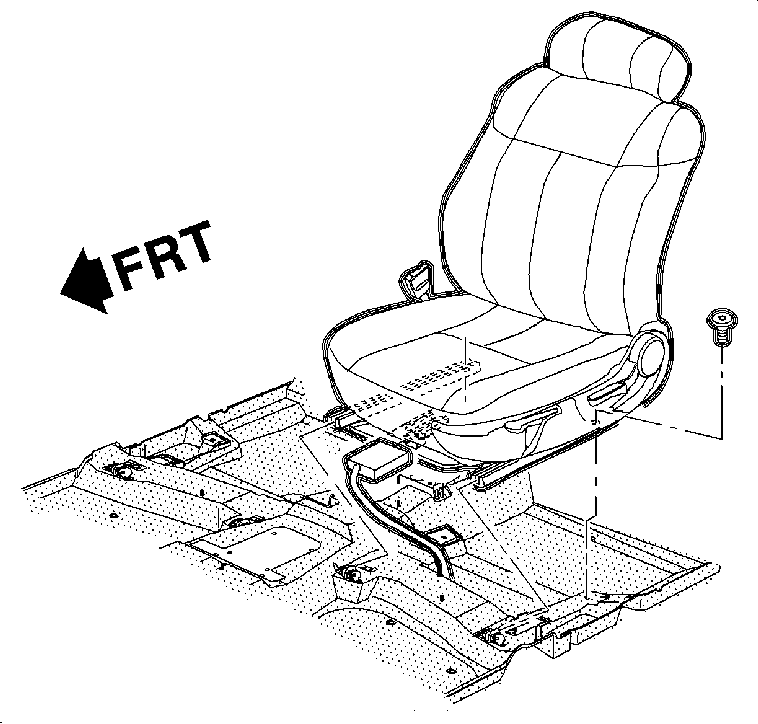
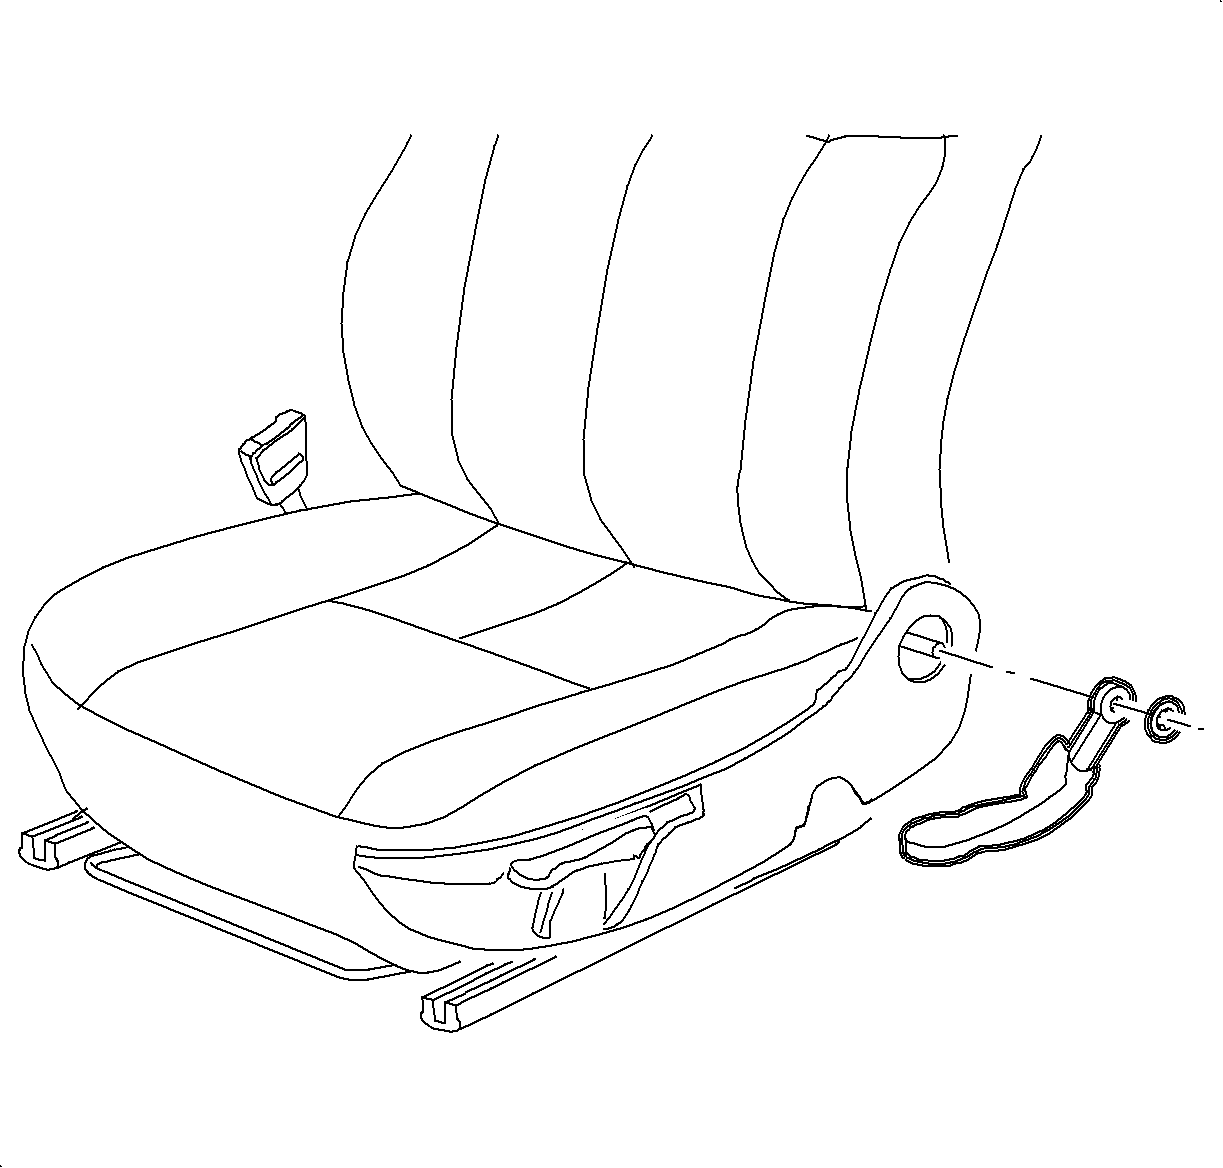
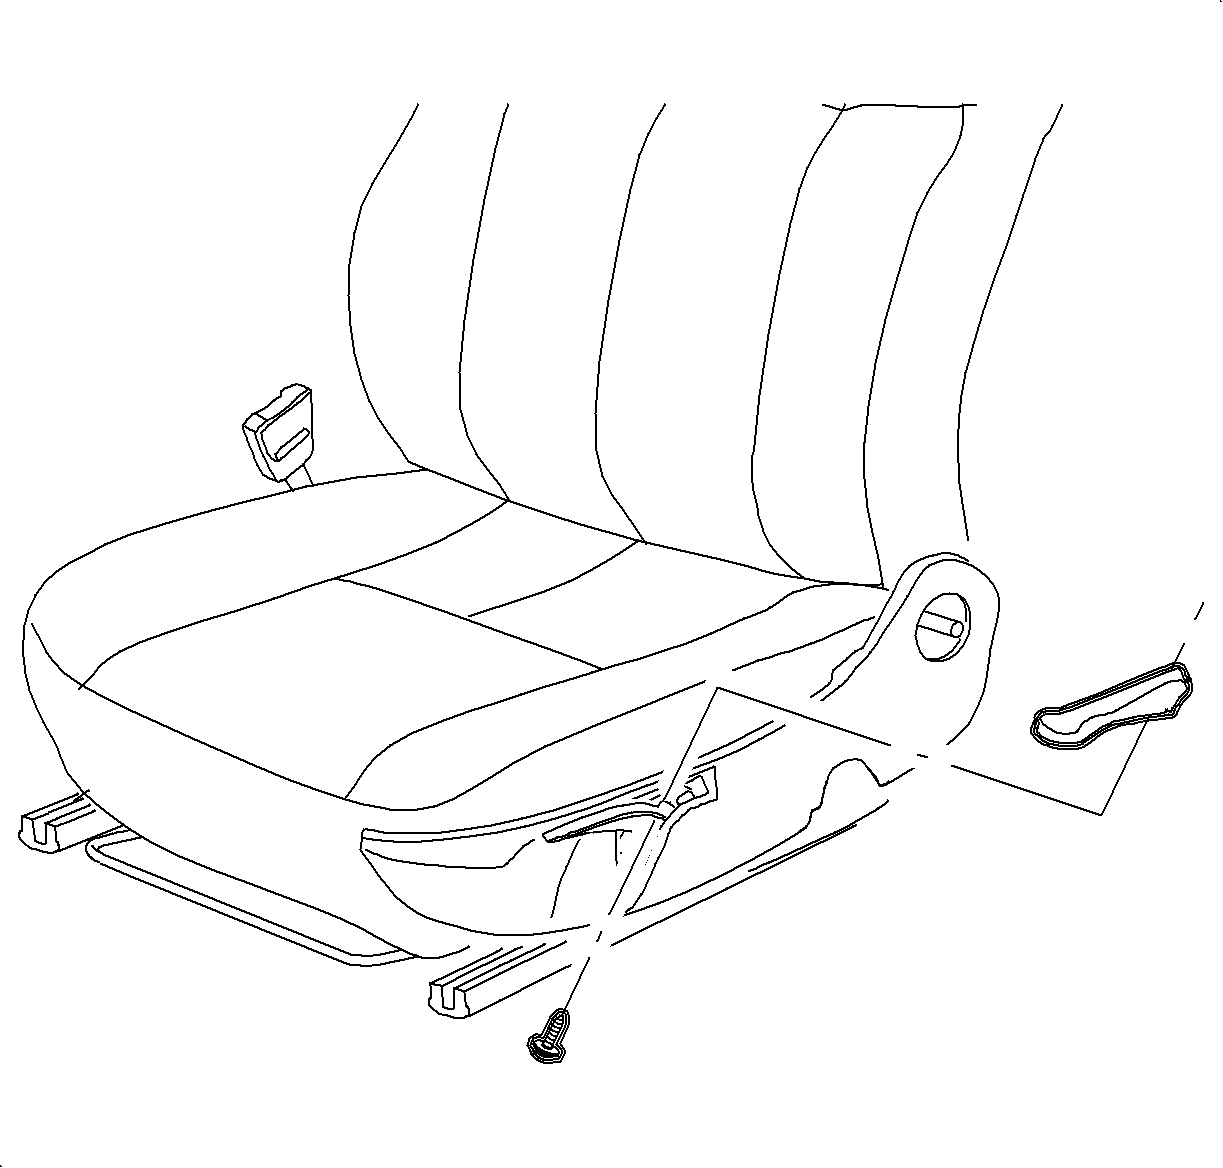
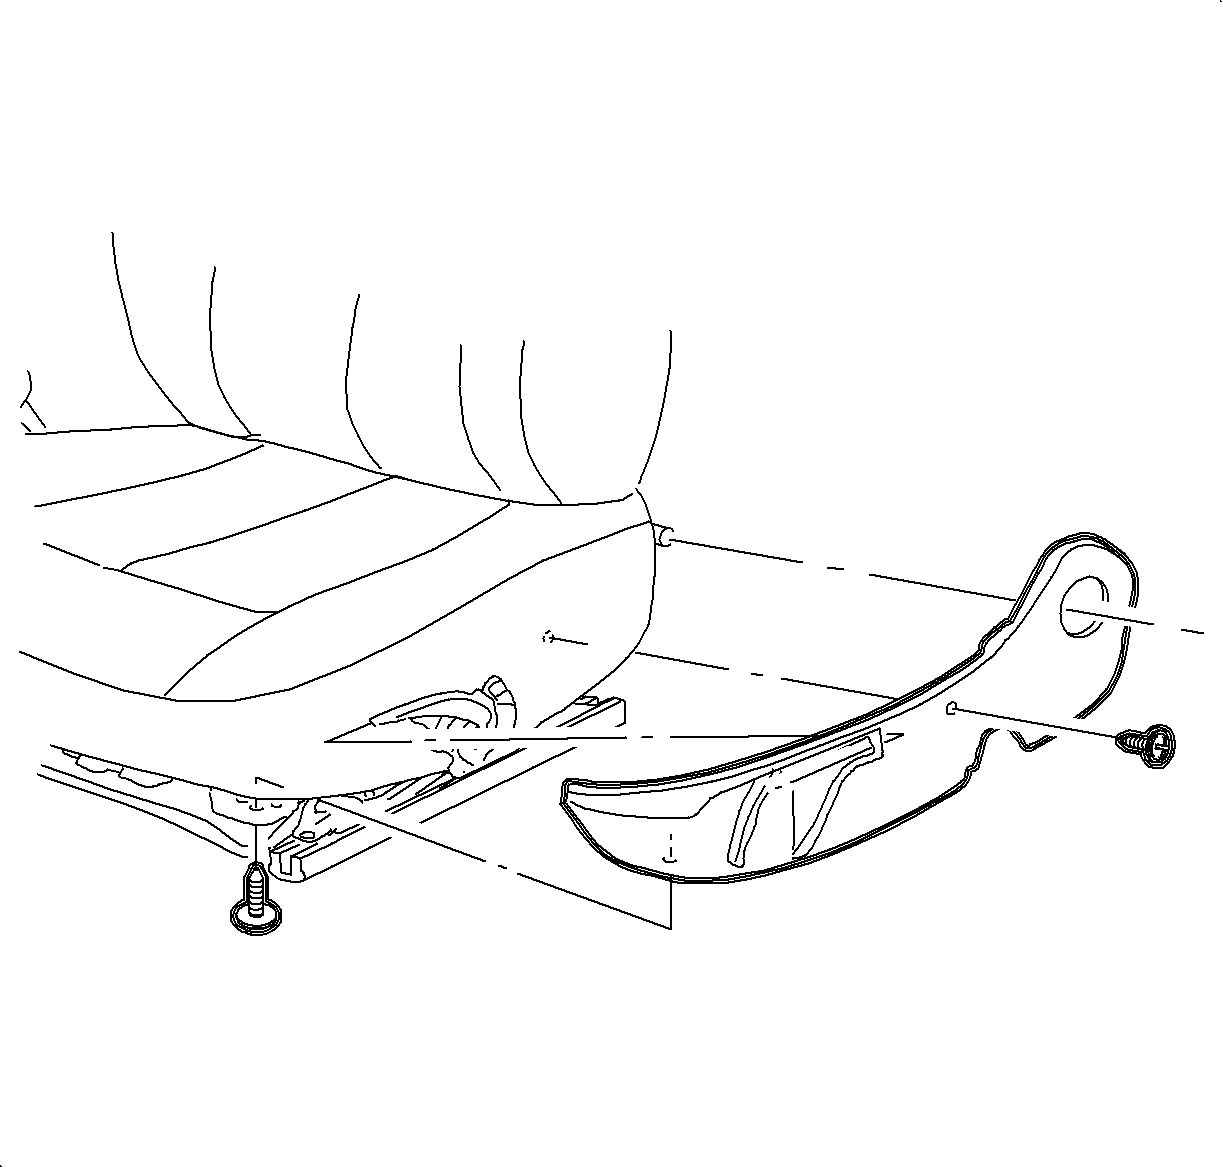
On manual height adjuster, remove outer valance fasteners and remove outer valance.
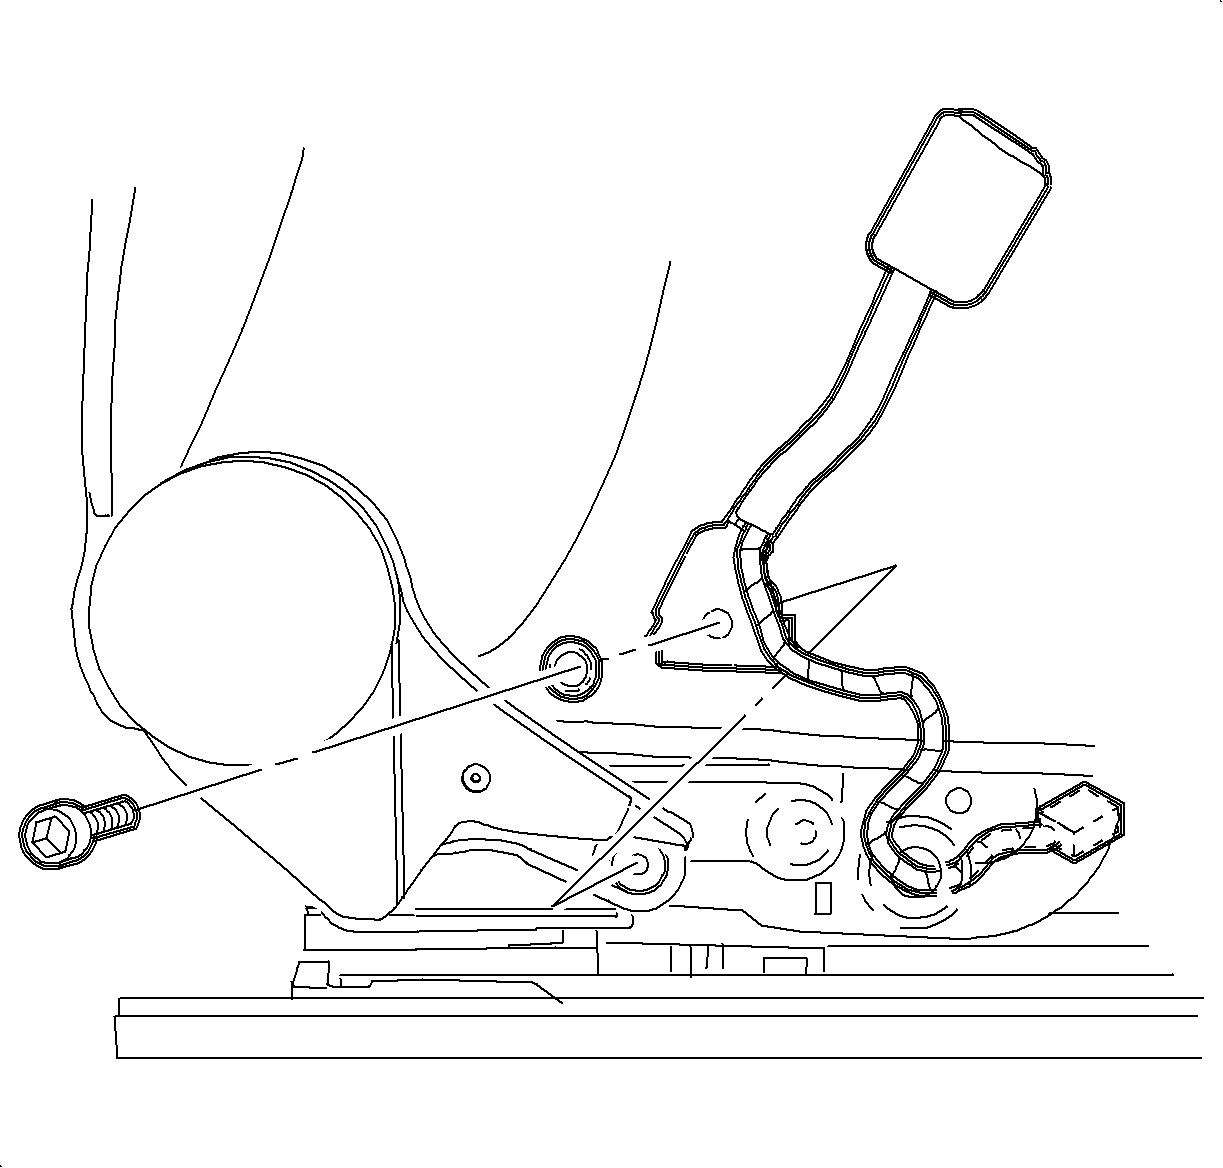
Important: Note the location of wiring routing, Improper wiring harness routing can cause electrical wiring chafes which may result in power seat functions becoming inoperative.
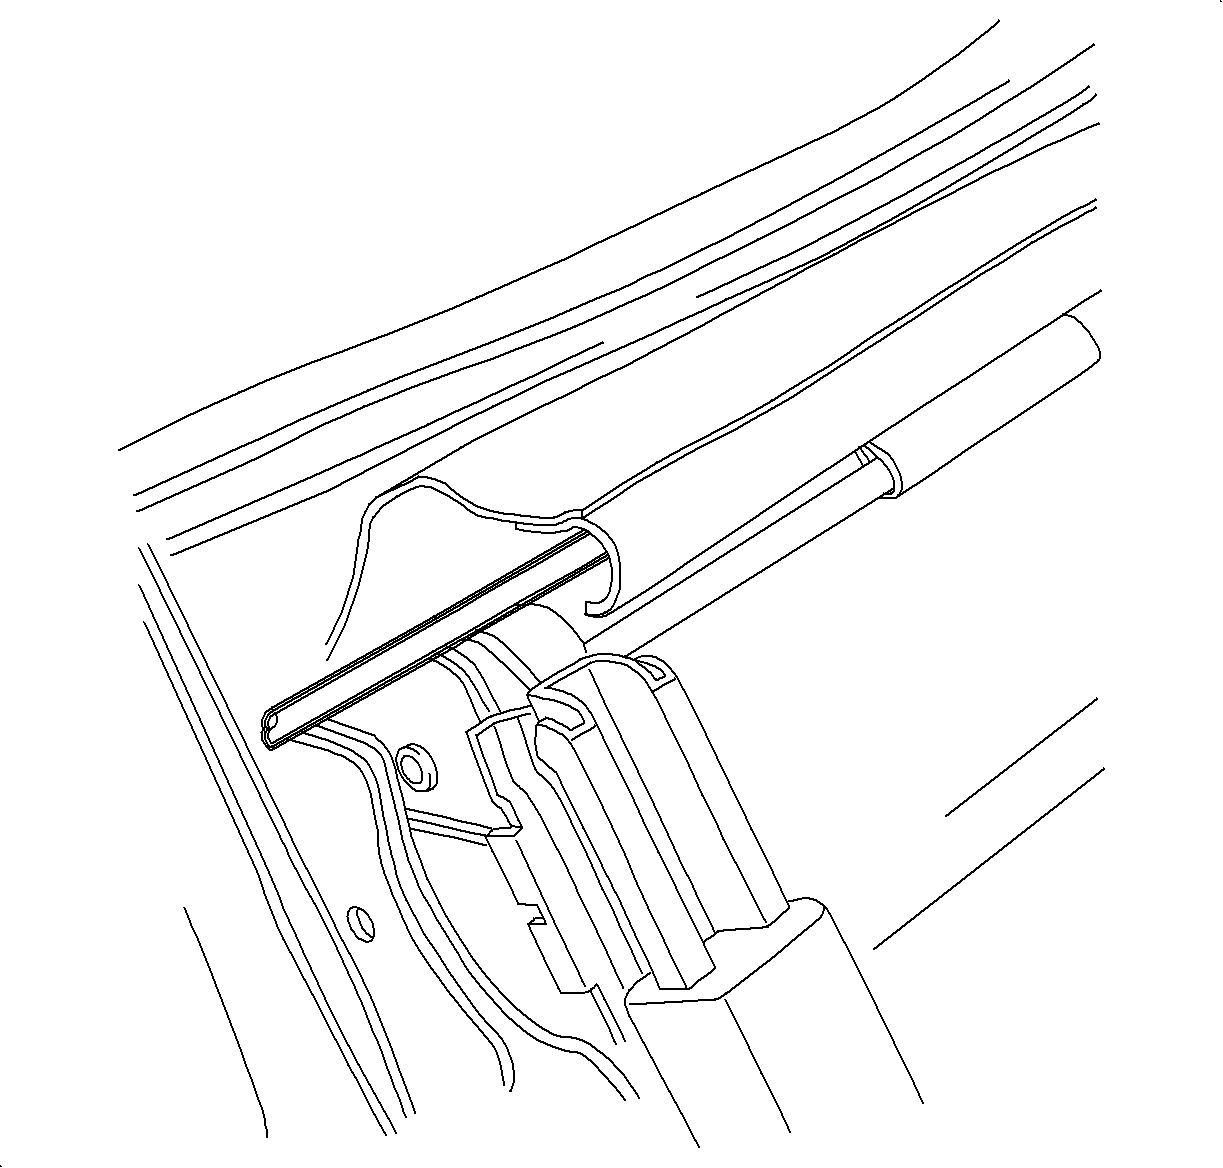
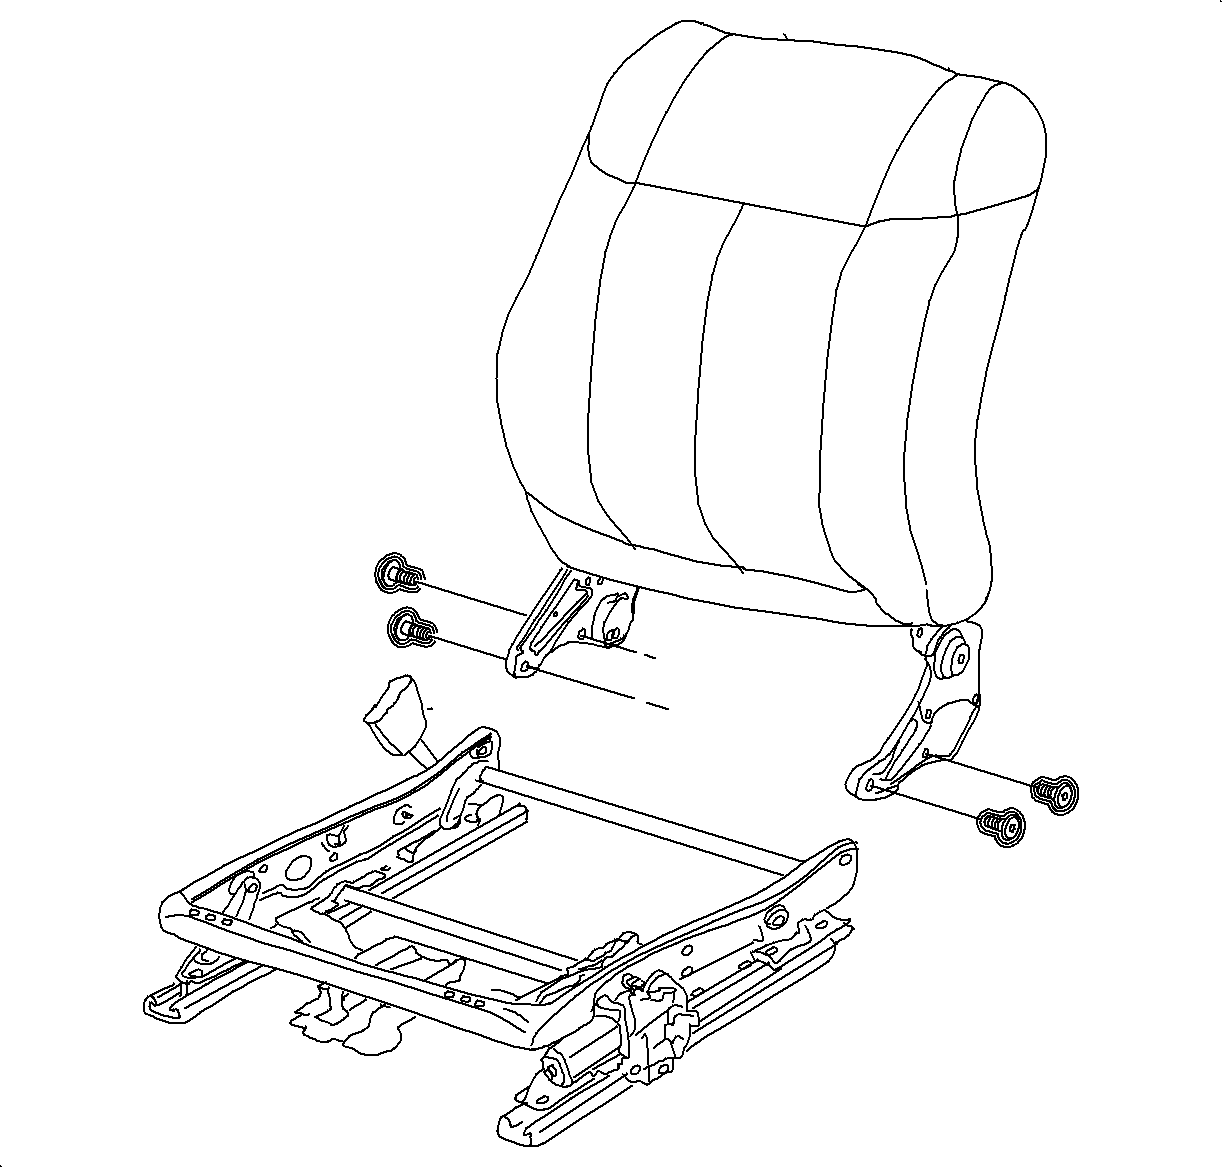
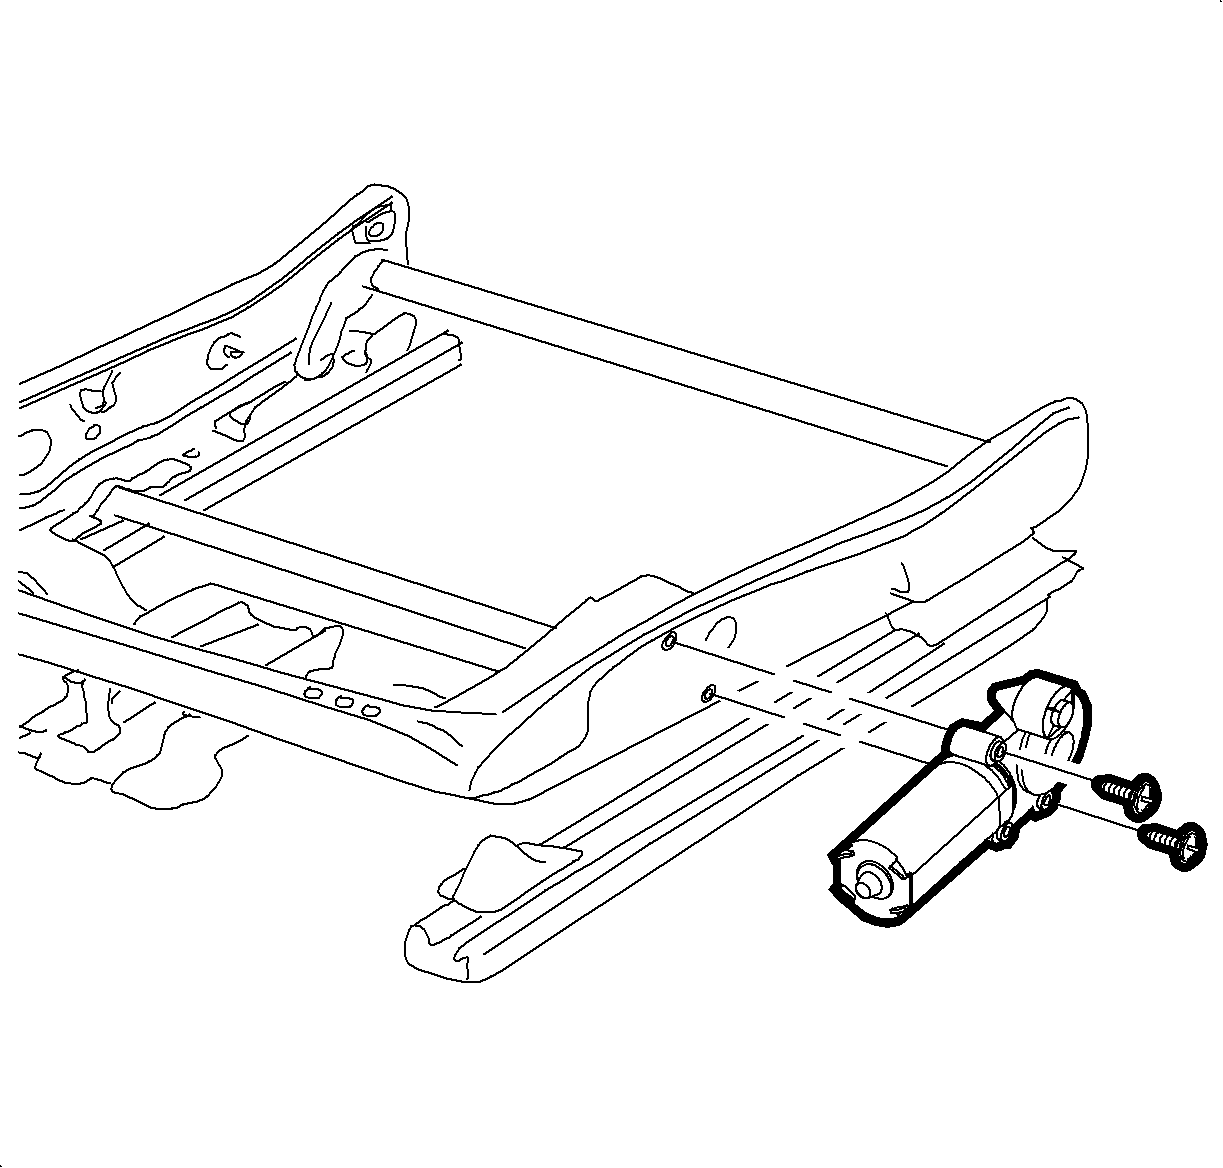
Tighten
Tighten the power seat height adjuster motor-to-seat adjuster fasteners to 15 N·m
(11 lb ft)

Tighten
Tighten the recliner fasteners to 35 N·m (26 lb ft)
Important: Note the location of wiring routing. Improper wiring harness routing can cause electrical wiring chafes which will result in power seat failure.

Tighten
Tighten seat cushion carrier-to-seat adjuster fasteners to 20 N·m
(15 lb ft).

Tighten
Tighten the inner recliner cover fasteners to 2.5 N·m (22 lb in).

Tighten
Tighten seat belt buckle-to-seat adjuster bolt to 35 N·m (26 lb ft).

Tighten
Tighten the outer seat valance fasteners to 2.5N·m (22 lb in).

Tighten
Tighten the manual seat height adjuster handle fasteners to 2.5 N·m
(22 lb in).


Tighten
Tighten the outer seat valance fasteners to 2.5 N·m (22 lb in).

Parts Requirements:
90585037 - Adjuster Assembly, Front Seat Power - Driver
90585036 - Adjuster Assembly, Front Seat Manual - Driver
CLAIM INFORMATION:
To receive credit for this repair during the warranty coverage period, submit a claim through the Saturn Dealer System for C65011 (Adjuster Assembly, Front Seat Manual -- R&R or Replace) or C6041 (Adjuster Assembly, Front Seat Power - R&R or Replace), or if another procedure is performed, refer to the appropriate Electronic Labor Time Guide for the correct Labor Operation Code and Time
Reinstallation of the front seat to the vehicle requires the use of P/N 21485277 - Loctite 242® Threadlocker on the seat assembly attaching fasteners. Claim received in the amount of $1.16 (.89 dealer cost plus 30% parts allowance) for this part will be accepted, It will be necessary to sell this part to the CSO as material using net item "M". Claims exceeding the total allowable material amount will be returned with return reason 143 - material amount > maximum allowed. The "B" authorization code will not override this return reason.
