Tools Required
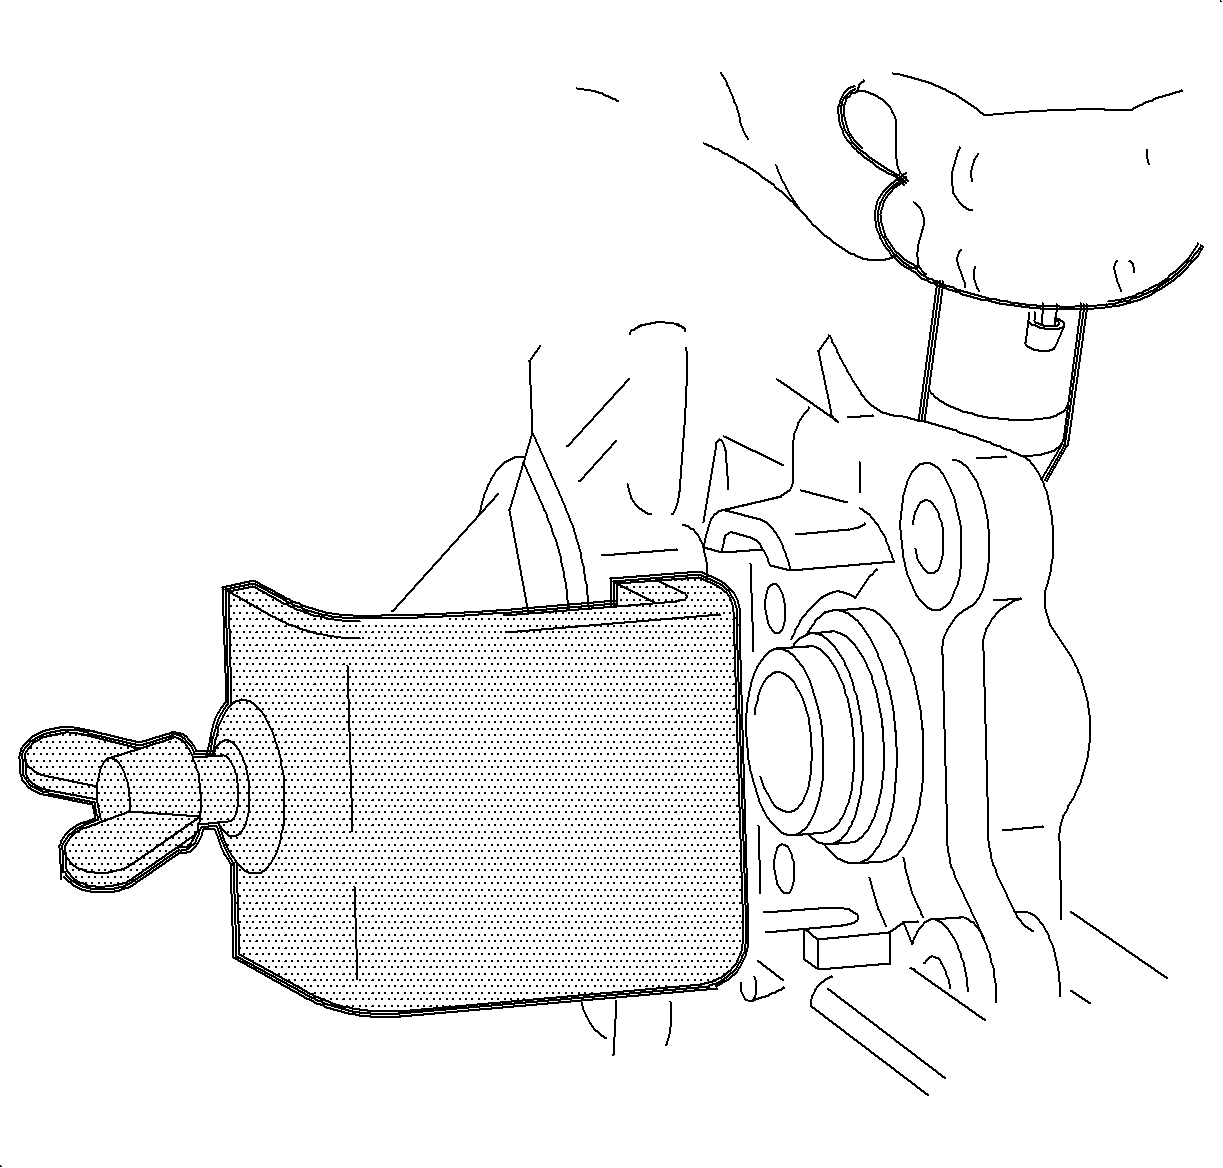
KM-286 Installing Shackle
Disassembly Procedure
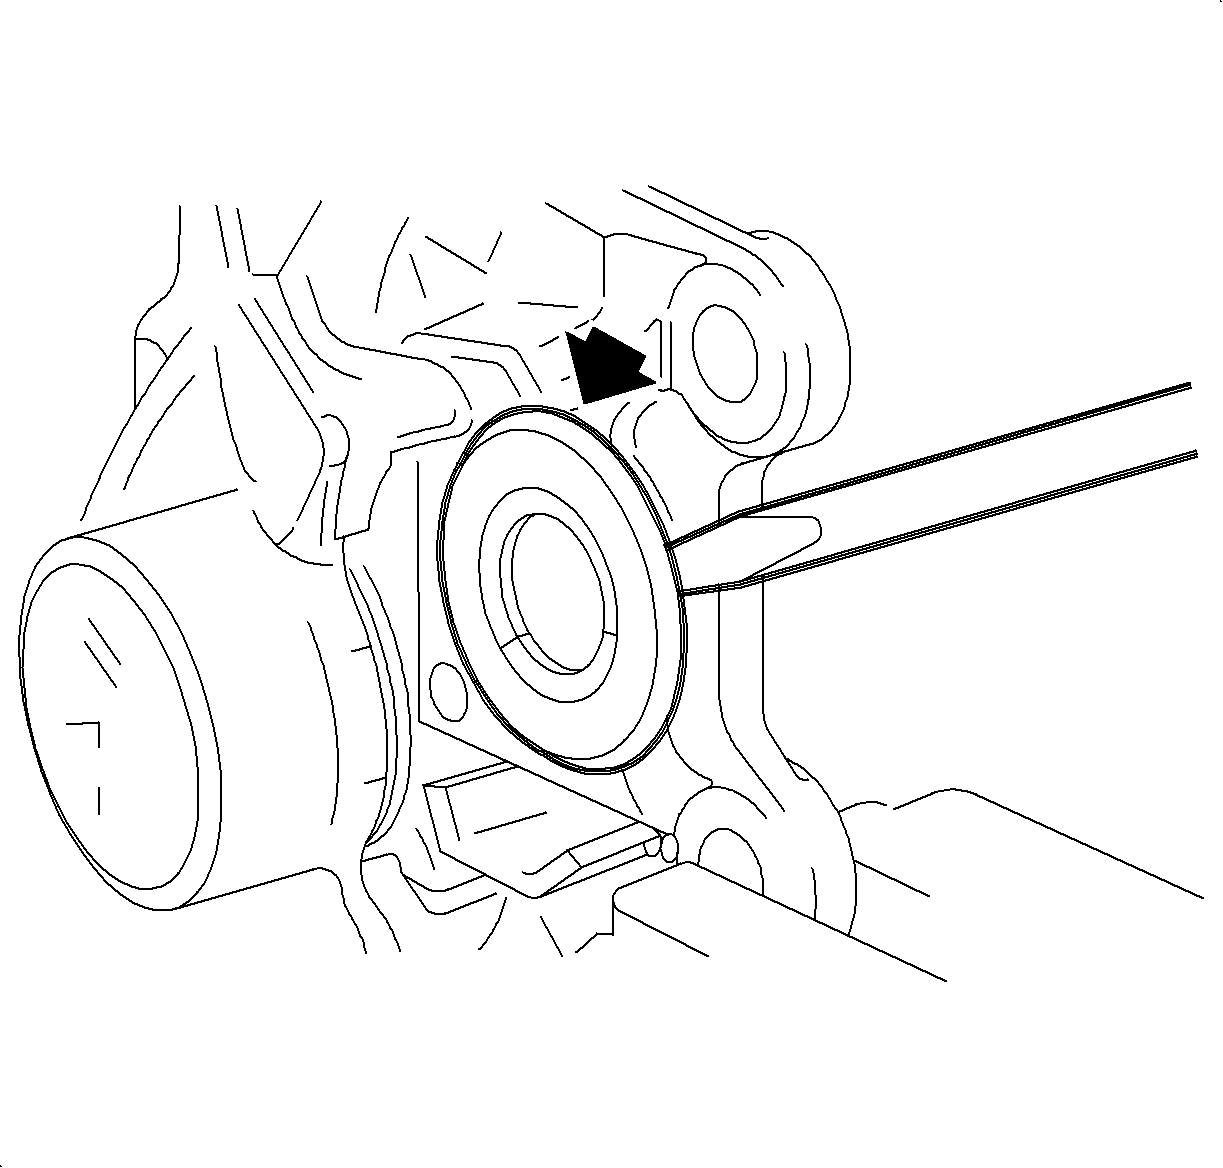
- Using a small screw driver, carefully pry the piston boot clamp ring from the boot.
- Remove the piston boot.
- Block the opposite piston with the holding tool KM-286 and carefully remove the piston from the caliper by applying low pressure, non-lubricated, compressed air into the caliper inlet hole.
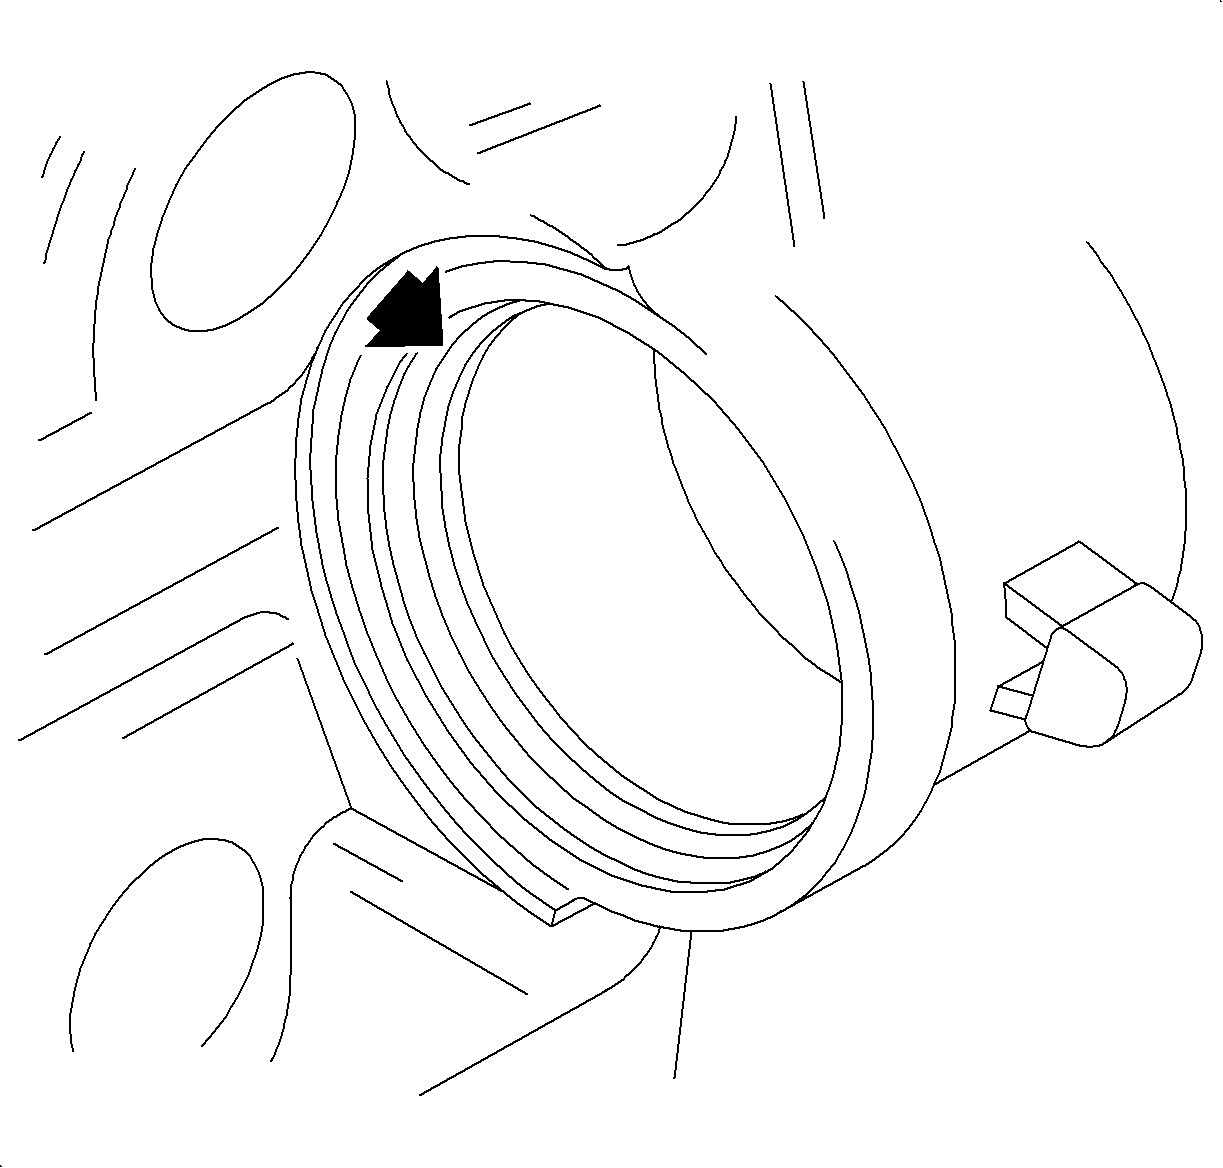
- Remove the piston seal from the groove of the caliper.
- Remove the bleeder valve and the bleeder valve cap from the caliper assembly.
- Clean all the parts in clean denatured alcohol. Dry with non-lubricated, low pressure, compressed air. Make sure to blow out all passages in the caliper body and the bleeder valve.
- Inspect the piston for scoring, nicks, cracks, wear or corrosion. Replace the piston if any damage is found.
- Inspect the caliper body piston bore for scoring, nicks, wear or corrosion. Crocus cloth can be used to remove light corrosion. If more extensive damage is present, replace the caliper.
- Inspect the seal groove in the caliper for nicks or burrs. If present, replace the caliper.

Important: The rear caliper has a dual piston design. The caliper must not be completely disassembled. Only disassemble one piston at a time.

Caution: To prevent bodily injury, make sure to keep fingers or other body parts away from piston during removal.
Notice: Pad interior of caliper body to provide a protective cushion for piston when it exits the caliper. This will protect piston from surface damage caused from piston/caliper body contact.


Important: Do not hone the caliper bore.
Assembly Procedure
- Install the bleeder valve and the cap into the caliper assembly.
- Lubricate the new piston seal with clean brake fluid and install into the caliper seal groove.
- Insert the piston boot into the caliper groove.
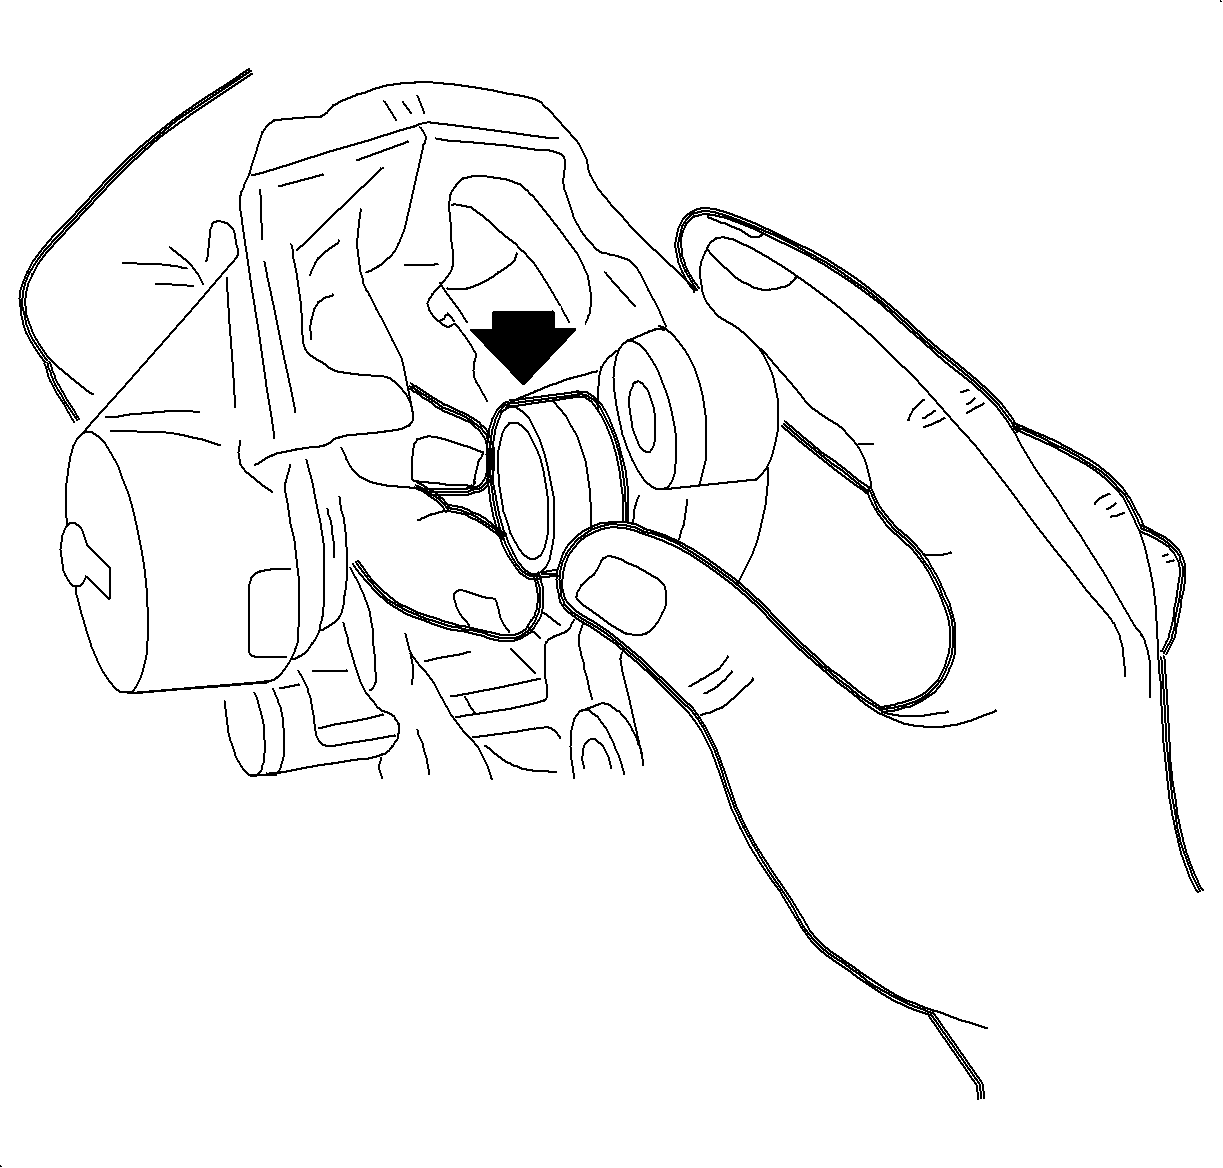
- Insert the piston into the caliper bore.
- Repeat disassembly steps 1 through 4 and assembly steps 1 through 4 for the opposite caliper piston.
Notice: Refer to Fastener Notice in the Preface section.

Tighten
Tighten the rear caliper bleeder valve to 6 N·m
(53 lb in).
Important: Make sure the seal is not twisted in the groove.

Important: Make sure that the piston boot is smoothly seated in the counter bore of the caliper body.
Important: The piston face has a notched surface cap. Position the relief notch toward the bottom side of the caliper.
