Removal Procedure
- Disconnect the negative battery cable.
- Remove the coolant cap from the coolant surge tank.
- Raise the vehicle.
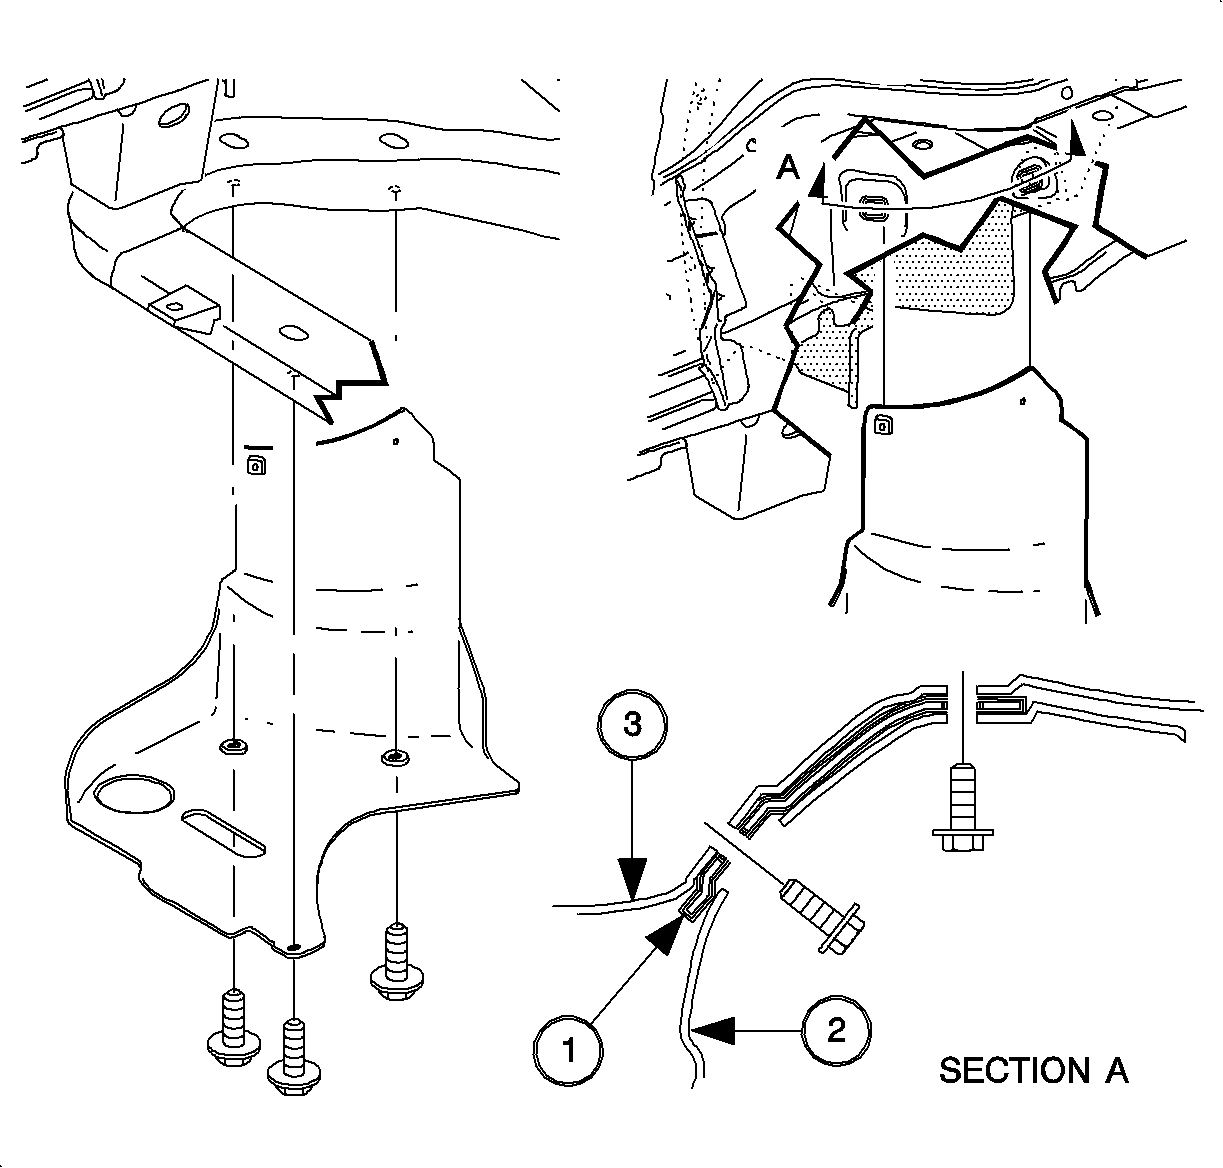
- Remove the lower cradle splash shield to cradle and wheelhouse fasteners and remove the splash shield.
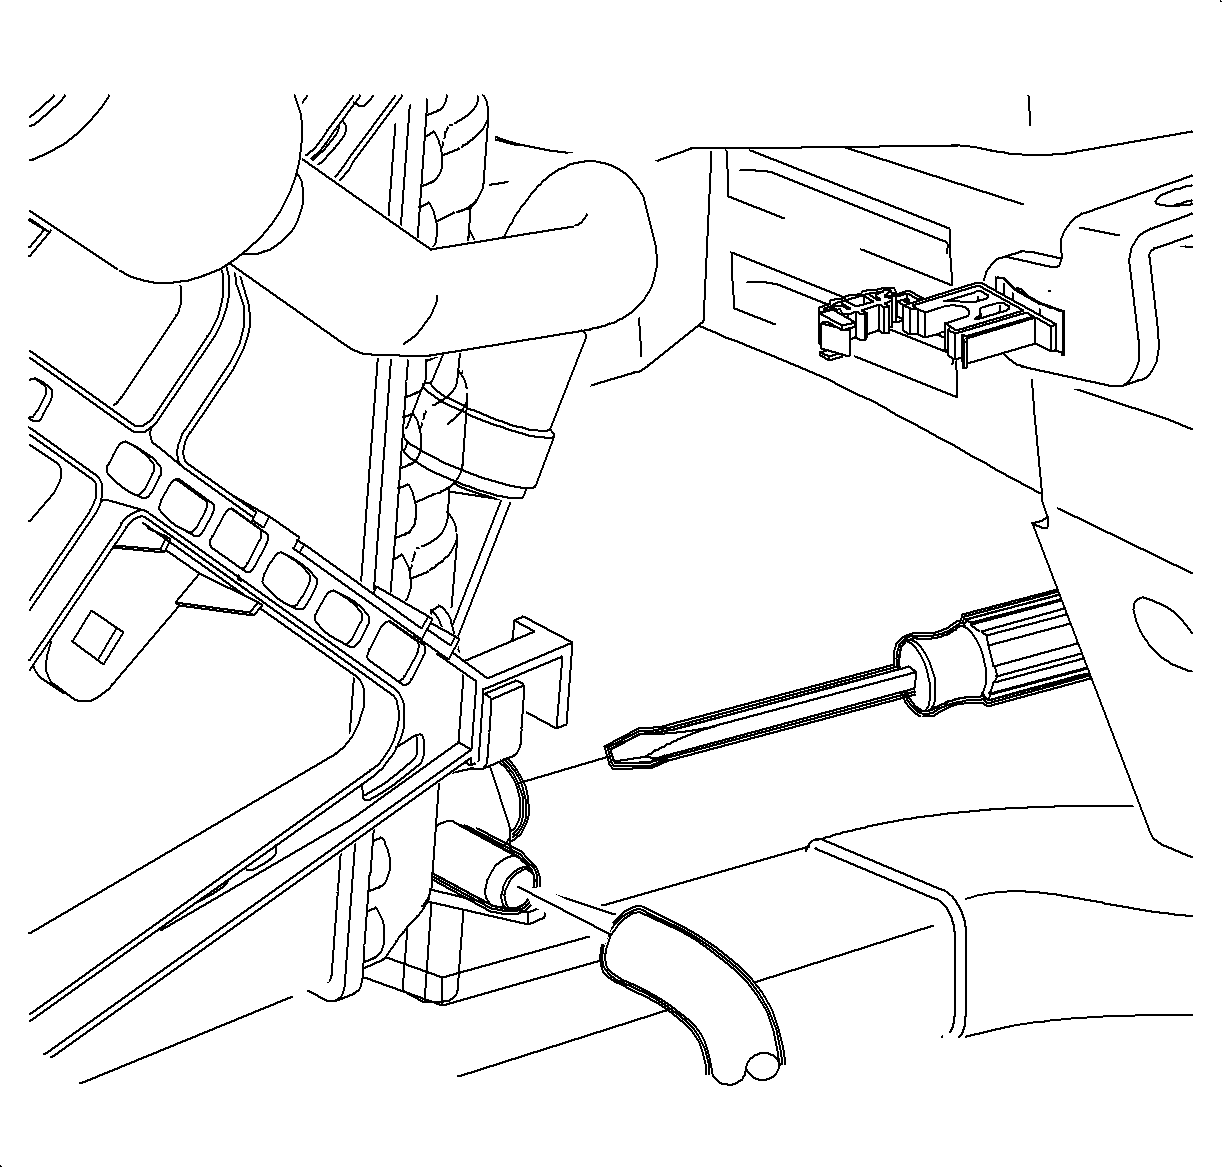
- Slide a pliable piece of hose with an inside diameter of 3/8 in over the radiator drain tube.
- Route the hose rearward and down to an approved coolant container.
- Use a flat-blade screwdriver or pliers to open the radiator drain valve and drain the coolant.
- Install the lower cradle splash shield by sliding the shield (1) between the wheelhouse linen (2) and the wheelhouse (3). Install the splash shield to wheelhouse and cradle fasteners.
- Lower the vehicle.
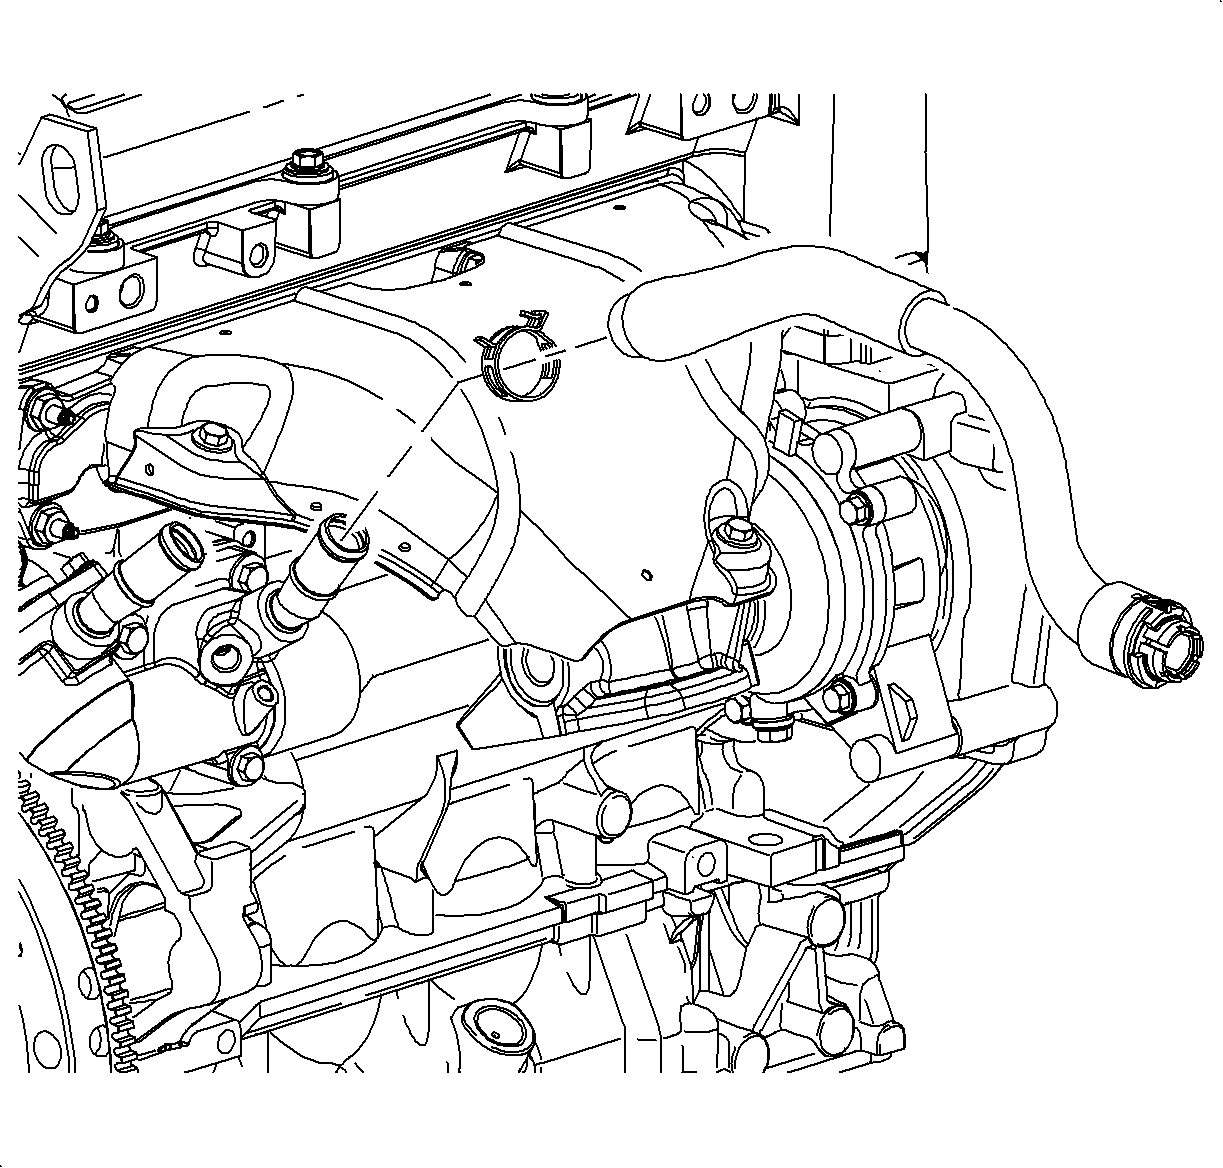
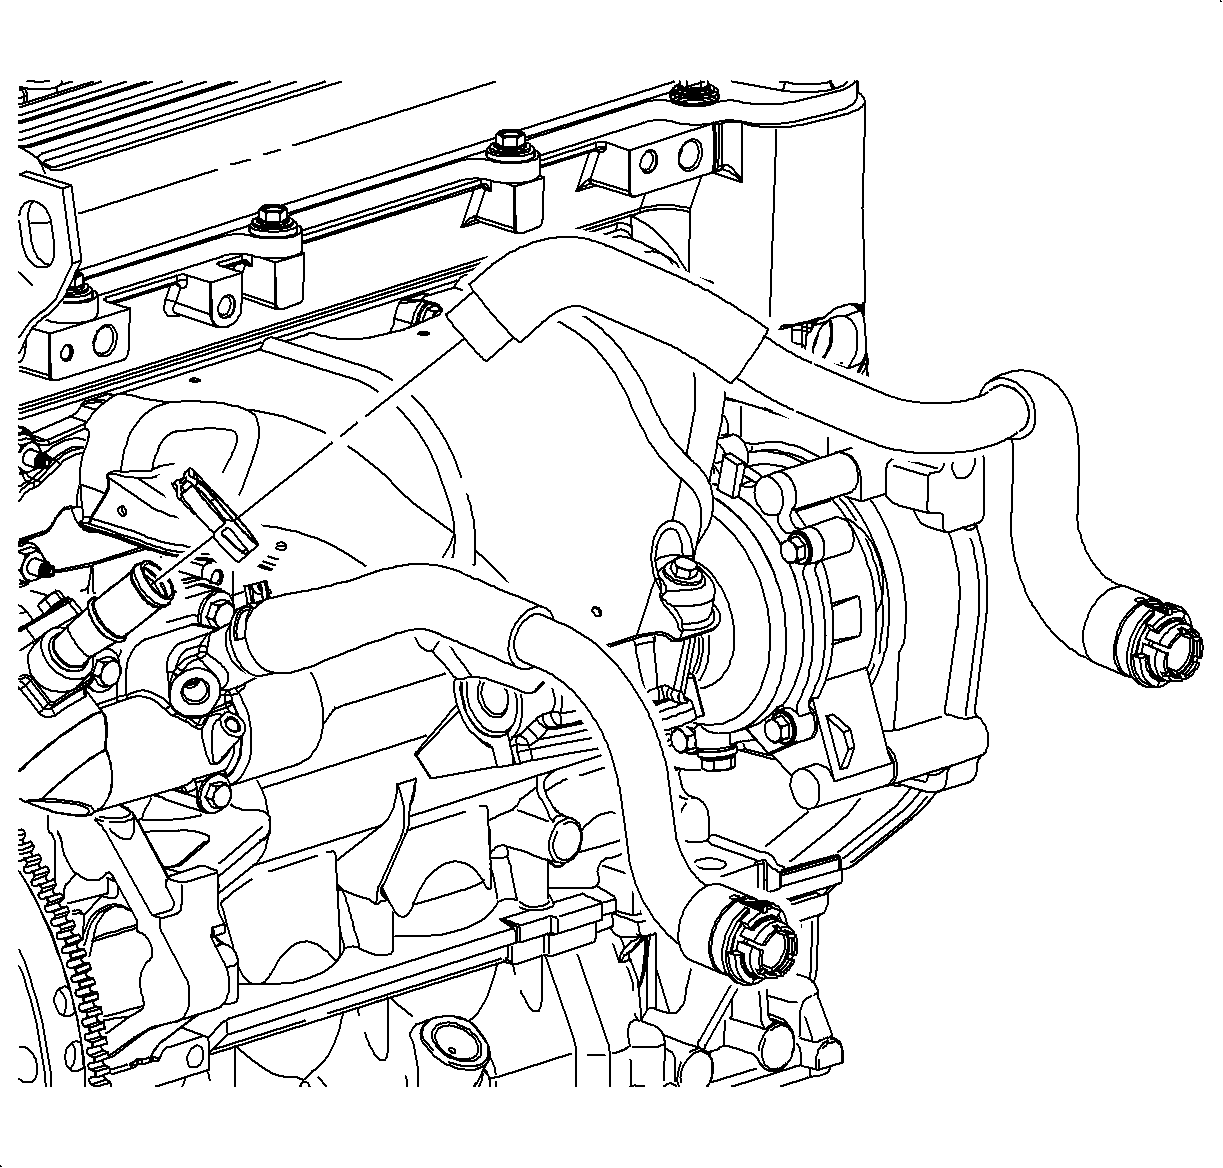
- Remove the heater inlet hose:
- Remove the heater return hose:
- Place the end of heater return hose in a container and apply low pressure 34 kPa (5 psi) shop air to the heater inlet hose to blow the coolant out of the heater core.
- Remove the right console extension.
- Remove the heater core pipe to heater core clamps. The clamps may need to be rotated to gain access to the clamp retaining tab.
- Gently pull the pipes forward to remove the pipes from the heater core end tank.
- Place absorbent rags under the heater core pipe joints to catch any residual coolant.
- Remove the heater core retaining screw and strap.
- Pull the heater core out of the HVAC module and into the passenger foot area.
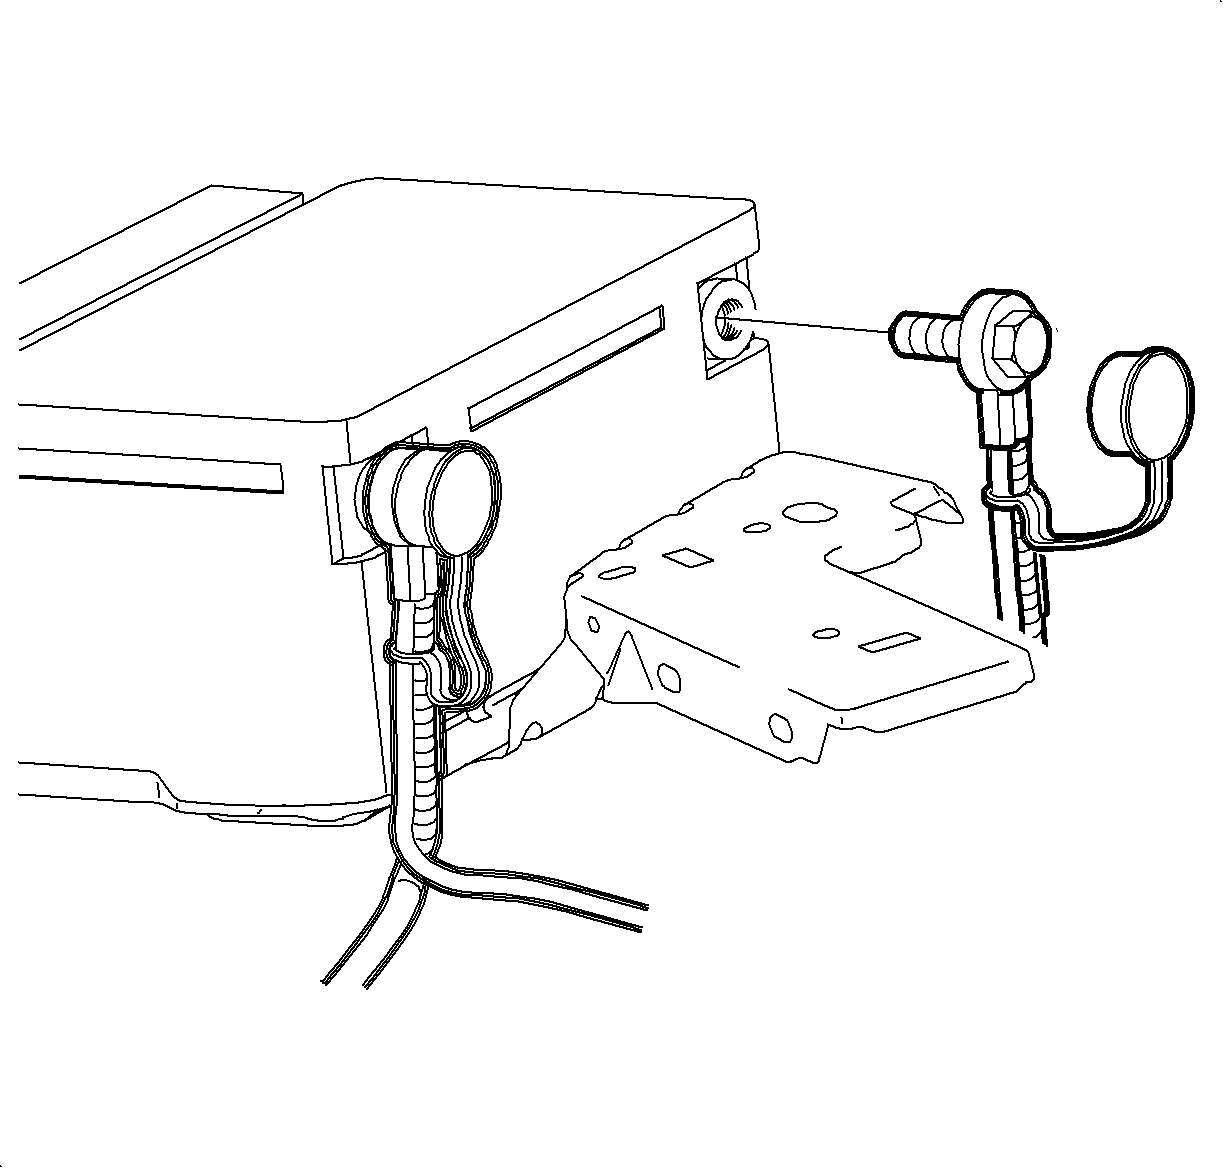
Important: Do not attempt to open the coolant cap while the cooling system is under pressure.
Caution: Refer to Vehicle Lifting Caution in the Preface section.
Important: Failure to use a drain hose will result in uncontrolled coolant flow direction.
Important: A 7.6 L (8 qt) coolant container will be needed.
Important: Only open the drain valve 1-2 turns.
Approximately 3.5 L (4 qt) of coolant can be drained from the radiator. Additional coolant will remain in some cooling system components. When completely drained, close the coolant drain valve and remove the drain hose.

Tighten
Tighten the splash shield-to-wheelhouse and cradle
fasteners to 5 N·m (44 lb in).
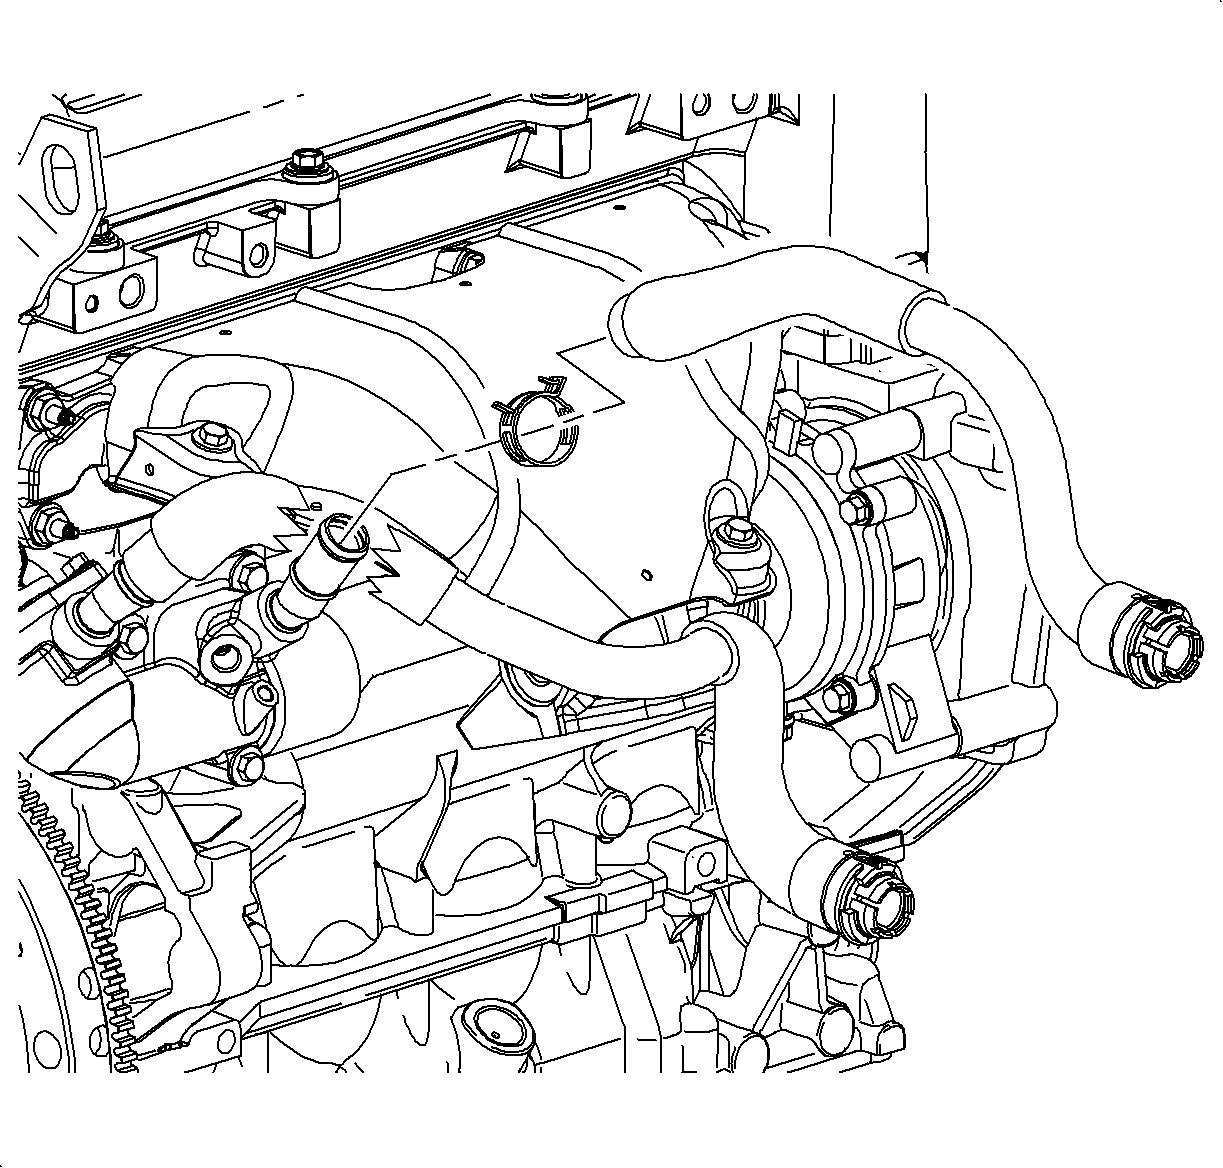
| • | From the auxiliary water pump outlet on L81 engines |
| • | From the thermostat outlet on L61 engines |
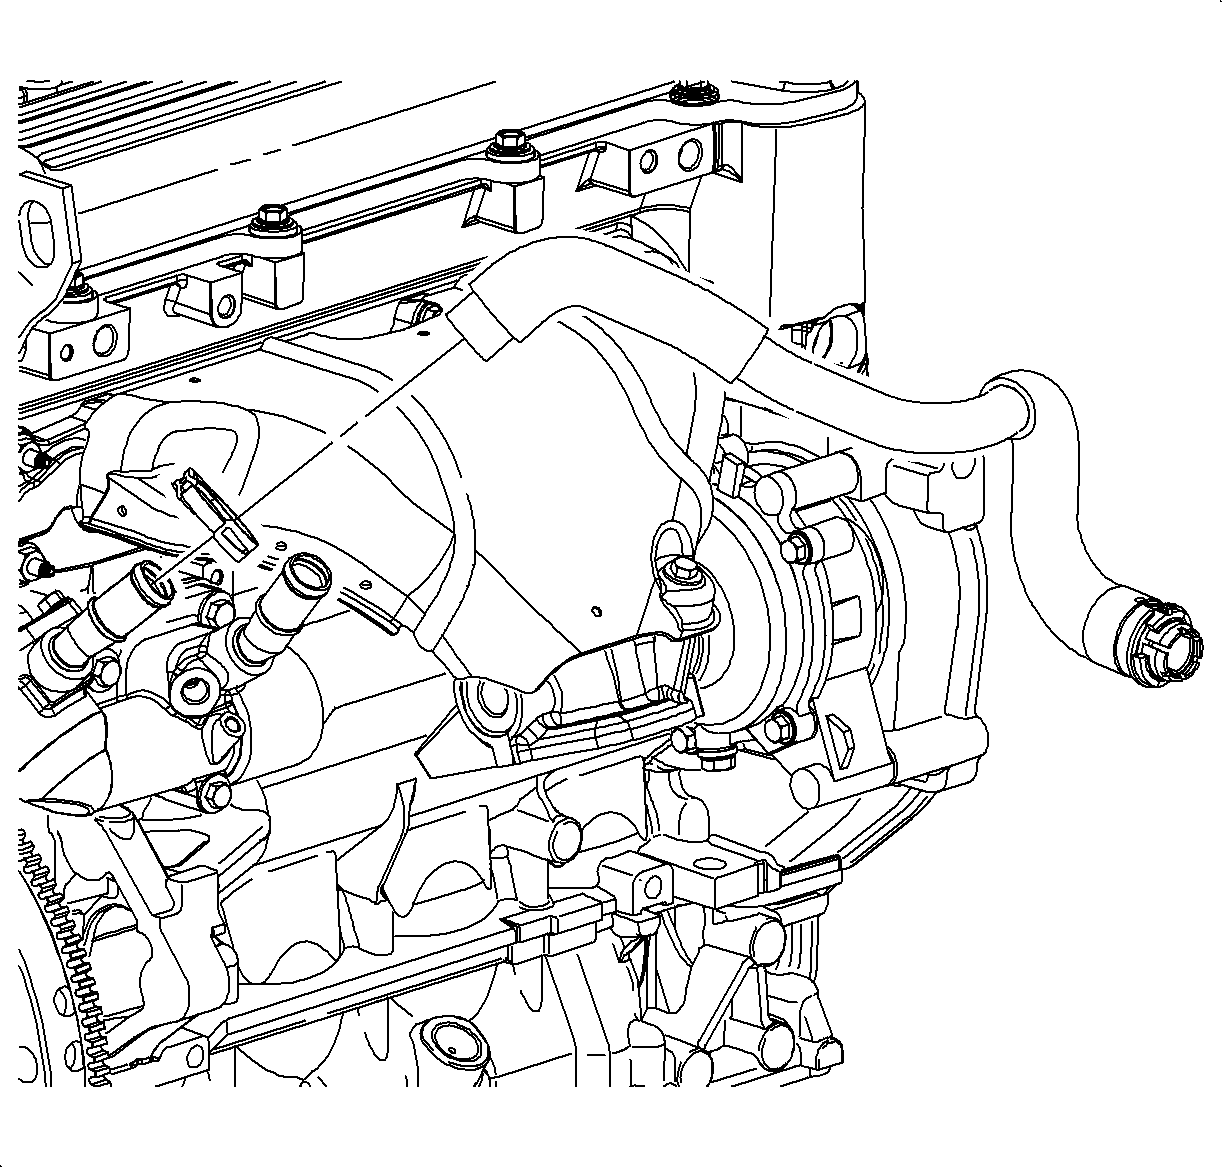
| • | From the head bridge on L81 engines |
| • | From the block inlet on L61 engines |
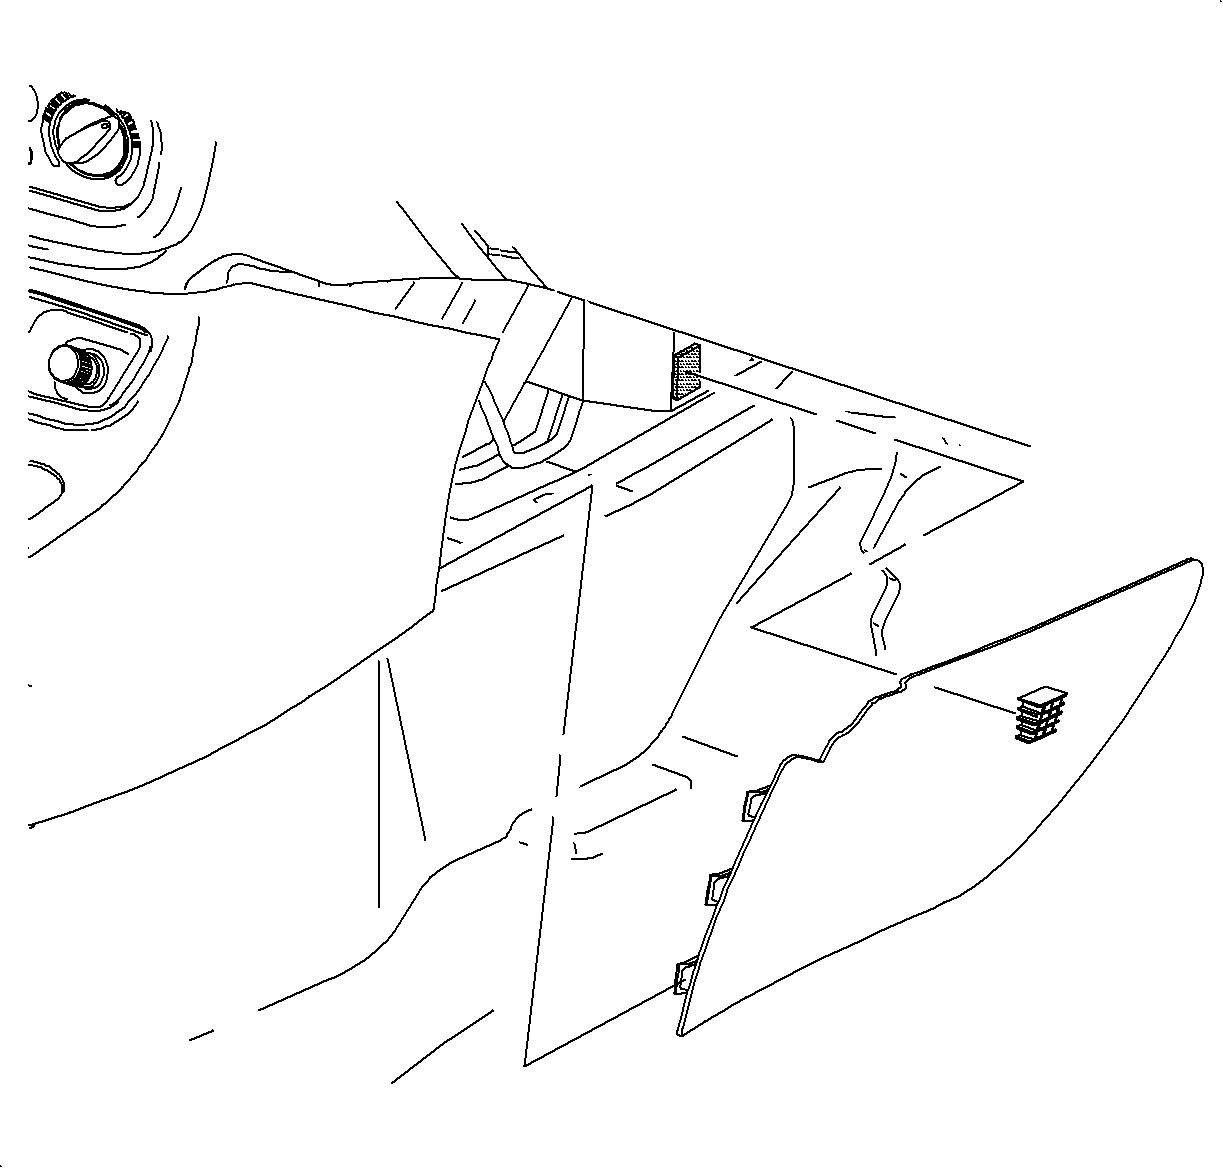
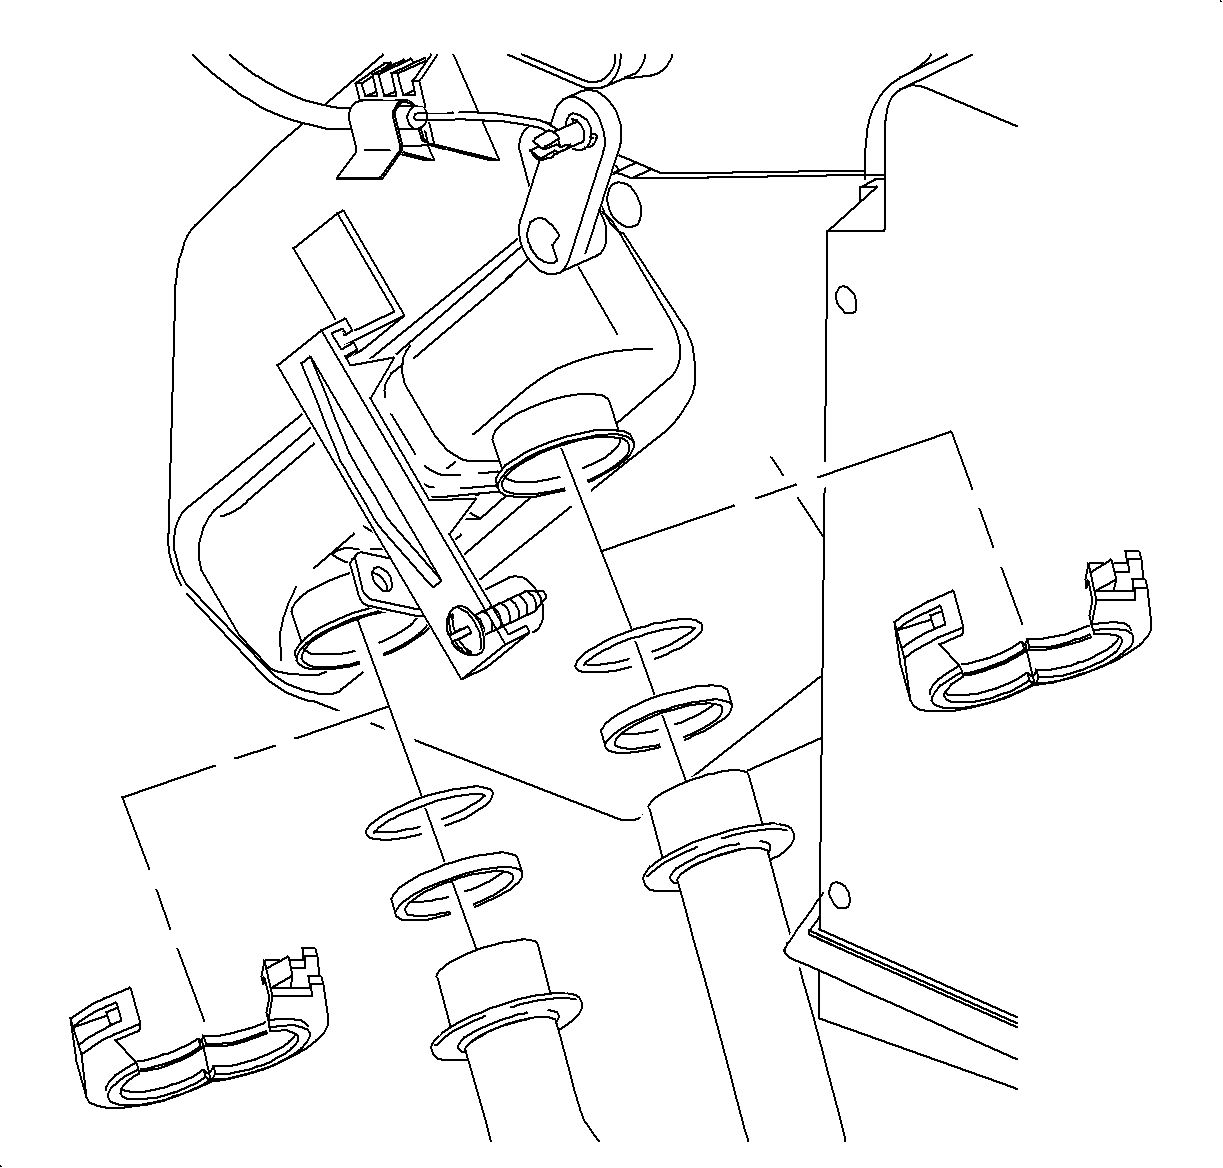
Caution: Heater core pipes may be hot!
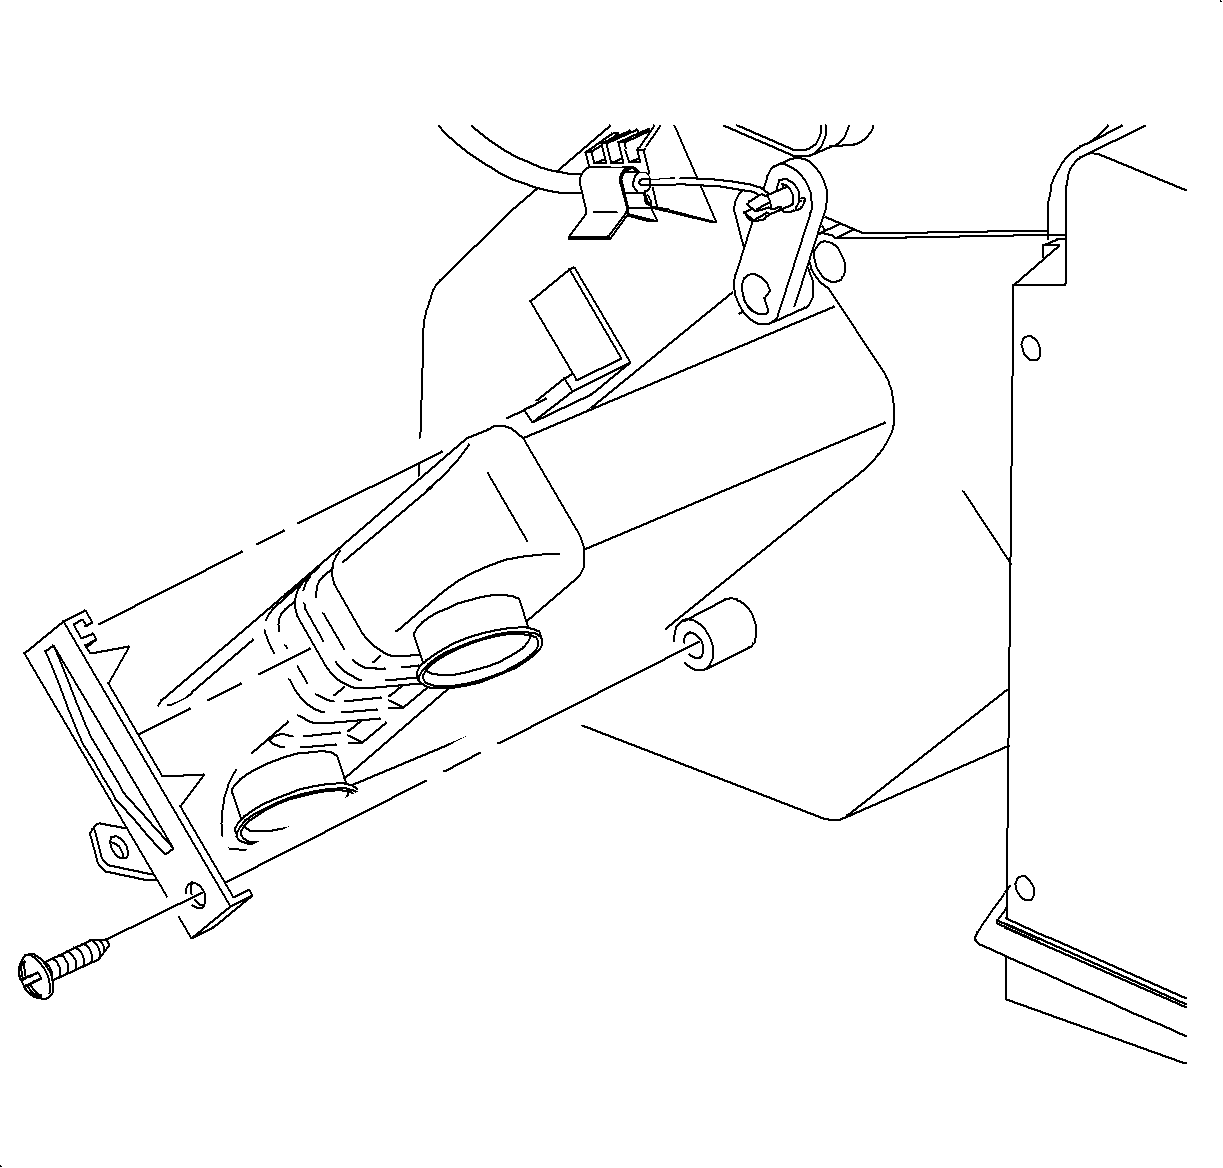
Important: Use care not to spill any residual coolant on carpet or seats.
Important: The center console forward edge may need to be pulled outward to allow for the core to be removed.
Installation Procedure
- Slide the heater core into the HVAC module being careful not to damage the foam seals.
- Install the bushings and O-rings onto the heater core pipes.
- Install the heater pipes into the core and install the plastic clamps. The heater pipe clamps will only go on one way. The lower clamp hinge fits into the tab of the heater core retaining strap.
- Install the right console extension.
- Install the heater inlet hose to recirculation pump on L81, to thermostat outlet on L61.
- Install the clamp at the 12 o'clock position.
- Install the heater return hose to the thermostat inlet on L61.
- Install the clamp at the 12 o'clock position.
- Install the heater return hose to return inlet fitting on L81.
- Install the clamp at the 3 o'clock position.
- Rinse off any coolant that was spilled in the engine compartment.
- Connect the negative battery cable.
- Slowly add a mixture of 50/50 DEX-COOL® antifreeze and clean water to the coolant surge tank until the level reaches the cold indicator, surge tank seam.
- Start the engine and inspect for cooling system leaks.
- Run the engine until the thermostat has opened, use Tech 2 to verify the ECT is 87°C (188°F) or greater. Add coolant as necessary to bring the level up to the coolant surge tank cold line.
- Install the coolant surge tank coolant cap.

Tighten
Tighten the heater core retaining strap screw to
1.9 N·m (9 lb in).



Tighten
Tighten the battery terminal bolts to 17 N·m
(13 lb ft).
Important: The vehicle must be level when filling the cooling system.
Capacity
| • | Fill the L81 cooling system volumes and heater core to 7.4 L (7.8 qt). |
| • | Fill the L61 cooling system volumes and heater core to 7.0 L (7.4 qt). |
