Tools Required
Removal Procedure
- Remove the instrument panel cluster assembly. Refer to Console Replacement .
- Thoroughly clean hands with soap and water to remove any oil or other substances which could damage the cluster. If unable to clean hands, an alternative is to wear surgical gloves during all procedures.
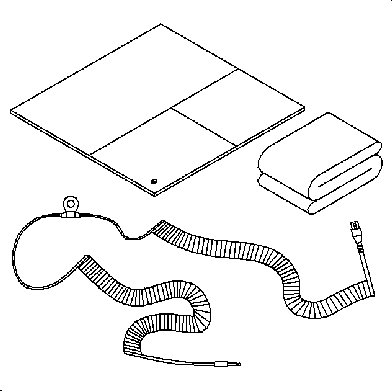
- Place the .
- Place a clean, dry, soft material such as a cloth baby diaper on top of the anti-static mat.
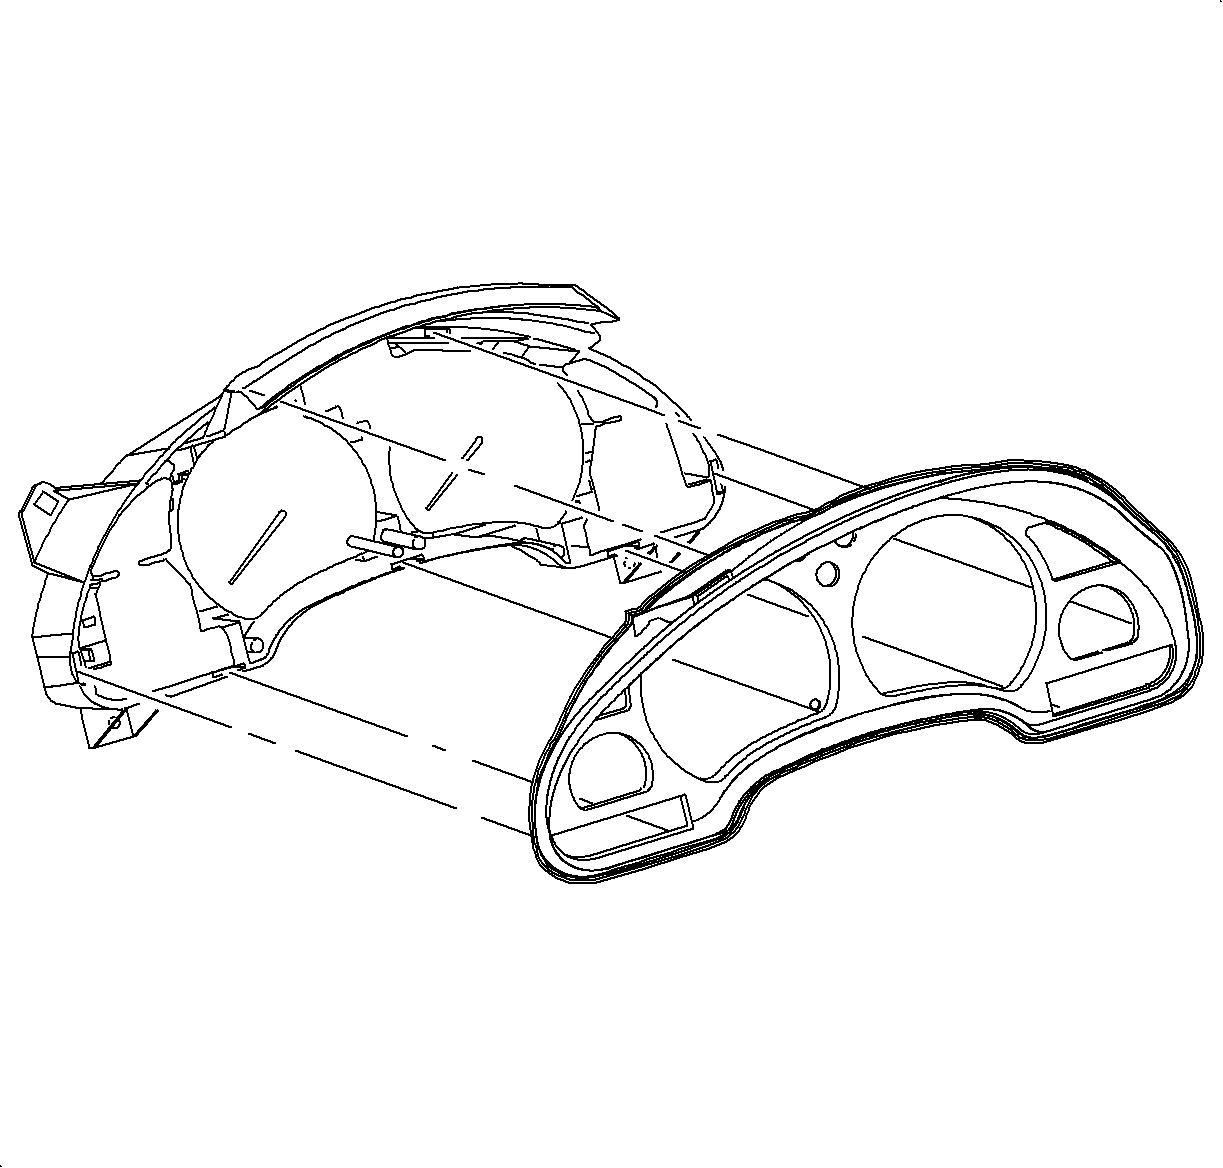
- Place instrument panel cluster assembly face down on the cloth and the anti-static mat.
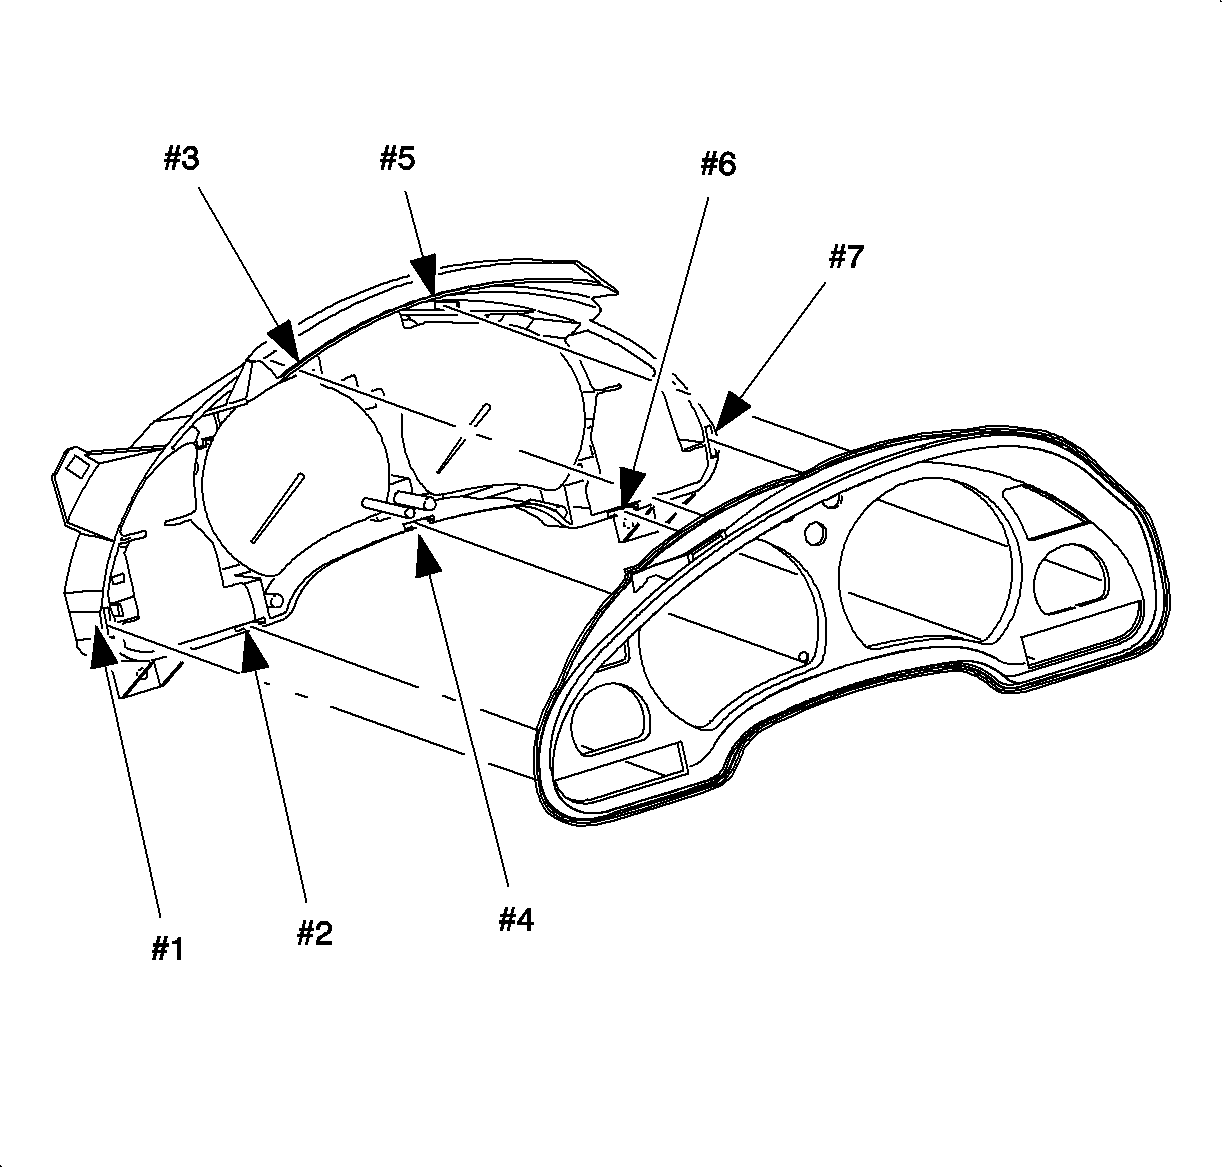
- With end of housing (white portion of cluster) in one hand and lens/mask assembly (black portion of cluster) in other hand, disengage clip #1 with one hand while separating lens/mask assembly from housing with other hand.
- Repeat for clips #2 through #7.
- Place lens/mask assembly in clean area.
Notice: Failure to use the anti-static mat SA9502Z properly may result in damage to the cluster electronics.
Important: If the lens/mask gets dirty, it can be cleaned by following the procedures in the owner's handbook. If a dial face gets dirty, it can be cleaned by using glass cleaner and a lint free rag.
Important: Do not touch or bump the pointers of the gages. If the pointers are moved from their positions, the calibration of the gage will be affected and the gage will no longer be accurate and must be replaced.
Important: It is strongly recommended that rubber gloves (e.g., like surgical gloves) be worn while performing removal and installation procedures to prevent grease, smudges, scratches and fingerprints.
Important: Do not touch inside of lens.
Installation Procedure
- Holding lens/mask assembly by the ends and face up align reset knob with hole in lens.
- Start lens/mask tabs into slots in housing and at the top of cluster seat two housing tabs into lens/mask slots.
- Press down on top of lens/mask around edge to fully seat all clips.
- Inspect that all gages and clips are seated correctly and that there is no debris or markings on the lens or dial faces.
- Install instrument panel cluster assembly. Refer to Console Replacement .