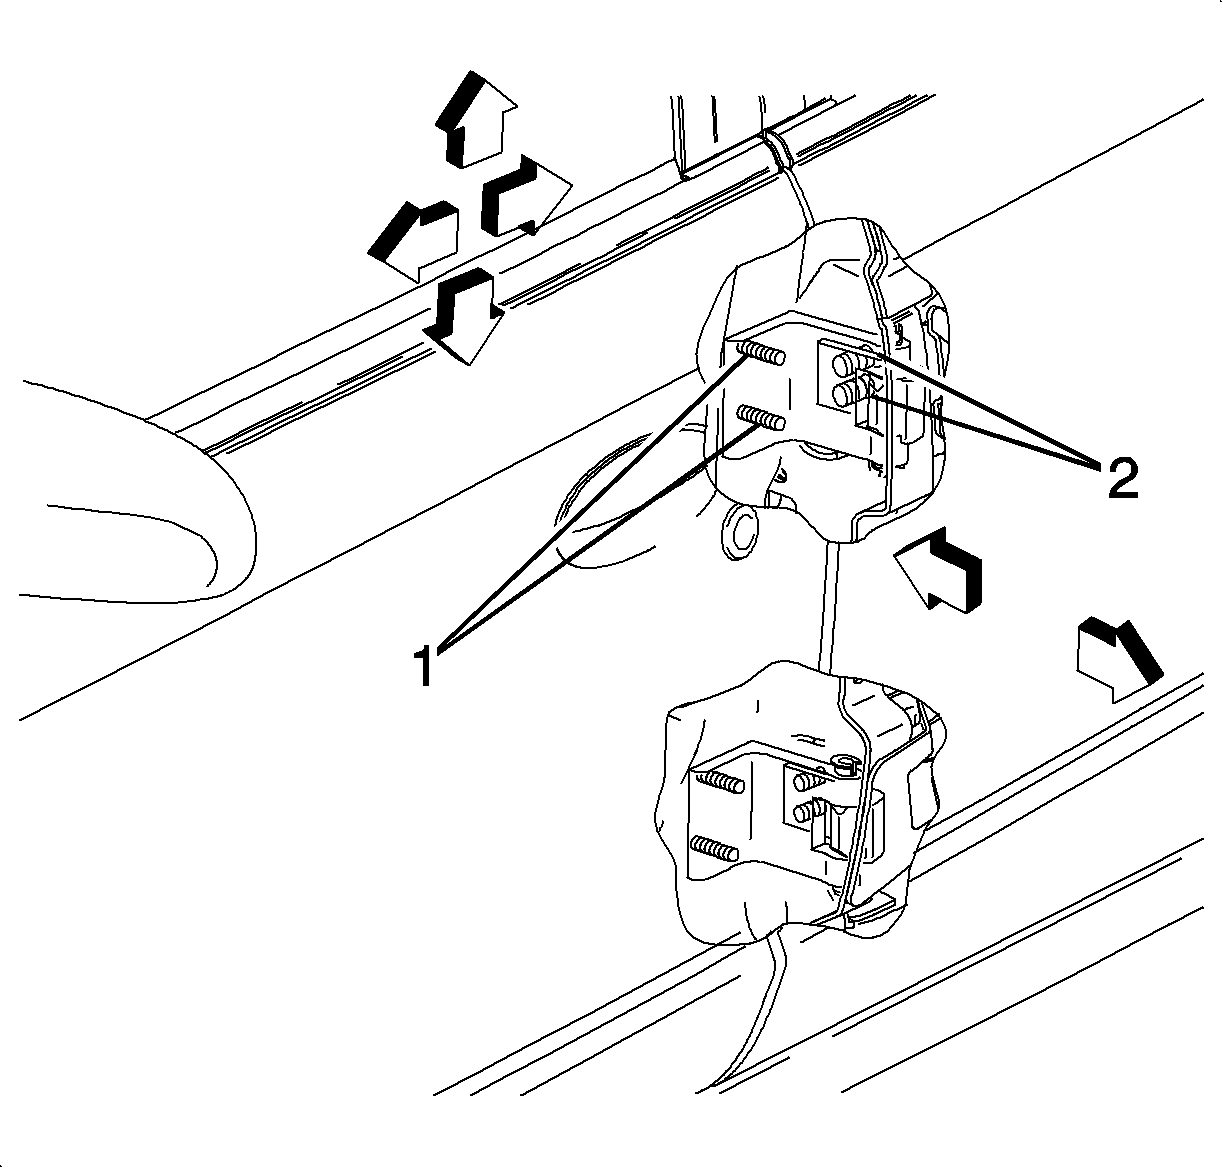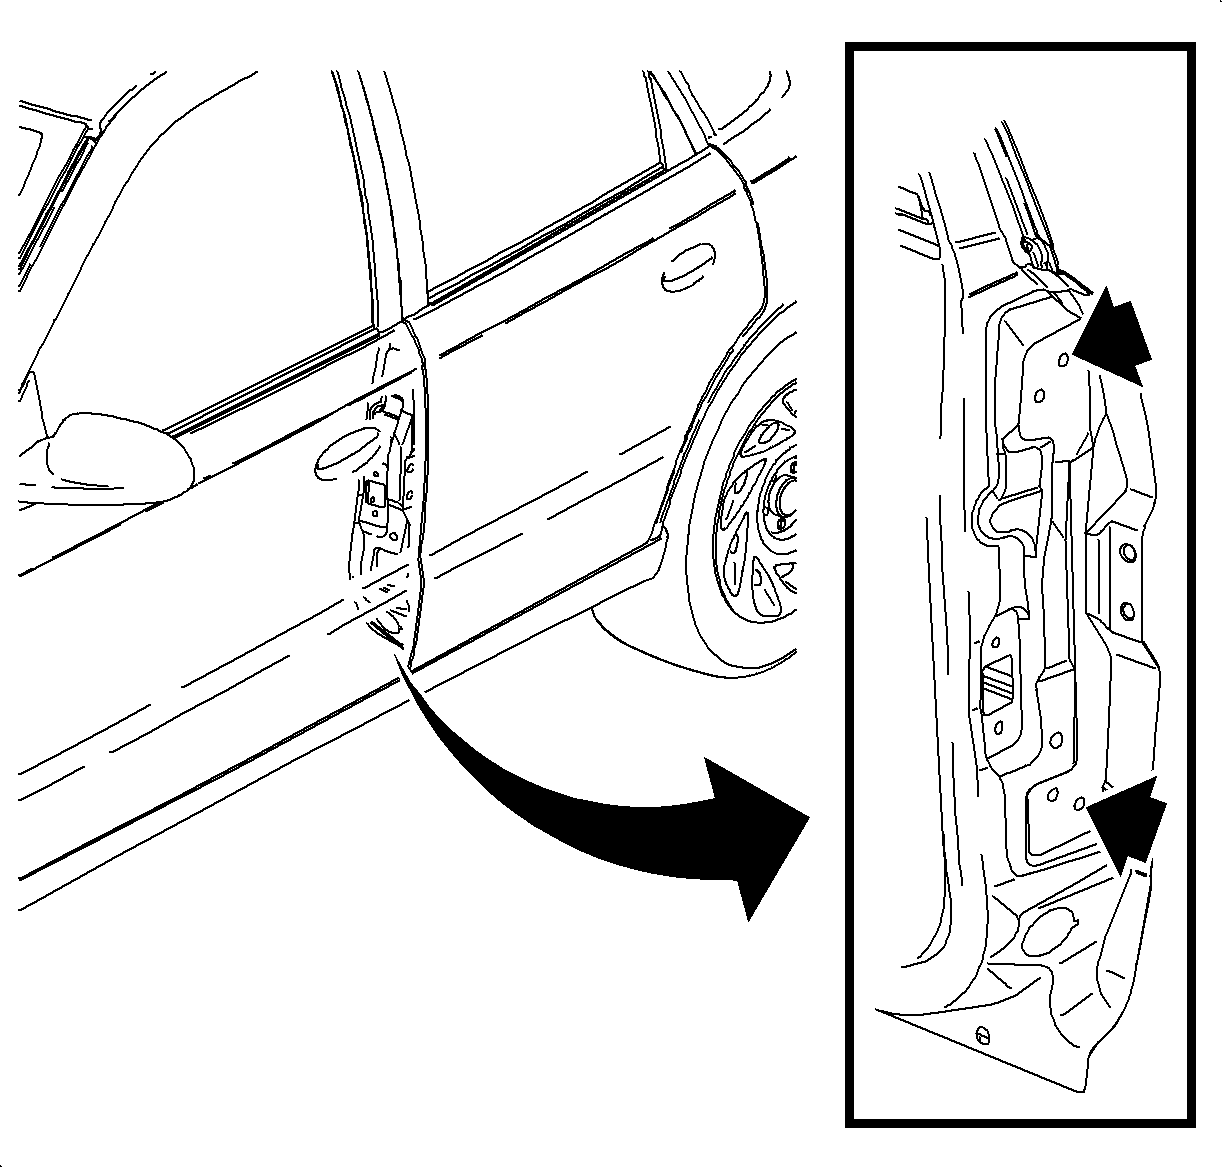
- Note the original position of the door lock striker.
- Remove the bolts.
- Remove the striker and striker shim if present.
- For up, down, forward or rearward adjustment, perform the following steps:
| 4.1. | Remove the center pillar molding. Refer to Rear Door
Hinge - (Bolt On) removal procedure
. |
| 4.2. | Loosen the hinge to hinge pillar nuts. Adjust the door as necessary. |
- For inboard or outboard adjustment, perform the following steps:
| 5.1. | Remove the rear door outer panel. Refer to Rear Door
Outer Panel removal procedure
. |
| 5.2. | Remove the rear door insulator. Refer to Rear Door
Insulator removal procedure
. |
| 5.3. | Loosen the door to hinge nuts. Adjust the door as necessary. |

- If sufficient door adjustment cannot be obtained, perform the following steps:
| 6.1. | Remove the rear door. Refer to Rear Door removal procedure
. |
| 6.2. | Enlarge the outer 2 stud openings closest to door panel with a
drill bit to 13 mm (½ in). |
| 6.3. | Apply a pinch weld primer to bare metal areas where the holes were drilled. |
| 6.4. | Install the rear door. Refer to Rear Door installation
procedure
. |
- Move the door within the door opening to achieve the best alignment and
operation.
Notice: Refer to Fastener Notice in the Preface section.
- Tighten all hinge of the fasteners that were loosened.
Tighten
Tighten the hinge fasteners to 30 N·m (22 lb ft).
- Install the striker to the approximate proper position. Refer to Rear Door Striker installation procedure
.
- Adjust the door striker. Refer to Door Striker Adjustment
procedure
.
Tighten
Tighten the door striker fasteners to 20 N·m (15 lb ft).
- Check the seals for proper engagement.


