For 1990-2009 cars only
Removal Procedure
- Remove the door trim panel. Refer to Door Trim Panel - Rear removal procedure .
- Remove the water deflector carefully by peeling back the edges.
- Remove the speaker to allow access to the recover retainer pin.
- Use an awl to force the bell crank retaining pin out, toward the outside of the door.
- Remove the bell crank pivot.
- Unhook the lock rods from the bell crank.
- Roll the window up.
- Remove the rear window run channel.
- Remove the rear lock rod from the latch mechanism.
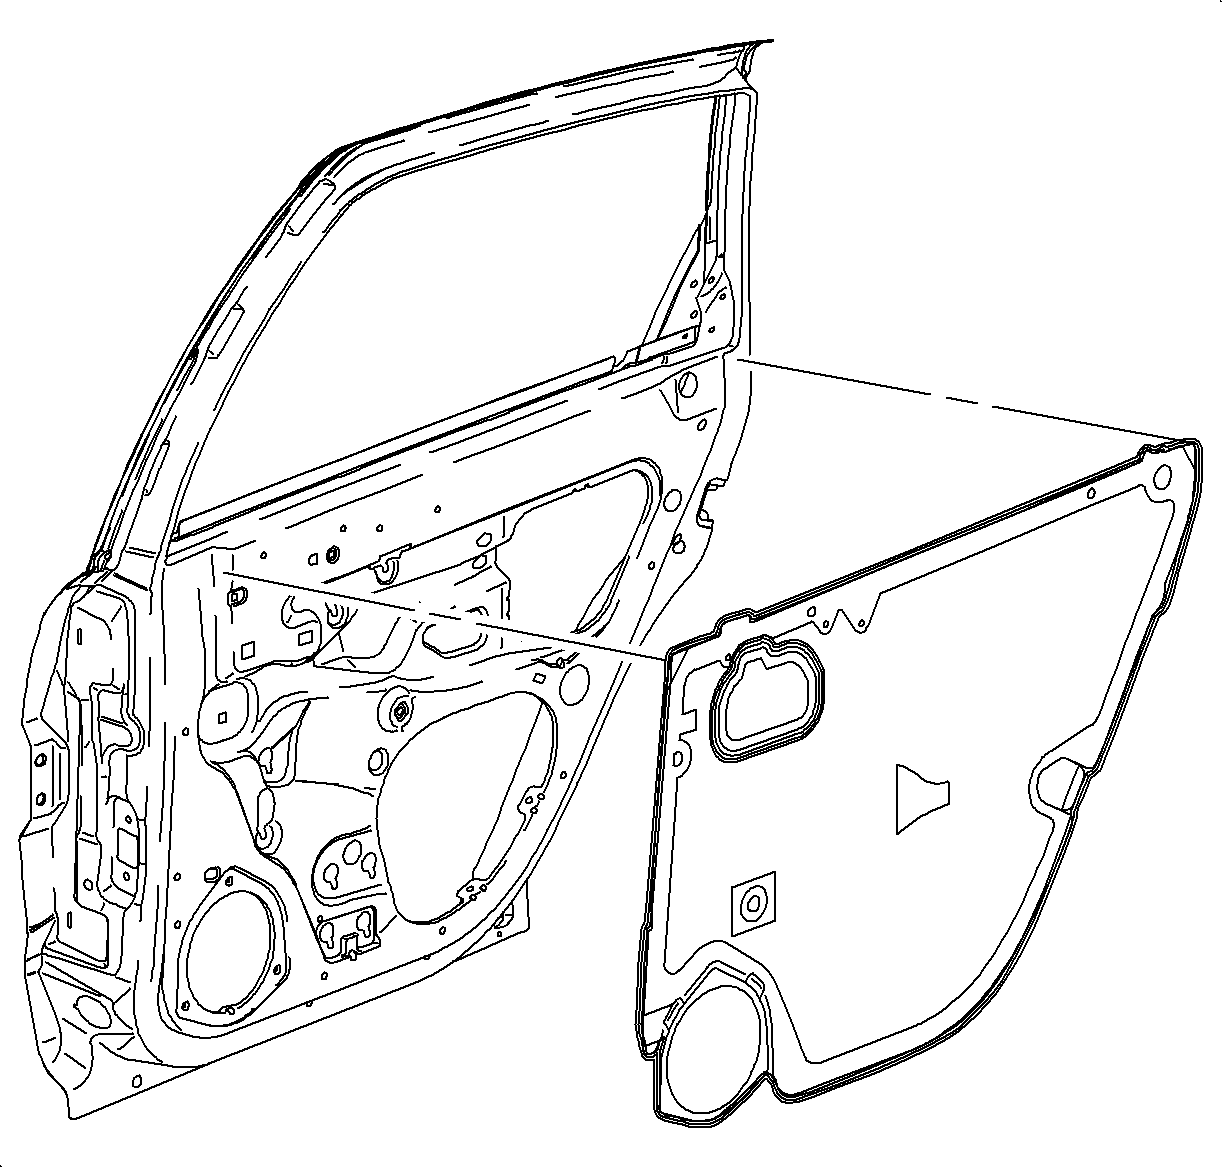
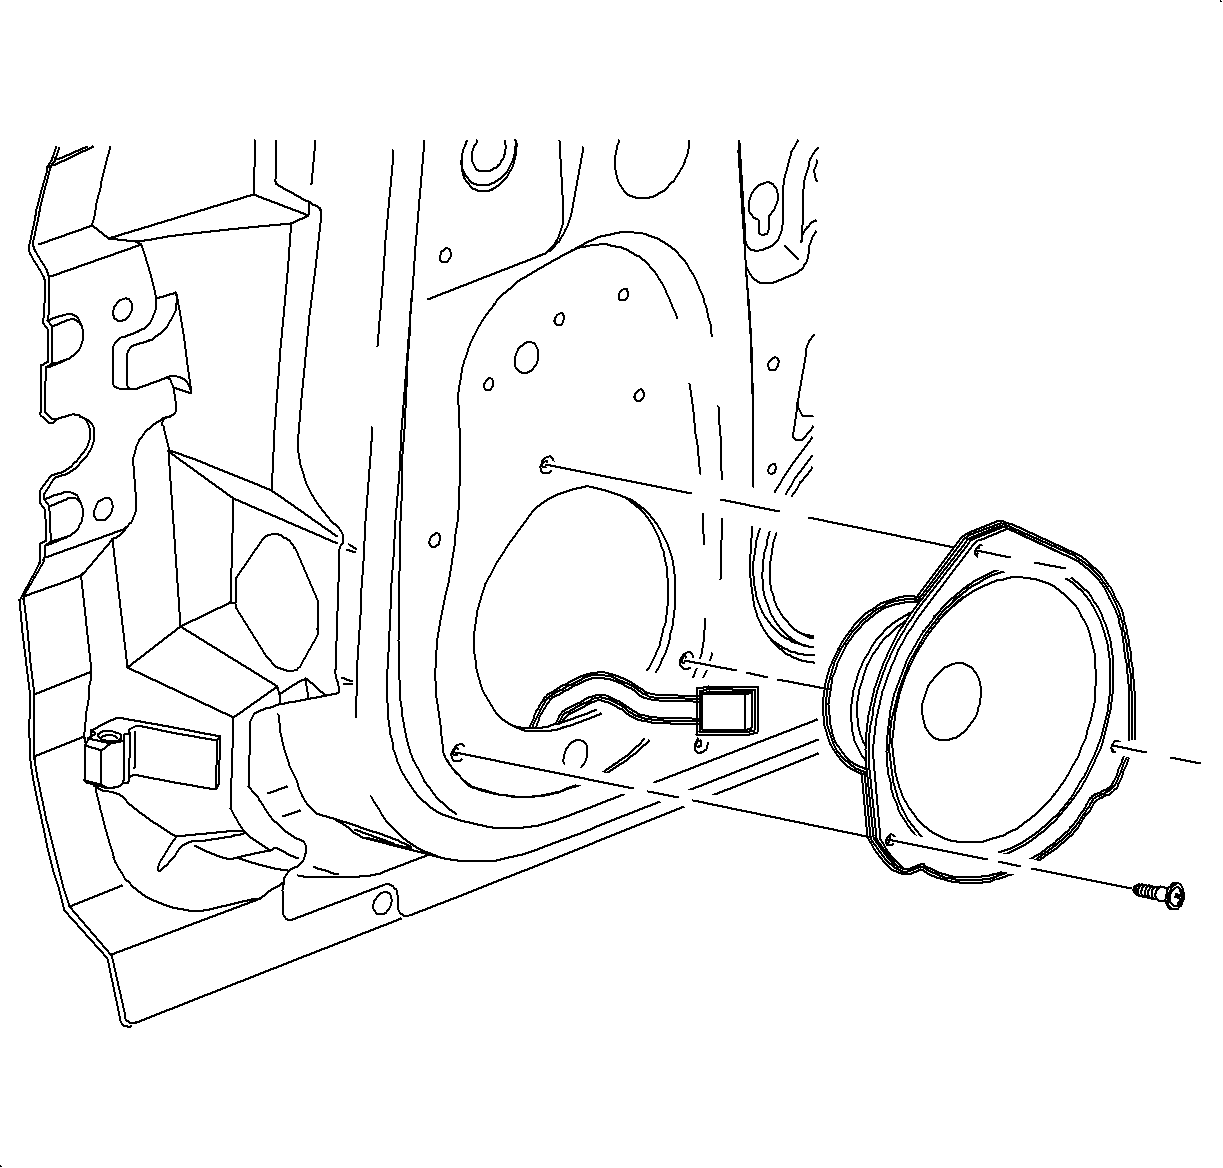
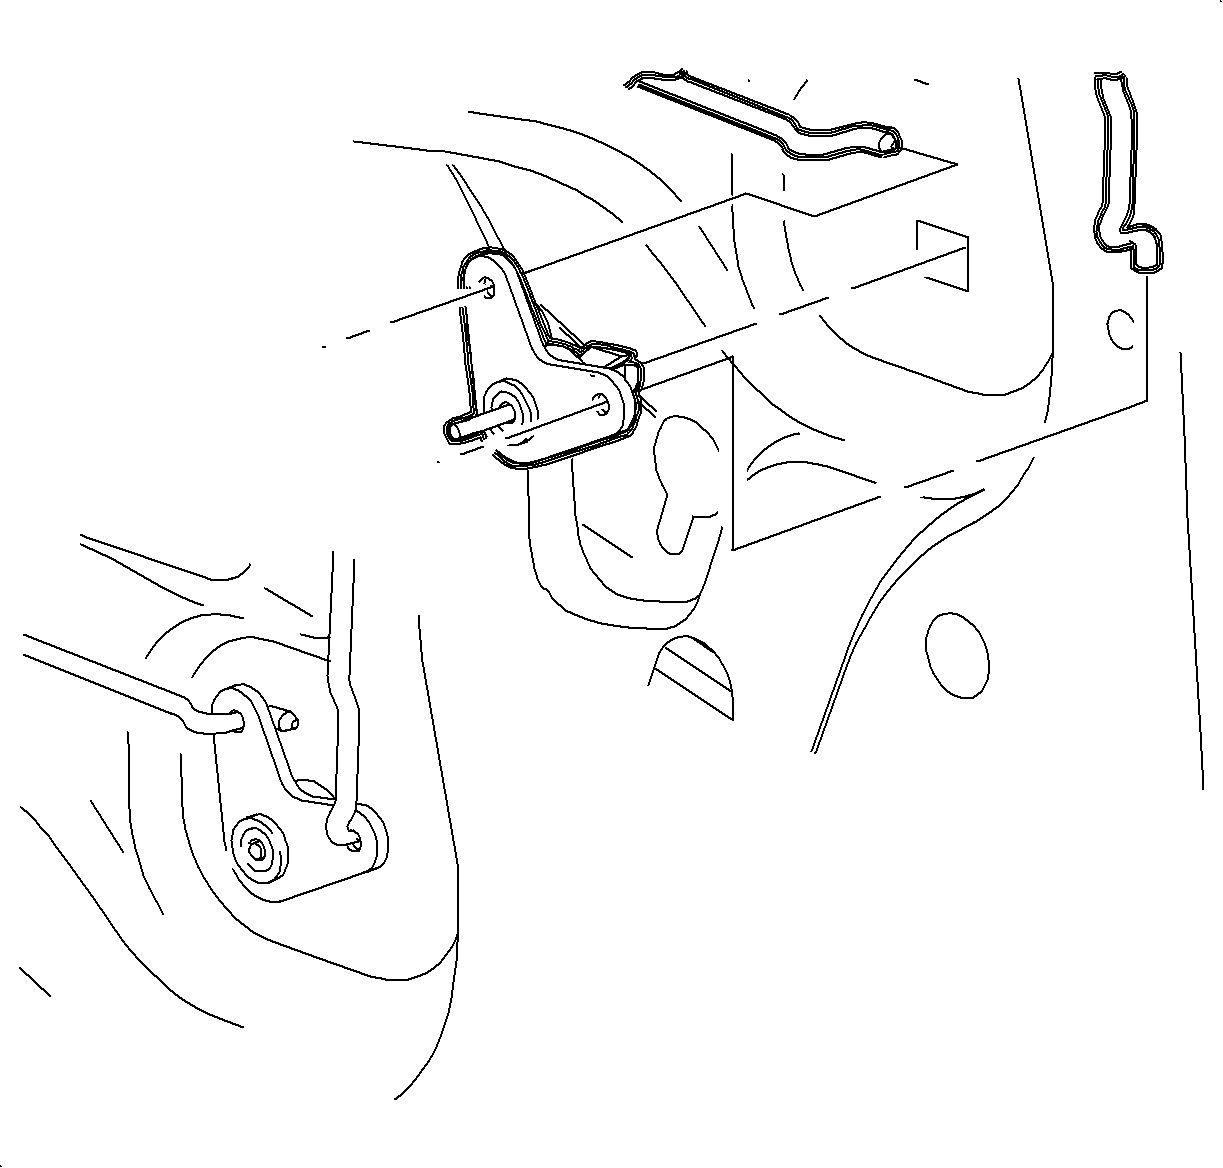
Important: Place a rag inside the door cavity to catch the retainer pin from the bell crank removal.
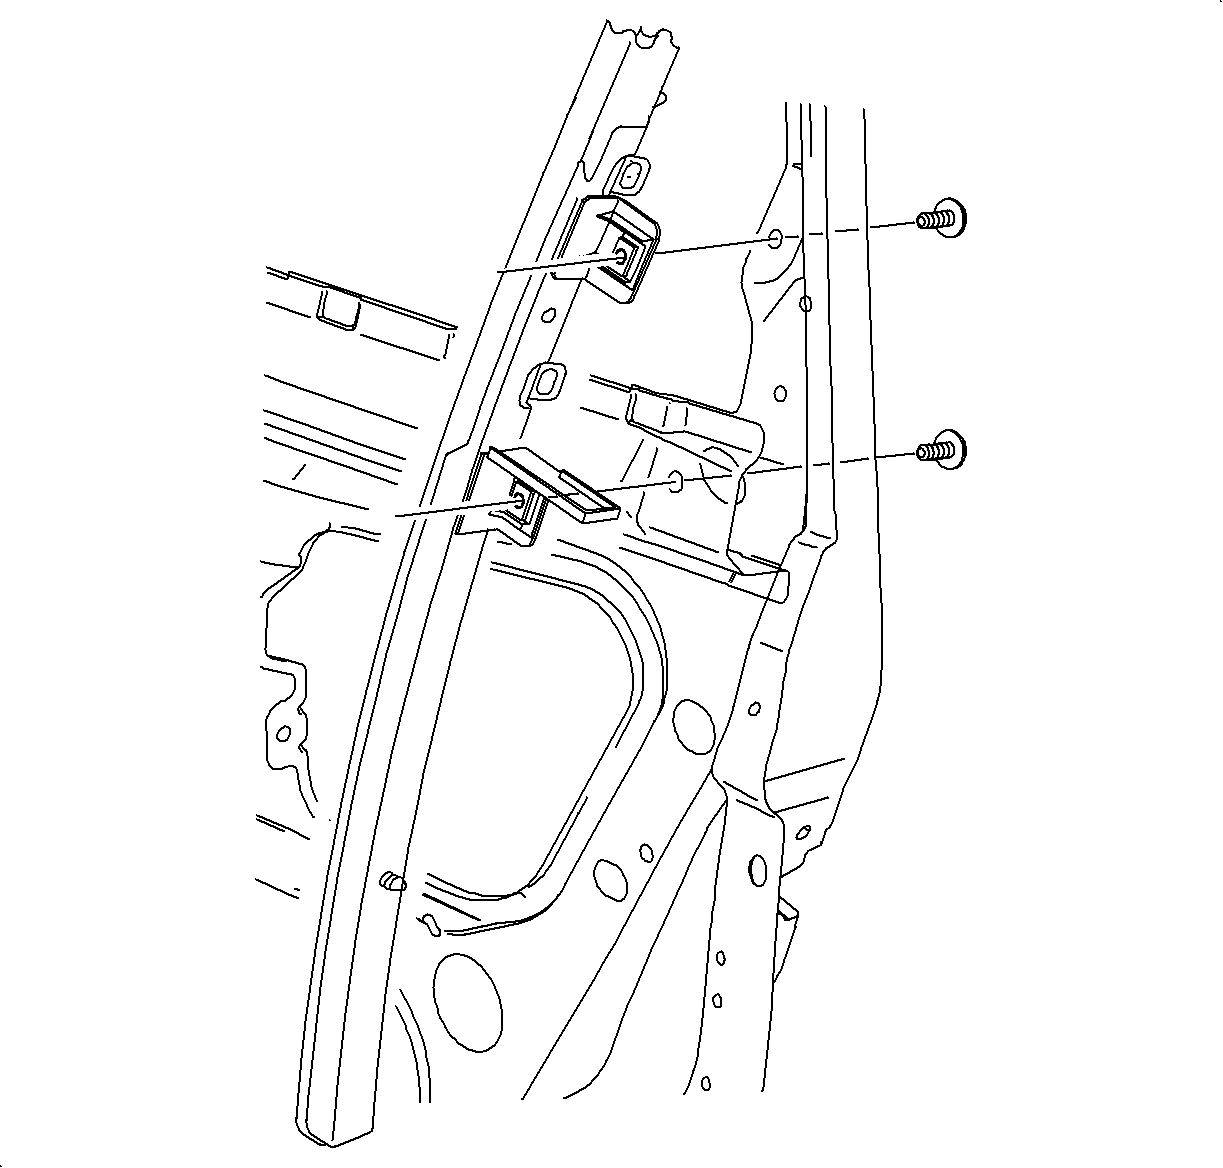
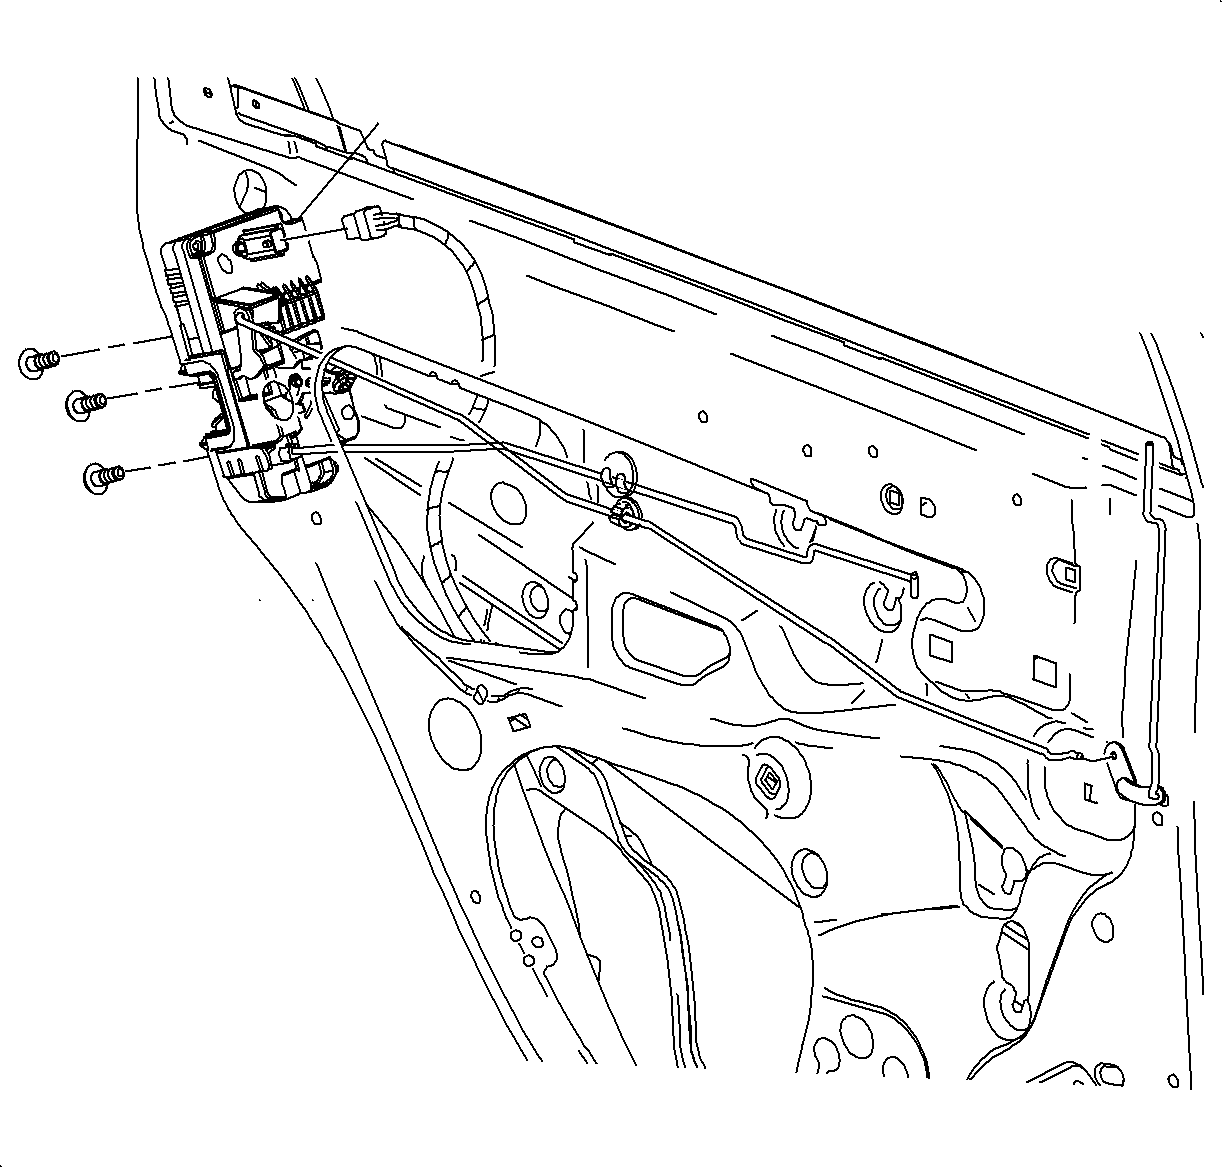
Installation Procedure
- Install the rear lock rod to the latch mechanism.
- Install the rear window run channel and tighten the bolts.
- Hook the lock rods to the bell crank pivot.
- Install the bell crank and pivot pin.
- Remove the rag from the speaker area.
- Install the speaker.
- Install the water deflector to the previous holes and position.
- Verify the correct operation of the rear door lock rod.
- Install the door trim panel. Refer to Door Trim Panel - Rear installation procedure .

Notice: Refer to Fastener Notice in the Preface section.

Tighten
Tighten the rear window run channel bolts to 10 N·m (89 lb in).


Important: Replace the water deflector if damaged.
