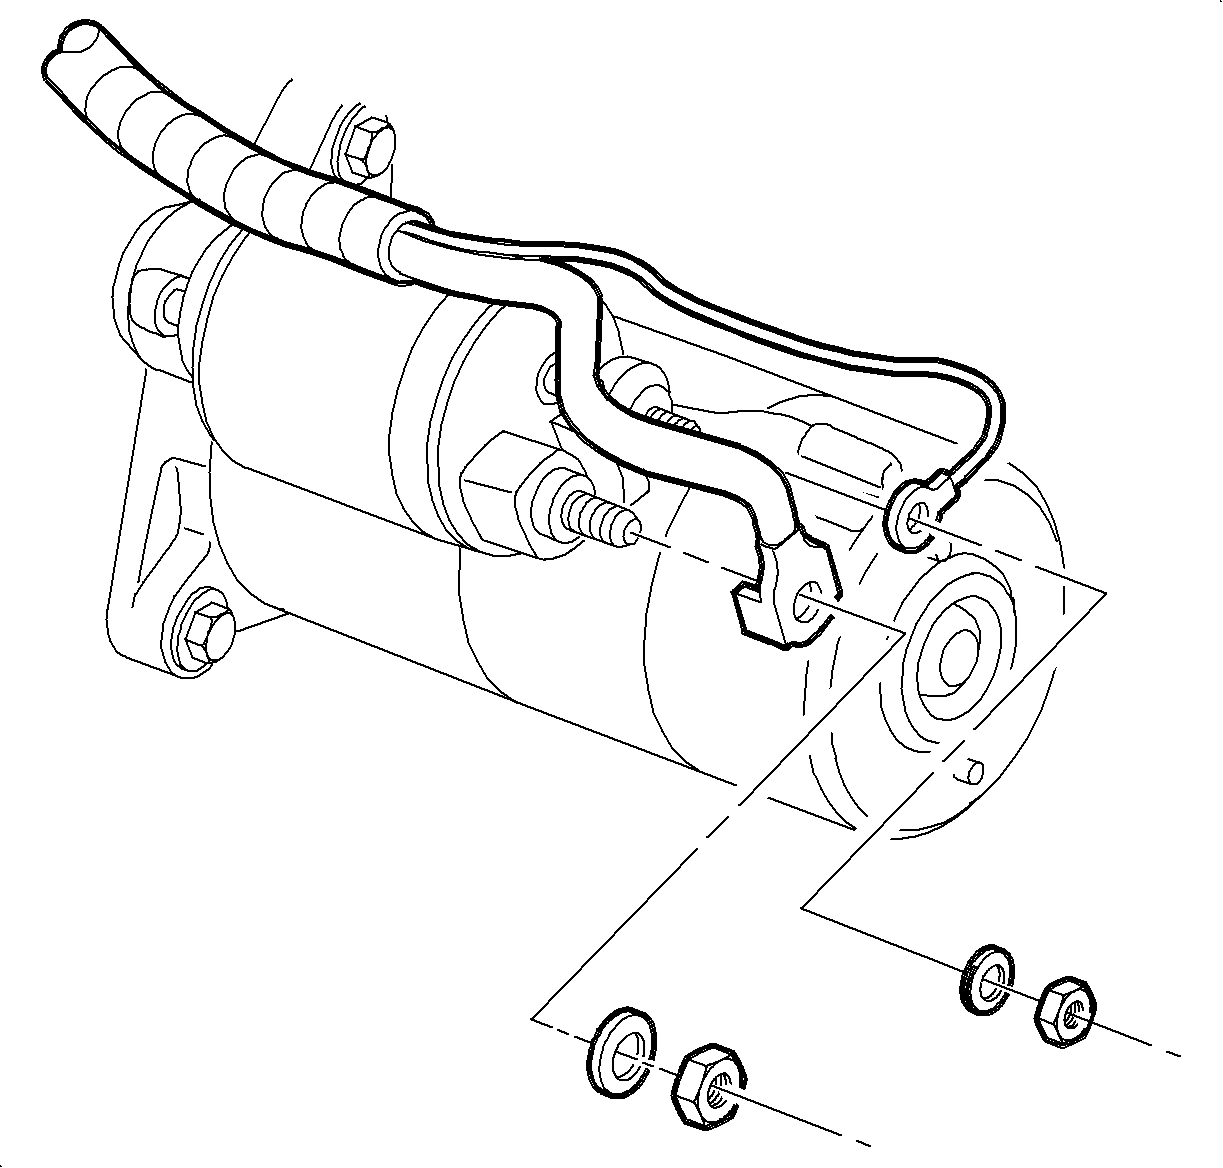
Removal Procedure
- Remove the battery. Refer to Battery Removal .
- Pull the conduit approximately 3 inches away from the positive battery cable near the battery terminal.
- Cut-off the positive battery cable terminal end and tape the cut-end with electrical tape.
- Replace the conduit back over the remaining cable.
- Route the new positive battery cable along the old cable and harness.
- Raise the vehicle.
- Remove the right front wheel cover or the center caps.
- Remove the right front wheel bolts.
- Remove the right front wheel.
- Disconnect the positive battery cable to the starter solenoid electrical connection.
- Disconnect the positive battery cable to the generator.
- Cut the old positive battery cable and tape the cut end.
Important: When routing the new cable, ensure enough cable is left near the battery to make the connections at the end of this procedure.
Caution: Refer to Vehicle Lifting Caution in the Preface section.
Caution: Ensure that the vehicle is properly supported and squarely positioned. To help avoid personal injury when a vehicle is on a hoist, provide additional support for the vehicle on the opposite end from which the components are being removed.
Important: Steps 6-9 are for L81 vehicles only.
Notice: Never use heat to loosen a tight wheel bolt or nut. This can shorten the life of wheel and damage wheel bearings.

Important: The exhaust system remains hot for extended periods of time.
Installation Procedure
- Route the new positive battery cable along the harness and secure using plastic tie straps.
- Connect the positive battery cable to the generator.
- Connect the positive battery cable to the starter solenoid electrical connection.
- Position the right front wheel onto the hub.
- Install the wheel bolts and tighten in a crisscross pattern.
- For steel wheels and optional aluminum wheels with a large round center cap, install the wheel cover or cap onto the wheel.
- Hand tighten all 5 of the cap nuts with the aid of a socket.
- With a wrench, tighten each cap an additional ¼ turn (90 degrees).
- Lower the vehicle.
- Install the battery. Refer to Battery Installation .

Important: Ensure that the positive battery cable does not come in contact with the exhaust system or anything else that could cut or chafe the cable.
Tighten
Tighten the positive battery cable to the generator to 16 N·m (12 lb ft).
Tighten
Tighten the positive battery cable to the starter to 9 N·m (80 lb in).
Important: Steps 4-7 are for L81 vehicles only.
Notice: Before installing wheels, remove rust or corrosion from wheel mounting surfaces and brake rotors/drums. Failure to do so can cause wheel nuts to loosen in service.
| 5.1. | Hand tighten all 5 wheel bolts. |
| 5.2. | Use a torque wrench to tighten the wheel bolts using a crisscross pattern. |
Tighten
Tighten the wheel bolts initially to 63 N·m (46 lb ft).
| 5.3. | Use a torque wrench to final tighten the wheel bolts using a crisscross pattern. |
Tighten
Tighten the wheel bolts finally to 125 N·m (92 lb ft).
