Enabling the Frontal and Curtain Inflators

-
Turn the steering wheel so that the vehicle's wheels are pointed straight ahead.
- Turn the ignition to the OFF position and remove the key.
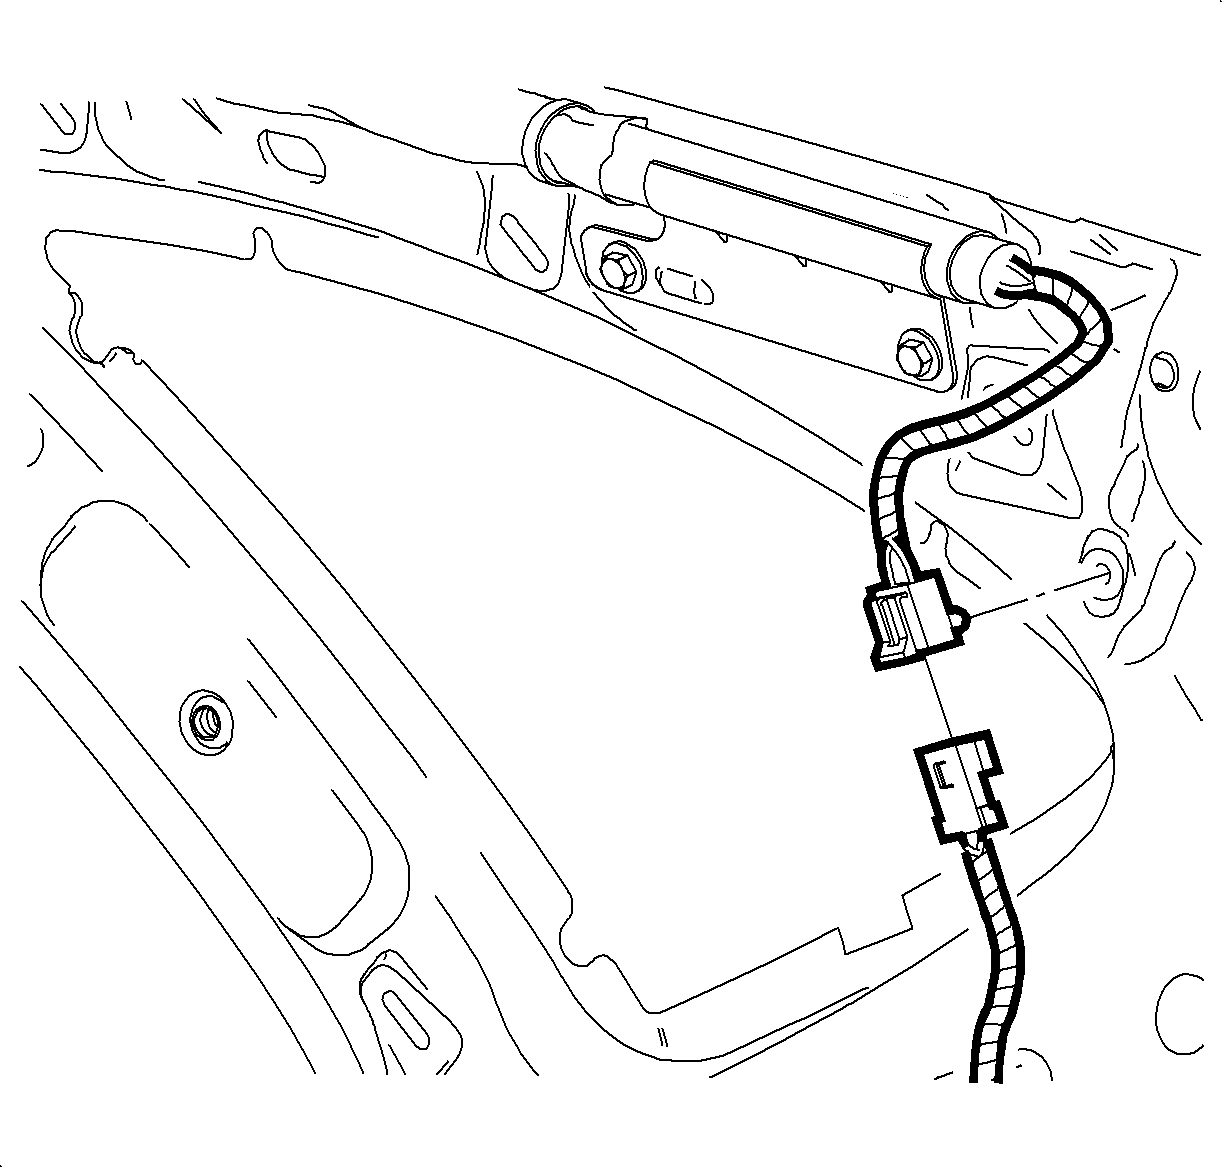
- Connect the left and right curtain inflator module (YEL 2-way) connectors.
- Install the CPA retainers.

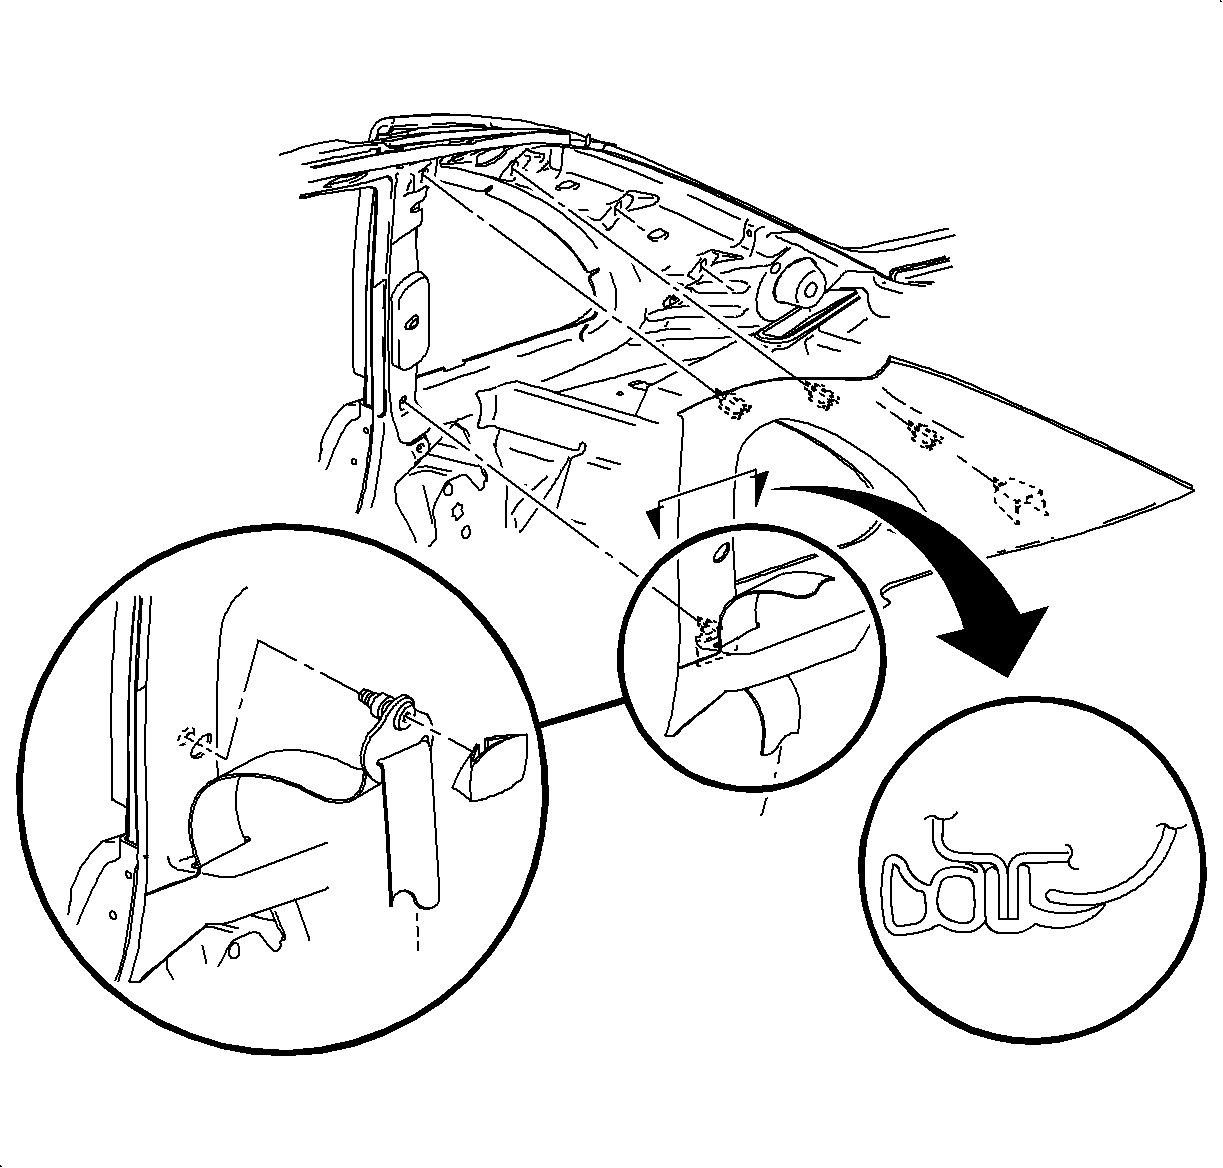
- Install the C-pillar trim on both the left and right sides of the vehicle.
| 5.1. | Position the C-pillar trim to the vehicle. |
| 5.2. | Install the C-pillar trim by pushing gently at the clip locations. |
| | Caution: Apply Loctite 242® Threadlocker US P/N 12345382 (Canadian P/N 10953489),
or equivalent, on all restraint bolts/nuts before installation. Failure to use such
threadlocker correctly may result in personal injury.
|
| 5.3. | Install the rear shoulder belt to the C-pillar. |
Tighten
Tighten the rear shoulder belt-to-C-pillar to 35 N·m (26 lb ft).
| 5.4. | Install the rear shoulder belt fastener cover. |
| 5.5. | Route the shoulder belt into the C-pillar trim at the access slot. |
| 5.6. | Fold up the rear seat-back. |
| 5.7. | Operate the rear seat shoulder belt to verify the function. |

-
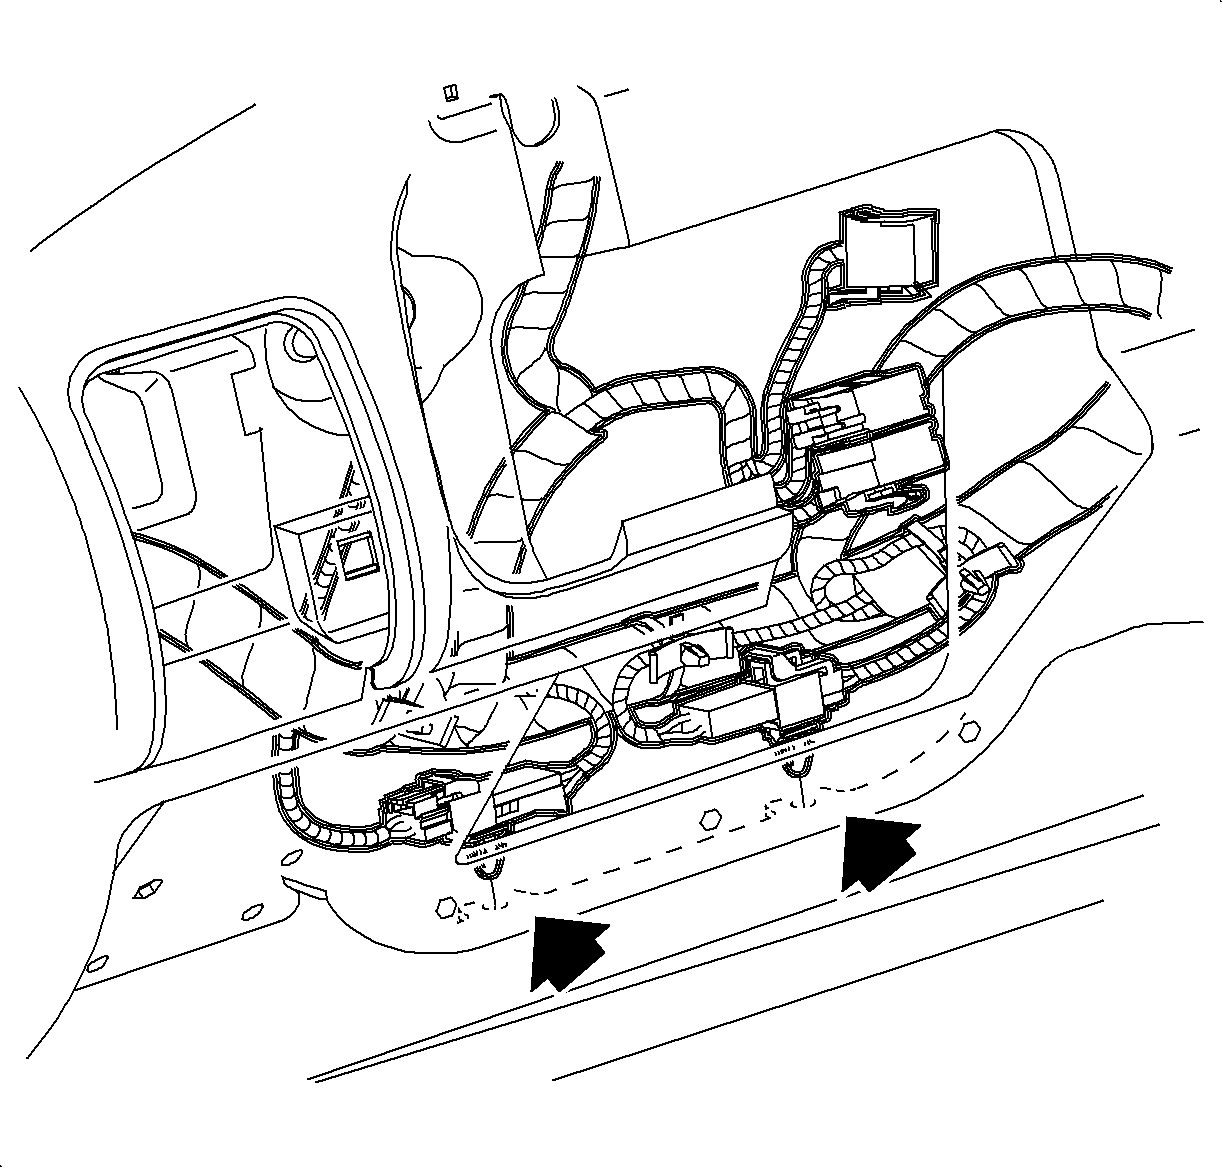
Connect both the driver and passenger inflator module (YEL 2-way) connectors.
- Install the CPA retainers.
- Fasten the clips on THE YEL 2-way connectors to the I/P panel brace.
- Install the IGN1 mini-fuse in the under hood fuse block.
- Turn the ignition ON and verify that the AIR BAG telltale operates properly.
- Install the lower left I/P closeout panel.


