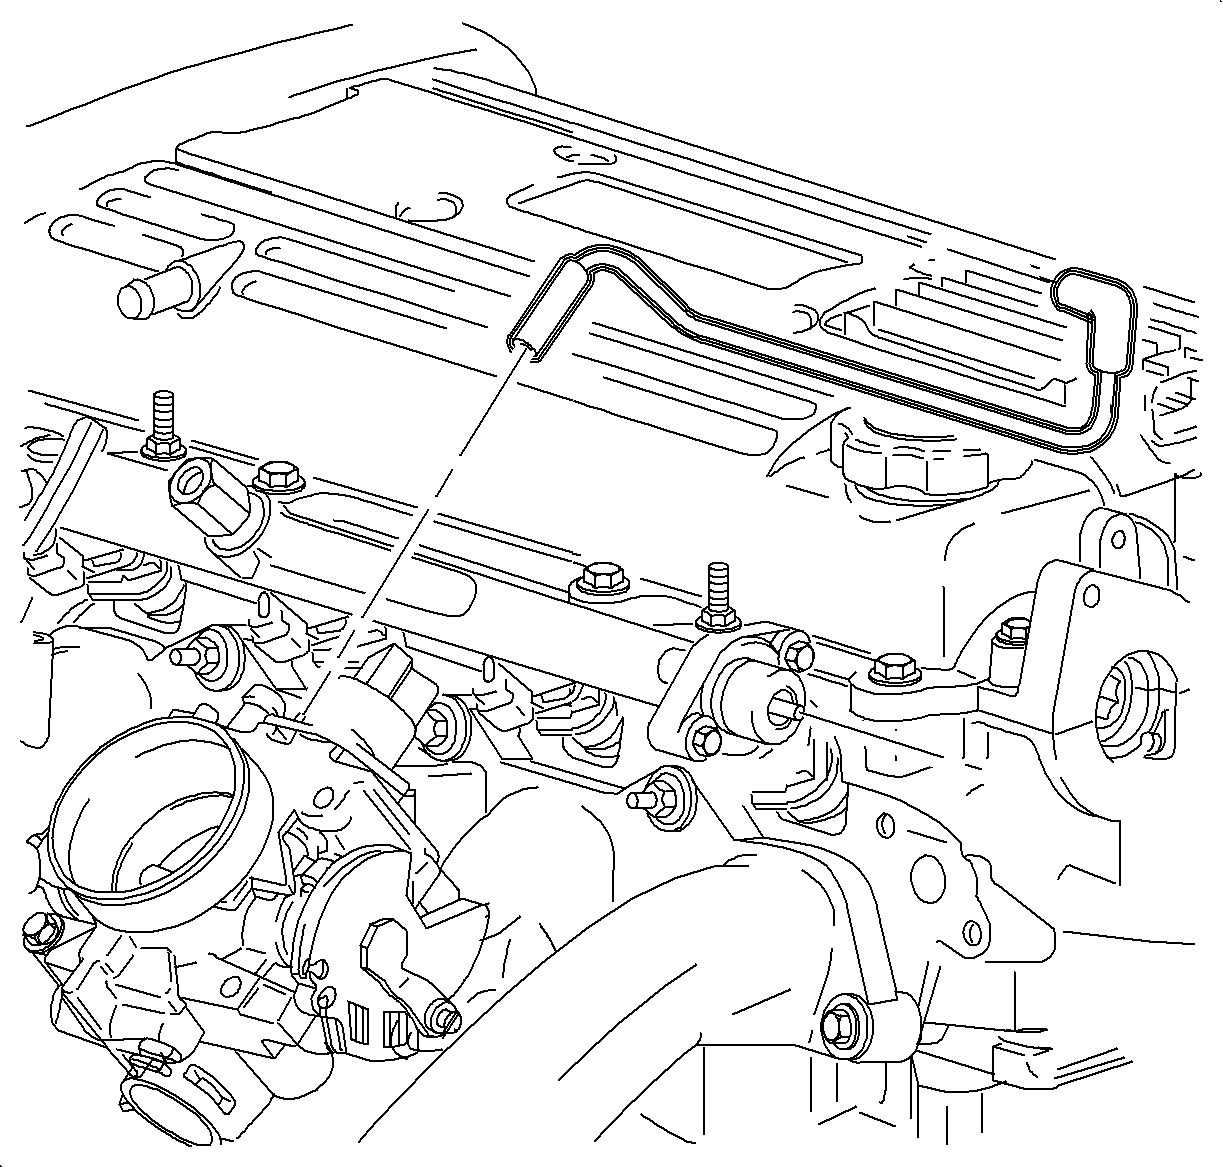
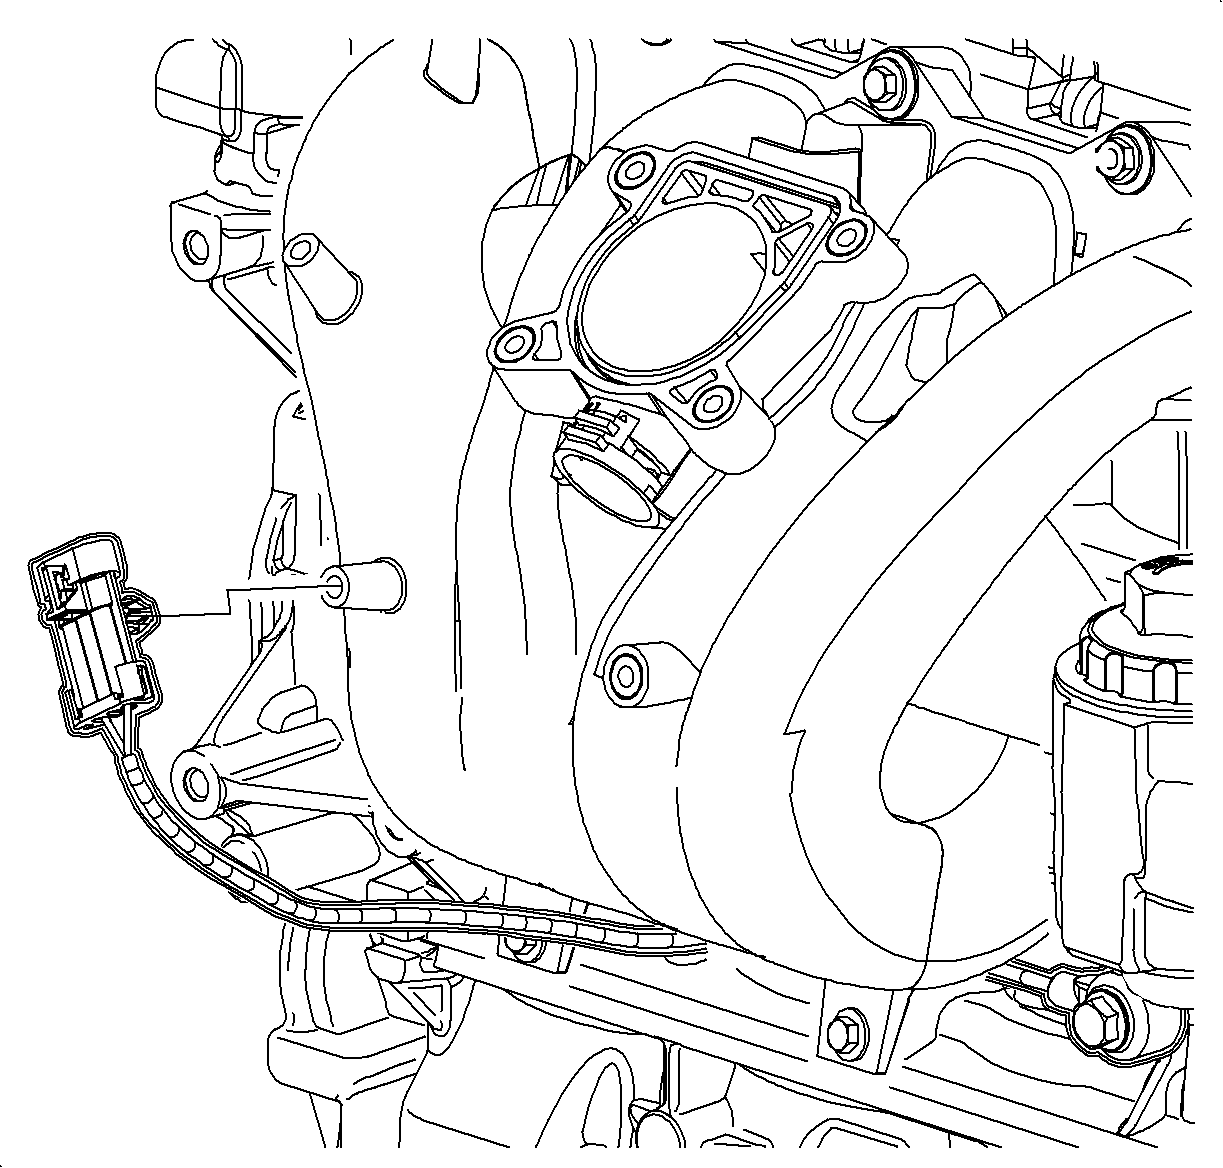
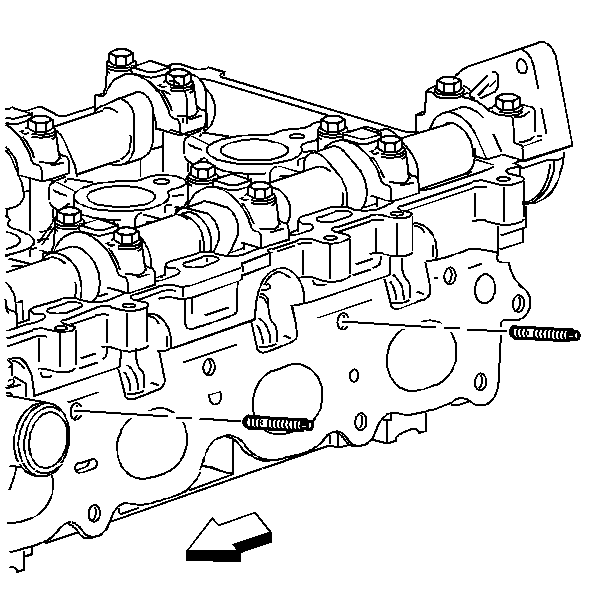
- Install the intake manifold studs in the manifold face.
- Install a new intake manifold gasket on the intake manifold.
- Install the intake manifold.
- Install the intake manifold bolts and nuts. Follow the tightening sequence.
- Install the fuel rail assembly.
- Install the fuel rail stud.
- Install new throttle body stud if necessary.
- Install a new throttle body gasket.
- Install the throttle body.
- Install the EVAP emission canister valve (2).
- Install the EVAP emission canister valve tube (1).
Notice: Use the correct fastener in the correct location. Replacement fasteners must be the correct part number for that application. Fasteners requiring replacement or fasteners requiring the use of thread locking compound or sealant are identified in the service procedure. Do not use paints, lubricants, or corrosion inhibitors on fasteners or fastener joint surfaces unless specified. These coatings affect fastener torque and joint clamping force and may damage the fastener. Use the correct tightening sequence and specifications when installing fasteners in order to avoid damage to parts and systems.
Tighten
Tighten the intake manifold studs to 5 N·m (44 lb in).
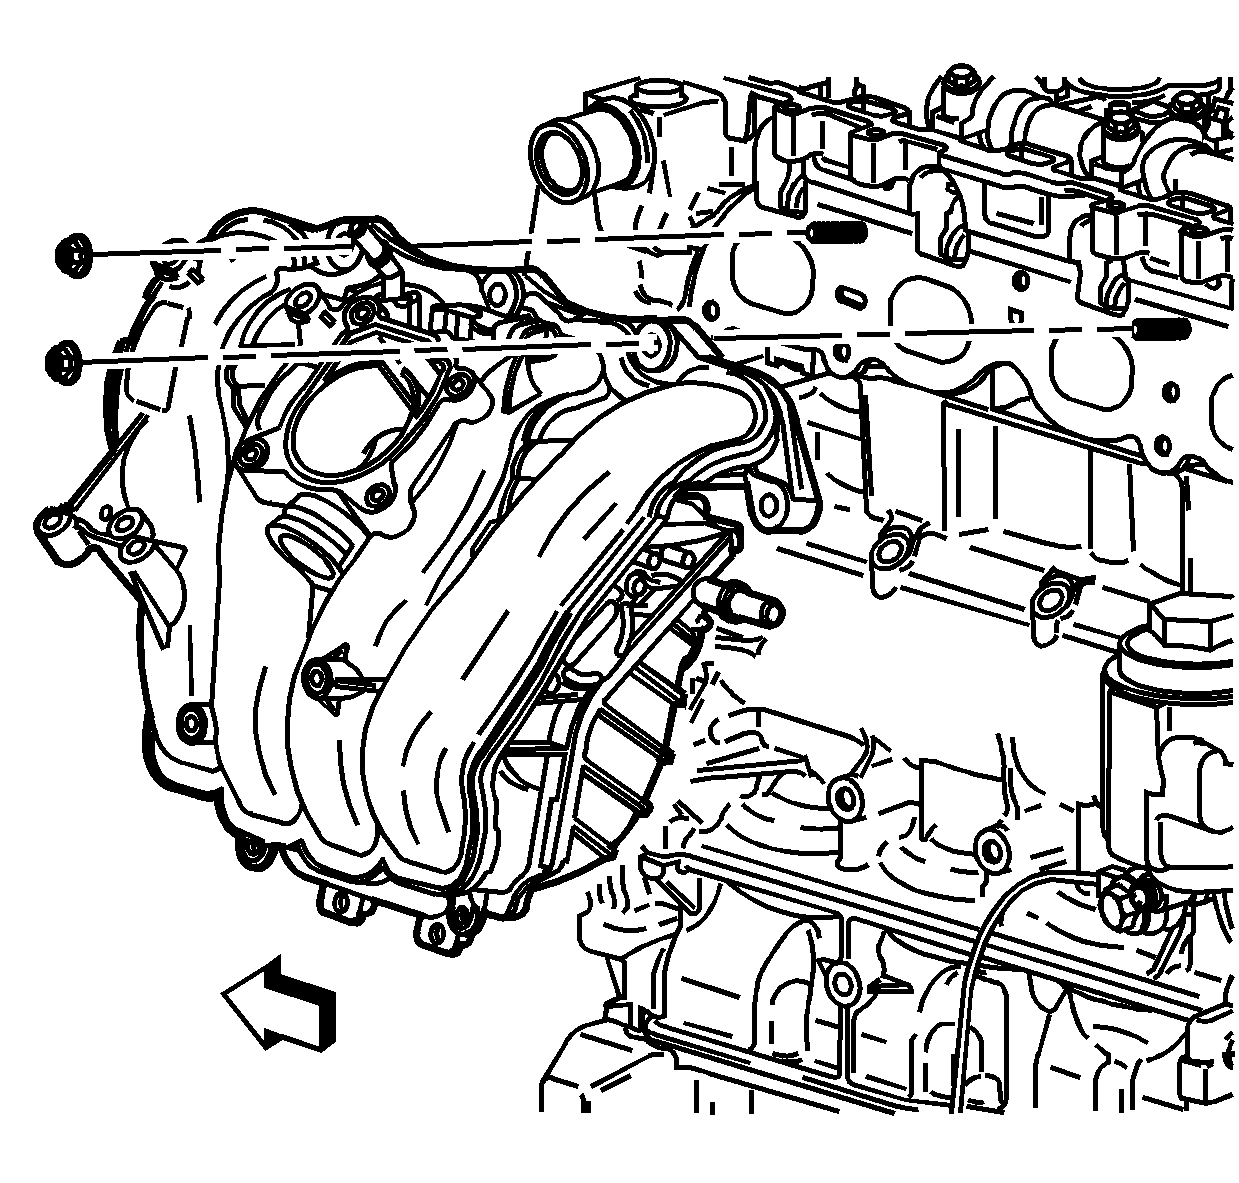
Tighten
Tighten the bolts and nuts to 10 N·m (89 lb in).
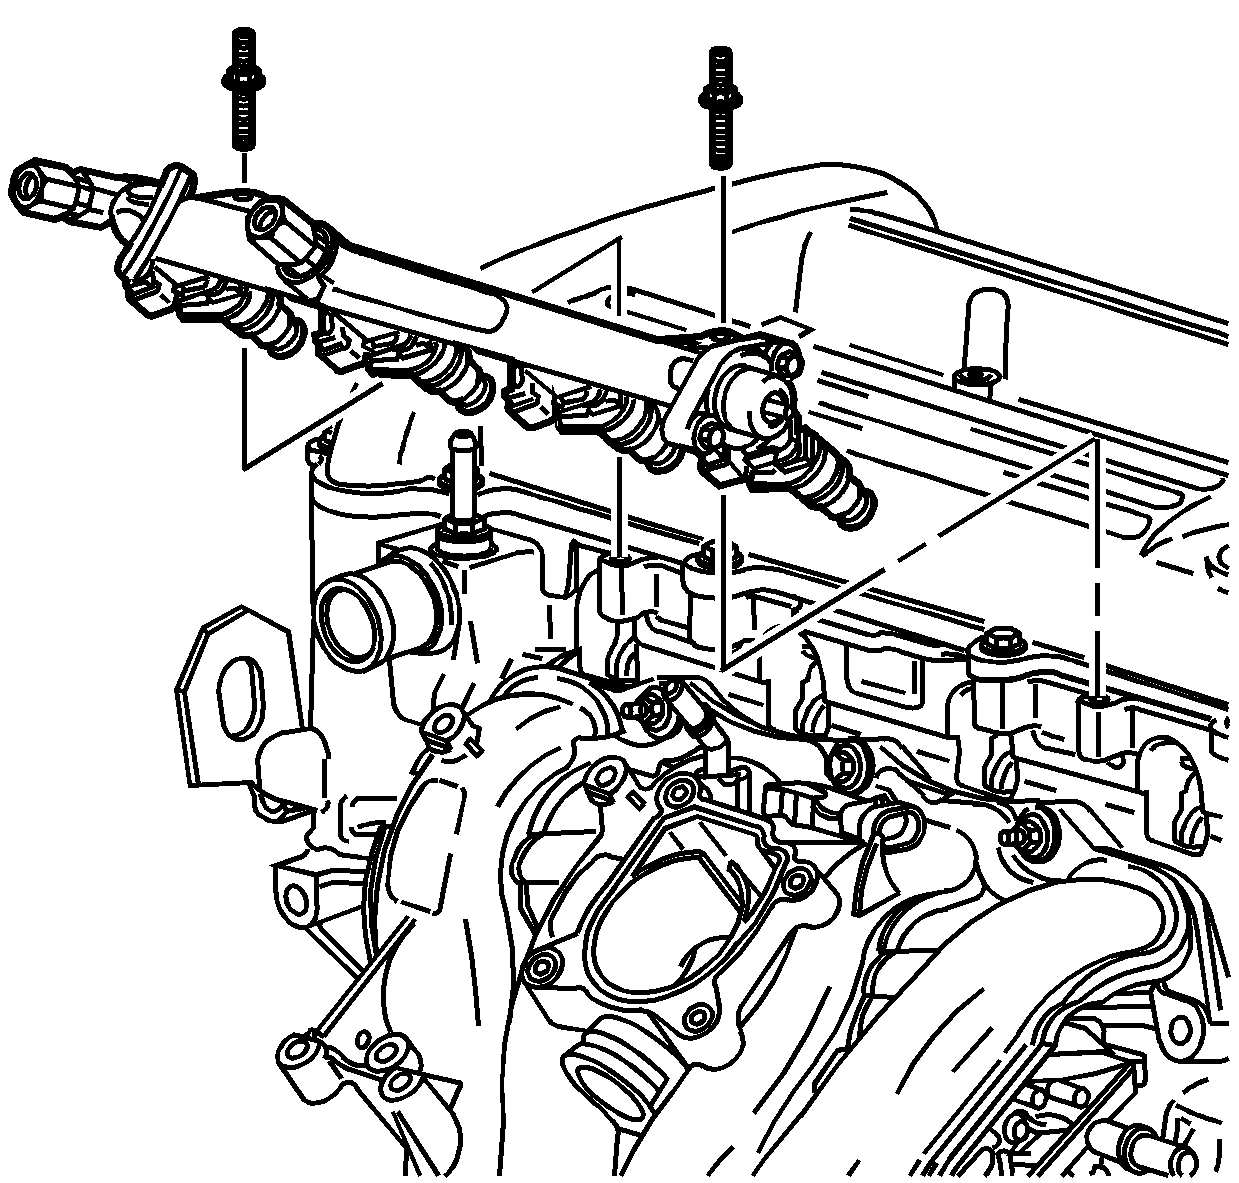
Tighten
Tighten the stud to 10 N·m (89 lb in).
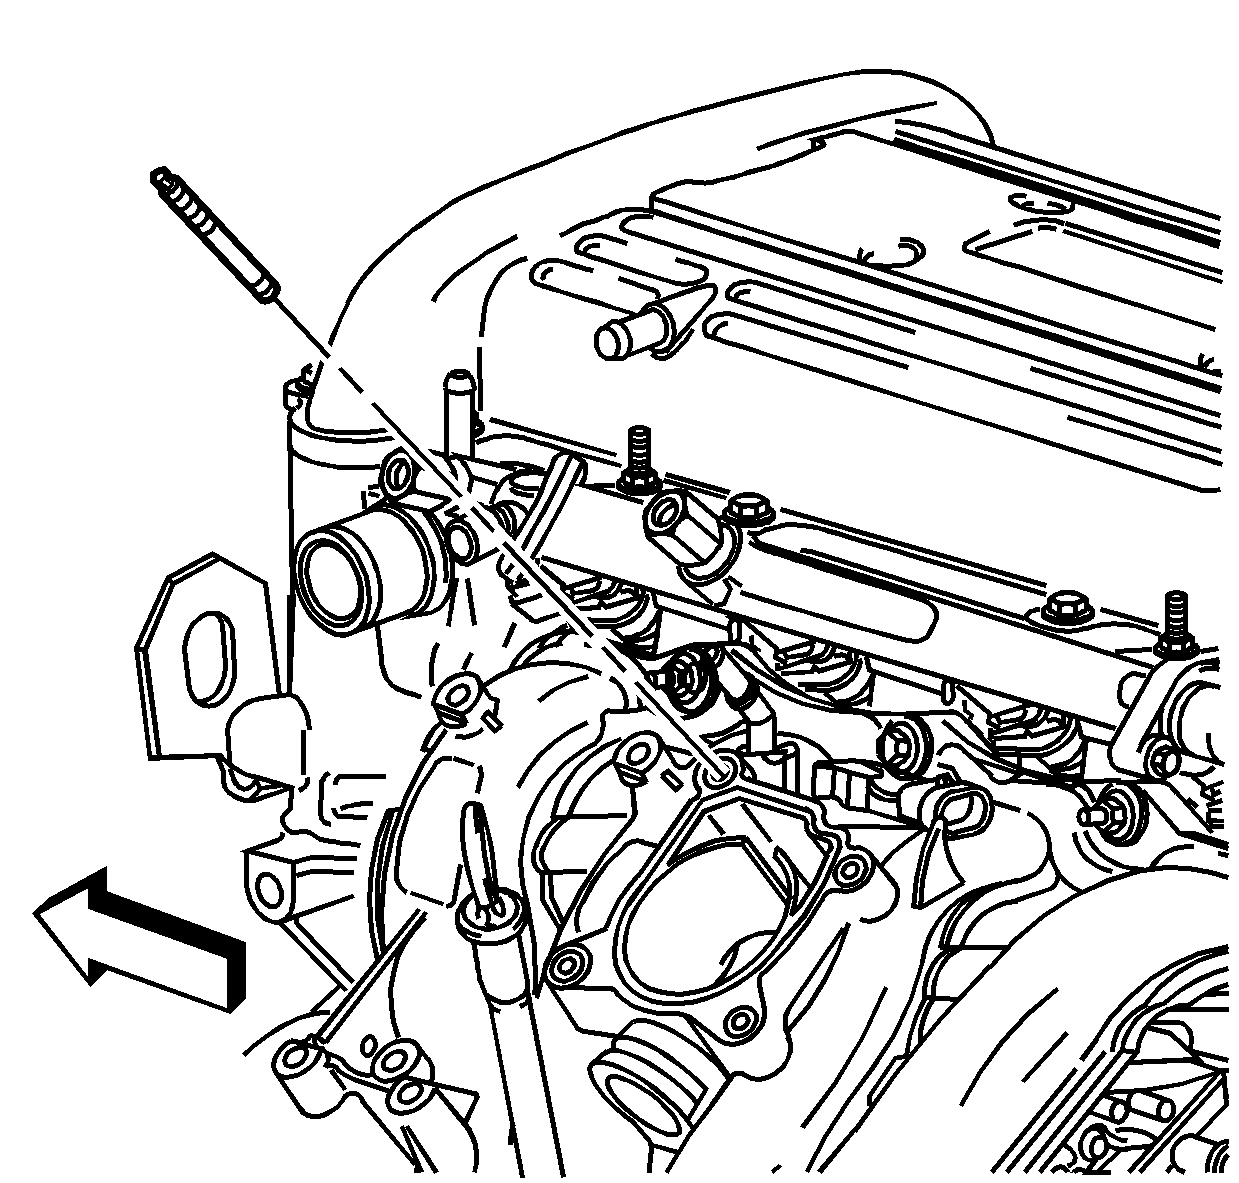
Tighten
Tighten the studs to 6 N·m (60 lb in).
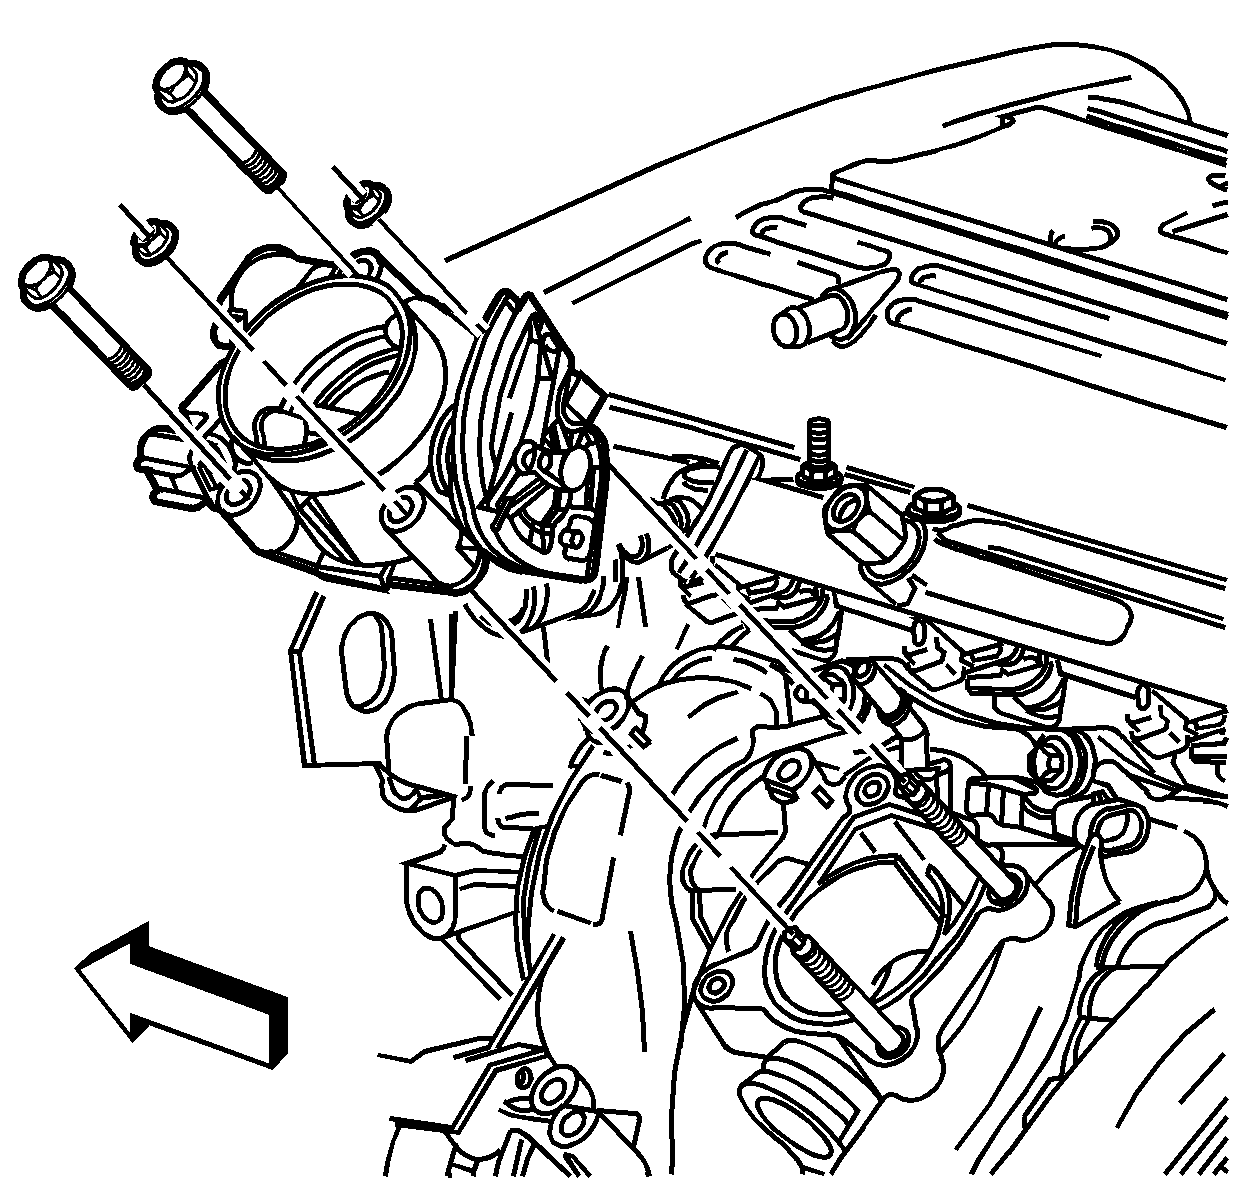
Tighten
Tighten the bolts and nuts to 10 N·m (89 lb in).
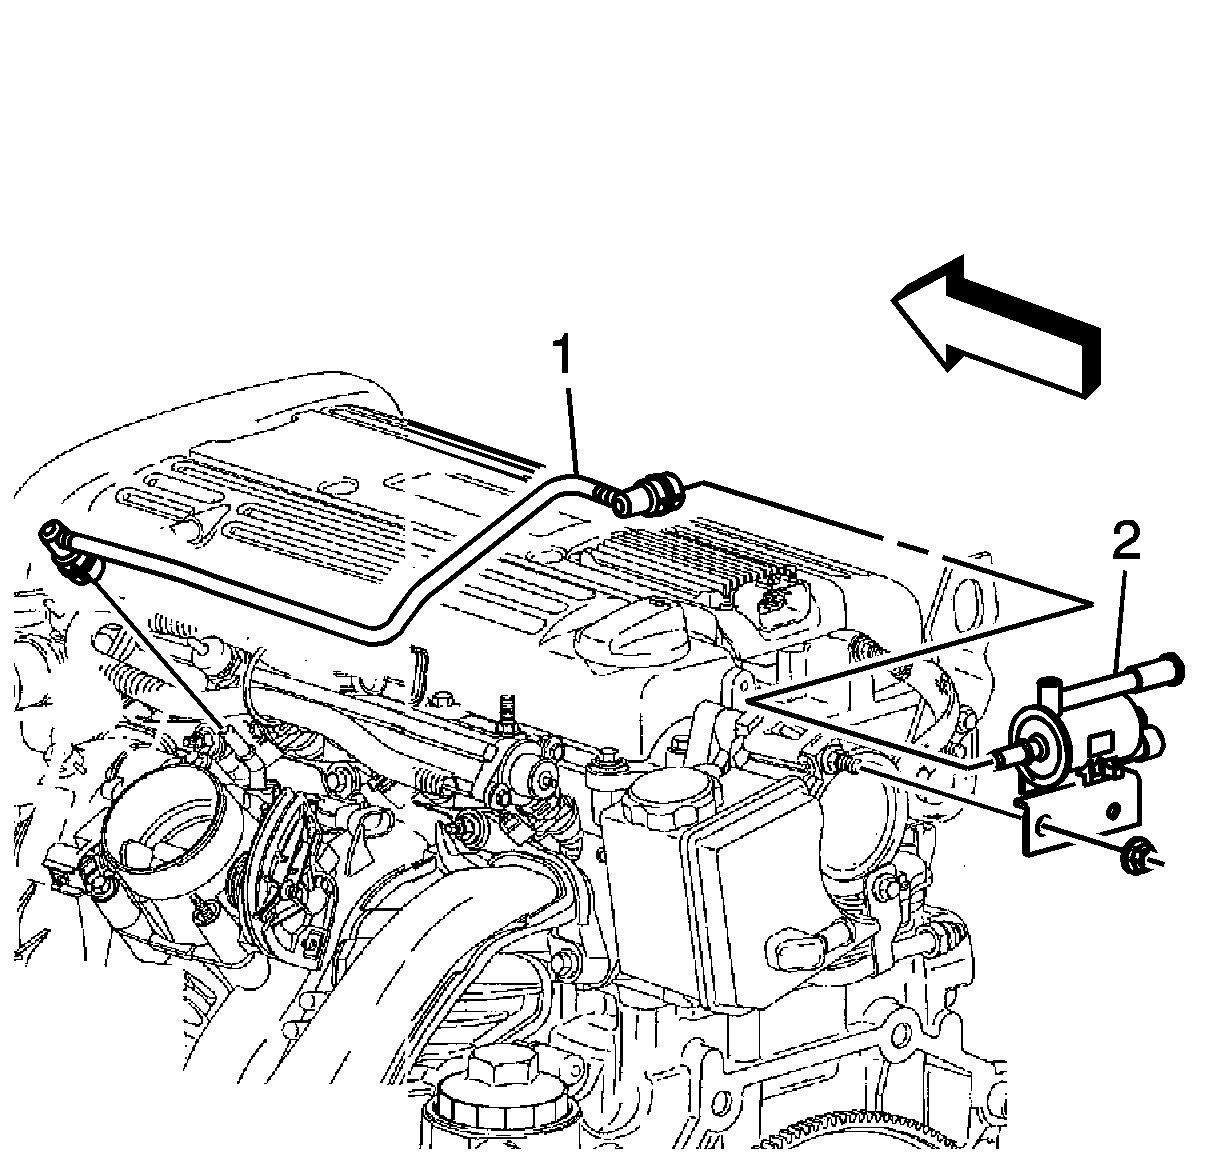
Important: Ensure that the rear metal tab of the EVAP emission canister valve is resting on the power steering pump metal body.
Tighten
Tighten the EVAP canister valve to 22 N·m (16 lb ft).
- Install the intake manifold studs in the cylinder head.
- Install a new intake manifold gasket onto the intake manifold.
- Install the intake manifold.
- Install the intake manifold bolts and nuts. Tighten by starting from the center bolt and working outward.
- Install the fuel rail assembly.
- Install the fuel rail stud.
- Install the throttle body. The gasket may be reused if not damaged.
- Install the pressure regulator vacuum harness.
- Install the knock sensor connector onto the intake manifold.
Notice: Refer to Fastener Notice in the Preface section.
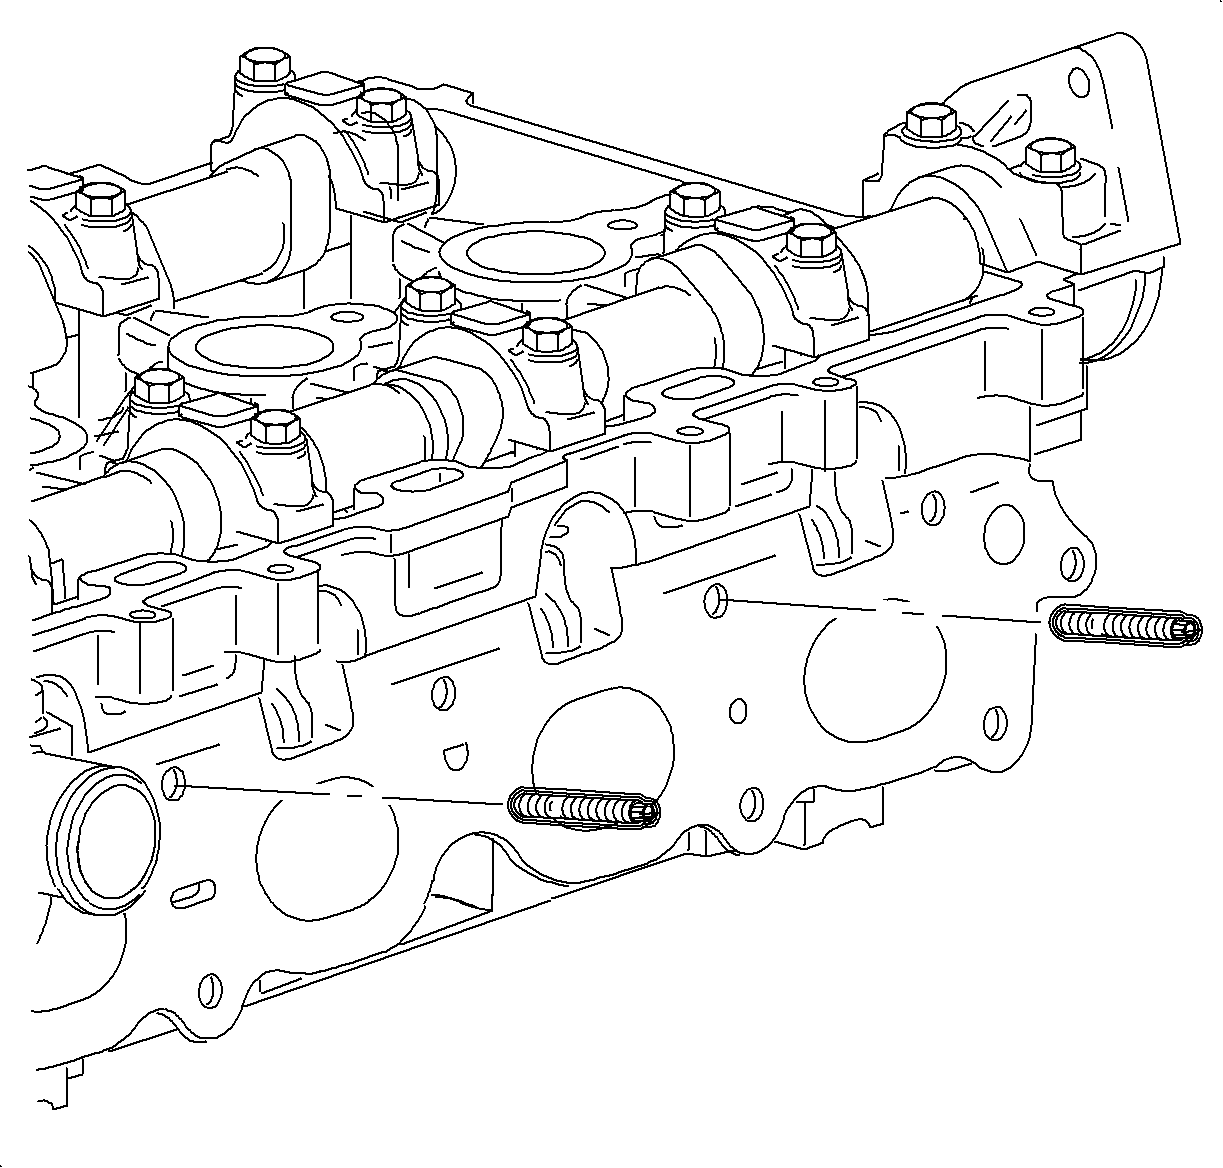
Tighten
Tighten the intake manifold-to-cylinder head studs to 6 N·m
(60 lb in).
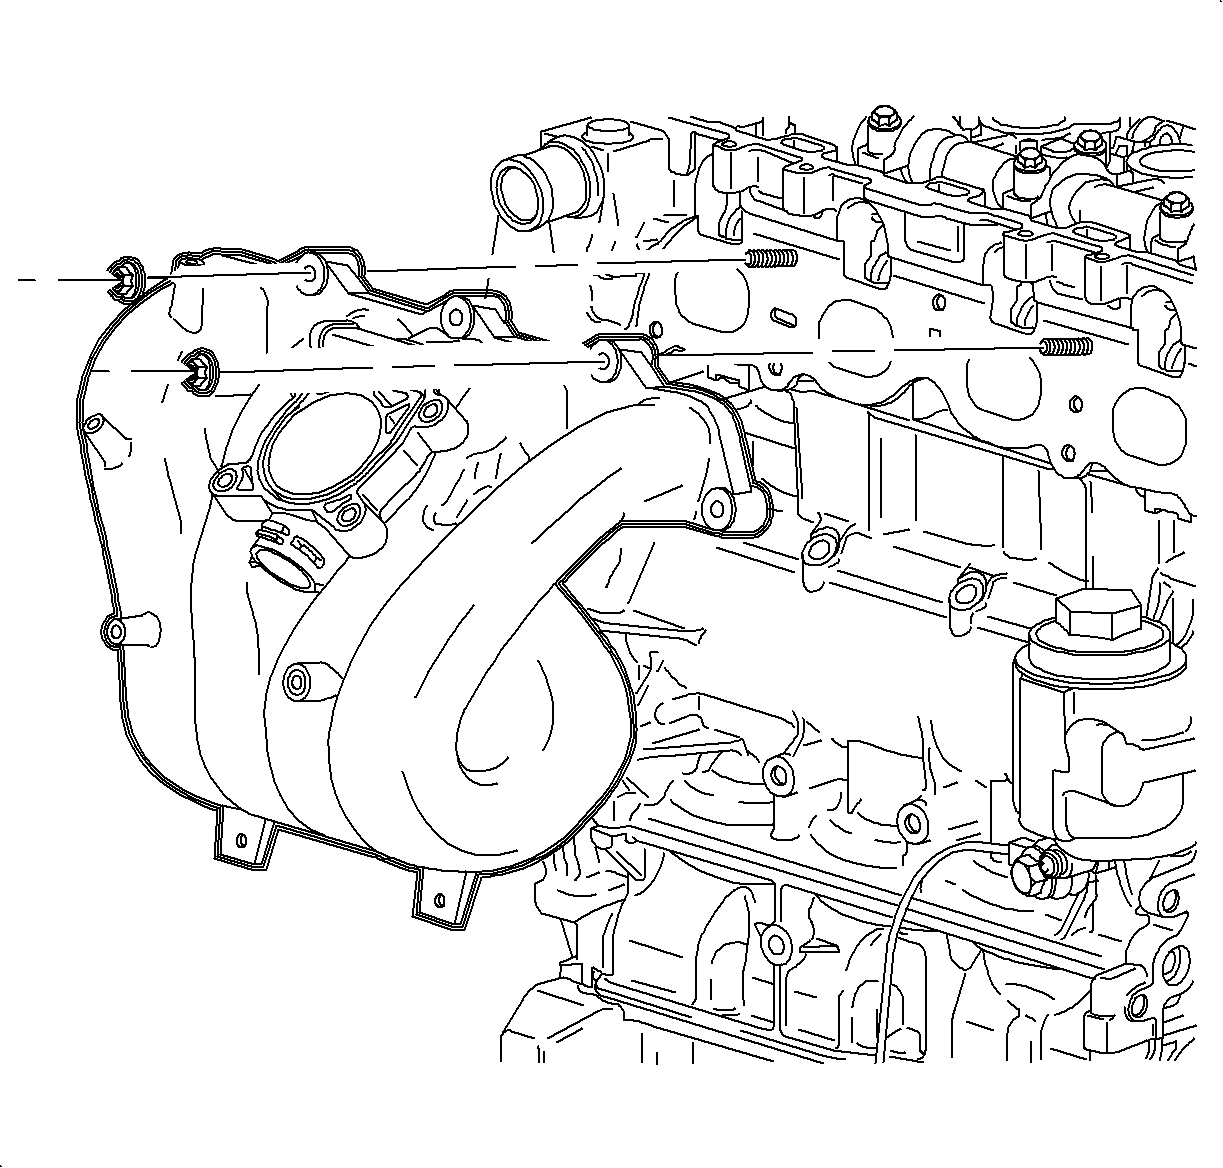
Tighten
| • | Tighten the intake manifold-to-cylinder head bolts to 10 N·m (89 lb in). |
| • | Tighten the intake manifold-to-cylinder head nuts to 10 N·m (89 lb in). |
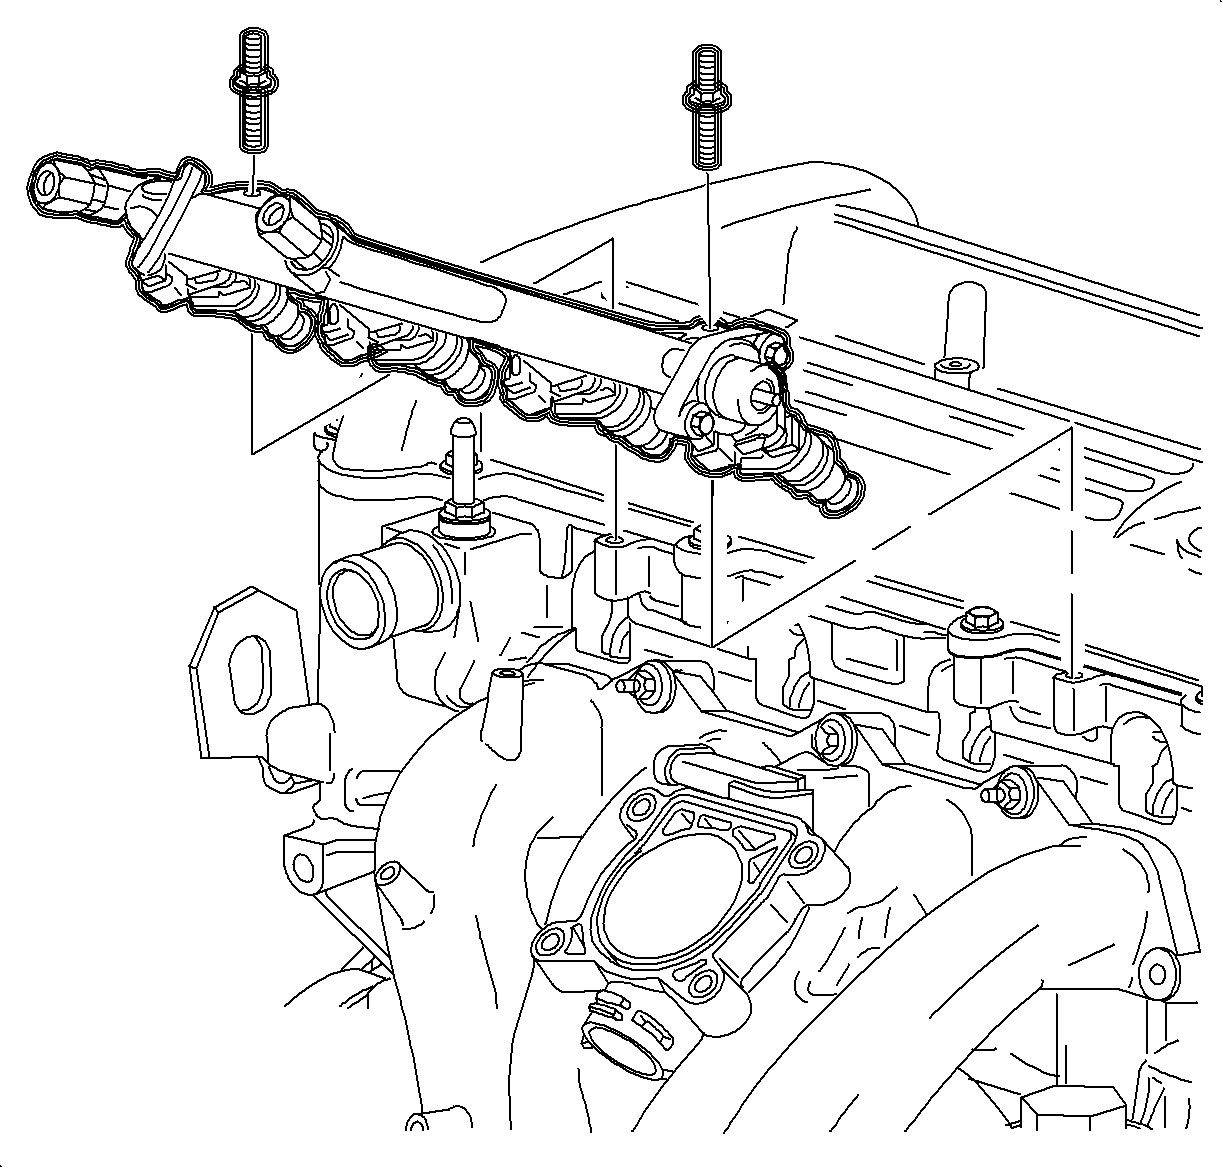
Tighten
Tighten the fuel rail bracket stud to 10 N·m (89 lb in).
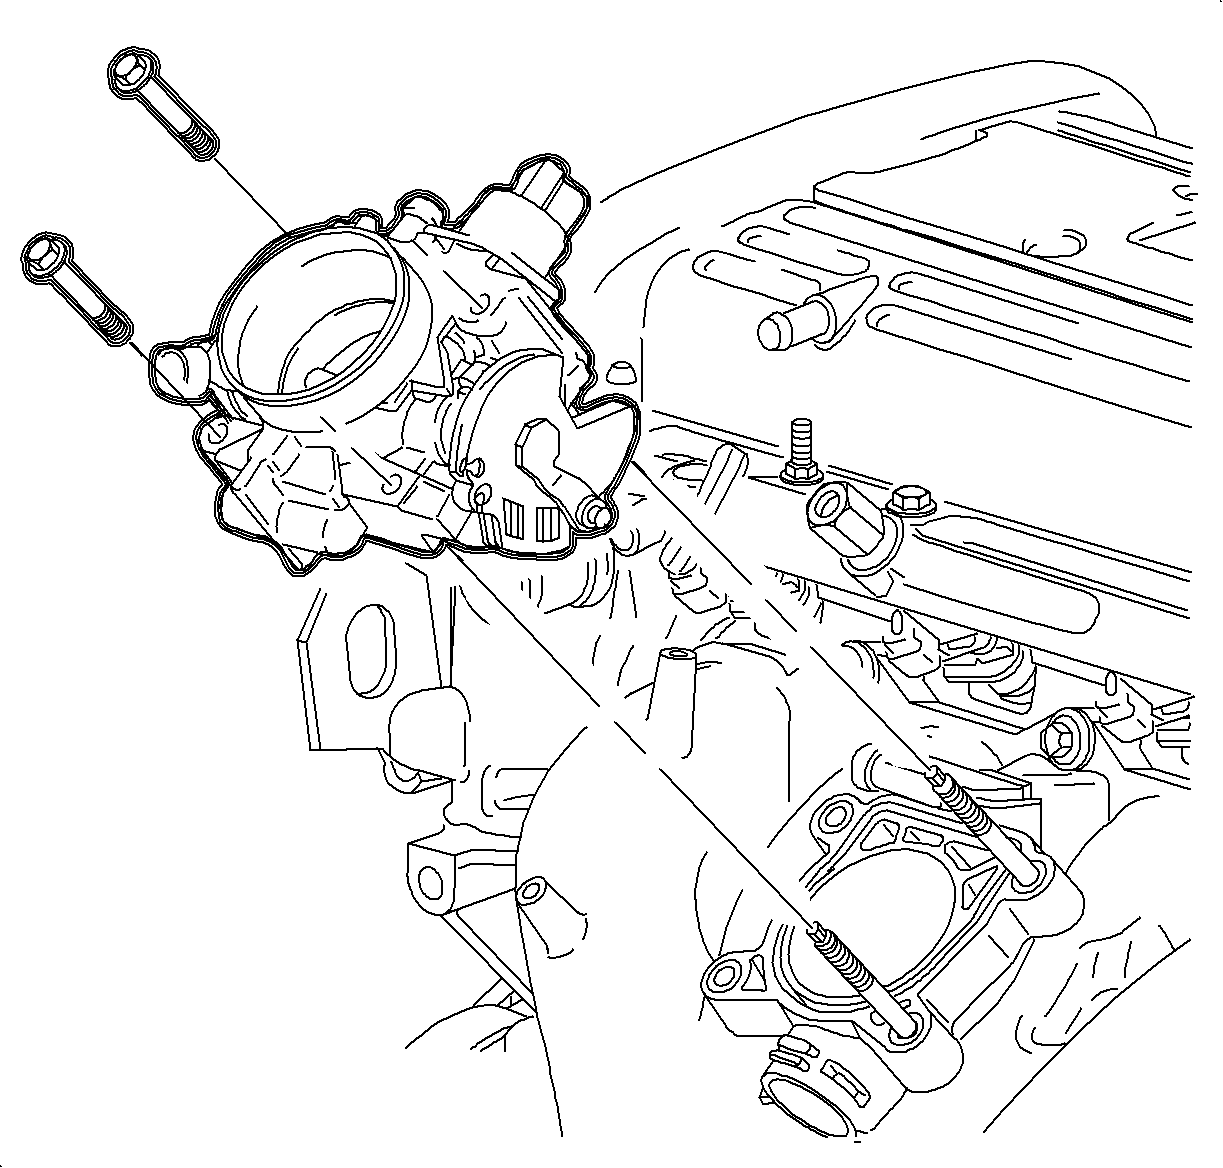
Tighten
Tighten the throttle body bolts to 10 N·m (89 lb in).
