Removal Procedure
- Disconnect the negative battery cable. Refer to Battery Negative Cable Disconnection and Connection .
- Remove the No. 1 cylinder spark plug. Refer to Spark Plug Replacement .
- Rotate the crankshaft in the engine rotational direction clockwise, until the No. 1 piston is at top dead center (TDC) on the compression stroke.
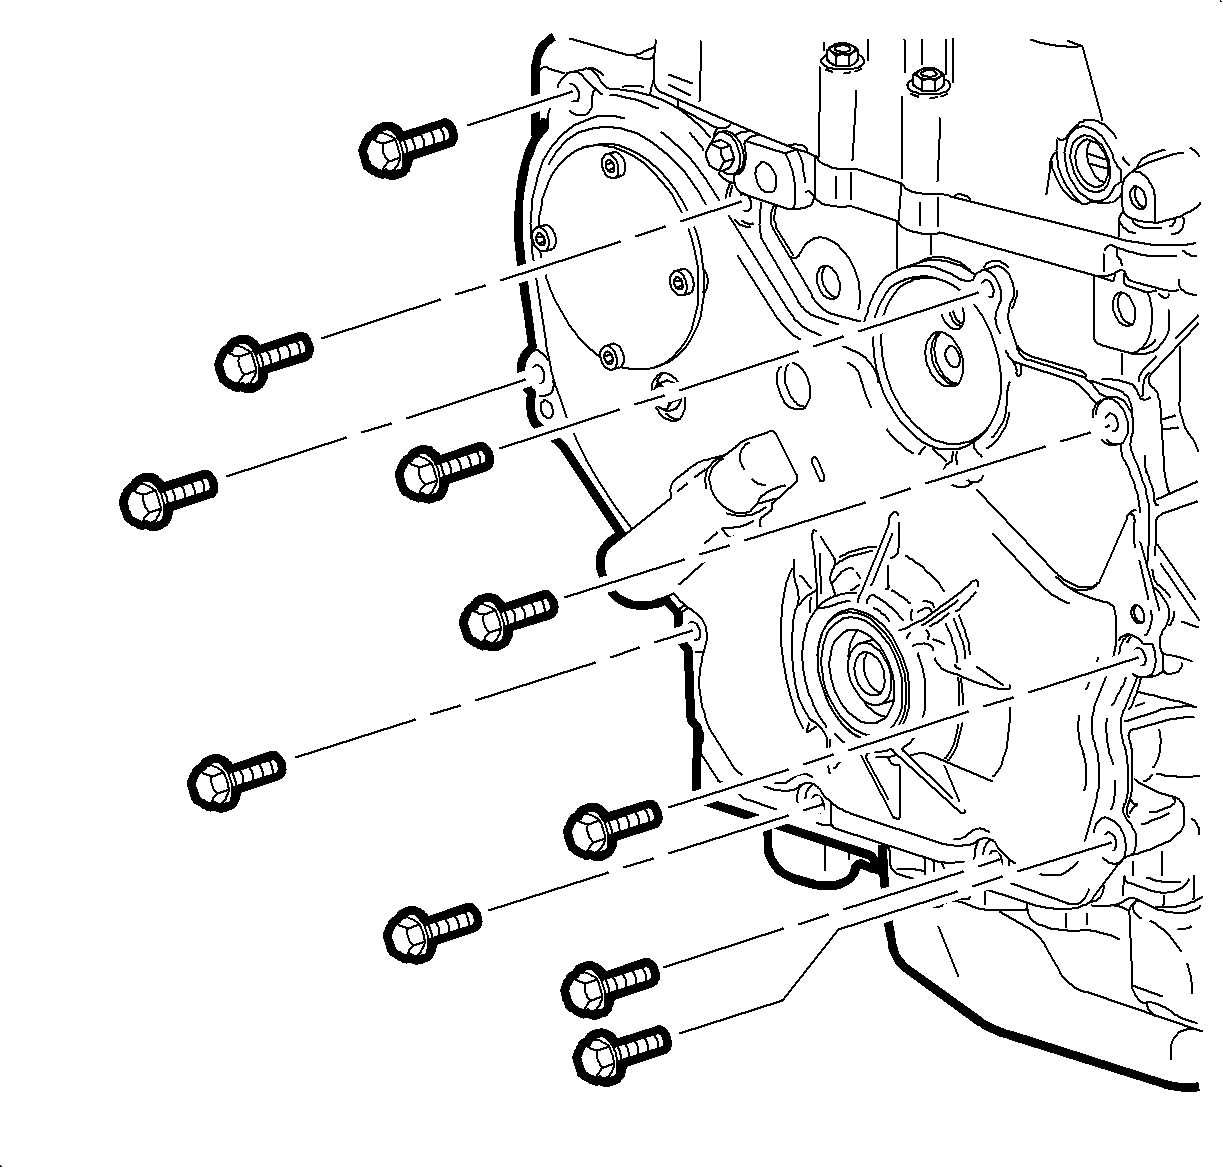
- Remove the front cover. Refer to Engine Front Cover Replacement .
- Remove the camshaft cover assembly. Refer to Camshaft Cover Removal .
- Remove timing chain tensioner.
- Remove the upper timing chain guide.
- Remove the exhaust camshaft sprocket and discard the bolt.
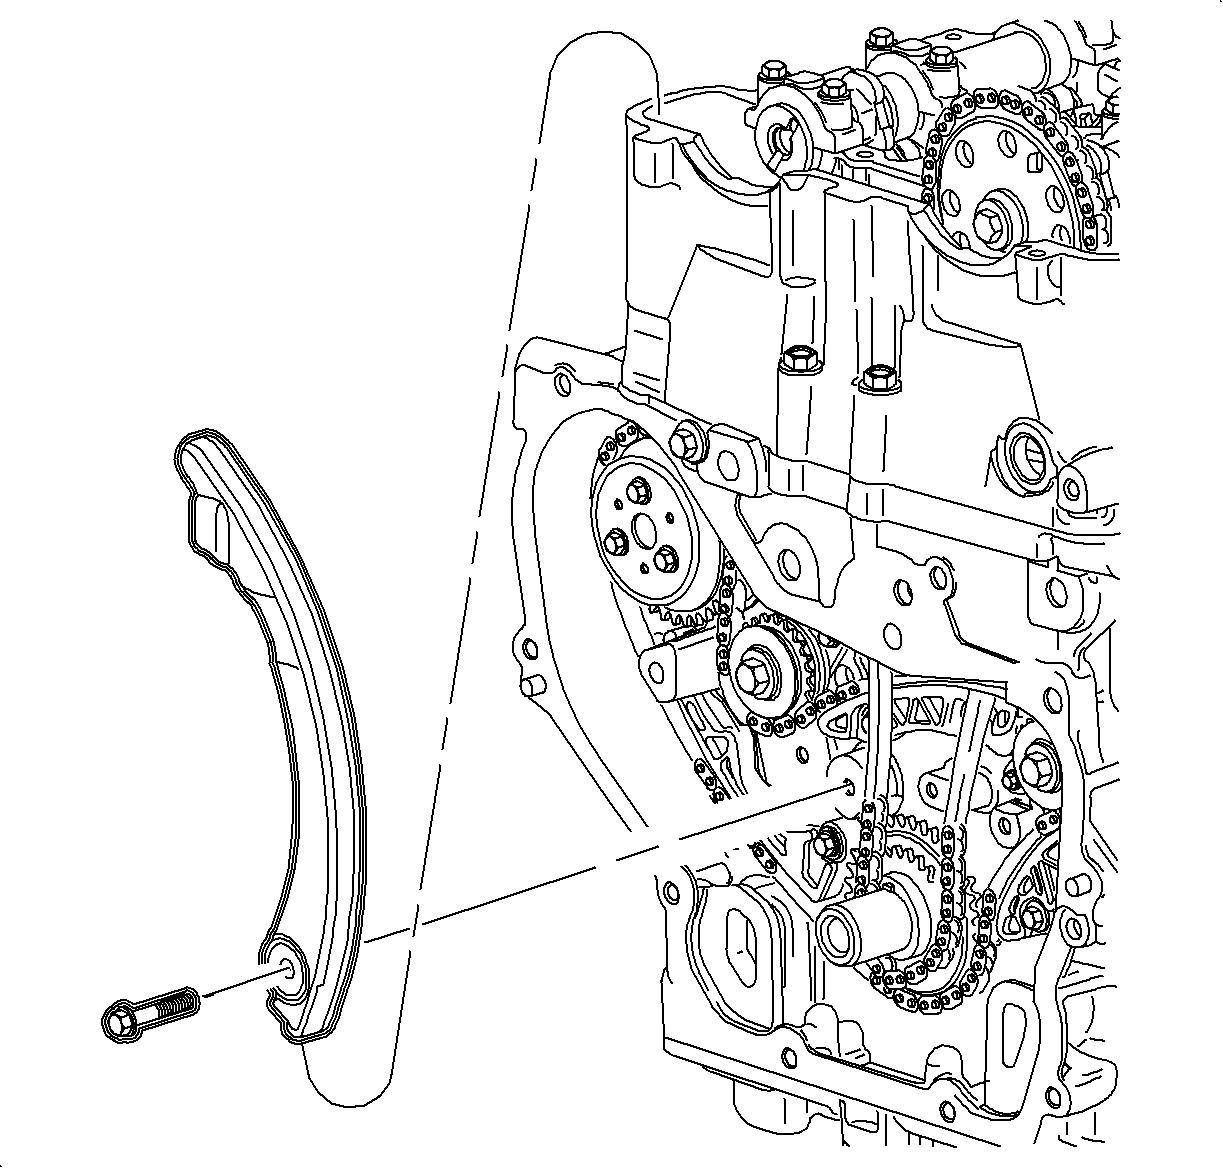
- Remove the adjustable timing chain guide.
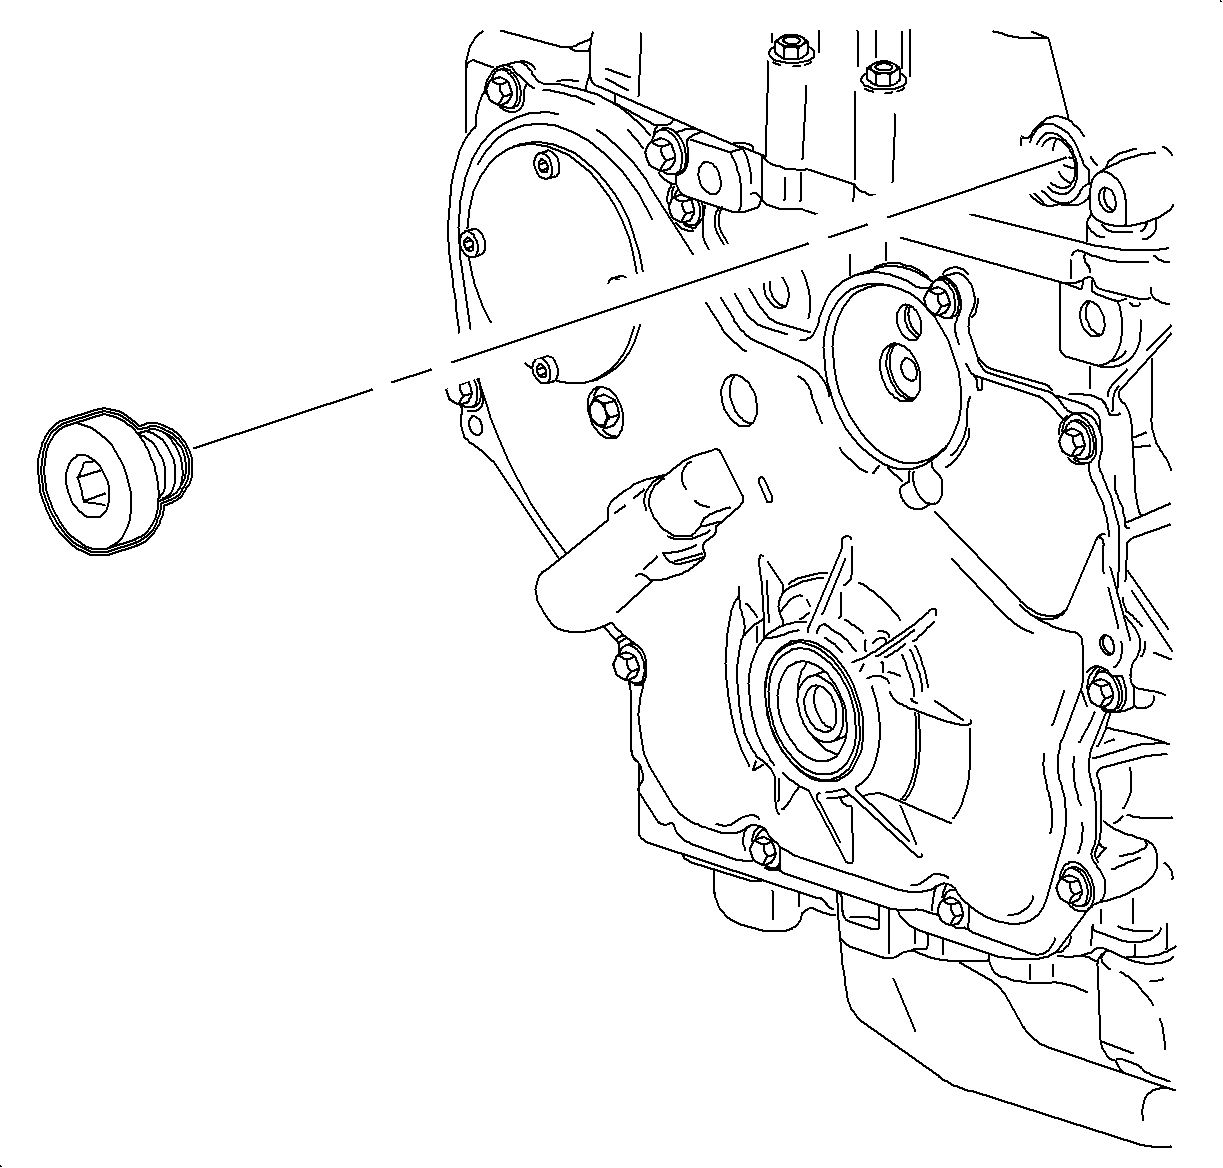
- Remove the fixed timing chain guide access plug.
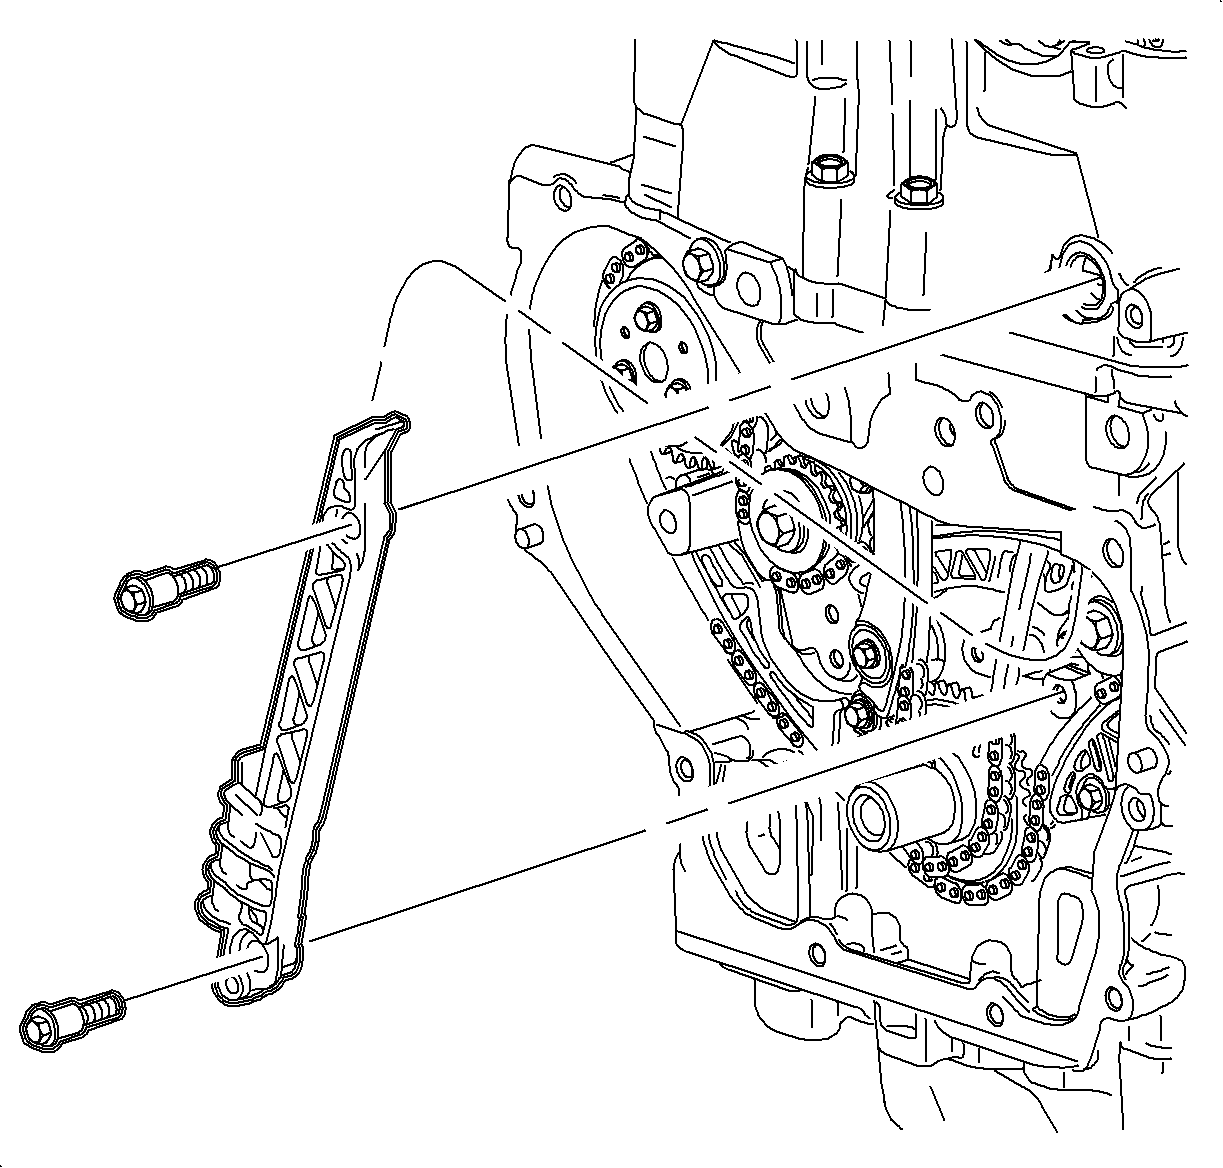
- Remove the fixed timing chain guide.
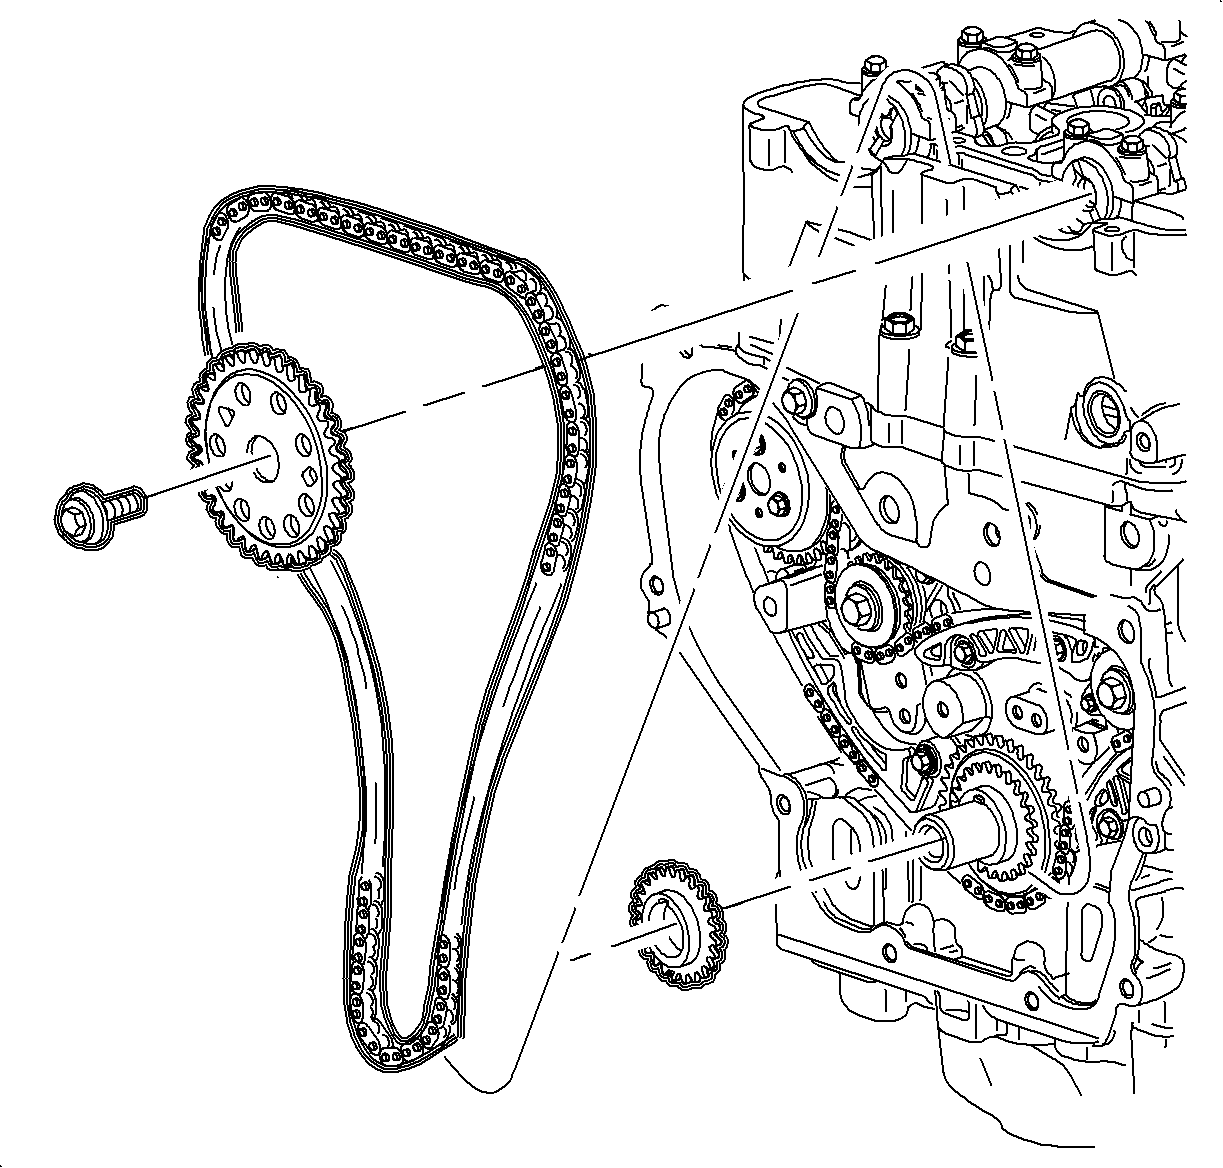
- Remove the intake camshaft sprocket and discard the bolt.
- Remove the timing chain through the top of the cylinder head.
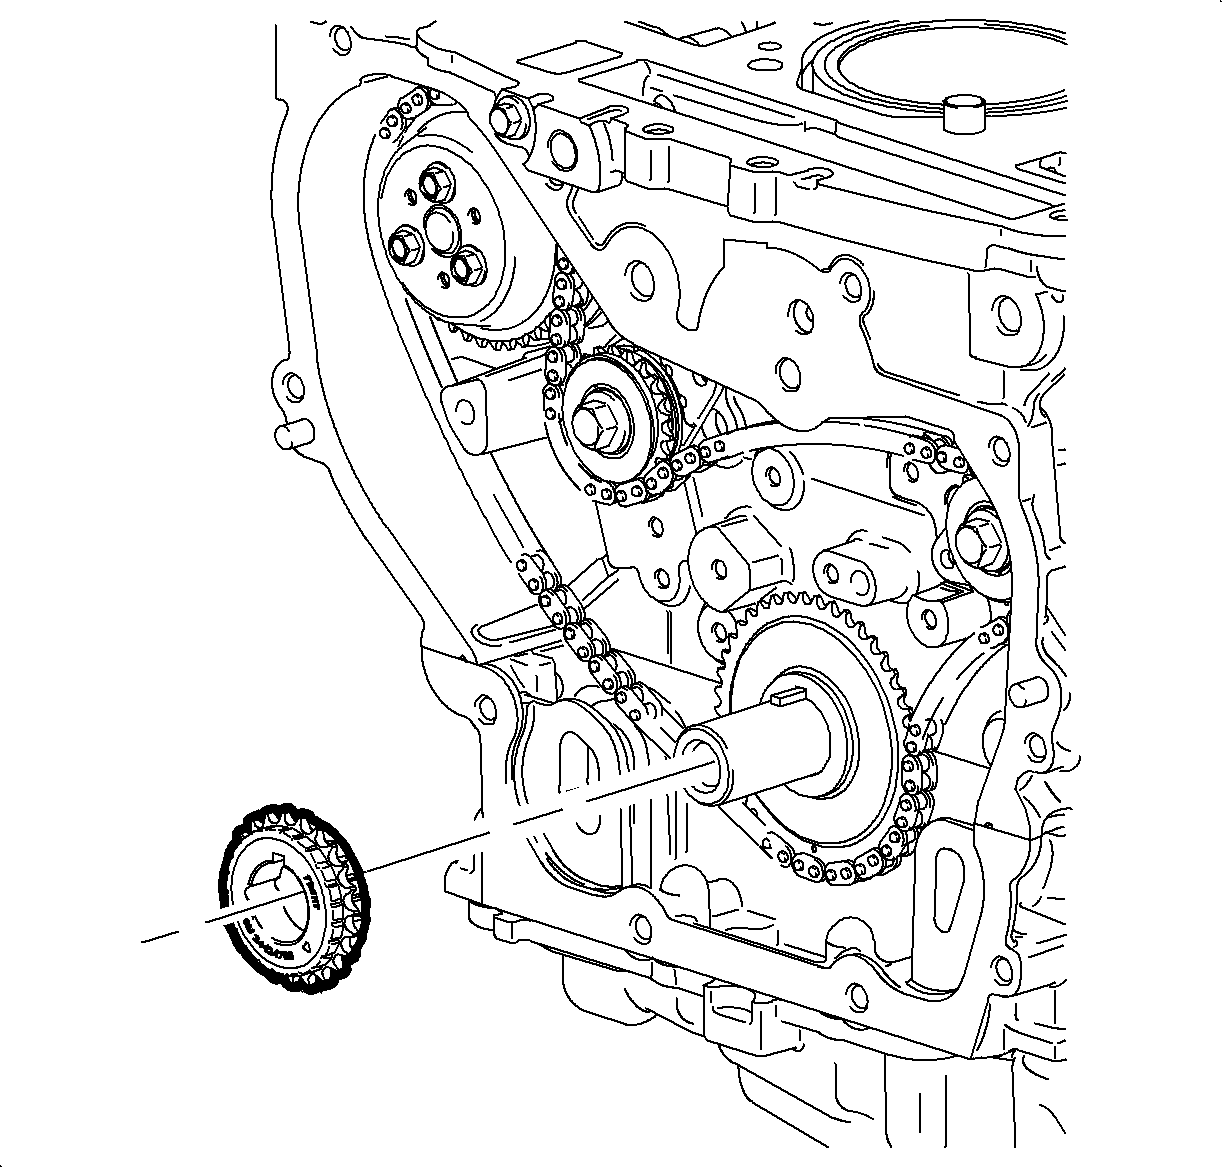
- Remove the timing chain drive sprocket from the crankshaft.
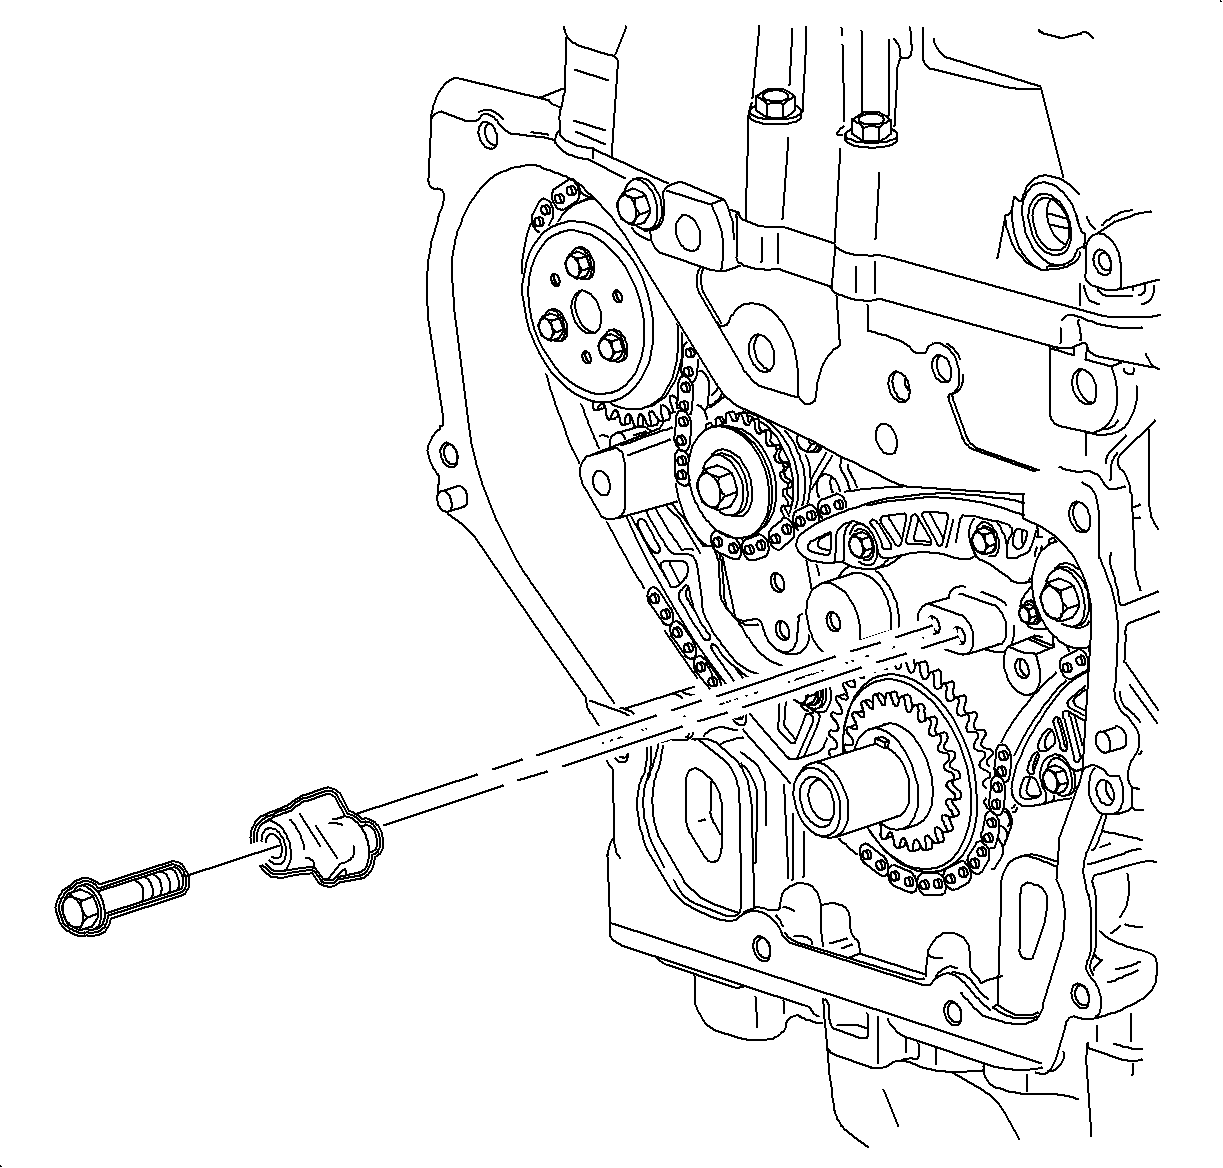
- Remove the timing chain oiling nozzle.
- Inspect the timing chain guides for cracking or wear.
- Inspect the timing chain tensioner shoe for wear.
- Inspect the timing chain and sprockets for wear.
- Inspect the camshaft sprocket faces for signs of movement.
- Inspect the camshaft sprocket teeth and chain for signs of excessive wear, chipping, or seizure of timing chain links.
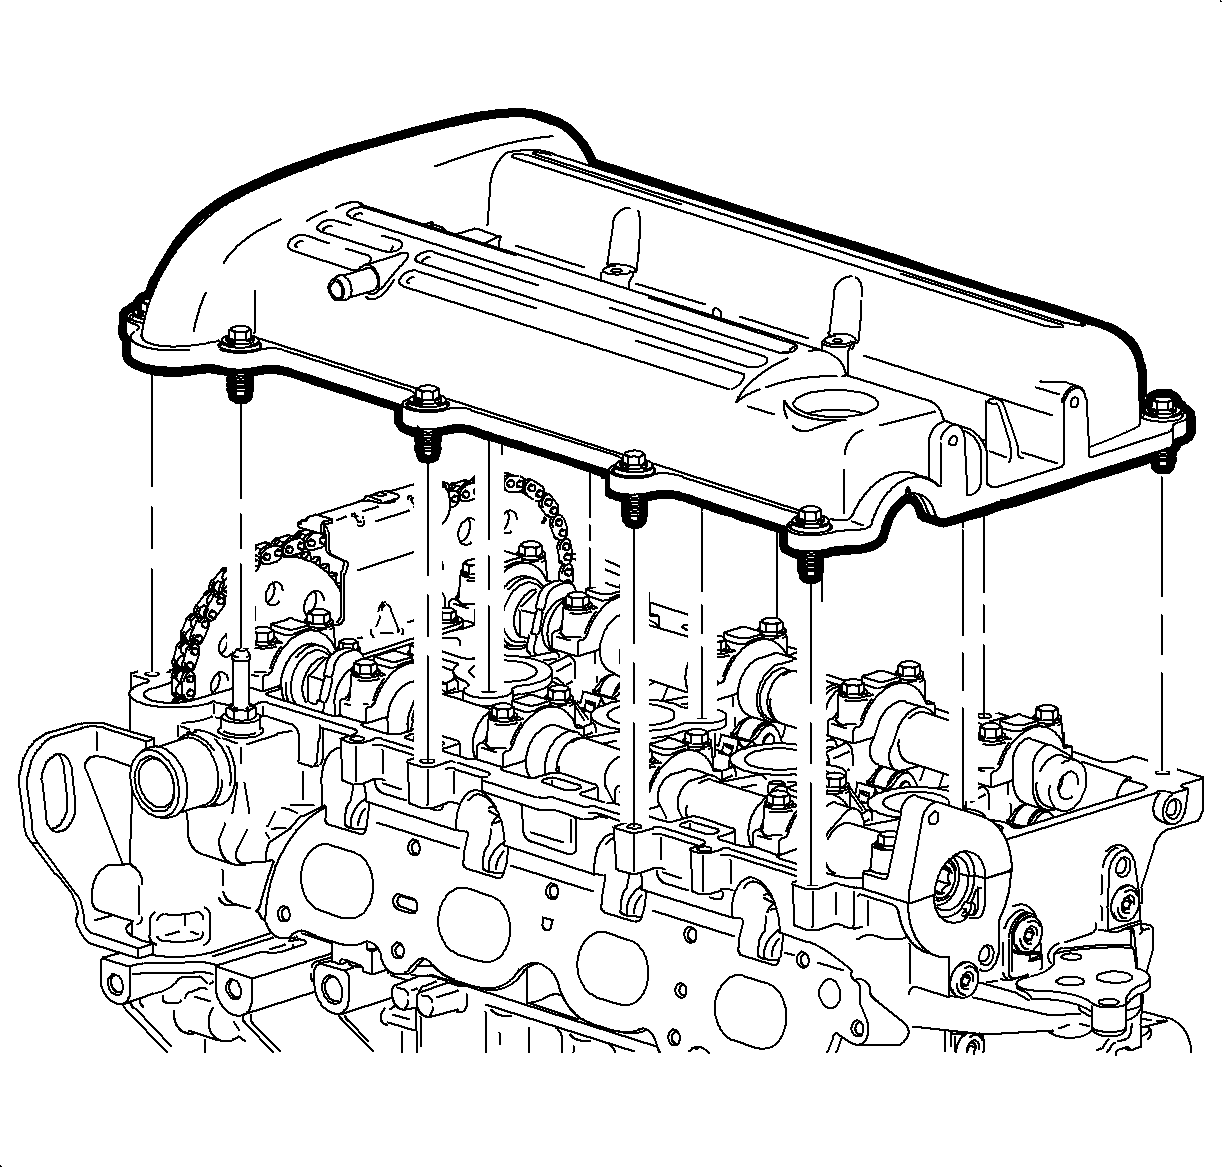
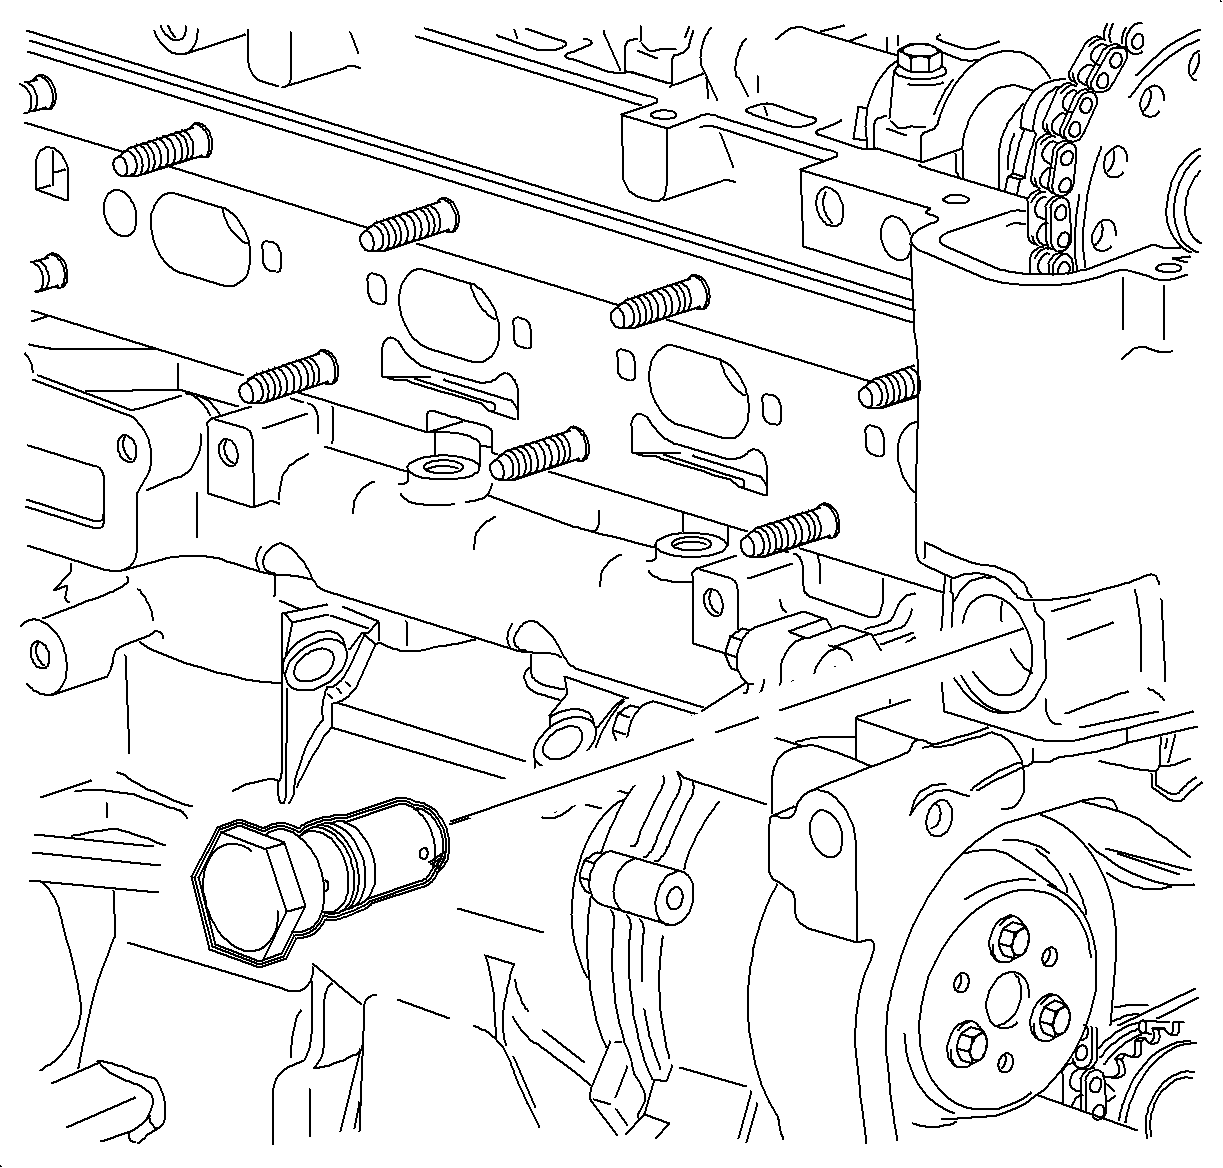
Important: The timing chain tensioner must be removed to unload chain tension before the timing chain is removed. If it is not removed, the timing chain may become cocked and difficult to remove.
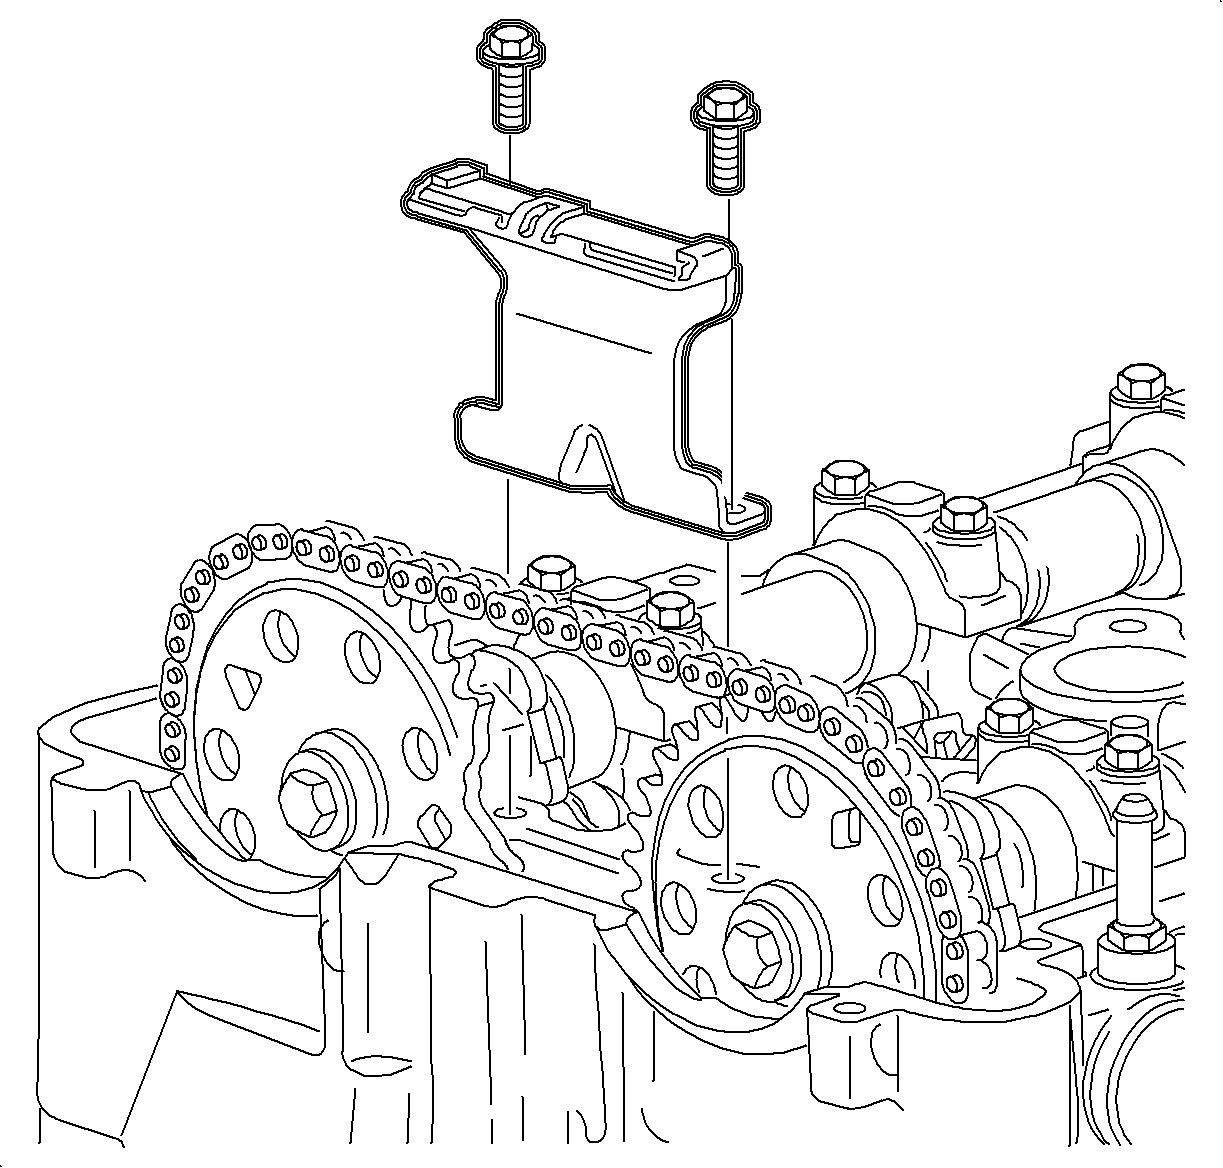
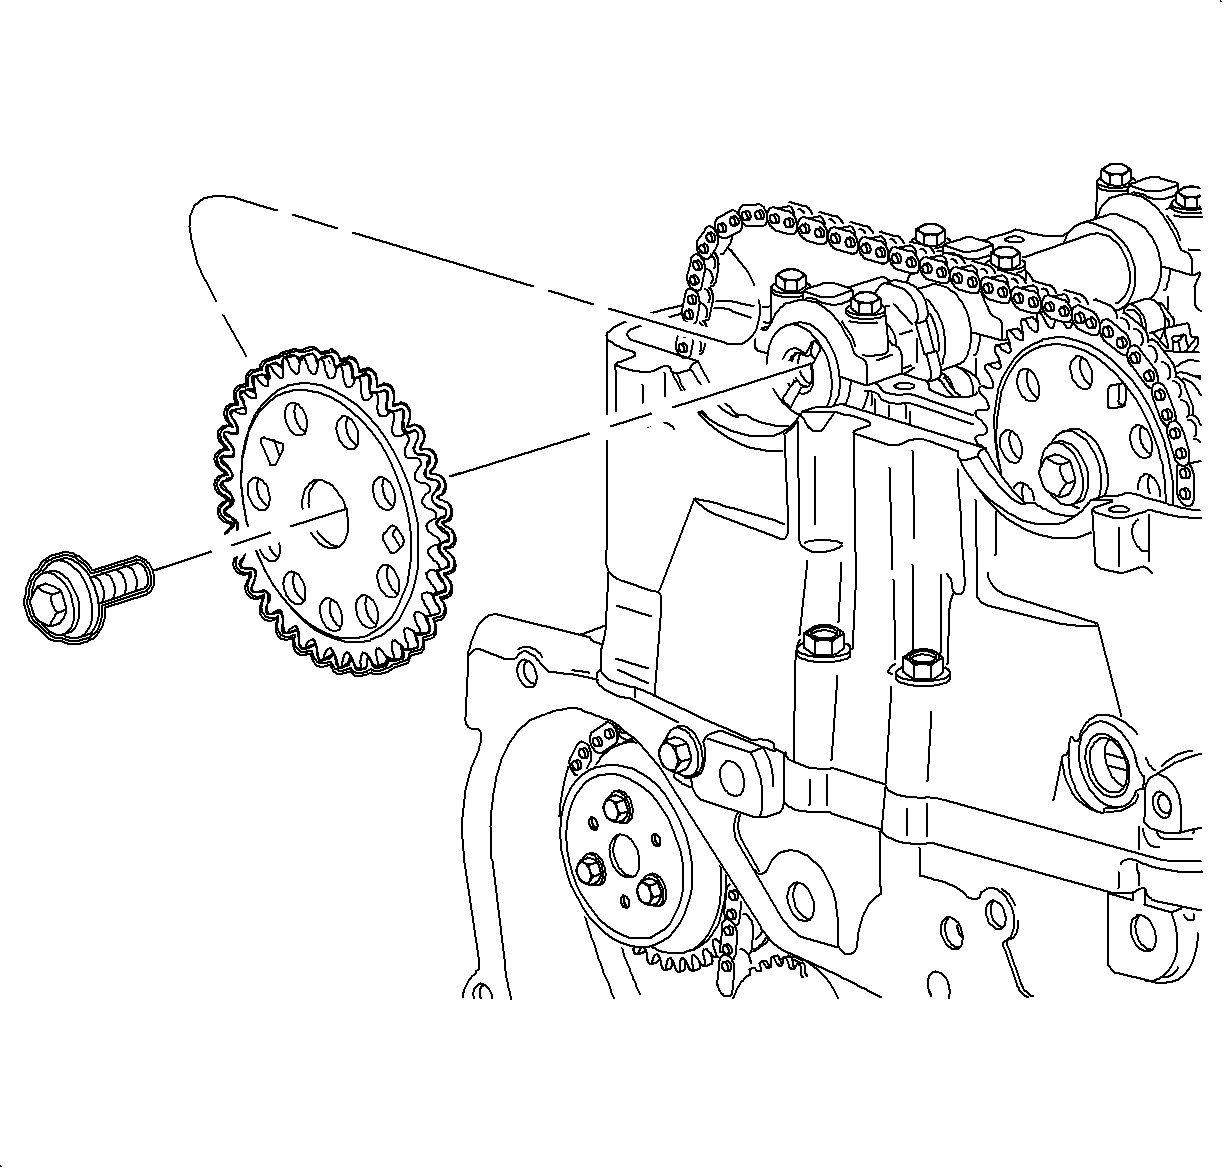
Important: The camshaft sprocket bolt is not reusable. It is a torque-to-yield (TTY) bolt, and must be discarded to prevent premature failure.
Important: The camshaft sprocket bolt is not reusable. It is a TTY bolt, and must be discarded to prevent premature failure.
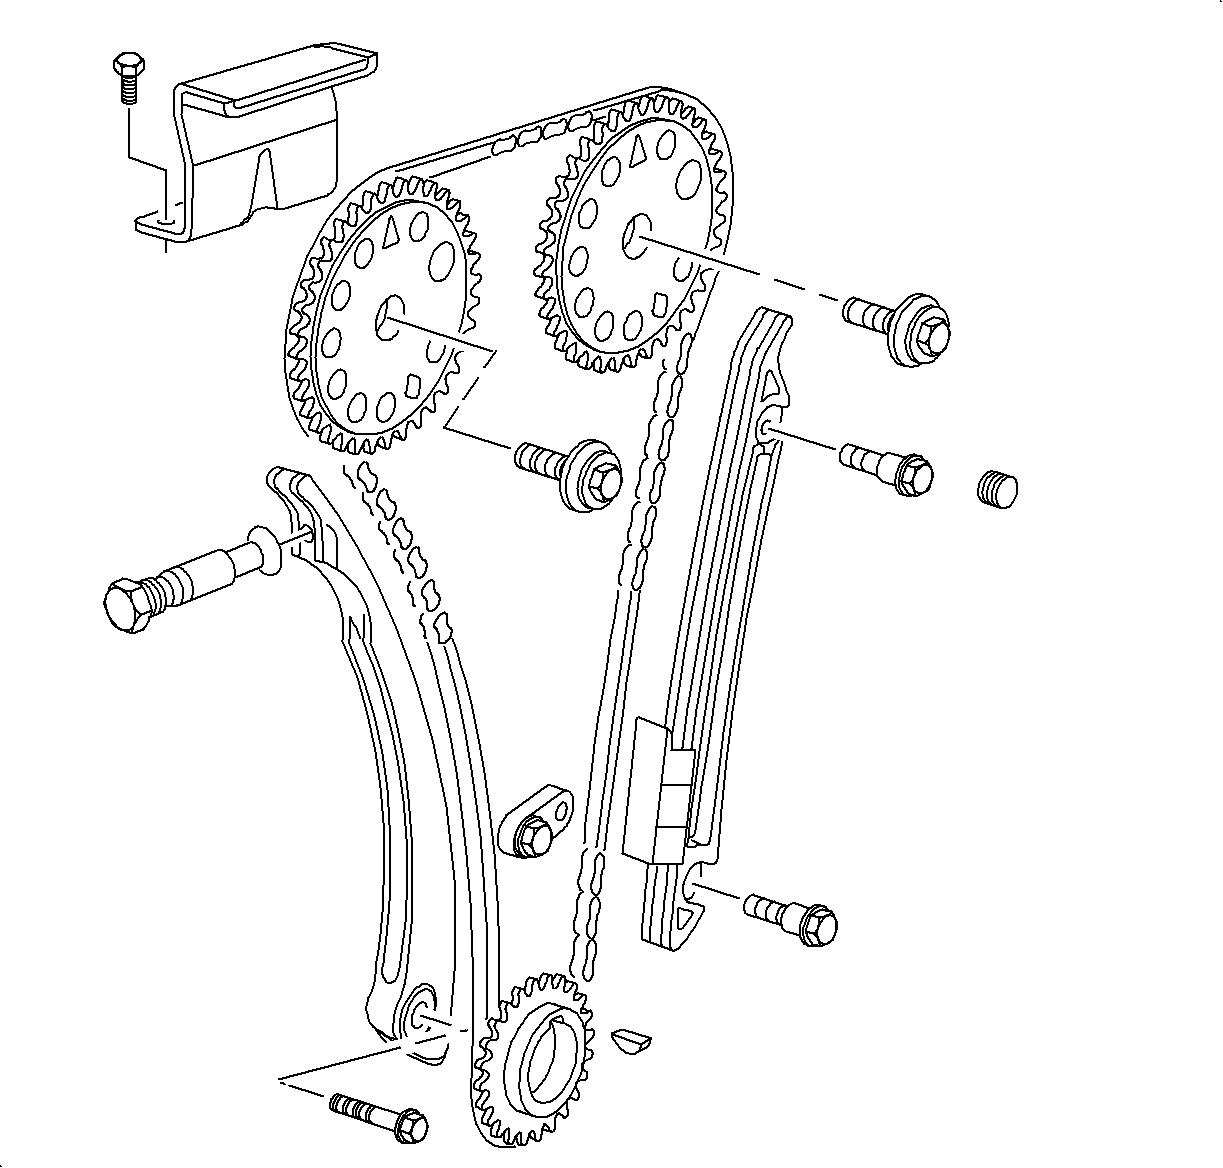
Important: Replace the timing chain guides if wear exceeds 1.12 mm (0.045 in).
Important: Replace the timing chain tensioner shoe if wear exceeds 1.12 mm (0.045 in).
Installation Procedure
- Install the timing chain drive sprocket to the crankshaft.
- Rotate the crank so that the mark on the sprocket is at the 5 o'clock position.
- Assemble the chain to the intake camshaft sprocket alignment copper link to the INT diamond timing mark on the camshaft sprocket.
- Lower the assembly through the chain housing opening on top of the cylinder head. Use care to make sure that the chain goes around both sides of the cylinder block bosses.
- Route the chain around the crankshaft sprocket and align the silver link to the timing mark.
- Install the intake camshaft sprocket loosely onto the intake camshaft and install the new camshaft sprocket bolt finger tight. It is not necessary to align the sprocket-to-camshaft offset notch at this time.
- Install the adjustable timing chain guide through the opening on top of the cylinder head and install the chain guide bolt.
- Install the exhaust camshaft sprocket loosely onto the exhaust camshaft with the timing mark on the sprocket aligned with the silver link and install the new camshaft sprocket bolt finger tight. It is not necessary to align the sprocket-to-camshaft offset notch at this time.
- Align the camshaft sprocket-to-camshaft and tighten the camshaft bolt using the following procedure:
- Ensure the sprocket timing mark is at the 5 o'clock position.
- Rotate the intake camshaft using a 24 mm wrench on the flats of the camshaft until the sprocket-to-camshaft alignment notch seats.
- When the sprocket seats on the camshaft, tighten the sprocket bolt finger tight.
- Rotate the exhaust camshaft using a 24 mm wrench on the flats of the camshaft until the sprocket-to-camshaft alignment notch seats.
- When the sprocket seats on the camshaft, tighten the sprocket bolt finger tight.
- Verify that all colored links are aligned with the appropriate marks on the camshaft and crankshaft sprockets. If they are not, repeat steps 8-10.
- Install the fixed timing chain guide bolt access hole plug.
- Install the upper timing chain guide and bolts.
- Tighten the intake and exhaust camshaft sprocket bolts.
- Install the sealing ring and tensioner assembly.
- Install the timing chain oil nozzle and bolt.
- Install the camshaft cover assembly. Refer to Camshaft Cover Installation .
- Install the engine front cover. Refer to Engine Front Cover Replacement .
- Connect the negative battery cable.

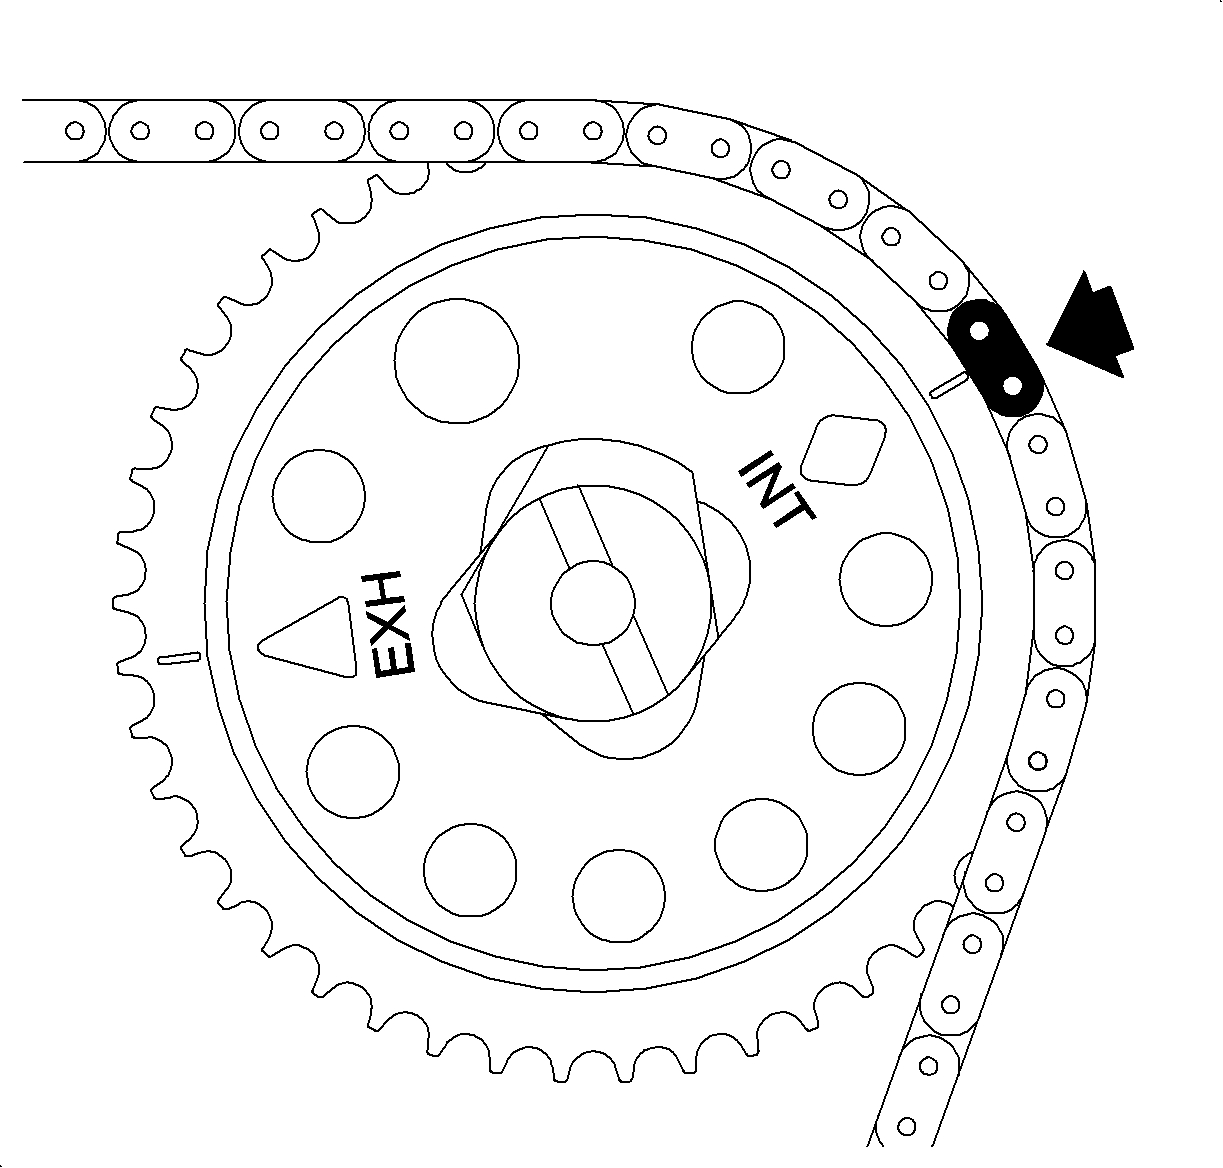
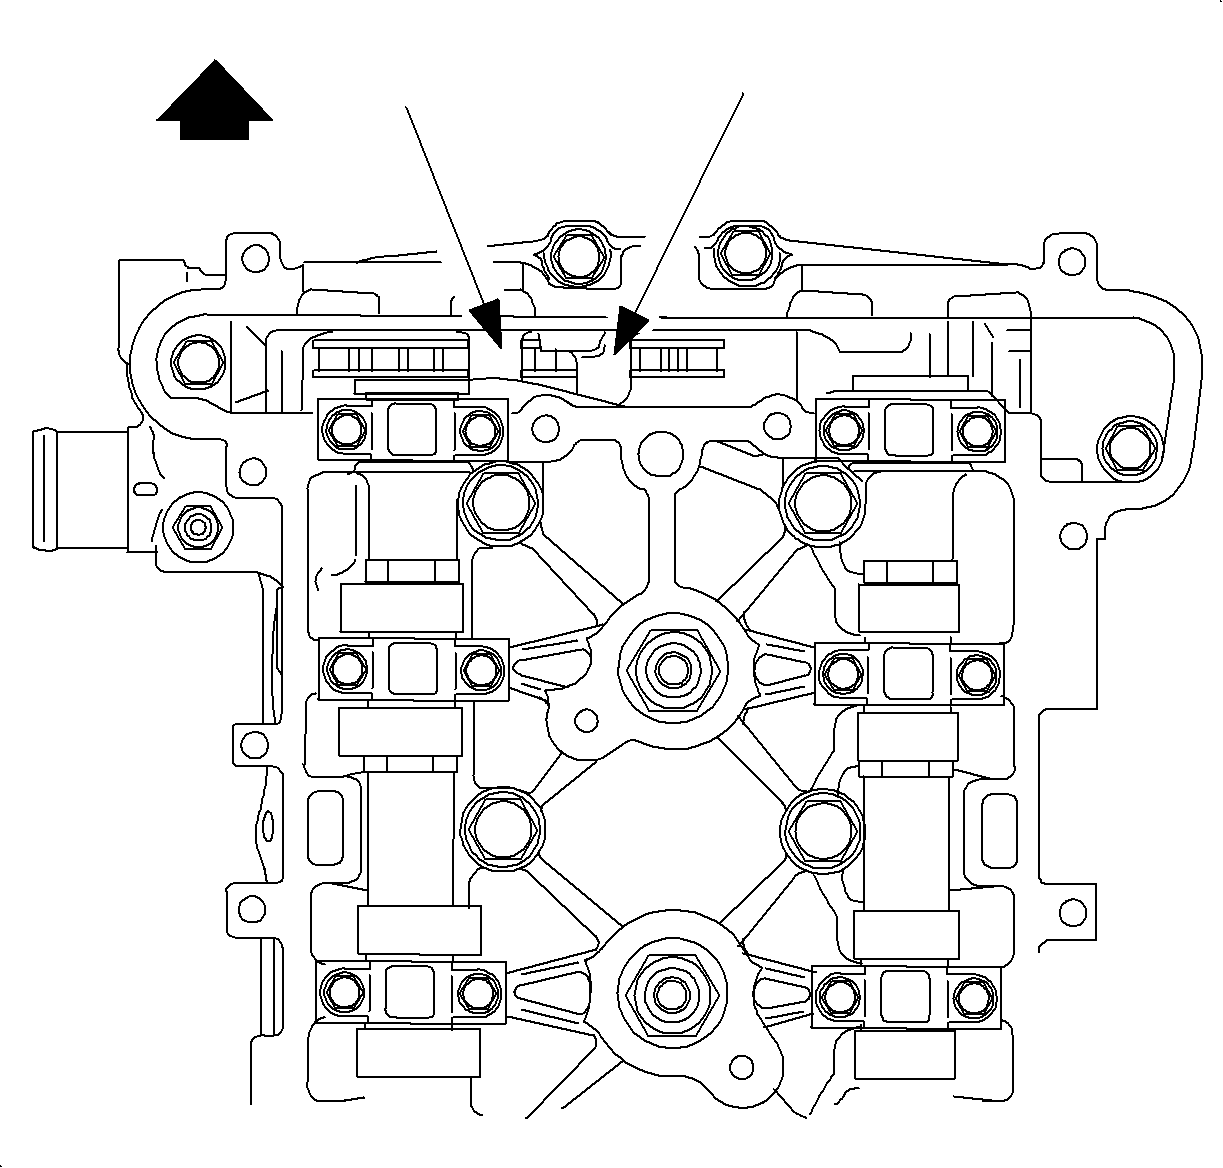
Important: When lowering the timing chain rotate the assembly 90 degrees to allow the chain to fall between the cylinder block bosses, then rotate the assembly back so that the camshaft sprocket is facing forward.
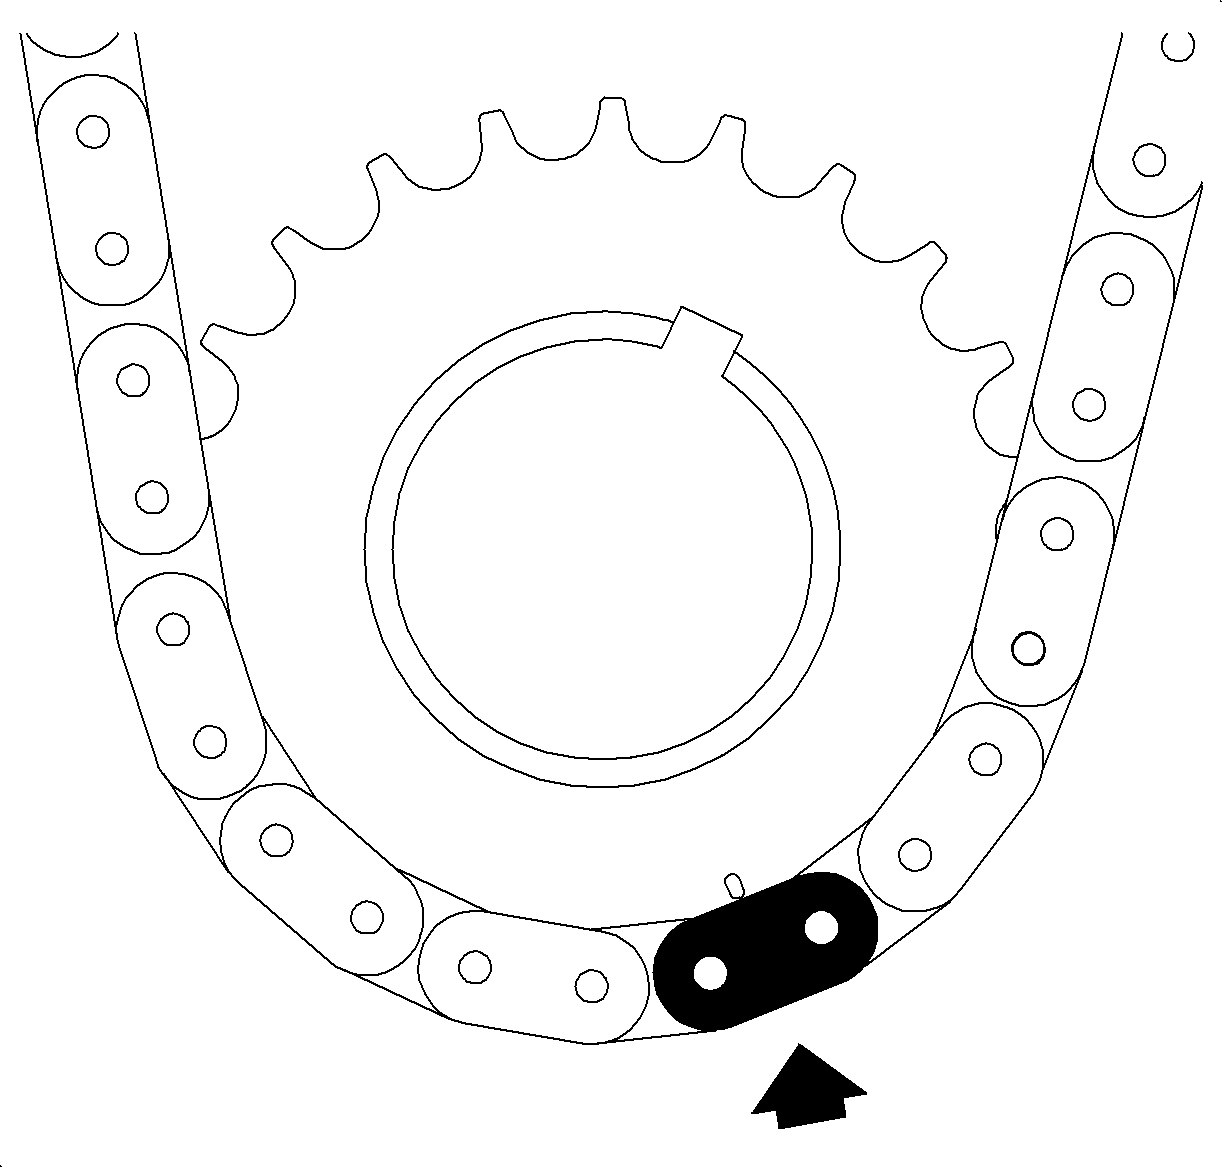
Important: The crankshaft sprocket timing mark will be at approximately the 5 o'clock position.
Important: The camshaft sprocket bolt is not reusable. It is a TTY bolt, and must be discarded to prevent premature failure.
Notice: Refer to Fastener Notice in the Preface section.

Important: There is a 2nd design adjustable guide with a contact pad for the 2nd design notched tensioner. A 2nd design guide should be used only with 2nd design tensioner.
Tighten
Tighten the timing chain guide (adjustable) bolt to 10 N·m (89 lb in).


Important: The camshaft sprocket bolt is not reusable. It is a TTY bolt, and must be discarded to prevent premature failure.
Notice: Do not rotate either camshaft more than half turn in either direction with crankshaft at top dead center (TDC). To do so may cause valve to piston contact resulting in a damaged valve and/or a damaged piston.
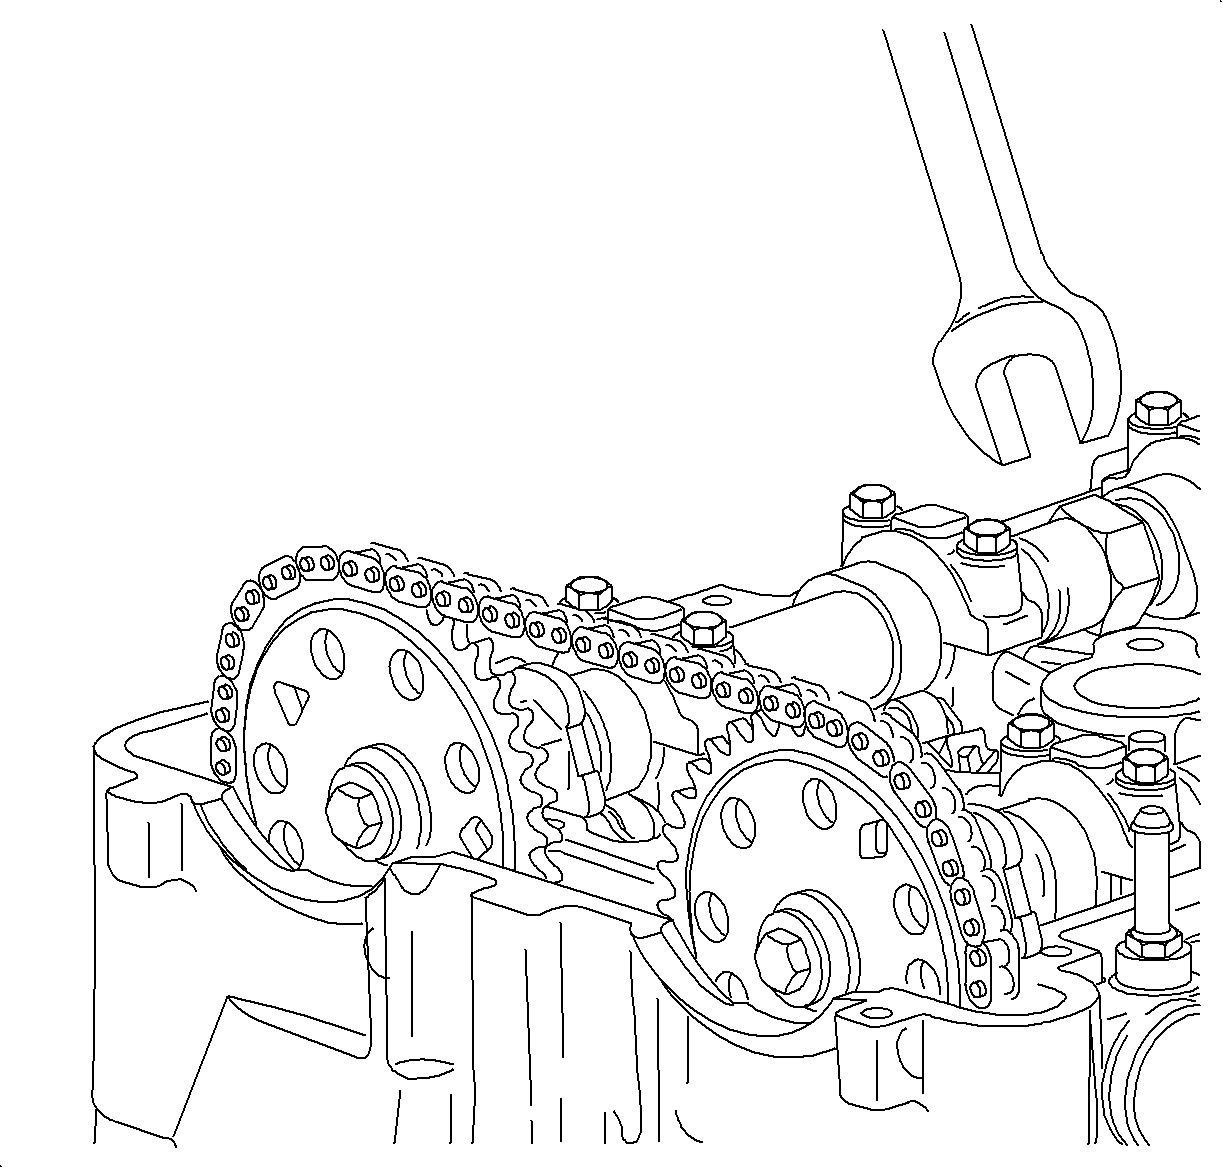

Install the fixed timing chain guide and bolts.
Tighten
Tighten the timing chain guide (fixed) bolts to 10 N·m (89 lb in).

Tighten
Tighten the timing chain guide bolt access hole plug to 40 N·m (30 lb ft).

Tighten
Tighten the timing chain guide (upper) bolts to 10 N·m (89 lb in).

Notice: Use a 24 mm wrench to support the camshaft while applying torque to camshaft sprocket bolt. Do not torque camshaft bolts against timing chain, as it may damage the timing chain.
Tighten
Tighten the camshaft sprocket bolts to 85 N·m (63 lb ft) plus 30 degrees.

Important: There is a 2nd design tensioner with a notch at the plunger end of the tensioner. This tensioner should be used only with the 2nd design adjustable guide.
Tighten
Tighten the timing chain tensioner to 75 N·m (55 lb ft).

Tighten
Tighten the timing chain oil nozzle bolt to 10 N·m (89 lb in).

Tighten
Tighten the battery terminal bolts to 17 N·m (13 lb ft).
