For 1990-2009 cars only
Removal Procedure
- Turn the ignition OFF.
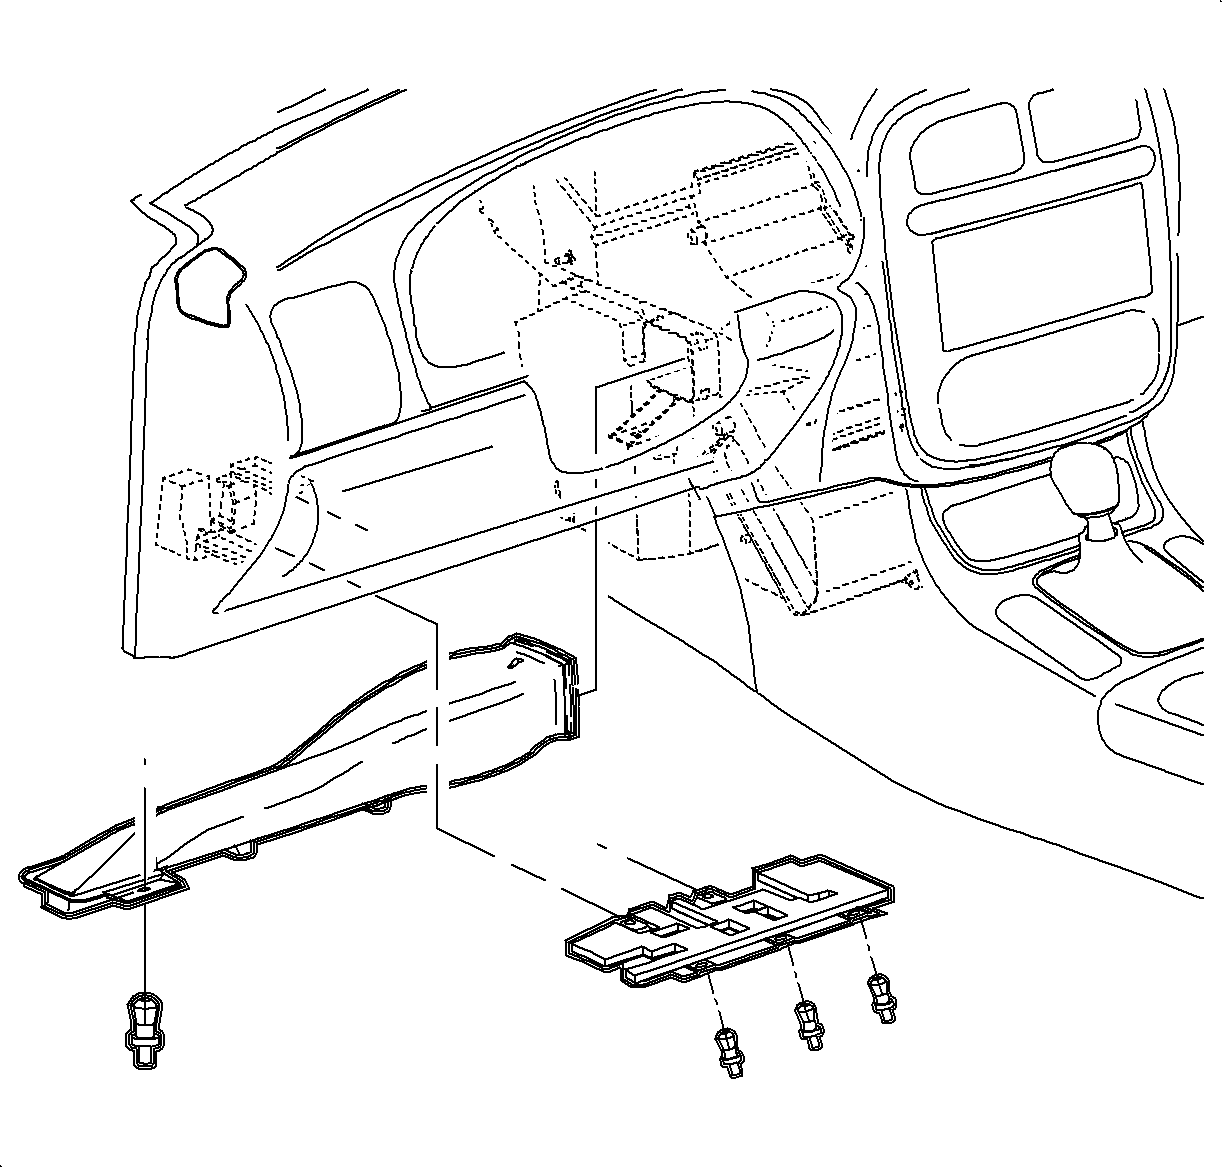
- Remove the left side lower I/P closeout panel (hush panel) attachment fasteners and remove the left side lower I/P closeout panel.
- Remove the left side lower heater duct assembly attachment fastener and remove the left side lower heater duct assembly.
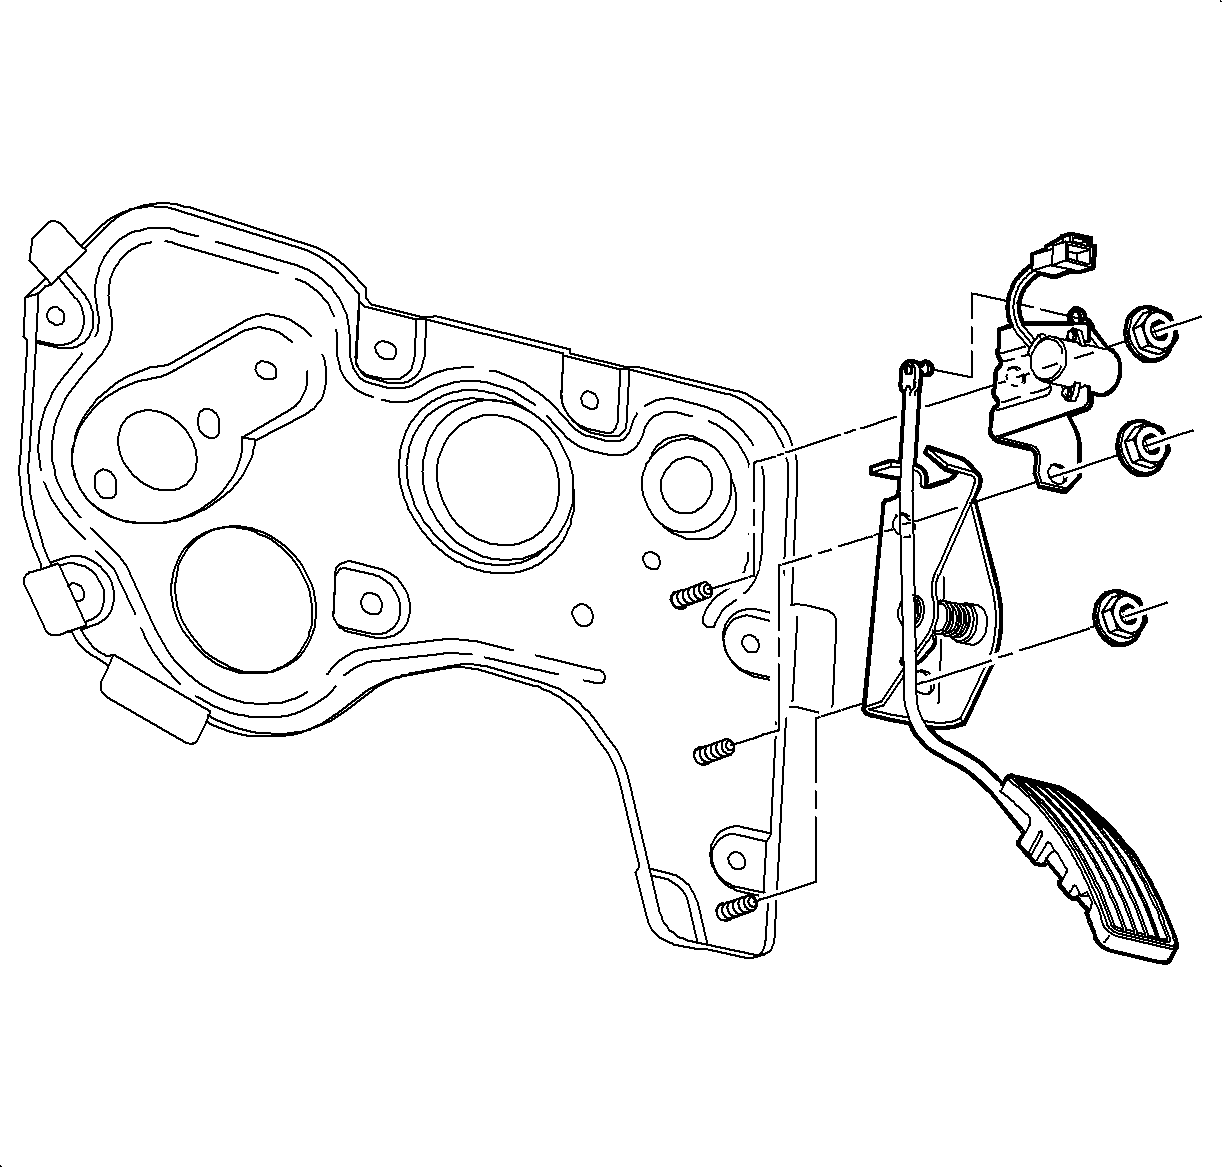
- Disconnect the accelerator pedal position (APP) sensor harness connector.
- Depress the accelerator pedal and remove the upper bracket-to-front of dash attachment nut.
- Remove the remaining accelerator pedal bracket-to-front of dash attachment nuts.
- Remove the APP assembly from the vehicle.
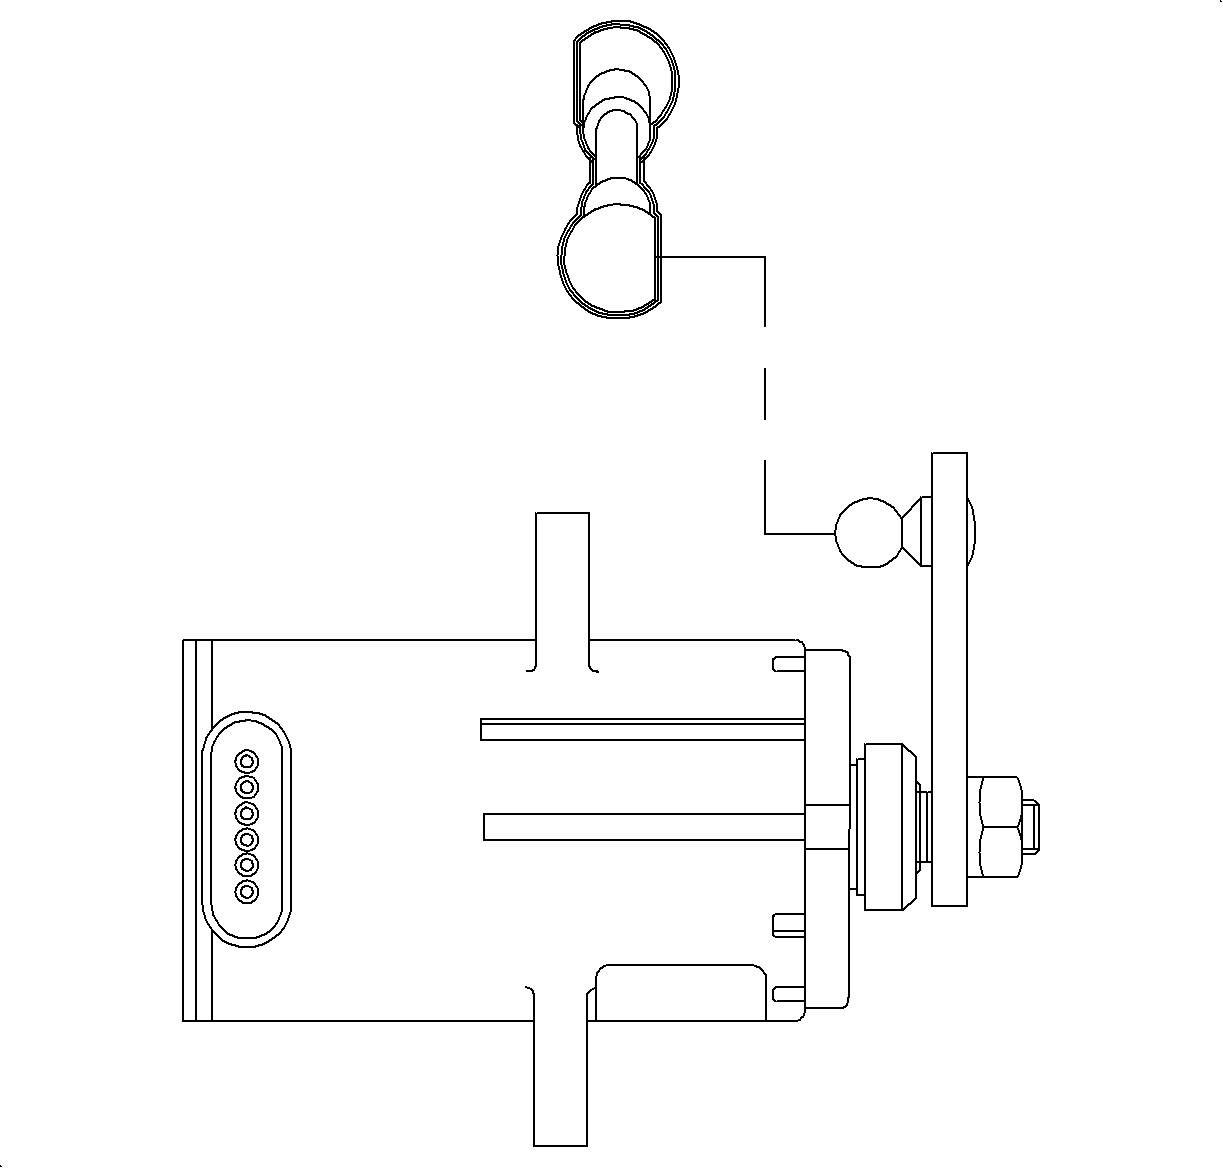
- Remove the retainer and disconnect the linkage from the APP sensor.
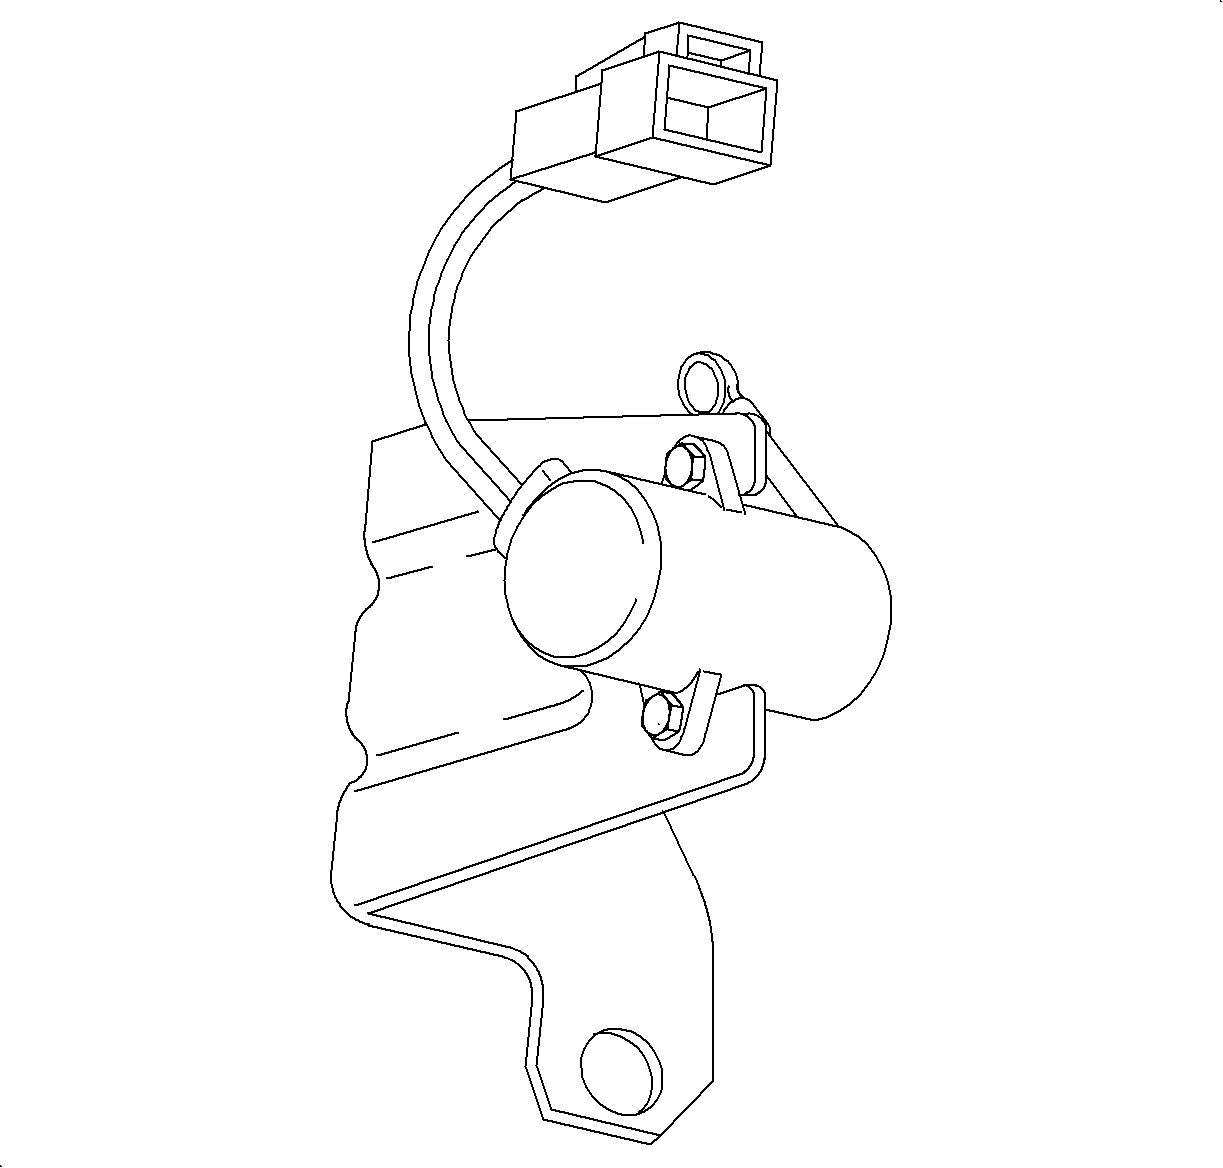
- Remove the APP sensor from the bracket attachment fasteners and remove the APP sensor.


Important: Do not remove the linkage arm from the APP sensor, as it will be difficult to orient the arm in the same position. Accelerator pedal travel will be affected.

Installation Procedure
- Position the APP sensor in the bracket and install the bolts.
- Connect the APP sensor to the accelerator pedal linkage.
- Position the APP assembly in the vehicle and install the lower pedal to the front of the dash attachment nuts.
- Depress the accelerator pedal and install the upper pedal bracket to the front of the dash attachment nut.
- Tighten all 3 nuts.
- Connect the APP sensor harness connector. Push the connector in until the lock position is felt, then pull back to confirm engagement.
- Install the left side lower heater duct and attachment fasteners.
- Install the left side lower I/P closeout panel (hush panel) and attachment fasteners.
Notice: Refer to Fastener Notice in the Preface section.

Tighten
Tighten the accelerator pedal position sensor bolts
to 6 N·m (53 lb in).


Important: Do not tighten fasteners at this time.
Tighten
Tighten the accelerator pedal bracket-to-front of
the dash nuts to 10 N·m (89 lb in).

