Intake Plenum Switchover Valve Replacement Plenum
Tools Required
J 43914 Universal Clamp Pliers
Removal Procedure
- Disconnect the negative battery cable.
- Remove the air cleaner and air inlet hose from the throttle body.
- Remove the throttle body electrical connector.
- Remove the electrical connector and vacuum hose from the intake plenum switchover valve solenoid.
- Remove the vacuum hose from the fuel pressure regulator.
- Remove the intake plenum hose clamps using the J 43914 and remove the bolts.
- Remove the intake plenum.
- Remove the plenum mounting bolts and EGR pipe connection.
- Lift the plenum and remove the throttle body coolant hoses.
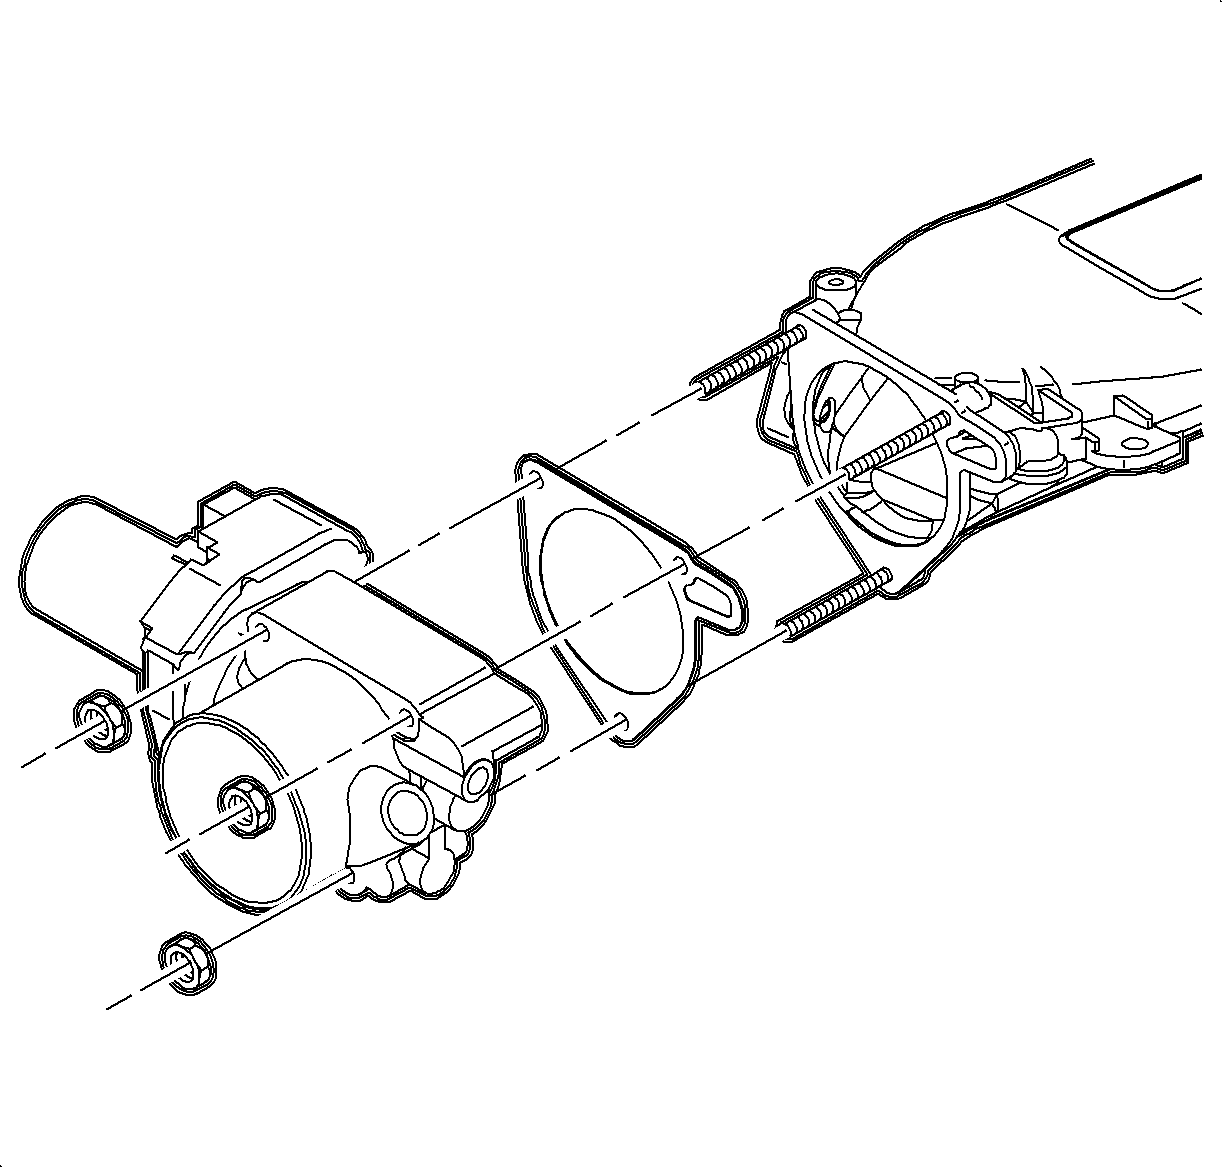
- Remove the throttle body nuts.
- Remove the throttle body.
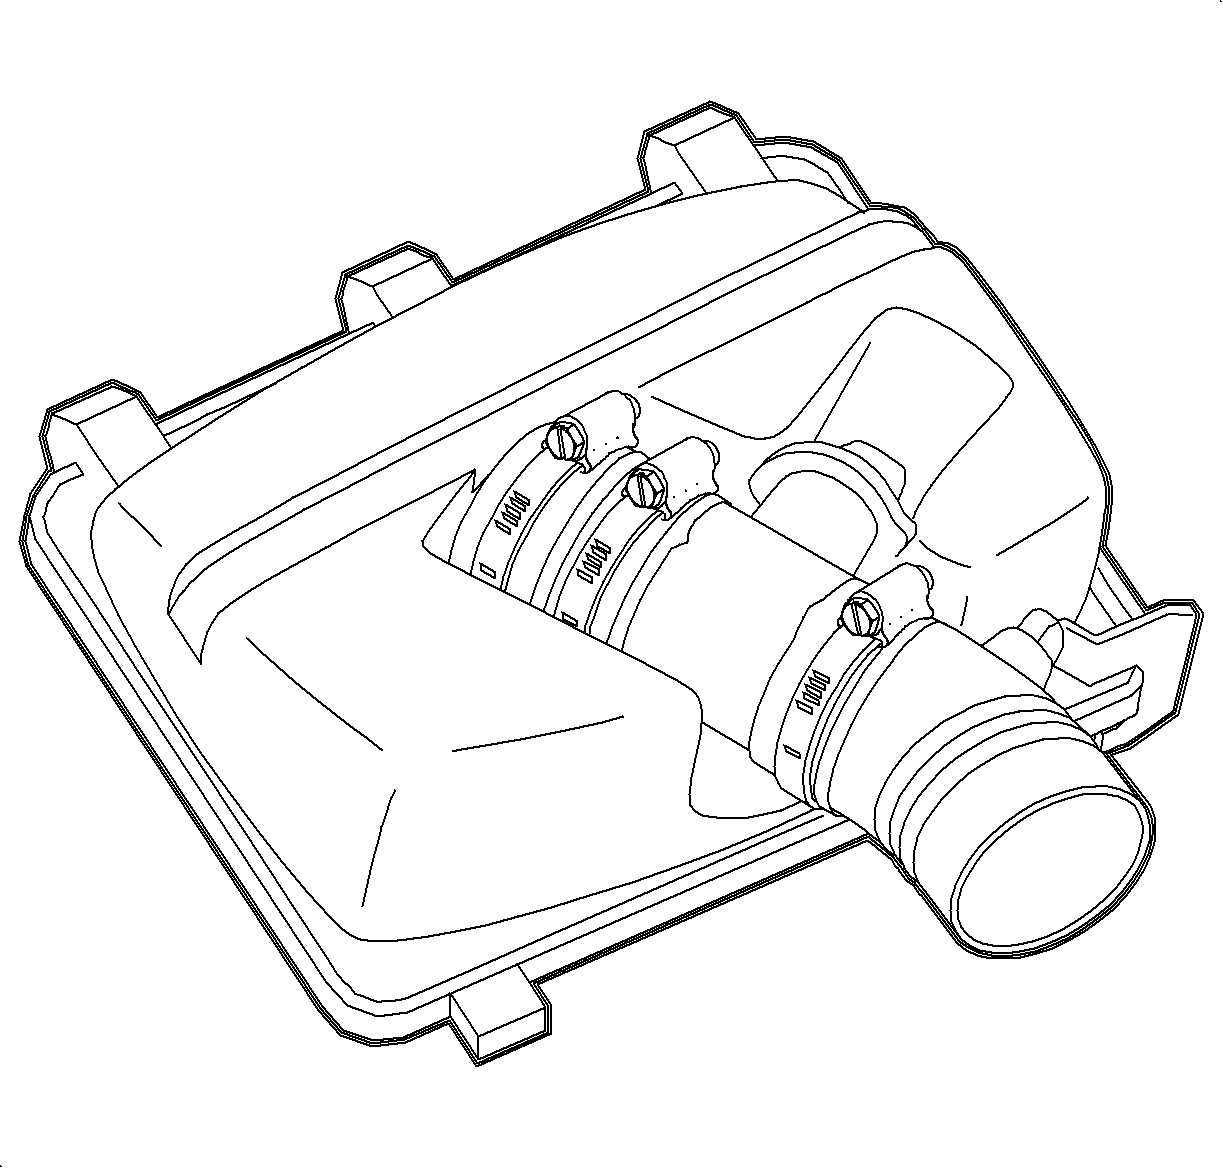
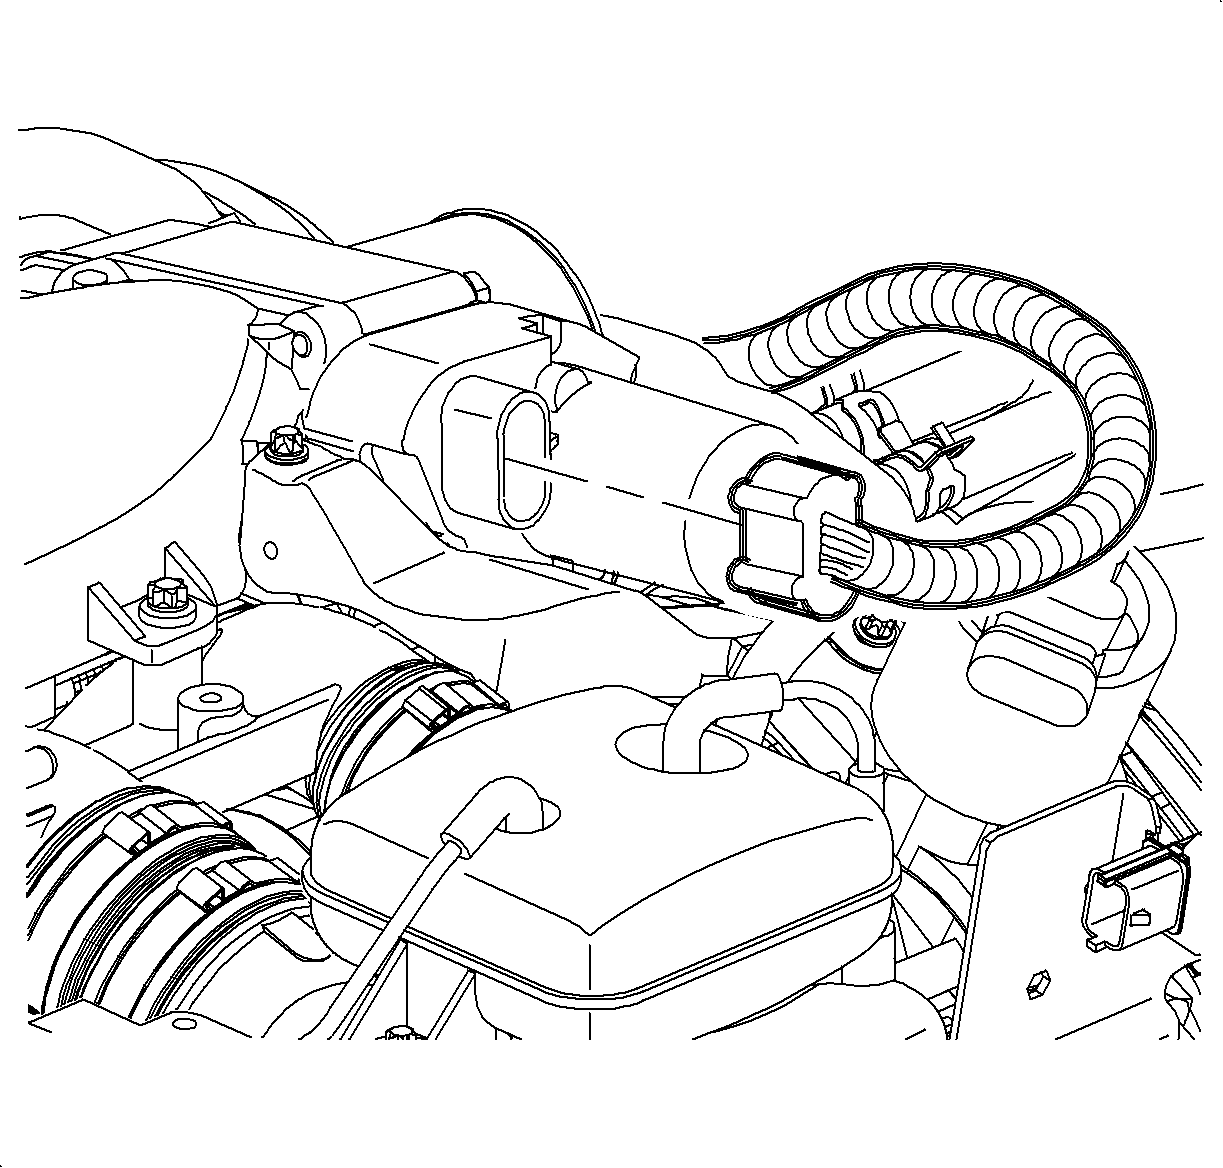
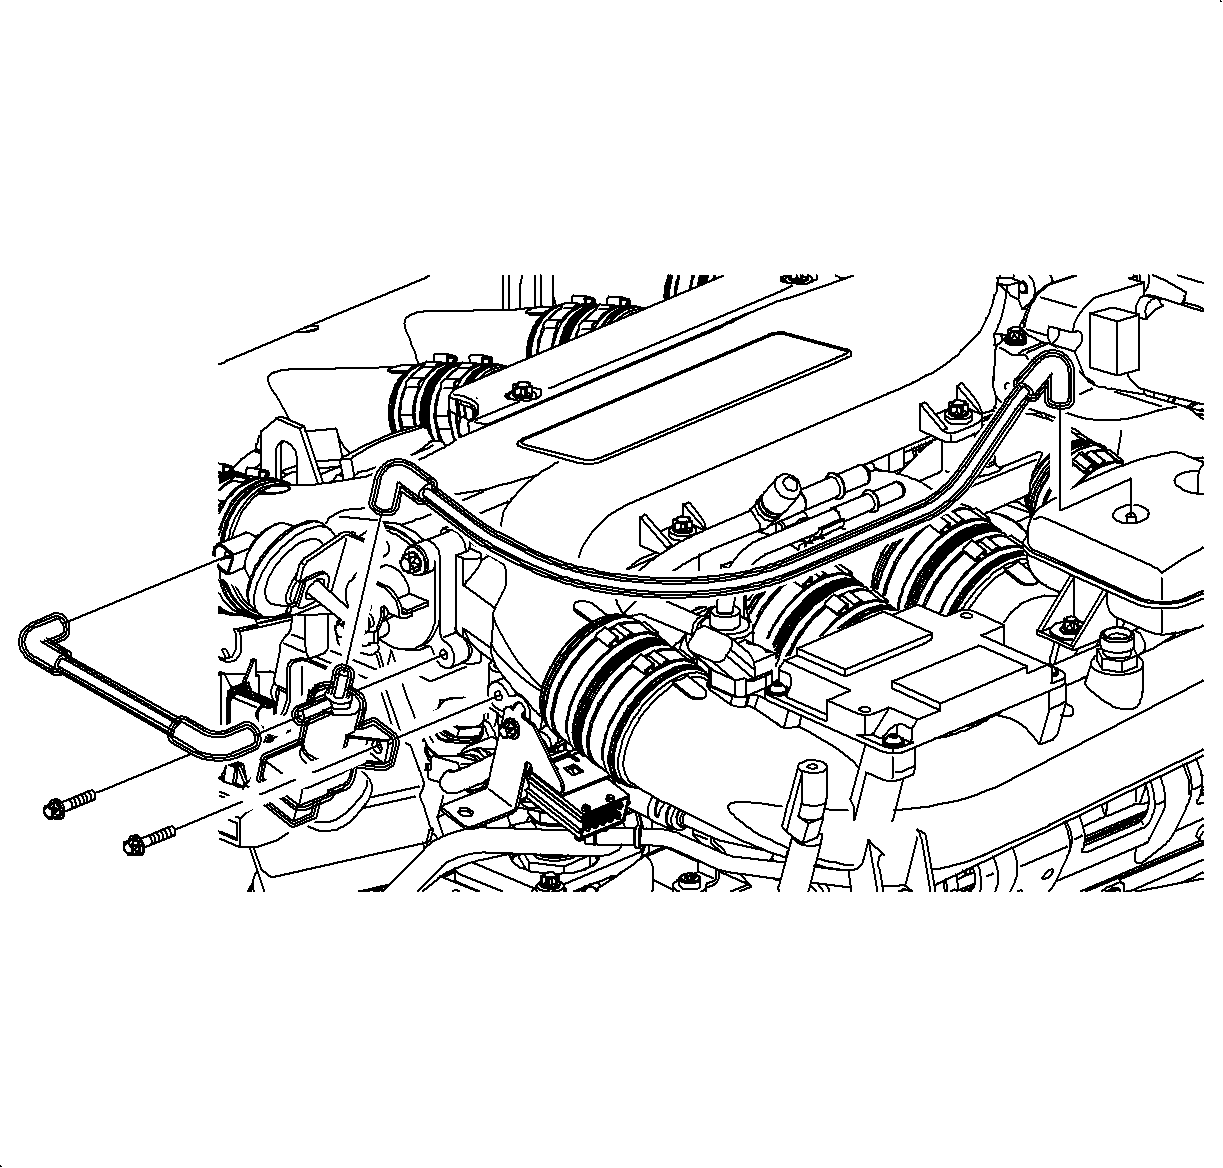
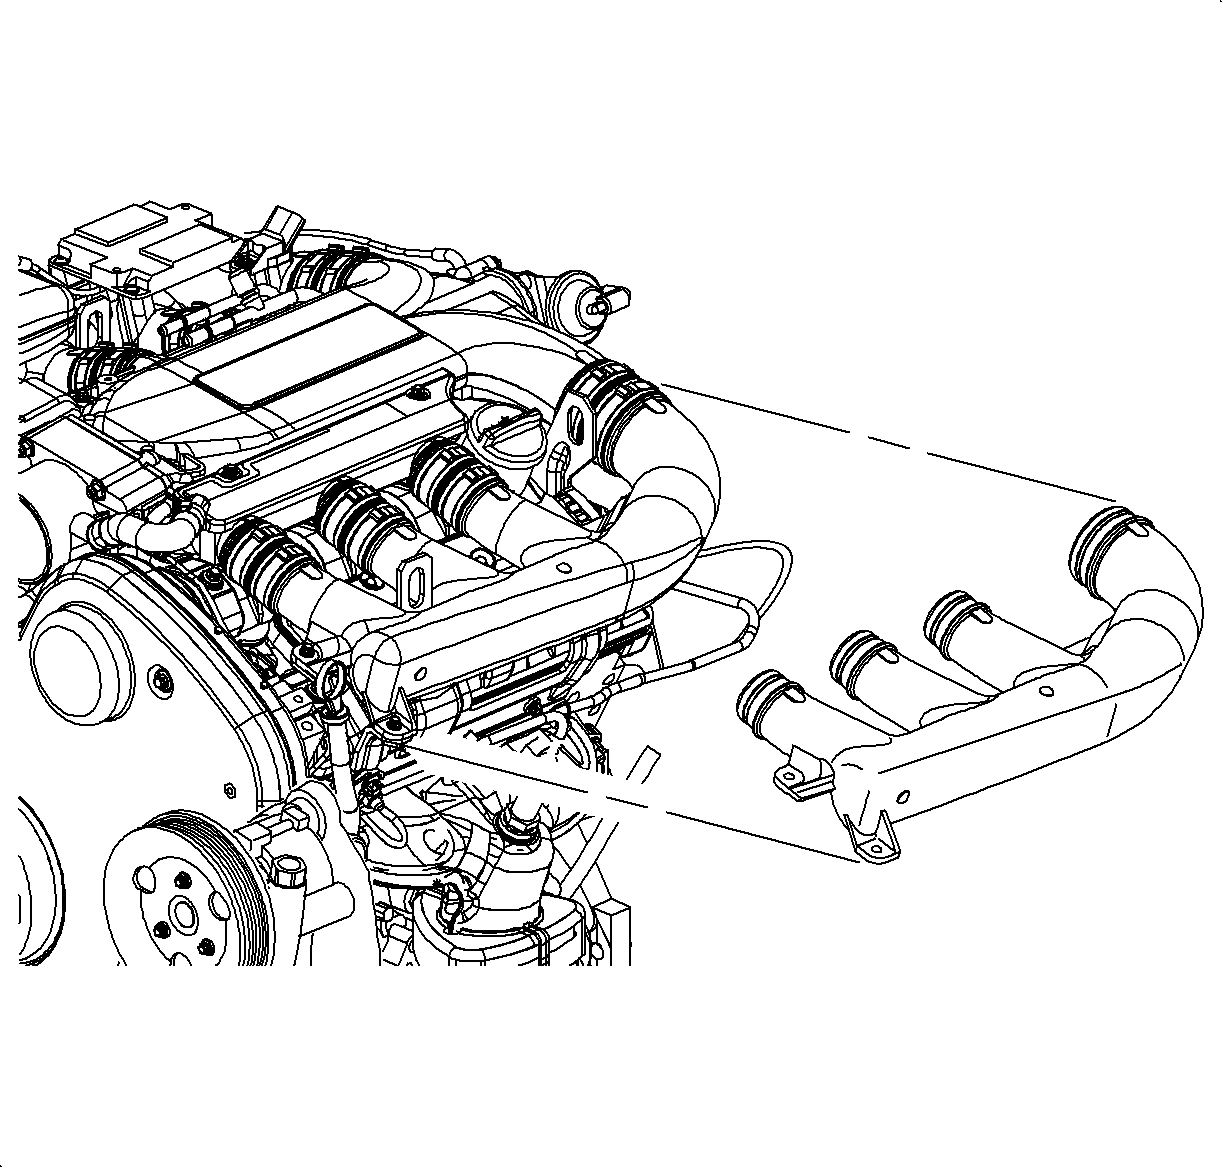
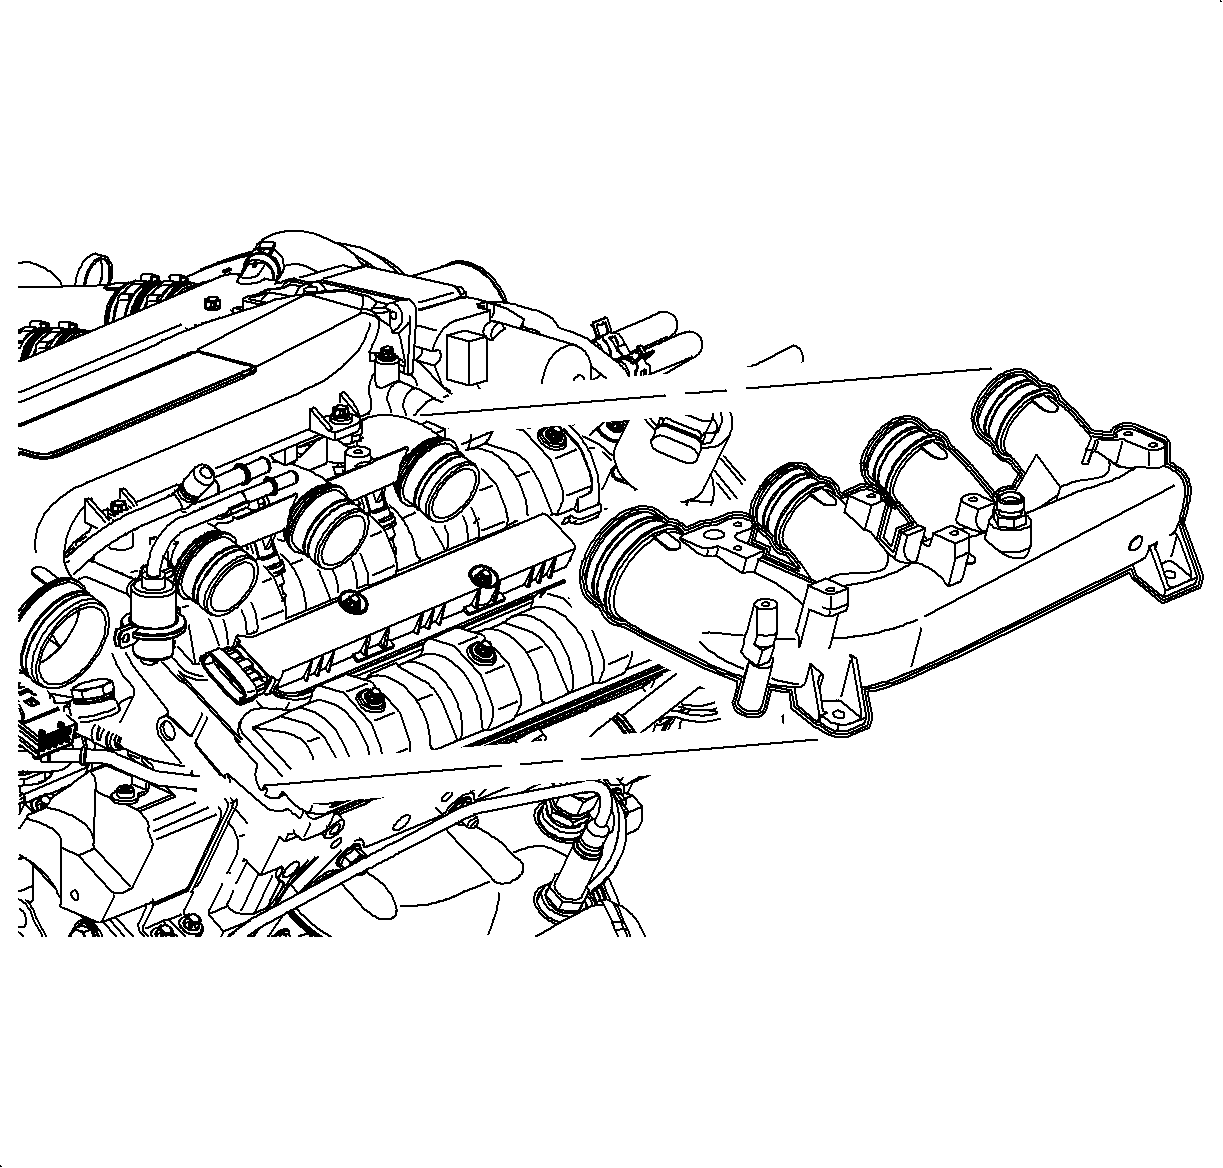
Important: It is only necessary to remove the front intake runner to remove the intake plenum.
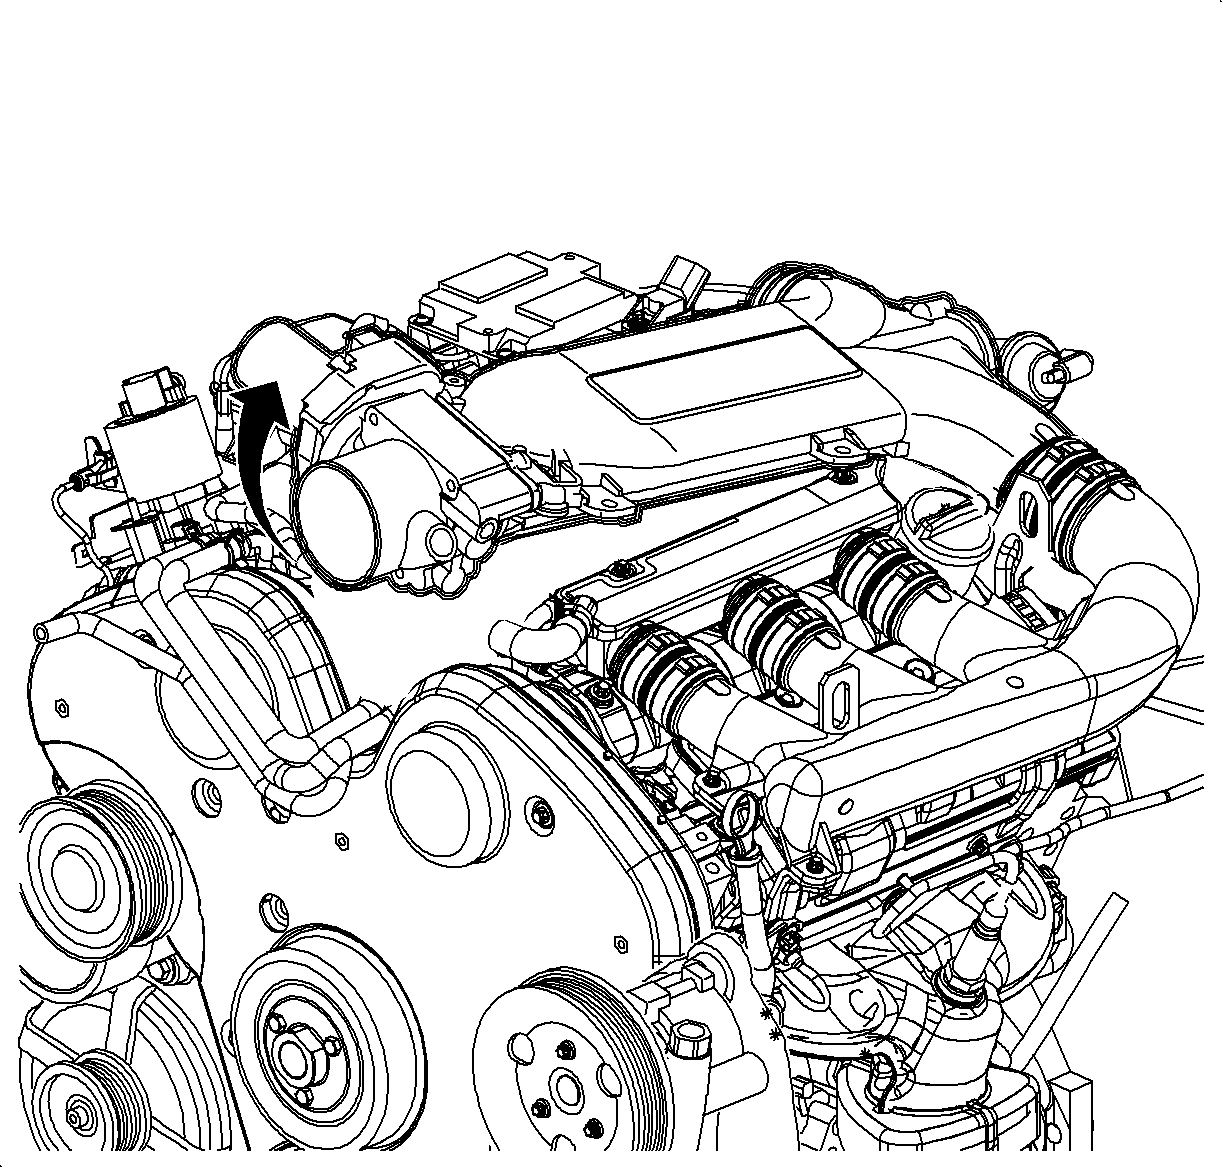
Installation Procedure
- Install the rear manifold runner, if required. Route the crankcase hoses under the runner.
- Install the heater hose.
- Route the crankcase hoses under the runner.
- Install the coolant hose.
- Install the throttle body gasket to the plenum.
- Install the throttle body to the plenum.
- Install the throttle body nuts.
- Install the intake plenum and intake plenum nuts.
- Insert the intake plenum bolts.
- Attach the coolant hoses to the throttle body.
- Install the EGR pipe connection.
- Install the front manifold runner and tighten the clamps.
- Connect the negative battery cable.
- Install the intake manifold runner bolts.

Tighten
Tighten the throttle body nuts to 8 N·m (71 lb in).
Tighten
Tighten the intake plenum bolts to 8 N·m (71 lb in).
Tighten
Tighten the EGR pipe bolts to 25 N·m (18 lb ft).

Tighten
Tighten the battery terminal bolt to 17 N·m (13 lb ft).
Tighten
Tighten the intake manifold runner bolts to 8 N·m (71 lb in).
Intake Plenum Switchover Valve Replacement Runner - Bank 1
Tools Required
J 43914 Universal Clamp Pliers
Removal Procedure
- Disconnect the negative battery cable.
- Remove the intake hose assembly. Refer to Air Cleaner and Intake Hose.
- Remove the ECM electrical connectors.
- Remove the ECM bolts and ECM.
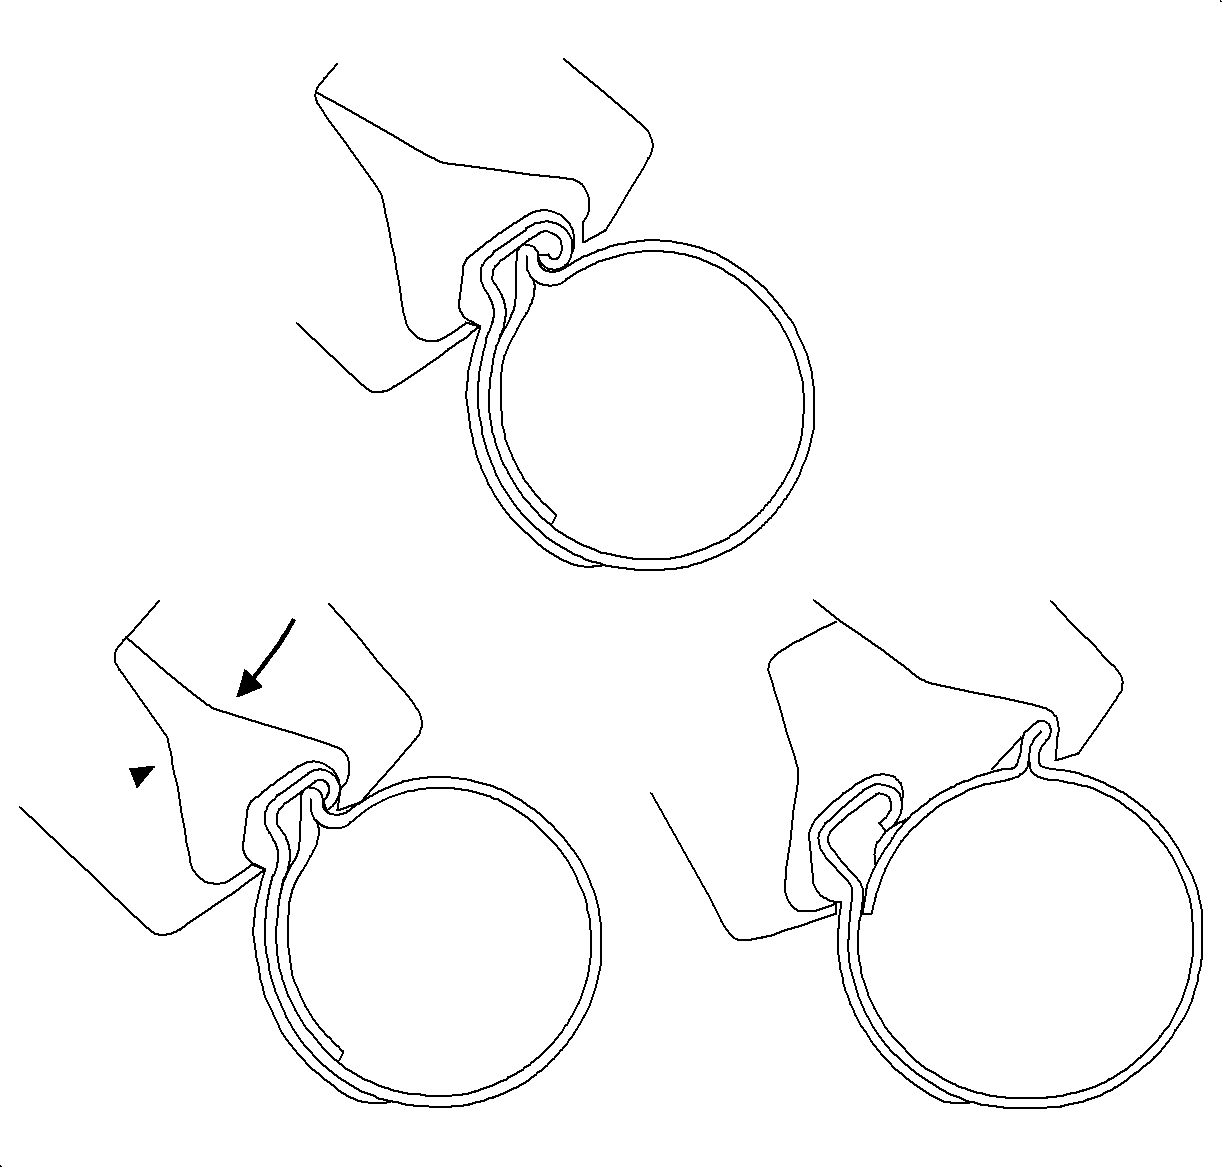
- Remove the rubber boot hose clamps using the J 43914 .
- Disconnect the brake vacuum hose.
- Disconnect the intake plenum switch-over valve vacuum hose at the switch-over valve.
- Remove the intake runner mounting bolts.
- Disconnect the intake runner from the rubber boots and remove the intake runner. Note the throttle body vent hose routing under the vacuum reservoir.

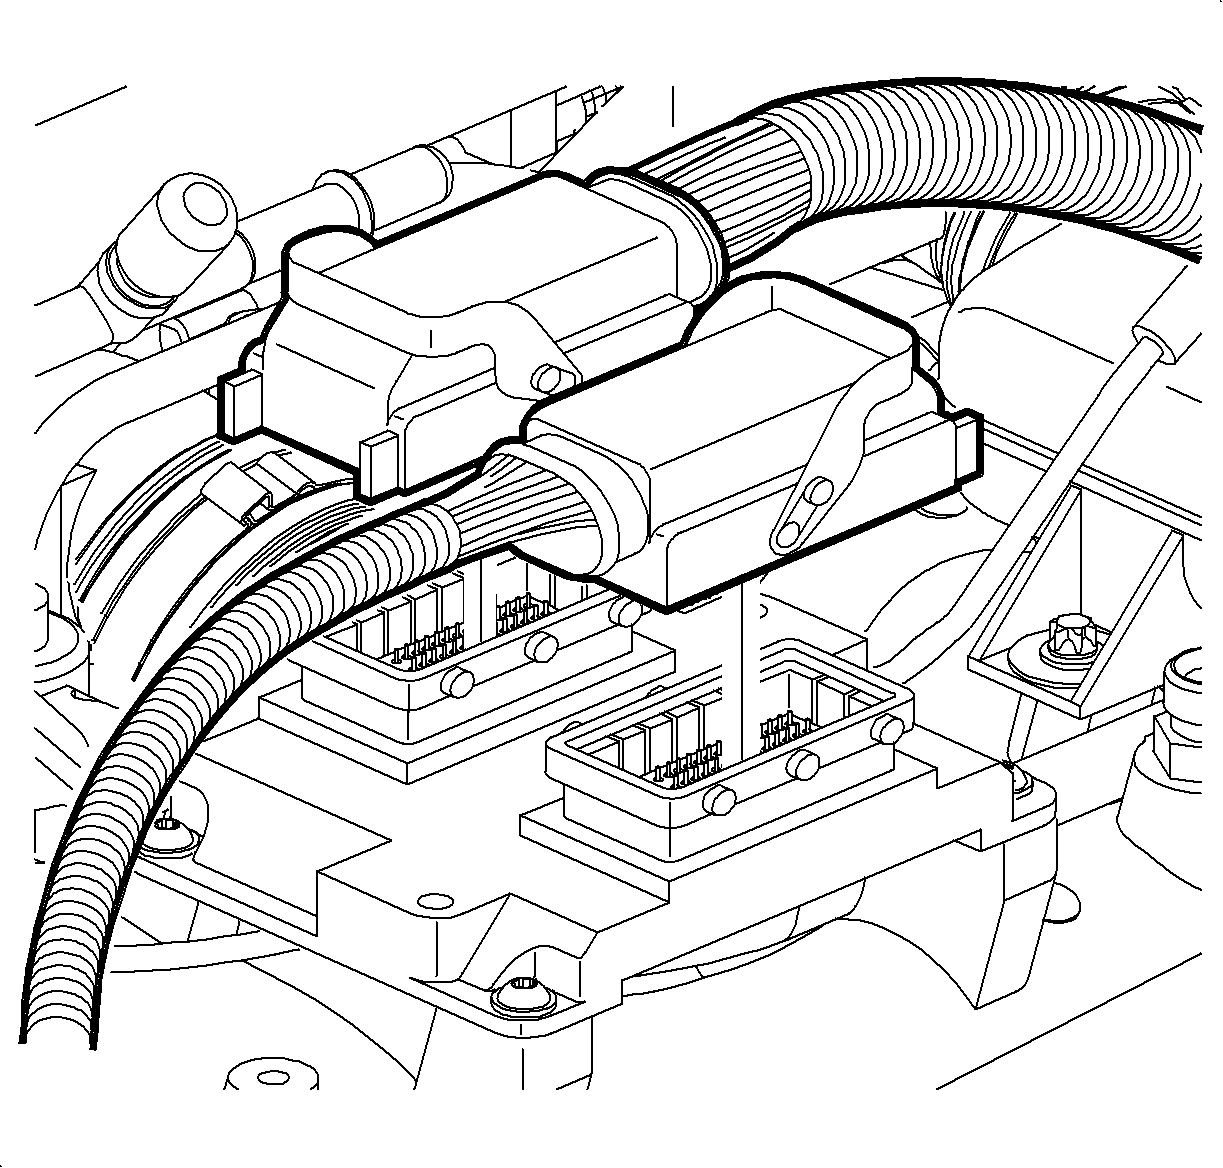

Important: Clamps are reusable if not damaged. Do not discard.
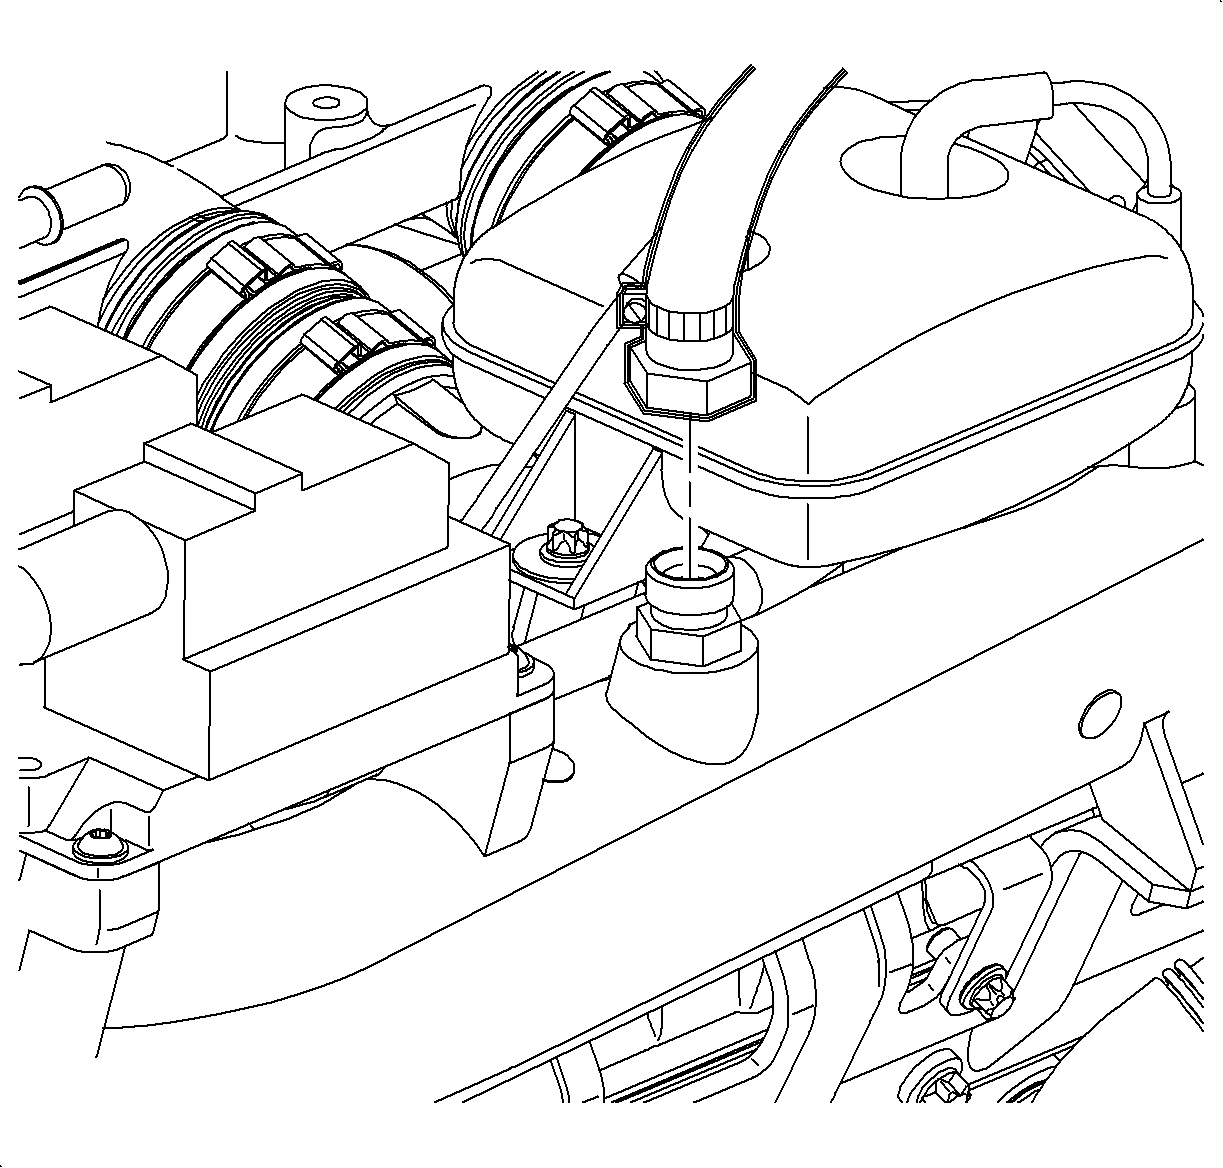
Important: Note the proper hose routing.
Installation Procedure
- Install the intake runner onto the rubber boots.
- Route the throttle body vent hose under the vacuum reservoir.
- Install the intake runner mounting bolts.
- Route the intake plenum switch-over valve vacuum hose and connect to the switch-over valve.
- Connect the brake vacuum line.
- Install the rubber boot hose clamps using the J 43914 .
- Install the ECM and ECM bolts.
- Install the air cleaner inlet hose assembly. Refer to Air Cleaner and Hose Assembly.
- Connect the negative battery cable.

Tighten
Tighten the intake manifold runner bolts to 8 N·m (71 lb in).


Tighten
Tighten the engine control module bolts to 8 N·m (71 lb in).

Tighten
Tighten the battery terminal bolts to 17 N·m (13 lb ft).
Intake Plenum Switchover Valve Replacement Runner - Bank 2
Tools Required
J 43914 Universal Clamp Pliers
Removal Procedure
- Disconnect the negative battery cable.
- Remove the air cleaner inlet hose assembly from the throttle body.
- Remove the rubber boot hose clamps using the J 43914 .
- Remove the intake runner mounting bolts.
- Disconnect the intake runner from the rubber boots and remove the intake runner.


Important: Clamps are reusable if not damaged. Do not discard.

Installation Procedure
- Install the rubber boots on the intake runner.
- Install the intake runner mounting bolts.
- Install the rubber boot hose clamps using the J 43914 .
- Install the intake hose assembly.
- Connect the negative battery cable.

Tighten
Tighten the intake manifold runner bolts to 8 N·m
(71 lb in).
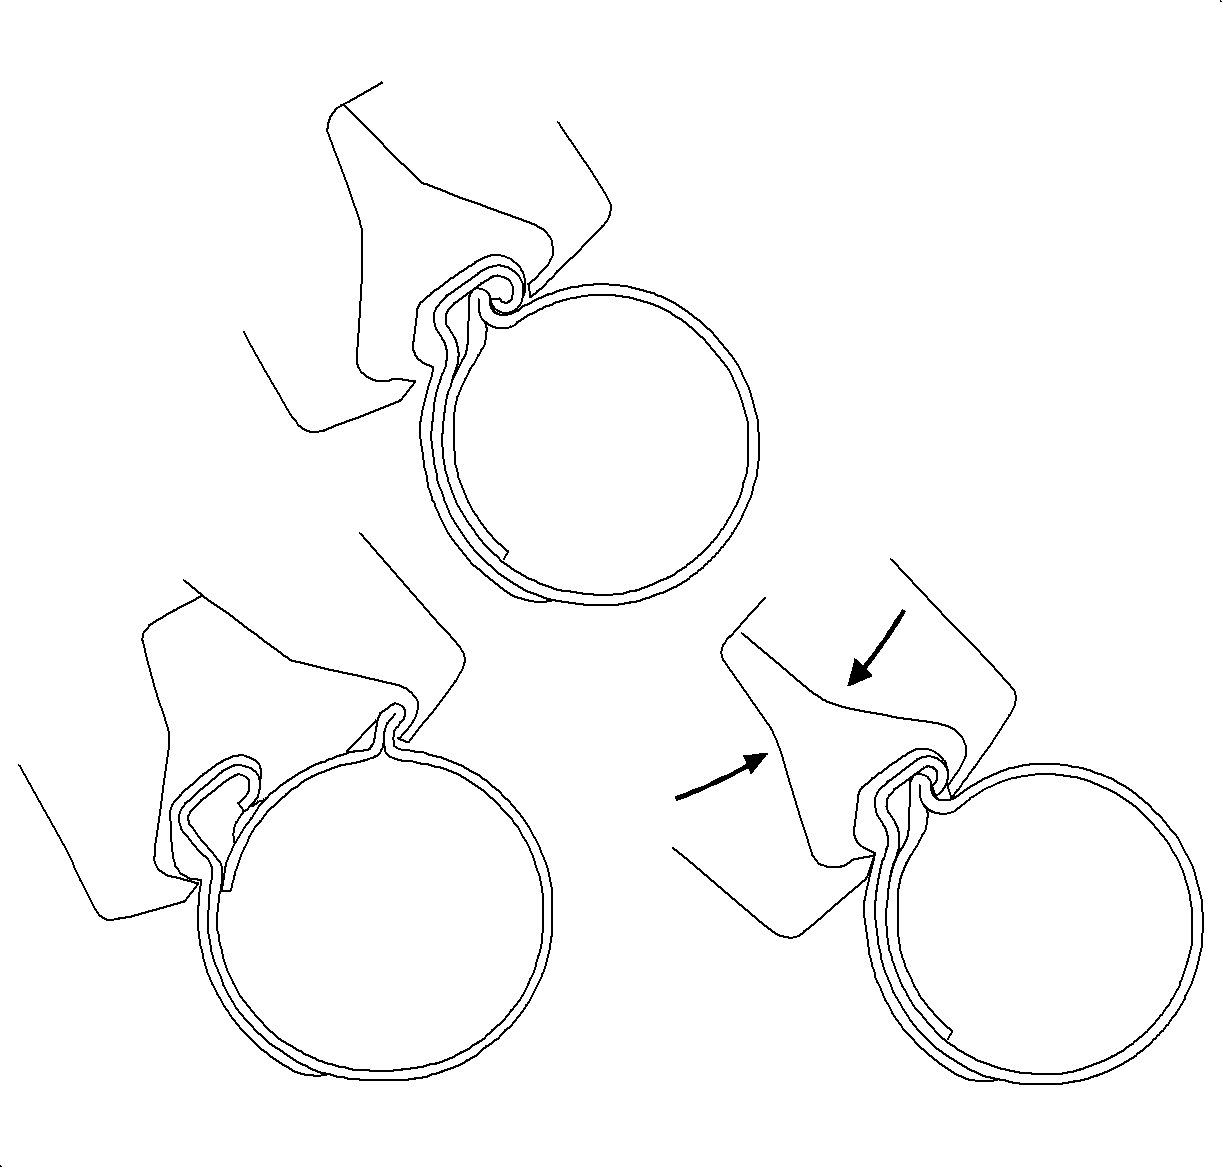
Important: Inspect the hose clamps for damage. Replace if damaged.

Tighten
Tighten the battery terminal bolts to 17 N·m
(13 lb ft).
