Removal Procedure
- Disconnect the negative battery terminal.
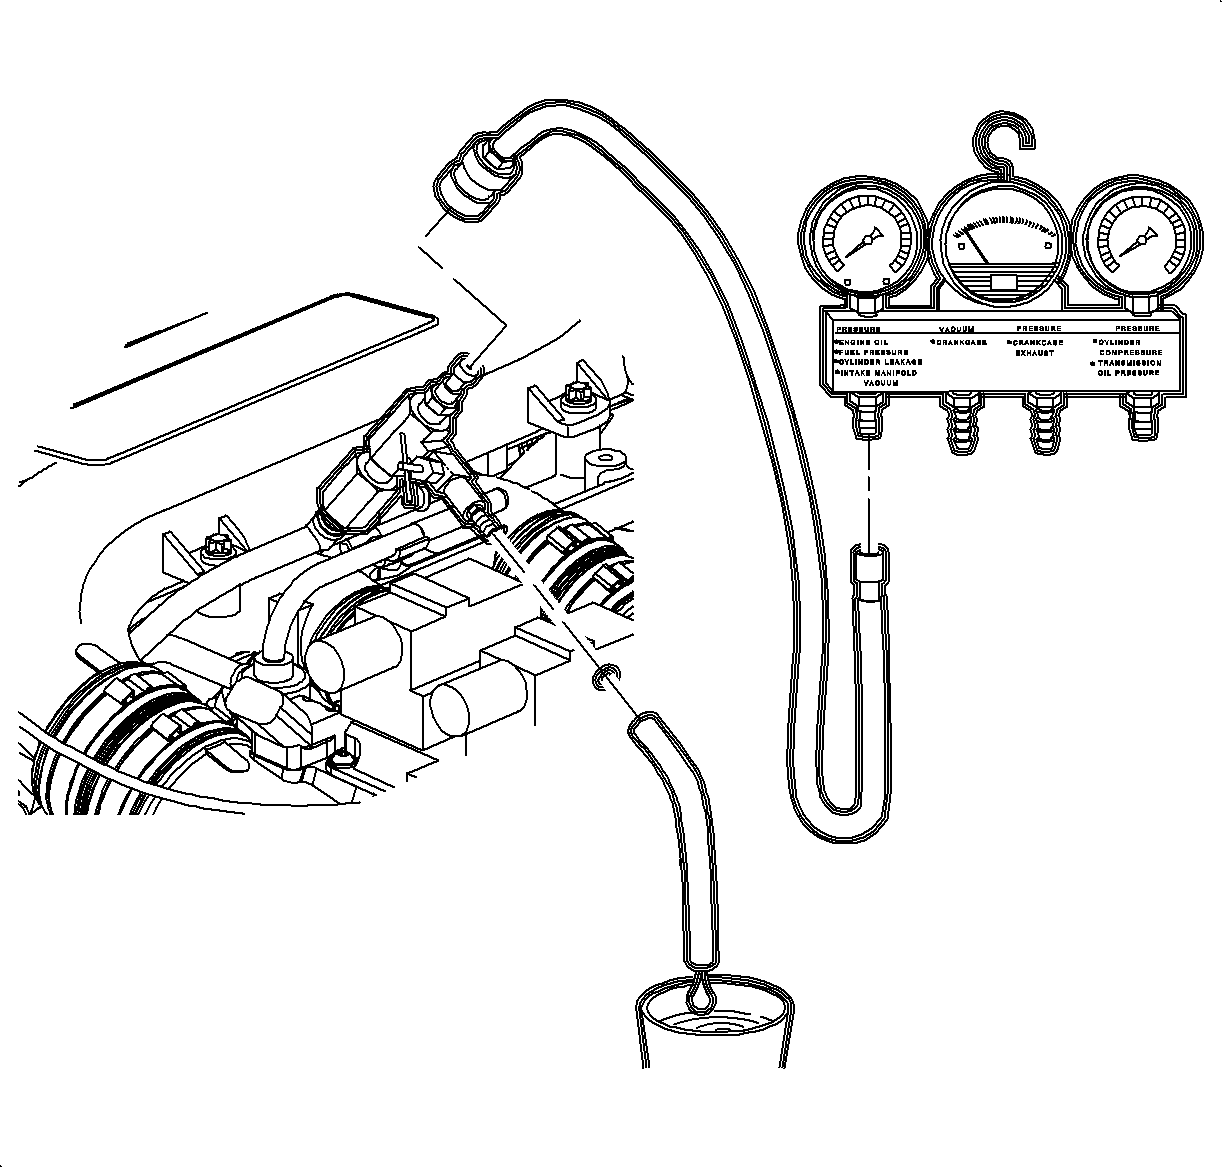
- Relieve the fuel system pressure. Refer to Fuel Pressure Relief .
- Disconnect the fuel lines.
- Remove the intake plenum.
- Disconnect the fuel injector electrical harness connector.
- Disconnect the fuel injector connectors.
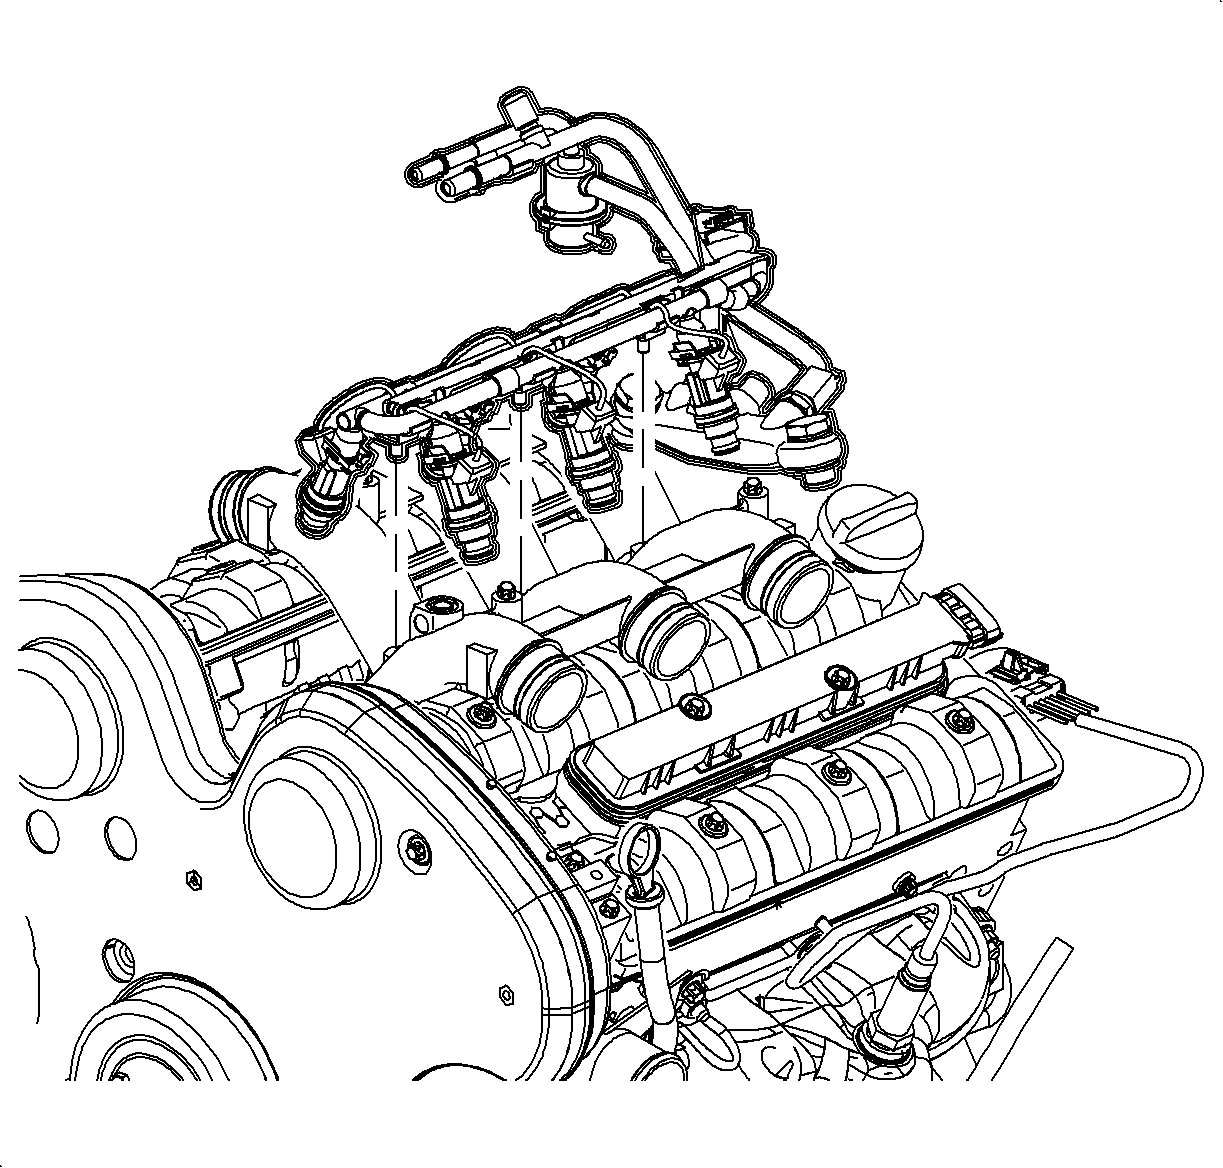
- Remove the fuel rail attaching bolts from the intake manifold.
- Disconnect the fuel pressure regulator vacuum line.
- Use compressed air to blow debris away from the area where the injectors enter the intake manifold.
- Remove the fuel injector locking clips. Pry each fuel injector from the intake manifold.
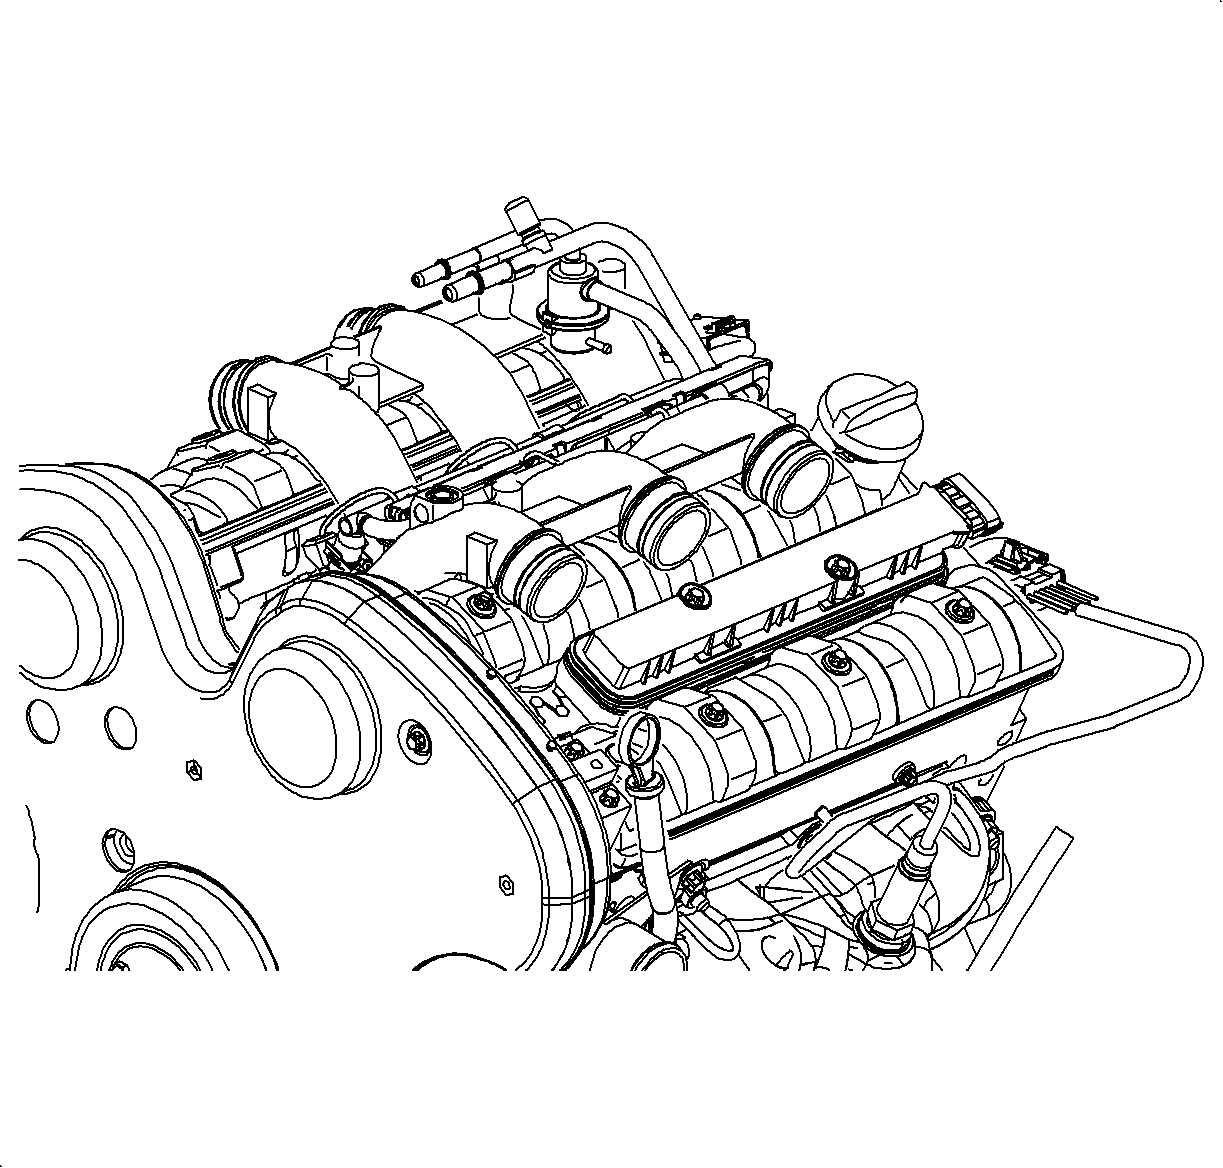
- Remove the fuel rail assembly.
- Remove the fuel injector assemblies from the fuel rail.
- Remove rust or burrs from the engine fuel pipes using the following procedures:
- Remove the O-rings from the fuel injectors.

Caution: Locate class B fire extinguisher in work area.
Notice: Use care in removing the fuel rail assembly to prevent damage to the electrical connector terminals and spray tips. The fuel injector is serviced as a complete assembly only. Support fuel after fuel rail is removed in order to avoid damaging fuel rail components. Since it is electrical, it should not be immersed in any cleaner.
Important: Cap the fuel fittings and plug the port holes when servicing the fuel system in order to prevent dirt and other contaminants from entering the open areas.

Caution: Wear safety glasses when using compressed air in order to prevent eye injury.
Important: Any time the fuel system is opened for service, the O-ring seals used with related components must be replaced.
| 13.1. | Use emery cloth in order to remove rust or burrs from the fuel pipes. Use a radial motion on the fuel pipe end in order to prevent damage to the O-ring sealing surface. |
| 13.2. | Use a clean shop towel to wipe the male tube ends clean. |
| 13.3. | Inspect all connectors for dirt and burrs. Clean or replace the damaged components as necessary. |
Installation Procedure
- Lubricate the new fuel injector O-rings with clean engine oil.
- Install the new fuel injector O-rings onto the fuel injectors.
- Install the new retainer clips onto the fuel rail prior to installing the fuel injectors to the fuel rail.
- Install the fuel injector assembly into the fuel rail with the fuel injectors electrical socket facing upward.
- Rotate the injectors so that they are perpendicular to the fuel rail.
- Install the fuel rail assembly to the intake manifold.
- Connect the fuel pressure regulator vacuum line.
- Install the fuel rail bolts.
- Connect the fuel injector electrical connectors.
- Connect the fuel line quick connects.
- Instal the intake plenum.
- Connect the negative battery cable.
- Crank the engine for a few seconds. Turn OFF the engine if it starts.
- Inspect for fuel leaks.

Important: Press the injector into the fuel rail until it clicks into the retainer clip.

Notice: Refer to Fastener Notice in the Preface section.
Tighten
Tighten the fuel rail bolts to 8 N·m (71 lb in).
Notice: Replace plastic fuel line retainers whenever the fuel supply or return line is disconnected at the fuel rail. Install the new retainer into the female cavity of the connection. Care must be taken to ensure that the locking tab is centered in the window of the female cavity. Firmly press the female connection onto the male end until a click is heard, then pull back to confirm engagement. Pinched, kinked, or damaged fuel lines must be replaced.
Tighten
Tighten the battery terminal bolts to 17 N·m (13 lb ft).
