Tools Required
J 44655 TXV Installation Tool
Removal Procedure
- Recover the refrigerant using an approved refrigerant recovery system. Measure the amount of oil lost during recovery and record the amount.
- Remove the suction/liquid line block from the TXV by gently rocking it while pulling forward.
- Install a cap on suction/liquid line assembly to prevent oil spillage.
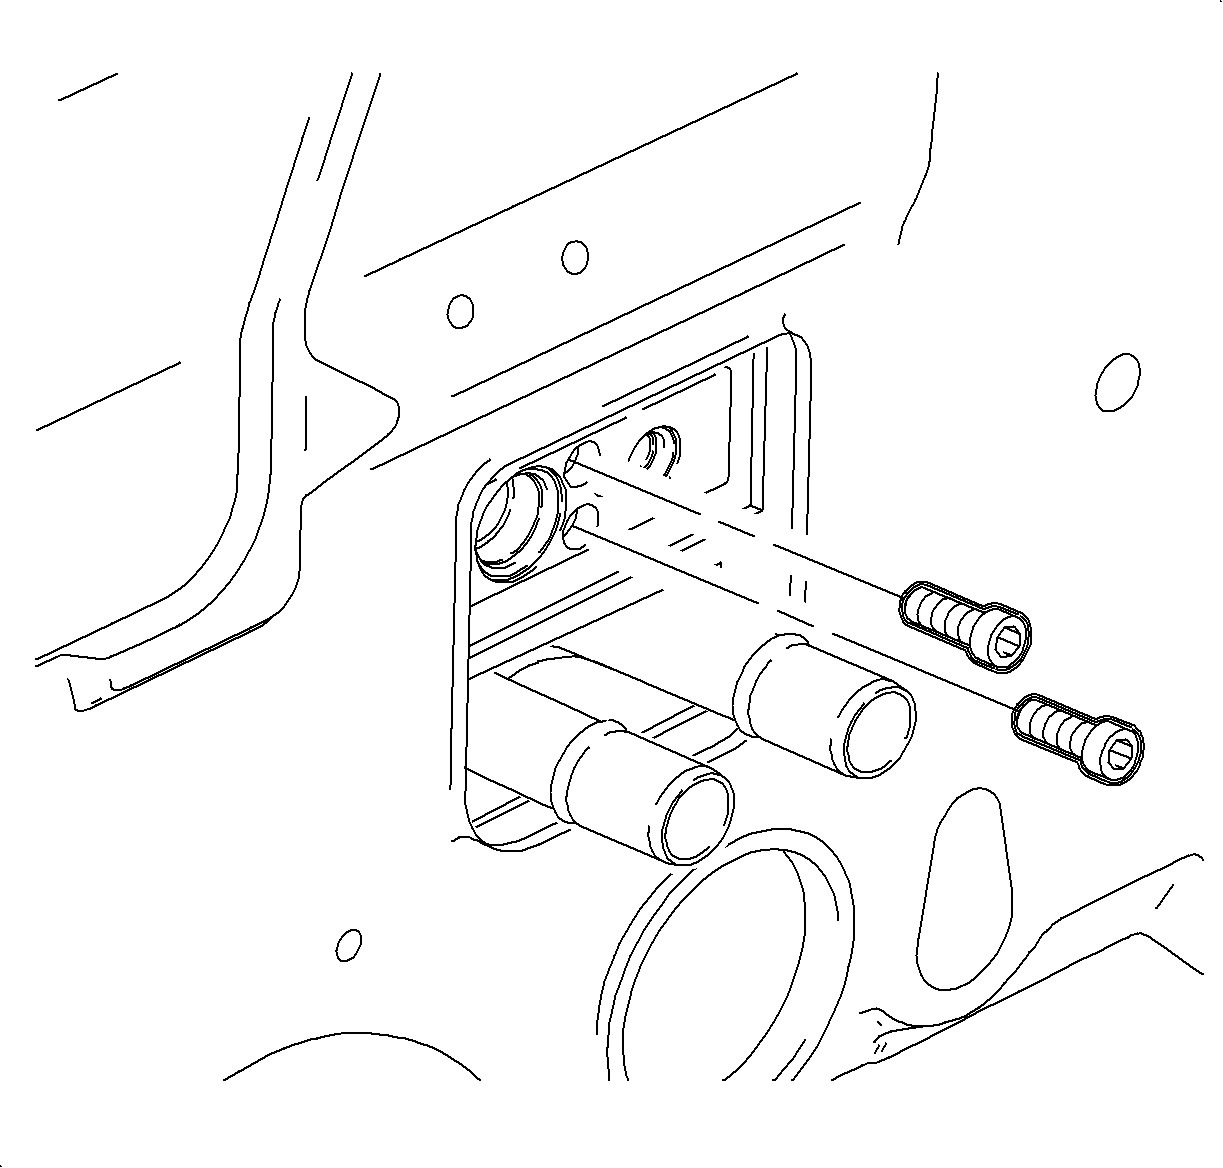
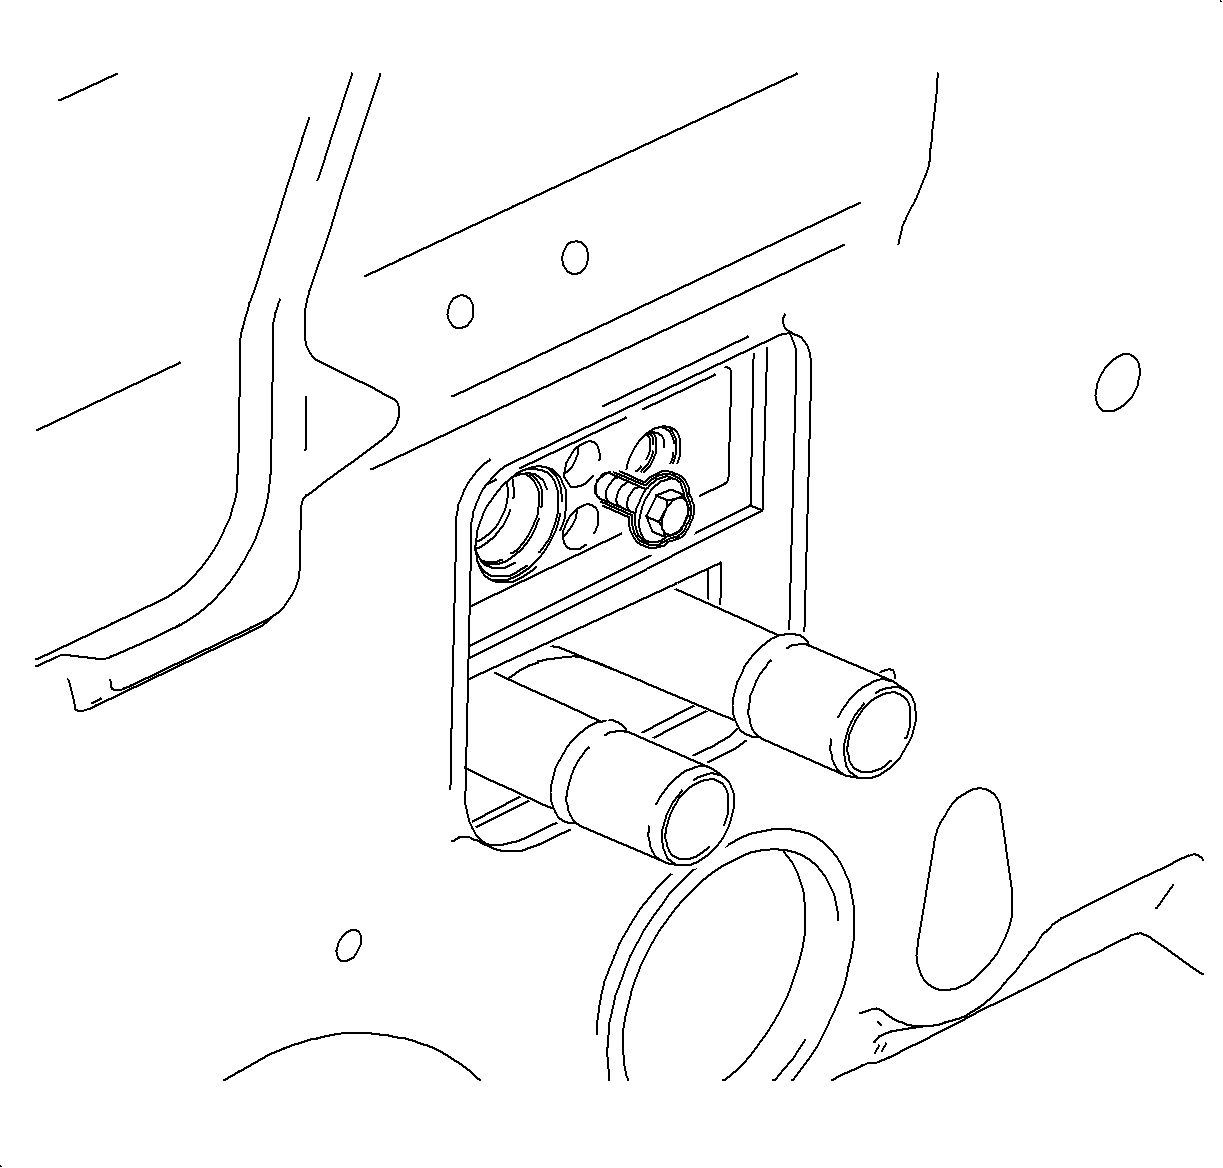
- Remove the TXV retaining bolts.
- On earlier vehicles, install the suction/liquid line assembly to the TXV bolt hand tight into TXV.
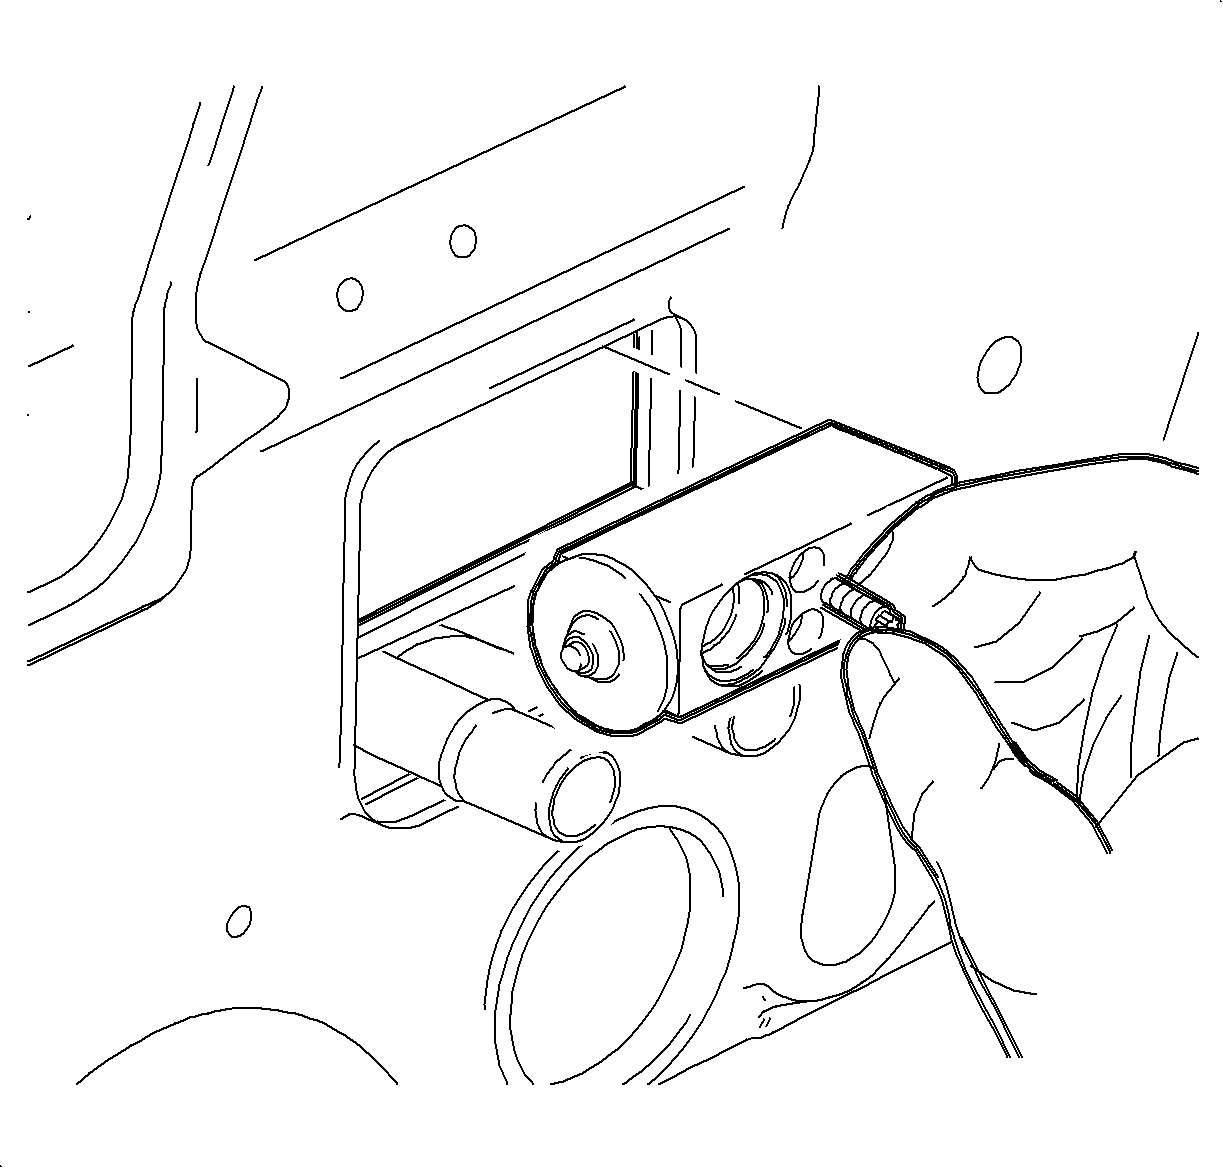
- Using bolt or stud as a handle, remove the TXV from the evaporator by gently rocking the TXV while pulling forward in the vehicle.
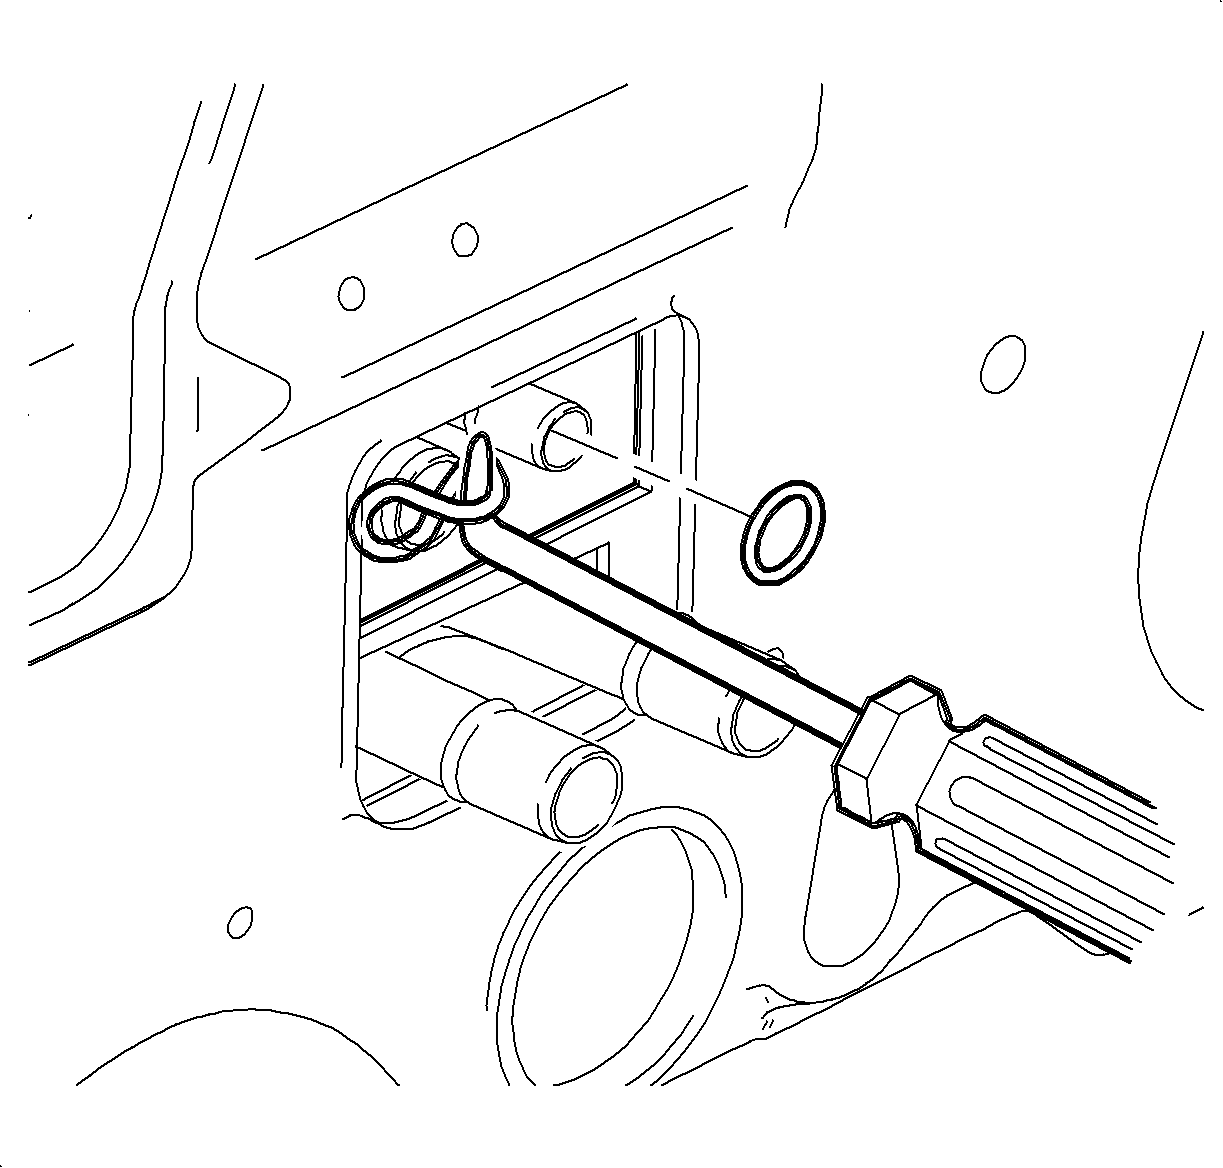
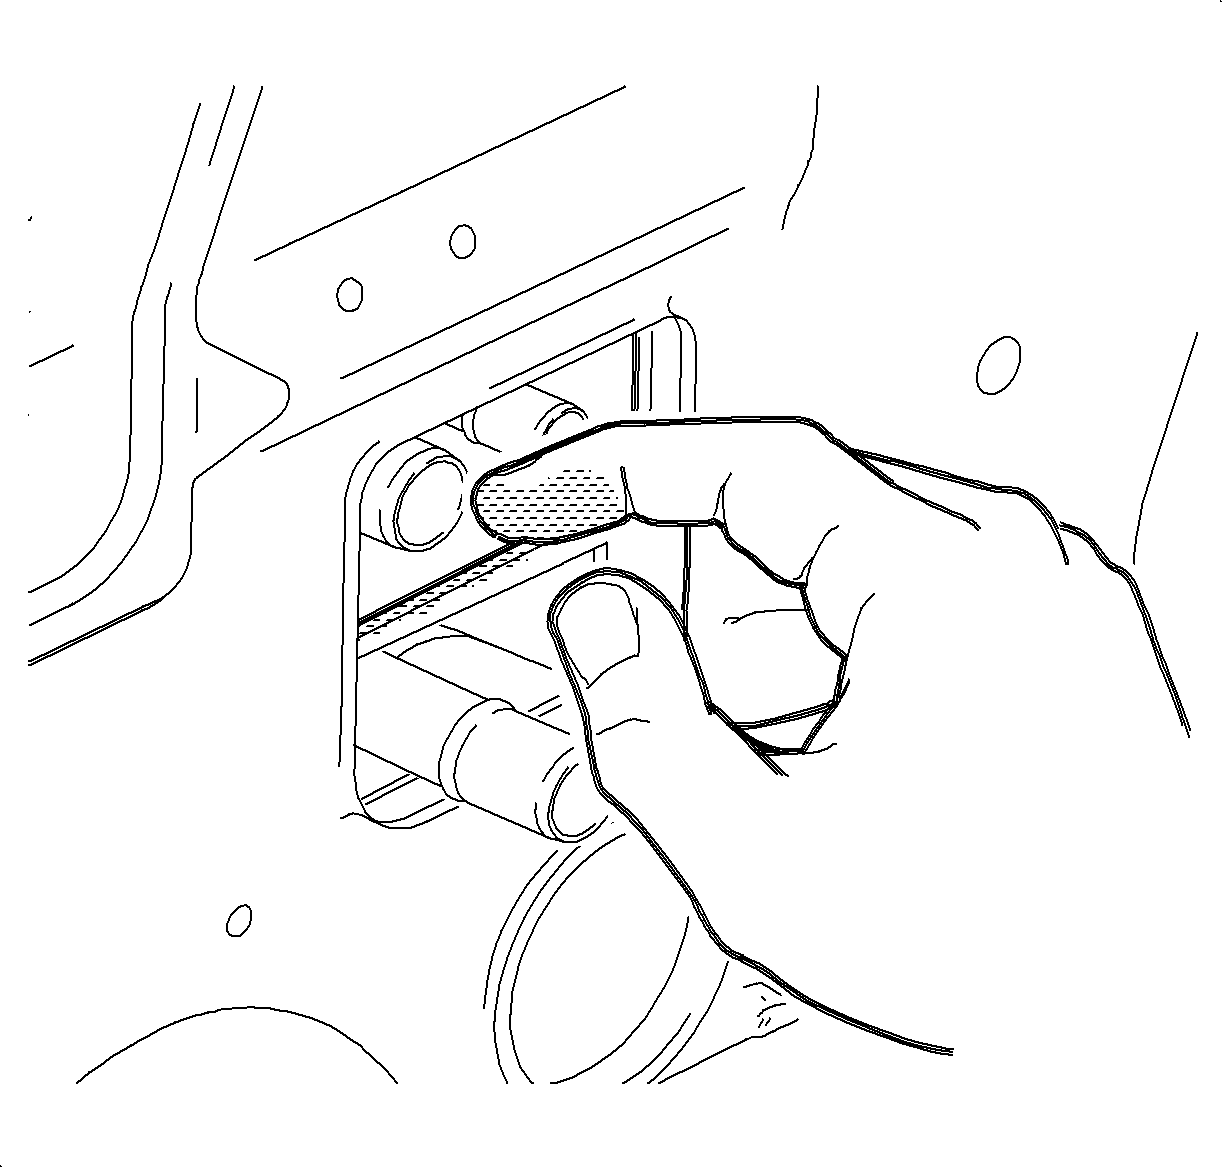
- Using your fingers or a plastic tool, remove the O-rings from the evaporator pipes. Use a mirror to view the O-rings on the evaporator core.
Caution: Refer to HVAC Compressor Lines/Hoses Caution in the Preface section.
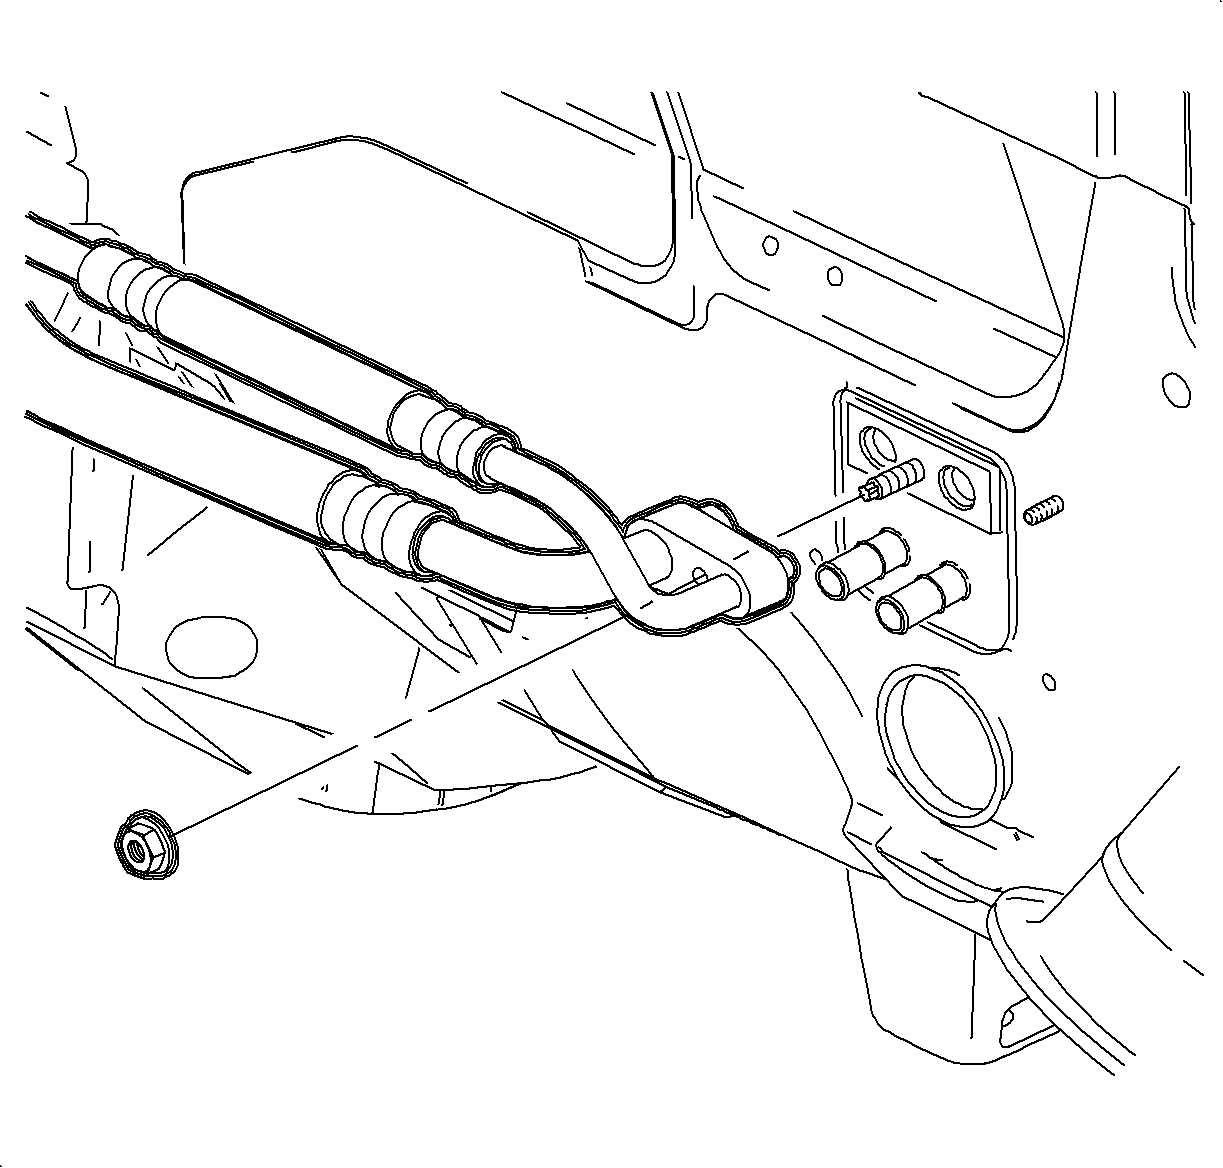
Notice: Place protective covers over A/C hoses, lines, TXV, and HVAC module to prevent contamination of A/C system.
Important:
• Verifying the purity of the refrigerant with a purity identifier before
recovery is recommended. • Clean tools and a clean work area are important for proper service. • On earlier vehicles a bolt was used instead of a stud/nut.
Installation Procedure
- Install new O-rings to the evaporator pipes.
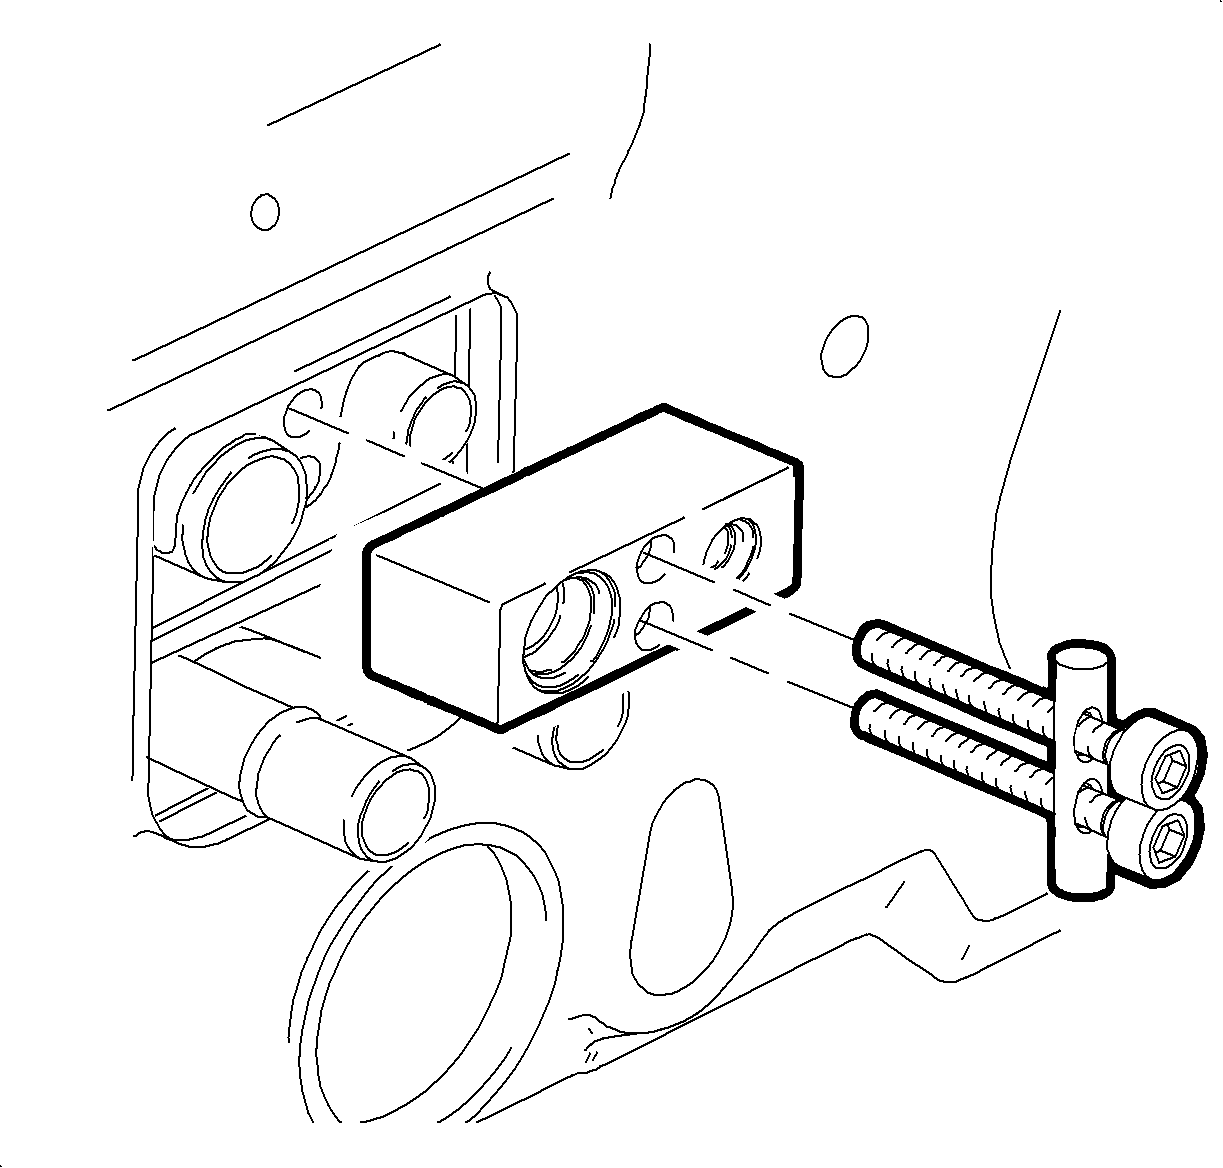
- Install the TXV using the TXV Installation Tool to support the evaporator pipes and mounting flange while installing the TXV.
- Apply a thin coating of clean mineral oil on the TXV to evaporator O-ring surfaces.
- Insure the TXV is completely installed, the TXV should be almost flush with edge of bevel of the TXV foam seal.
- Thread the TXV to evaporator core block bolts into the block by hand. The bolts should thread in easily. Do not use force! If the bolts do not thread in easily, verify that the TXV is properly installed onto both pipes and fully seated to the block.
- Thread the TXV to evaporator core block bolts into the block by hand. The bolts should thread in easily. Do not use force! If bolts do not thread in easily, verify that the TXV is properly installed onto both pipes and fully seated to the block.
- Thoroughly clean the O-ring surfaces of the TXV.
- Install new O-rings to the suction/liquid line assembly block.
- Lubricate the O-rings with clean mineral oil.
- Install the suction/liquid line assembly block to TXV.
- Install the suction/liquid line assembly to TXV nut.
- Evacuate, charge, and leak check the A/C system.
Caution: Blower resistor card has sharp edges and may be very hot if blower was used prior to servicing.
| • | Orient the TXV with the dome-shaped end toward the passenger side of the vehicle. |
| • | Install the cap screws through the T-handle and through the TXV. |
| • | Thread the (2) cap screws into the evaporative core flange |
| • | Pull the T-handle back against the cap screws and carefully install and seat the TXV into position. |
| • | Carefully remove cap screws and T-handle. |

Important: On earlier vehicles a bolt was used instead of a stud/nut.
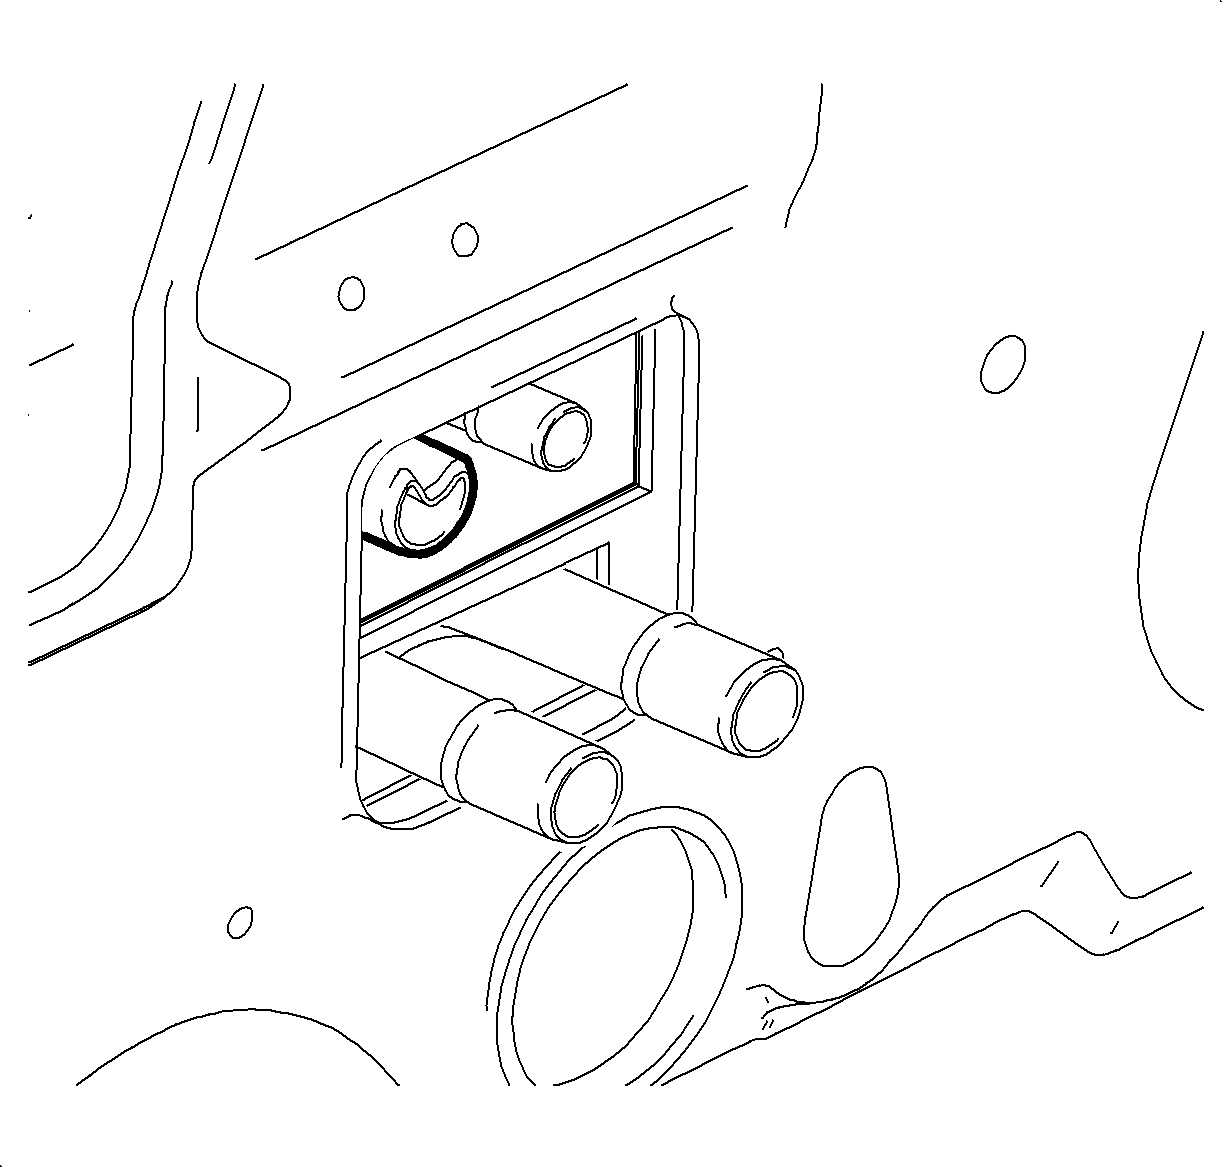
Notice: Improper installation of TXV to evaporator pipes will damage pipes and require evaporator core replacement.
Tighten
Tighten the TXV-to-block bolts to 7 N·m
(62 lb in).

Important: On earlier vehicles a retainer bolt was used instead of a stud/nut.
Tighten
Tighten the suction/liquid line assembly-to-TXV
Bolt to 7 N·m (62 lb in).
