For 1990-2009 cars only
Tools Required
| • | SA9149AC-2 Puller Center |
| • | SA9149AC-3 Drive Plate Installer |
Removal Procedure
- Remove the compressor from the vehicle. Refer to Air Conditioning Compressor Replacement .
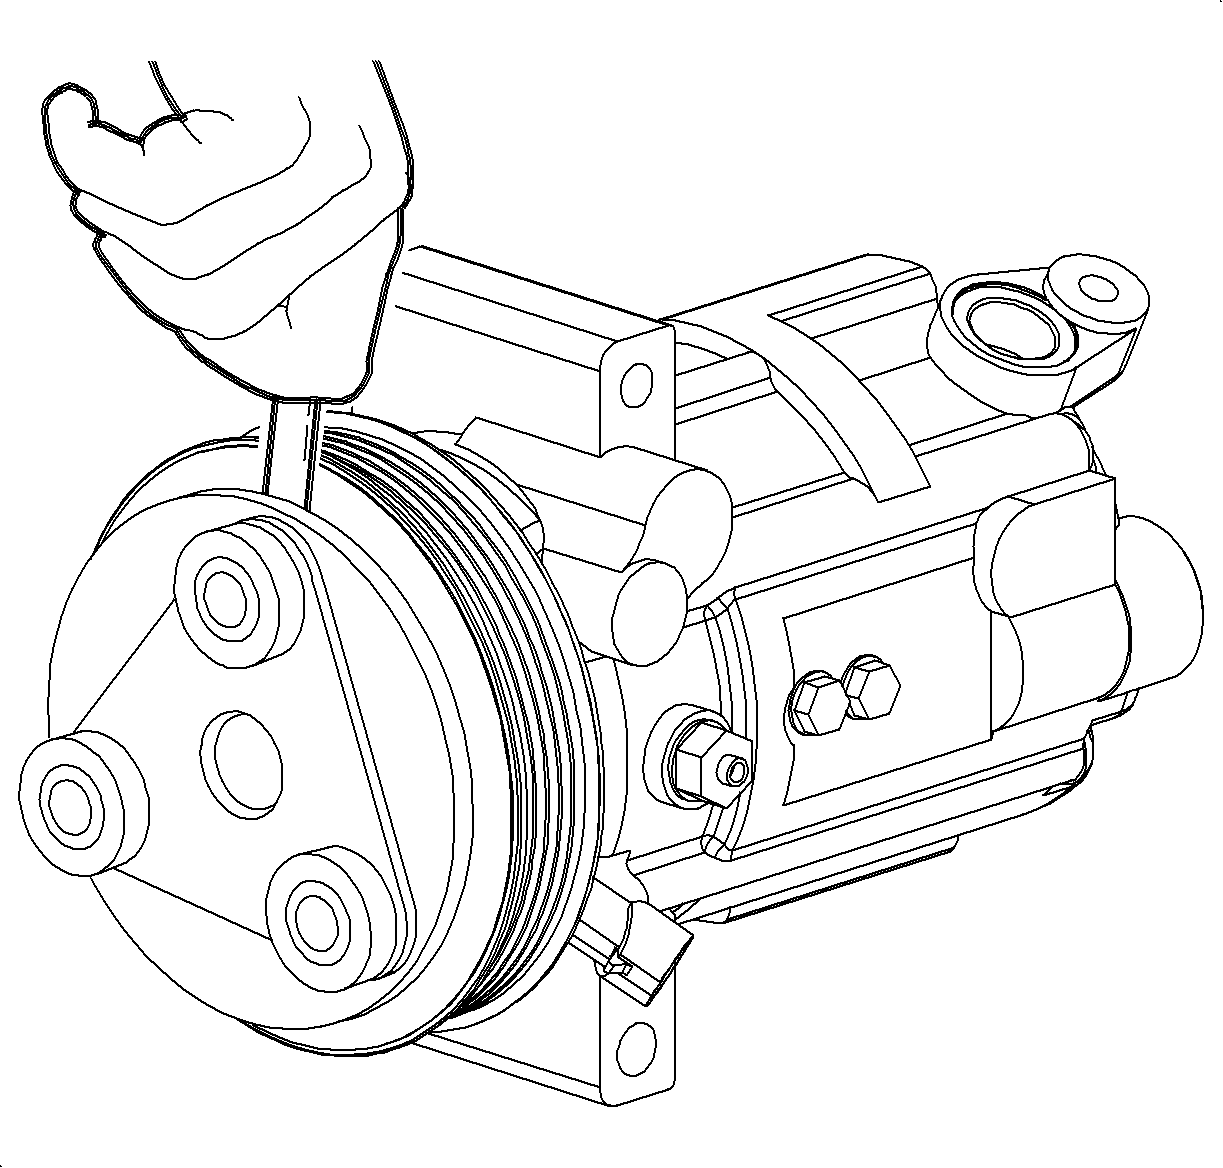
- Using a screwdriver to prevent drive plate from turning, remove the clutch drive plate bolt.
- Using a screwdriver with a thin blade, pry the drive plate off of the pulley.
- Using external snap ring pliers, remove the snap ring.
- Position the SA9149AC-2 on the end of the A/C compressor shaft.
- Install the three-jaw puller on the A/C compressor pulley. Tighten the center bolt to remove the pulley assembly.
- Remove the A/C compressor clutch coil screws and remove the A/C compressor clutch coil.
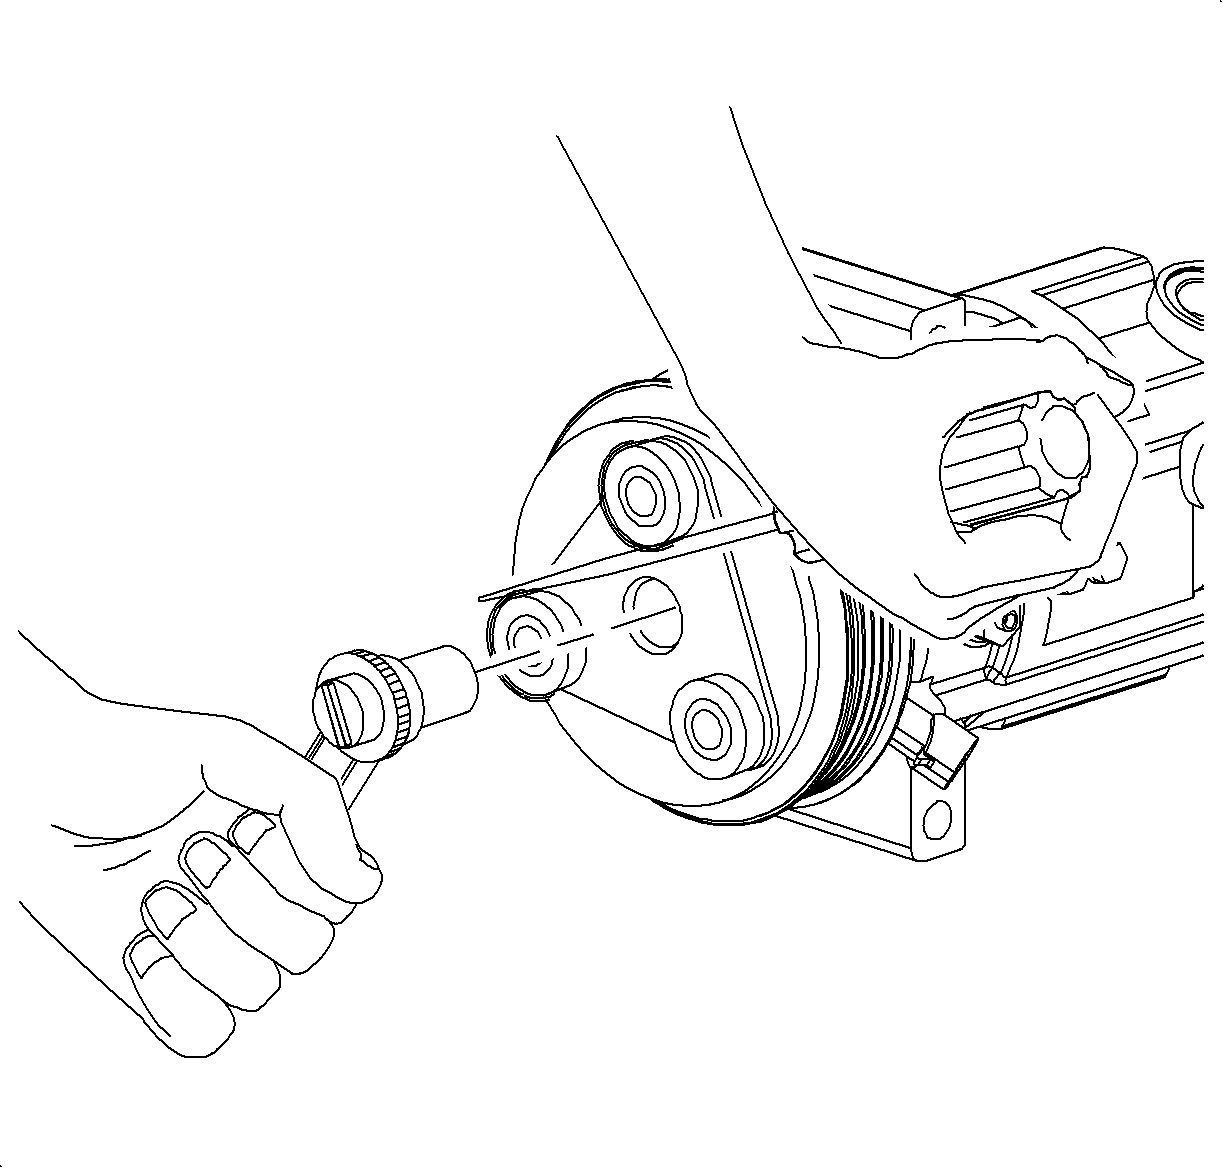
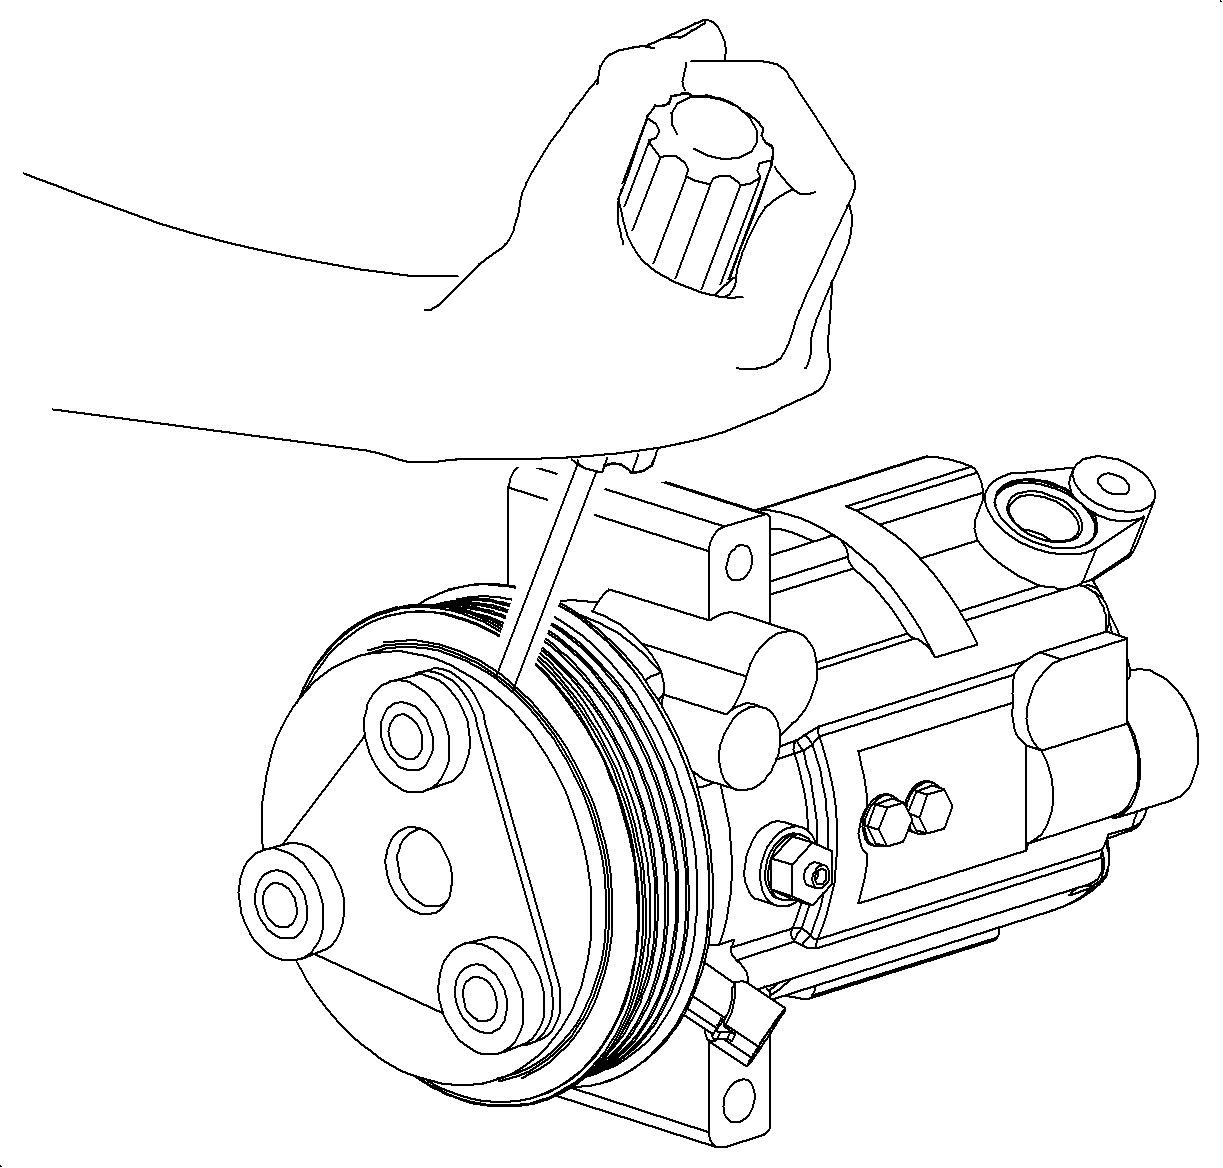
Important: Be careful not to lose the shims when removing the drive plate from the compressor shaft.
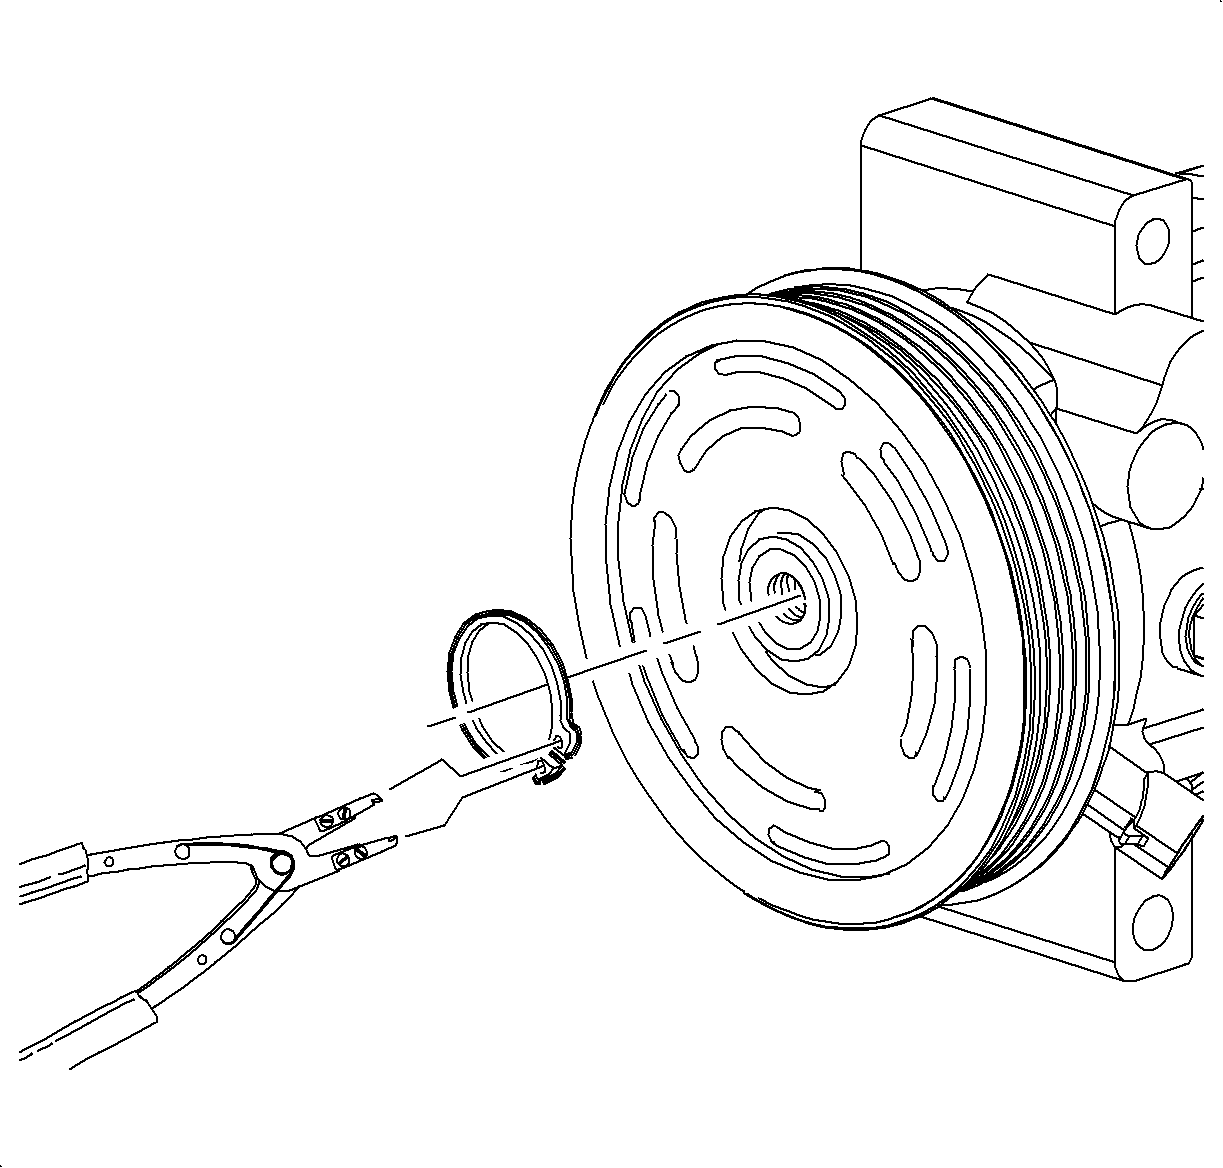
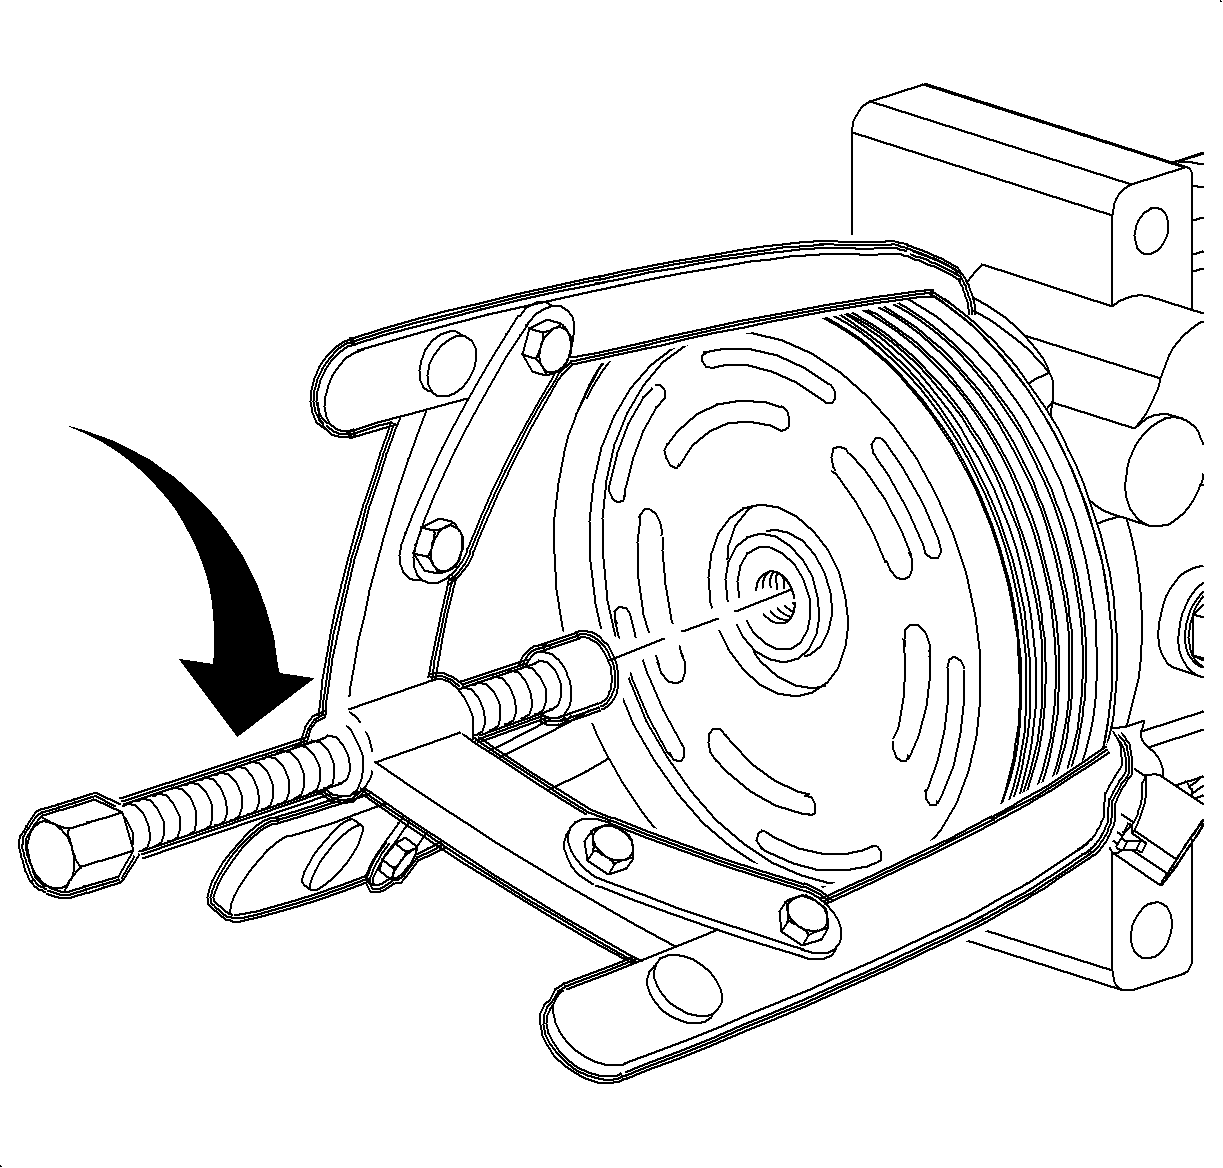
Notice: Do not remove pulley without puller adapter. If A/C compressor shaft is pressed on, A/C compressor will be damaged.
Important: Ensure to hook the puller jaw behind the pulley only, not the coil.
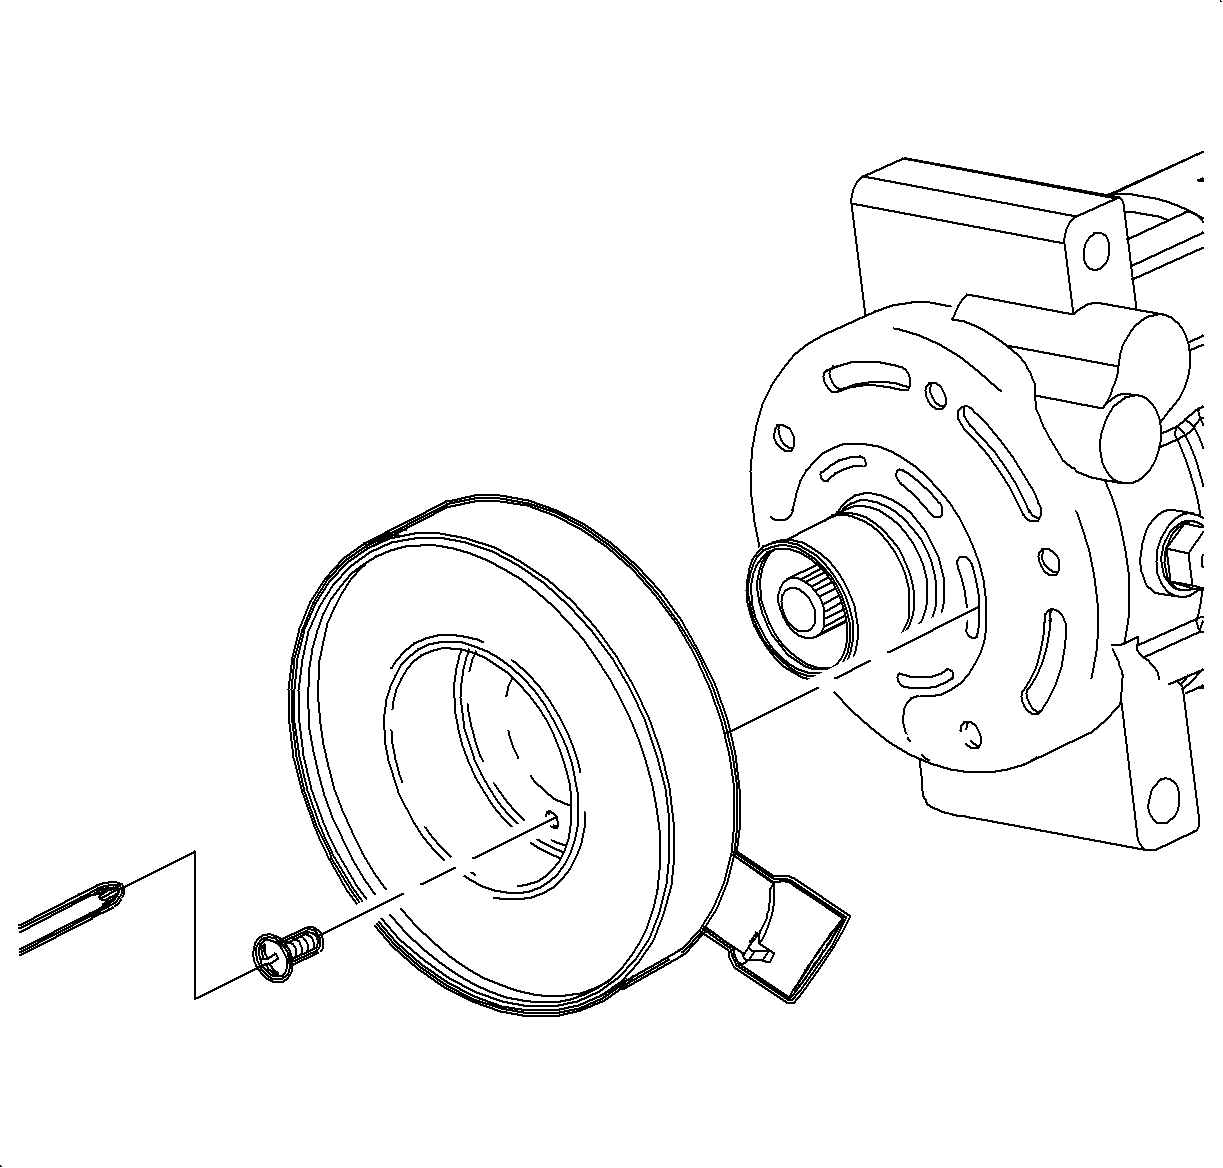
Important: To enable easier removal of screws, lightly tap on the end of the screwdriver with a plastic hammer.
Installation Procedure
- Position the A/C compressor clutch coil so that the electrical connector is aligned with the indent in compressor front head.
- Install the A/C compressor clutch coil screws.
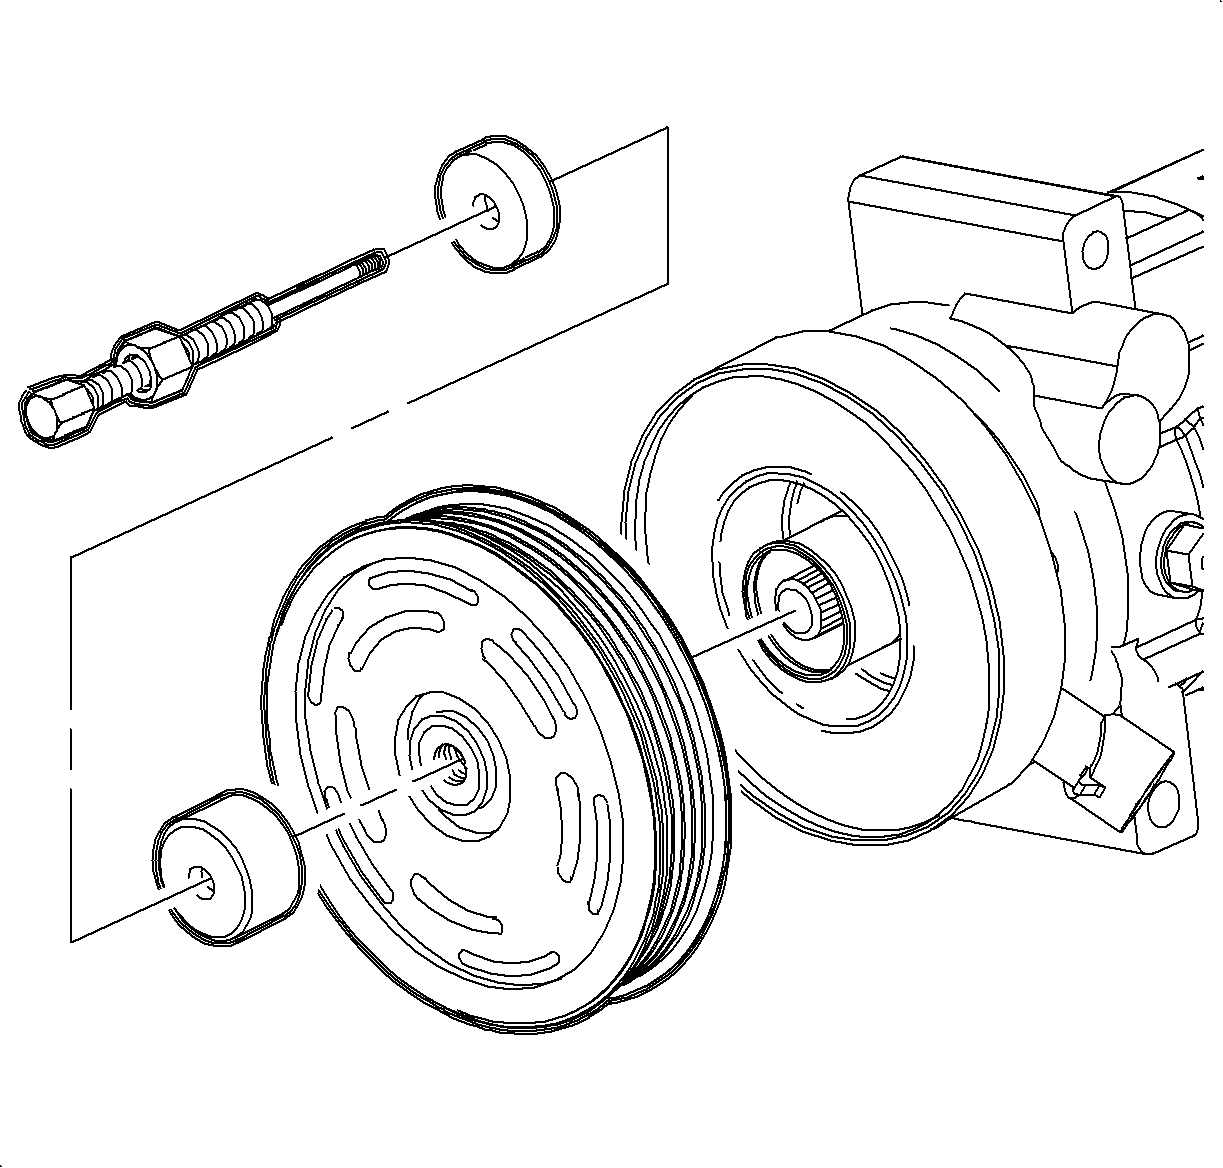
- Place the thrust bearing and the SA9149AC-3 on the installation bolt and insert through the center of the pulley. Thread the installation bolt into the end of A/C compressor shaft and hand tighten.
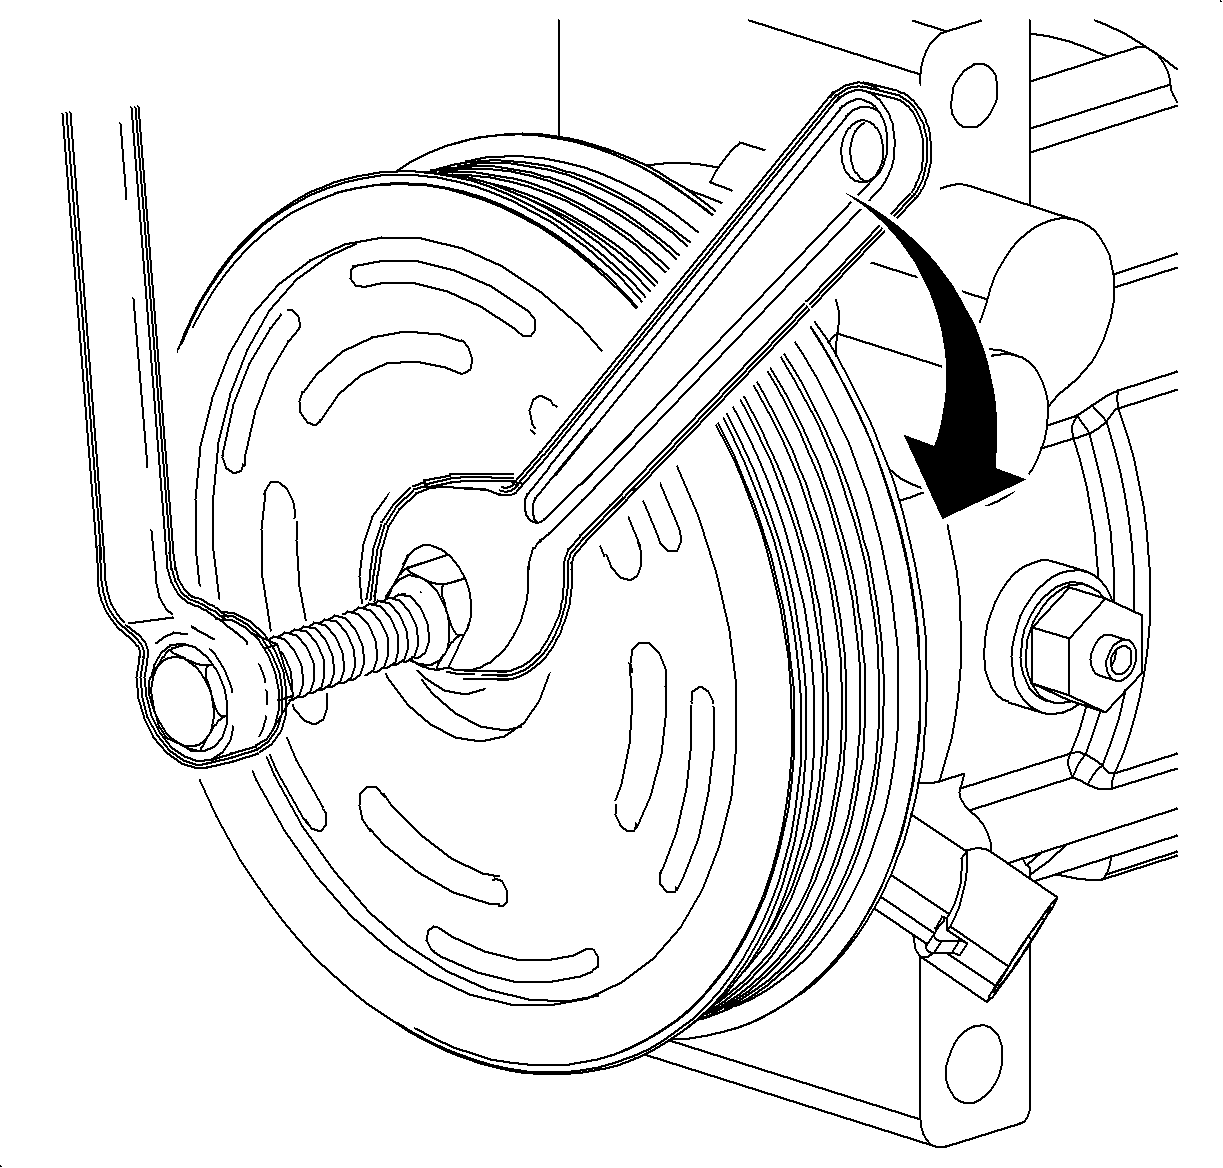
- Hand tighten nut on the installation bolt to align the pulley to the A/C compressor. While holding the end of bolt, tighten the nut until the pulley bottoms out on the A/C compressor.
- Loosen the nut and remove the pulley installation bolt.
- Install the snap ring with the tapered side out using the snap ring pliers.
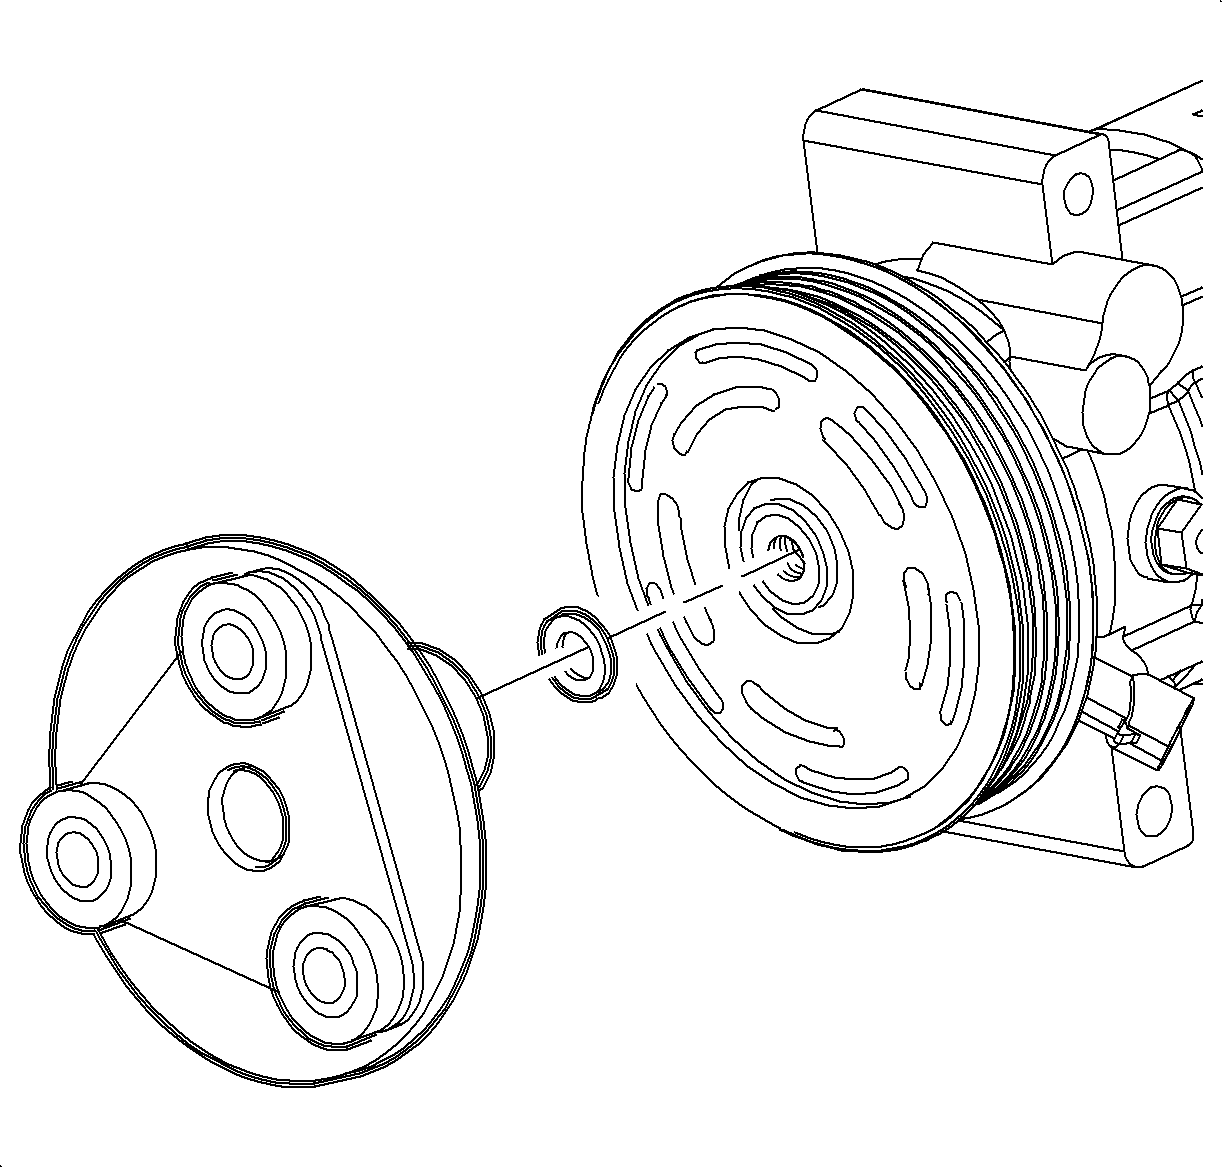
- Install the shims removed from the old drive plate into the clutch drive plate and install it onto the compressor shaft.
- Install the drive plate bolt.
- Using a screwdriver to hold drive plate, tighten the drive plate bolt.
- Using a feeler gage, inspect to ensure the clearance is 0.3-0.6 mm (0.012-0.024 in).
- If necessary, adjust the clearance by adding shims provided with the clutch. Refer to drive plate removal procedure to remove drive plate. After installing the shims, re-install the drive plate and verify the proper clearance.

Tighten
Tighten the A/C compressor clutch coil fasteners to 5 N·m (44 lb in).


Tighten
Tighten the A/C compressor clutch plate bolt to 12 N·m (9 lb ft).
