Service Fittings and Valves Replacement Service Port Valves

Important: Service fitting caps are the primary seals for the service fitting valves. They must be installed and tightened with O-ring seals in place to prevent refrigerant leaks.
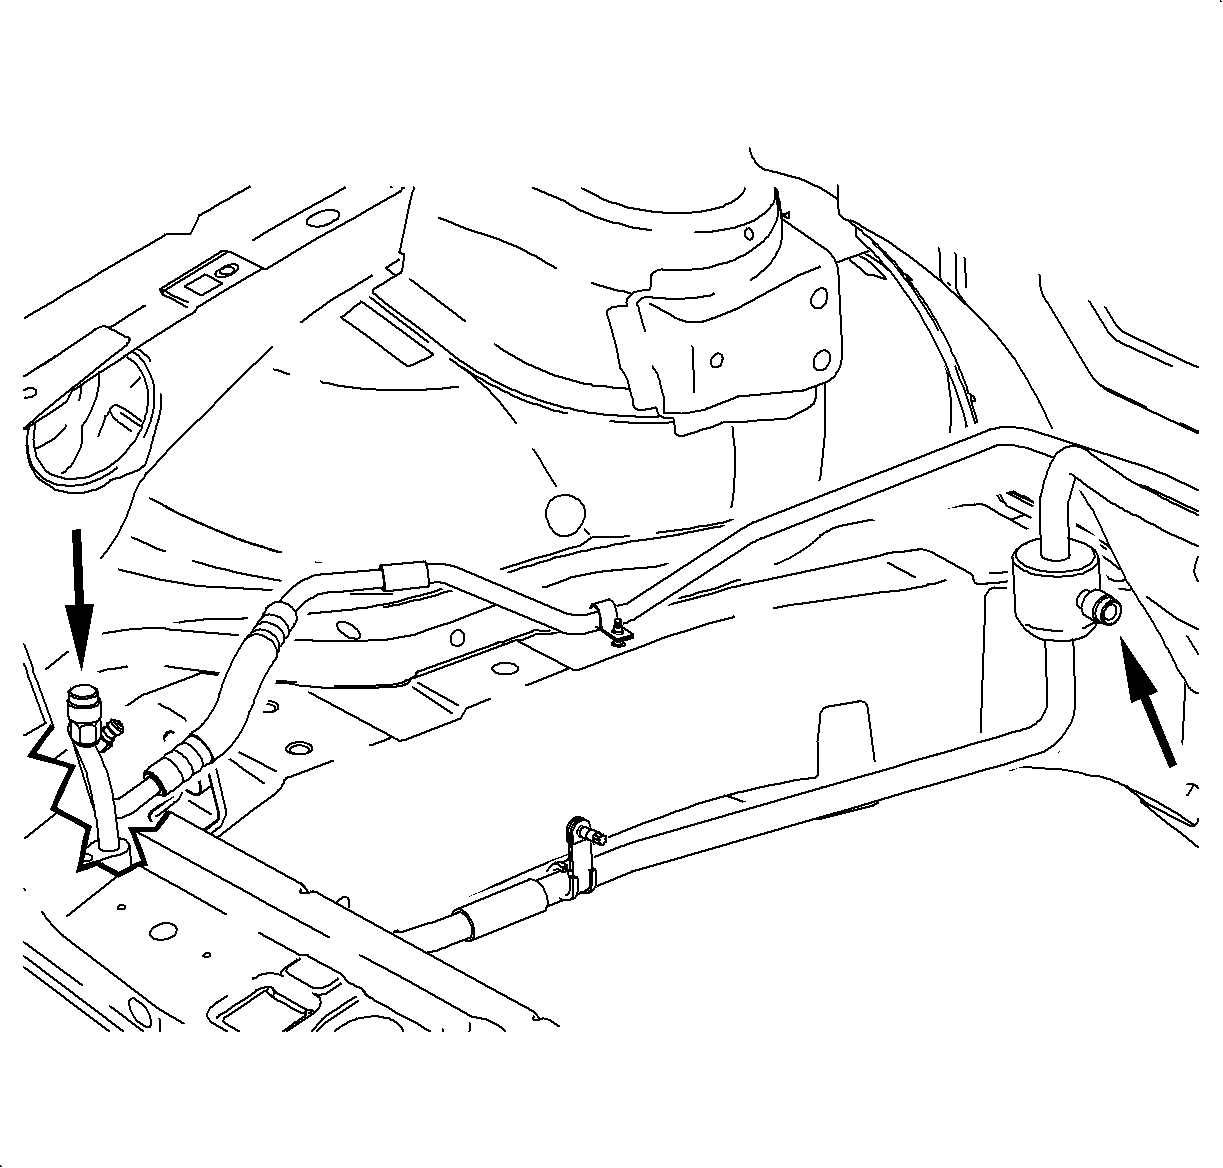
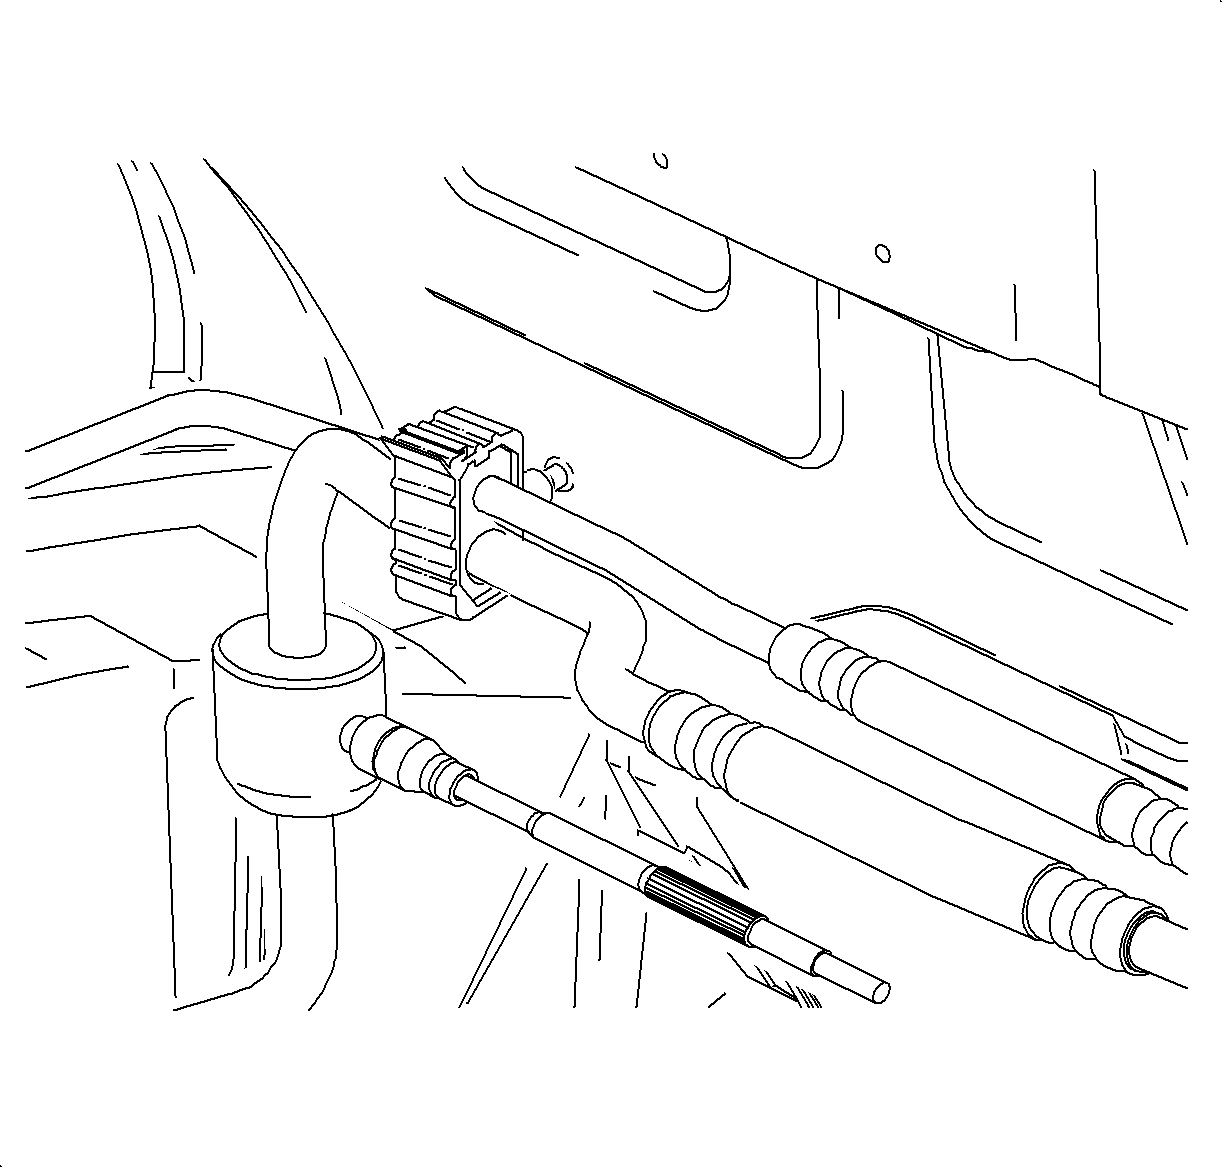
The A/C refrigerant system has a high pressure (discharge) and a low pressure (suction) service fitting valve. These valves provide access to both sides (high and low pressure) of the system. Always reinstall the protector cap on the service fitting valves after servicing the A/C system, to prevent refrigerant from escaping.
Service Fittings and Valves Replacement Valve Core - Low Side
Tools Required
SA9149AC-7 Valve Core Replacer
Removal Procedure
- Discharge the refrigerant system using an approved refrigerant recovery system.
- Remove the valve core using the SA9149AC-7 .

Installation Procedure
- Install and tighten the valve core with SA9149AC-7 .
- Evacuate, charge, and leak test the A/C system.

Important: To prevent loss of refrigerant charge, make sure to install and tighten cap. Replace cap if seal is missing or damaged.
Service Fittings and Valves Replacement Valve Core - High Side
Removal Procedure
- Discharge the refrigerant system using an approved refrigerant recovery system.
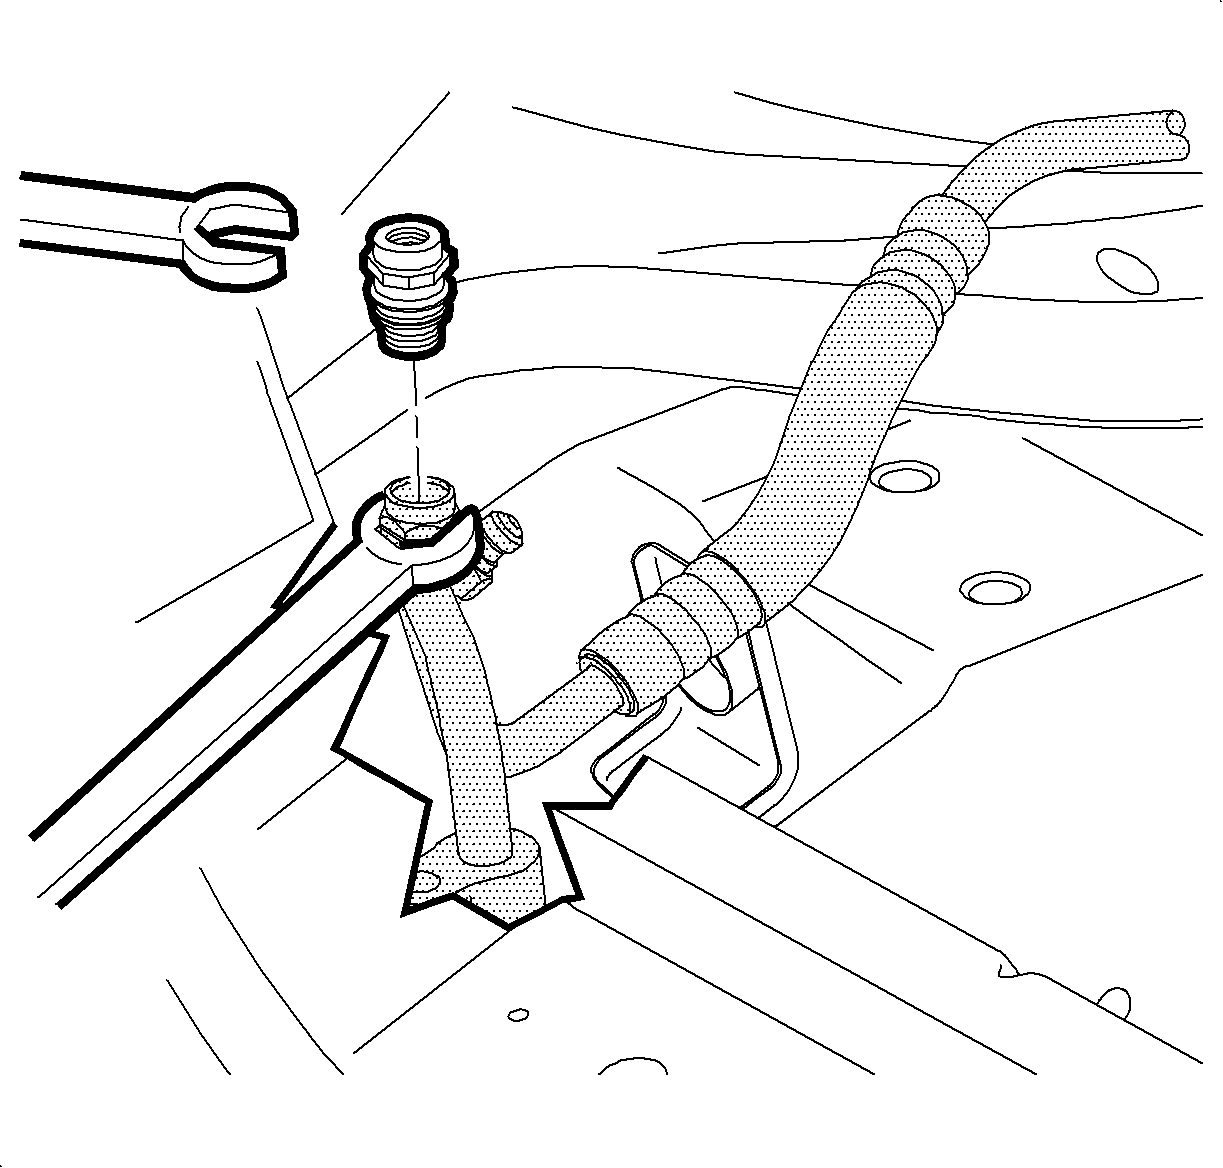
- Using a back-up wrench to support service port base, use a second wrench to remove the valve assembly.

Installation Procedure
- Lubricate the valve assembly O-ring with mineral oil.
- Thread the valve assembly into the service port base.
- Evacuate, charge, and leak test the A/C system.

Tighten
Tighten the valve assembly-to-service port base
to 12 N·m (106 lb in).
Important: To prevent loss of refrigerant charge, make sure to install and tighten cap. Replace cap if seal is missing or damaged.
