For 1990-2009 cars only
Rear Compartment and Liftgate Lock Cylinder Coding Sedan
Dissassembly Procedure
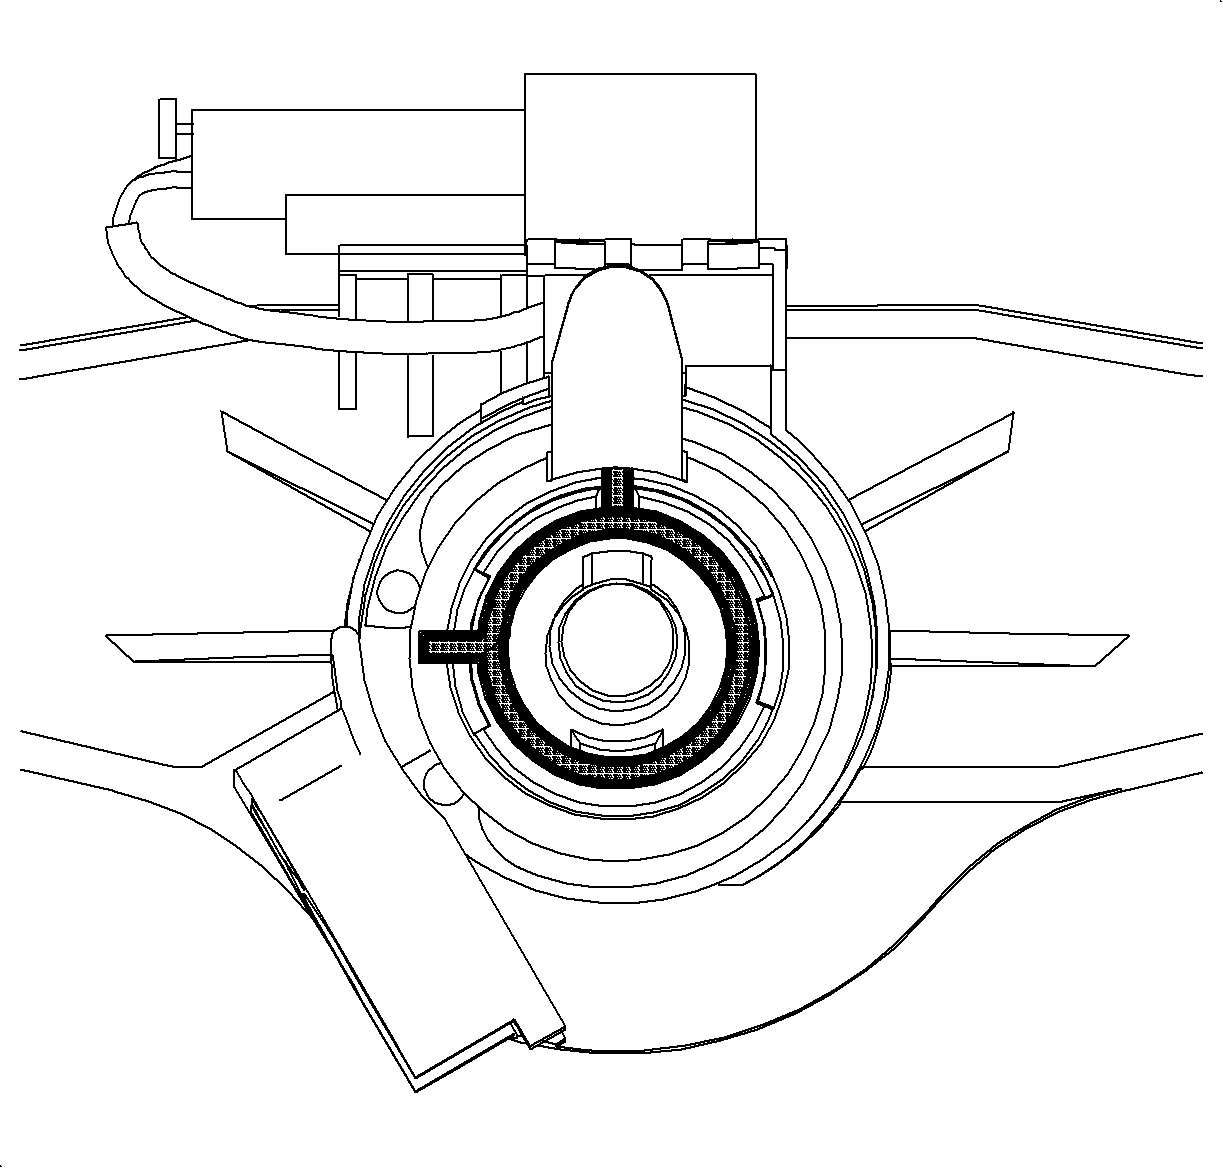
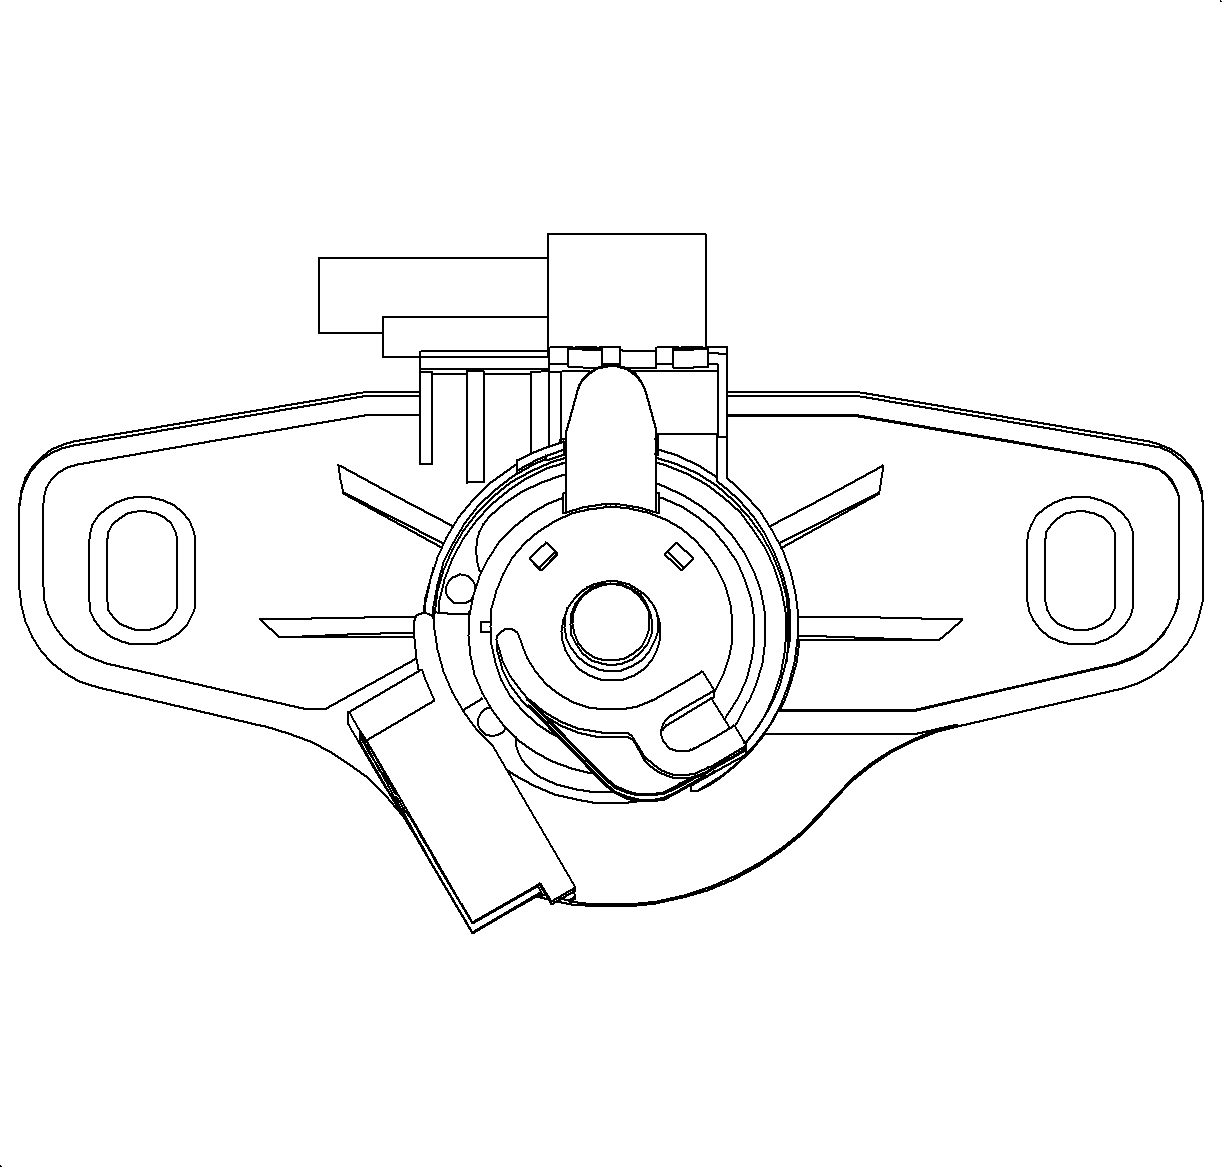
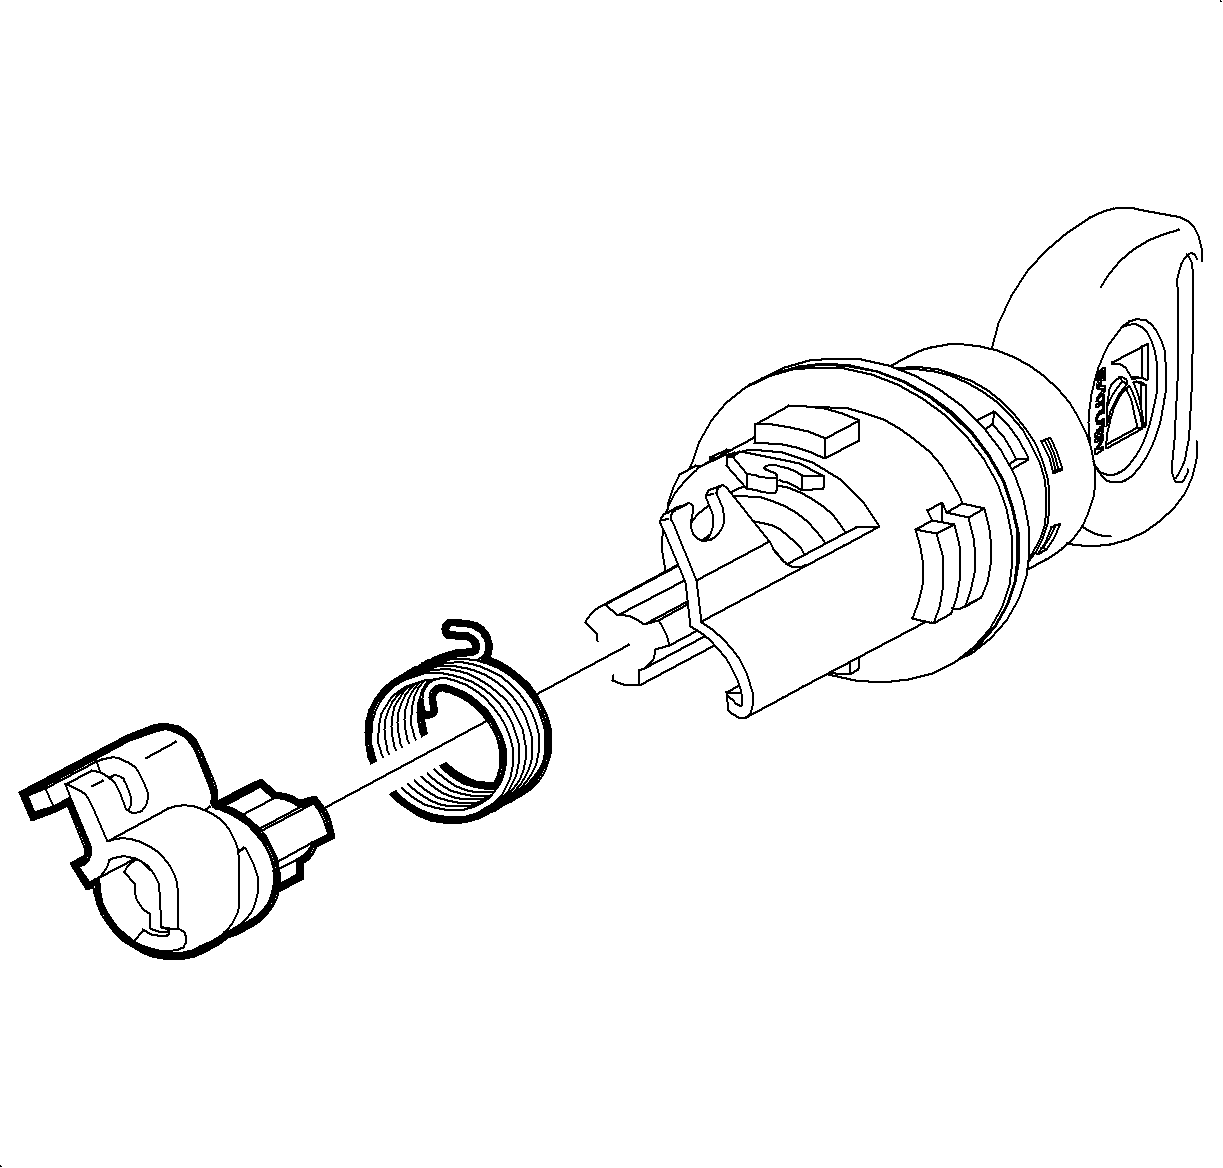
- Unhook return spring from case and pawl.
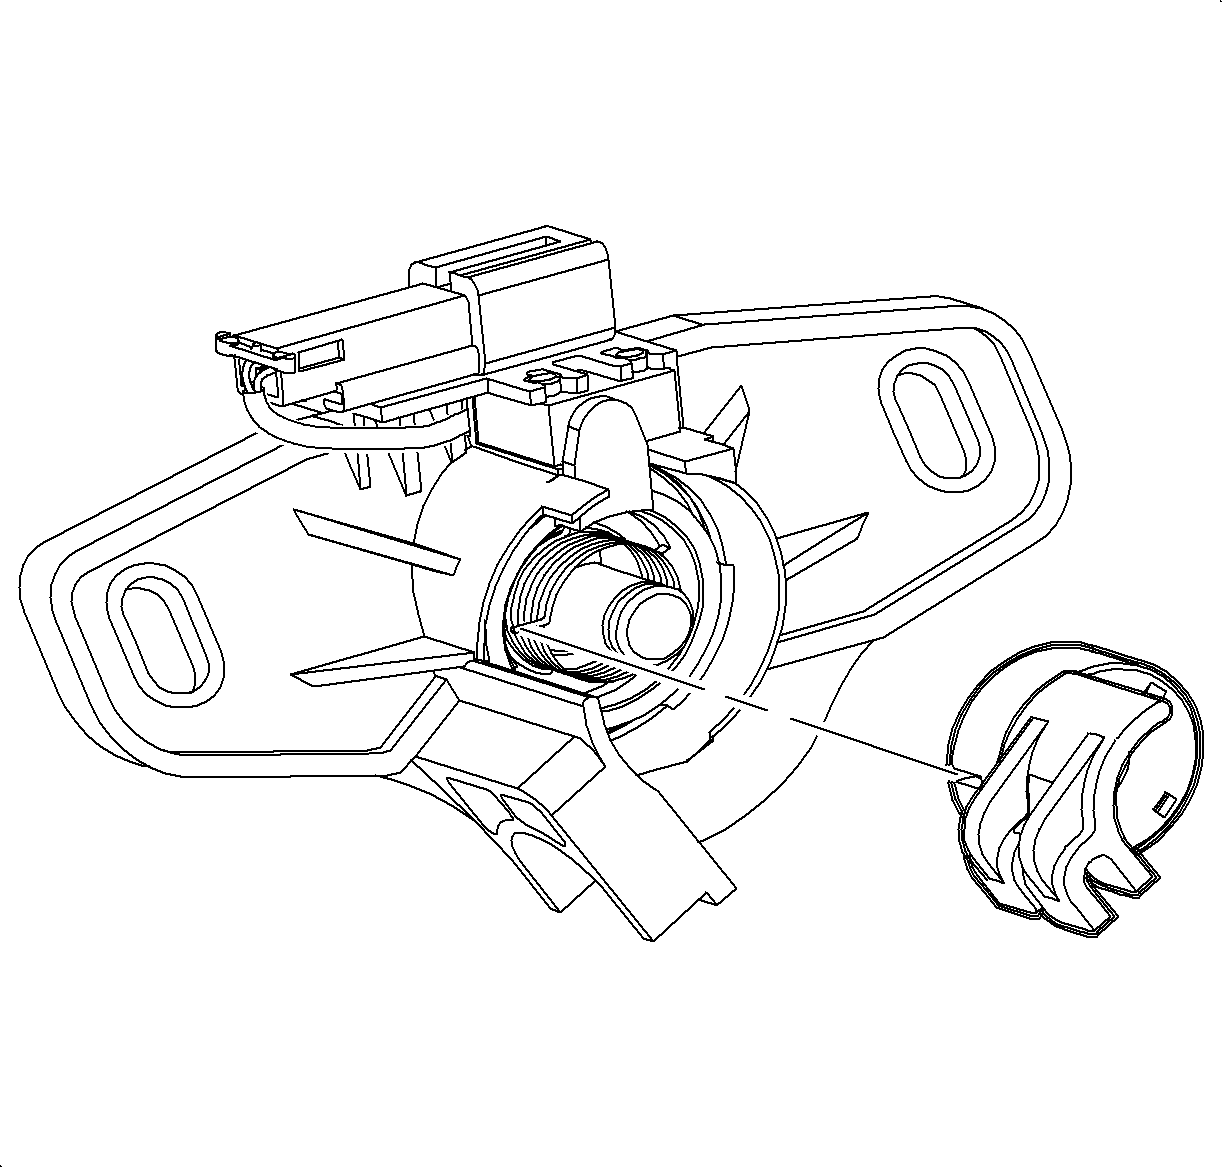
- Remove cap from lock cylinder by inserting thin blade screwdriver between cap and case and carefully prying cap from case.
- Remove shutter and shutter springs.
- Insert key and rotate a quarter turn clockwise. Slide cylinder from housing.
- Remove return spring and pawl from case.
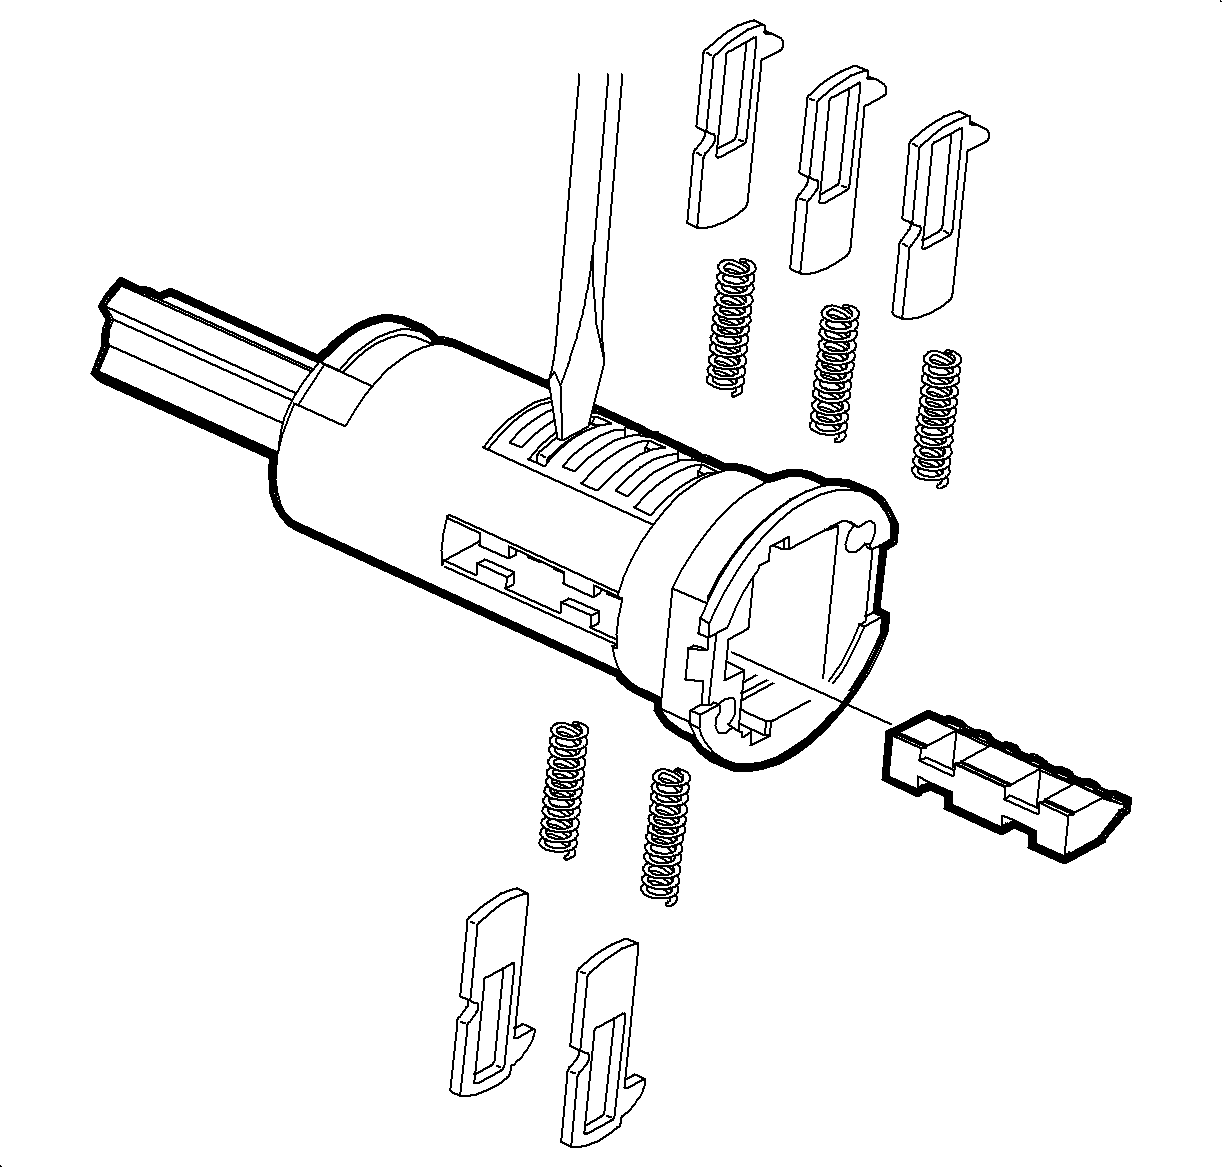
- Remove key and push tumblers out of lock cylinders using a thin bladed screwdriver.
- If necessary, remove sidebar assembly by pushing it inward while tapping the cylinder, causing it to fall out.
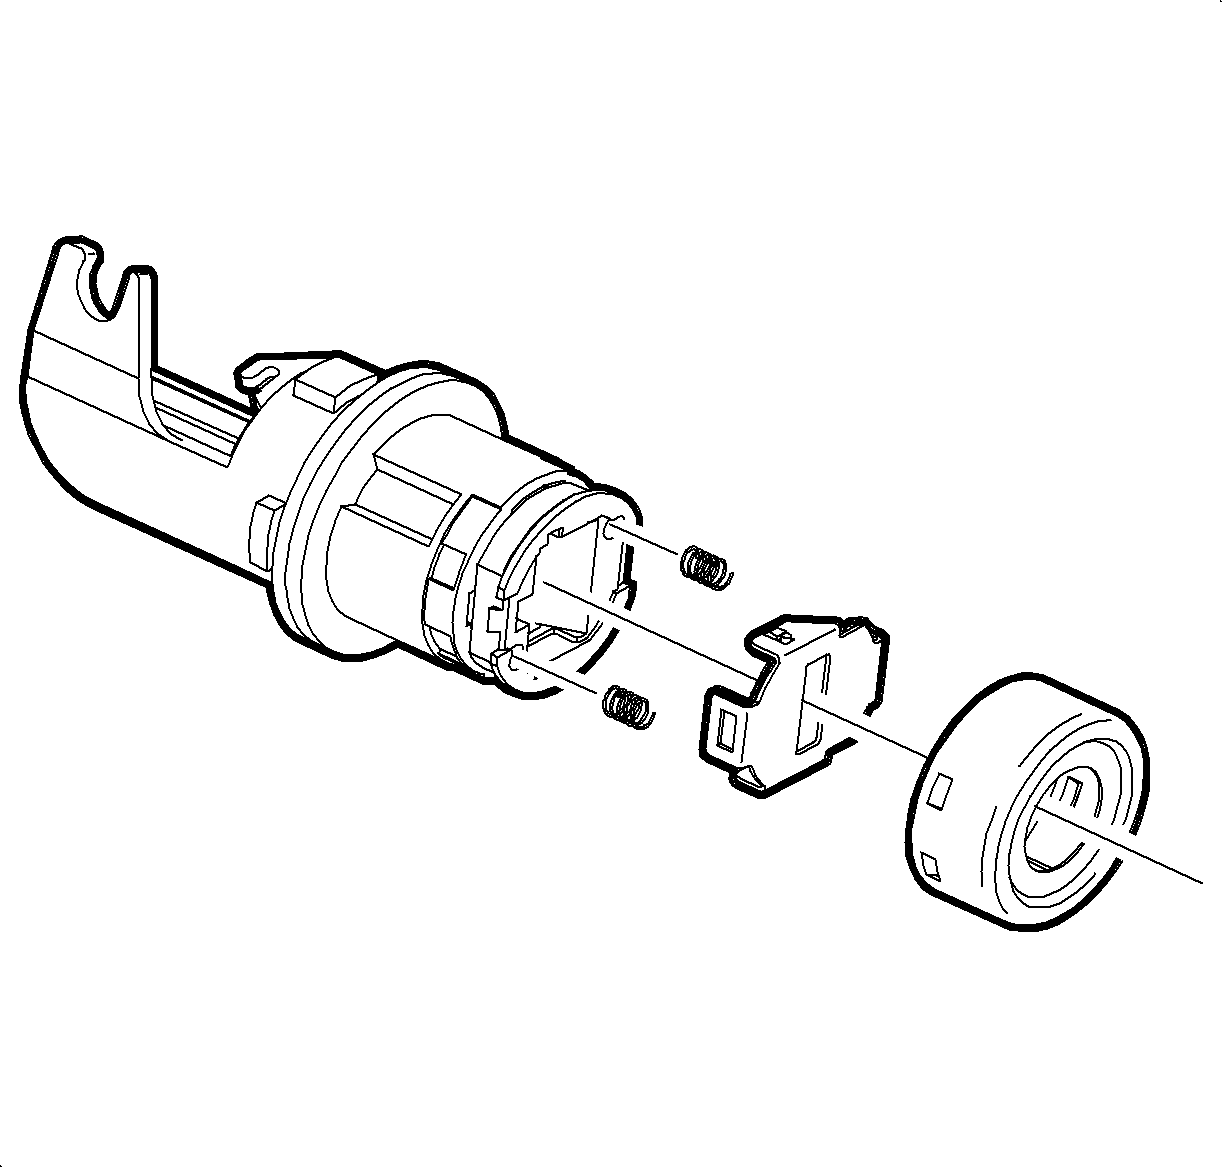
Important: When shutter is removed, the shutter springs may fall out.
Assembly Procedure
- Select the correct tumblers for the desired code by the number stamped on the tumbler.
- Install tumblers by applying downward pressure until they lock into place.
- Install pawl and return spring into case.
- Insert key into cylinder, insert cylinder into housing and rotate quarter turn counterclockwise.
- Install shutter springs and shutter.
- Install cap to lock cylinder.
- Hook return spring to pawl and case.
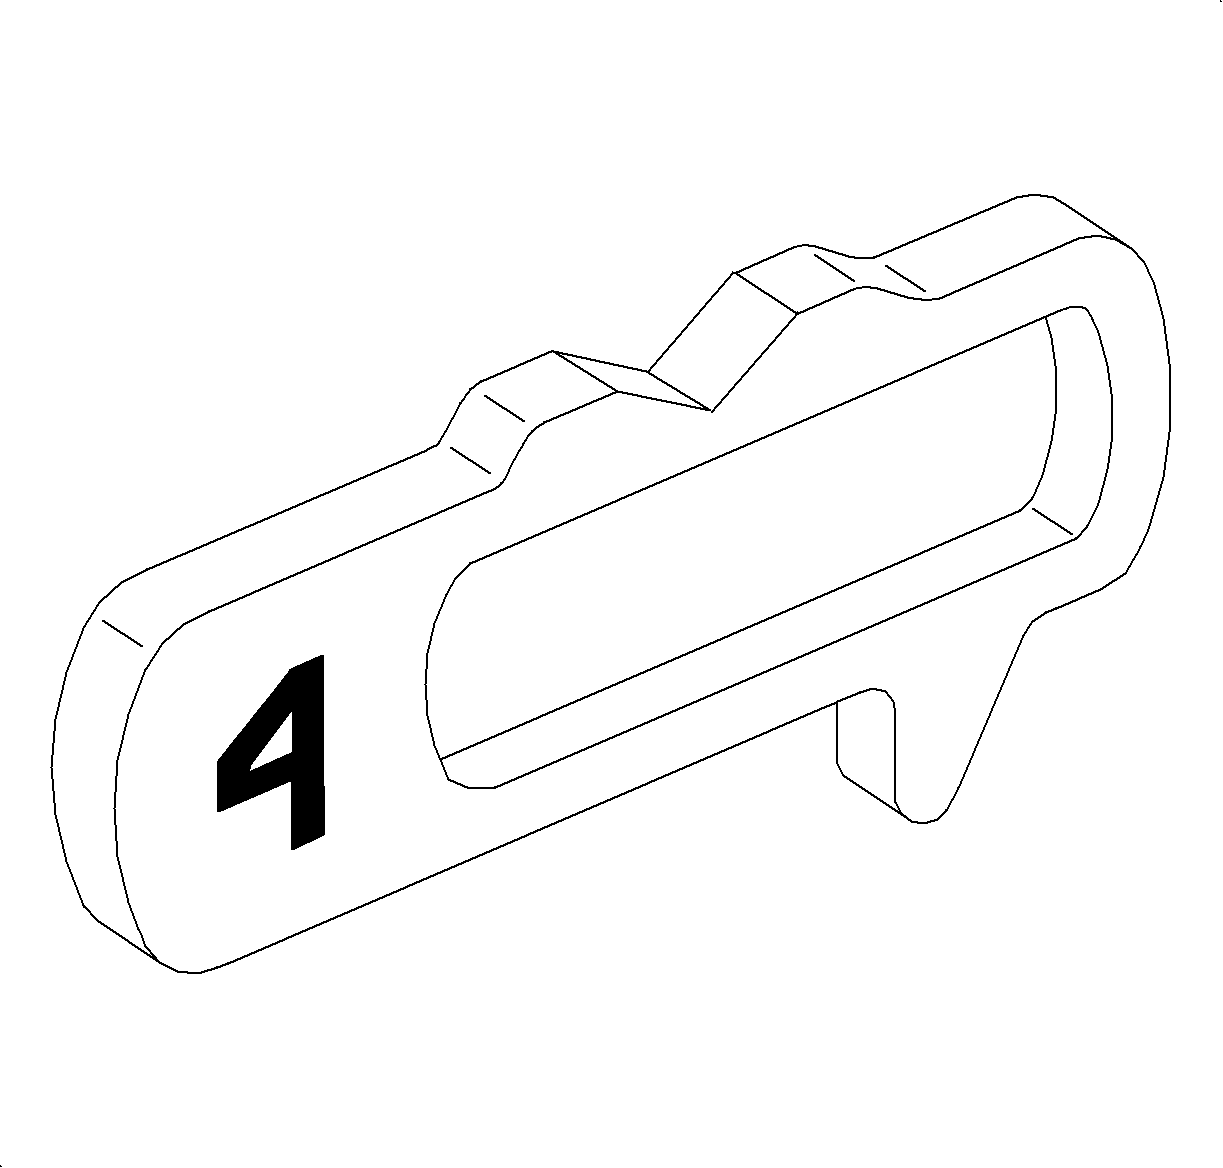

Important: Make sure sidebar and tumbler springs are in place before installing tumblers.

Important: When key is inserted into properly coded lock cylinder, all tumblers except the retainer tumbler will be flush with the lock cylinder.

Rear Compartment and Liftgate Lock Cylinder Coding Wagon
Dissassembly Procedure
- Remove the E-clip at rear of the lock cylinder and remove the pawl.
- Remove the switch lever and the return spring.
- Compress the inside snap ring and remove. Remove the washer plate and the compression spring.
- Remove lock cylinder from the liftgate the lock cylinder housing.
- Remove cap and gasket from lock cylinder.
- Remove the shutter and the shutter springs.
- Insert the key into the cylinder, turn it a quarter turn clockwise and remove the cylinder from the housing.
- Push the tumblers out of the lock cylinder using a thin bladed screwdriver.
- If necessary, remove the sidebar assembly by pushing it inward while tapping the cylinder causing it to fall out.
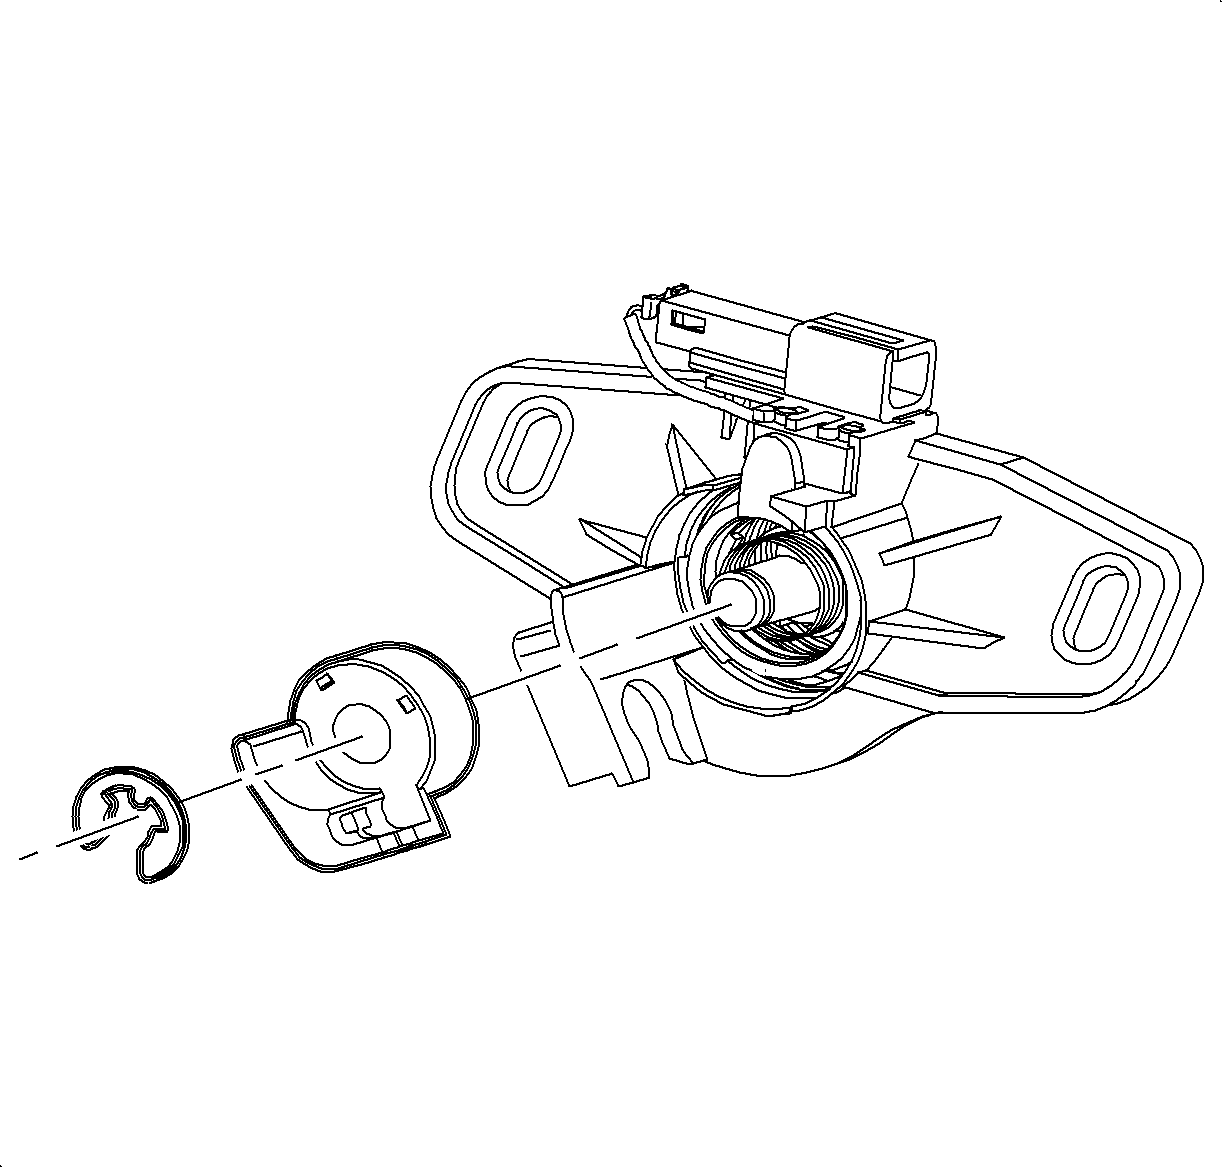
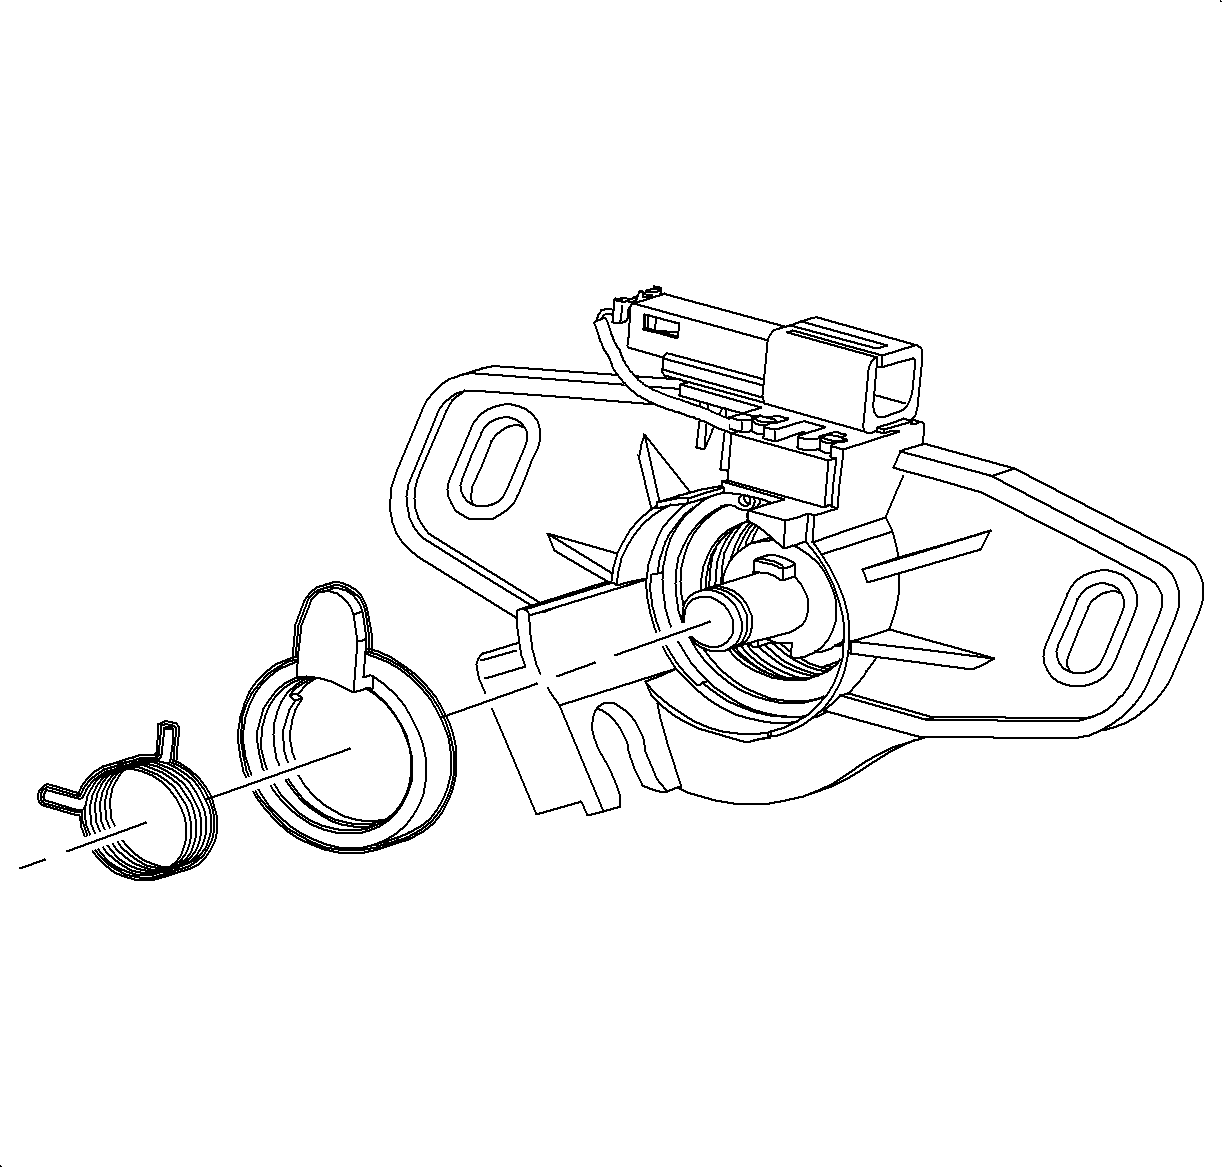
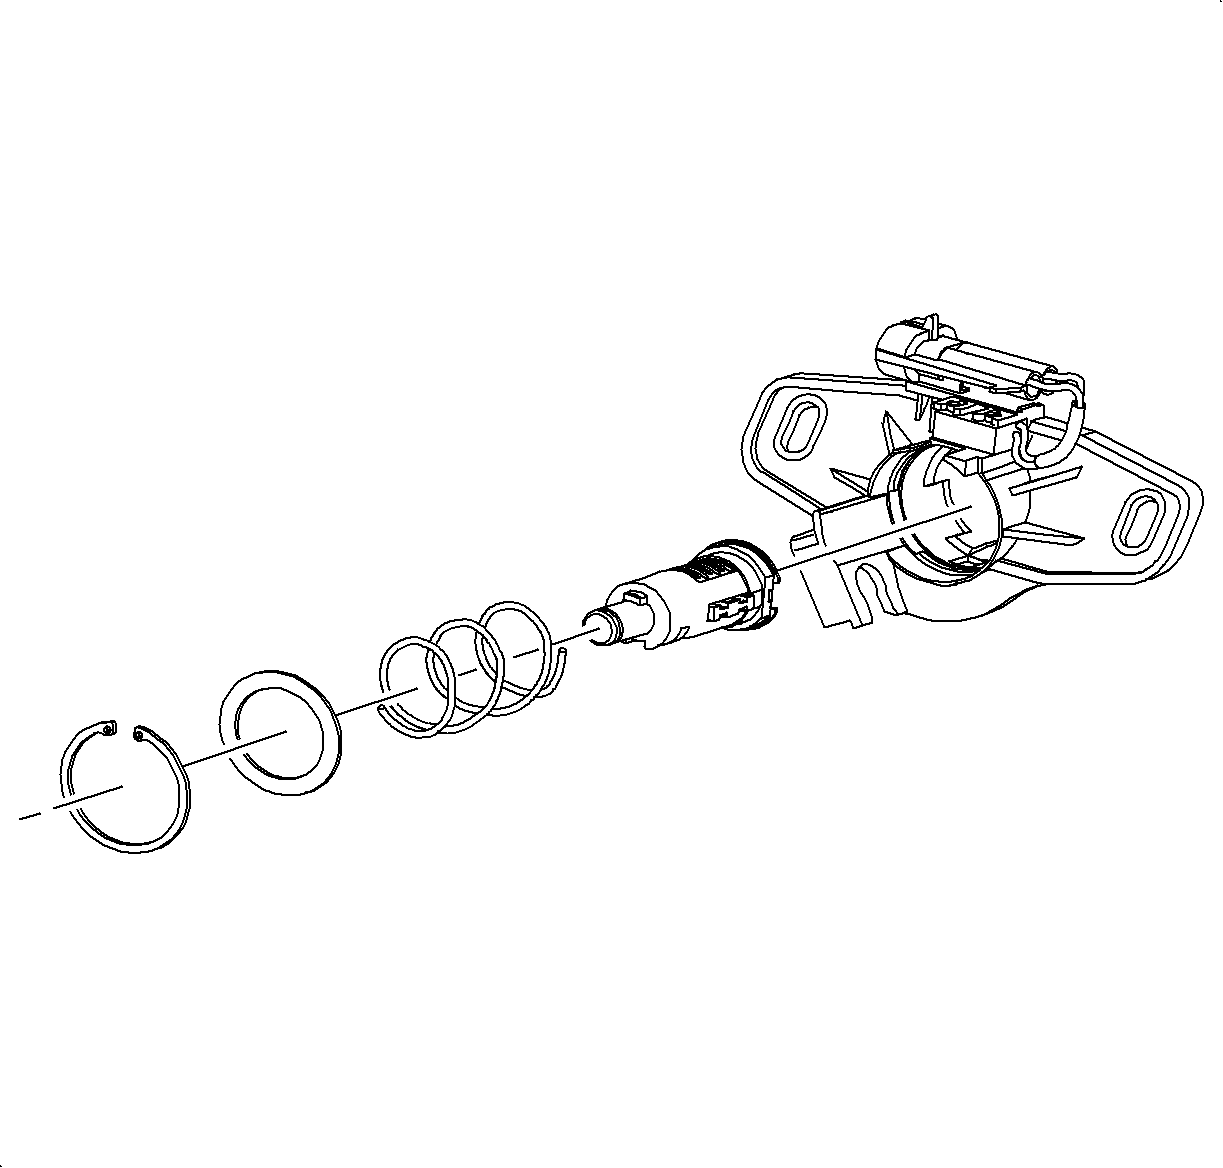
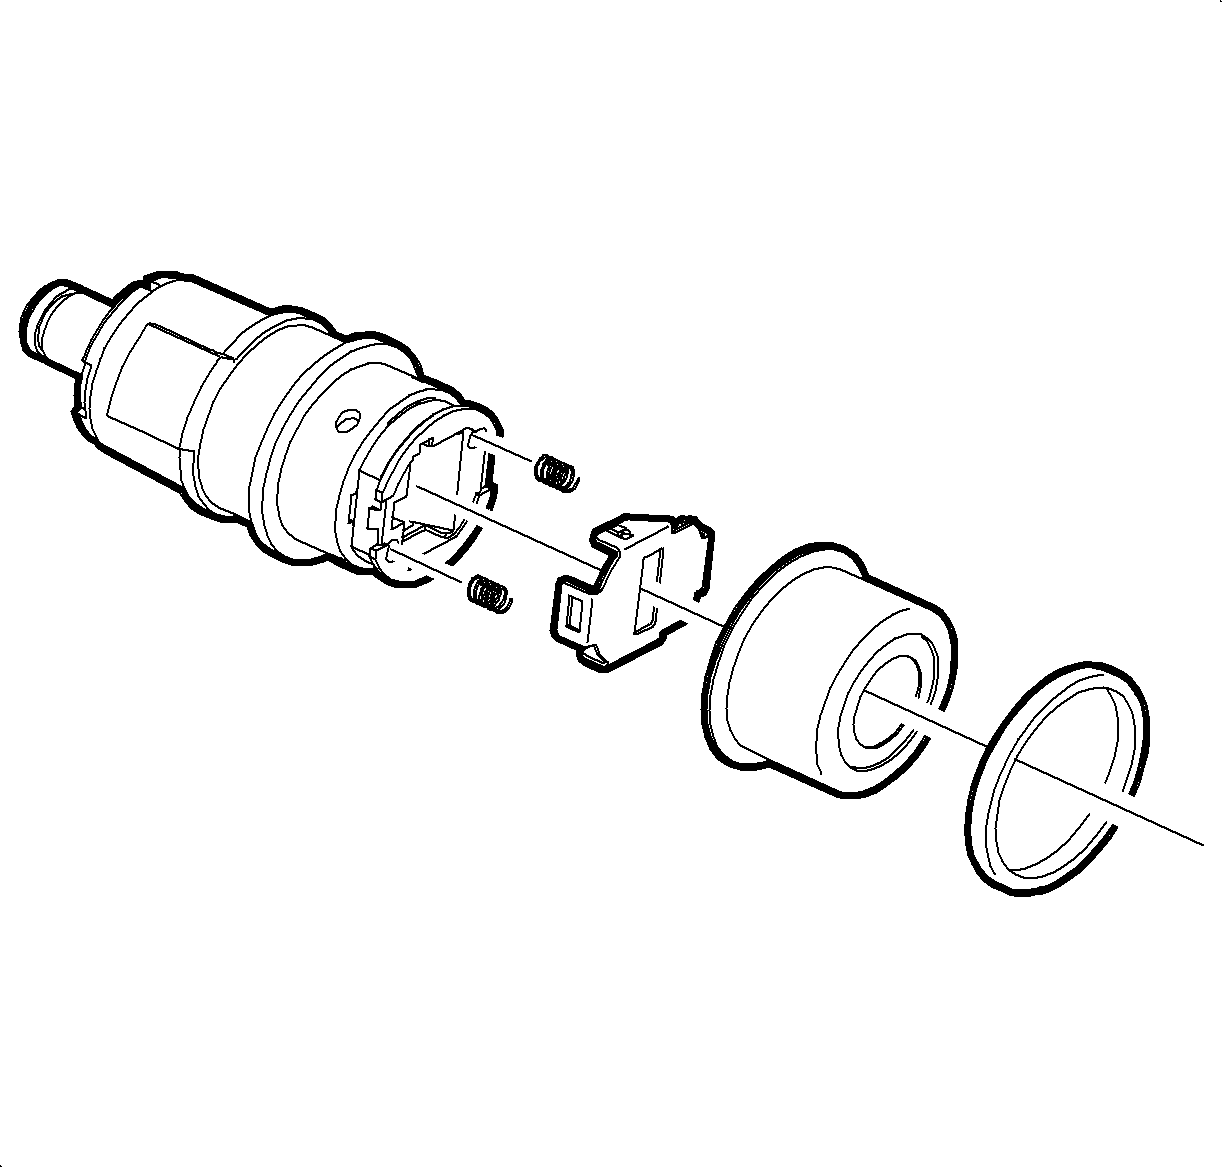
Important: When the shutter is removed, the shutter springs may fall out.
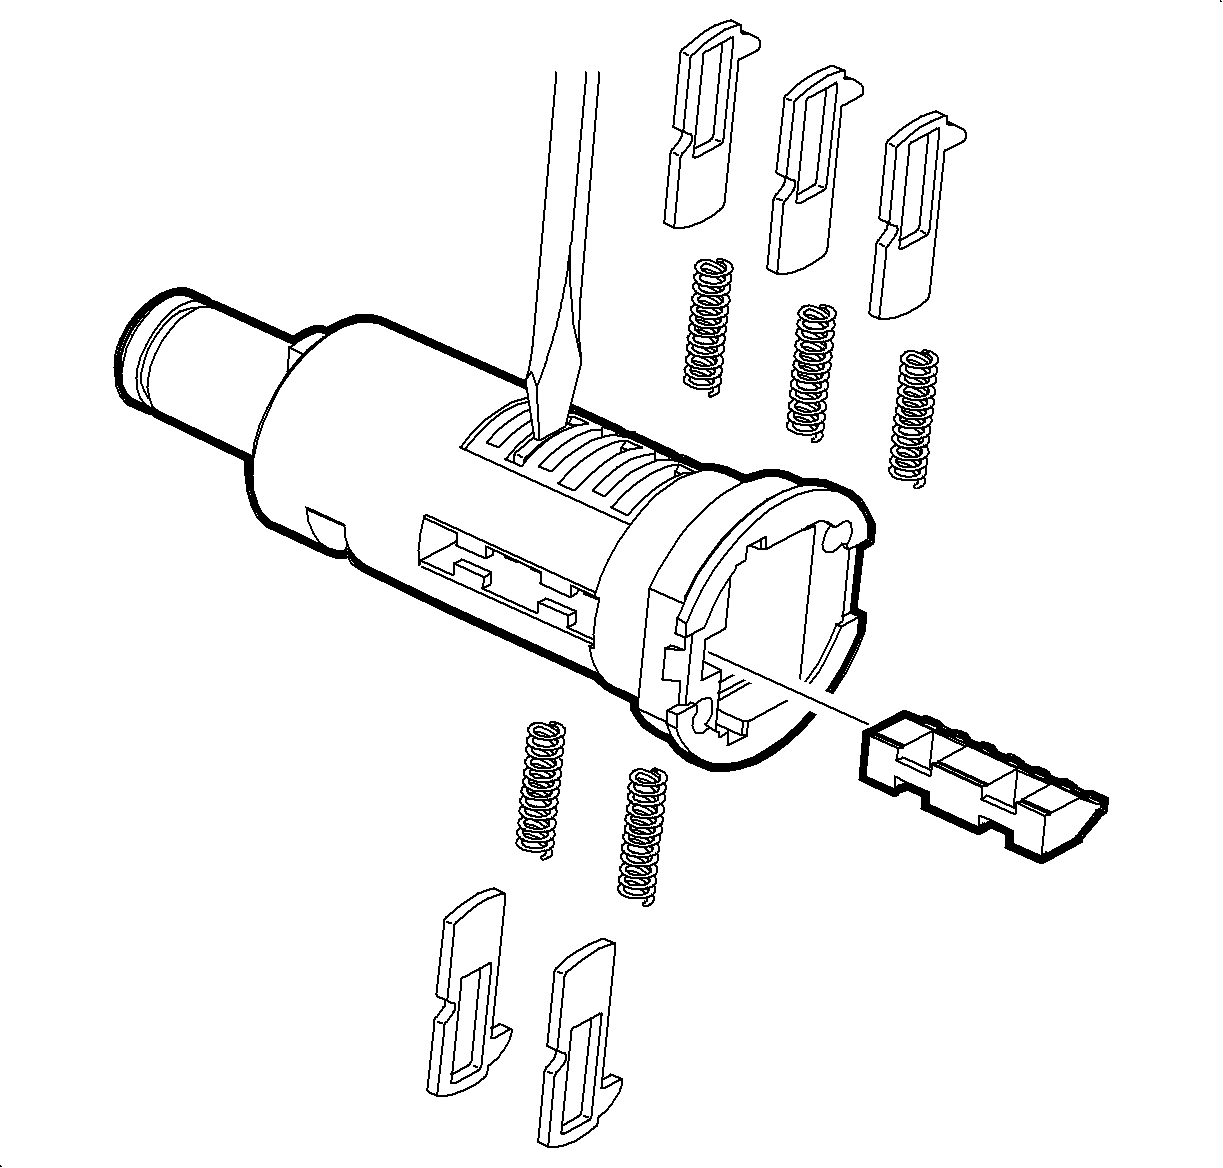
Important: When the tumblers are removed from the lock cylinder tumbler, the springs may fall out.
Assembly Procedure
- Select the correct tumblers for the desired key code by the number stamped on the tumbler.
- Install the tumblers by applying a downward pressure until they lock into place.
- To check the coding of the cylinder, insert a key. If the coding is correct, the tumblers will be flush with the cylinder with the key inserted.
- For assembly, oil the lock set with a light oil or a graphite lubricant.
- Insert lock cylinder with key into cylinder housing, turn it a quarter turn counter clockwise to lock it into place
- Install shutter, shutter springs, cap and gasket.
- Install the lock cylinder into the liftgate lock cylinder housing.
- Install the compression spring, washer plate, and the snap ring
- Install the switch lever into the lock cylinder housing.
- Place one leg of the return spring into the slot between the switch lever and the plastic housing.
- Align the pawl so the top leg of the return spring slides into the slot in the pawl.
- Rotate the pawl counter clockwise in the lock latch cylinder housing. If done properly, the keyway in the pawl will slide down over the key on top of lock cylinder.
- Install the E-clip at rear of lock cylinder.

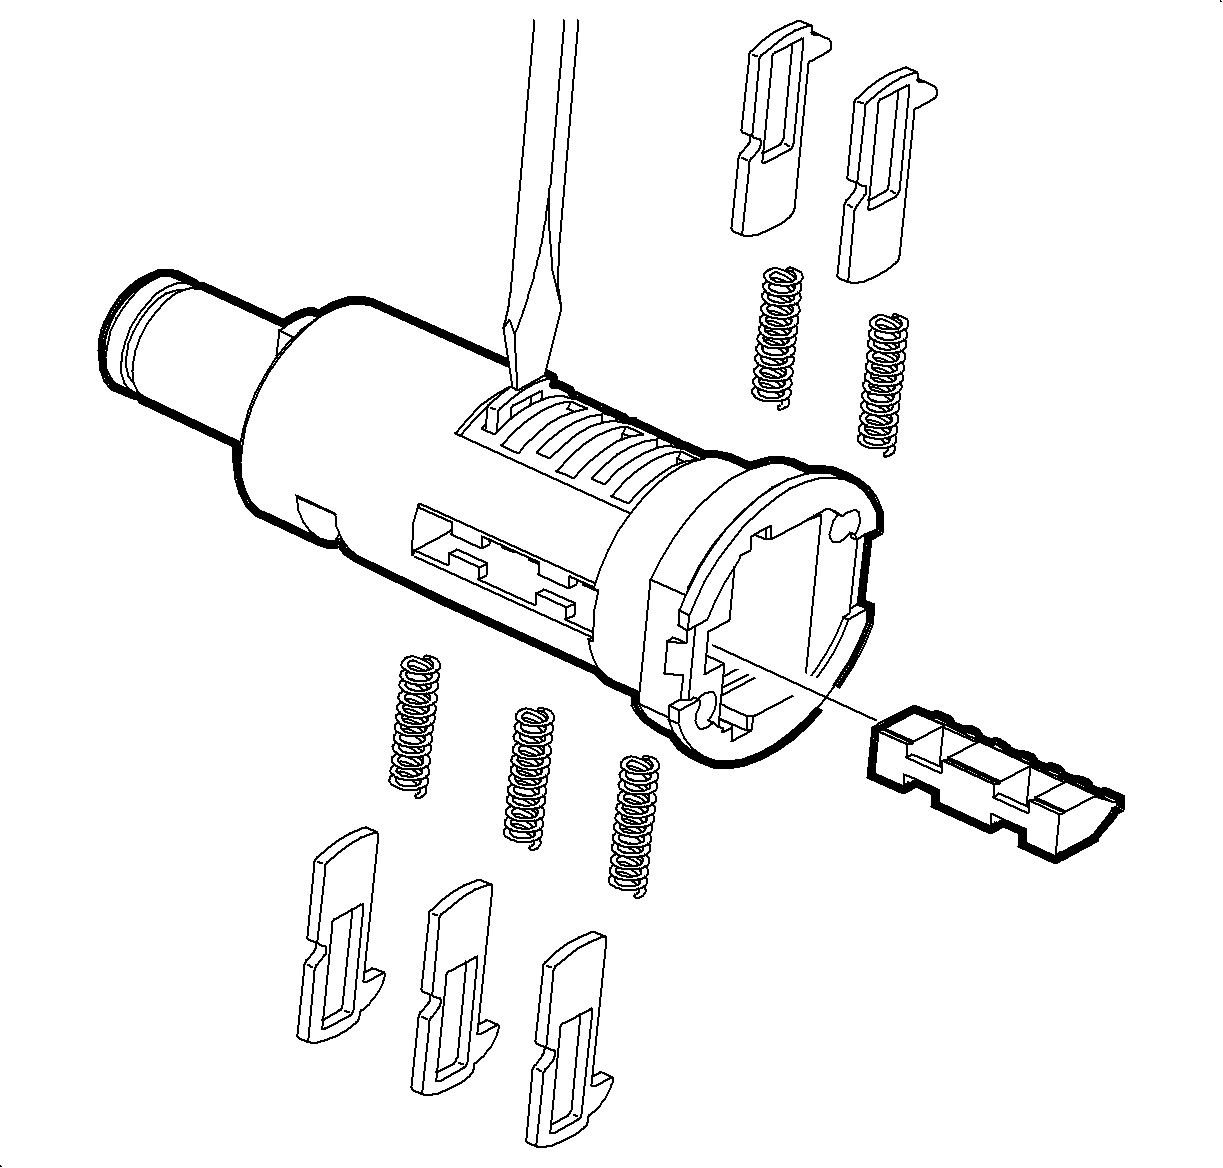
Important: Make sure sidebar and tumbler springs are in place before installing tumblers.


