For 1990-2009 cars only
Removal Procedure
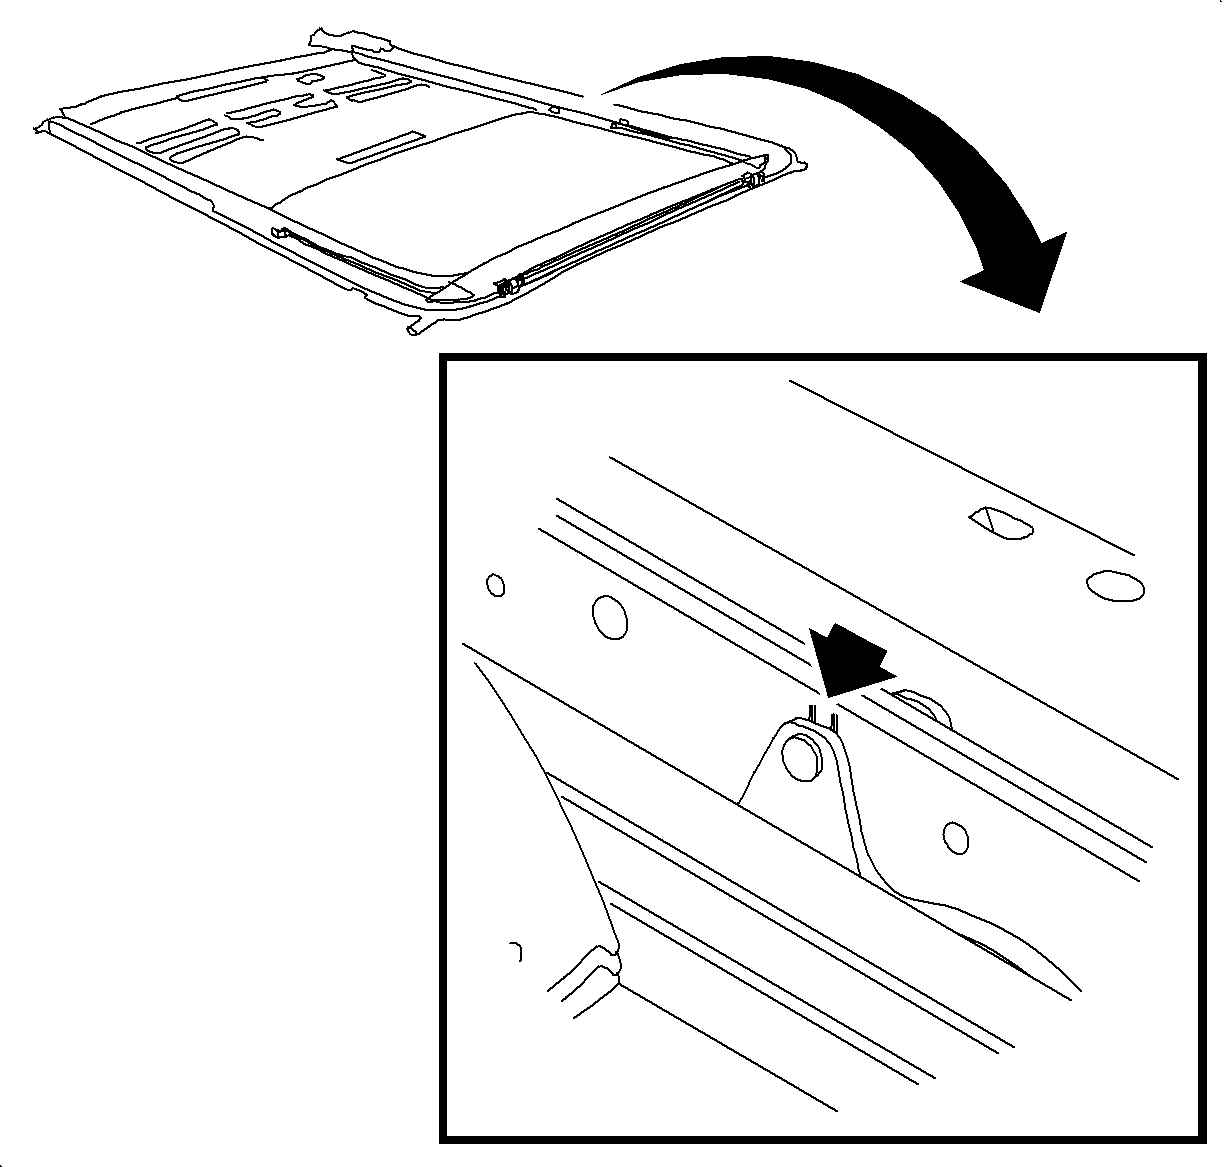
- Remove the entire sunroof assembly from the vehicle.
- Remove the screws from the "U" cover.
- Manually move the sunroof into the ¼ open position.
- Remove the "U" cover by unsnapping it from the sides of the sunroof assembly.
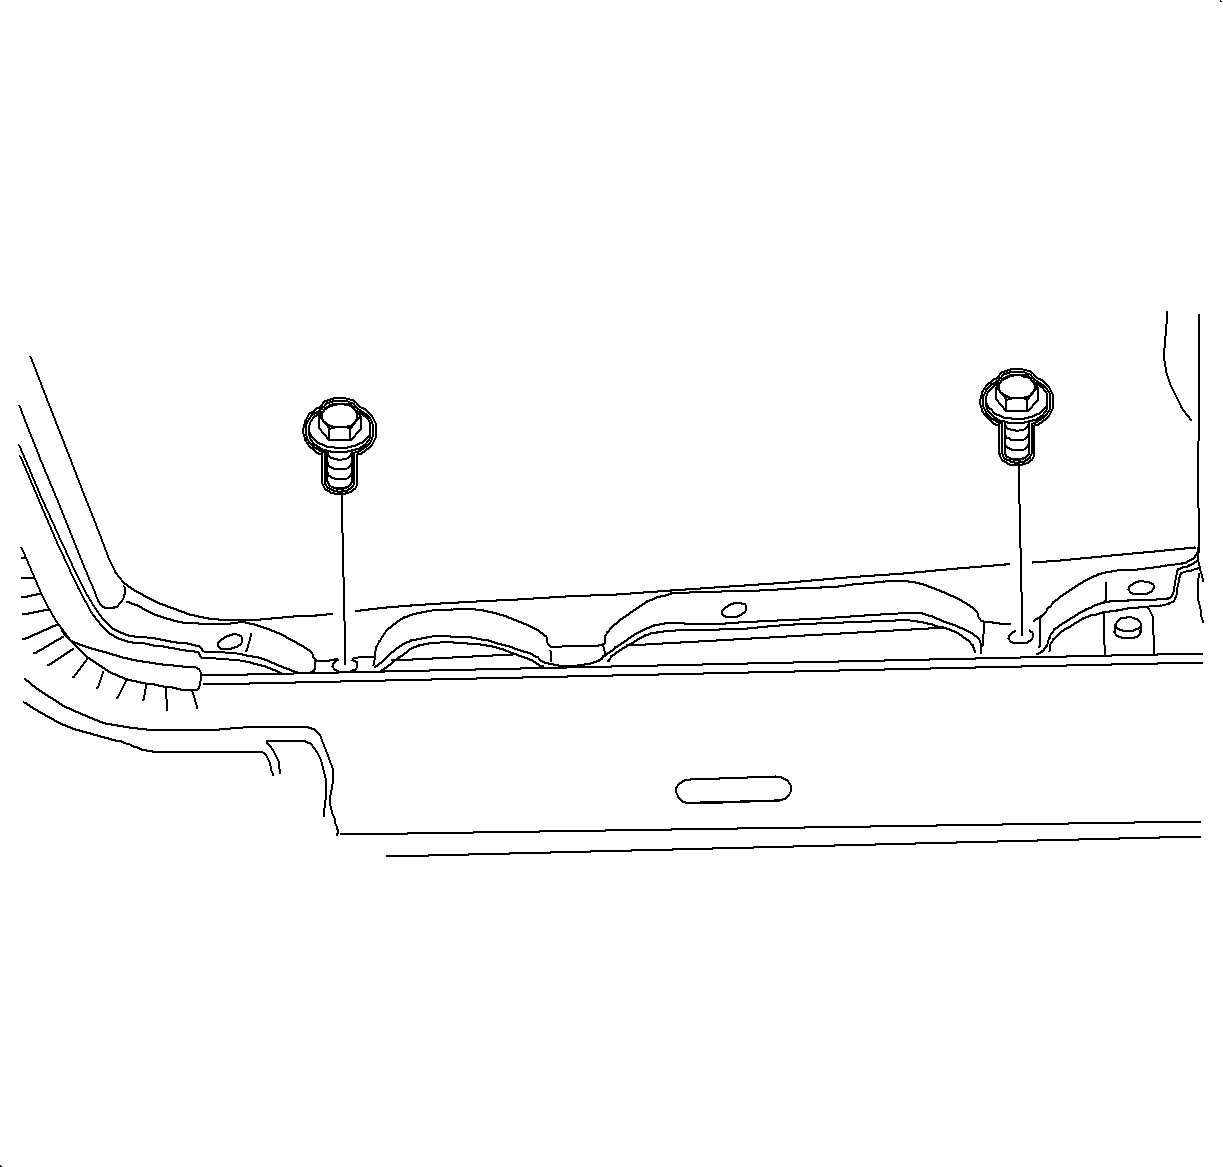
- Remove the encapsulated glass with the 4 bolts.
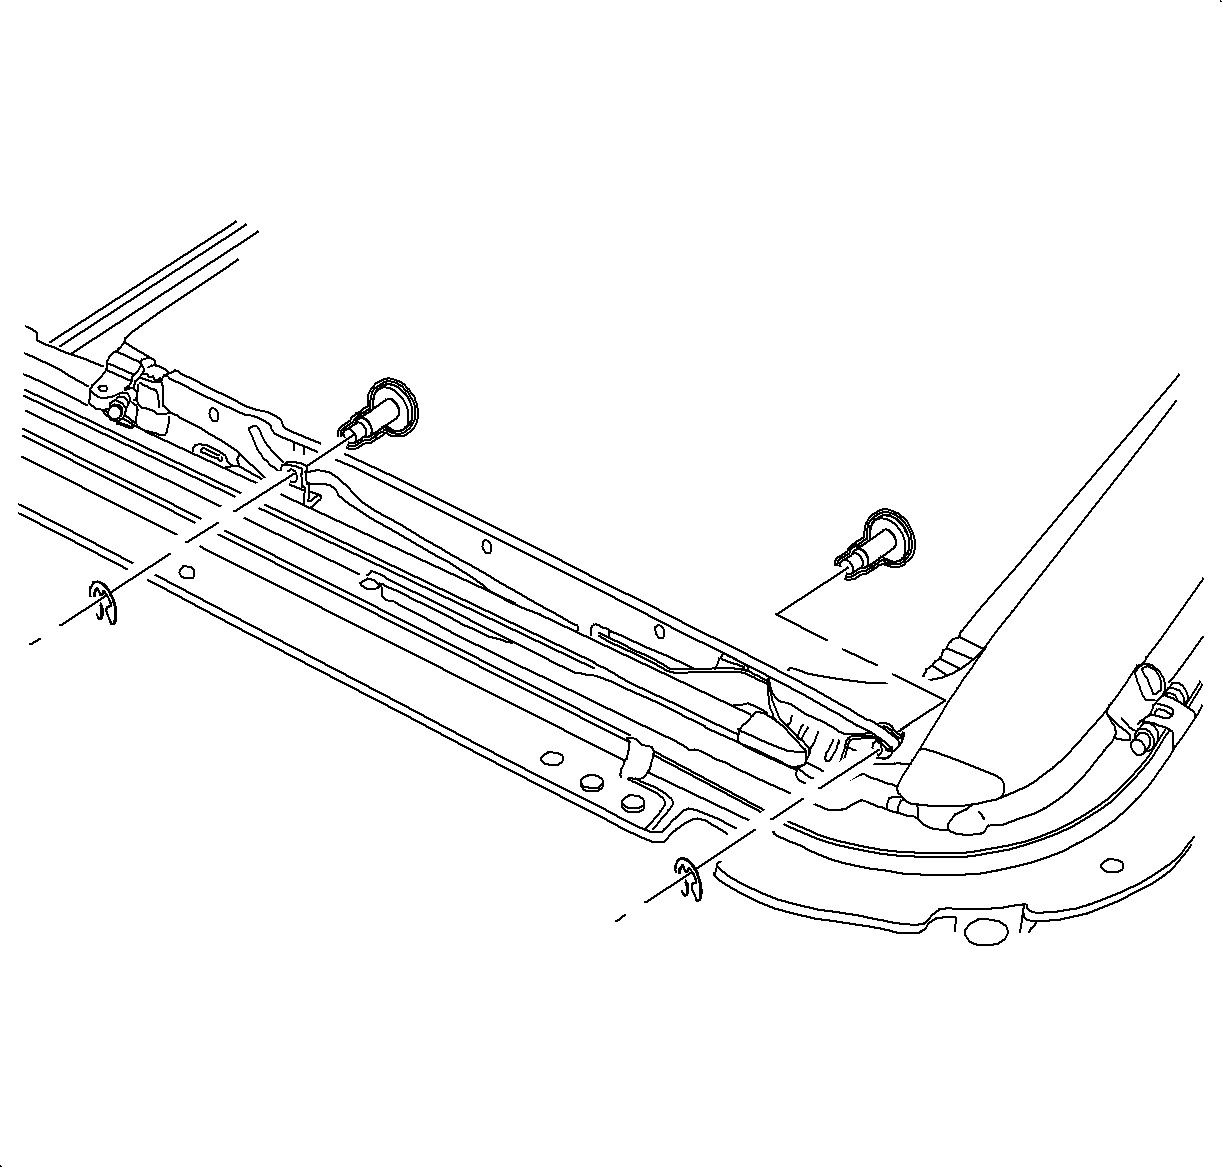
- Remove the Kolissa, the 4 E-clips and the pins
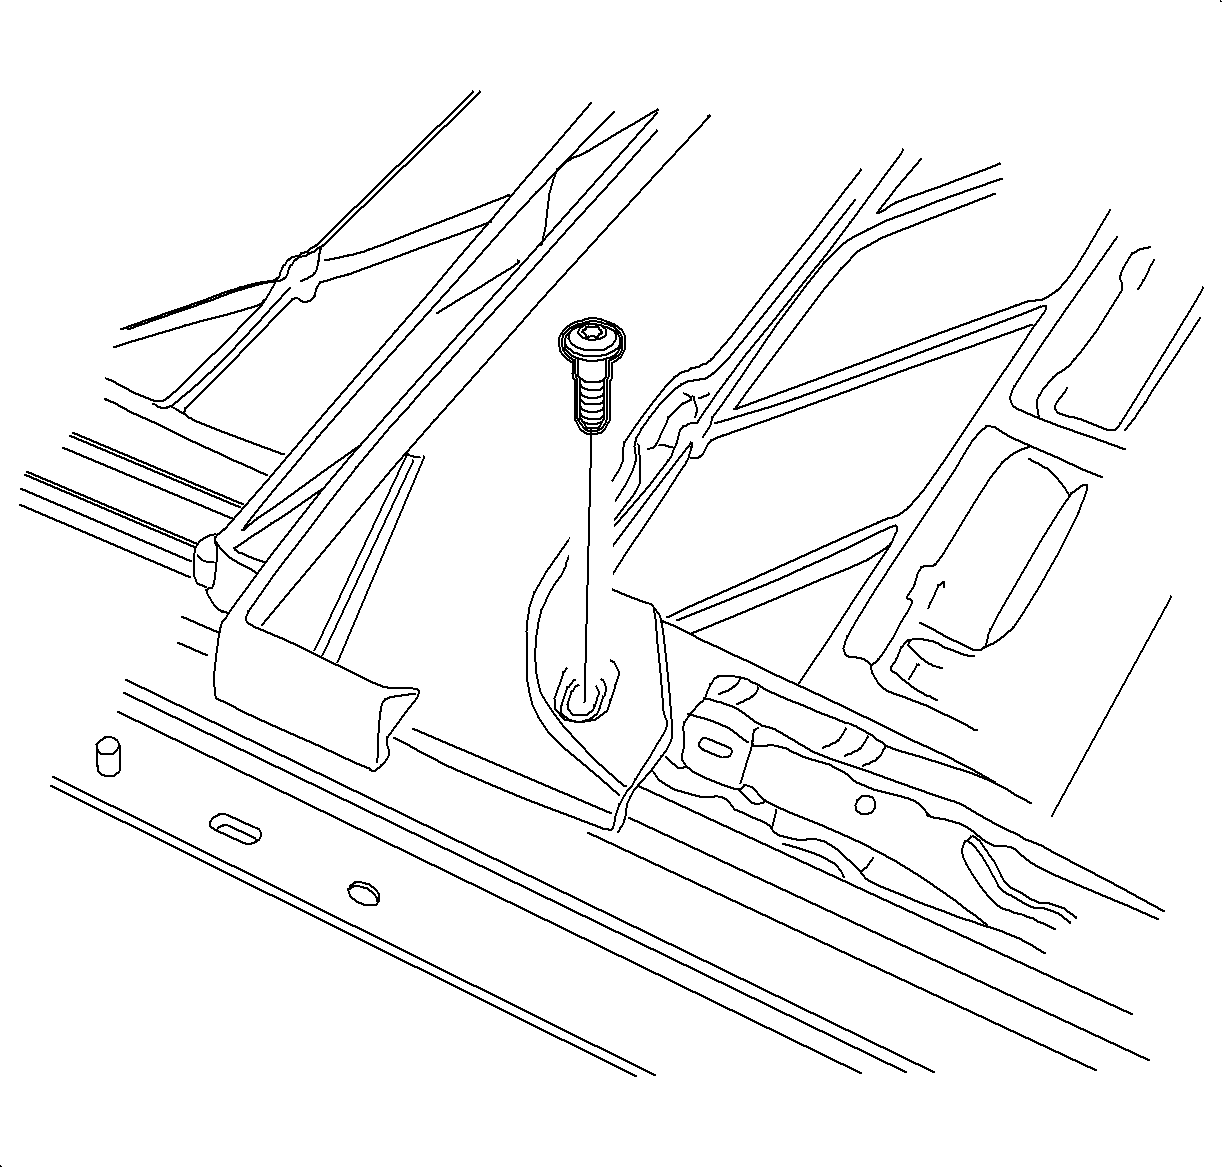
- Remove the left side of the channel screw.
- Remove the right side of the channel screw.
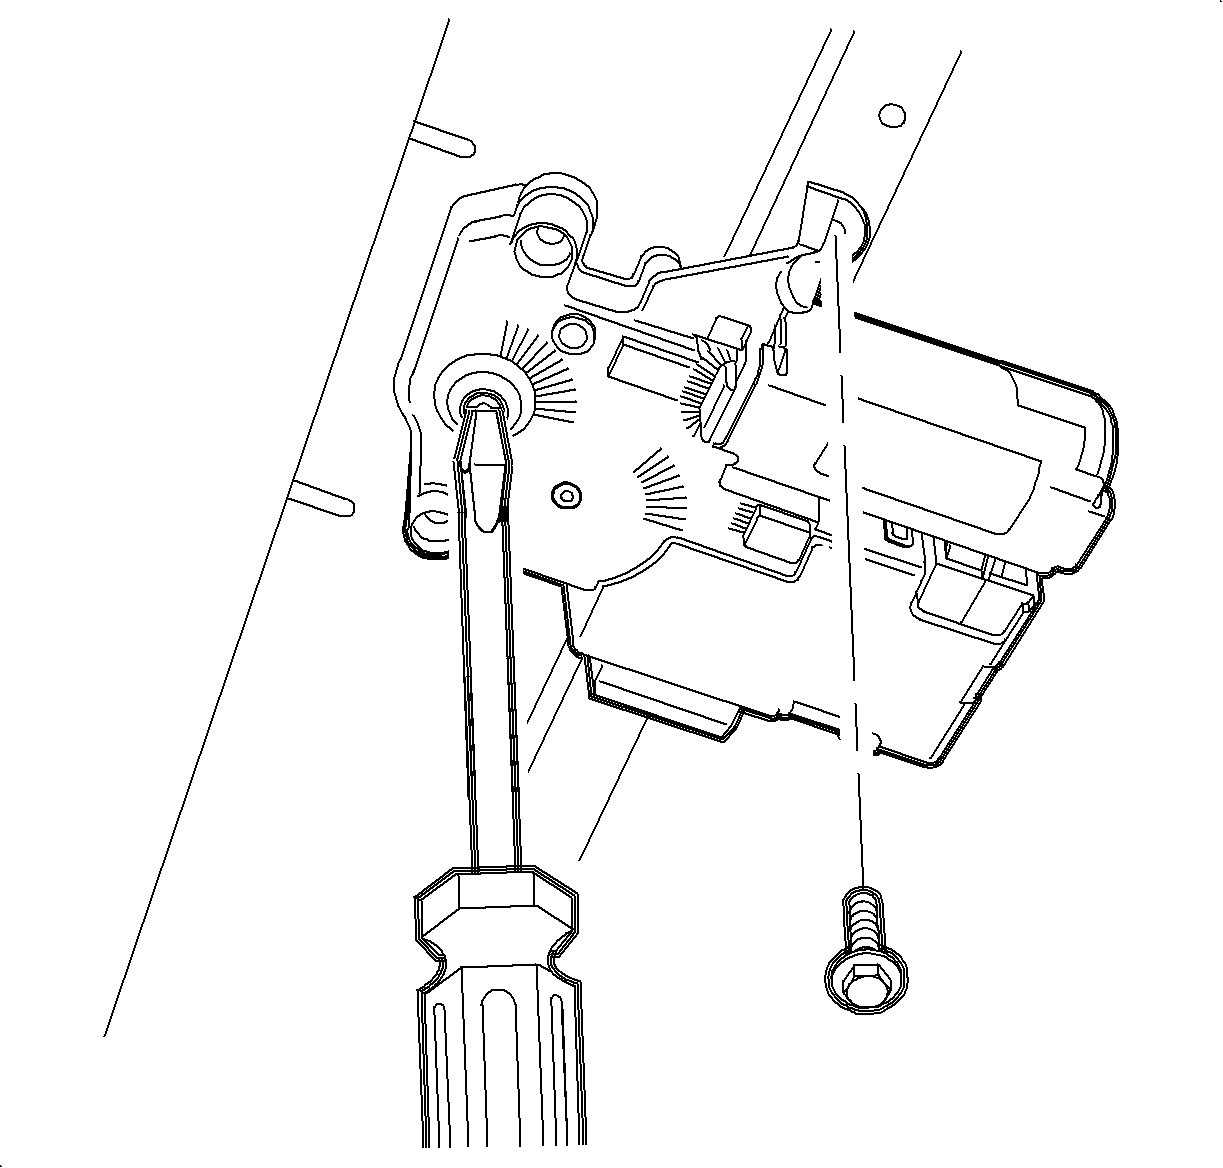
- Remove the motor assembly screws.
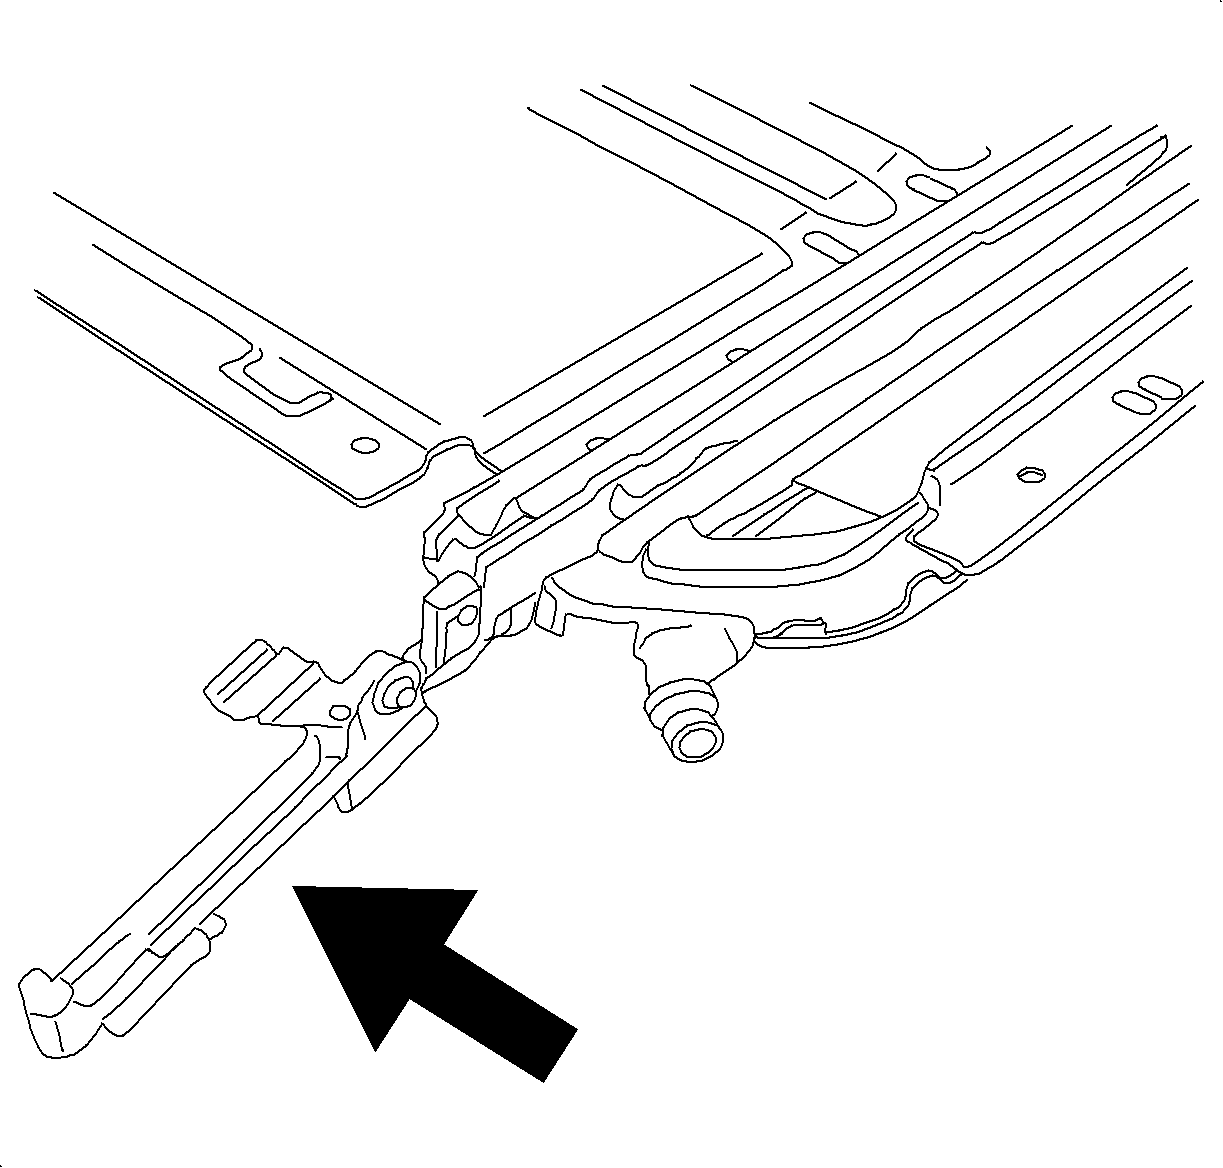
- Remove the guide assembly.
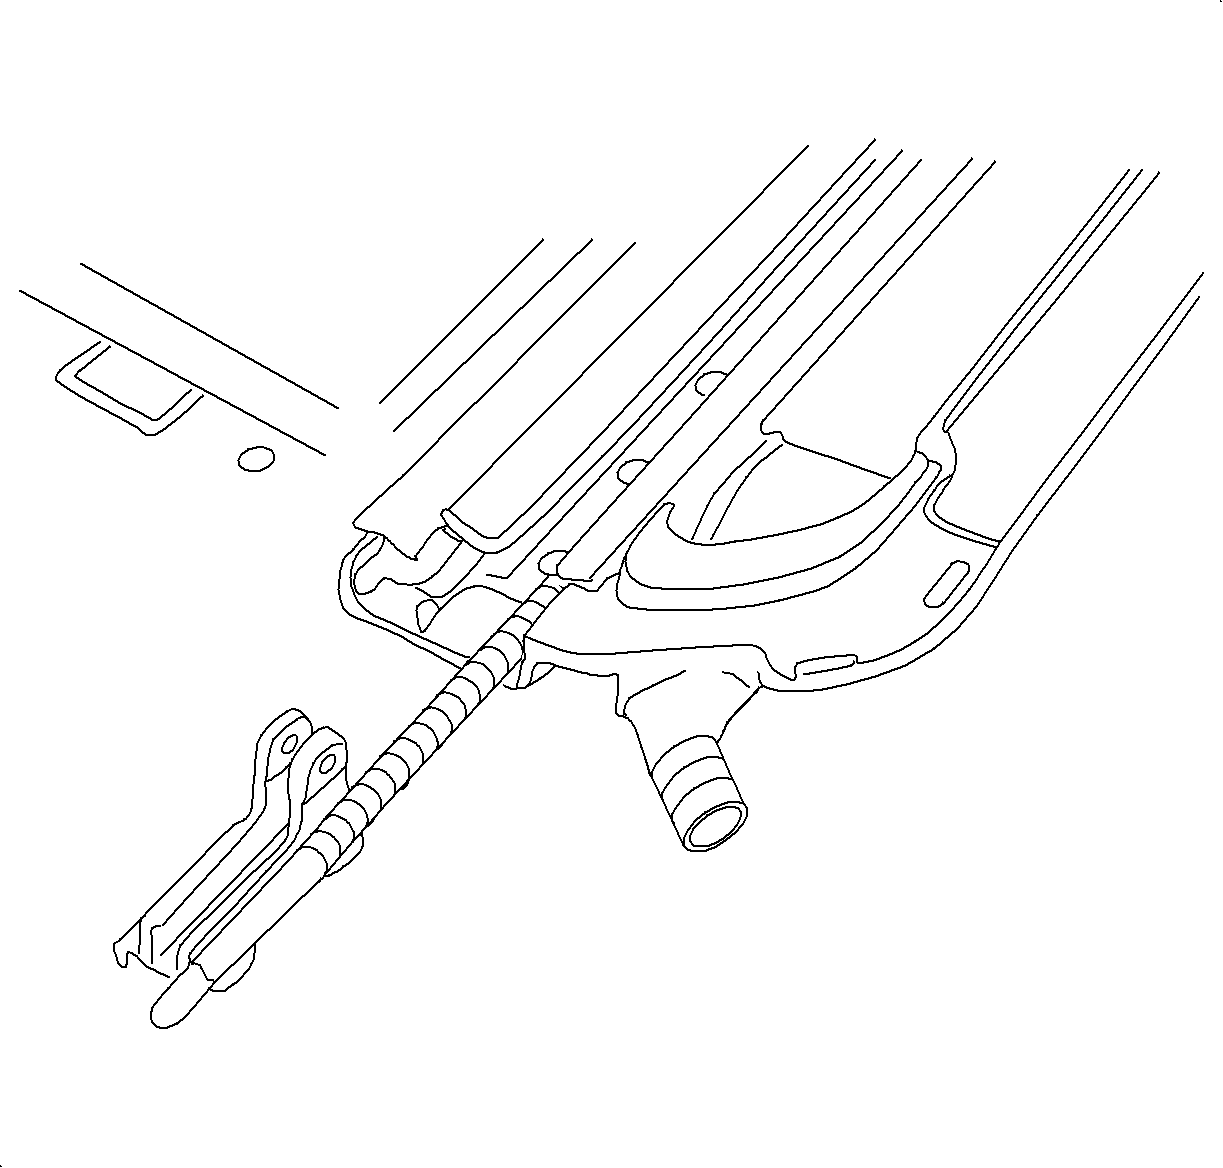
- Remove the cables by sliding the cable and the guides from the U-frame assembly.
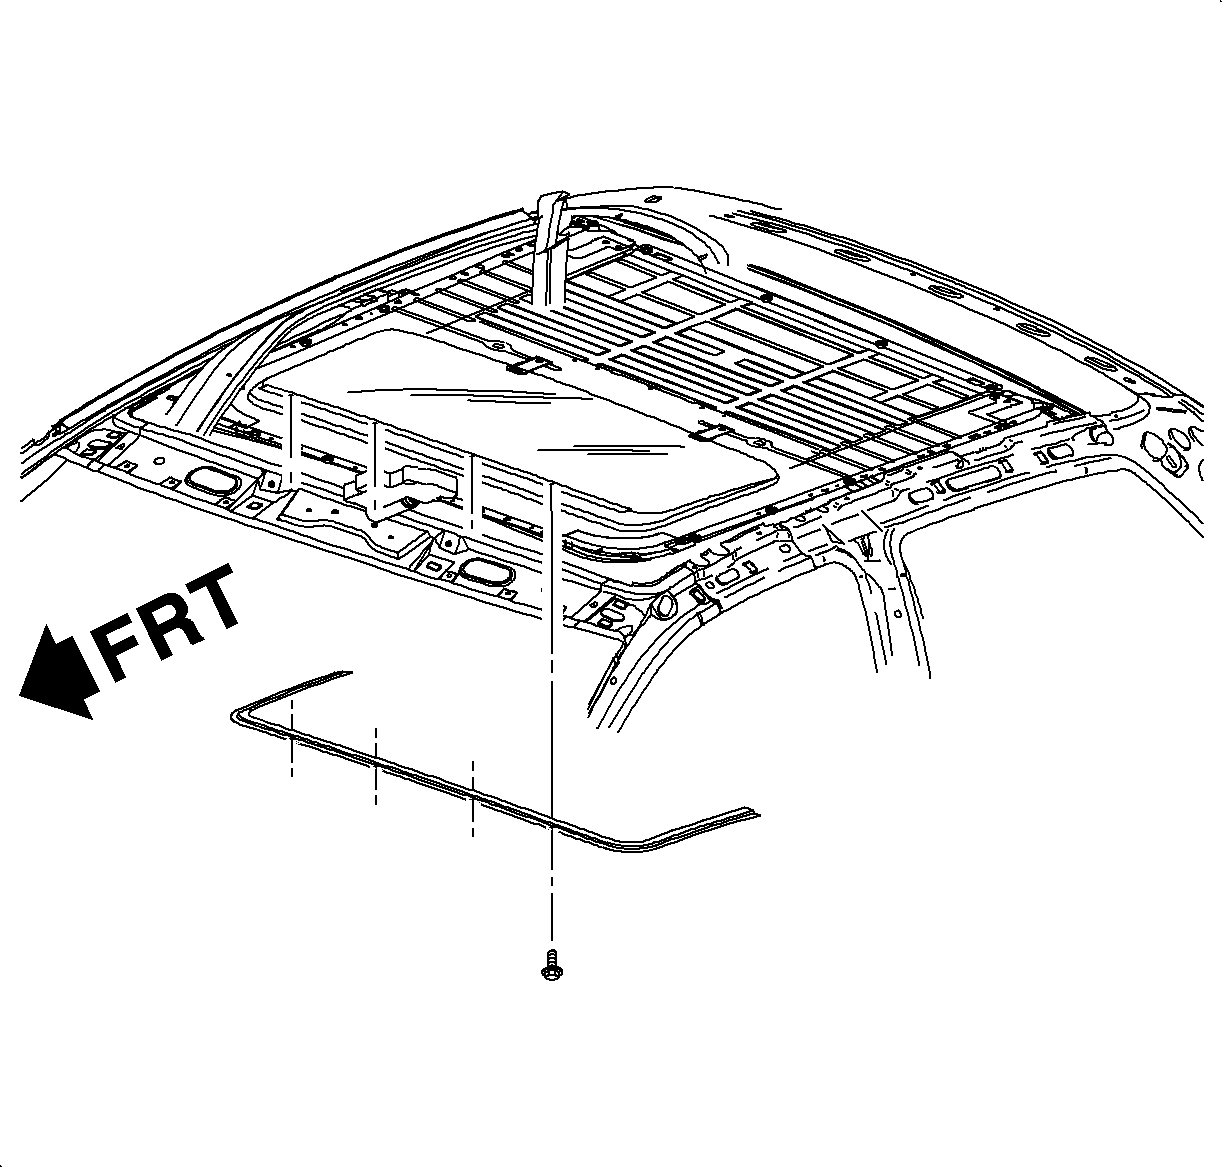
Installation Procedure
- Slide the front guide assembly and the cables into the U-frame.
- Install the guide assembly into the U-frame.
- Install the front pins and the E-clips.
- Slide the guide assembly forward and align each guide assembly with the 0 position. The 0 position is aligned when the hash marks on the guide assembly are aligned with the front pin E-clip on the cable assembly guide.
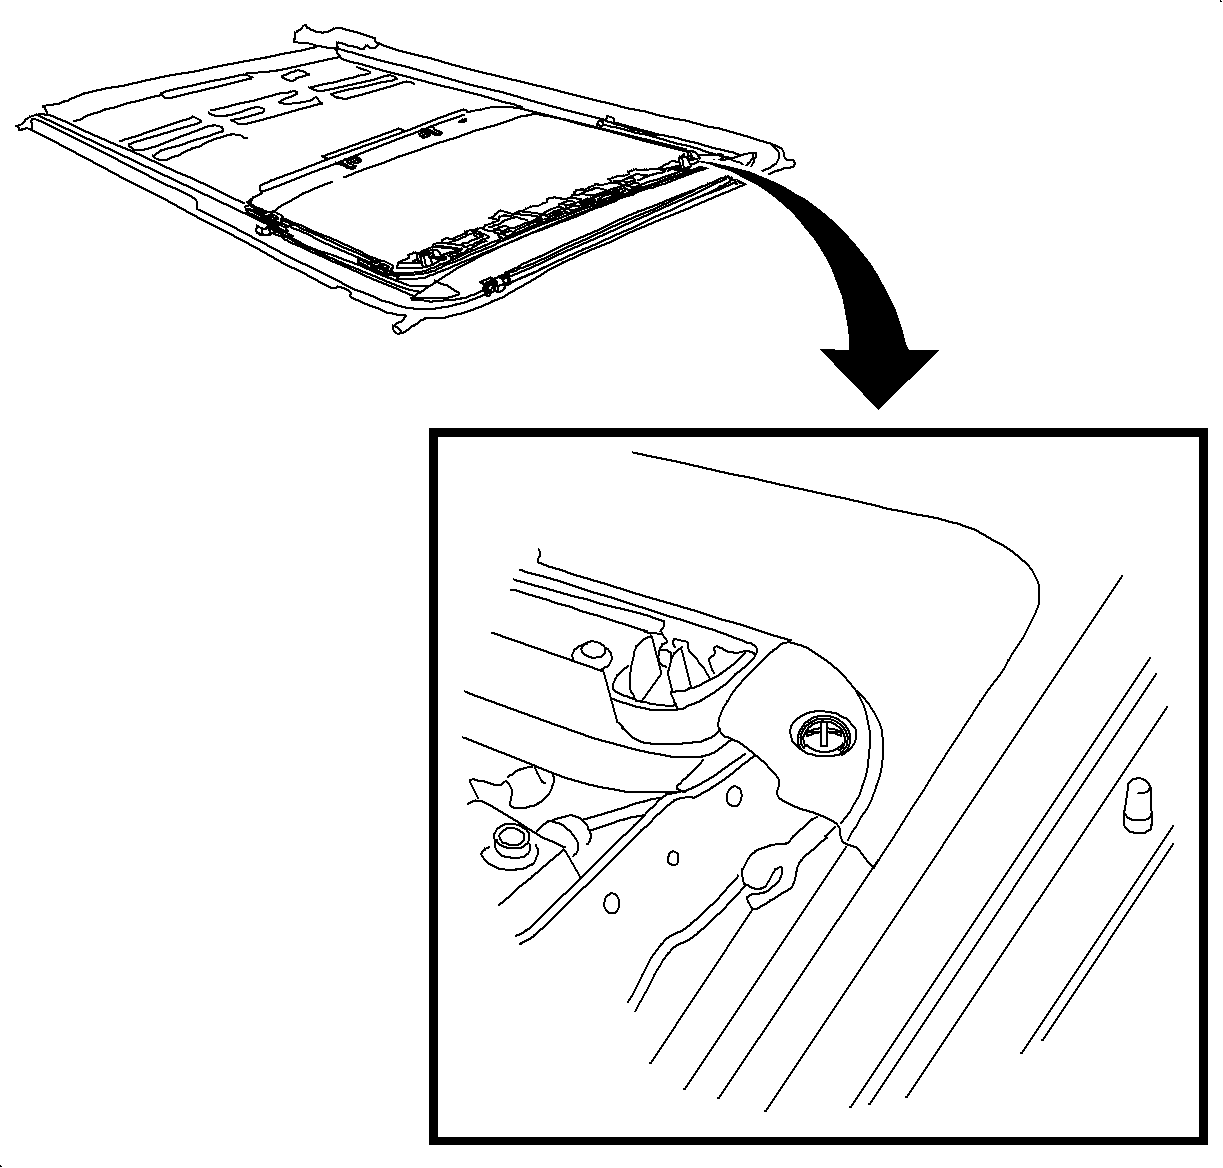
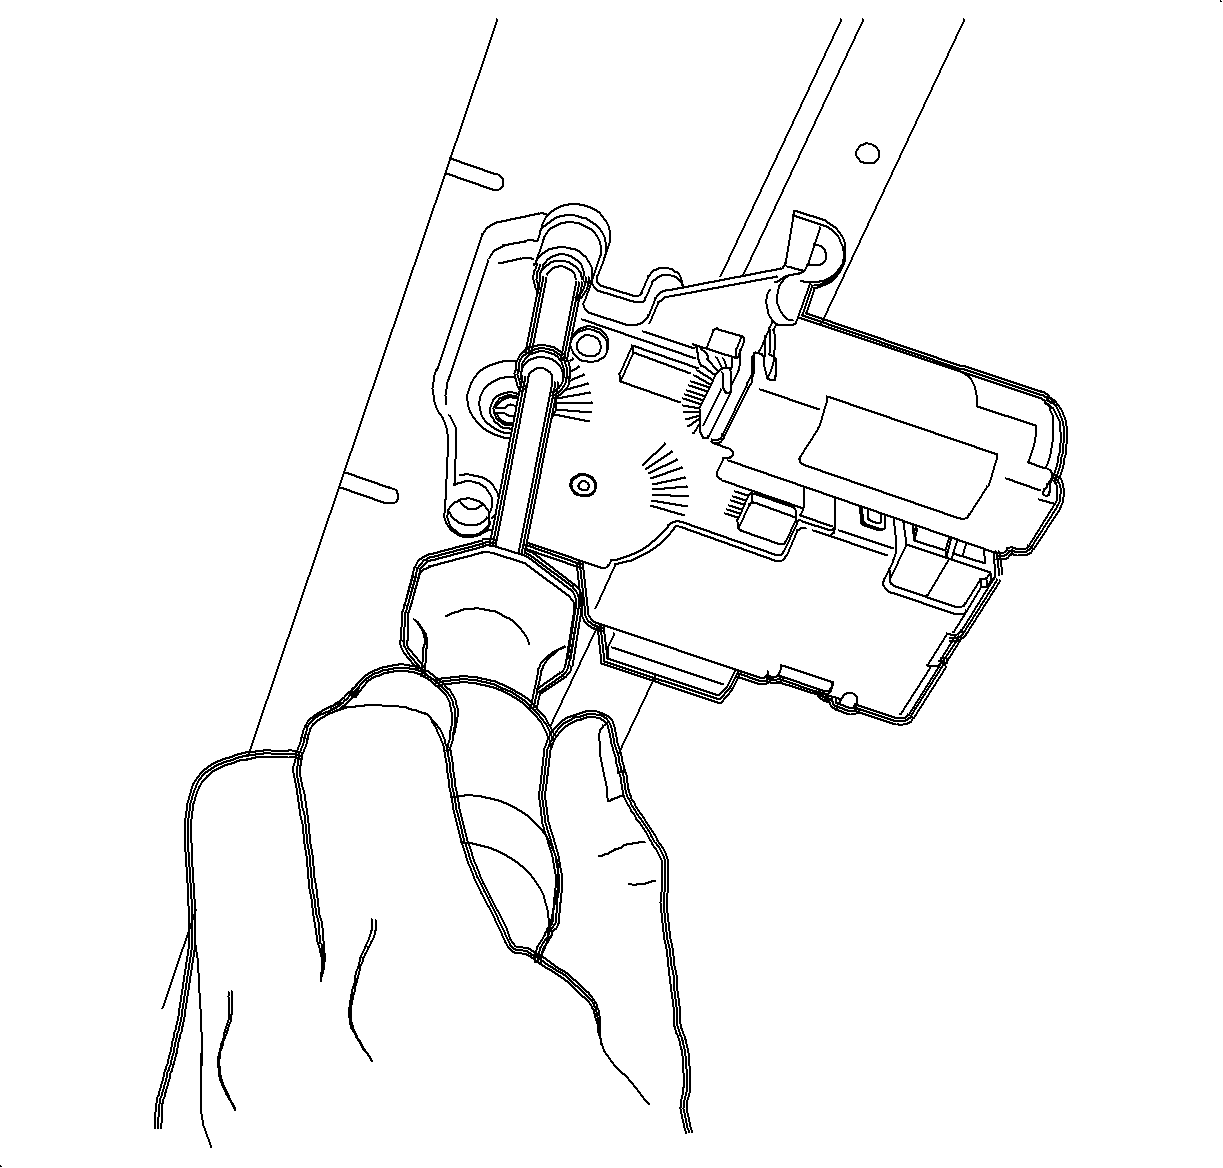
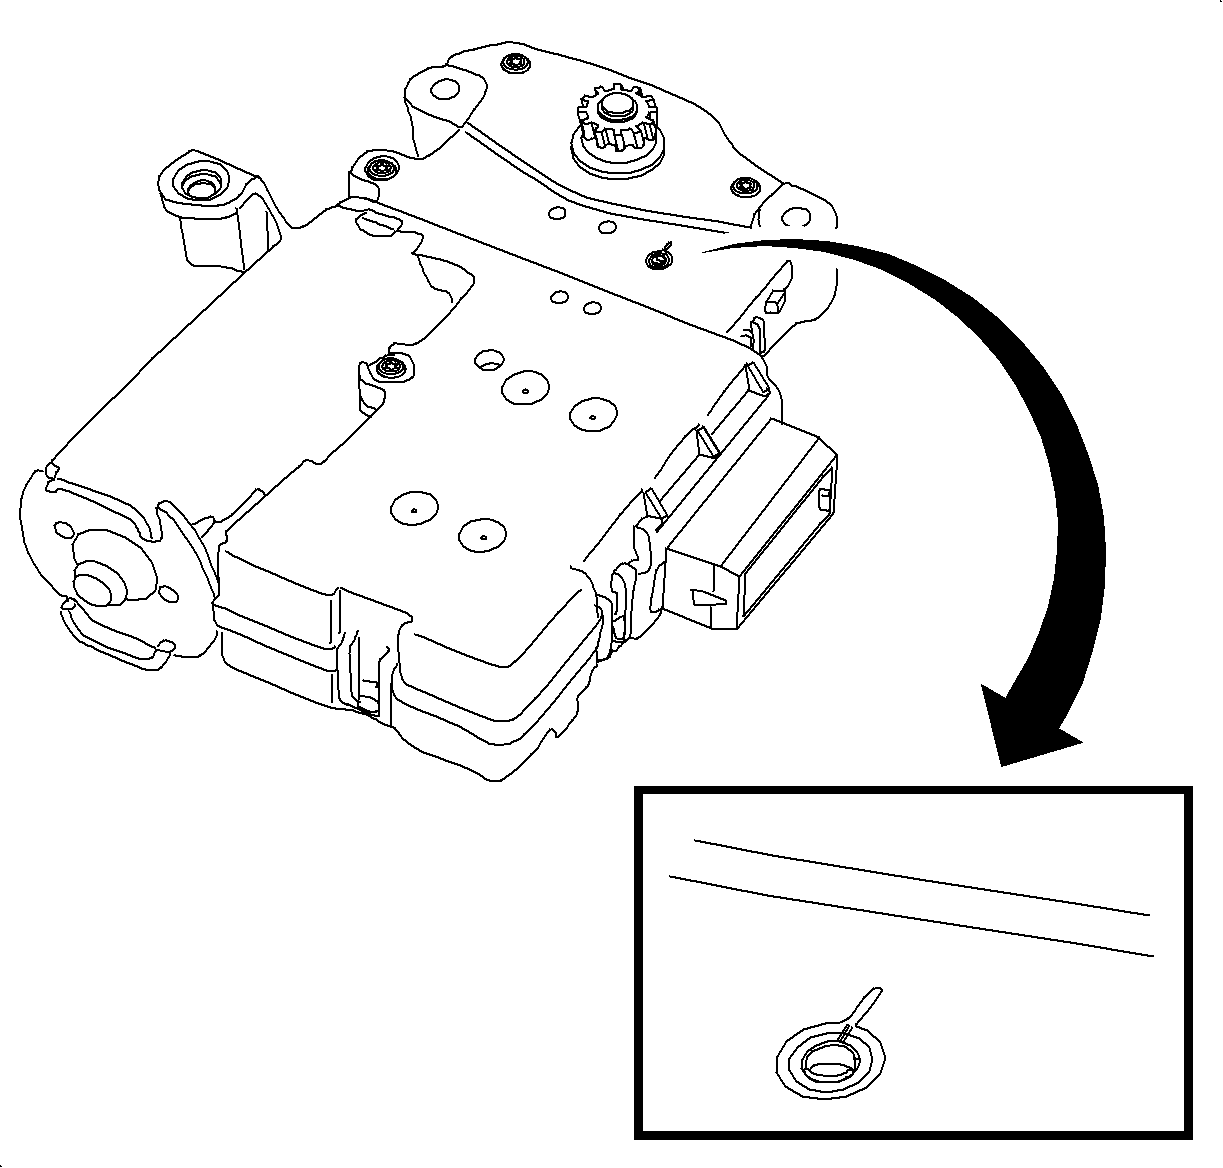
- Prior to the motor installation, verify the motor is in the 0 position by lining up the slot on the outside of the ring with the slot on the inside ring as shown. Cycle the motor with the switch (or manually operate with a small screwdriver in the slot) until these slots line up.
- Install the motor and the screws.
- Manually move the sunroof to the open position using a screwdriver in the slot provided.
- Install the water channel. Tighten the driver side screw first, then the passenger side.
- Install the encapsulated glass with the 4 bolts.
- Install the sunroof assembly into the vehicle.
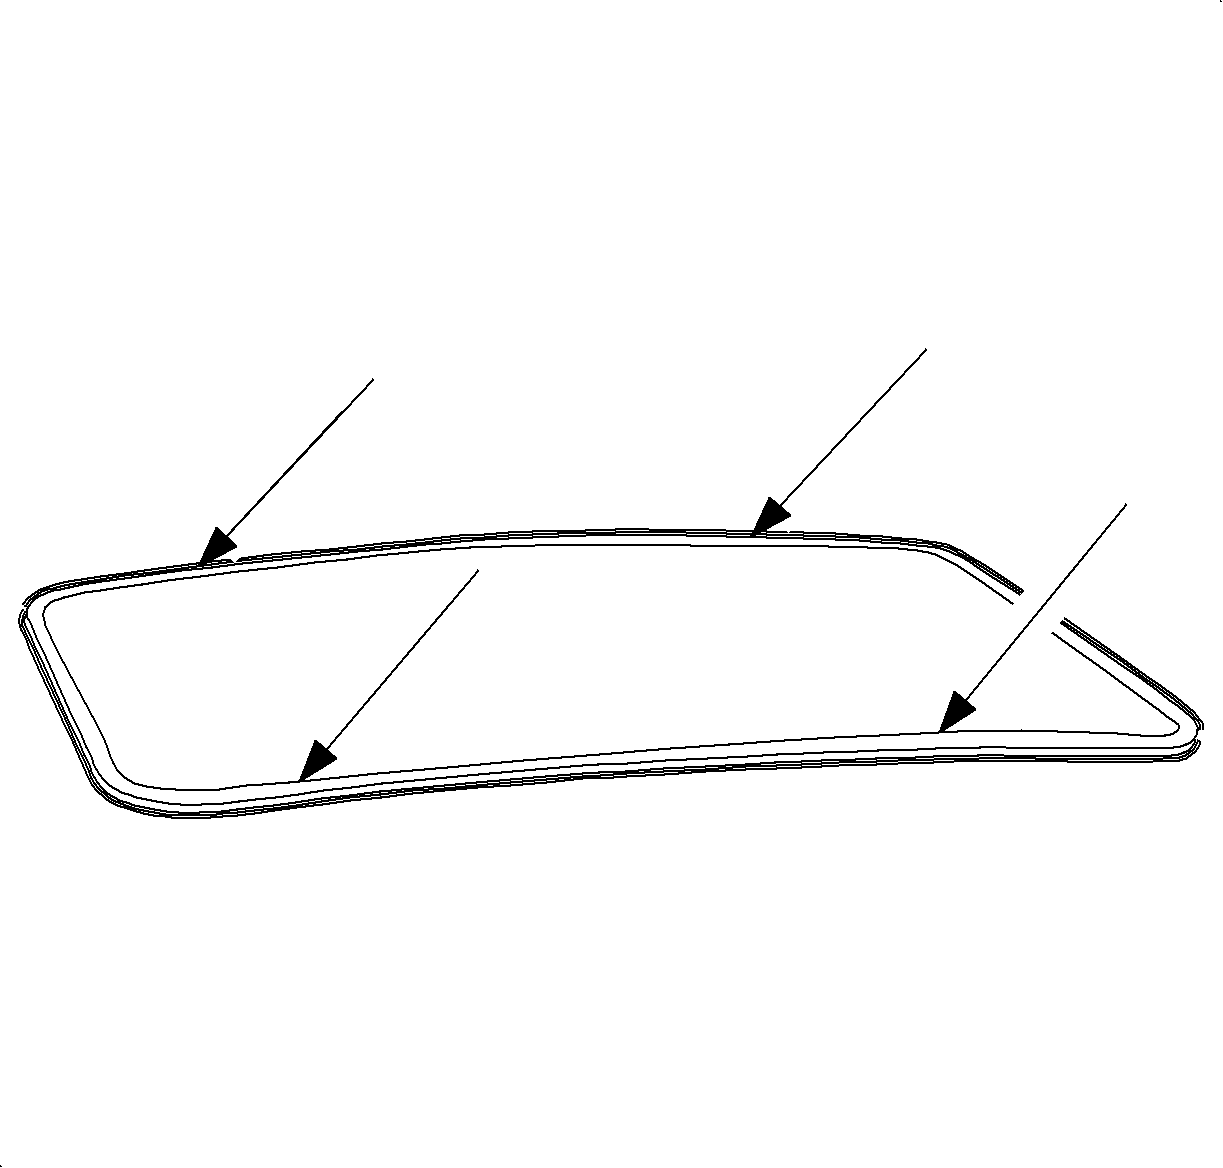
- Align the encapsulated glass to the roof in the 4 locations, as shown by the arrows, 0-1 mm (0-3/64 in) lower than the roof in the front and to 0-1 mm (0-3/64 in) higher than the roof in the rear. Measure both the front and the rear of the glass in the 4 different locations to ensure a consistent measurement.
- Operate the sunroof to the ¼ open position.
- Install the "U" cover by putting the sunroof in the vent position.
- Install the "U" cover from the outside of the vehicle by snapping the sides to the sunroof assembly.
- Install the 4 screws to the "U" cover.
- Verify the smooth operation of the sunroof in all positions.
- Verify the alignment to the roof in the 4 locations shown.
- Adjust by loosening the bolts.
- Reposition the glass and re-tighten to the correct position.


Notice: Refer to Fastener Notice in the Preface section.

Tighten
Tighten the sunroof motor-to-sunroof module fasteners to 3 N·m
(27 lb in).


Tighten
Tighten the encapsulated glass-to-sunroof module fasteners to 4 N·m
(35 lb in).


