Removal Procedure
- Remove the rear weather-stripping from the cowl area.
- Remove the windshield wiper arm nut cap.
- Remove the windshield wiper arm nut.
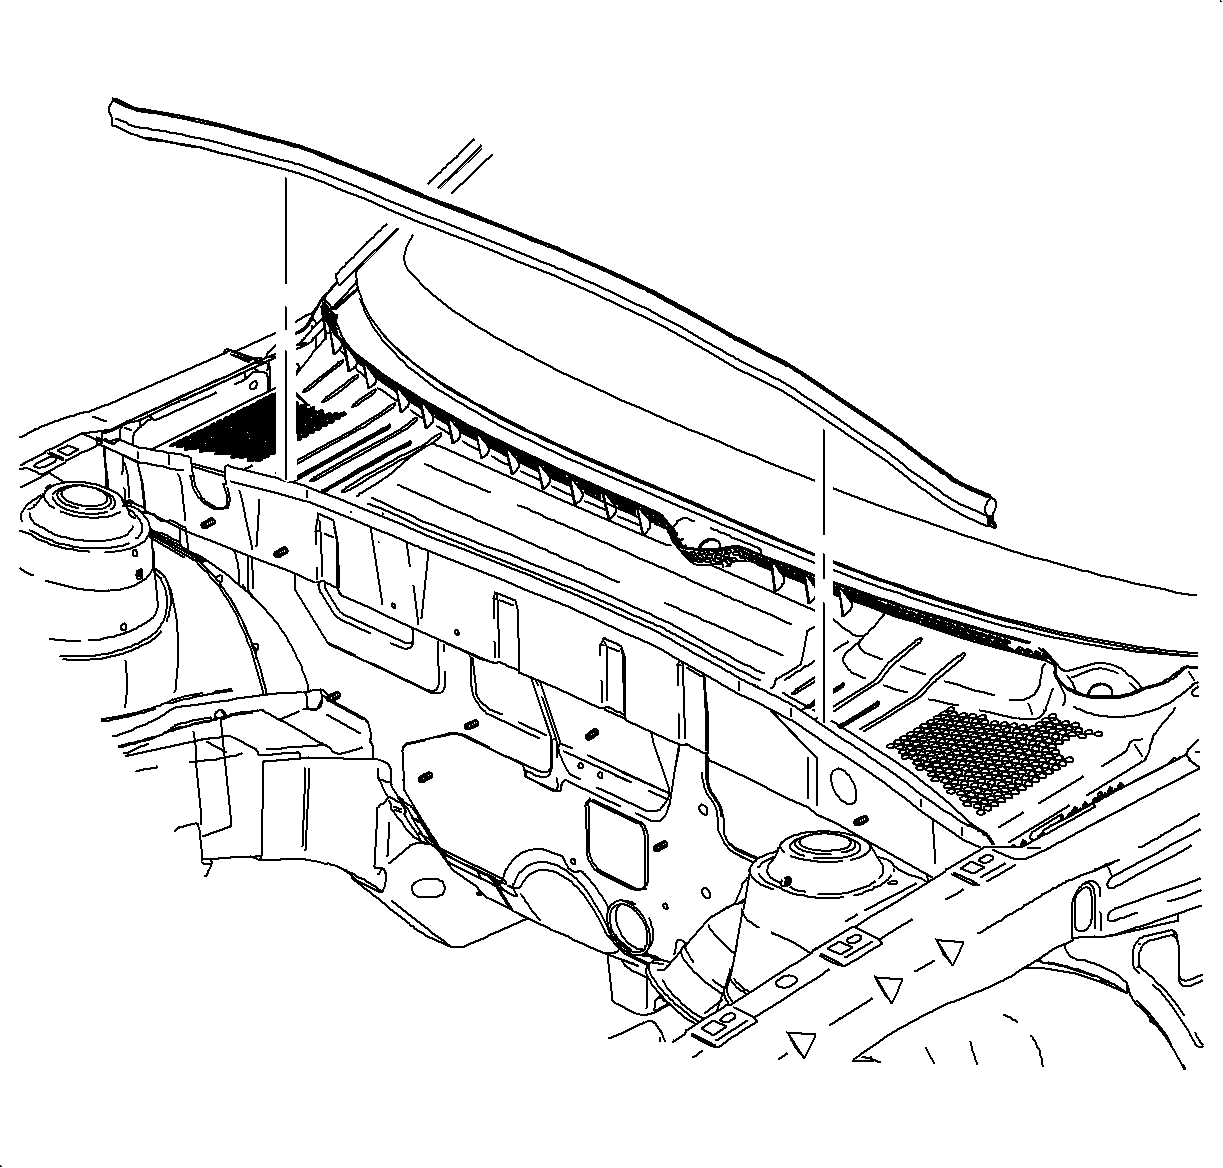
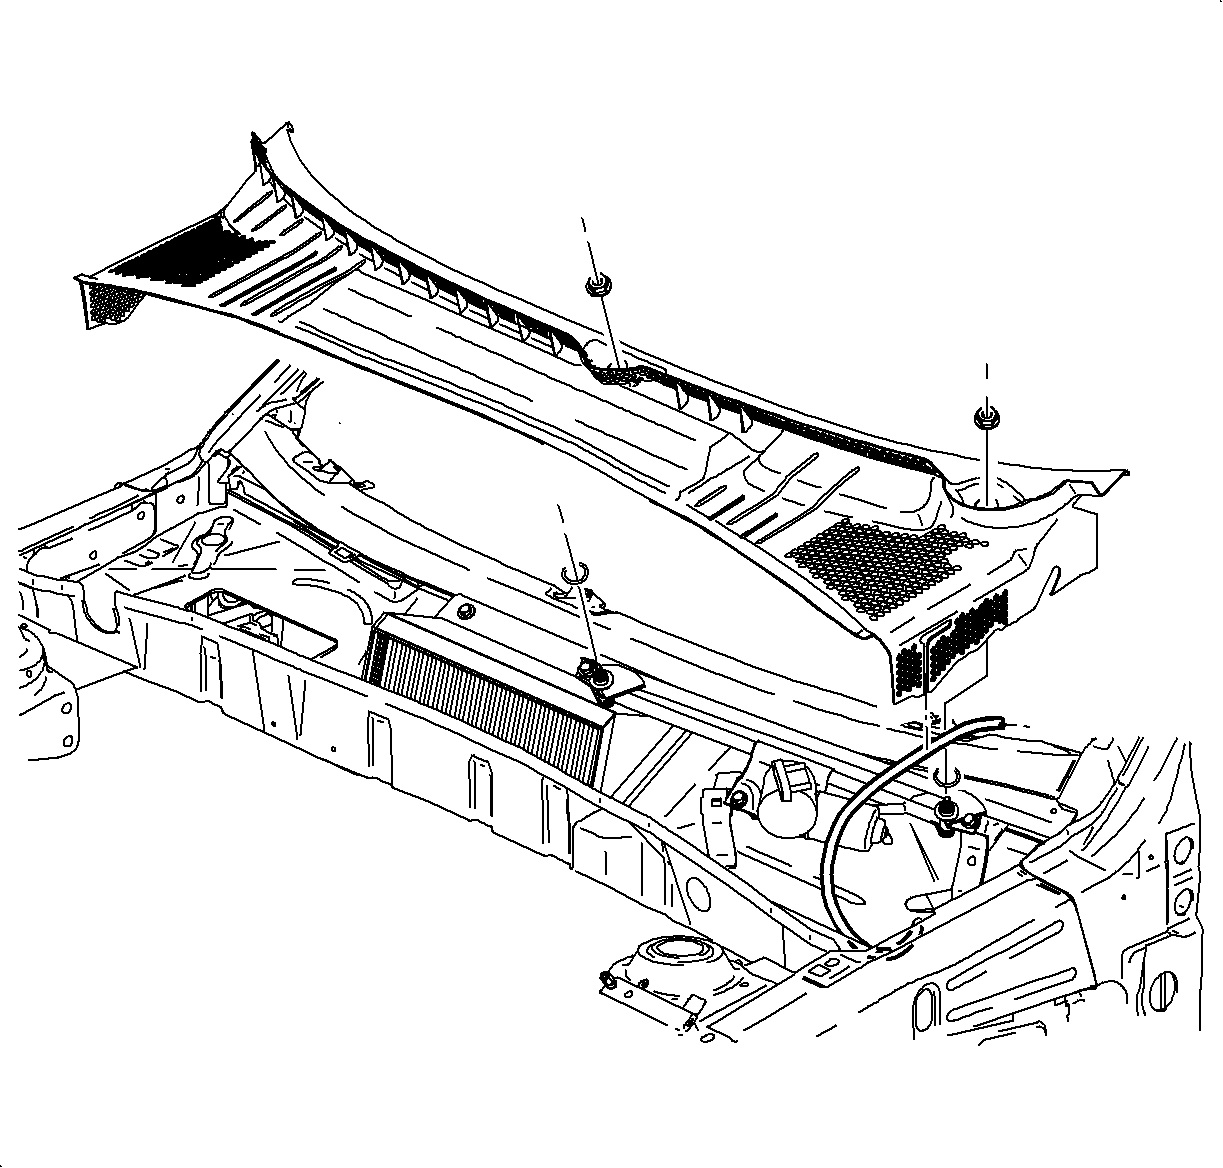
- Remove the lower windshield molding to provide access to remove the air inlet grill panel.
- Remove the air inlet grill.
- Remove the windshield "A" pillar moldings by firmly pulling out and rocking back and forth to unsnap the clips.
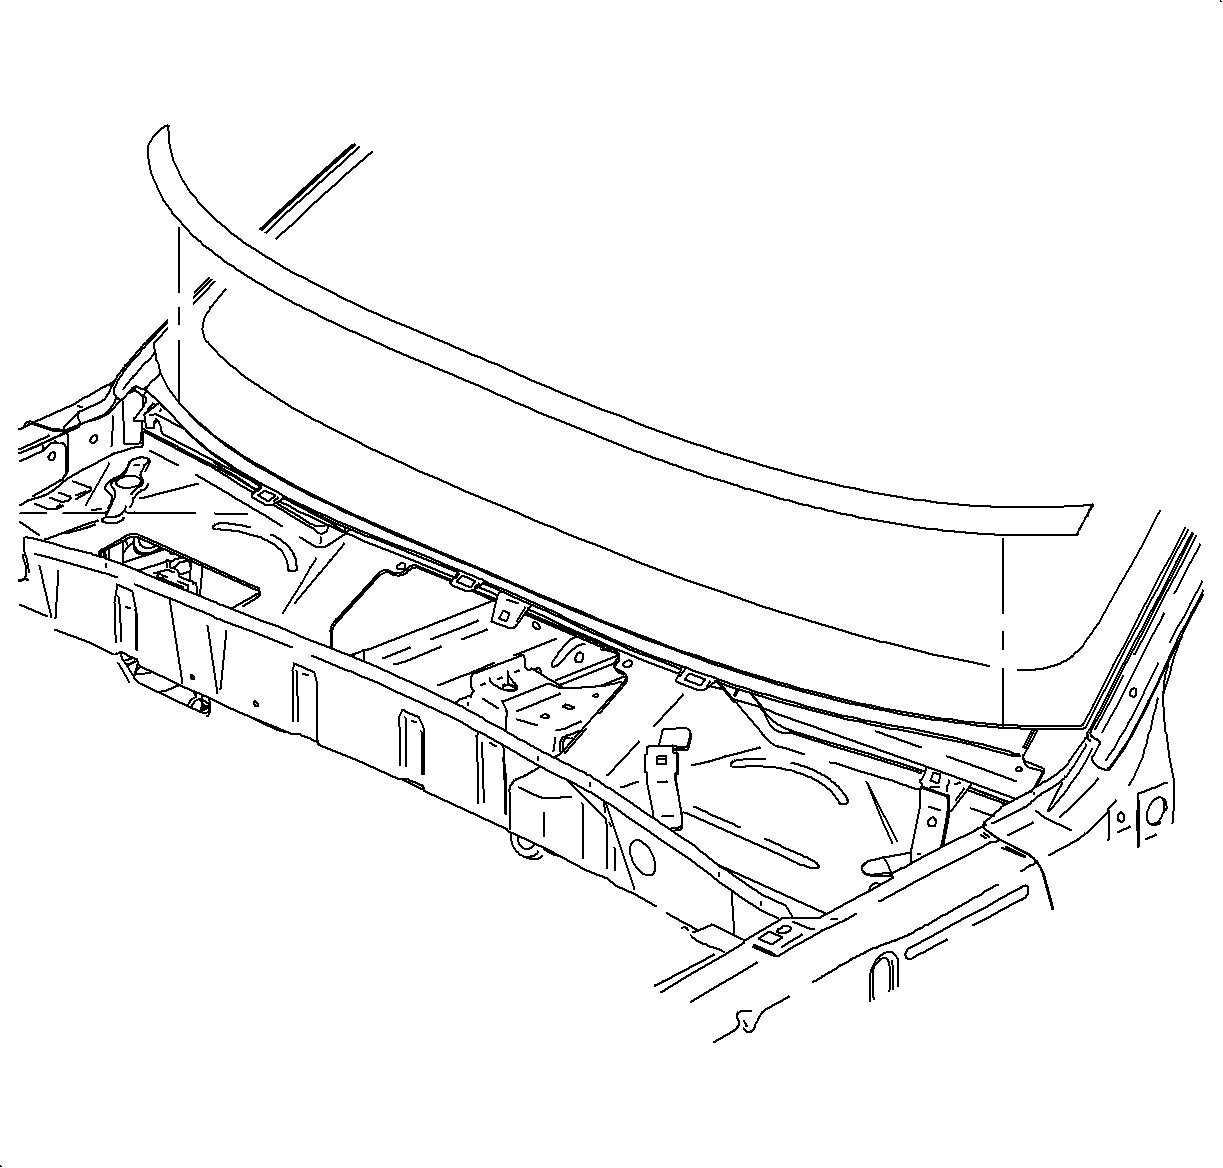
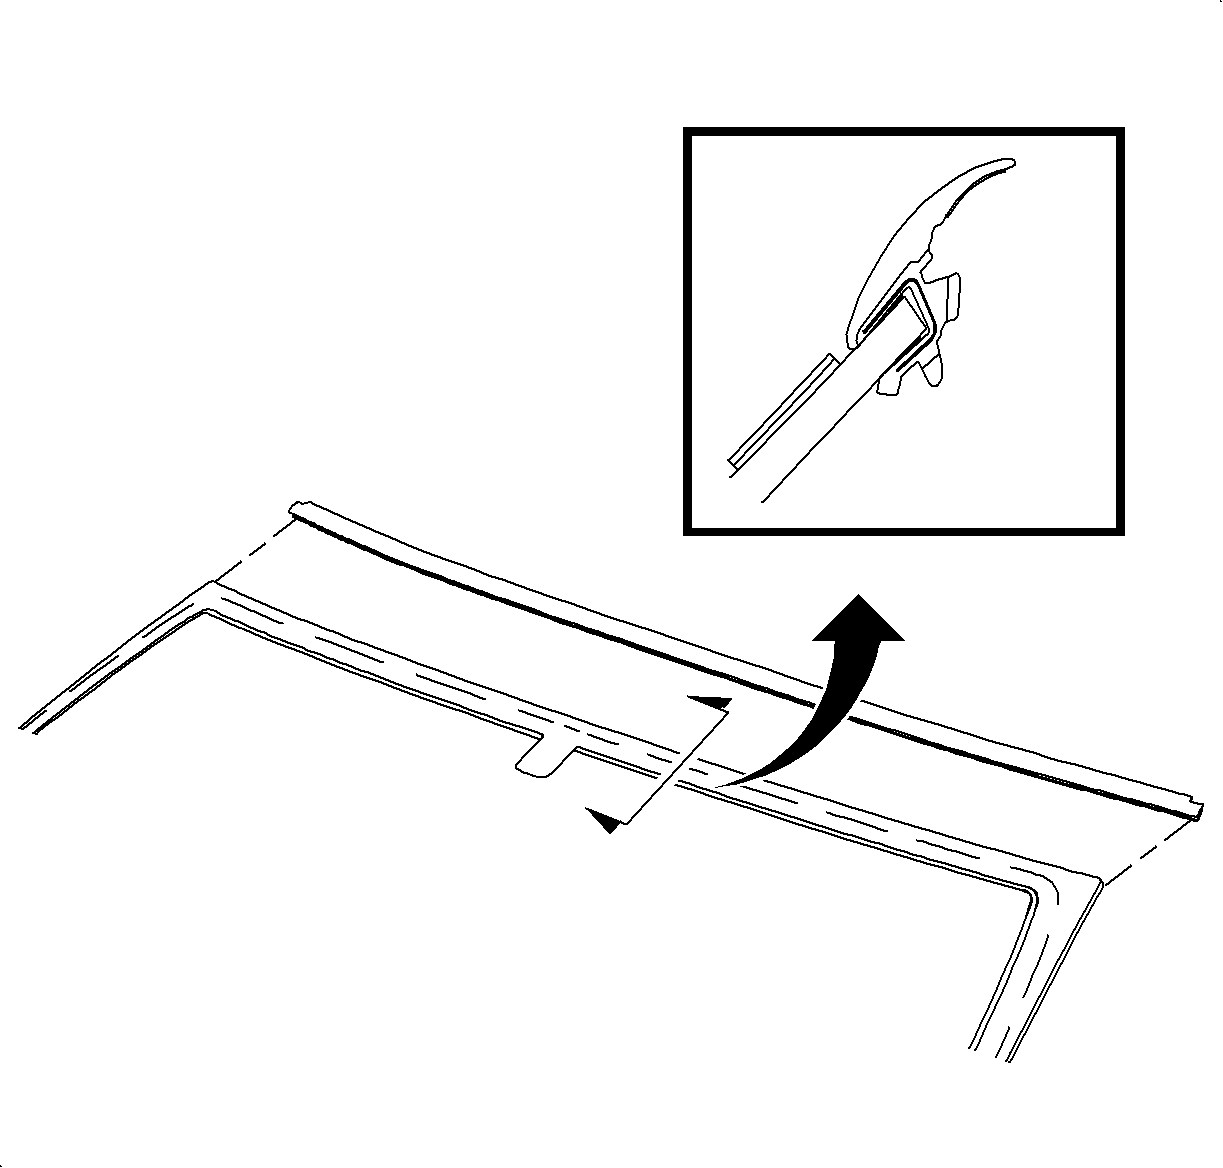
- Remove the upper windshield to roof molding by pulling from one side to another and discard.
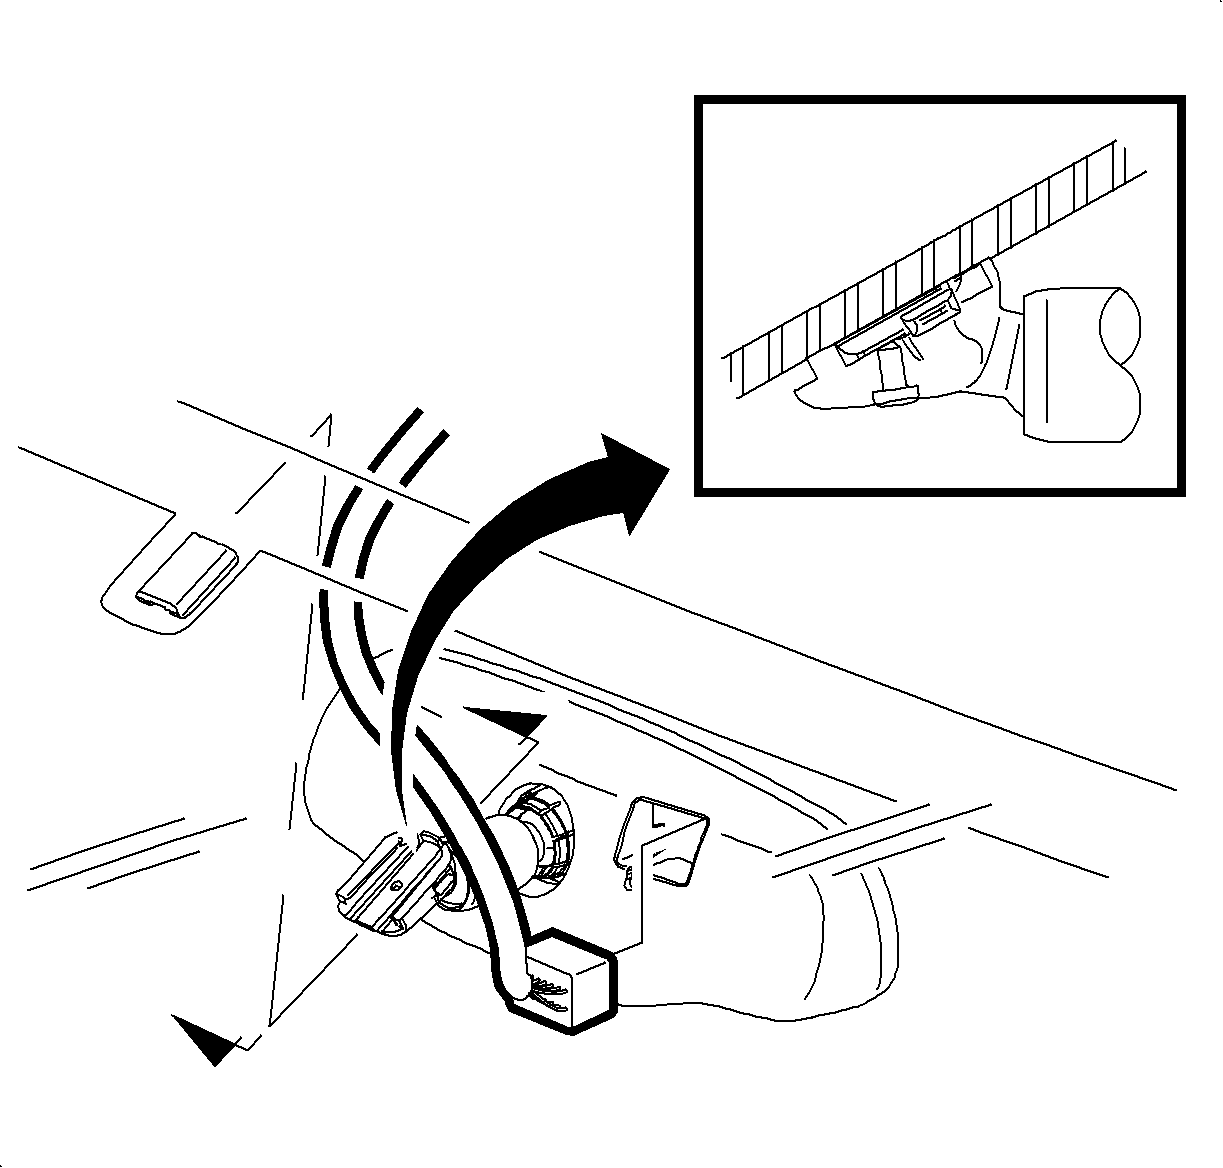
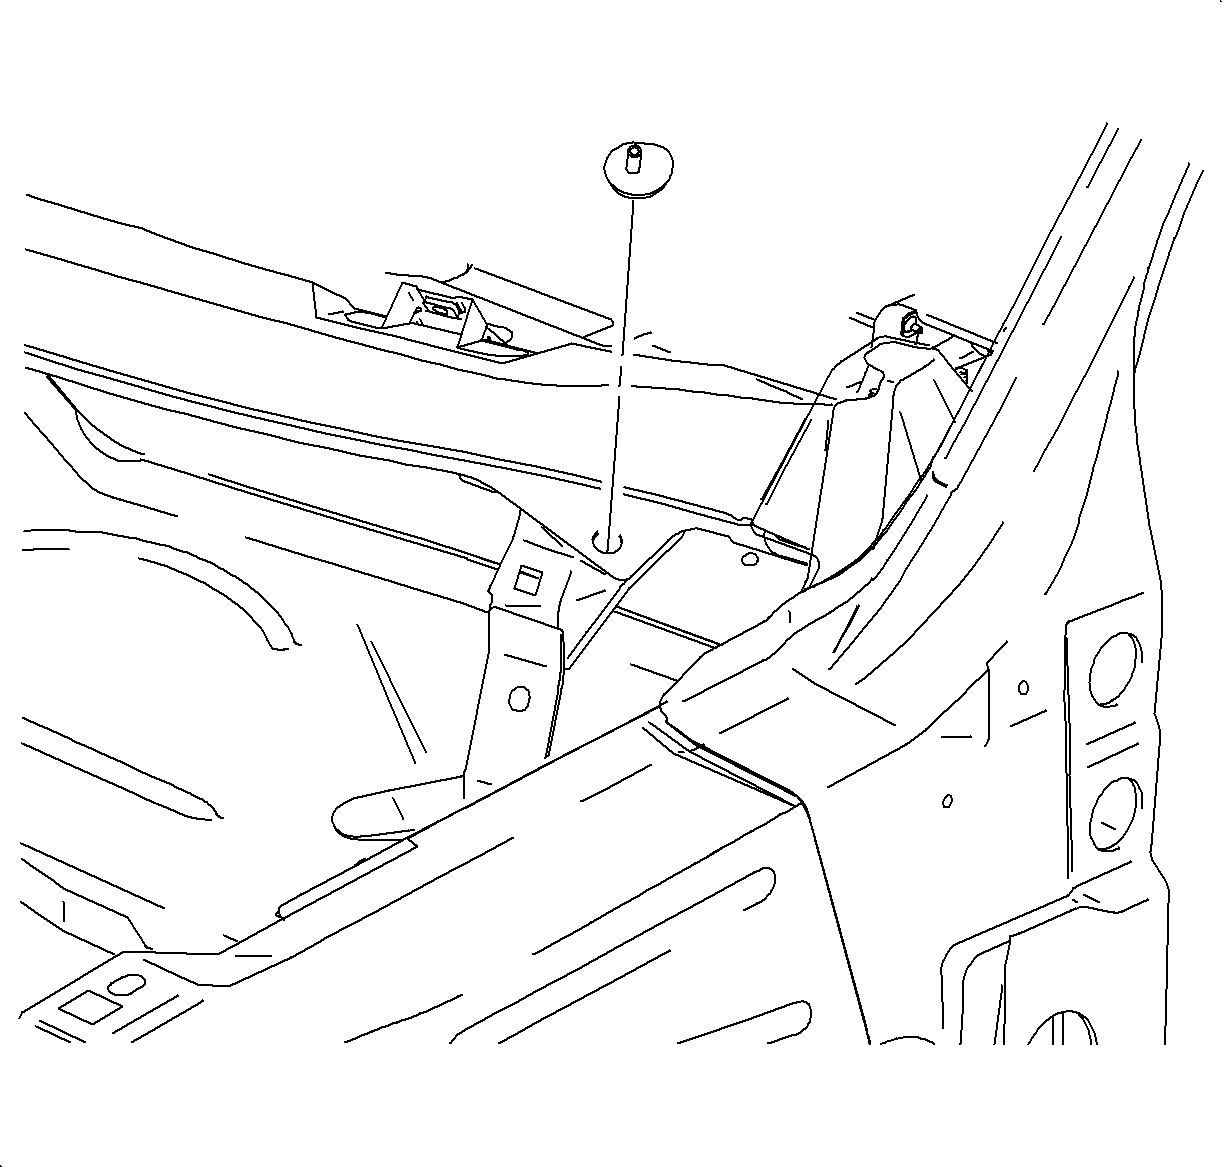
- Remove the rear view mirror by loosening the screw.
- Disconnect the wire from the mirror, if equipped.
- Cover the instrument panel upper dash panel and the defroster ducts with a blanket or cloth.
- Install duct tape along the roof to protect from the cutting tool during windshield removal.
- Using a power glass removal tool, cut the urethane seal along the roof, the "A" pillars, and the front of the dash.
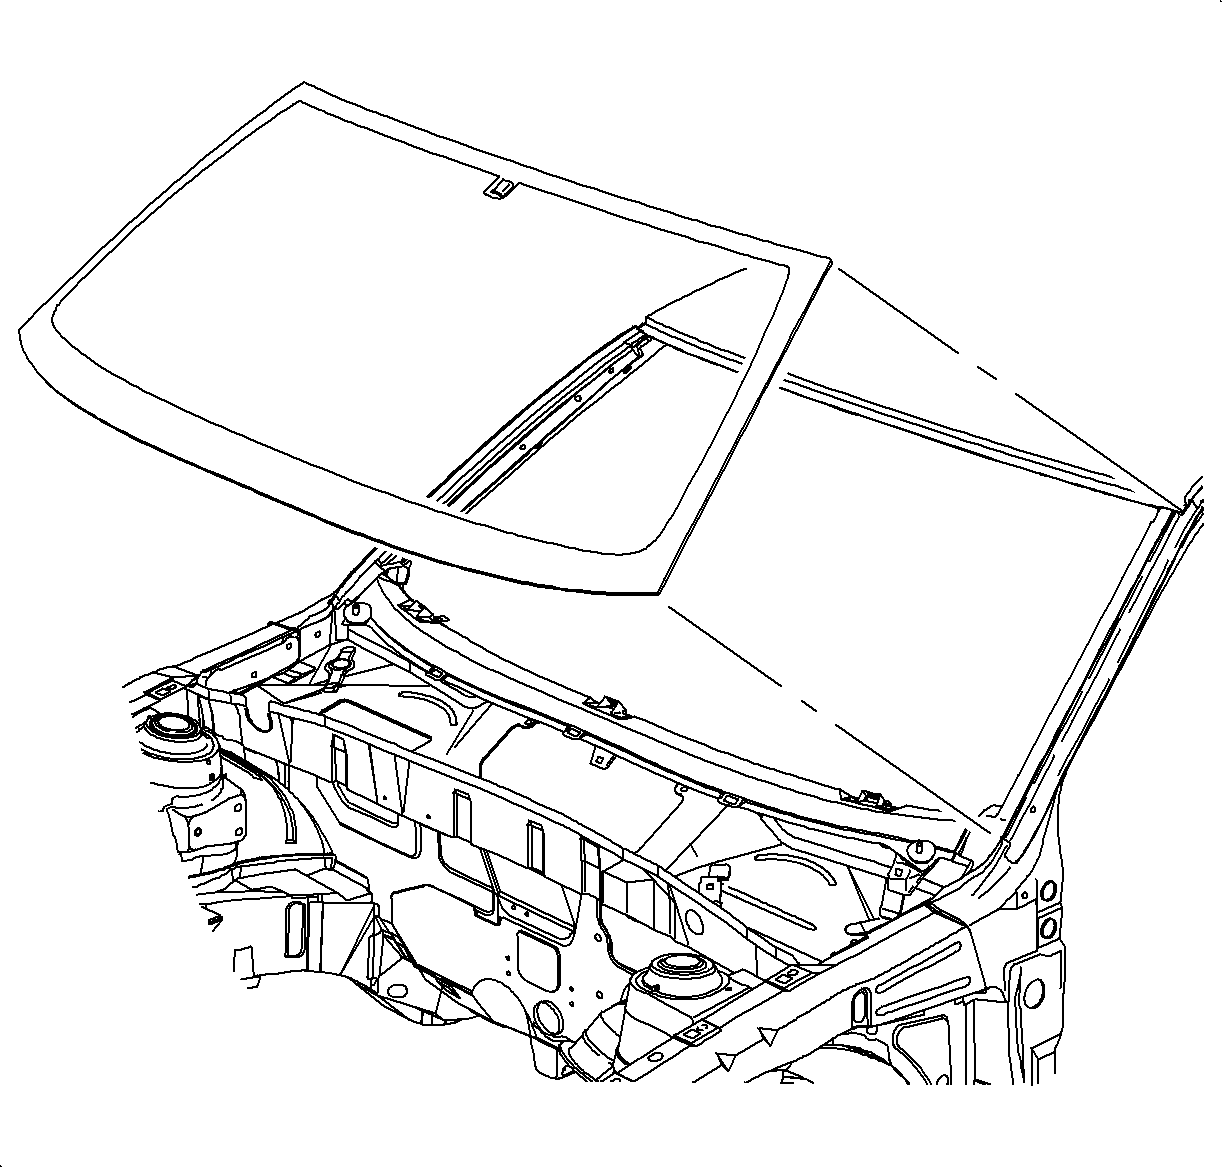
- With aid of an assistant, remove the glass.
Caution: Refer to Glass and Sheet Metal Handling Caution in the Preface section.
Notice: Refer to Paint Damage Notice in the Preface section.

Caution: If broken glass falls into defroster outlets, it can be blown into the passenger compartment and cause injuries. To help avoid personal injury, cover the defroster outlets before replacing windows.
Installation Procedure
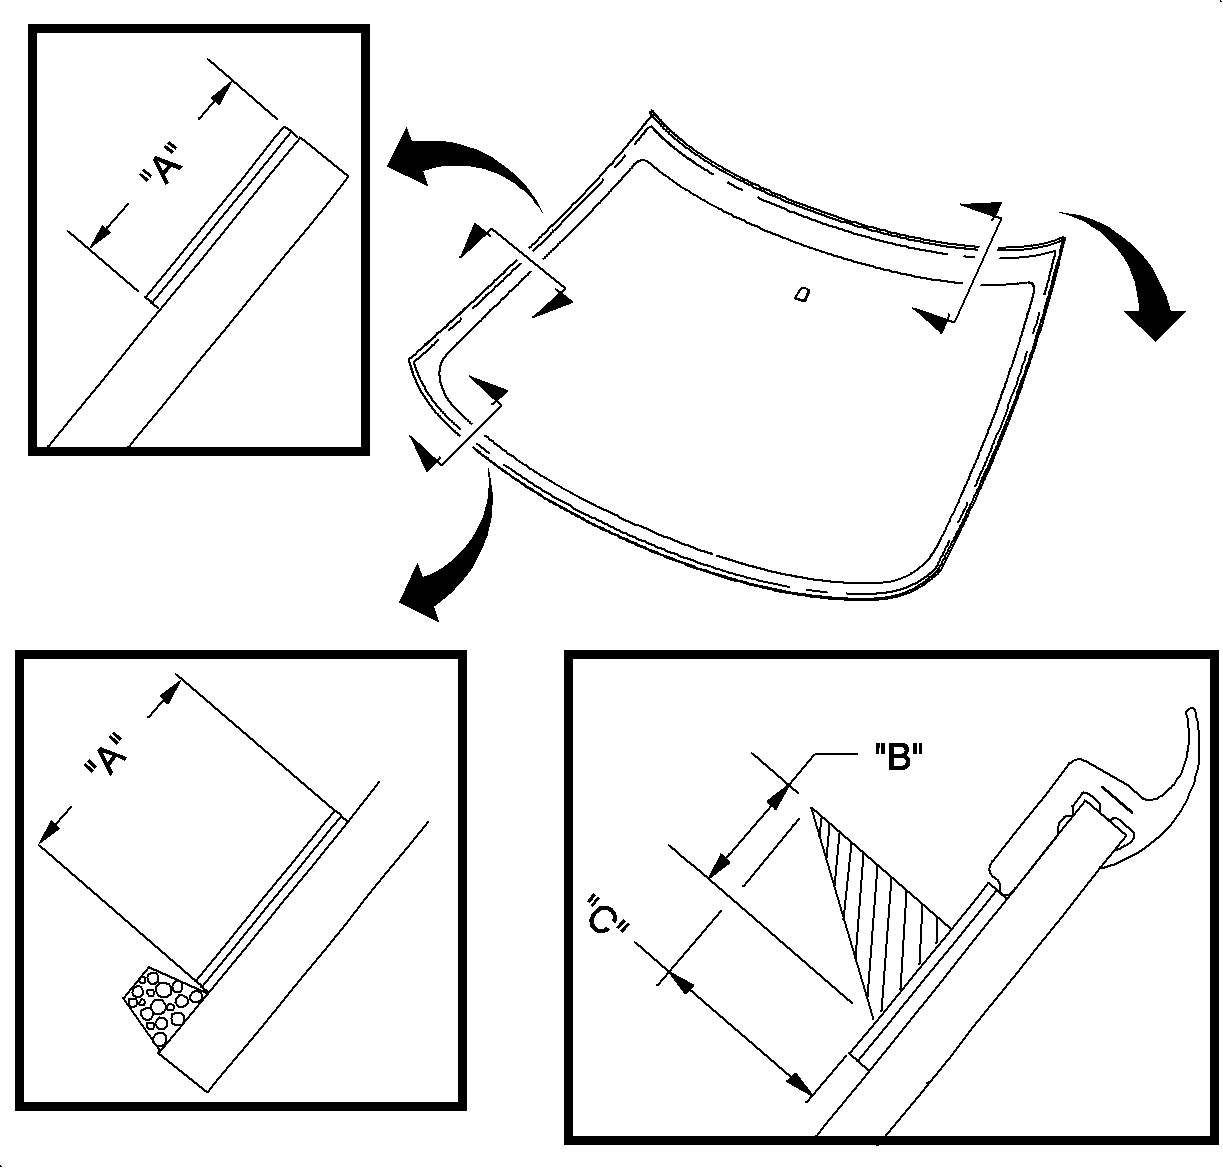
- Clean the old sealer from the body pinch weld area using a razor knife. Leave a thin film, approximately 1-2 mm (0.04-0.08 in), around the perimeter of the window opening and the windshield, if being reused.
- Clean the entire window opening and glass bonding surfaces with a clean, lint-free, alcohol-dampened cloth.
- For a new windshield only, shake the glass prep primer (Clear #1) well before applying. Apply the glass prep primer (Clear #1) around the entire perimeter of the glass using a dauber. Wipe dry with a clean, lint-free cloth.
- Shake the glass primer (Black #2) well before applying. With a new dauber, apply the glass prep primer (Black #2) around the entire perimeter over (Clear #1). Allow the primer to dry 5 minutes before applying the urethane.
- Install the upper windshield molding.
- Install the lower windshield molding retainer.
- Test-fit the windshield and install tape in four locations around the windshield and the body, then draw alignment marks on the tape to assist in the alignment during the installation.
- Remove the windshield.
- Apply a smooth bead of urethane directly to the old urethane adhesive in the pinchweld area on the body or to the glass. Apply according to the dimensions below:
- With the aid of an assistant, lift the glass into the window opening and align the previously made marks on the windshield and the body. Verify that the lip of the applied molding laps over the roof feature line.
- Adjust the windshield using locating cams on the front of the dash.
- Press firmly to wet-out and set the adhesive. Use care to avoid excessive squeeze-out which would cause an appearance problem.
- Apply tape from the windshield to the roof panel to hold in position until the urethane adhesive is cured.
- Water-test the vehicle at once using a soft spray. Use warm or hot water if available. Do not direct a hard stream of water on fresh adhesive material. Water applied on top of the urethane adhesive, either during the water test or as part of a separate operation, will speed up the cure of the adhesive.
- Inspect for leaks from inside the vehicle. Paddle in extra adhesive at leak points using a tongue depressor or similar flat, flexible tool.
- Install the new windshield "A" pillar moldings and snap in place.
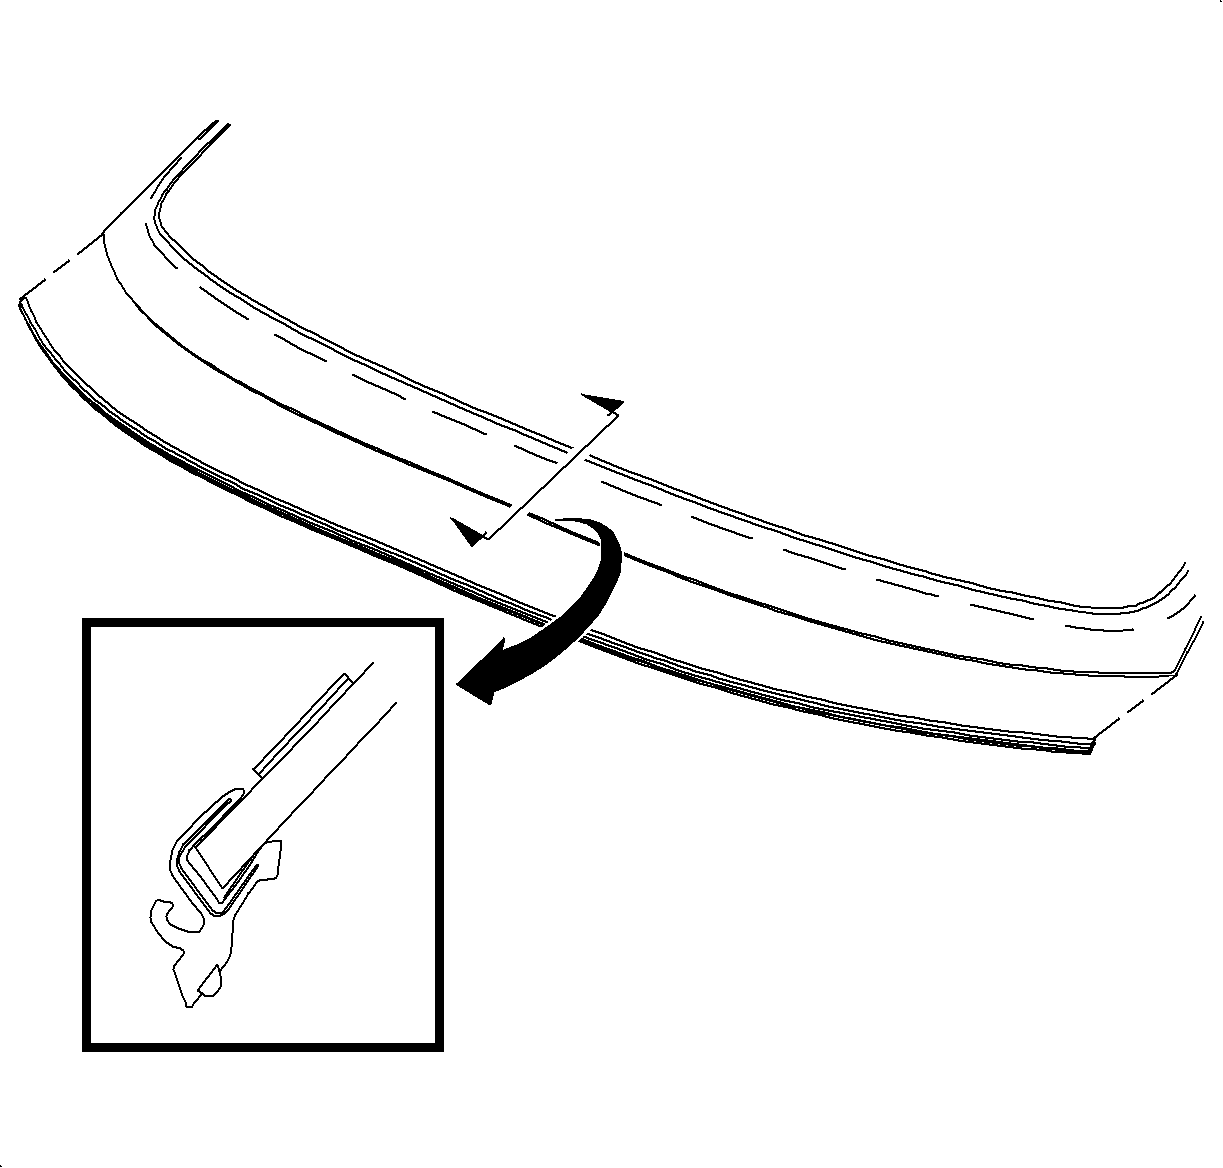
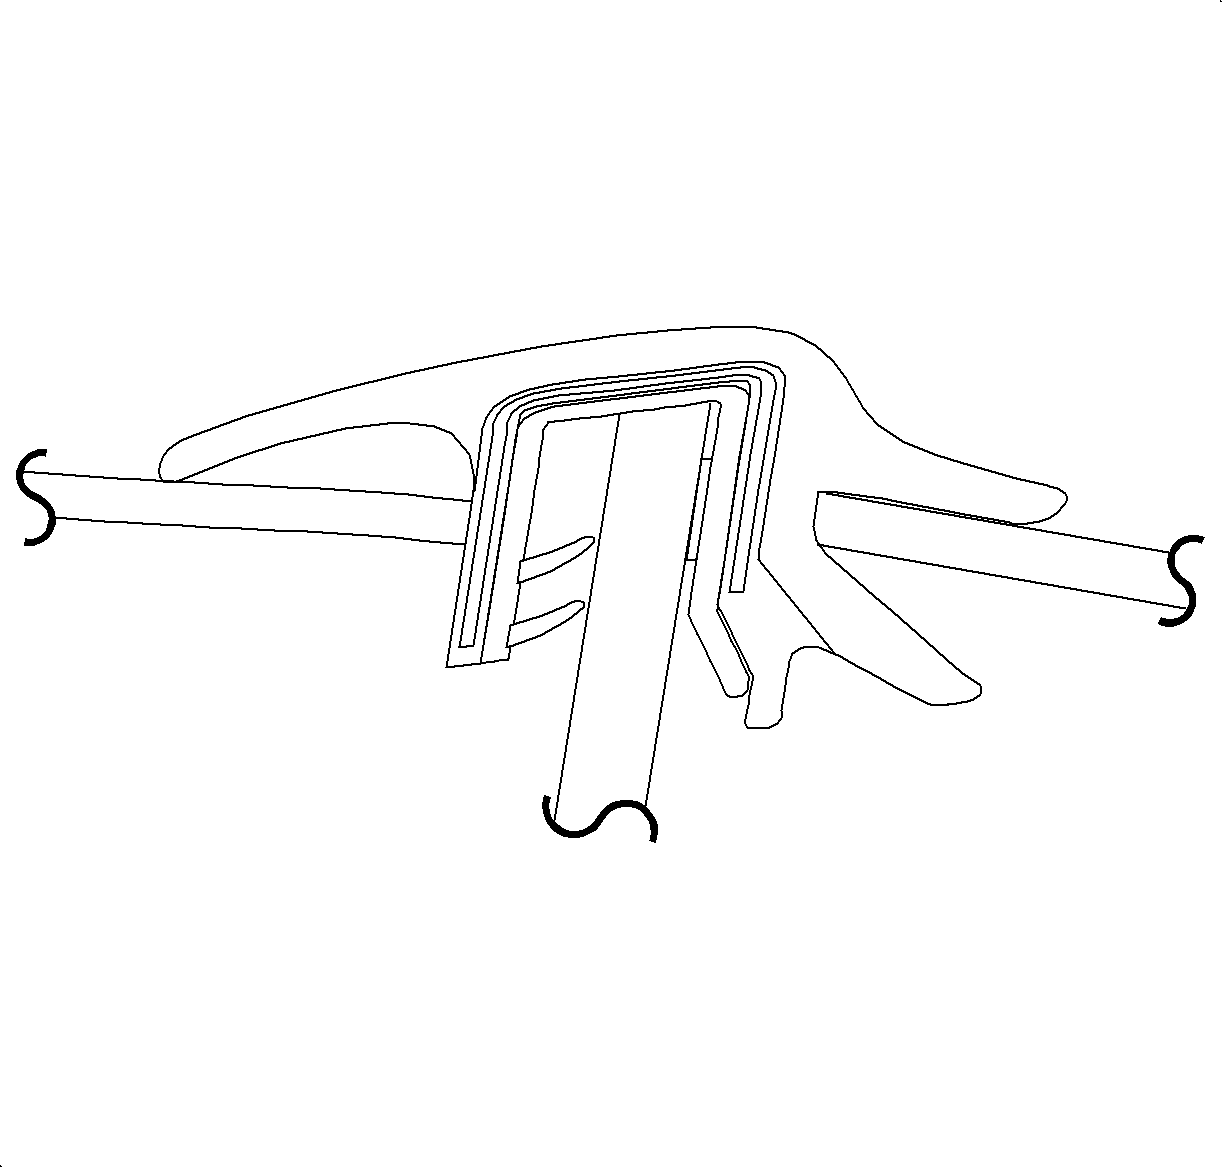
- Orient the weather-strip as shown in the figure such that the short lip on the weather-stripping rests on "A" pillar and the long lip rests on the windshield.
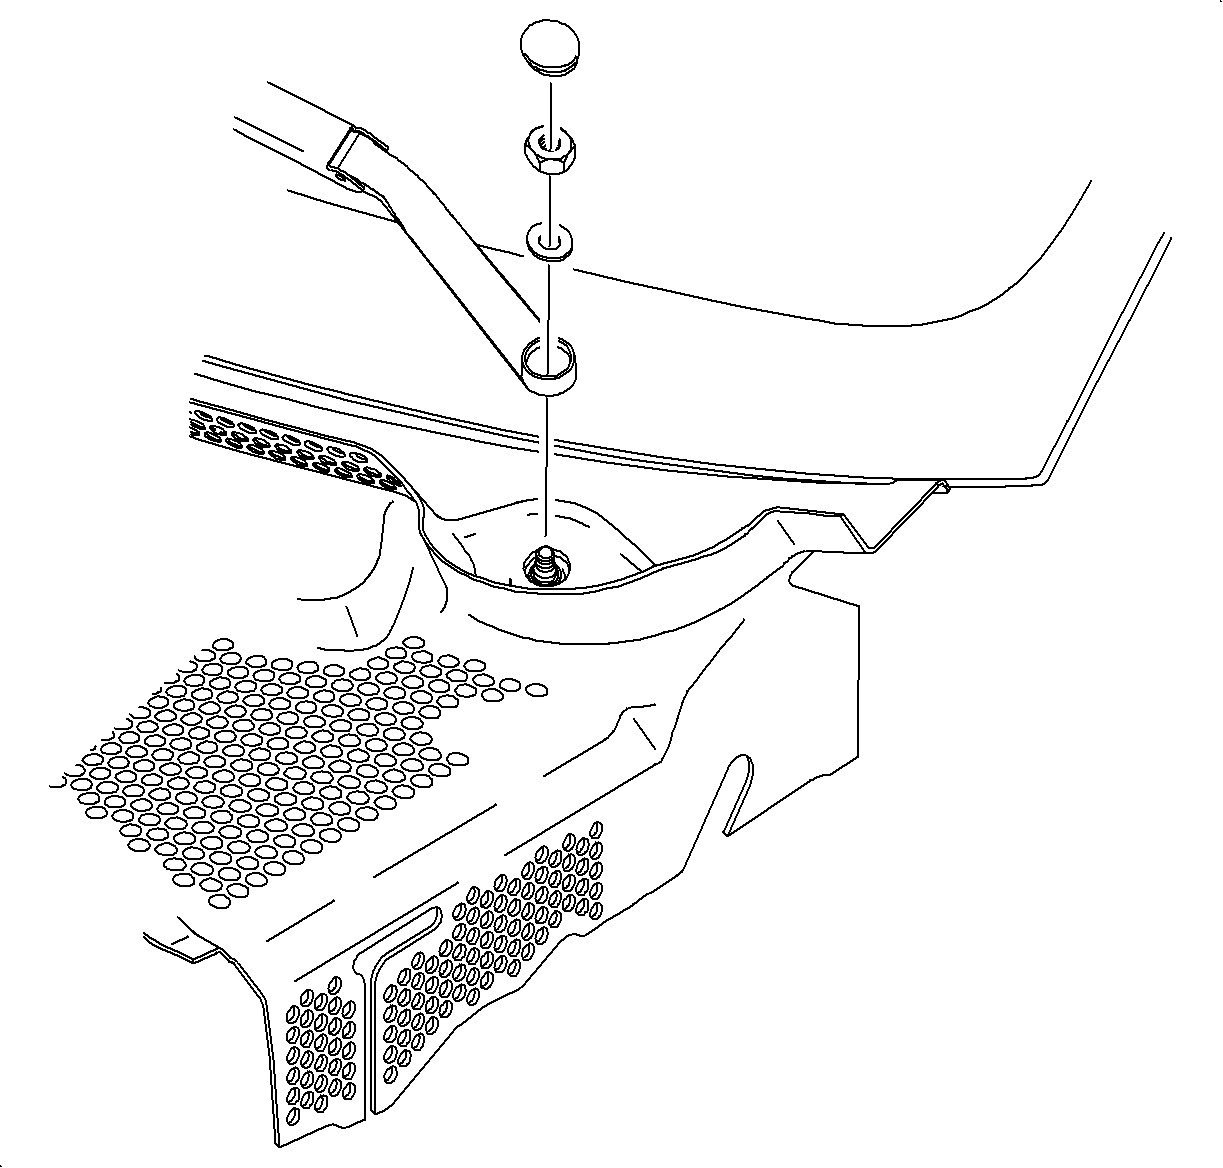
- Install the air inlet grill panel and the nuts.
- Install the lower windshield molding.
- Install the rear view mirror, slide down towards the dash, and tighten the screw.
- Install the electrical connection to the mirror, if equipped.
- Install the rear hood weather-strip.
- Install the windshield wiper arm, the washer, and the nut.
- Install the windshield wiper arm nut cap.
- Remove the blanket or cloth carefully from the instrument panel upper dash panel and the defroster ducts.
Important: Loose urethane and/or a rough surface on the remaining urethane may cause sealing problems during installation.
Notice: To prevent corrosion, paint damage around the window opening by the power glass removal tool must be covered with pinchweld primer. Do not prime over existing urethane. Follow manufacturers recommendations for drying time.
Specification
The primer area, minimum width (A)
is 18 mm (0.71 in).
Specification
The primer area, minimum width (A)
is 18 mm (0.71 in).
Specifications
| • | The bead dimensions of the minimum width (B) is 8 mm (0.31 in). |
| • | The bead dimensions of the minimum height (C) is 14 mm (0.55 in). |
Notice: Refer to Air Pressure Moving Glass Notice in the Preface section.

Tighten
Tighten the air inlet grill panel nuts to 1 N·m
(9 lb in).
Tighten
Tighten the rear view mirror screw to 4 N·m
(35 lb in).
Tighten
Tighten the windshield wiper arm nut to 12 N·m
(9 lb ft).
Important: The vehicle must remain at normal room temperature for 6 hours to complete proper cure of the adhesive. Refer to the manufacturer's recommendation.
