For 1990-2009 cars only
Removal Procedure
- Open the hood.
- Remove the washer fluid from the washer solvent container.
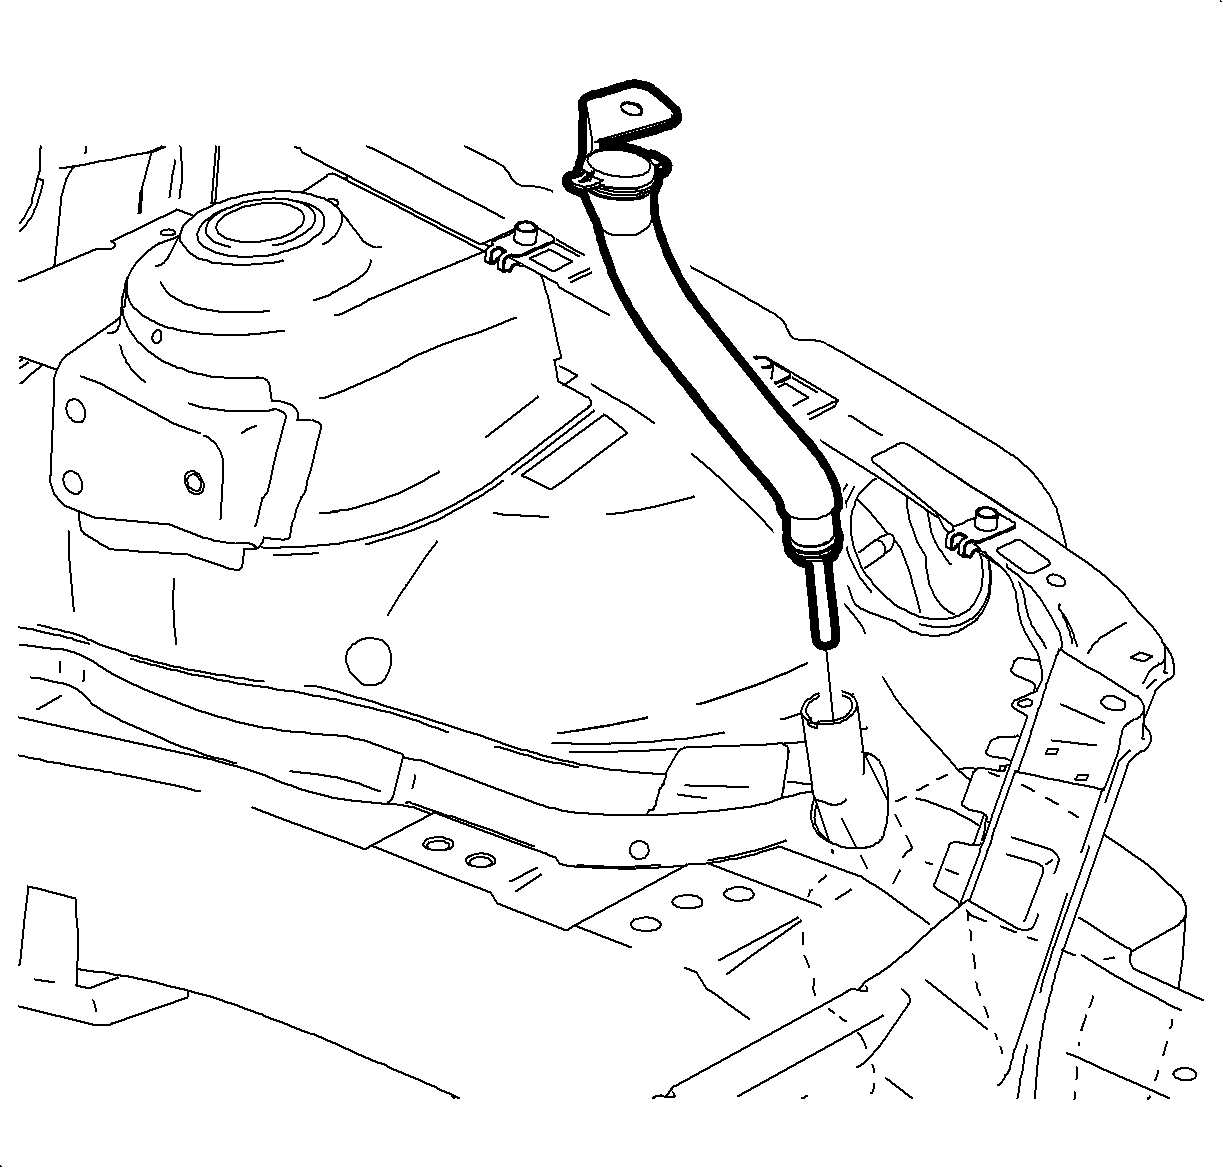
- Remove the top fastener from the filler neck.
- Pull the top filler neck apart from the washer bottle by rocking side to side while pulling out.
- Pull back the drivers side wheelhouse liner to access the washer pump. Refer to Front Wheelhouse Liner Replacement in Body Front End.
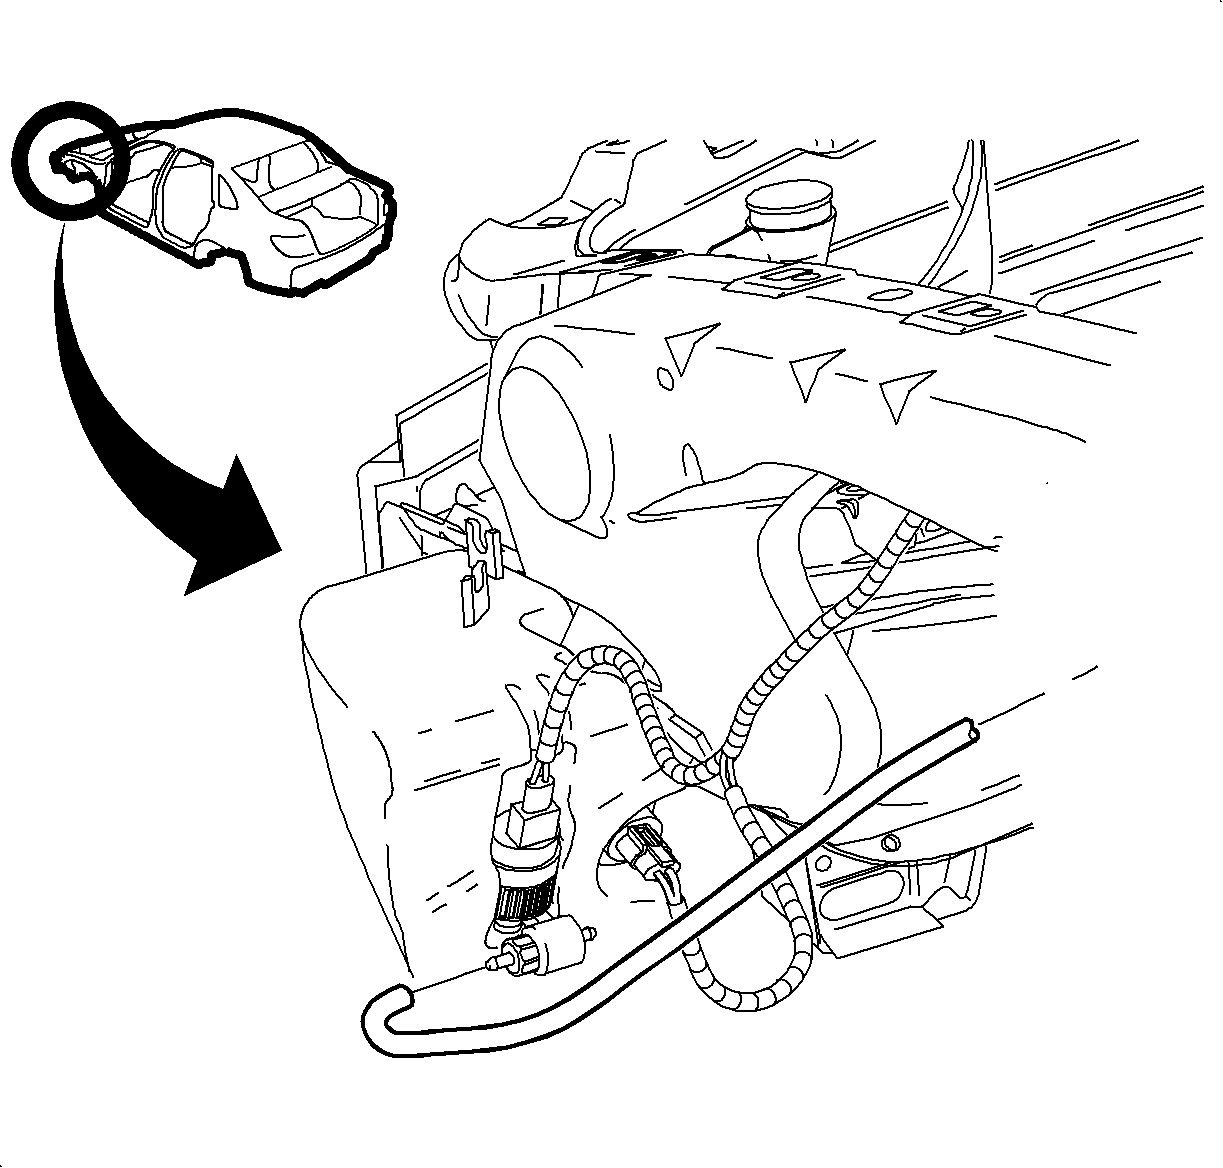
- Disconnect the electrical connector from the washer pump.
- Disconnect the electrical connector from the solvent level sensor.
- Remove the fluid hose from pump, making sure to capture any spilling solvent.
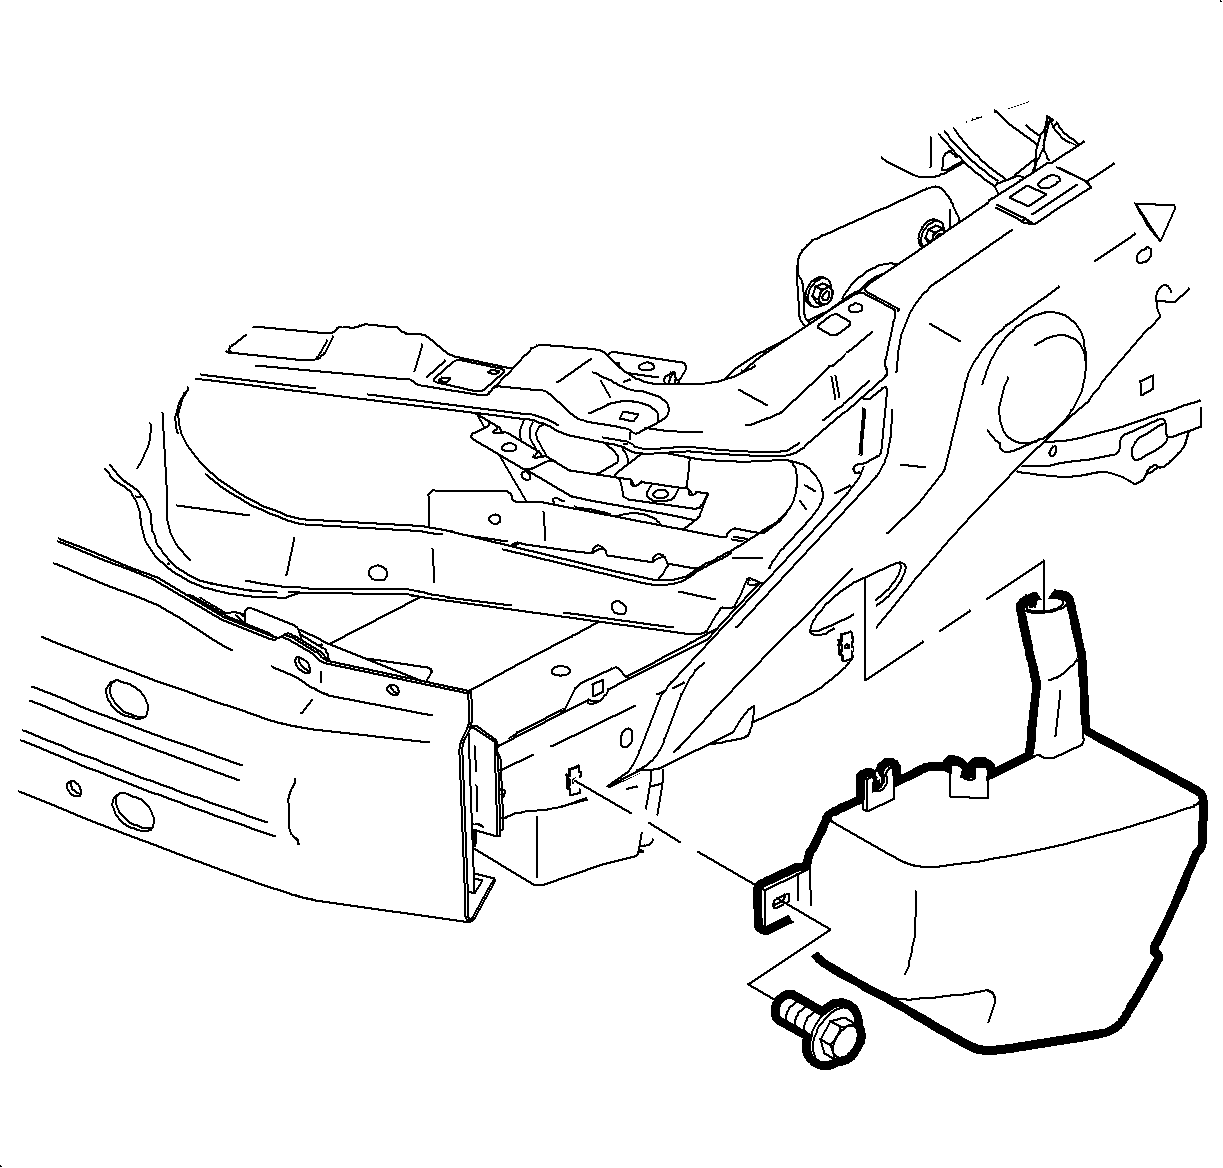
- Remove the bolts from the washer solvent container.
- Remove the washer solvent container from the front frame rail.
- Empty the washer fluid from the washer solvent container.
- Remove the washer pump from the washer solvent container by pulling firmly on the pump.


Installation Procedure
- Install the washer pump to the washer solvent container pressing into place until fully seated.
- Position the washer solvent container to the front frame rail.
- Install the bolts to the washer solvent container.
- Install the fluid hose to the washer pump.
- Connect the electrical connector to the washer pump.
- Connect the electrical connector to the solvent level sensor.
- Install the filler neck to the washer solvent container.
- Fill the washer solvent container with new washer solvent.
- Inspect the wiper/washer system for proper operation.
- Pull back the drivers side wheelhouse liner. Refer to Front Wheelhouse Liner Replacement in Body Front End.

Notice: Refer to Fastener Notice in the Preface section.
Tighten
Tighten the bolts to 4 N·m (35 lb in).


