Service Information Regarding Elimination of Auxiliary Water Pump and Instructions to Install 2nd Design Heater Inlet Hose and Heater Inlet Elbow in Place of the 1st Design Water Pump and Heater Inlet

| Subject: | Service Information Regarding Elimination of Auxiliary Water Pump and Instructions to Install 2nd Design Heater Inlet Hose and Heater Inlet Elbow in Place of the 1st Design Water Pump and Heater Inlet Hose |
| Models: | 2000-2002 Saturn L-Series Vehicles |
| 2003 Saturn L-Series Vehicles - Built Between and Including VIN Breakpoints 3Y500001-3Y519029 with 3.0L V6 Engine (VIN R - RPO L81) |
Purpose
The auxiliary water pump is not needed for vehicles equipped with V-6 engines. Therefore, any time a heater inlet hose and/or an auxiliary water pump needs to be replaced, the heater inlet hose should be removed and replaced with 2nd design heater inlet hose and heater inlet elbow. Refer to the service procedure in this bulletin to update the heater inlet hose and elbow.
Service Procedure
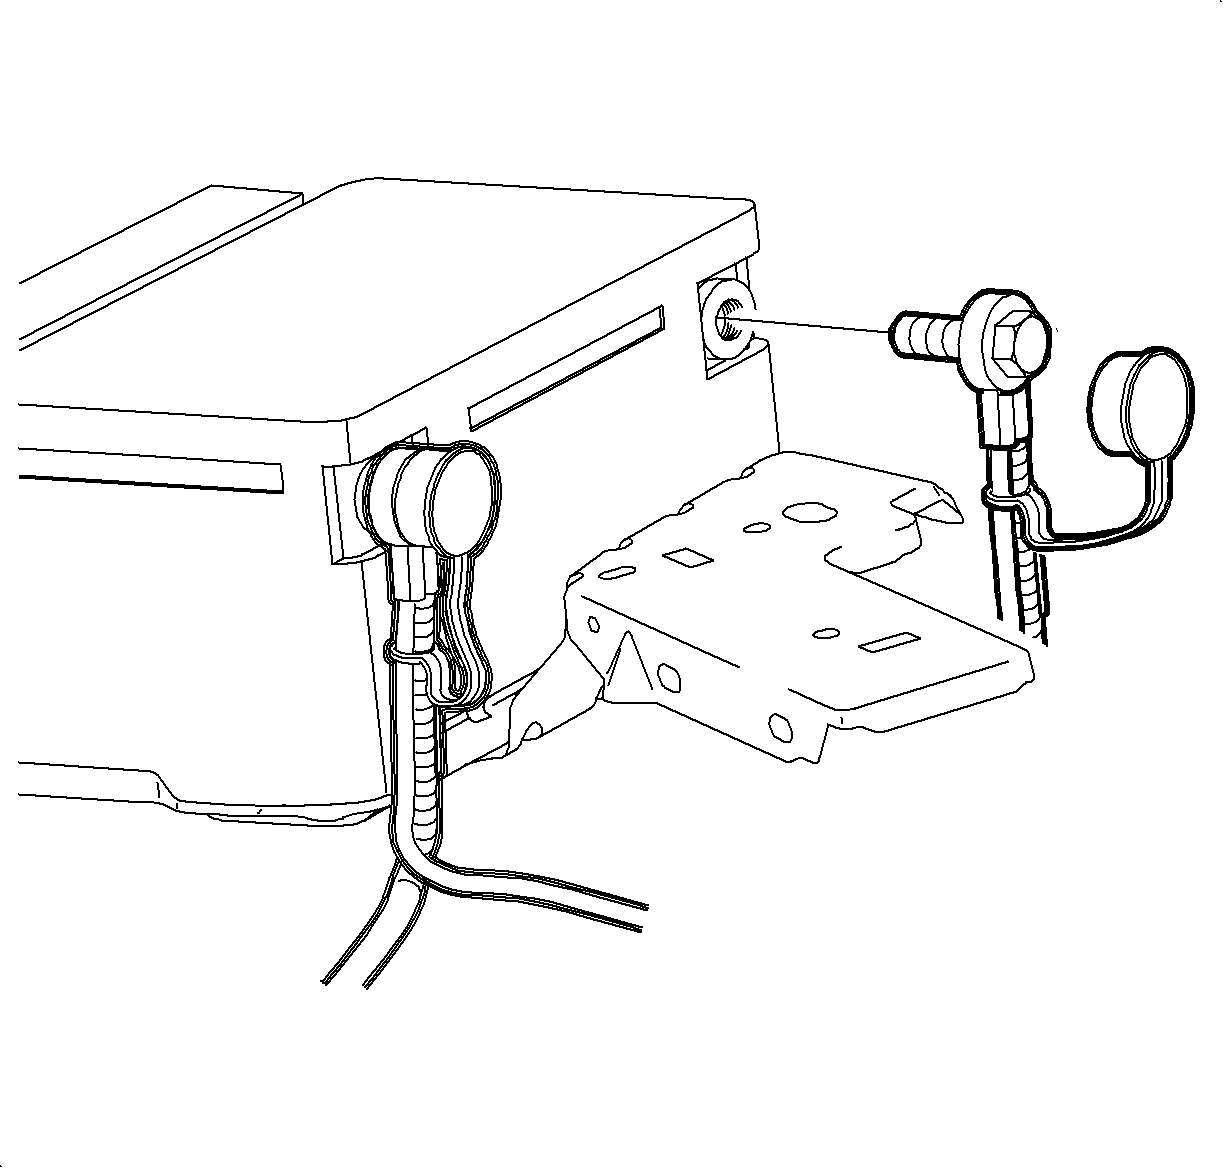
- Disconnect negative battery cable.
- Drain coolant. Refer to "Draining Coolant" procedure in the appropriate L-Series Engine (L81) Service Manual.
- Position approved coolant container under vehicle below heater hose connections to catch any coolant that may be trapped in heater hoses.
- Open heater hose assembly to manifold clamp.
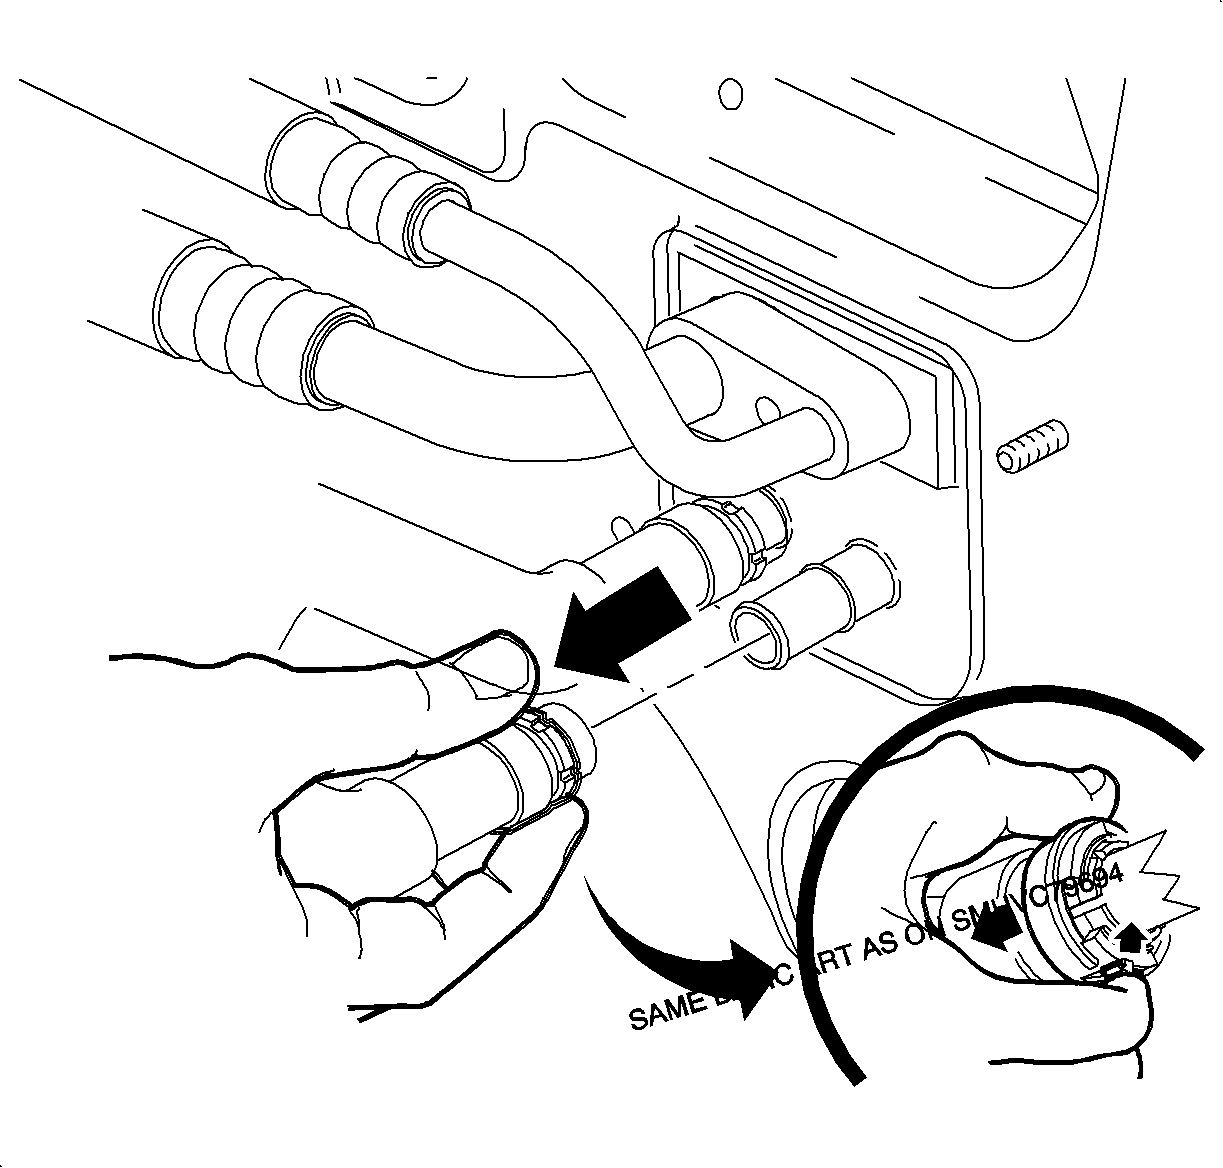
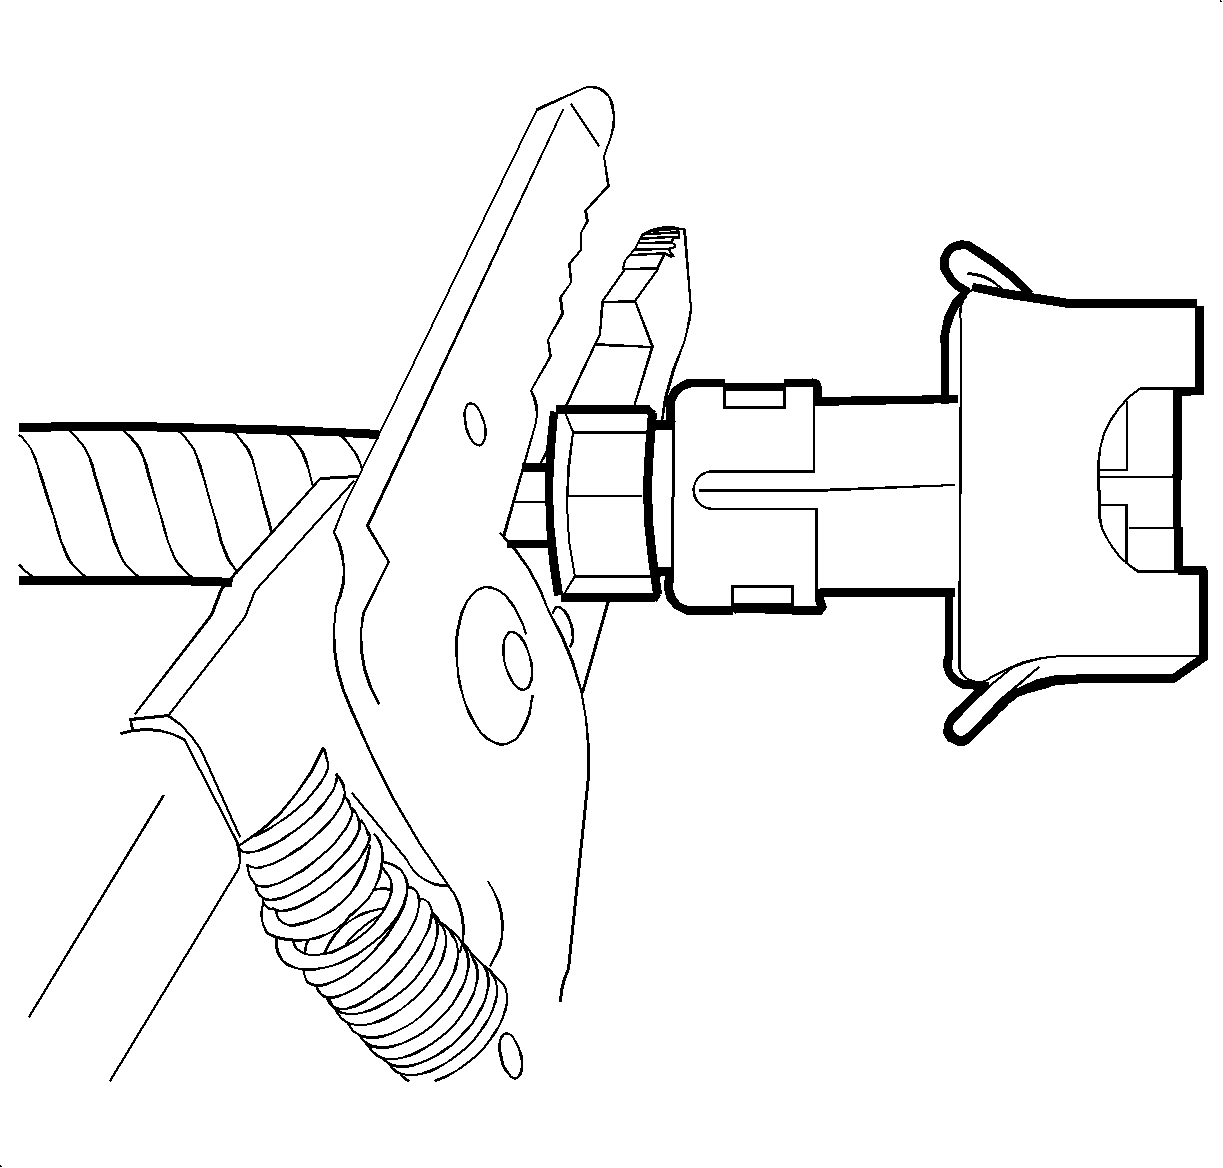
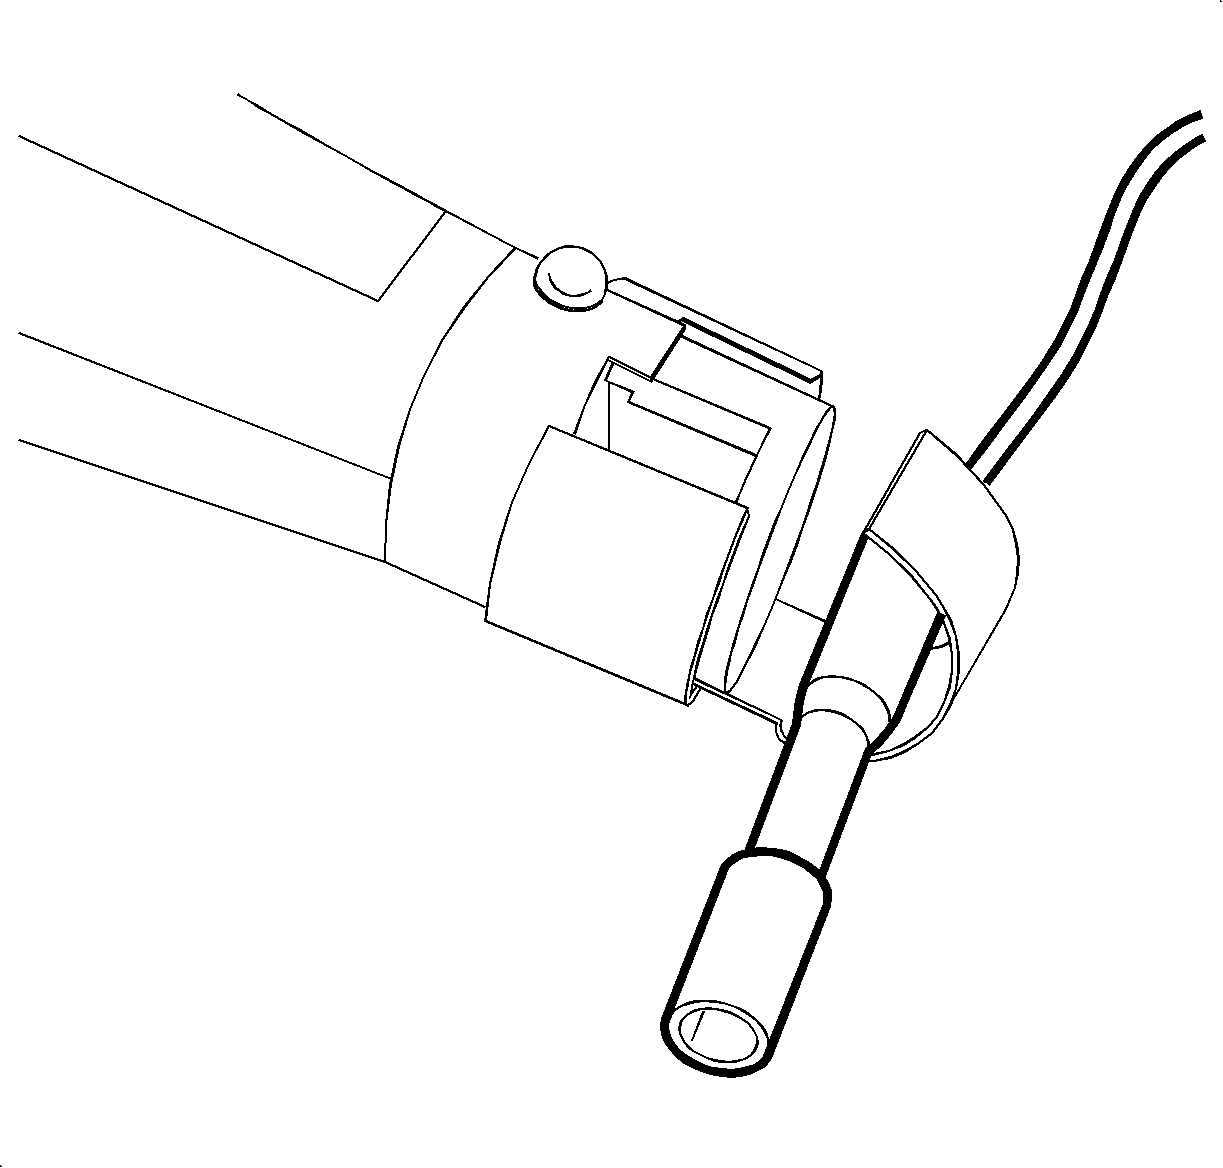
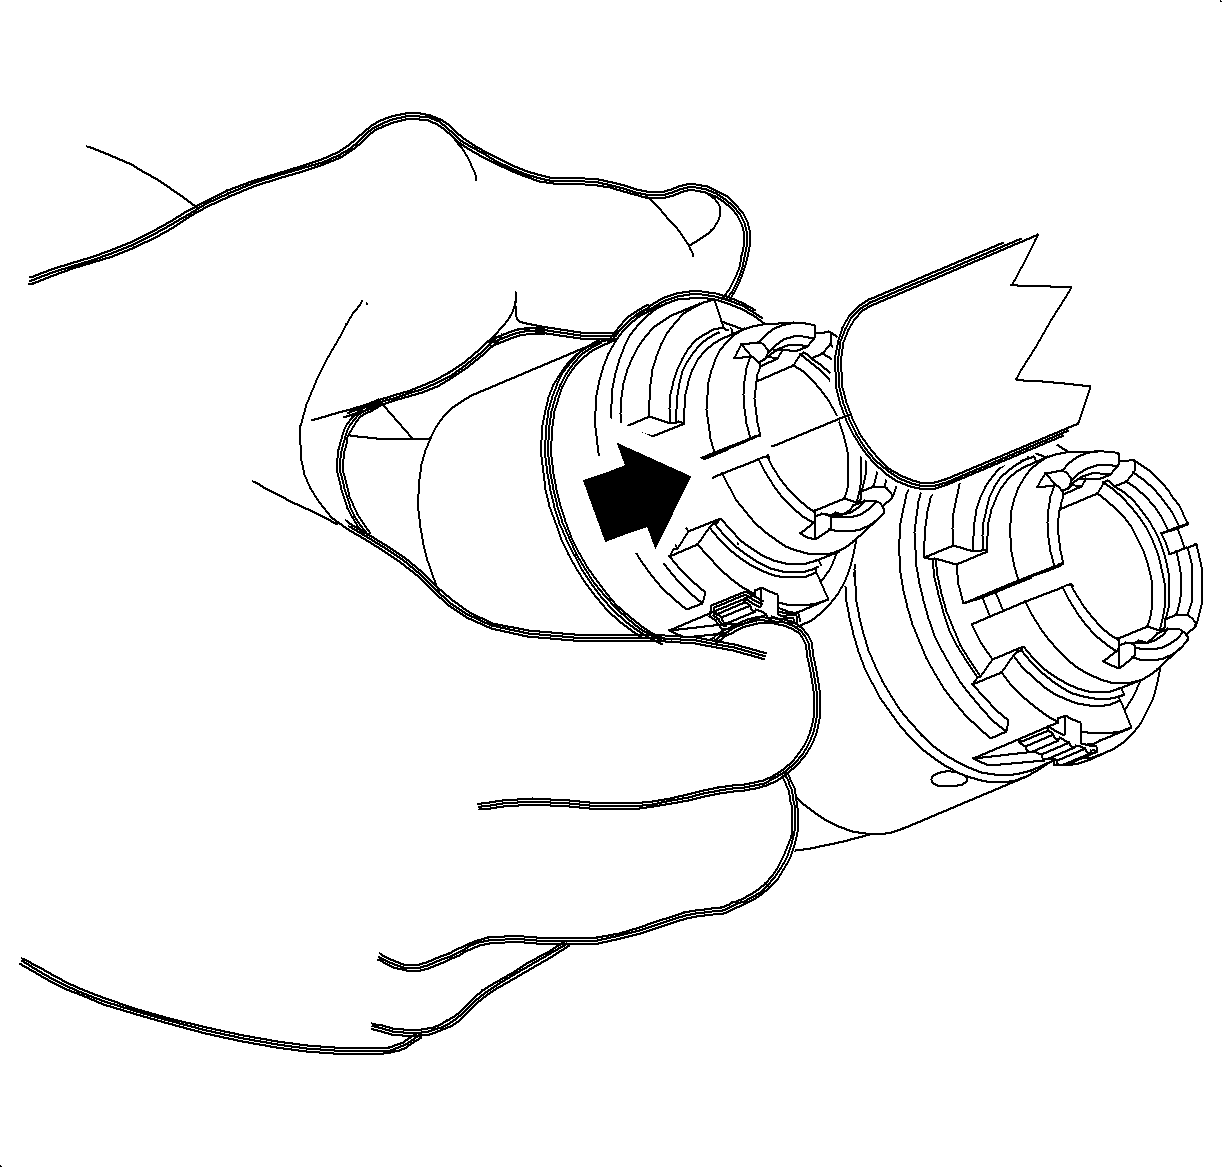
- Remove heater core inlet hose from heater core pipe by depressing quick connect collar tab, located at 6 o'clock, and pulling black collar toward front of vehicle and then pulling quick connect off of heater core pipe.
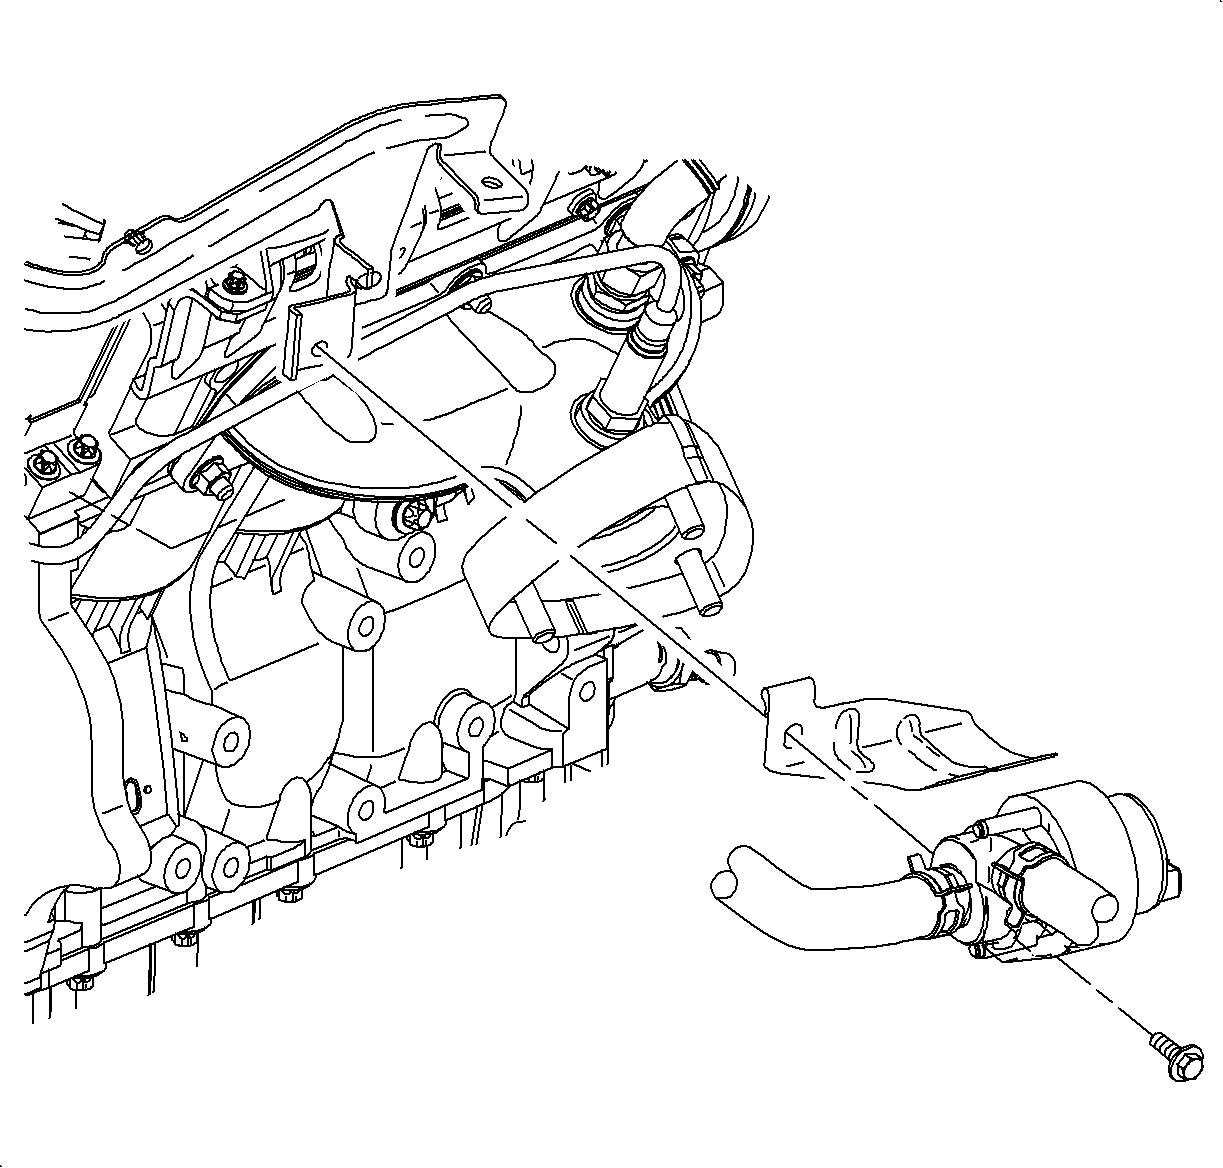
- Disconnect heater inlet hose from the heater water pump.
- Disconnect electrical connector from heater water pump.
- Remove heater water pump mount and heat shield-to-bracket bolt (E10 Torx® socket required) and remove mount and shield.
- Discard pump, shield, and inlet hose, but save the clamps and bolt to attach the pump to the engine (they will be reused).
- Cut connector for auxiliary coolant pump from engine harness at the connector.
- Remove tape on the auxiliary coolant pump wires.
- Remove insulation from end of cut wires. Recommended strip length is 9.5mm (3/8 in.).
- Install splice sleeve, P/N 12089189, by positioning stripped end into sleeve until wire hits stop in center of the splice sleeve.
- Hand crimp sleeve using the approved crimping tool (found in Terminal Repair Kit J44020). Gently tug on wires to make sure they are secure before applying heat to them.
- Apply heat using the heat gun or some other device, heat to 175°C (347°F) until glue flows around edges of sleeve.
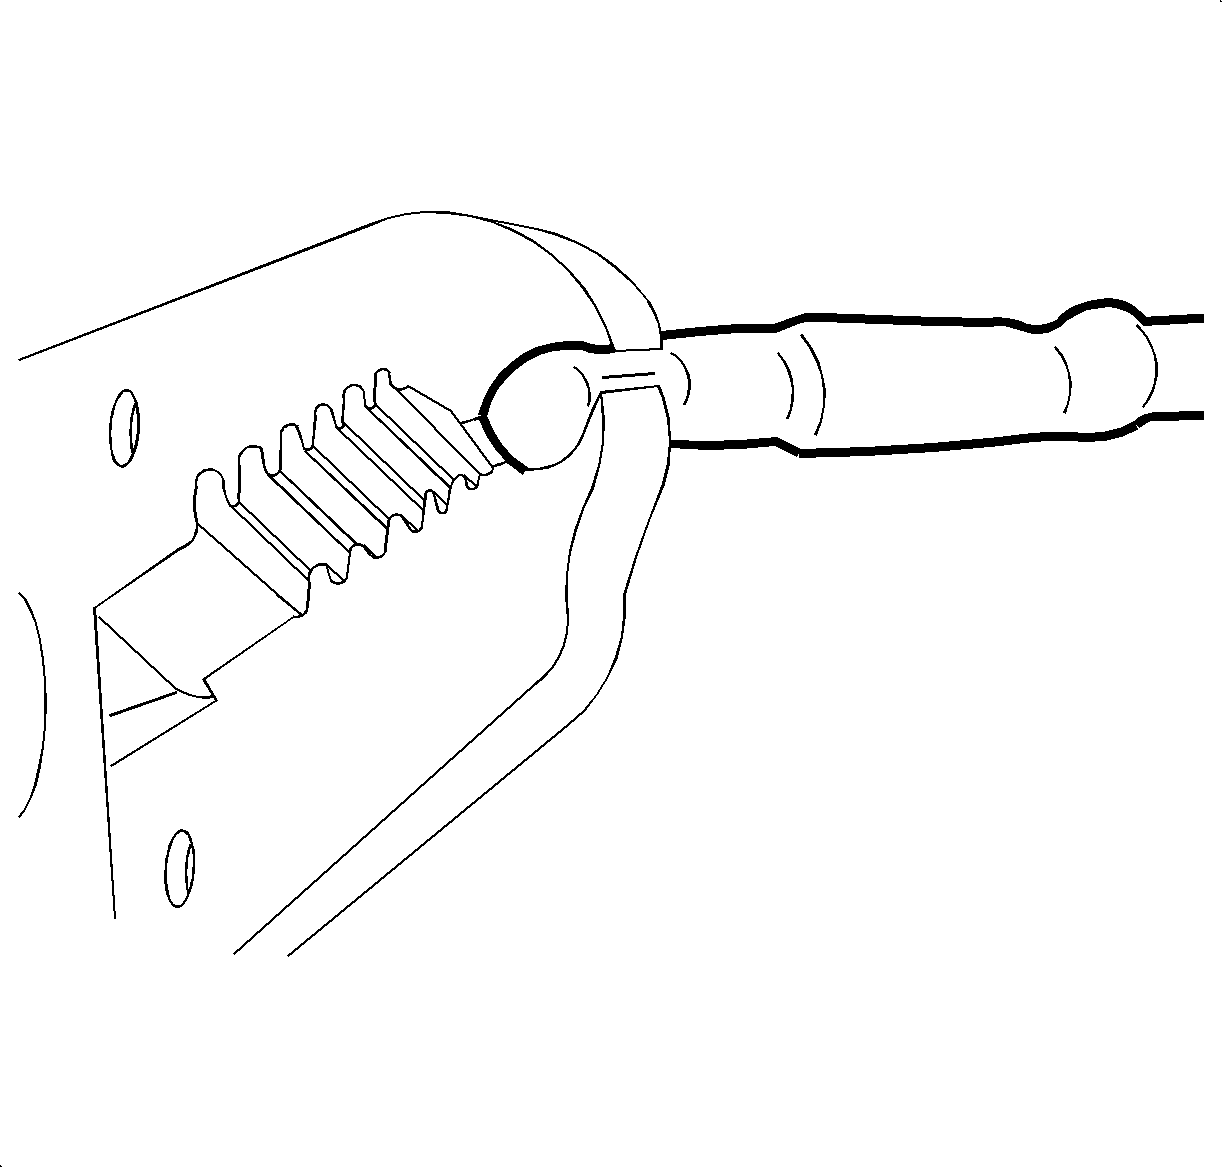
- While the sleeve is still hot, use a pair of pliers and pinch the open end of the sleeve together. Hold together for about 10 seconds.
- Repeat Steps 14 - 16 for the second wire.
- Tape wires together and install into conduit.
- Wrap end of conduit with electrical tape.
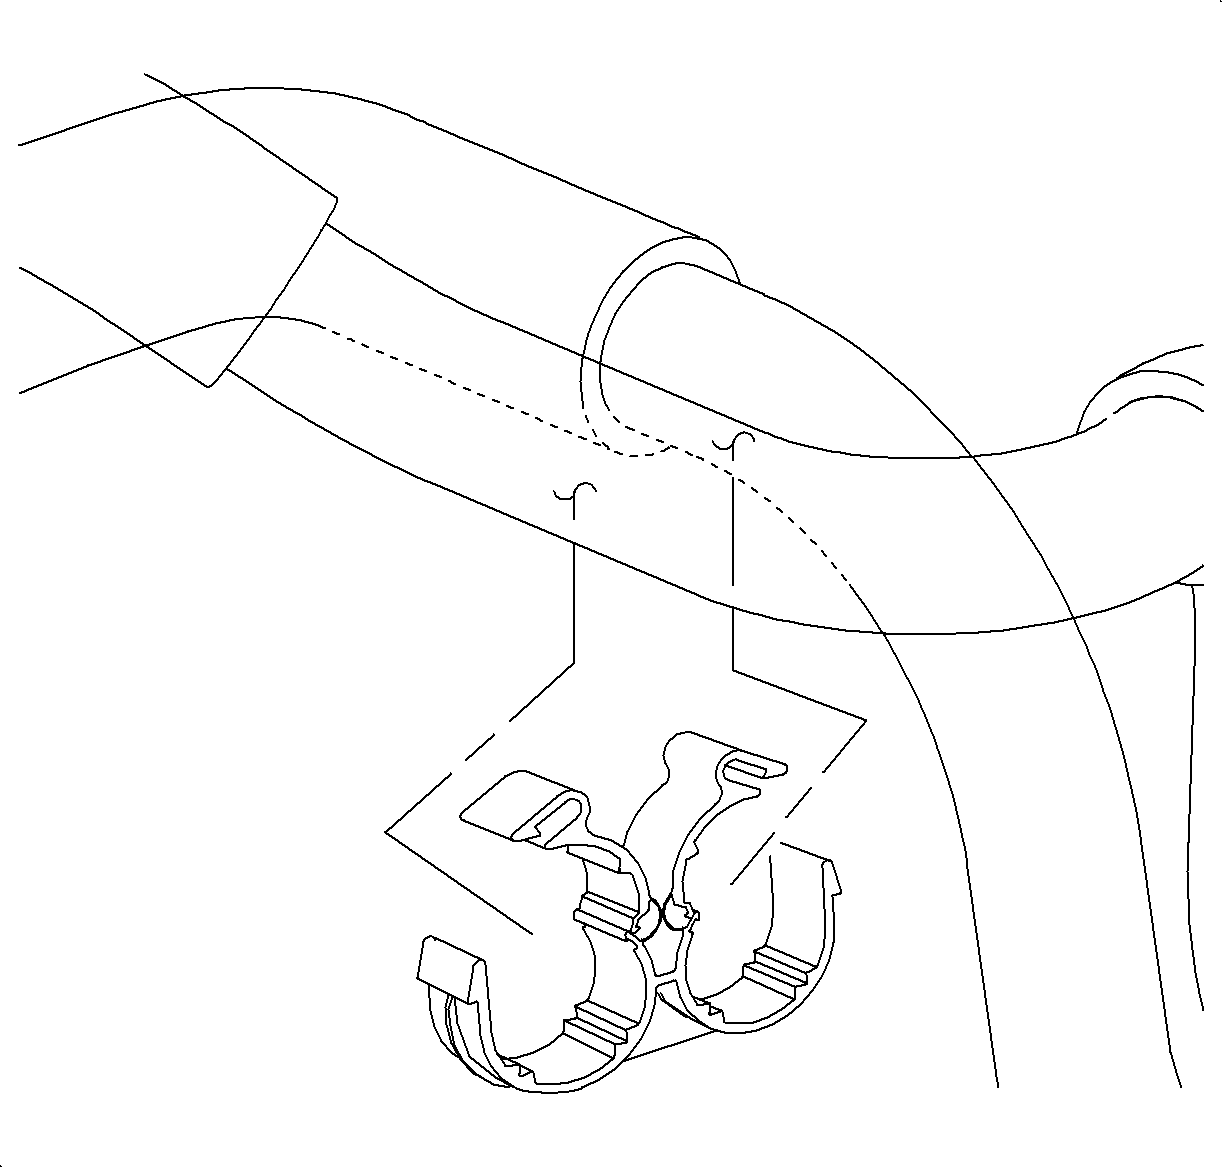
- Install conduit into attachment clips.
- Install heater inlet hose to the heater inlet elbow. Orient the elbow so that the elbow bracket will attach to the heater pump bracket on the engine. Use saved clamps to secure hoses to the elbow.
- Using the saved attachment bolt, secure the elbow and hose assembly to the engine at the heater pump mounting bracket.
- Install heater core inlet quick connect to heater inlet pipe (closest to driver's side). Holding quick connect by black collar, slide onto heater core pipe. When quick connect engages heater core pipe bead, collar will slide toward front of dash and lock into position. A green paint band will be visible when collar is properly positioned.
- Verify proper engagement of quick connect by attempting to pull hose off heater pipe.
- With hoses properly positioned, close heater hose assembly to manifold clamp.
- Connect negative battery cable.
- Fill cooling system. Refer to "Coolant Replacement" procedure in the appropriate Saturn L-Series Engine (L81) Service Manual.
- Using fresh water and a collection container or an absorbent, rinse away any coolant that was spilled during servicing of vehicle and dispose of waste coolant properly.
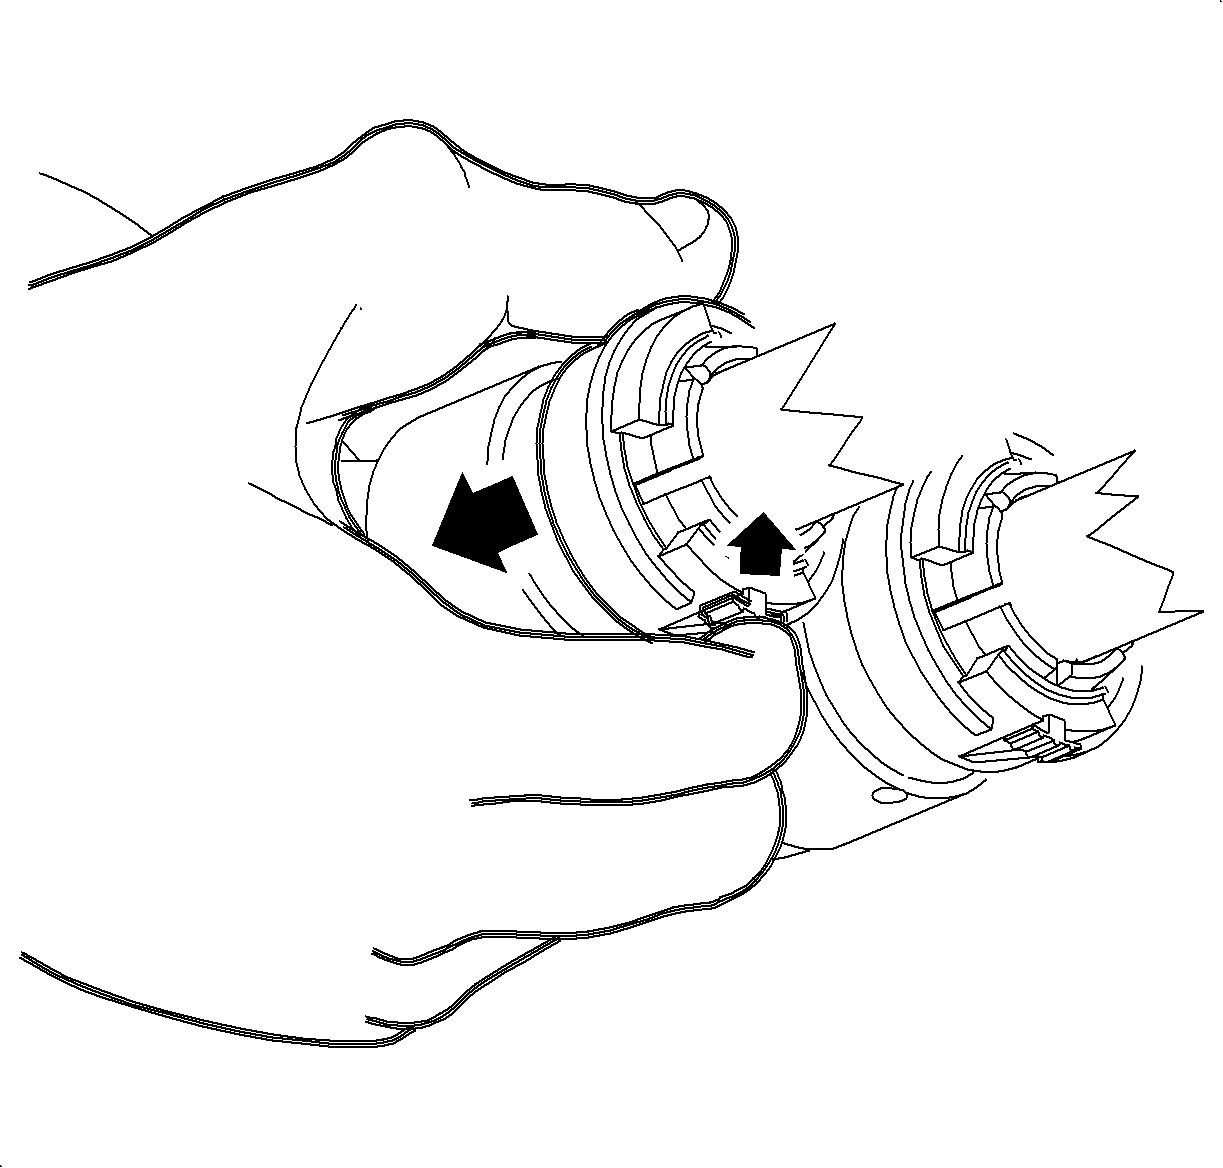
Important: Green plastic rings may be found hanging on the pipes after hose removal. These are manufacturing aids and should be discarded.
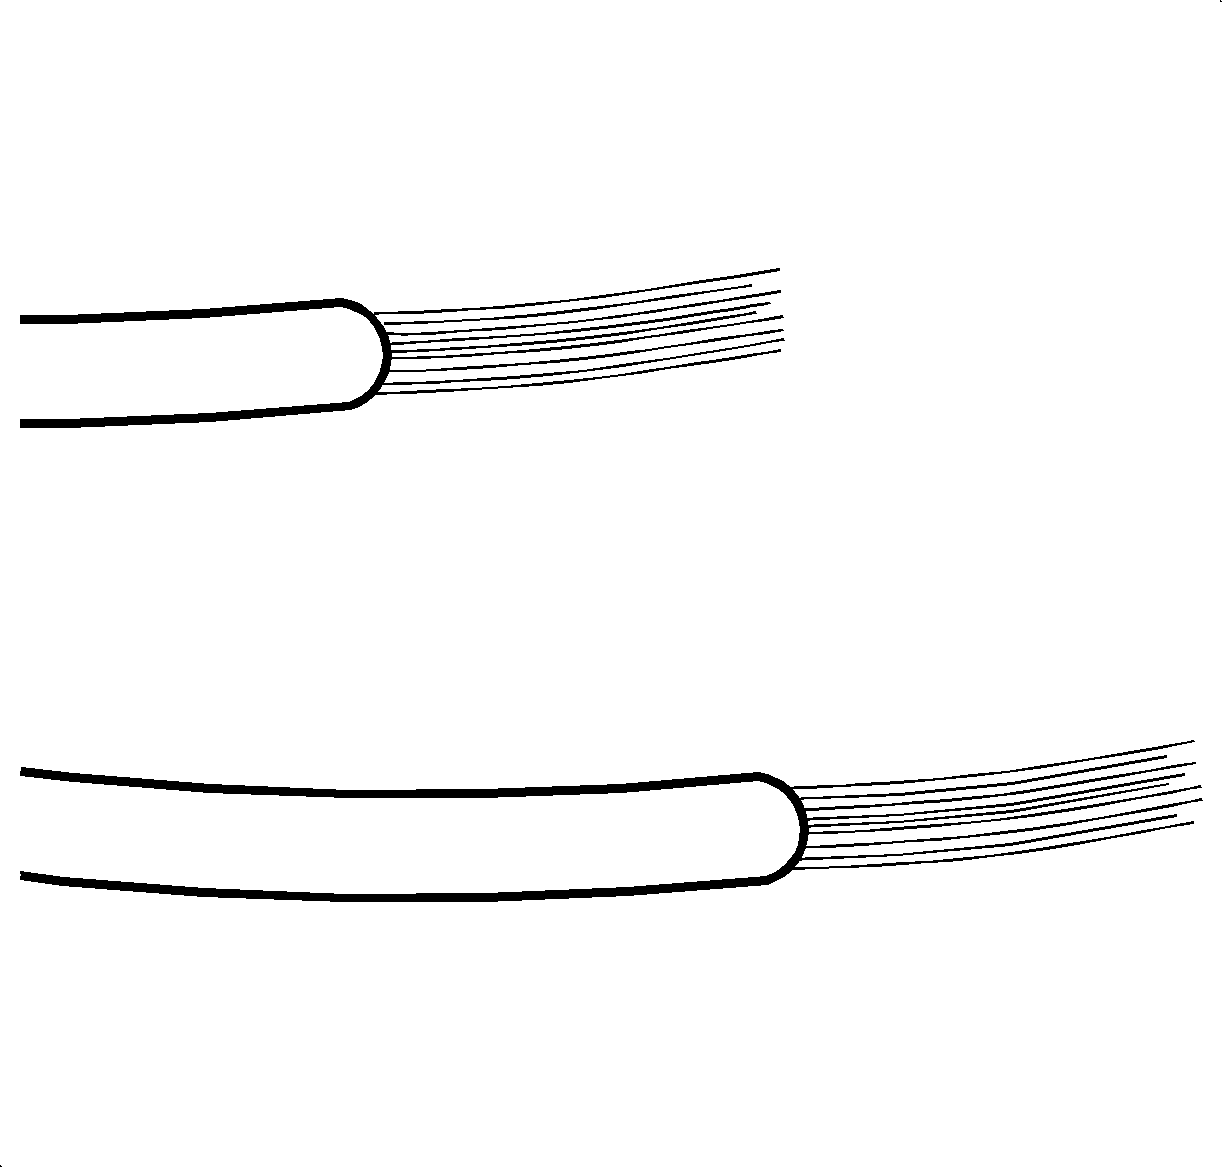
Wire Size Gage: Top Left .35 - .5 - .8 - 22 - 20 - 18 Bottom Right
Part Number: 12089189 * Salmon
Part Number: 217670 ** Salmon
* Can be ordered through Delphi-Packard by calling 1-800-PACKARD.
** Also available in the Saturn Special Tool Catalog found with J44020 Terminal Repair Kit.
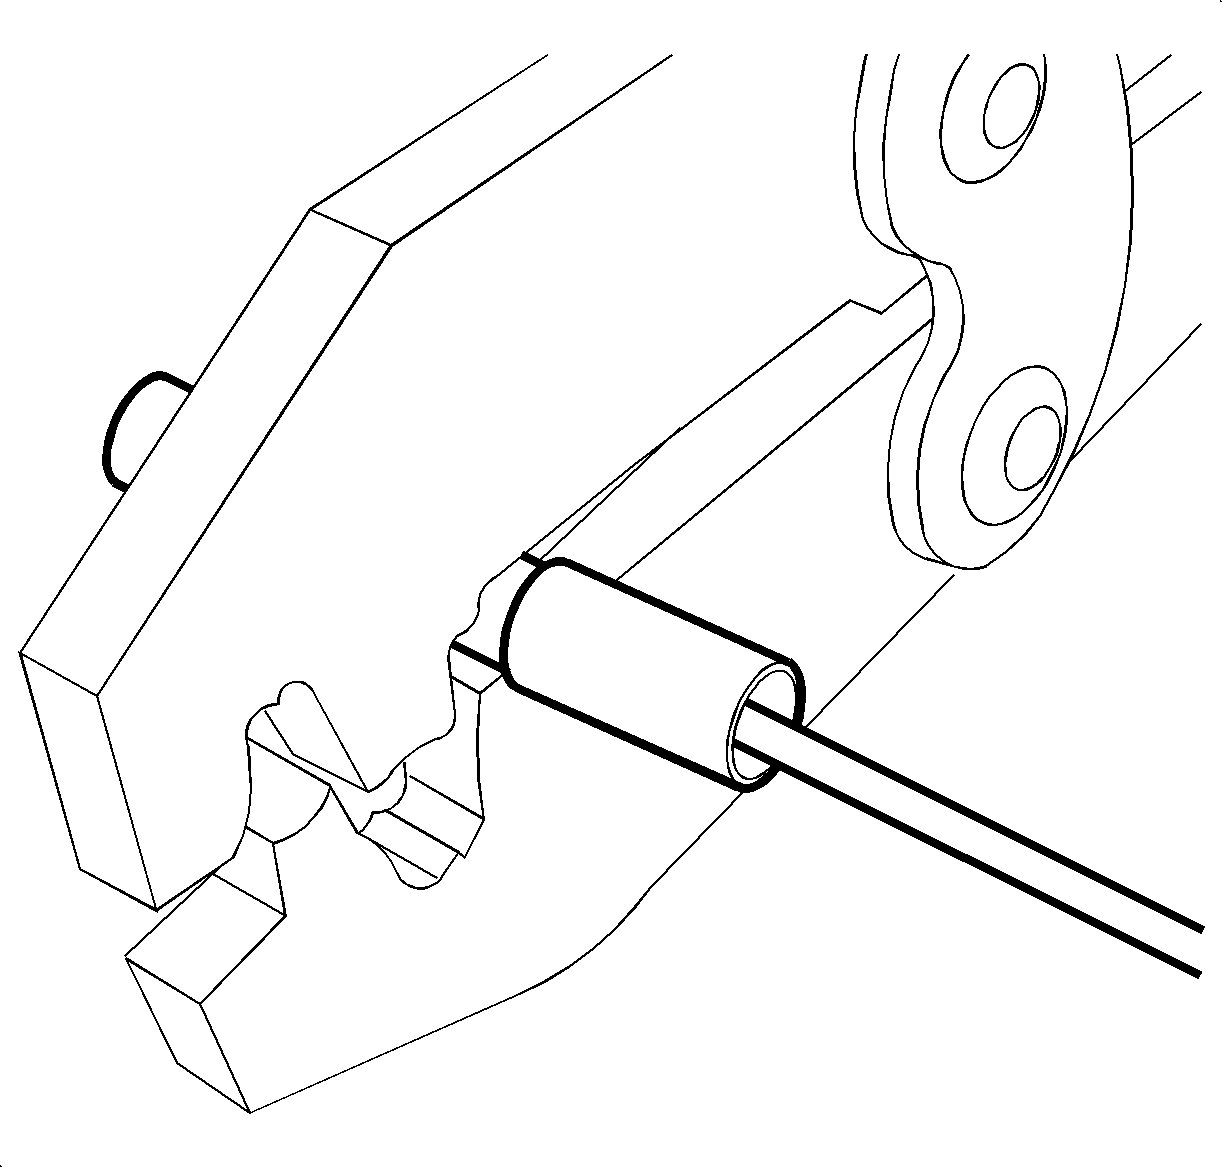
Caution: Do not use match or open flame to apply heat to seal.
Tighten
Heater Inlet Elbow Bolt 8 N·m (71 lb in)


Tighten
Battery Terminal Bolts 17 N·m (13 lb ft)
Parts Information
Part Number | Description | Qty |
|---|---|---|
22702079 | ELBOW, HTR INL | 1 |
Warranty Information
To receive credit for this repair under the warranty coverage period, submit a claim through the Saturn Dealer System for D2774 (Hoses, Heater, Inlet-Replace). An "add time" condition is provided to replace the auxiliary water pump with the new hose and elbow.
