Rear Door Glass Inoperative or Operates Erratically due to Window Regulator Becoming Disengaged from Door Glass

| Subject: | Rear Door Glass Inoperative or Operates Erratically due to Window Regulator becoming Disengaged from Door Glass (Adjust Front and/or Rear Door Glass Run Channels, and Re-engage Window Regulator to Door Glass) |
| Models: | 2000 - 2002 L-Series vehicles |
Condition
Some customers may comment the rear door glass is inoperative or displays erratic operation.
Cause
The condition may be caused by excessive fore and aft movement of the door glass between the window run channels.
Correction
To correct this condition refer to service procedure in this bulletin to adjust the front and/or rear door glass window run channels.
Service Procedure
- Operate affected window regulator to full down position, using the window crank or switch on power equipped vehicles.
- Remove interior and exterior door panels. Refer to Doors/Windows/Mirrors section in the applicable model year Body/Electrical Volume I Service Manual.
- Move door glass to the half down position and push the door glass fore and aft within the window run channels inspecting for fore and aft movement of the door glass. Repeat this with the glass as close to the full down position as possible.
- If it is determined that fore and aft movement of the door glass exists in either the half down or full down positions, proceed to step 5. If fore and aft movement of the door glass does not exist proceed to step 11.
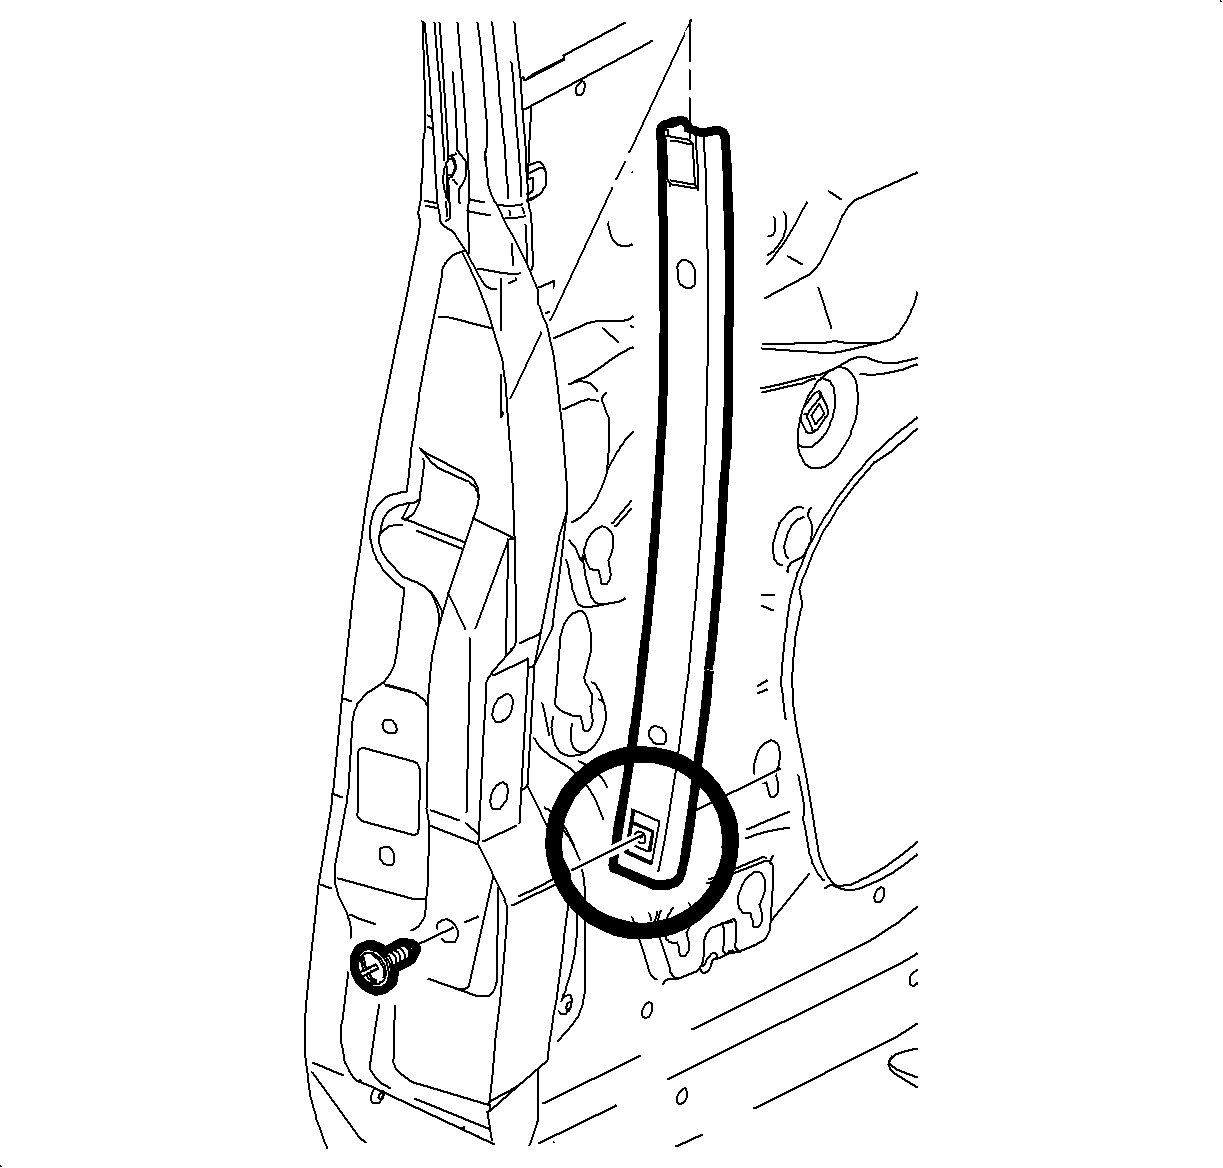
- Remove front run channel lower retaining bolt and place a 2 mm thick washer P/N 11035625 (or equivalent) between the run channel and door.
- Reinstall front run channel retaining bolt.
- Operate window from full up to full down position by hand to determine if the door glass operates smoothly and re-evaluate the fore and aft movement of the door glass between the front and rear window run channels. If door glass still displays fore and aft movement proceed to next step. If fore and aft movement has been eliminated proceed to step 11.
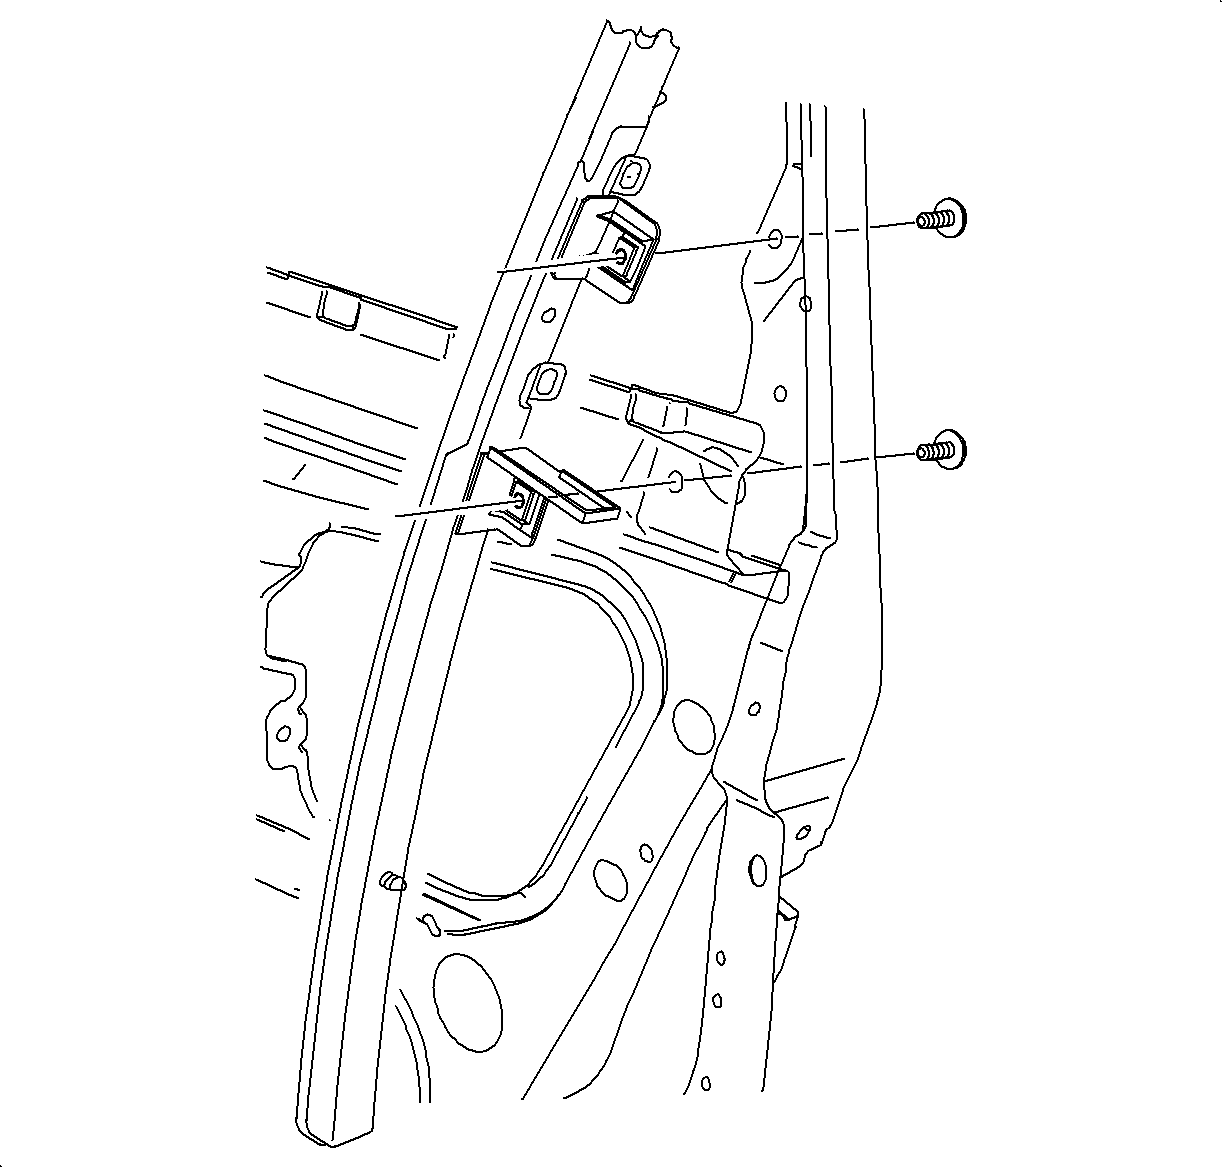
- Loosen rear run channel retaining bolts and move the bottom of the run channel forward slightly.
- Tighten rear run channel retaining bolts.
- Operate window from full up to full down position by hand to determine if the door glass operates smoothly and re-evaluate the fore and aft movement of the door glass between the front and rear window run channels.
- Loosen regulator retaining bolts and disengage regulator from door.
- Re-engage window regulator to window drive channel.
- Attach window regulator to door and install window regulator bolts.
- Operate window with switch or window crank and evaluate the operation of door glass.
- Install interior and exterior door panels. Refer to Doors/Windows/Mirrors section in the applicable model year Body/Electrical Volume I Service Manual.
- After interior and exterior door panels have been installed re-evaluate the window for smooth operation.
| • | If window regulator does not operate refer to the Doors/Windows/Mirrors section in the applicable model year Body/Electrical Volume I Service Manual for further electrical diagnosis or regulator replacement. |
| • | If window regulator does operate and the glass does not move or if the glass goes down with the regulator proceed to next step. |
Important: The door glass may or may not move with the regulator. Confirm disengagement of the regulator by moving the glass upward or downward by hand.

Important: You must re-evaluate the operation of the door glass after each adjustment. Perform only the adjustments that are necessary to provide smooth operation of the door glass while eliminating fore and aft movement of the door glass within the run channels.

Tighten
Tighten the Rear Run Channel Retaining Bolt to 10 N·m (89 lb in)
Tighten
Tighten the Window Regulator Bolts to 10 N·m (89 lb in)
- If door glass displays a shudder condition when disengaging from the window frame header during downward travel, proceed with the next step.
- Remove upper door finish molding (shark fin).
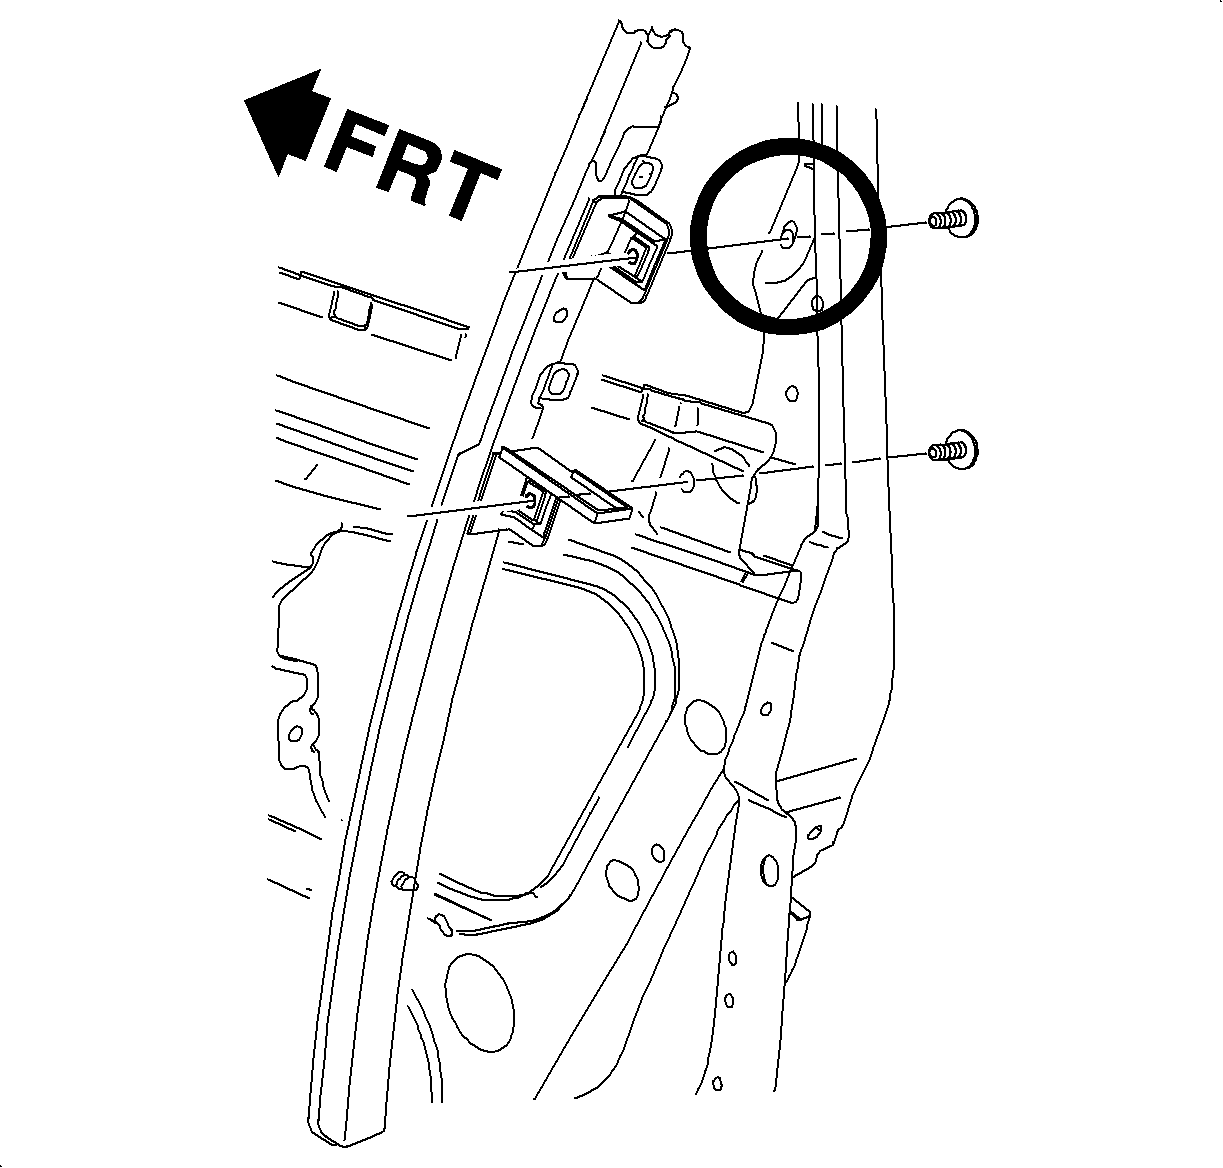
- Remove rear run channel upper retaining bolt.
- Place a flat bladed screwdriver in between the run channel and the inner door frame to provide a gap between the two.
- Using a die grinder carefully elongate the upper mounting hole in the door frame 2 mm in the forward direction.
- Touch up any bare metal areas with PPG DP-90 epoxy primer (or equivalent) anti-corrosion primer.
- Install rear run channel upper retaining bolt.
- Push bolt to forward most position within mounting hole.
- Re-evaluate window operation for smooth operation.
- Install upper door finish molding (shark fin).

Important: The following steps should only be performed if upon re-evaluation of the window operation, the door glass displays a shudder condition when disengaging from the window frame header area during downward travel.
Tighten
Tighten the Rear Run Channel Retaining Bolt to 10 N·m (89 lb in)
Parts Information
11035625 - 2 mm Washer
Warranty Information
To receive credit for this repair during the warranty coverage period, submit a claim through the Saturn Dealer System for C0300 (Glass, Rear Door, Right - Align), C0301 (Glass, Rear Door, Left - Align), or if another procedure is performed, refer to the appropriate Electronic Labor Time Guide for the correct Labor Operation Code and Time.
