Tools Required
| • | SA9150BR Engine Support Fixture |
| • | J 43150 Engine Support Fixture Adapter |
Removal Procedure
- Remove the battery from the vehicle. Refer to Battery Replacement .
- Remove the underhood fuse block (UHFB). Refer to Underhood Electrical Center or Junction Block Replacement.
- Remove the battery tray.
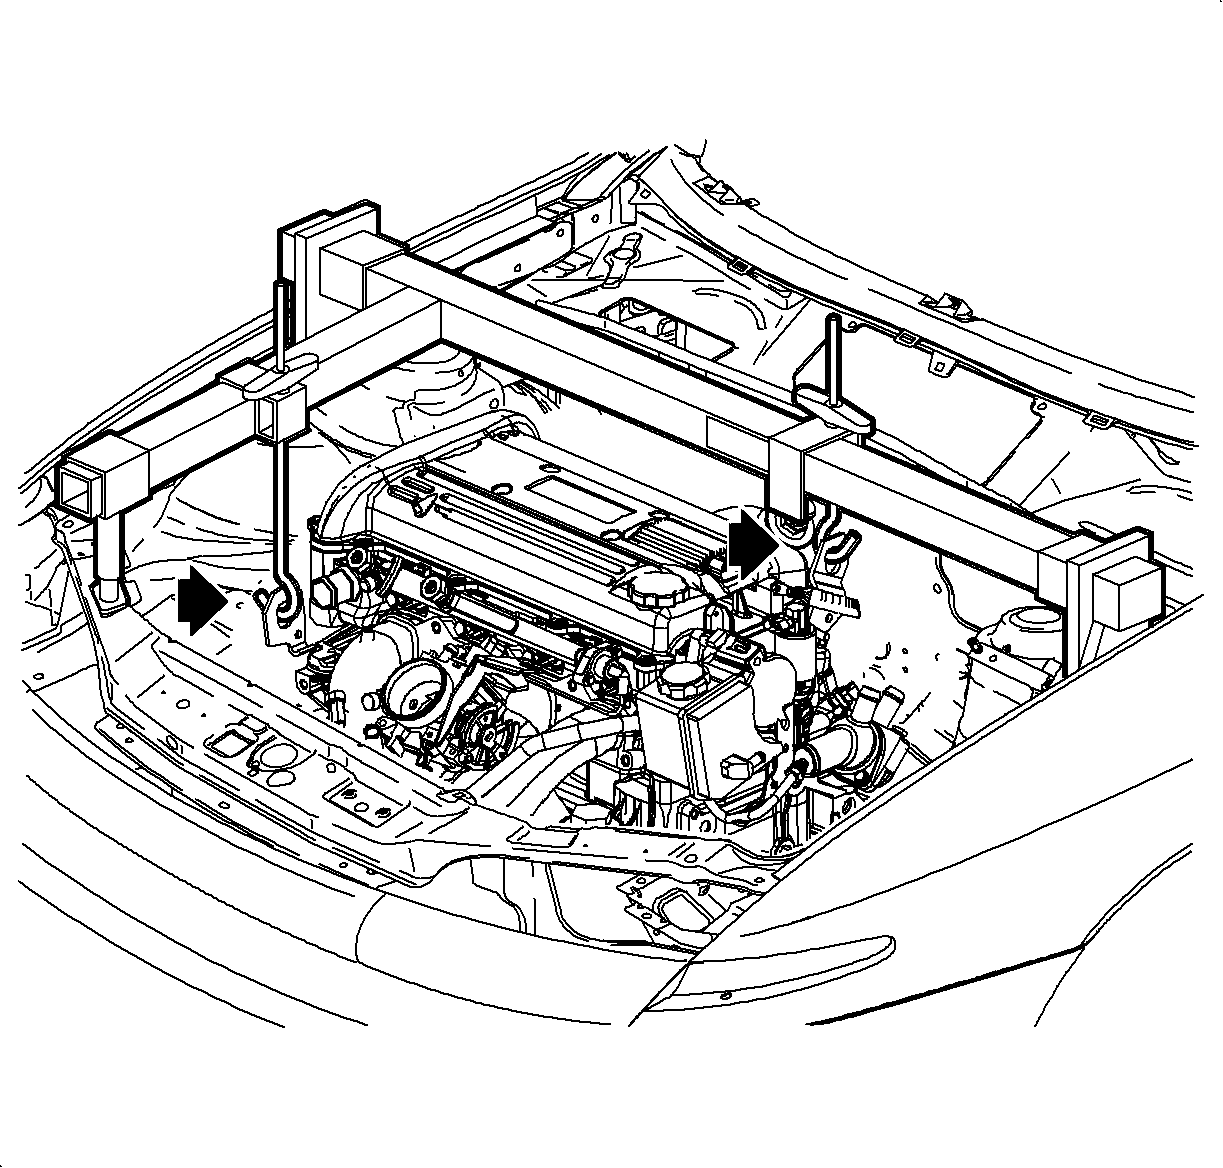
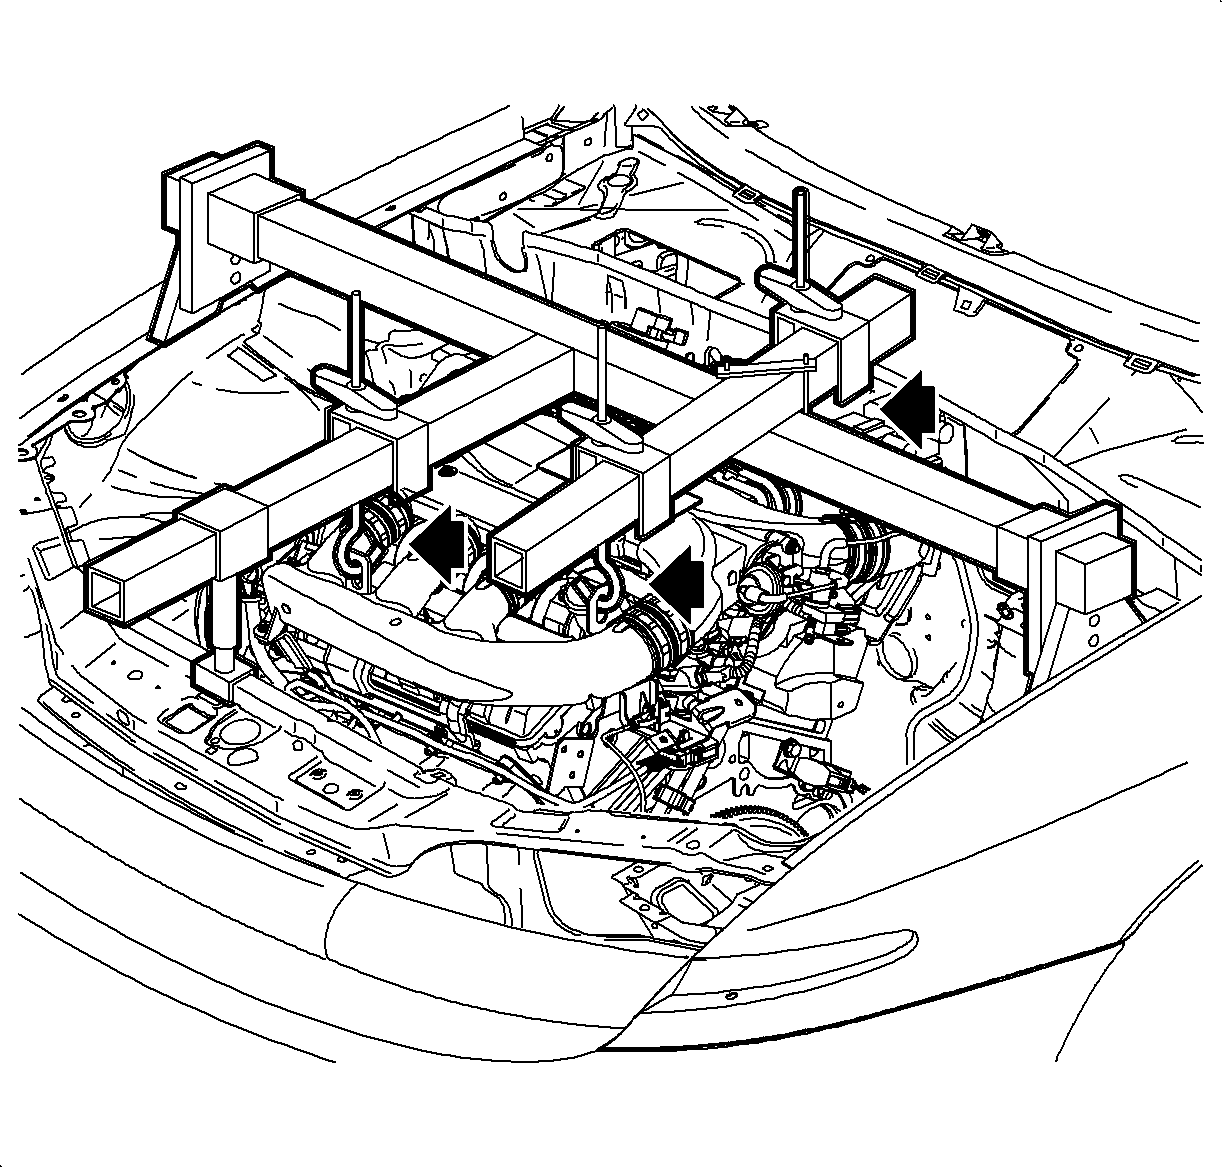
- Install SA9150BR and J 43150 for L61 engines.
- Install SA9150BR (or equivalent) and J 43150 (or equivalent) for L81 engines.
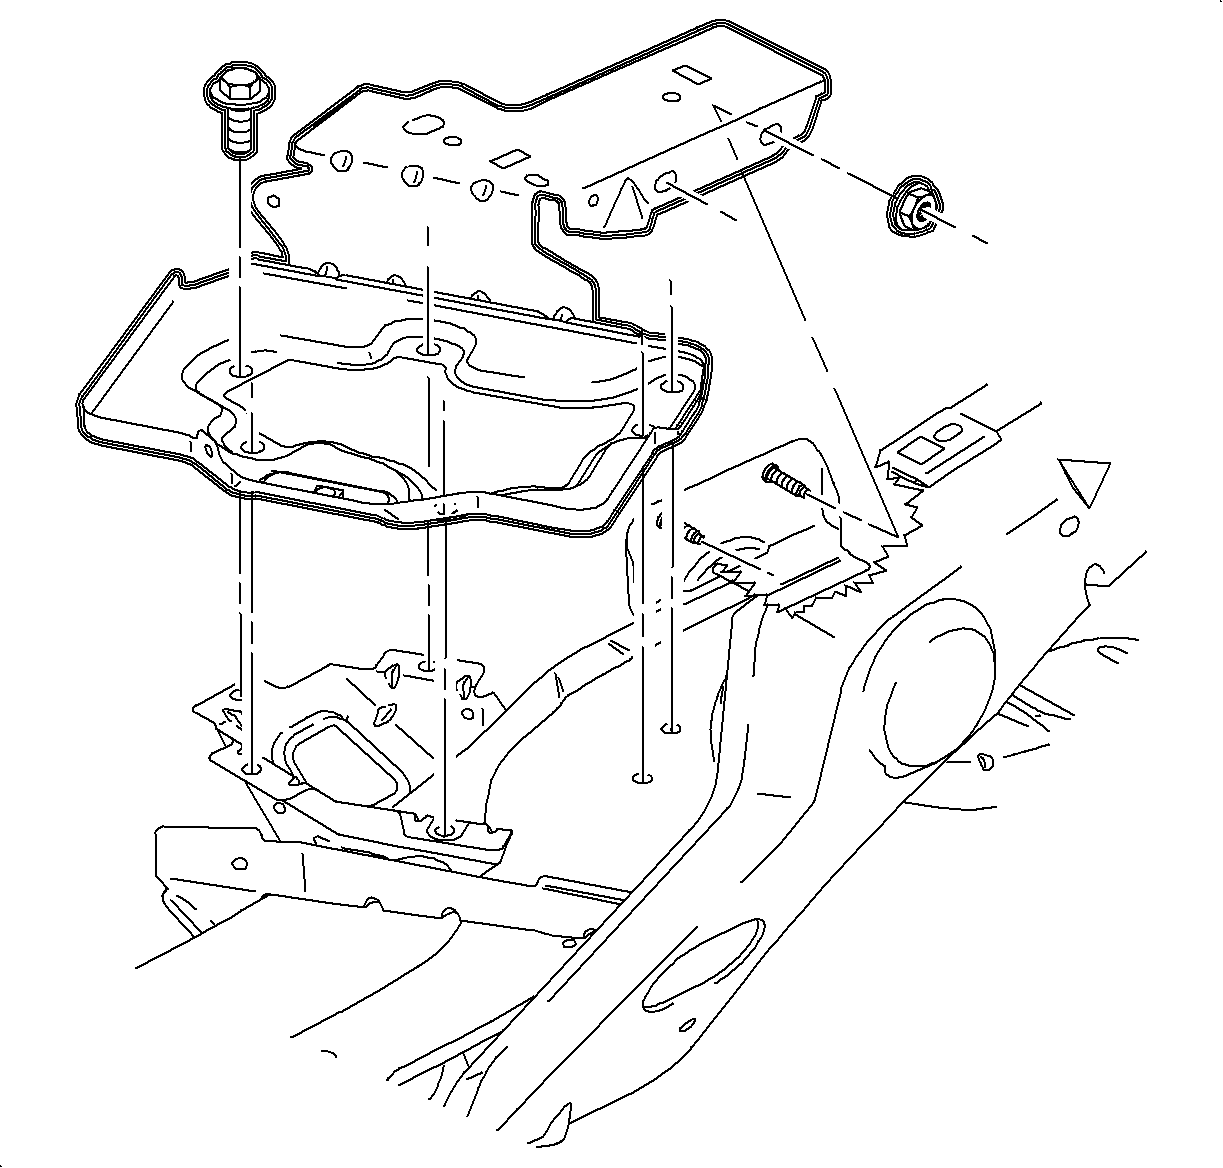
- Remove the transaxle mount to bracket bolts.
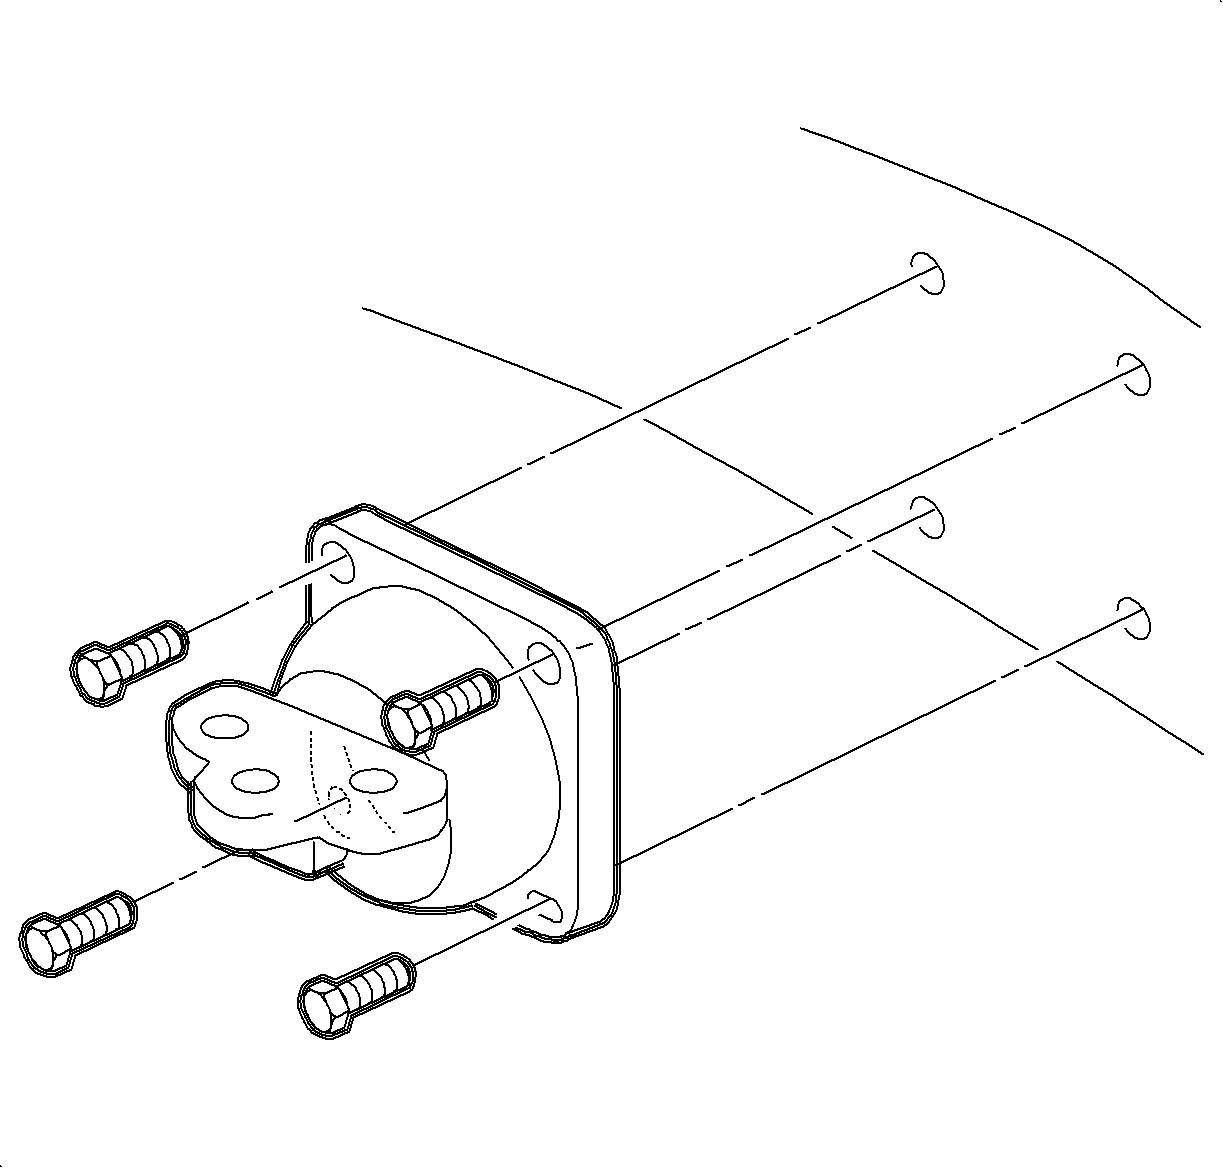
- Remove the transaxle mount-to-body fasteners.
- Remove the transaxle mount from vehicle.
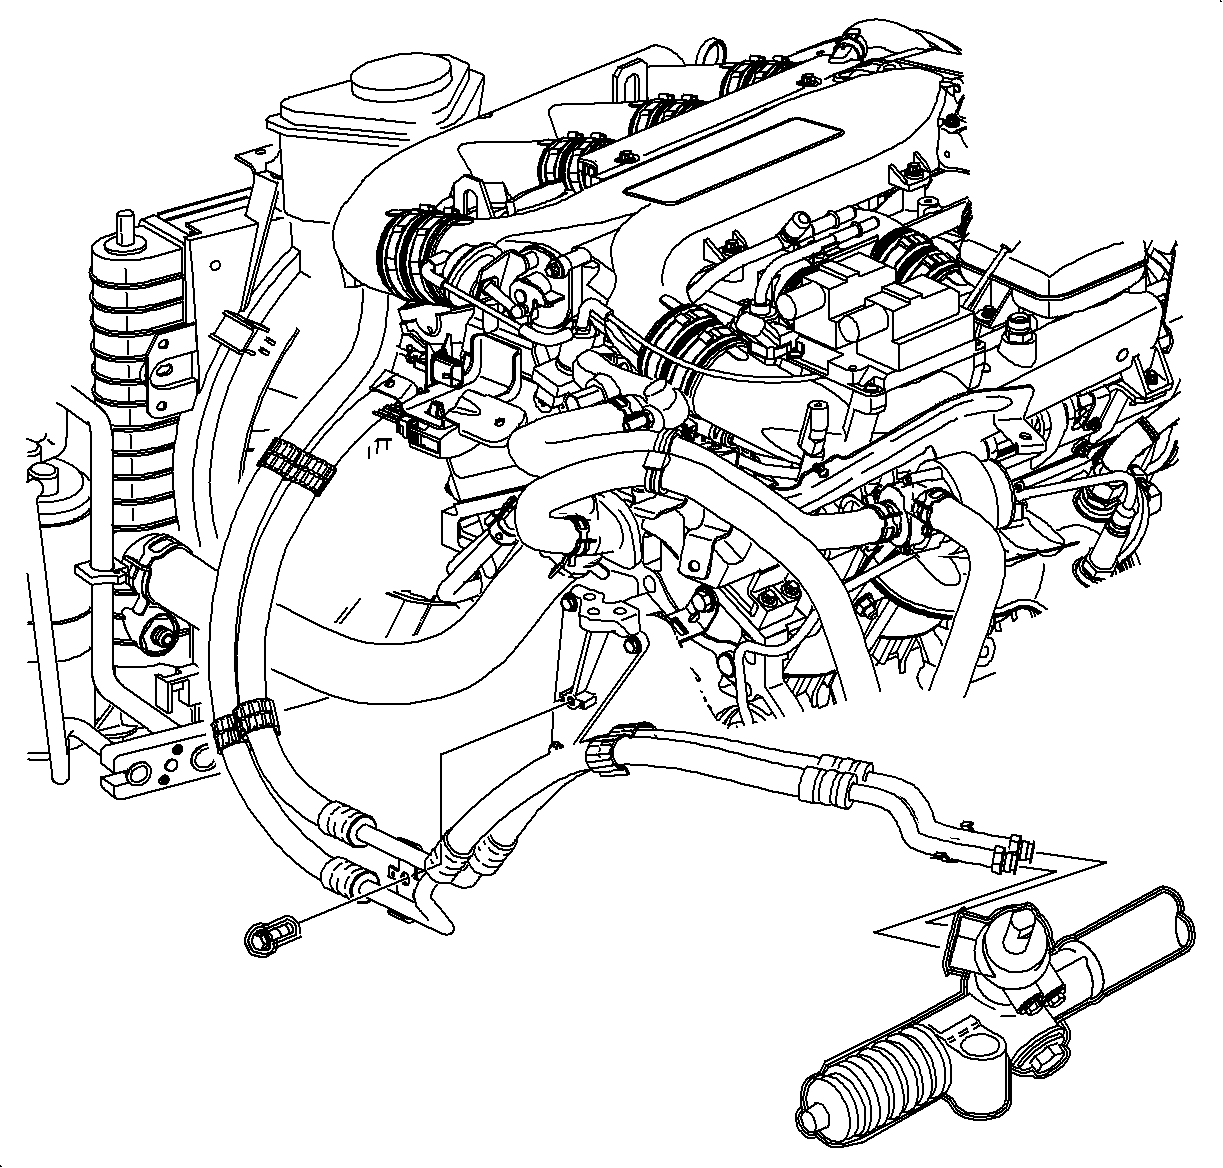
- On vehicles with automatic transaxle and L81 engines, remove the power steering lines from the transaxle mount bracket.
- Remove the transaxle mount bracket-to-transaxle fasteners.
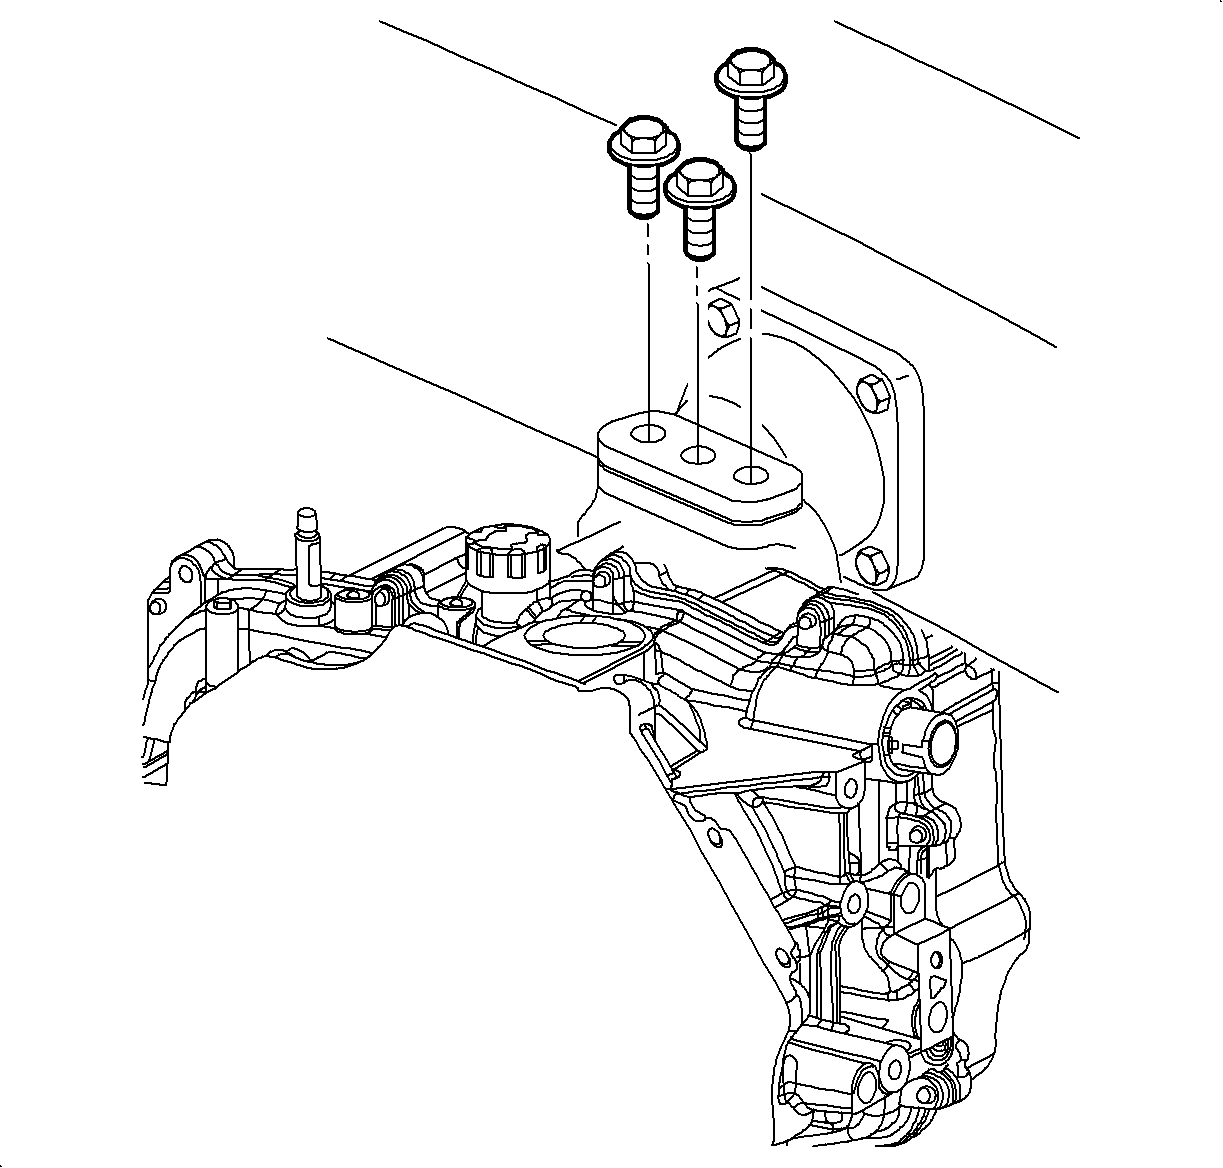
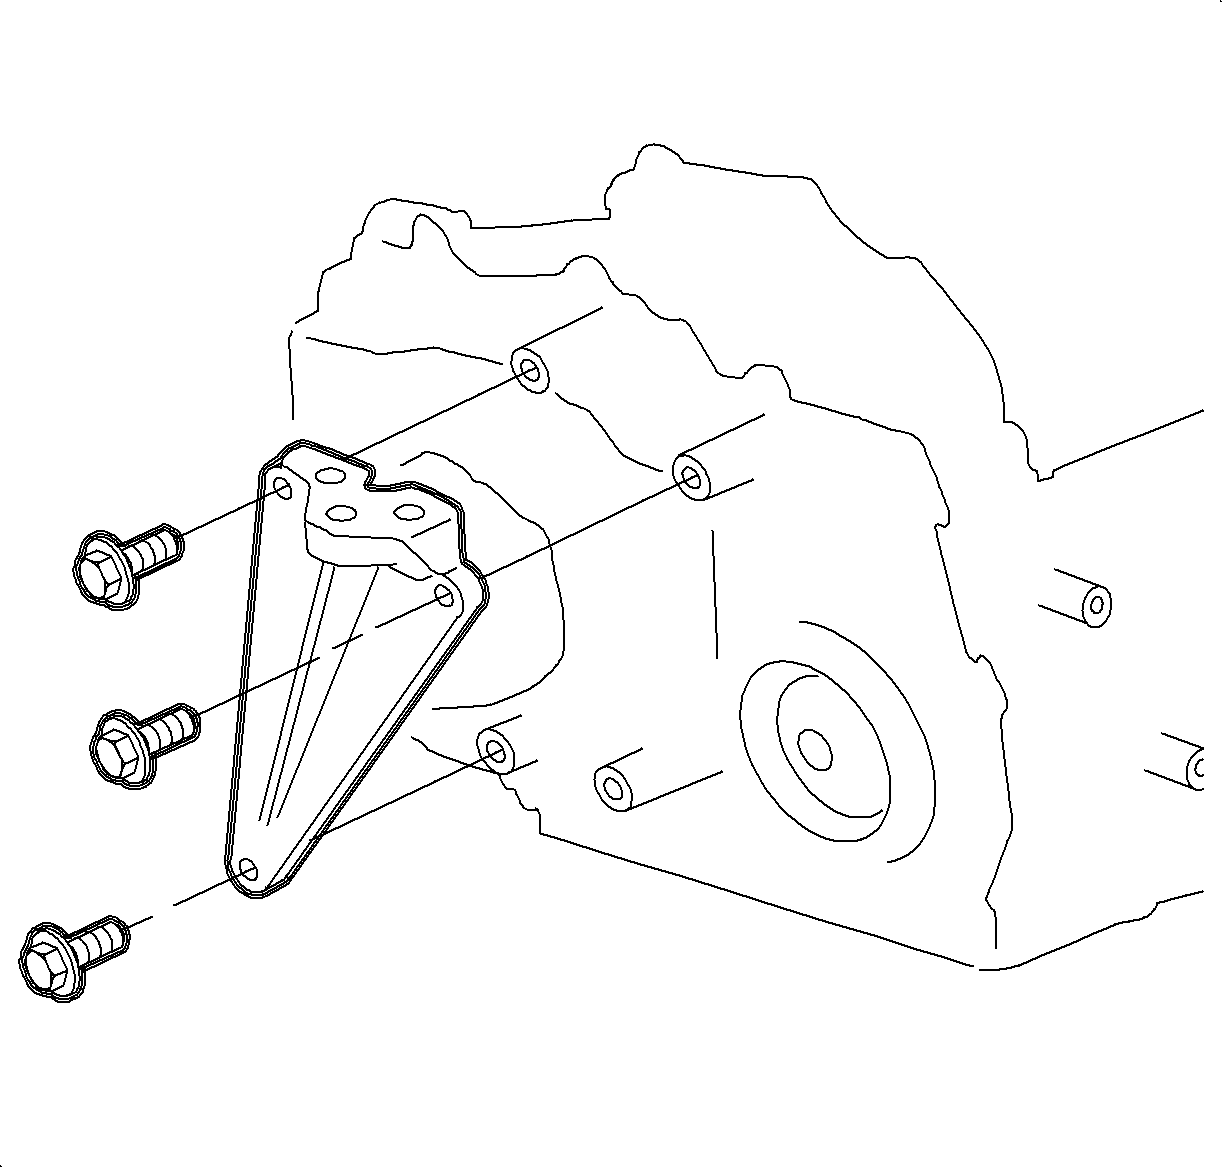
Important: The automatic and manual transaxle mount brackets are different. The following two steps show each.
Disassembly Procedure
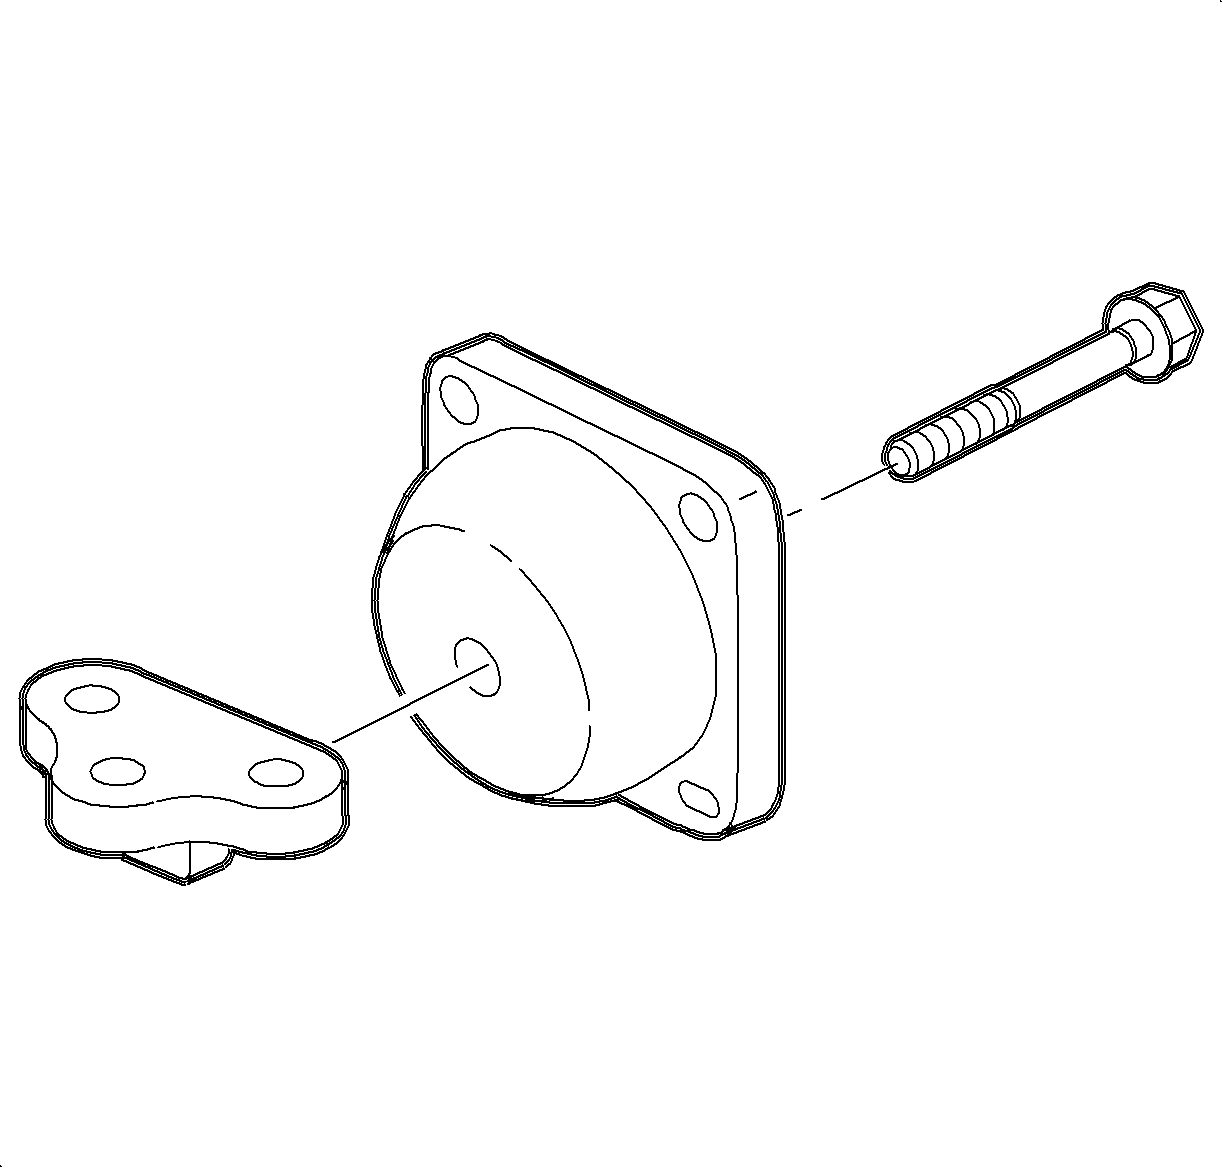
Remove the bracket from the transaxle mount.
Assembly Procedure

Notice: Refer to Fastener Notice in the Preface section.
Install the bracket onto the transaxle mount and tighten.
Tighten
Tighten the left transaxle mount bracket-to-transaxle mount bolt to
60 N·m (44 lb ft).
Installation Procedure
- Install the transaxle mount bracket to transaxle.
- On vehicles with automatic transaxle and L81 engines, connect the power steering lines to transaxle mount bracket.
- Install the transaxle mount into the vehicle and install the mount to body bolts.
- Install the transaxle mount to bracket bolts.
- Remove the engine support fixture.
- Install the battery tray.
- Install the underhood fuse block (UHFB). Refer to Underhood Electrical Center or Junction Block Replacement.
- Install the battery into the vehicle. Refer to Battery Replacement .
Notice: Refer to Fastener Notice in the Preface section.

Important: The automatic and manual transaxle mount brackets are different. The following two steps show each.
Tighten
Tighten the left transaxle mount bracket-to-transaxle bolts (Automatic)
to 90 N·m (66 lb ft).

Tighten
Tighten the power steering lines-to-transaxle mount bracket to 10 N·m
(89 lb in).

Tighten
Tighten the left transaxle mount-to-body bolts to 20 N·m
(15 lb ft).

Tighten
Tighten the left transaxle mount-to-transaxle bracket bolts to 55 N·m
(41 lb ft).

Tighten
Tighten the battery tray bolts to 15 N·m (11 lb ft).
