For 1990-2009 cars only
Removal Procedure
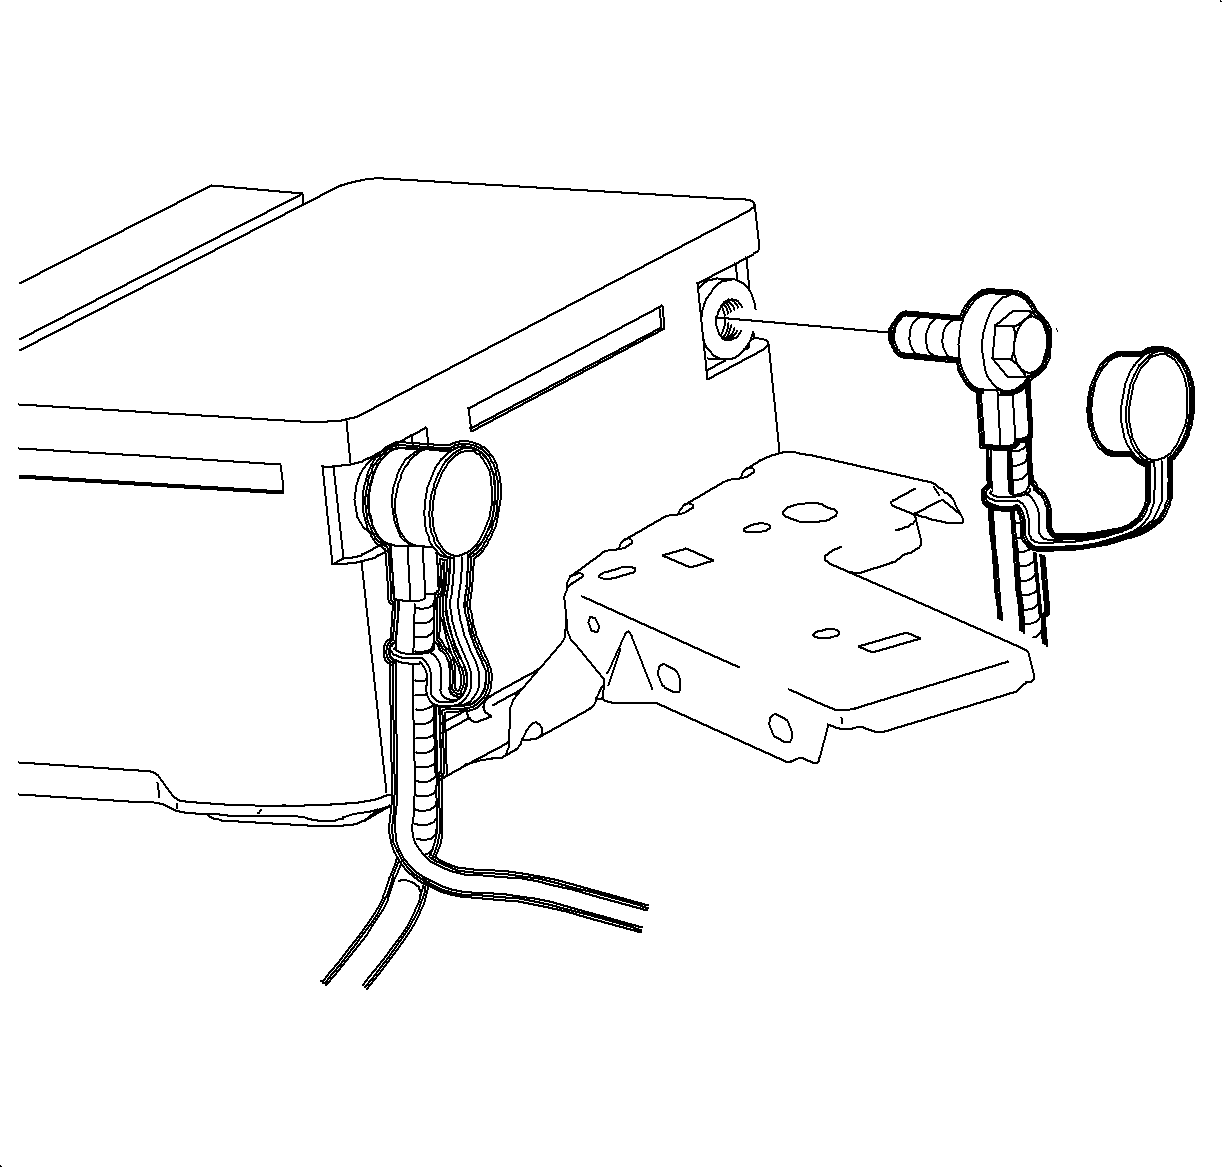
- Disconnect the negative battery cable.
- Recover the refrigerant using an approved refrigerant recovery system. Measure the amount of oil removed during recovery and record.
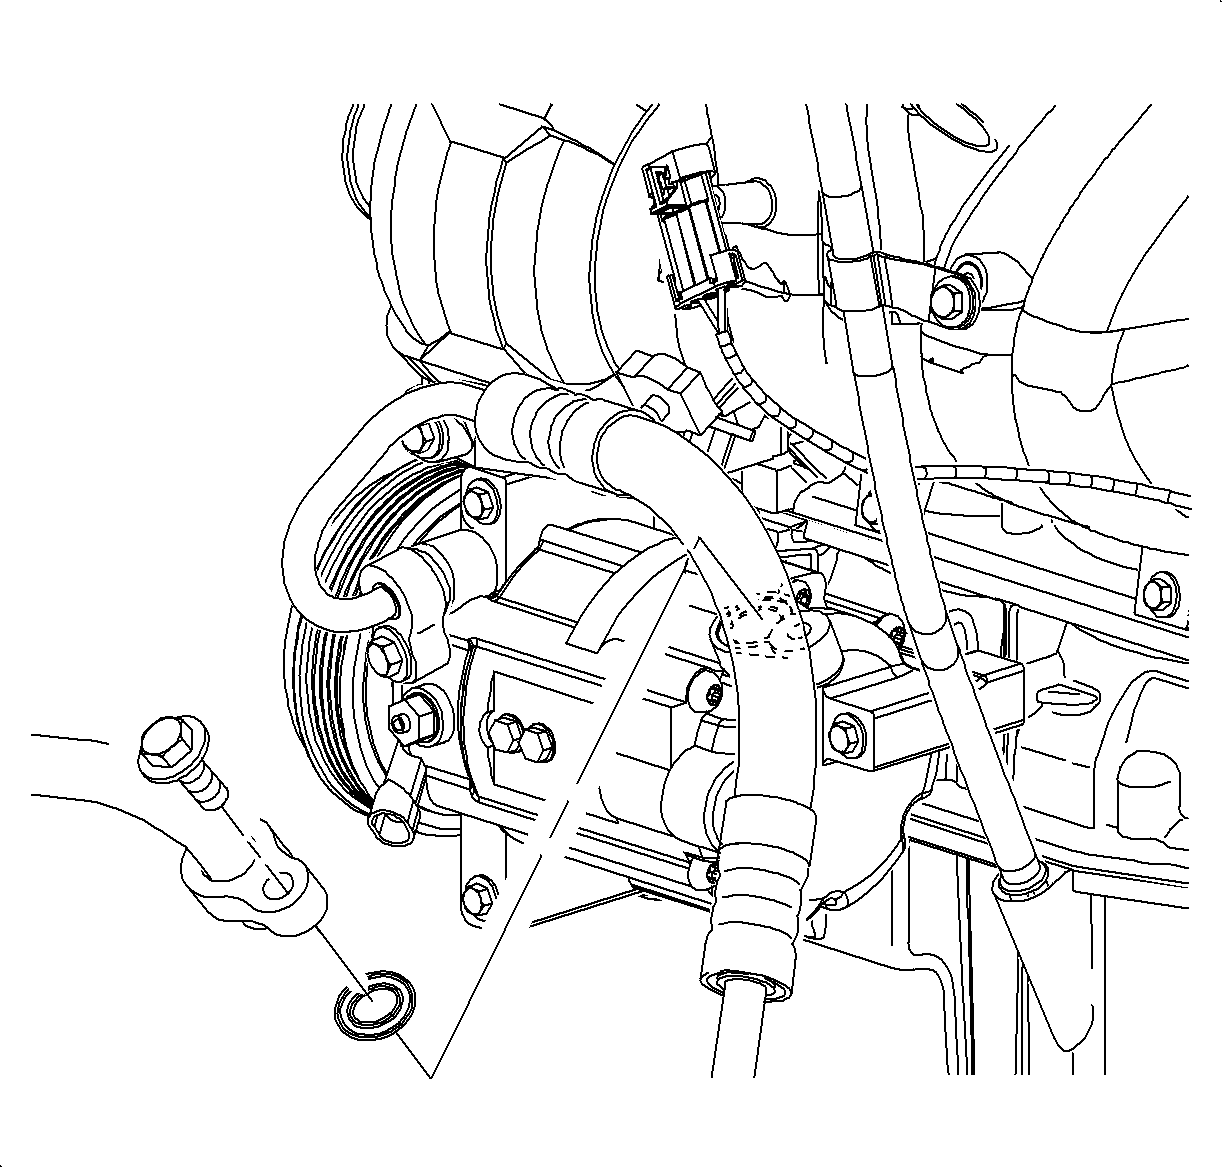
- Remove the suction pipe-to-compressor bolt.
- Remove the suction pipe and seal washer from the compressor.
- Install the caps on the pipe and compressor to prevent moisture entry and oil spillage.
- Raise the vehicle.
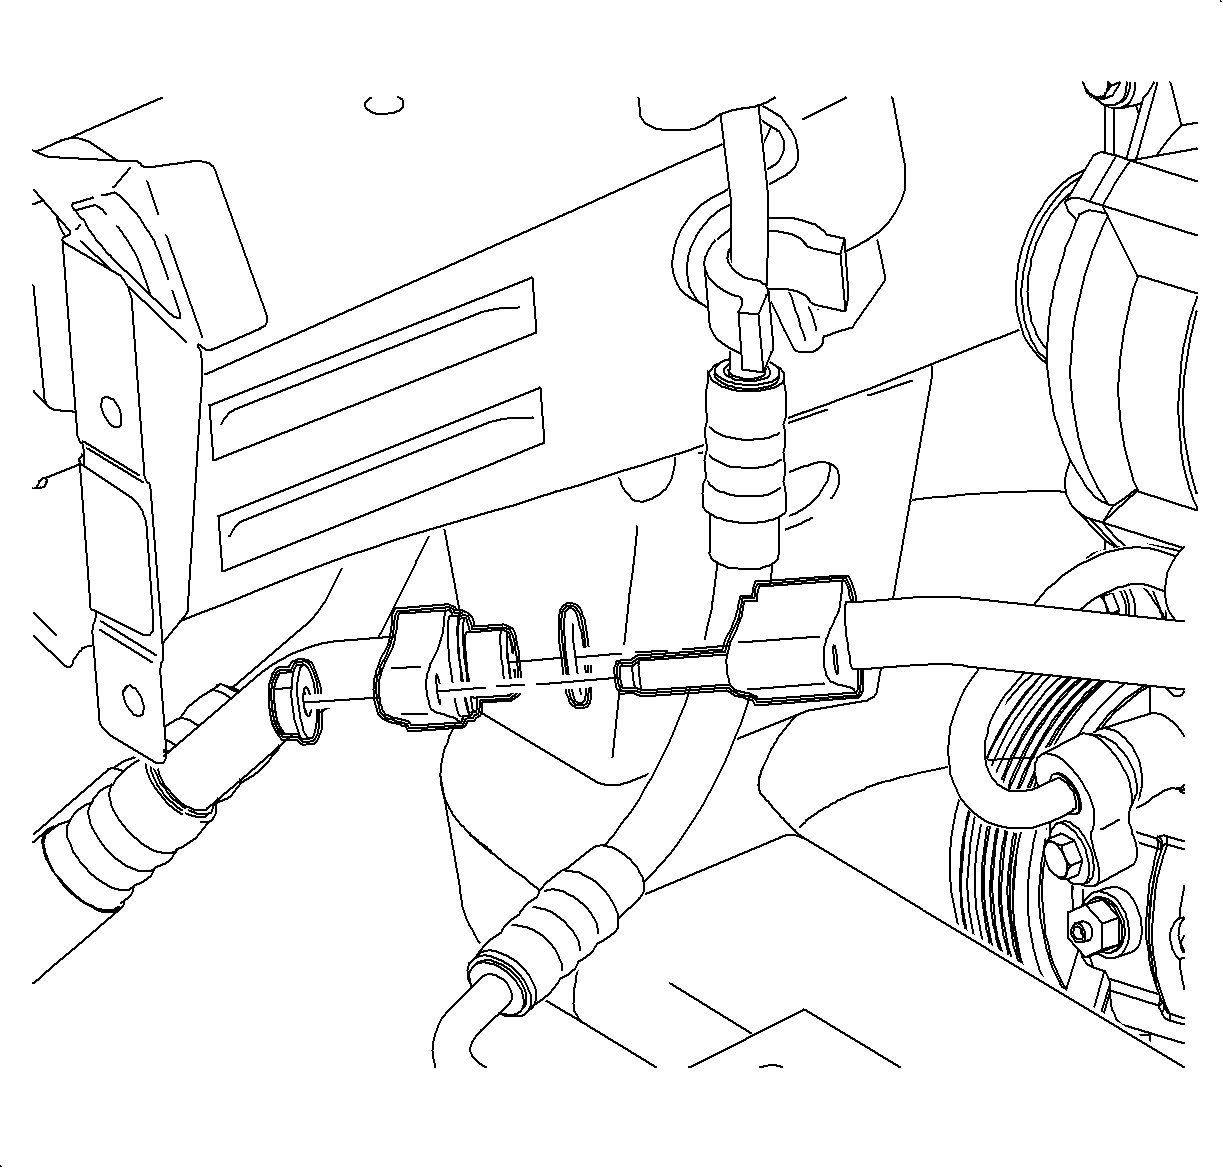
- Remove the suction pipe to suction line assembly nut.
- Remove the suction pipe and seal washer from the suction/liquid line assembly.
- Install cap on the suction line assembly hose to prevent moisture entry and oil spillage.
- Lower the vehicle.

Important: Verifying the purity of the refrigerant with a purity identifier before recovery is recommended.
Caution: Refer to HVAC Compressor Lines/Hoses Caution in the Preface section.


Installation Procedure
- Remove the compressor suction port cap and add any PAG oil that was removed during refrigerant recovery.
- Remove the suction pipe cap and install new seal washer.
- Install the suction pipe to compressor bolt and hand start bolt.
- Raise the vehicle.
- Remove the suction/liquid line assembly cap and install a new seal washer.
- Install the suction/liquid line assembly to suction pipe and hand start nut.
- Lower the vehicle.
- Connect the negative battery cable.
- Evacuate, charge, and leak check the A/C system.

Important:
• Always install new seal washers to prevent refrigerant leaks. • Do not lubricate seal washers.
Notice: Refer to Fastener Notice in the Preface section.
Tighten
Tighten the bolt to 16 N·m (12 lb ft).
Caution: Refer to Vehicle Lifting Caution in the Preface section.

Important:
• Always install new seal washers to prevent refrigerant leaks. • Do not lubricate seal washers.
Tighten
Tighten the nut to 12 N·m (106 lb in).

Tighten
Tighten the battery terminal bolts to 17 N·m
(13 lb ft).
