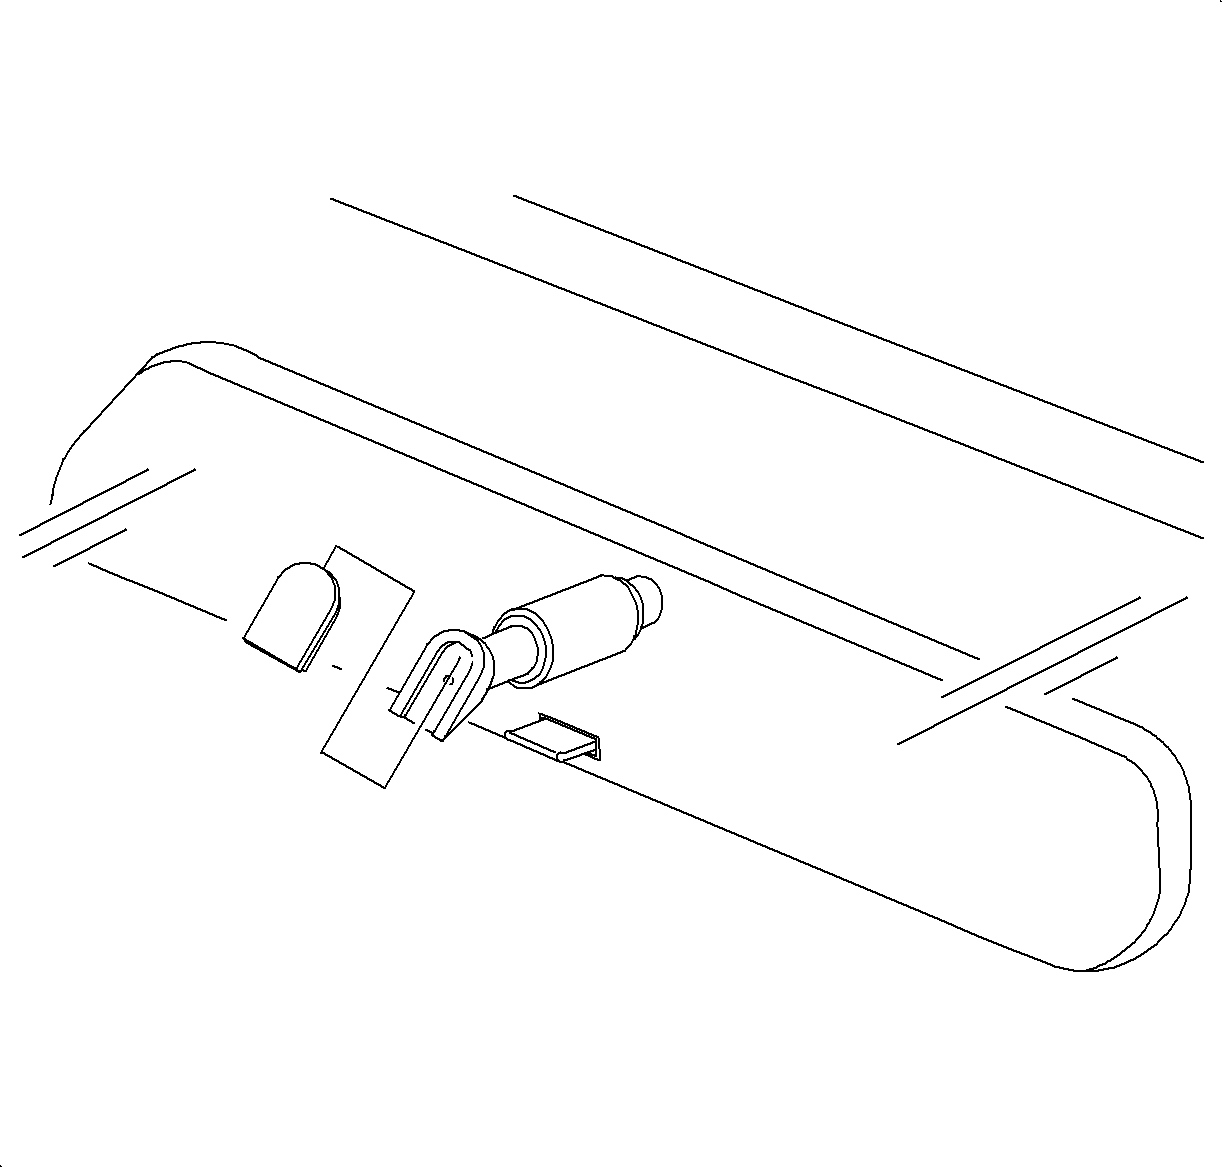
Installation Procedure
The rearview mirror is attached to a support which is bonded to the windshield
glass. This support is installed by the glass supplier using an autoclaving process.
Service replacement windshield glass has the mirror support bonded to the glass
assembly. To install a detached mirror support the following items are needed:
| • | P/N 11067-2, LOCTITE® Rearview Mirror Adhesive, or equivalent |
| • | Original mirror support |
| • | Wax marking pencil or crayon |
| • | Fine grade emery cloth or sandpaper (No. 320 or No. 360) |

- Center the support within the black-out area.
- On the inside glass surface, clean the mirror support black-out area with
paper towel and a domestic scouring cleanser, glass cleaning solution, or polishing
compound. Rub until the area is completely clean and dry. When dry, clean the area
with an alcohol saturated paper towel to remove any traces of scouring powder or
cleaning solution from these area.
- Separate the mirror from the support by loosening the screw and using
a small blade screwdriver. With piece of fine grade emery cloth (No. 320 or
No. 360) or sandpaper, sand the bonding surface of the rearview mirror support.
All traces of factory installed adhesive must be removed prior to installation.
- Wipe the sanded mirror support with clean paper towel saturated with alcohol
and allow to dry.
- Follow directions on the manufacturer's kit to prepare the rearview mirror
support prior to installation on the glass.
- Center the support within the black-out area with the rounded end pointed
upward. Press the support against the glass for 30-60 seconds, exerting
steady pressure against the glass. After 5 minutes, any excess adhesive may
be removed with an alcohol moistened paper towel or glass cleaning solution.
- Install the mirror and connect the electrical connection, if equipped.

