For 1990-2009 cars only
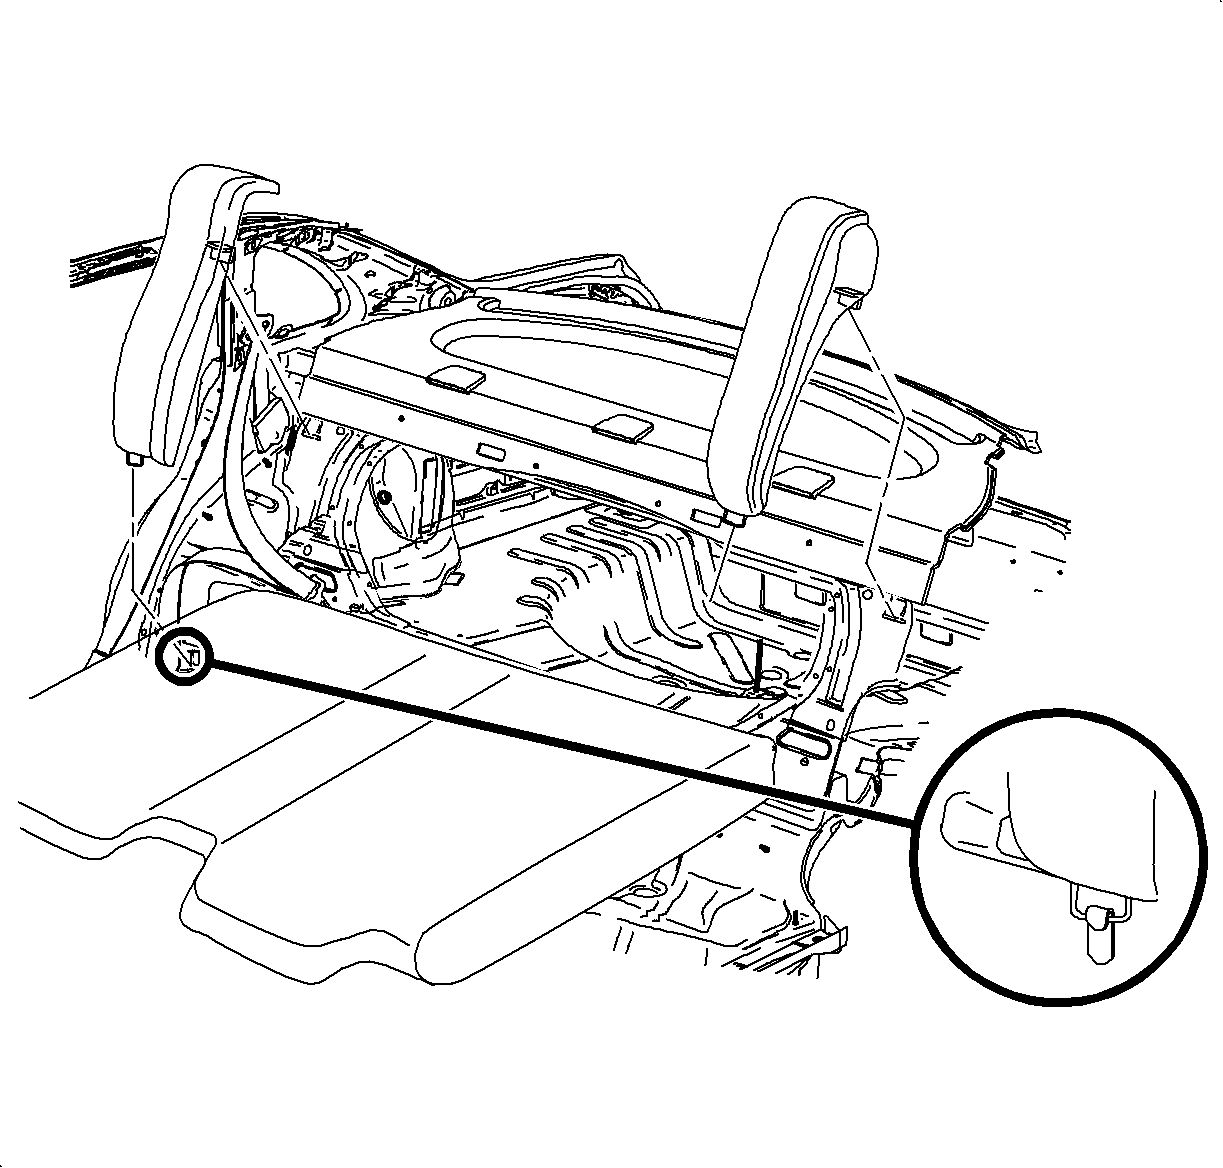
Rear Compartment Floor Panel Carpet Replacement Sedan
Removal Procedure
- Remove the rear seat backs.
- Remove the rear compartment floor carpeting.
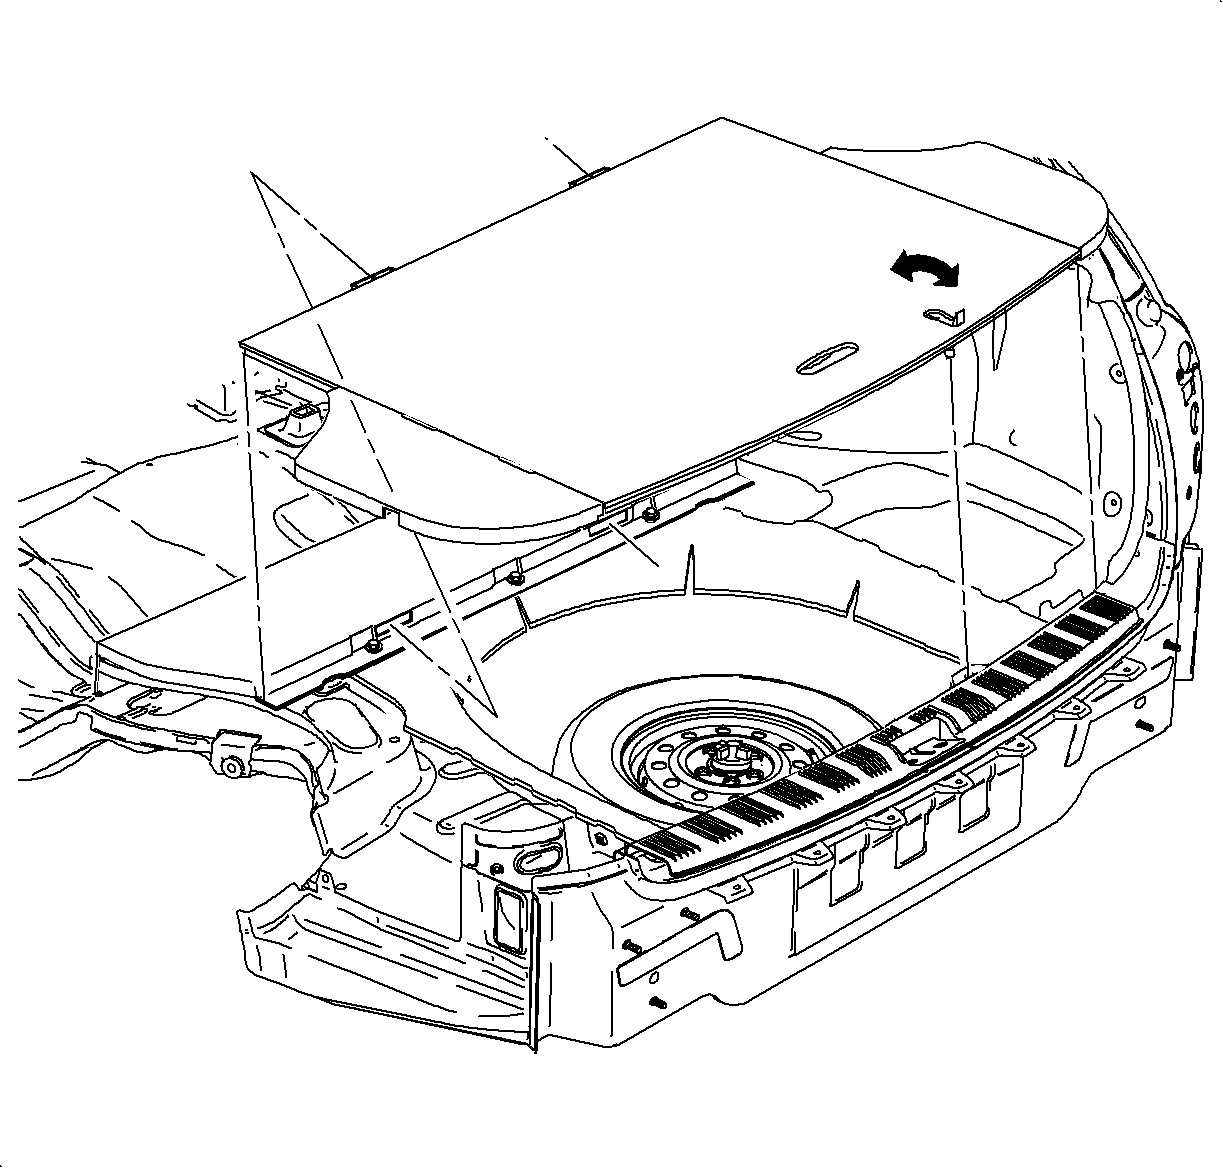
Installation Procedure
- Position the rear compartment floor carpet into the vehicle.
- Position the carpet behind the lowered rear seat backs.
- Raise the rear seat backs.

Rear Compartment Floor Panel Carpet Replacement Side Wagon
Removal Procedure
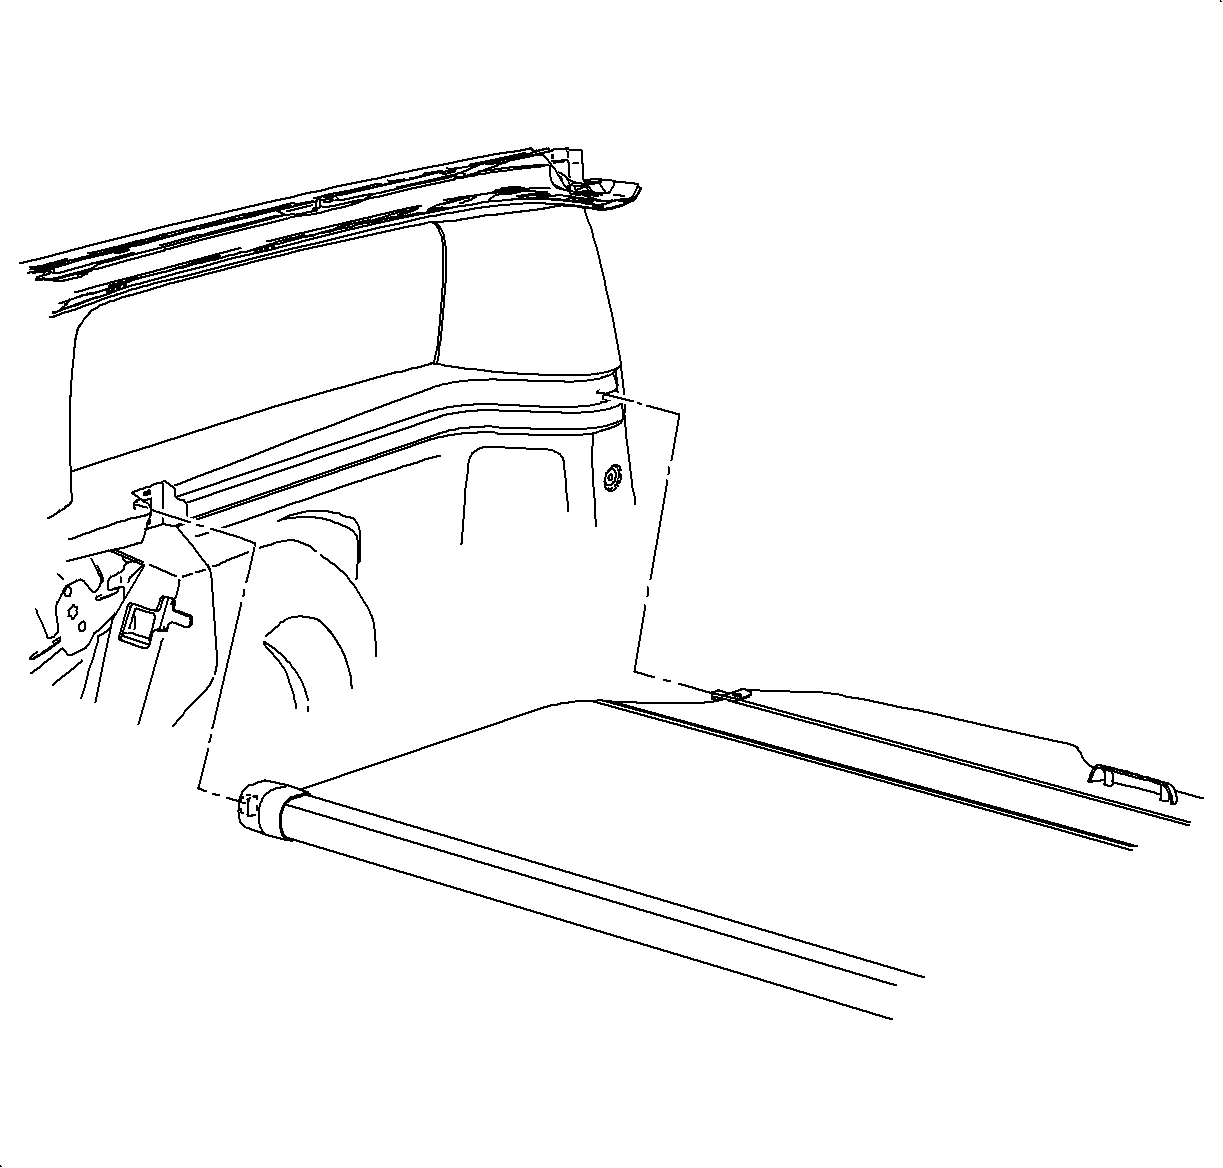
- Remove the cargo shade.
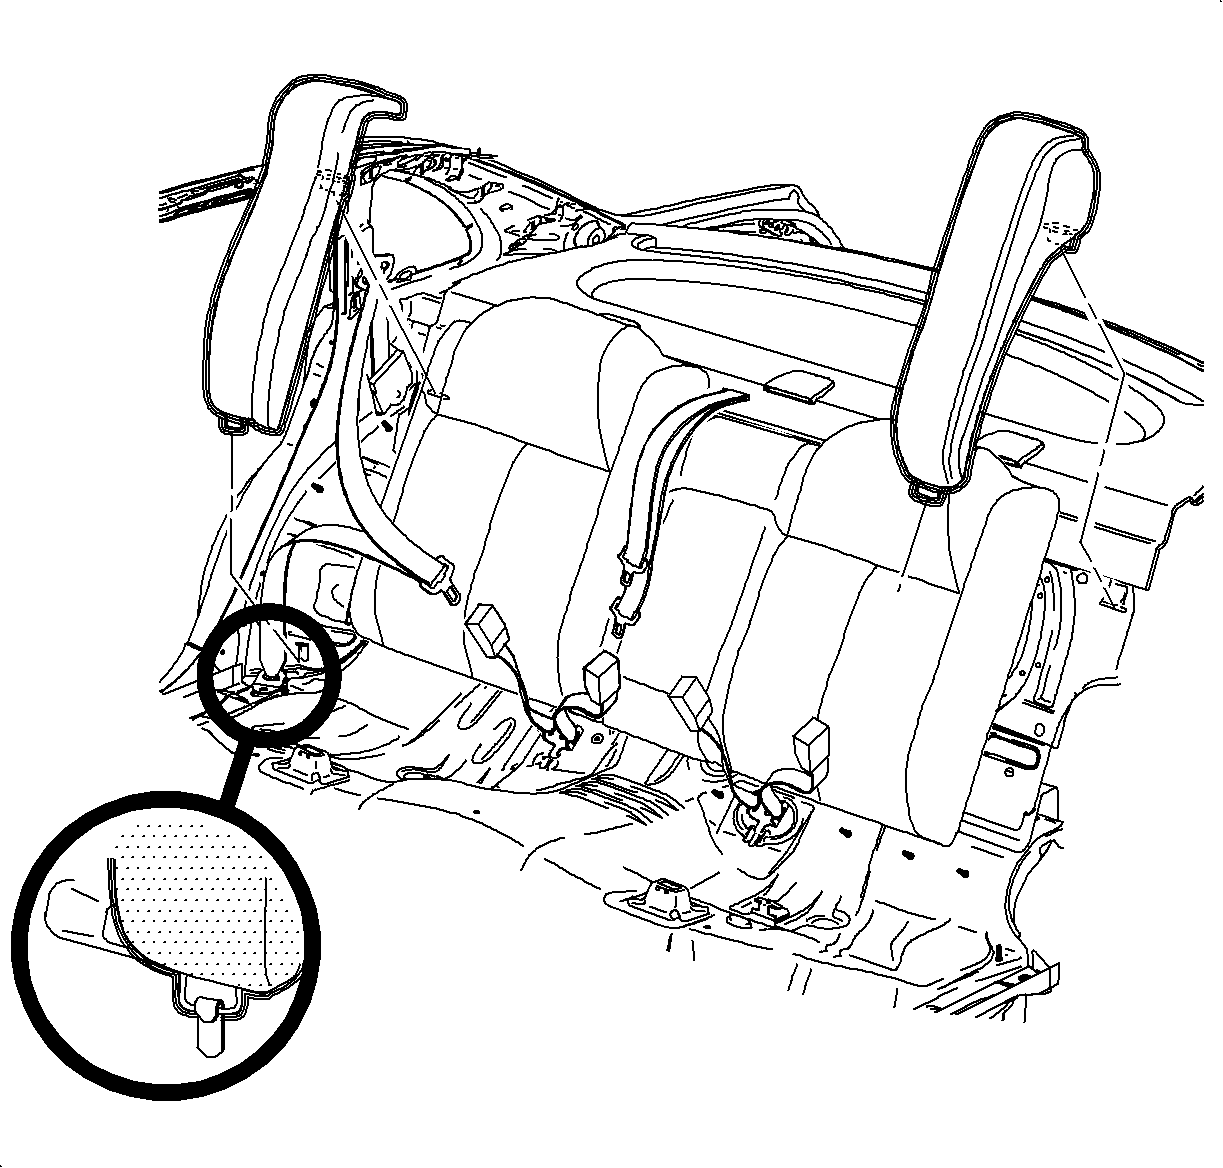
- Lower the rear seat back assembly.
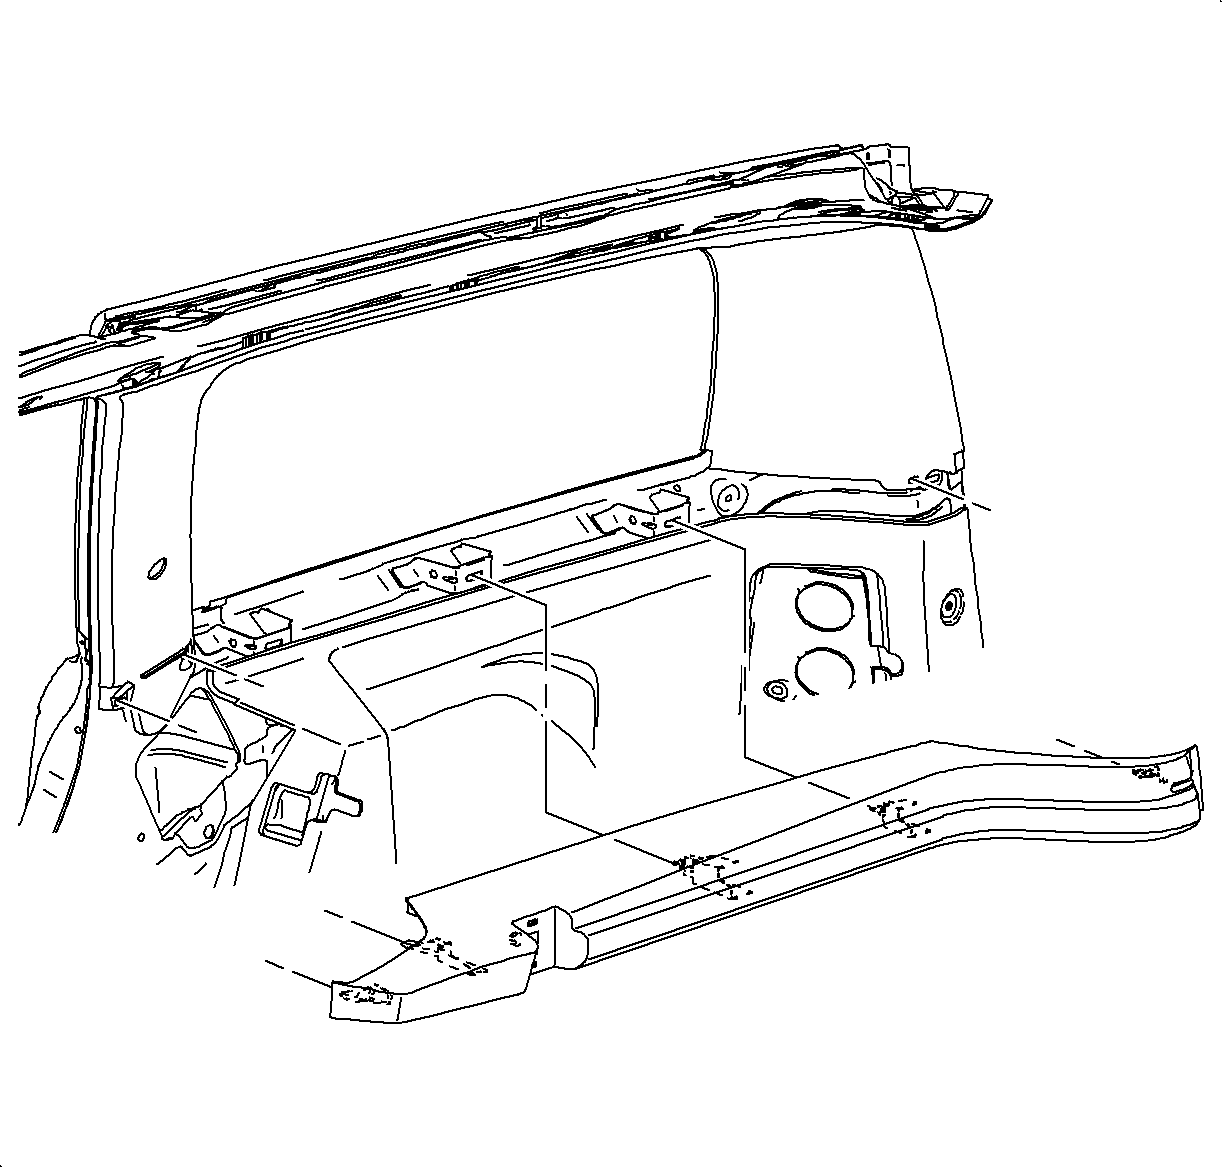
- Gently pull at the attaching clip locations and remove the cargo shade side molding.
- Remove the seat side bolster.
- Remove the rear load floor.
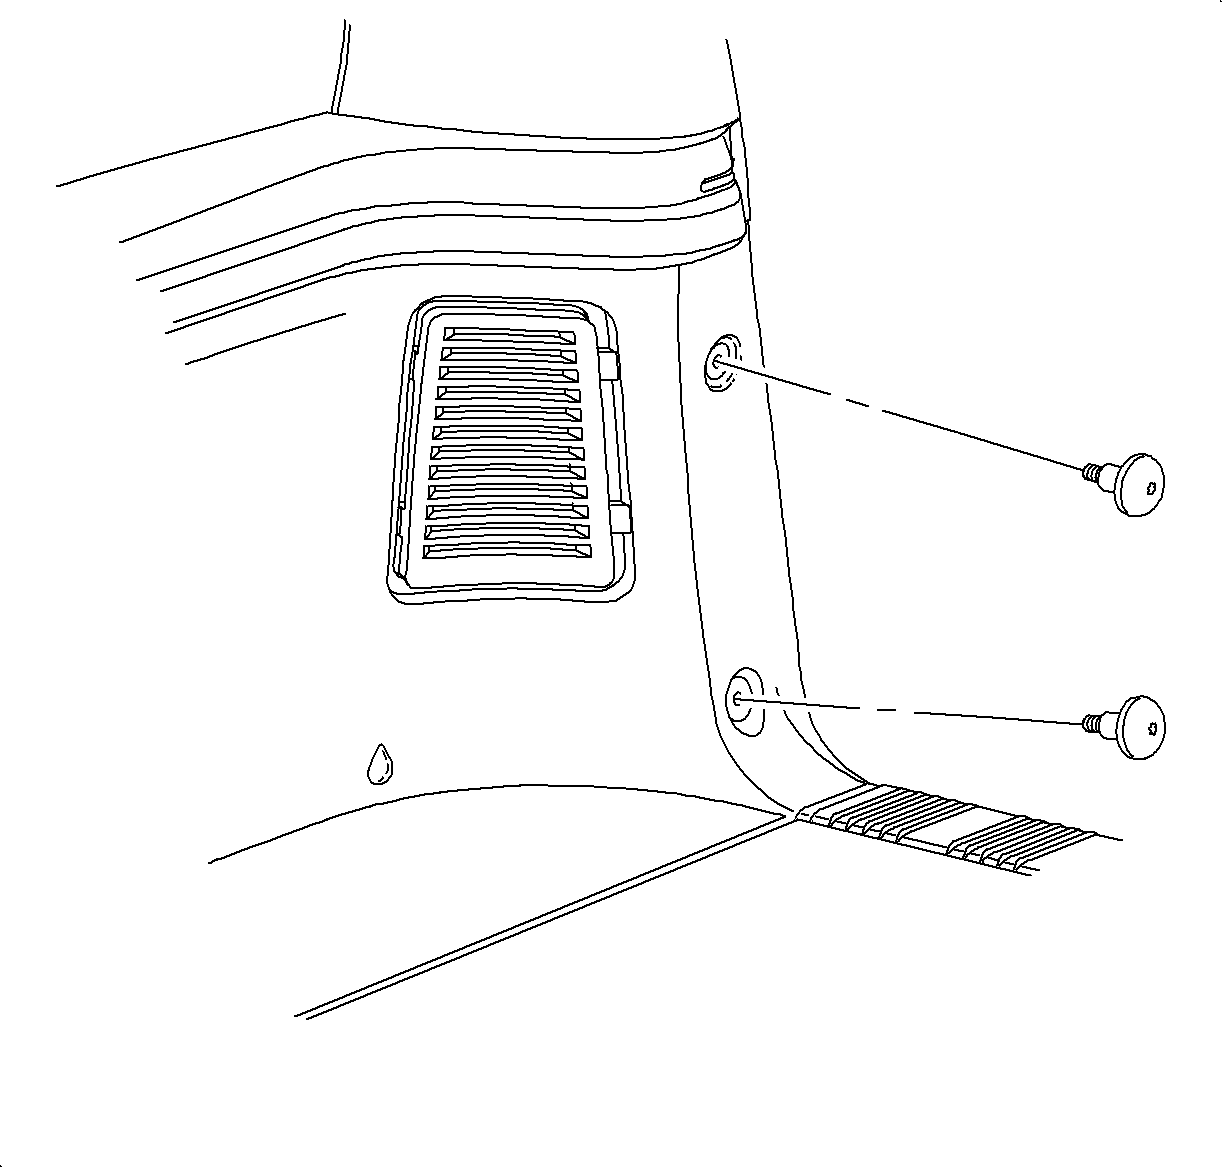
- Remove the cargo net fasteners.
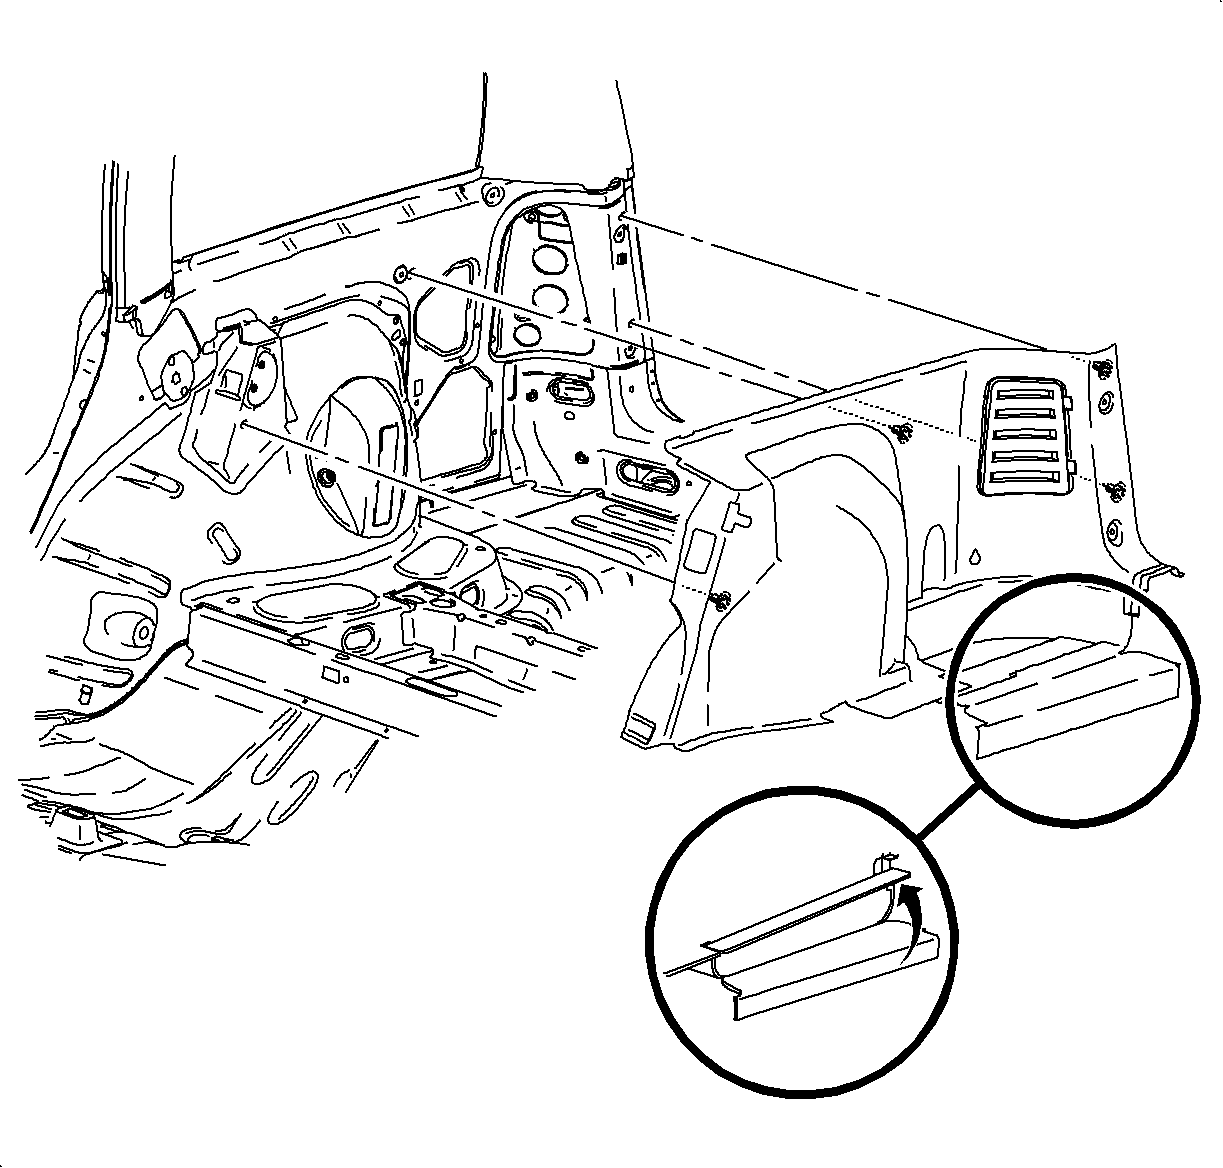
- Gently pull at the clip locations and remove the rear cargo area side carpet.
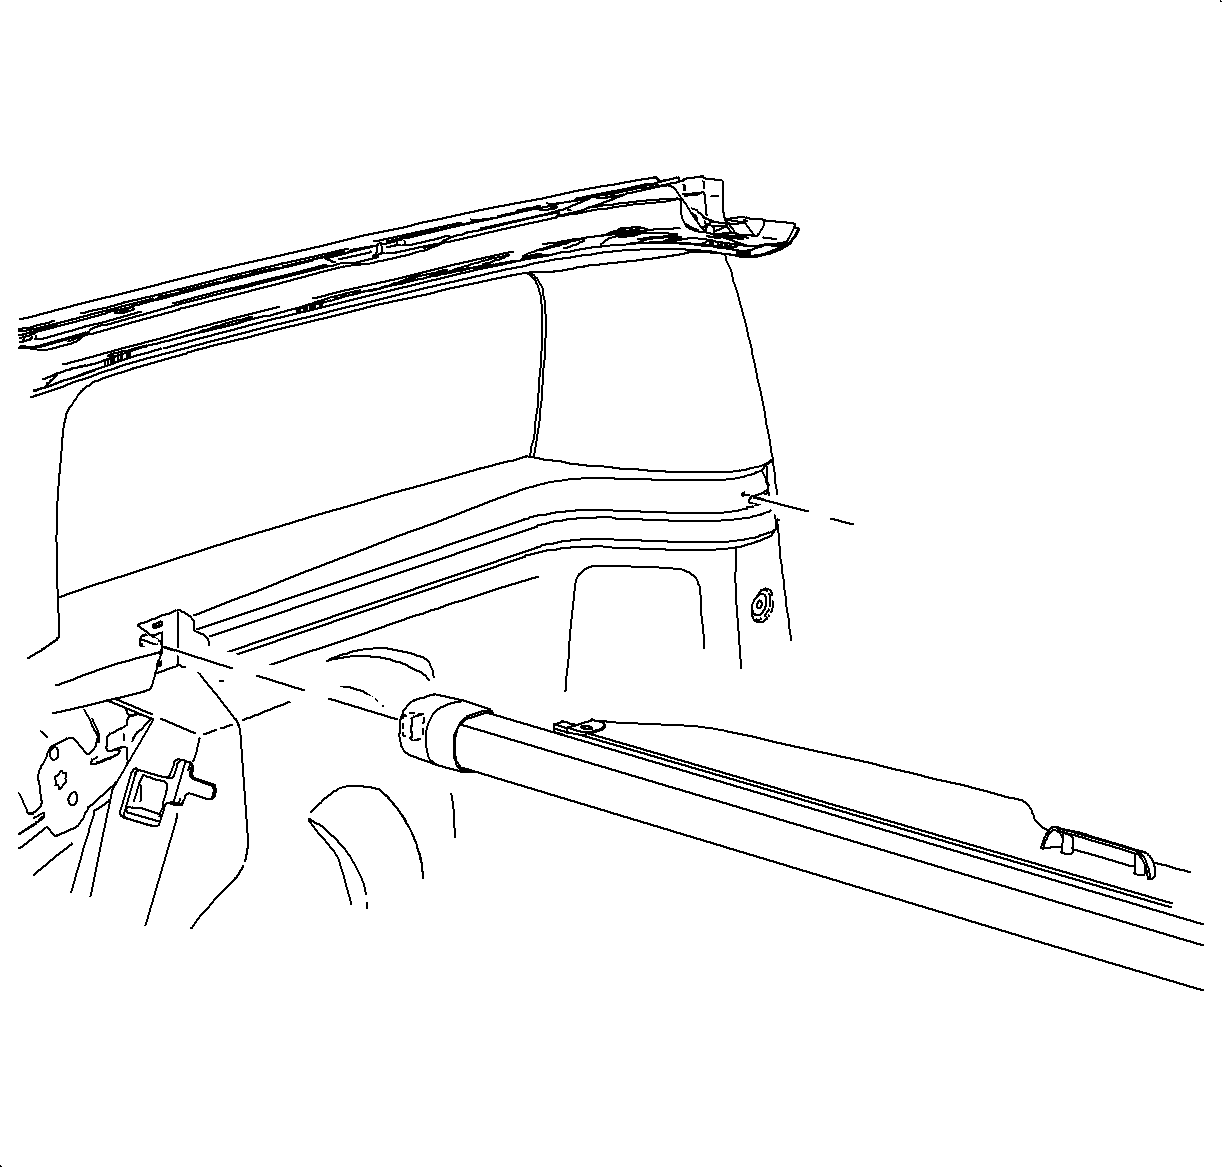

Installation Procedure
- Install the rear cargo area side carpet to the vehicle with the integral clips making sure that the carpet is slid under the liftgate lower molding.
- Install cargo net fasteners.
- Install the rear seat bolster.
- Install the rear load floor.
- Install the cargo shade side molding by pushing at the clip locations.
- Install the cargo shade.
- Raise the rear seat back assembly.
- Install the liftgate weatherstrip over the side carpet using a flat-blade tool.

Notice: Refer to Fastener Notice in the Preface section.

Tighten
Tighten the Cargo Net Fasteners to 2.5 N·m (22 lb in).
