Driver and Passenger Front Door Glass Binds On and Distorts Outer Window Run Channel Weatherstrip

| Subject: | Driver and Passenger Front Door Glass Binds On and Distorts Outer Window Run Channel Weatherstrips (Lubricates Outer Window Run Weatherstrip and Adjust Window Regulator) Due to changes under Models Affected, this bulletin has been revised and supersedes bulletin 00-T-01, which should be discarded. |
| Models: | 2000 -- 2001 Saturn L-Series Vehicles. |
Condition
Some customers may comment that when raising the driver or passenger front door glass, the glass binds on and distorts the outer window run channel weatherstrip along rear edge of window frame.
Cause
Pressure applied to window run channel rear weatherstrips due to window regulator misadjustment.
Correction
Lubricate outer window run channel weatherstrips and adjust window regulator.
Procedure
- Lower affected front window to full down position.
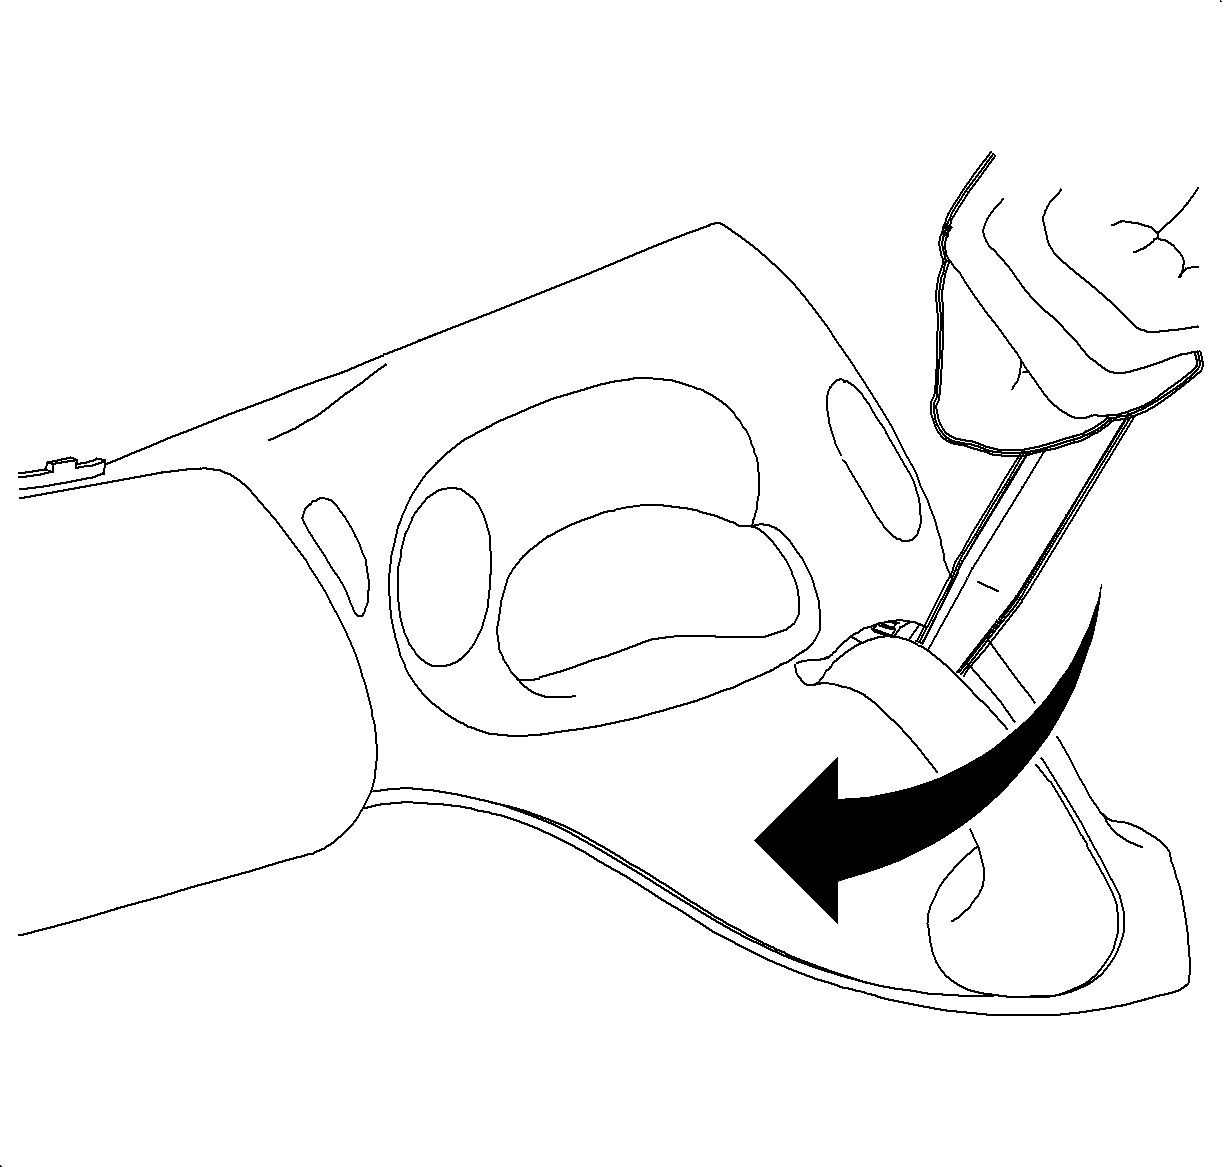
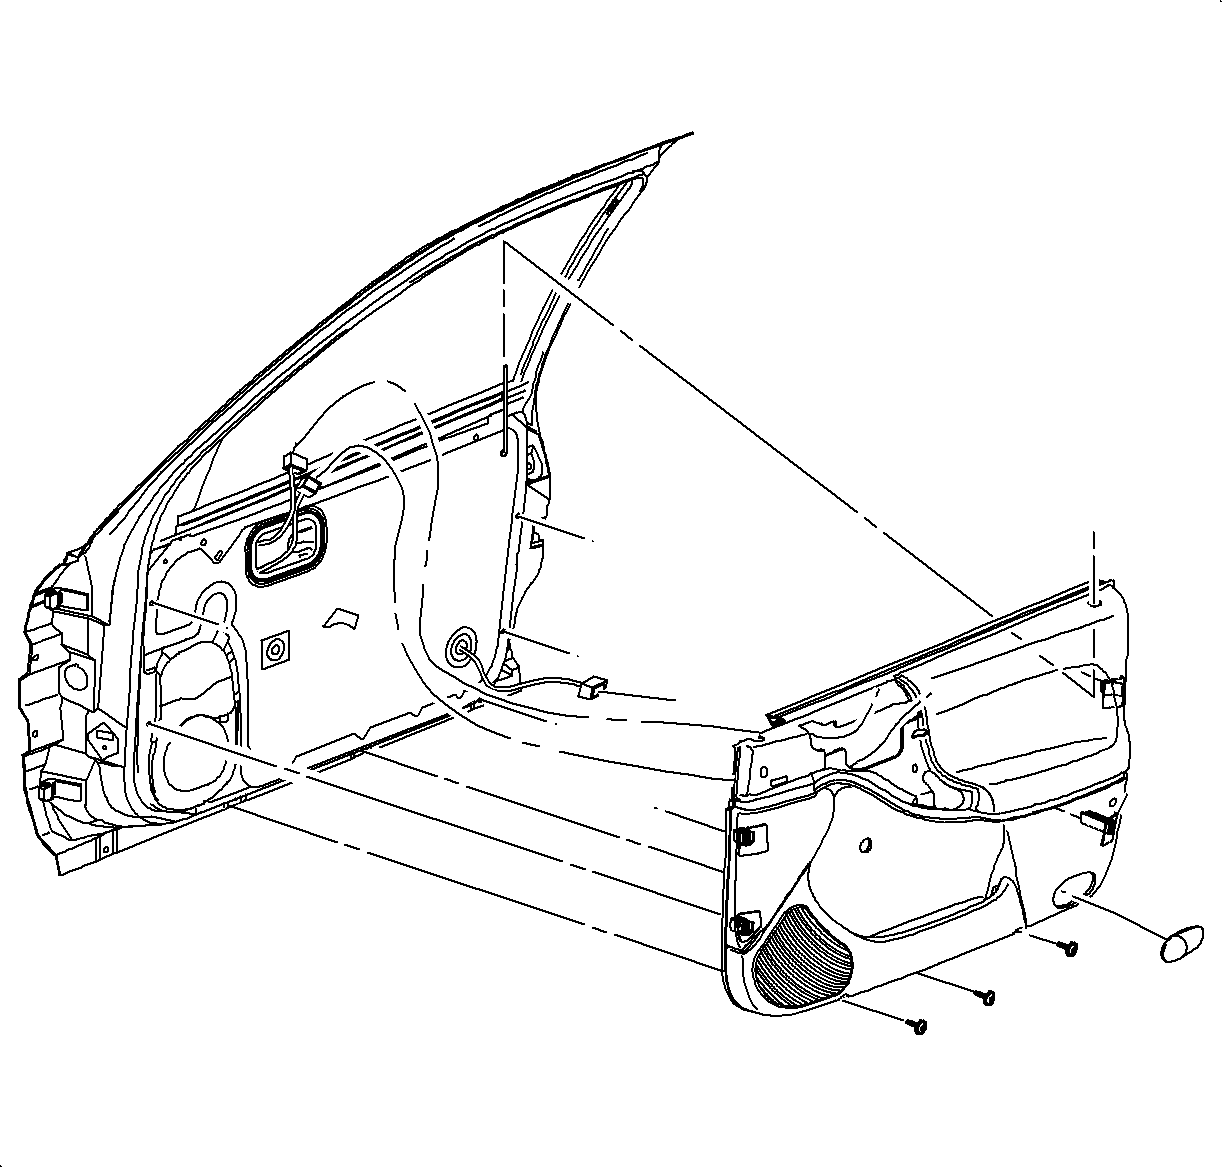
- Using a small flat blade tool, start at top and pull on door handle grip to disengage grip from handle to expose door inner pull handle fastener.
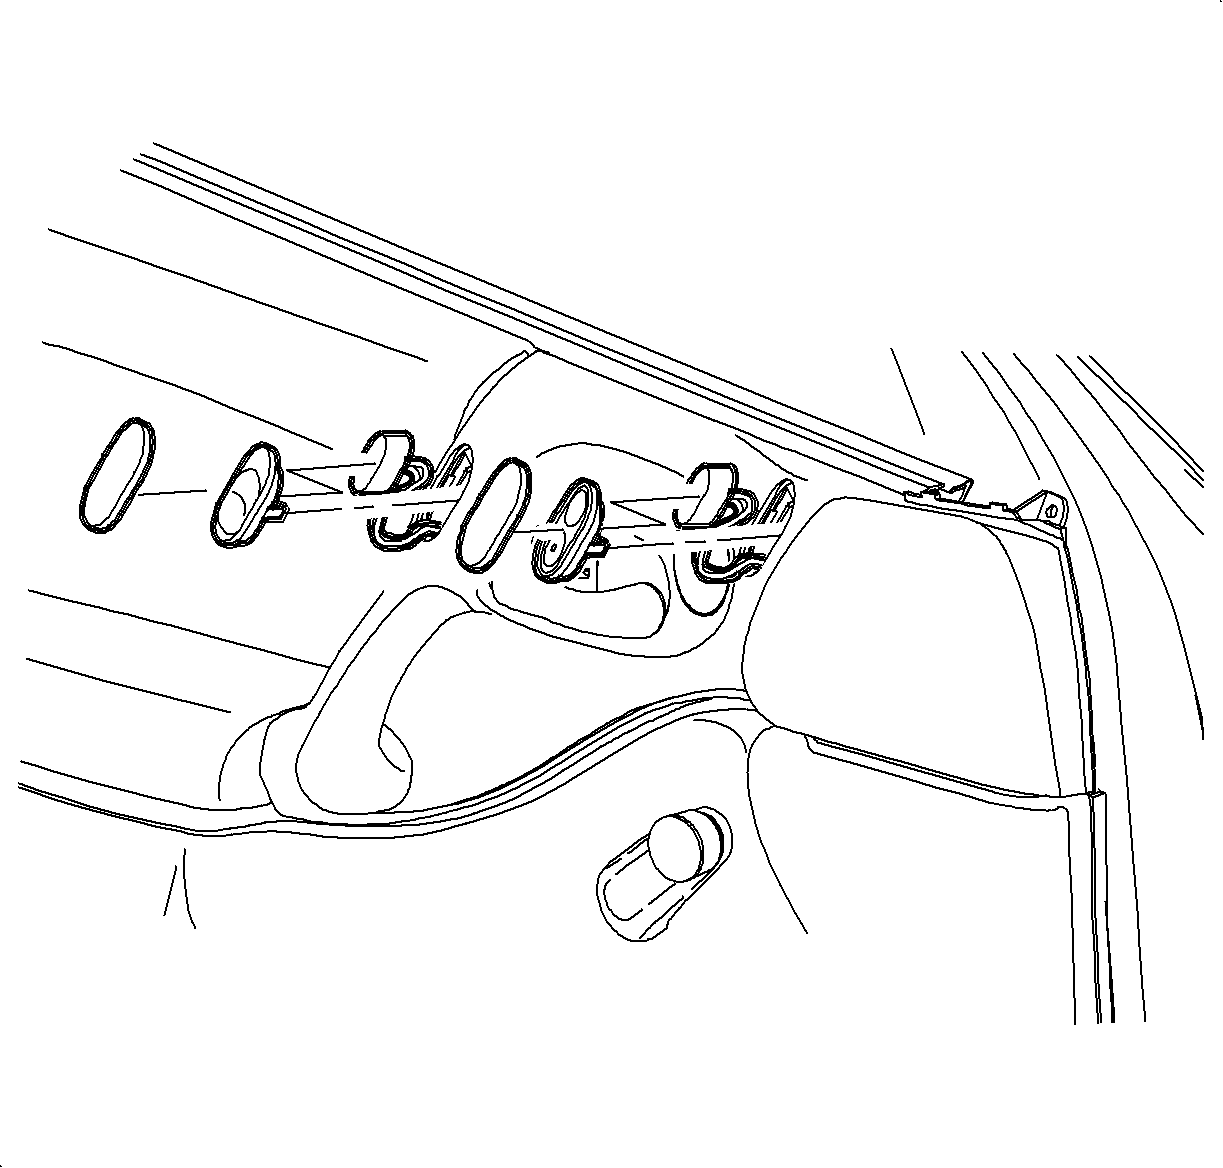
- Using a small flat blade tool, disengage power door lock switch (or cover on non-power door lock equipped vehicles) to expose door inner pull handle fastener.
- On power door lock equipped vehicles, disconnect power door lock switch connector and remove switch.
- On driver's side, using a small flat blade tool, disengage power mirror switch (or cover on non-power mirror equipped vehicles).
- On driver's side of power mirror equipped vehicles, disconnect power mirror switch connector and remove switch.
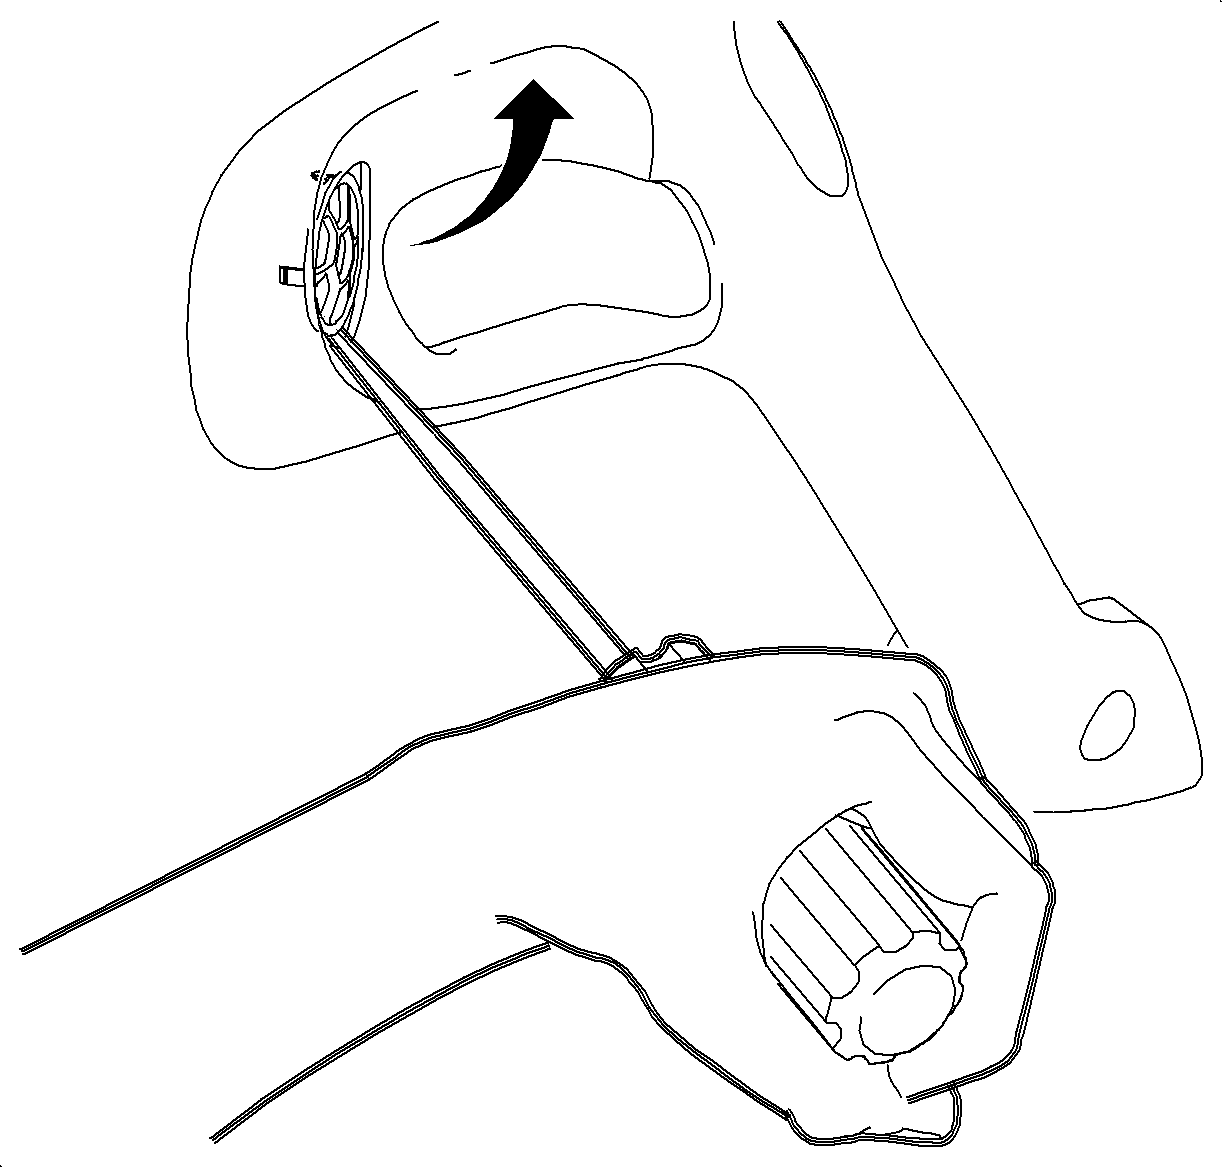
- Using a small flat blade tool gently pry on tweeter speaker cover and remove to expose door inner pull handle.
- Pull gently on mirror patch to remove and expose door inner pull handle fastener.
- Remove door inner pull handle fastener.
- Pull door inner pull handle away from door trim panel, disconnect tweeter speaker connector.
- Remove lower door trim panel fasteners.
- On non-power window equipped vehicles, remove window crank handle.
- Disengage door trim panel side retainers by grasping door panel along bottom and gently pulling out.
- Lift upward on door trim panel to disengage panel from door structure at top of panel.
- On vehicle equipped with illuminated front door trim panels, hold door trim panel away from door structure and disconnect wiring harness connector.
- Remove door trim panel and place in a clean protected area.
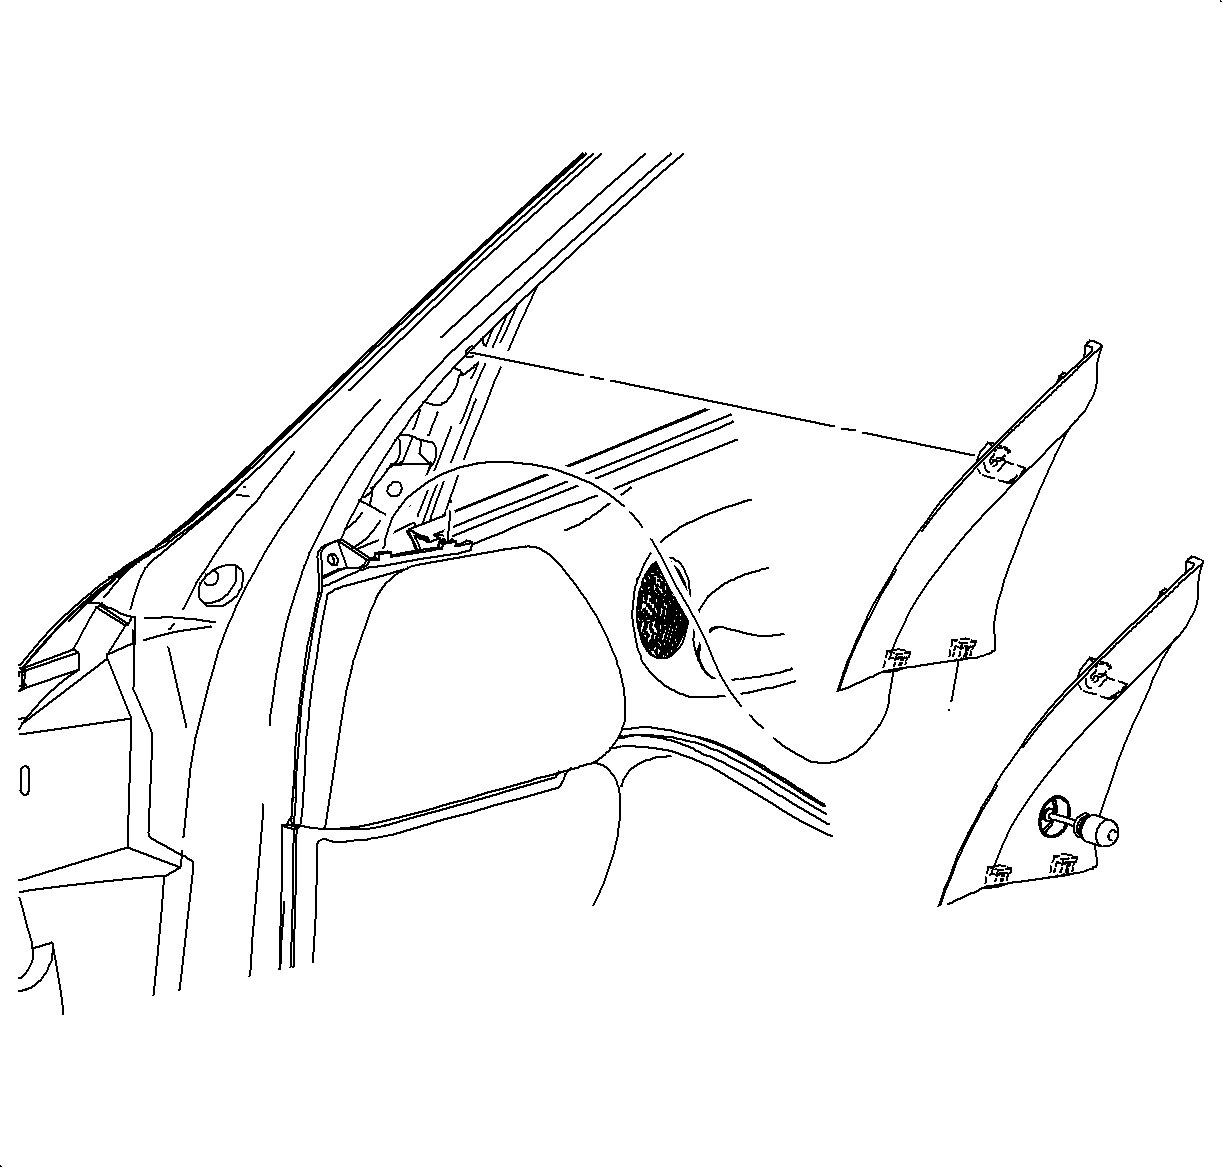
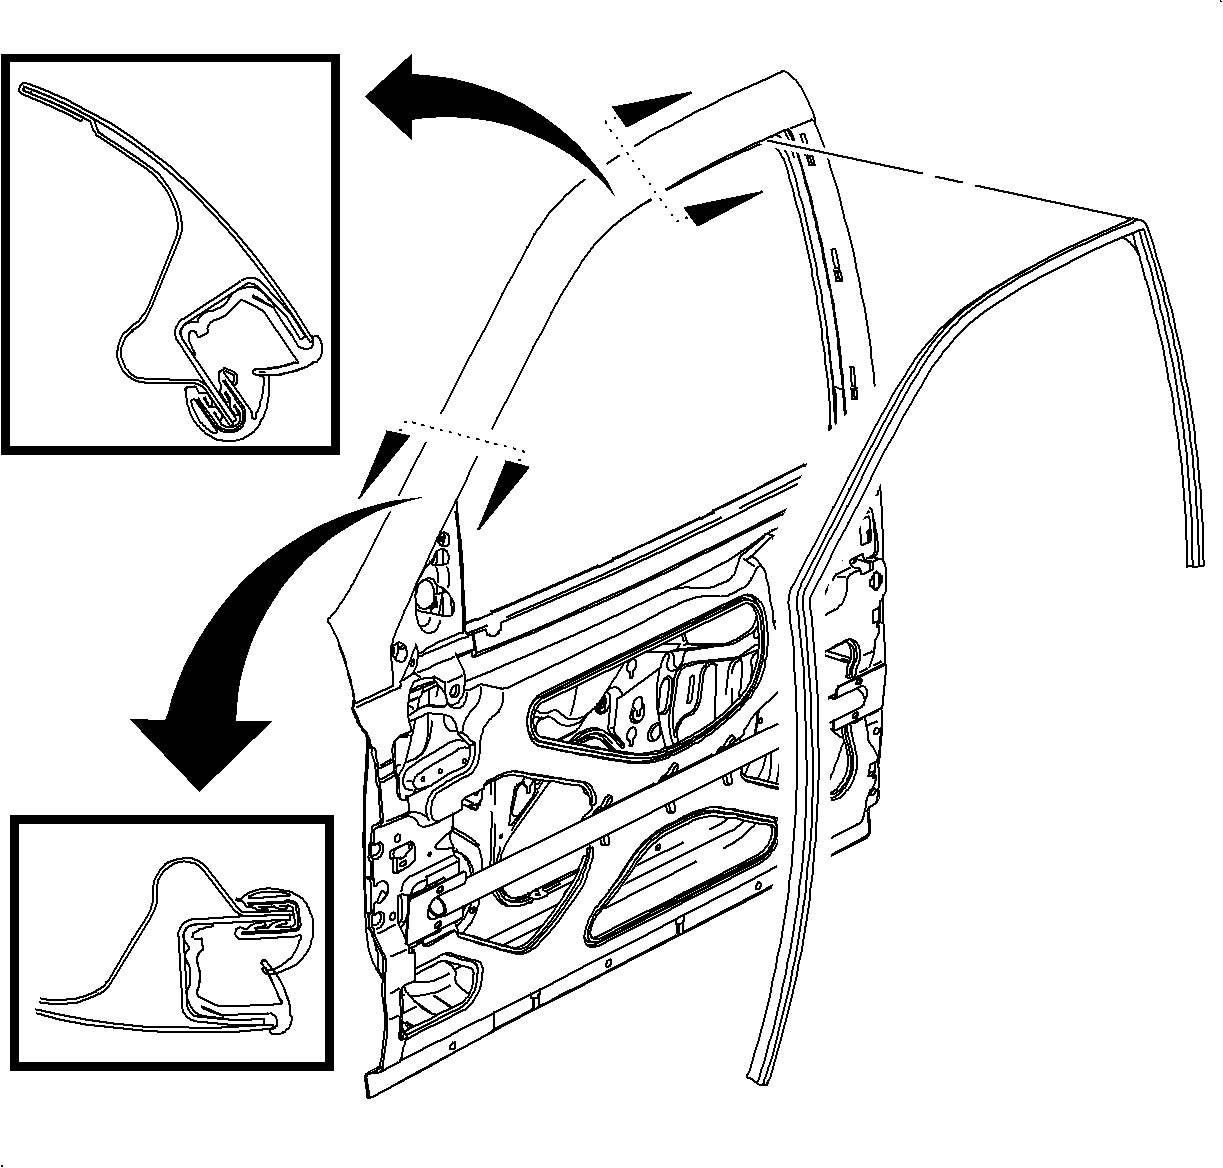
- Remove inner window run channel weatherstrip along rear edge (B-pillar area) of front door.
- Use a flat blade tool along rear edge (B-pillar area) of front door to expose inside edges of weatherstrip.
- Obtain Dupont KRYTOX® Lubricant (P/N GPL-105), or equivalent.
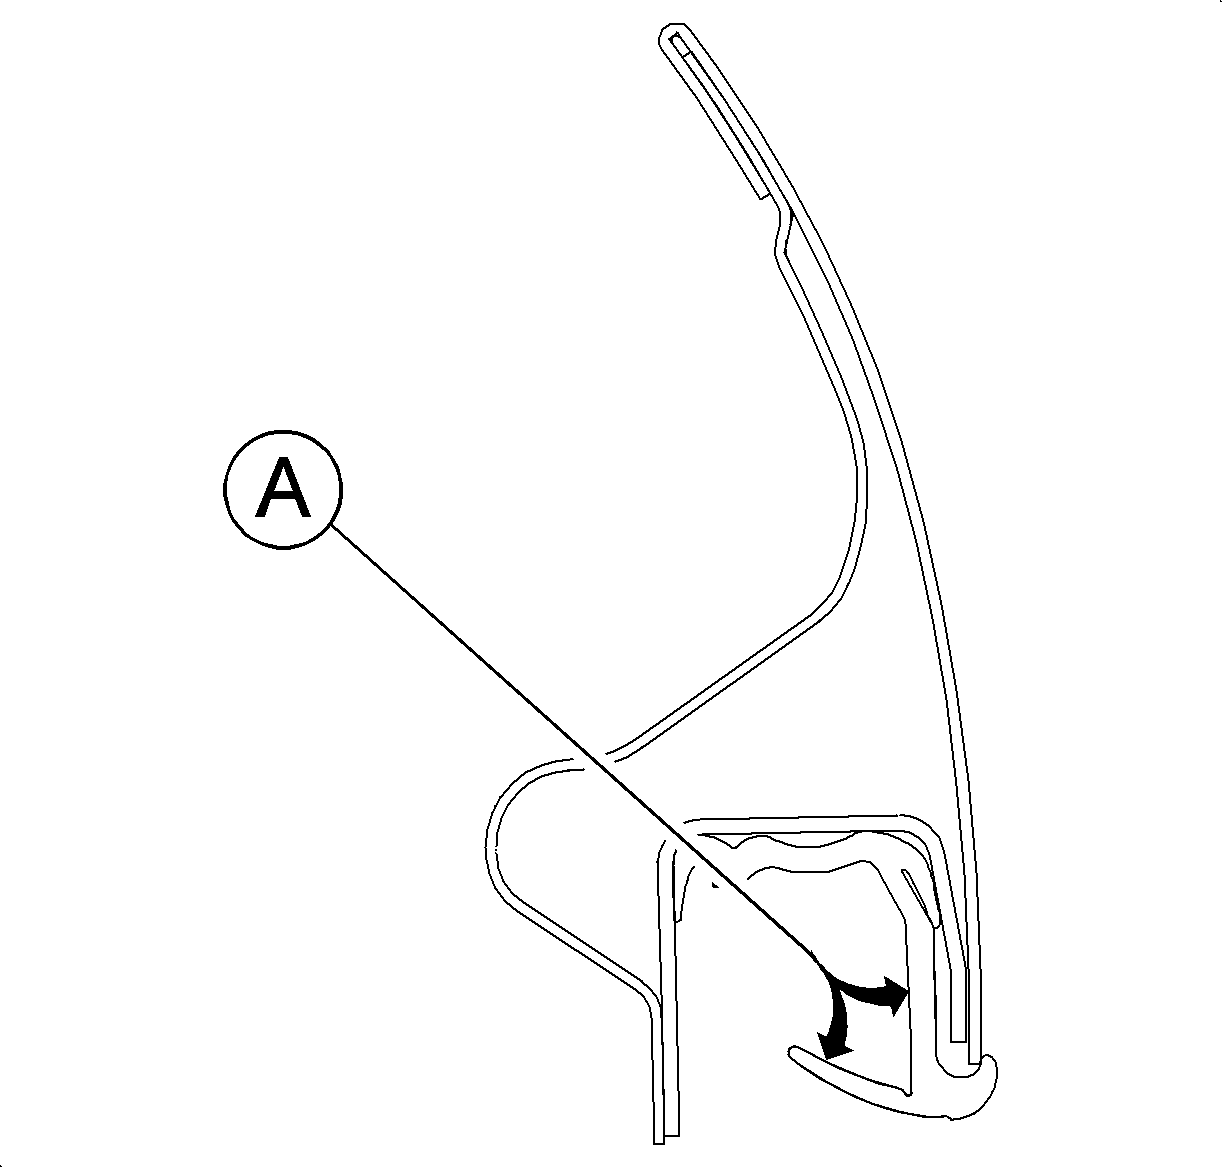
- Apply a 1 mm (0.04 in.) bead of lubricant along entire vertical length of weatherstrip (at location [A} as shown) between belt line and top of door.
- Smooth out lubricant on weatherstrip using a small brush or cotton swab.
- Position and install inner window run channel weatherstrip.
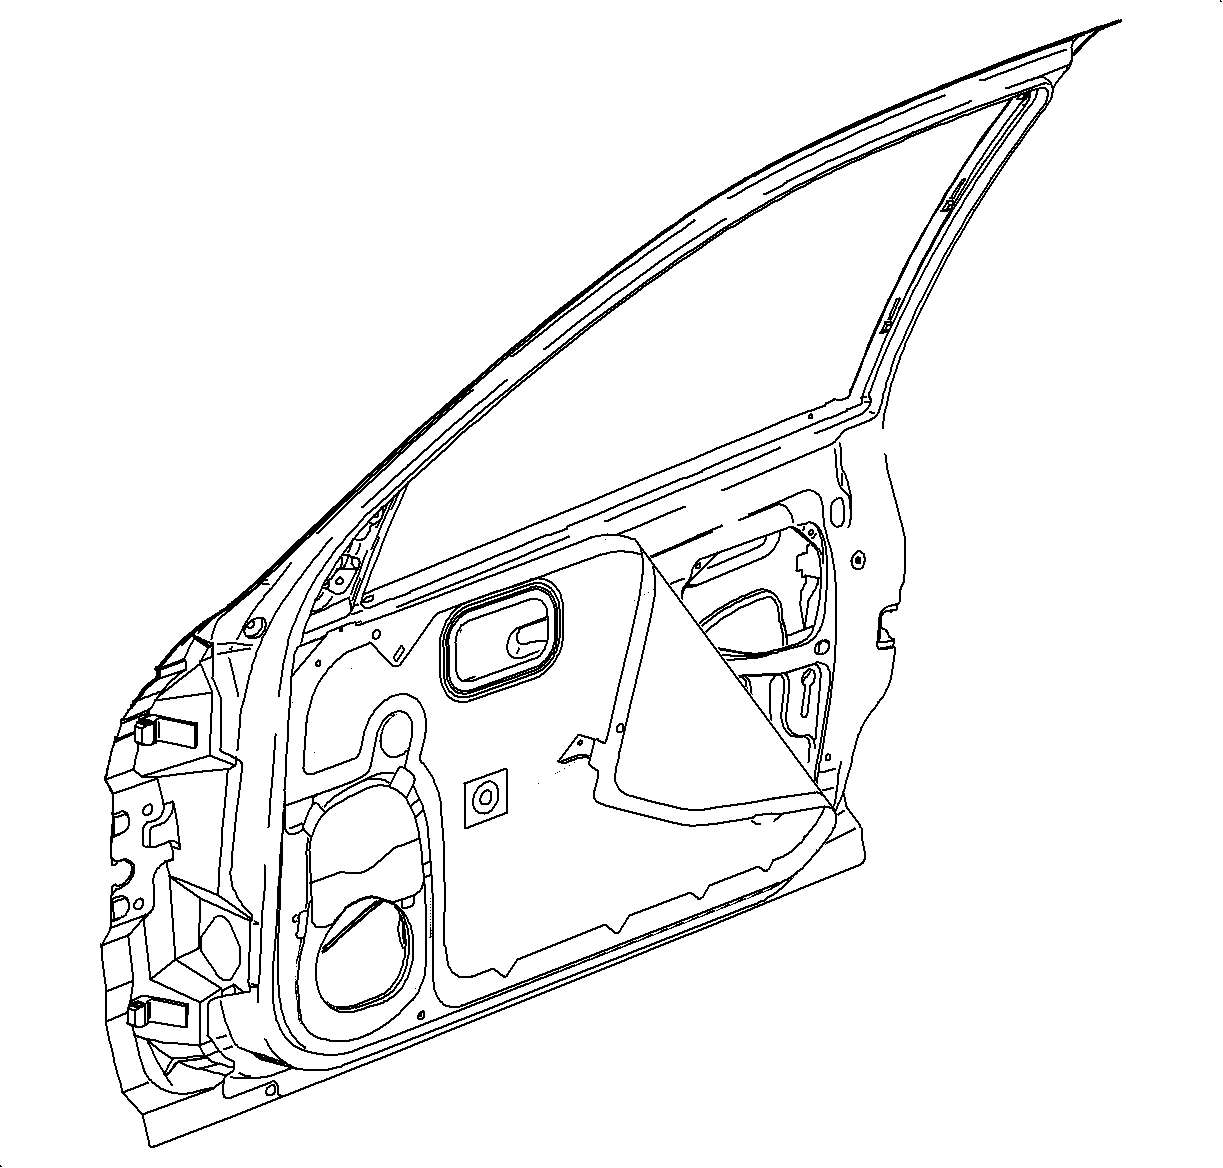
- Remove water deflector from upper corner of door structure far enough to allow access to rear most window regulator attachment bolt.
- Loosen rear lower window regulator bolt at rear edge of door.
- Adjust bolt upward by 2mm (5/64 in.) and tighten bolt.
- Cycle window to full up and full down positions several times to verify condition is eliminated. Repeat adjustment procedure if necessary.
- Raise window to full up position.
- Install water deflector. Ensure a tight and wrinkle free seal along all adhesive area.
- On vehicles equipped with illuminated front door trim panels, hold door trim panel away from door structure enough to connect wiring harness connector.
- Align top of door trim panel to door structure front first, the rear) and push down to engage top attachment locations.
- Apply pressure to door trim panel side to seat retainers and secure panel to door structure.
- Install three lower door trim panel fasteners.
- On non-power window equipped vehicles, install window crank handle and fastener clip.
- Connect tweeter speaker wiring harness connector.
- If equipped with power lock or power mirrors, route wiring harnesses through door handle opening.
- Tuck door handle under trim panel upper weatherstrip and install door handle fasteners.
- Snap door handle grip into place.
- Snap tweeter speaker cover into place.
- Position mirror patch lower retainers behind door trim panel and snap mirror patch into place.
- On power equipped vehicles, connect power lock switch wiring harness connectors and snap switches into place. (On non-power equipped vehicles, snap covers into place.
- If equipped, check function of power door locks, power windows, and power mirrors.
- Check function of front speakers to ensure proper operation.
Important: If it determined that the weatherstrip requires replacement, make sure to lubricate the new weatherstrip by following the above steps.
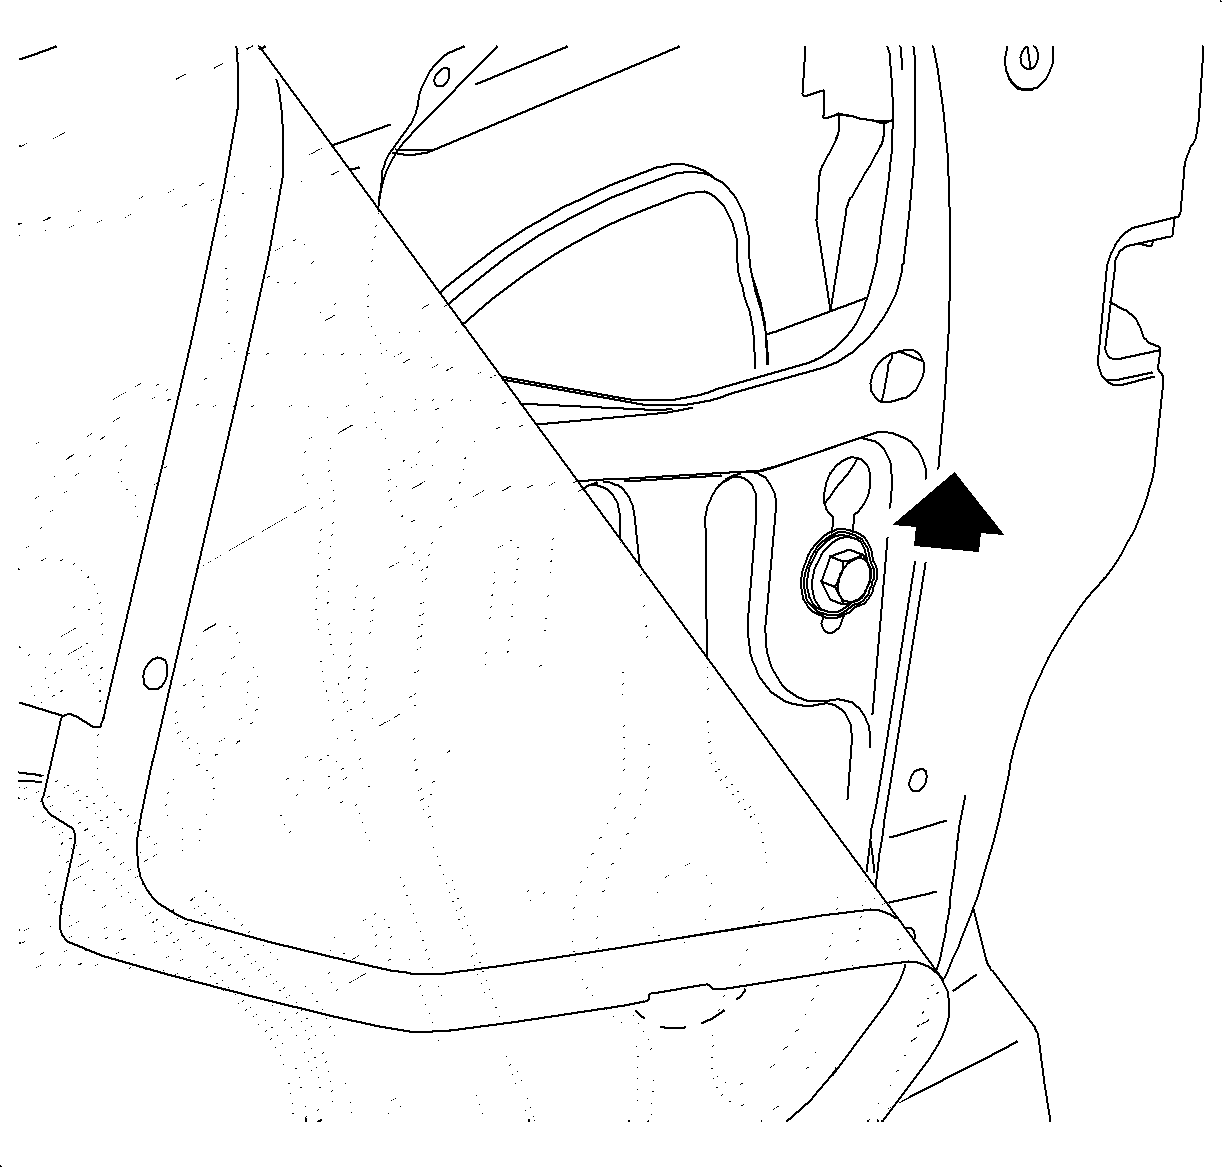
Tighten
Tighten the lower window regulator bolt to 10 N·m (89 lb in).
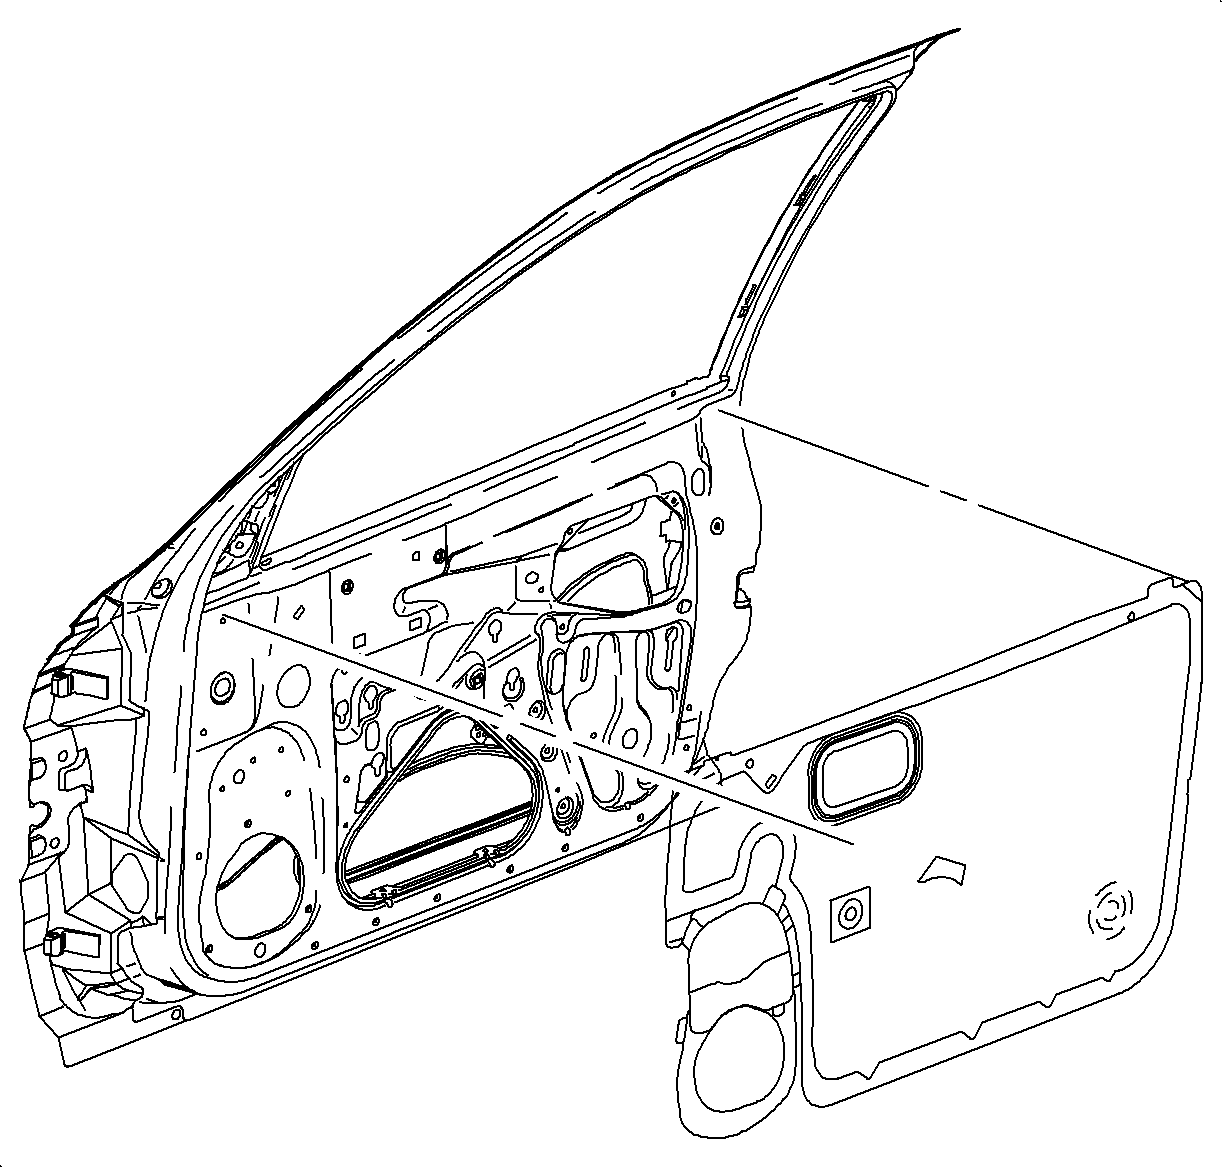

Tighten
Tighten the door trim panel fasteners to 1.5 N·m (13 lb in).
Tighten
Tighten the door handle fasteners to 1.2 N·m (10 lb in).


Dupont KRYTOX Lubricant * (P/N GPL-105-Oil * Available From Miller-Stephenson Chemical Co. (1-800-992-2424) Important: One cartridge of lubricant should last for approximately 20 similar applications. (Saturn Retailers located in Canada should order P/N 03634770 (29ml) that is available from GMSPO.) |
CLAIM INFORMATION
To receive credit for this repair during the warranty coverage period, submit a claim through the Saturn Dealer System as follow:
Case Type | Description | Labor Operation Code | Time |
|---|---|---|---|
VW | Lubricate Outer Window Run Channel Weatherstrip, Right | Z4086 | 0.6 hrs. |
VW | Lubricate Outer Window Run Channel Weatherstrip, Left | Z4087 | 0.6 hrs. |
INC: Time to perform door glass alignment. | |||
|
Important: The lubricant must be claimed as a material using Net Item Code M. The eligible material amount to claim is $1.01 per front window. | |||
